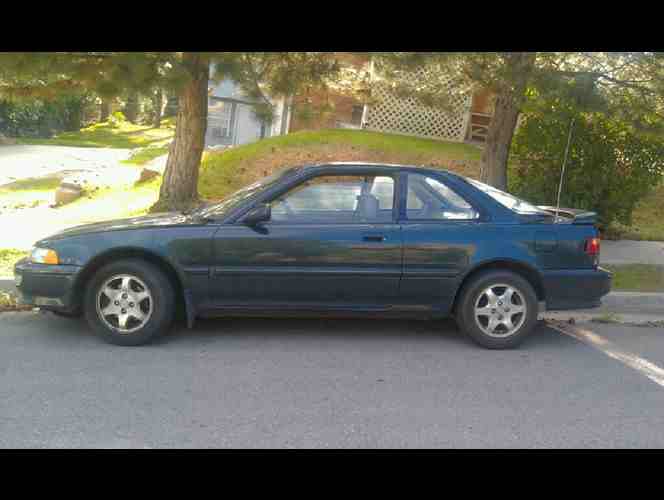
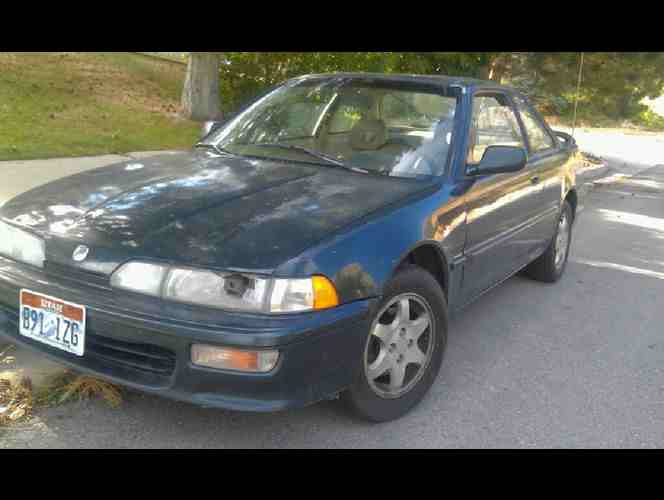
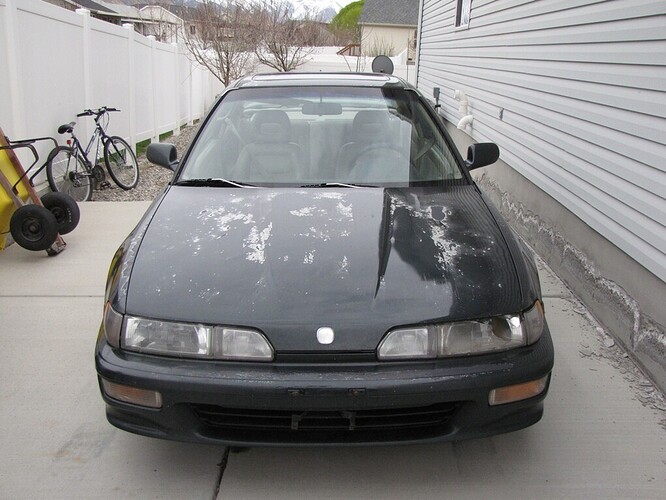
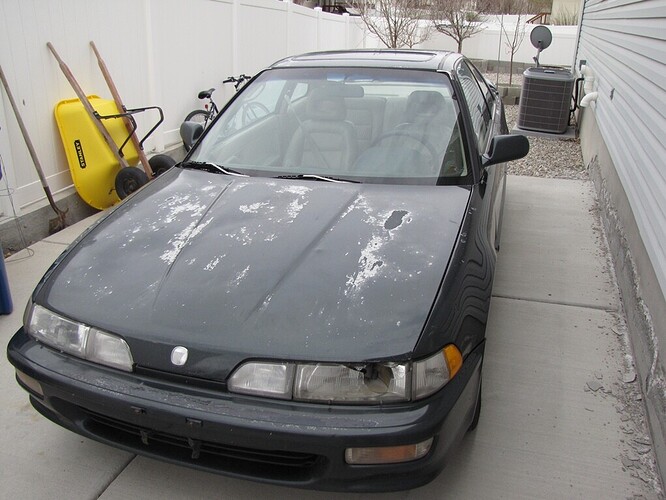
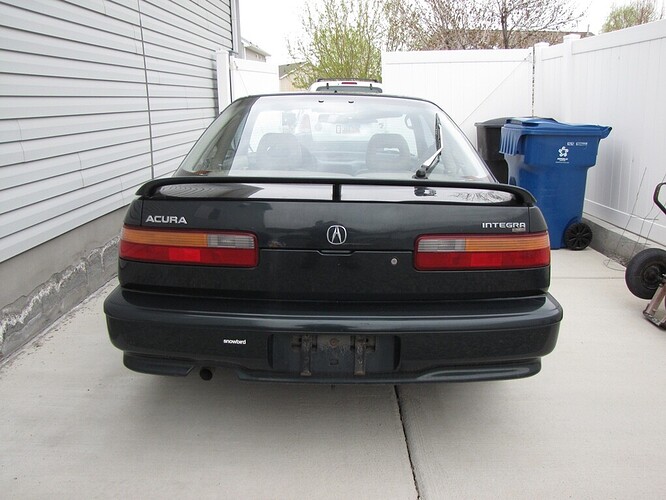
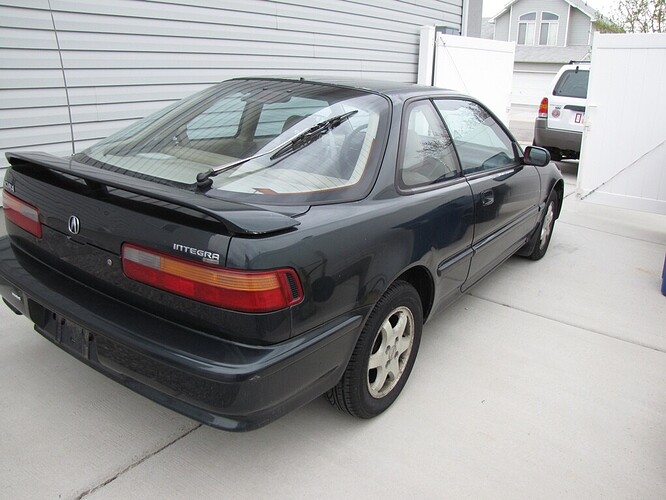
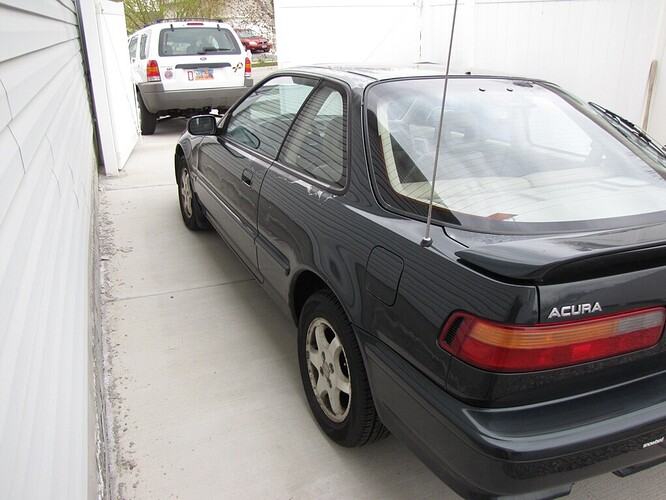
Thanks, I am pretty proud of the way the interior turned out. It’s not a combination you see too often on these.
I will give the upholstery instructions as well as I can, going off of what pictures I have, and memory. I did not do any of the sewing on these seats. These are OEM seat covers, taken off of a car when it was new, in favor of leather. So they were sitting in storage, brand new, basically as soon as the car rolled off the lot. At least, that’s the story from the guy we bought them from on Ebay. The condition certainly backs up that claim, they look brand new, and are definitely OEM. I have seen complete sets of OEM seat covers go on ebay for around $150 lately(which is about what I paid), in multiple colors. If you can’t find what you are looking for there, here’s two links to websites selling NEW seat covers.
http://www.precisionfit.com/
http://www.gtcovers.com
They both advertise an exact fit, but I haven’t tried either, so I don’t know. Just a suggestion, really. That’s more aftermarket, custom kind of stuff, though. If you are sticking OEM, it’s much easier. Included are pics showing a basic (very basic) guide on how to do this with OEM upholstery (although the process is probably the same, but don’t quote me on that).
So, the first step is to remove the cushion from the body of the seat. Should be pretty self explanatory, if you have questions, feel free to ask, or google it. I don’t have pics of that process, but I could get some if needed.

This picture shows the seat from the side. This should be done with the seat out of the car, but I didn’t have any side view pics of the seat itself. The first thing that needs to come off is the plastic cover at the bottom of the seat, in this case tan. To get that off, pull forward on the recline lever, and the plastic part should come off, showing a metal handle. Once that’s done, remove the screws from the panel, and it should come off. The inboard side of the seat, closest to the center console, has no lever, only screws. Once that’s done, there are 2, maybe 3 bolts on each side of the bottom cushion, holding it to the top by means of a metal bar, part of the bracket mechanism. Remove those, and set them somewhere they won’t get lost.

This picture shows the brackets themselves, with the bolt locations highlighted. Blue circles show where the seat bolts to the floor, by now you shouldn’t need to worry about those. Yellow ones show where the cushion get’s bolted on. There’s three on the outboard side of each seat, because the seatbelt get’s bolted on with those bolts as well, the inboard side should have only 2, if my memory serves me correctly.
Once all of those bolts are out, the bottom cushion should come right off, leaving you with two main pieces. The brackets will stay attached to the backrest, I wouldn’t try to remove those if I were you. I got this done with them on, and it helps to not lose things.
If you have the cushion by itself, you are ready to remove the old upholstery. You start by removing a series of metal rings holding the upholstery to the cushion, called HOG RINGS. I have highlighted the hog rings in most of these pictures, as well as their approximate location on the covered seat. I may have added or missed a couple locations, as I’m going mostly based on memory right now, so bear with me.

In this picture, I highlighted the location of two hog rings, and one spring. I meant to do green for spring, red for hog rings, but I messed up a little. The two bottom ones are hog rings, the top one is a spring. So, all of the rings and springs attach to rods built into the cushion, not the cushion itself. the springs are found in the deeper areas of the seat, helping to pull the upholstery down into the cracks, forming the contoured shape of the seat, while the hog rings are found all over the place. Removal of the hog rings is a fairly simple task, take a pair of plyers, and pry them apart, opening the gap at one end, allowing you to slip the ring out from around the rod in the seat. Removal of the spring is easier, just slip it down, around, and off of the rod, allowing it to come up from the seat. I advise that you keep the hog rings, unless you feel like buying more for the re-upholstery. They arent expensive, but I really tried to stretch my budget on this one.
The above pic was of the back seat bottom, just an introduction to hog rings and springs.

These are the approximate locations of the hog rings (RED) and the springs (GREEN) on the covered seat. For the backrest, the bottom should be held together with a little groove on both ends of the fabric. I’m sure that’s a terribly way to describe it, but I can’t think of the right word. Either way, no tools needed, just pull it apart. Once that’s done, start sliding the seat cover up until you see the first set of rings and springs. With the backrests, for both front and back seats, work from the bottom up. Once you see the first set of rings, stretch them apart with plyers (needle nose are best, as it’s a very tight space), and remove them from the rod, the spring should just be moved down until the hook on the end clears the rod, then pulled straight out. go one row at a time, working your way up.
For the bottom, work from front to back. The bottom is held to the metal frame of the cushion by a series of hog rings around the margins at the bottom. Remove those, then on top, work front to back, same basic procedure as the backrest. front to back, one row at a time, keep your hog rings and springs for the re-upholstery. One note: The hog rings on the side seam to be in a tighter, harder to get to space than the central ones. Don’t get discouraged, it takes a few tries to get them. I did alot of “fidget, fuss, muss, and cuss” (quote from my Grandfather) in the process, as well as had a few hog rings jab into my fingers. In hindsight, work gloves might have been a decent idea.

This picture shows the backrest of the front seat(not sure which side), with the locations of the hog rings (RED) and springs (GREEN) highlighted. I might have missed a couple on the side, though. It shows what I mean when I say grooves, and the rods run along the grooves, just under a thin layer of foam. BE CAREFUL WITH THE RODS! that layer of foam is very thin, and if ripped, the rod won’t provide any tension to the seat covers, so they won’t conform as well as they should!
Another tip, if you don’t care about the old seat covers, removal is easy and quick. But when putting on the new ones, go very slow, and careful, as one little rip could ruin the whole project.
Like I said, REMOVAL: Front to back, bottom to top. REPLACEMENT: Top to bottom, back to front, exactly the same process, only in reverse. It helps to reshape the hog rings into a semi-decent C shape before trying to put them back, that way all you have to do is squeeze them together, back into the O/ring shape. The springs are easy to work with, but if they are anything like mine, slightly rusty from age, and a little brittle, so be careful.
The headrests are easy as well, there’s a zipper in the middle, and another little groove on the bottom, between the adjusting rods. Those should come off and go back on with no tools. UNFORTUNATELY, my new ones had no zipper, or grooves, so I had to sew them on the inside and bottom. not a difficult task, and may hold up better over time, we’ll have to wait and see.
BACK SEATS
The back seats are by far the easiest, from the removal from the car, to the removal of the upholstery. You don’t have to worry about brackets, headrests, seatbelts, etc. There are a couple bolts that need to come out to get the cushions out of the car. For the bottom, go to the area where the two portions of the backrest come together, and reach in, toward the bottom. There’s one bolt holding the bottom down.

The metal bracket holding the bottom of the back seat into the car can be seen in this image, toward the bottom left corner. Also, there’s two hog rings (RED), and one spring(GREEN) location highlighted.
Once the bottom is out, you should see the bracket where the top portions mount to the floor, also in the middle of the two cushions. Removal of that bracket is straight-forward, just remove the bolts. Once that’s done, remove the back carpet from the backrest, in the trunk area. It’s held on by a series of snaps, all around the back of the seat. Be careful not to break those snaps, as you will need them to put the carpet back onto the seat backs.

This image shows the back of one section of the rear seat backrest (60/40 bench, this is the “40” section. The “60” will be the same, with a few more hog rings). The hog ring locations are highlighted in red. The large oval is there because there are hog rings that go under his hands, but they are in the way, so you can’t really see them. As before, I may have added or missed a couple locations, as this is based mostly on memory.
Once those hog rings are removed, all the edges should flap over to the front easily, so it doesn’t really matter whether you work top to bottom, or bottom to top on these, but I did bottom to top, like the front row.

This picture shows the approximate locations of the hog rings (RED) and springs (GREEN) for the back seat. I didn’t take any pictures of this section uncovered, but it’s the same idea as the other sections. I may have missed or added a few ring locations, but this is the general idea, and it’s the same for both sides of the 60/40 backrest, and the bottom. Same process as the other seat cushions, but the back is alot easier to work with as the front. Not as contoured as the front, or as tight.


The three pictures above show the locations of almost all of the hog rings (RED) and springs (GREEN) for the bottom cushion of the back row. Conveniently, you can see straight through the cushion to the rods, for the spring locations, allowing you to remove them from the back. If memory serves me correctly, this is the only portion that allows you to do this, so take advantage of it. Like I said, the back row was alot easier than the front.
For this portion, once the rings all around the bottom margins are removed, flip it over and work on the top. Again, I recommend removing front to back, replacing back to front, but it’s not really necessary to go in a specific order with the back row, like it is with the front.
So to recap, I recommend removing the hog rings from front to back for the bottom cushions, bottom to top for the back rests, and replacing back to front, top to bottom, respectively. For every step of the removal, there is a mirror/opposite step for the replacement. Replacement is literally the same as removal, in reverse. Go VERY VERY SLOW with replacement, because you don't want to get even the smallest rip in those seat covers.
I didn’t take enough pictures of the replacement for a truly detailed set of instructions, so hopefully the pictures I do have, the highlighted locations, and the written instructions are enough to give you an idea of what needs to be done. Not altogether difficult, just time consuming. I had meant to take pictures of every single step, but it didn’t quite happen.
A good pair of Hog Ring Pliers will help significantly with the re-upholstery, as the groove in the pliers prevents the rings from slipping all over the place.


Above are a couple examples of hog ring pliers. The ones I bought were like the ones in the second picture. Very cheap, but effective, and again, cheap is good. I was trying to stretch the budget.
I forgot to mention earlier, the front seats also have a set of bungee-type cords on the top portions, which start just below the first set of hog rings and springs, and stretch around, under the bottom, to the back, at the same approximate location. They run along the groove where (IN THIS CASE) black meets up with tan. Removal and replacement of those will be similar to the springs, bring the hooked end around and clear of the rod, then is should come straight out.
I hope this was helpful. If you have any further questions about any step of this process, feel free to ask, and I will answer them to the best of my abilities. The Carpet Install steps will be along shortly.
