inovative mounts makes several mounts to do this swap i have the 92-93 auto to hydro mount on my auto 2 manual swap it just bolts right in no need to shim or modify
here is a pic it cost 100.00 i believe


Almost done w/ this swap.
“To wire your reverse lights you need to:
connect the yellow wire from the transmission switch to the yellow wire in the 12 pin connector.
connect the green wire from the switch to the green/black wire in the 12 pin connector.”
This is off Honda Tech. I dont understand this, The Two Green/Black and yellow wire coming from the Transmission need to be hooked up inside the car? Where exactly is the 12 pin connector? Do I need to install my dash and the wiring harness w it has a 12 pin connector or is it where the Auto trans Computer has a 12 pin Grey connector “honda tech pictured white”. My question is mainly why doesnt the Auto engine harness have these wires so I dont have to extend them into the car!
I just finished my second auto to manual swap and wanted to confirm/deny some myths regarding this swap.
-
You don’t need the rear mount bracket or rear mount from a manual trani. The auto worked just fine.
-
You don’t need a manual starter. The auto worked just fine. You do need the lower bolt from the manual starter. It is longer (about 4 inches) and threads throught the trani casing into the short block. I bought a replacement bolt at Napa auto parts.
-
You can buy the longer bolts needed (3) for the right (passenger side) motor mount at fastenal for about ten bucks. The 1 inch spacers and washers can be bought at Lowe’s for another ten bucks.
-
The auto ecu will throw code 12 (egr). Get a manual ecu if you don’t want to see the cel, plus in Cali a CEL is automatic failure at a smog inspection.
Hope this helps someone.
Ng
Ng, what is the length of the longer bolts. I am going to use that method. I currently have the innovative mounts but they’re too stiff for me. Too much vibration transfer to the body of the car. My racing days are over anyway.
I wish I could remember, but I took the oem bolt to Fastenal and asked them to give me 3 of the same bolt but one inch longer. They measured the pitch, diameter, and length and got them off there shelf. Sorry, I knew I should of written down the measurements…
Ng
Thats fine. I’ll do the same thing. Thanks for your response.
Tegfares, you might find the following explanation more detailed for you. You don’t have to extend any wires, just connect the correct ones together as explained here.
Reverse lights - I used the two existing wires that run to the lockup solenoid on the auto tranny. One is red and one is grn/blk. Trace those wires back to the connectors for the tranny computer. The tranny computer has to come out to make room for the pedal assembly. Cut those two wires off the connector. They are at B3 (red) and B8 (grn/blk). The large tranny connector is A and the smaller one is B. Looking at the connector from the wire end, they are number A 1-8 across the top row and A 9-18 across the bottom row and B 1-5 and B6-12. Now go to the selector switch again and look for the Grn/blu and Grn/blk wires. They plug into the tranny computer at A4 and A3 respectively. Cut those two wires off the tranny computer connector. Now at the tranny computer connectors solder the red wire to the grn/blu wire and grn/blk wire to the grn/blk wire. Now you have a continous wire from the engine compartment to the shift selector switch connector. At that shift selector connector the grn/blk wire goes to the backup lights. All you need now is power. The yellow wire at the shift selector switch cable is a power source. Solder it to the grn/blu wire. Once you plug in that shift selector connector again, you will have a circuit made for the backup lights. You only have to now connect those solenoid wires in the engine compartment to the backup switch on the manual tranny. You can hard wire them or use a connector from another backup switch or make a completely new connector set. Your choice.
Here is the setup I used for my auto to manual swap using the oem mount. I took the oem bolt to fastenal and asked them to give me the same bolt but 1 inch longer. Then I went to lowes and bought spacers and washers to finish the swap. Total spent, around $20. I did 2 swaps using this setup with no problems.
Top view
Rear view
Front view
I’m no longer using this setup since I’m installing a hydro tranny.
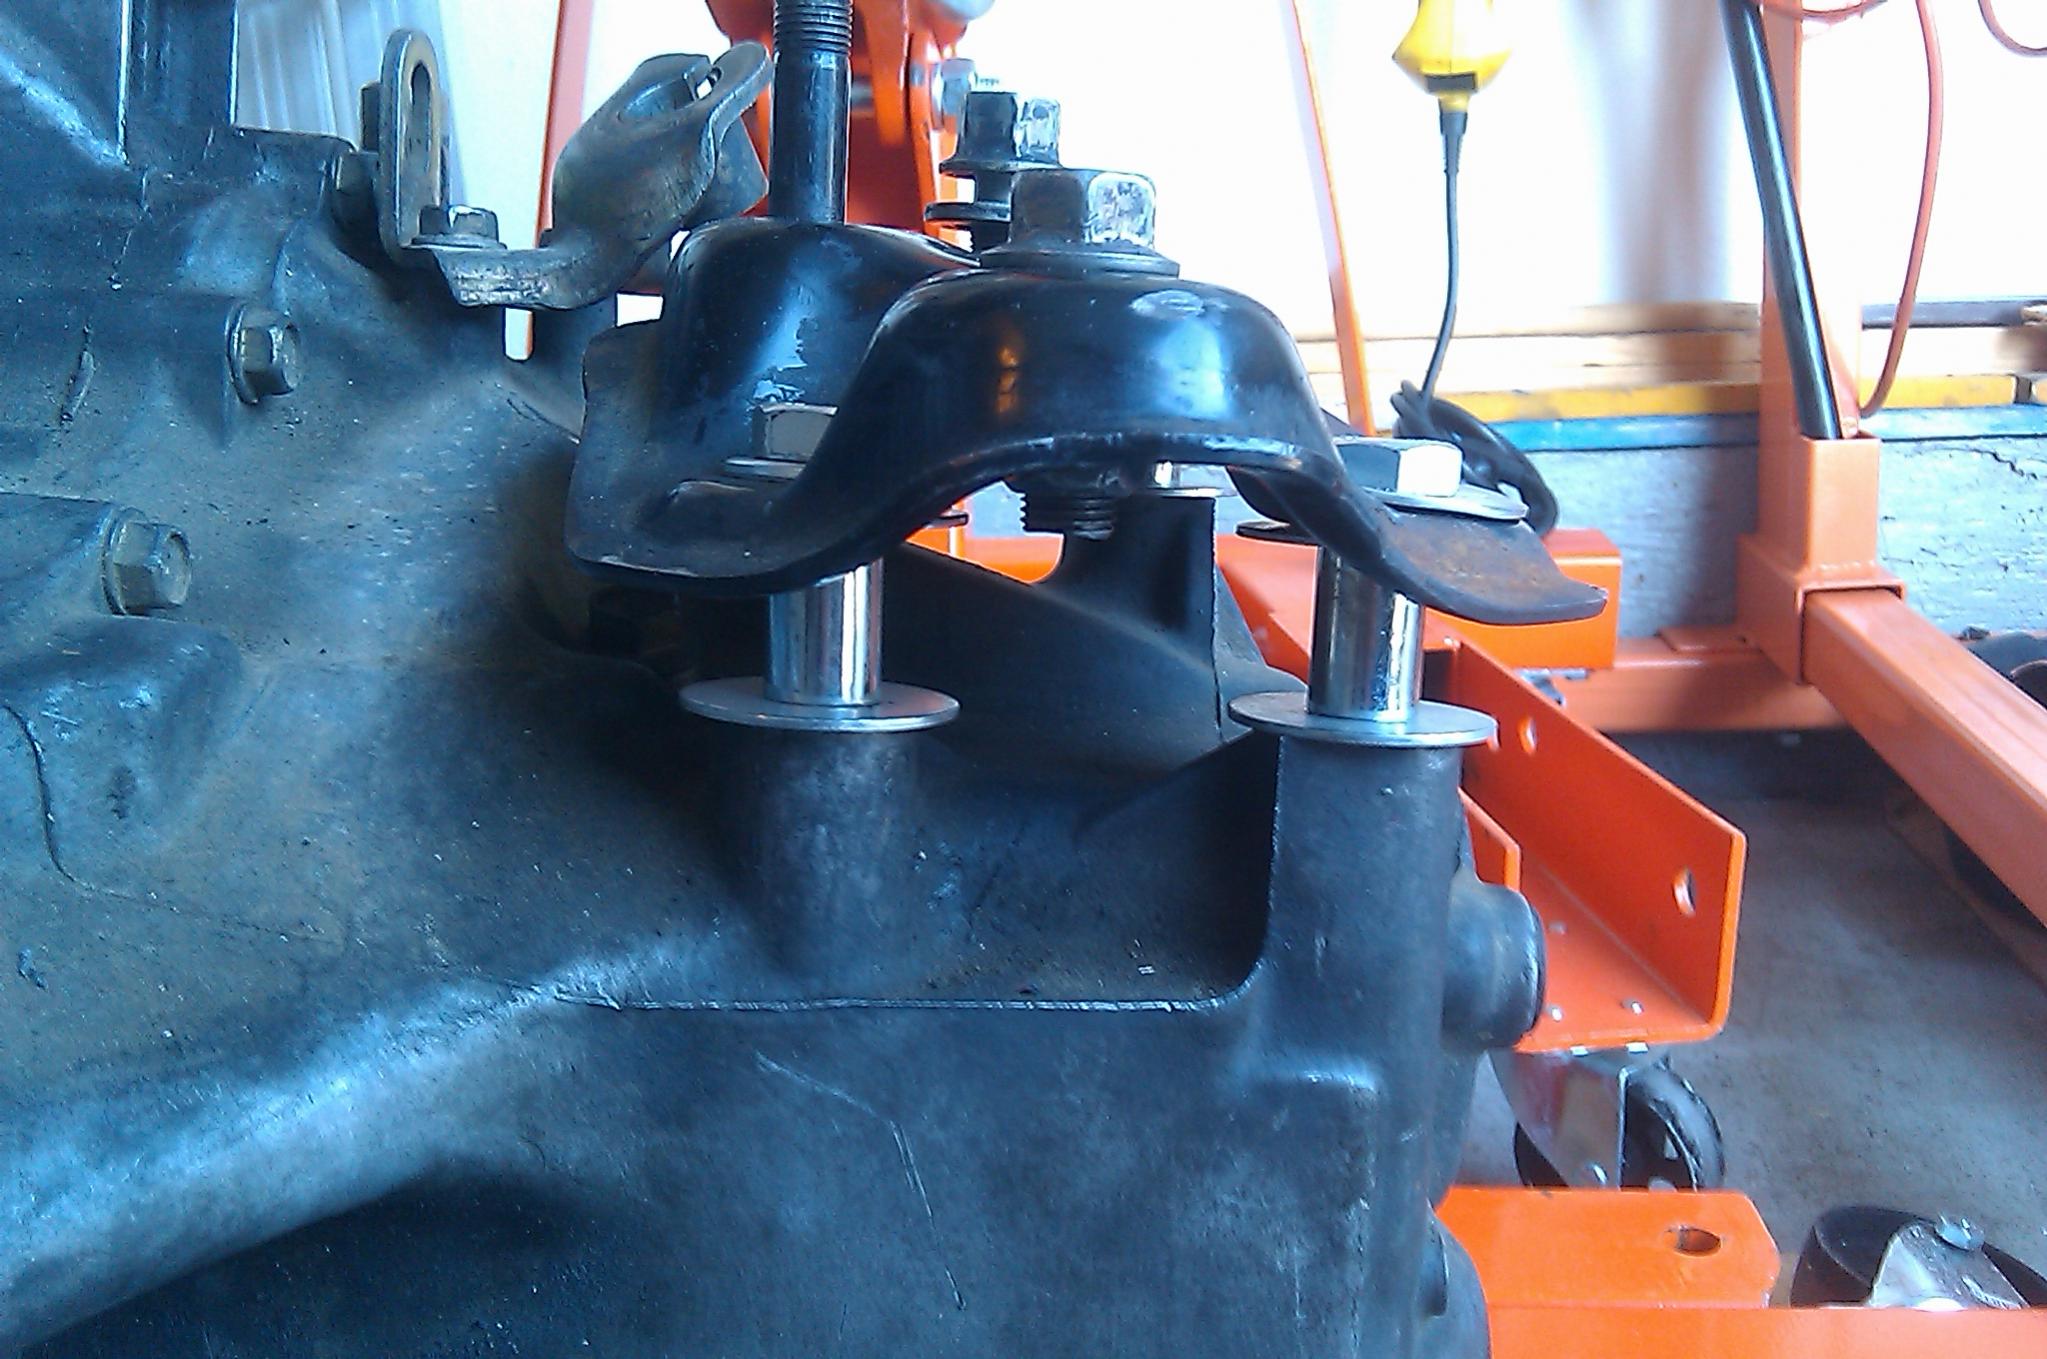

I did that and it went together but the alignment of the engine laterally was off by a few degrees. I used the Innovative mount I had.
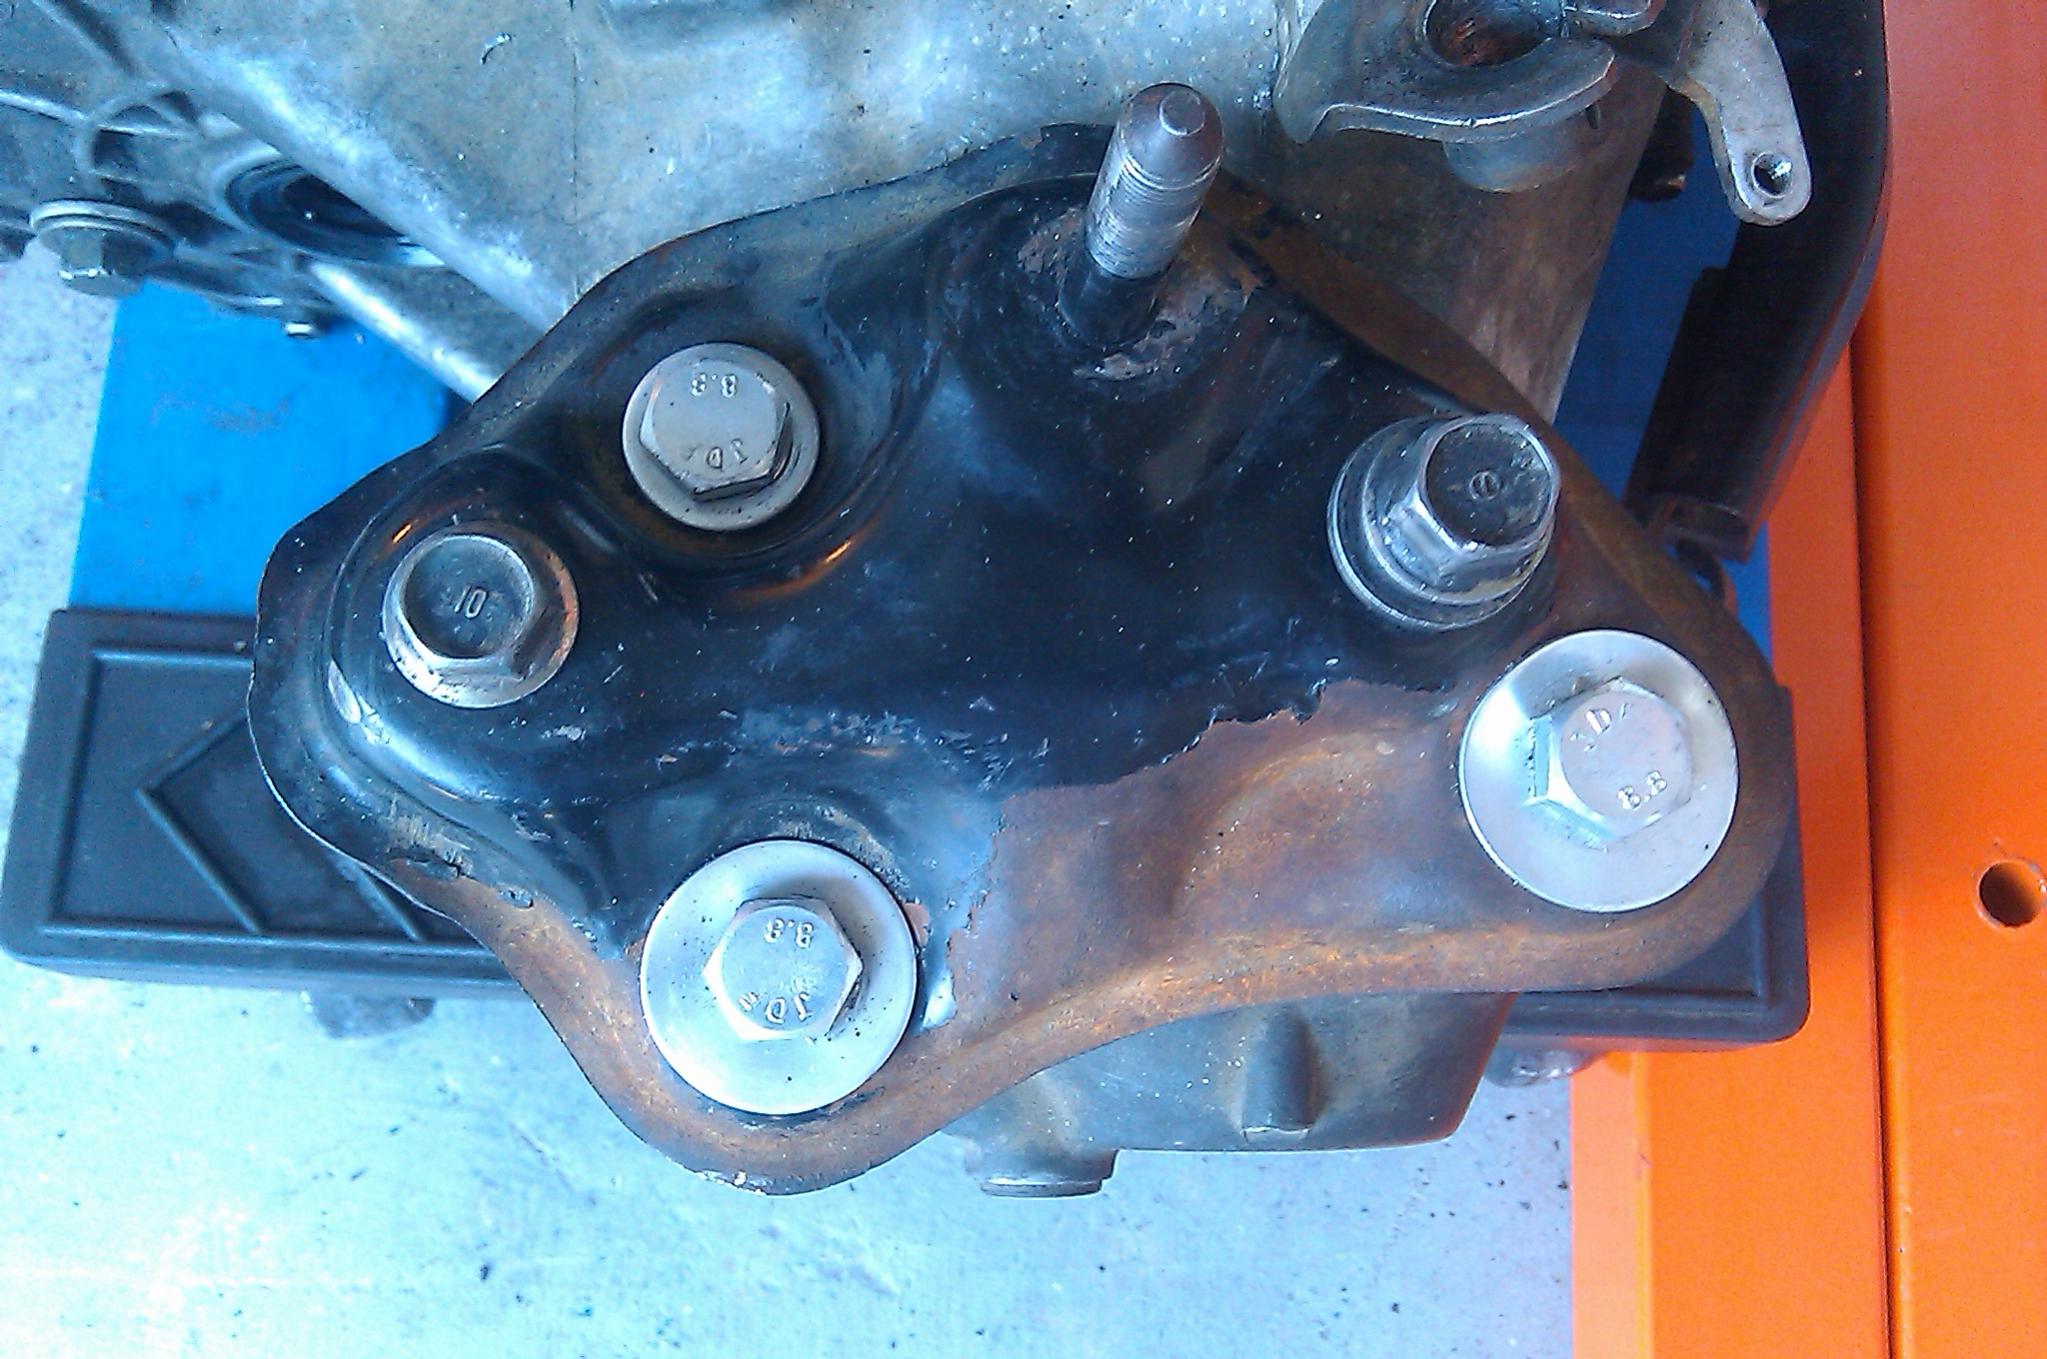
This may help someone who may want to do this swap, the starters are the same for auto & manual. The only difference, and you will need one, is the lower bolt on the starter. It is longer and goes through the casing and threads into the short block. It cost less than $3 at the Acura Peoria online parts site. Here is the part # for whoever may need/want it:
95701-1010508
NG
I am trying to get the back up lights to work but so far i have been unsucessful. Here is how i have it wired.
Trans computer connector
Red- Grn/blu
Grn/blk- Grn/blk
Shift selector
Grn/blu-yellow
Grn/blk-grn/blk
The switch on the trans is good. The connections are solid there. The fuse is good. Bulbs are good. What am i missing?
Here is a pic how I hooked up my reverse lights and starter wires (black/white). The auto shift connector is located inside the center console (passenger side). Undo some of the wire loom so you can find these wires. I also depinned wires I no longer needed. The green (with black stripe) and yellow wires hook directly to the corresponding colored wires from the reverse switch on the tranny. Works like a champ.

Hope it helps someone…Ng
ng thanks alot so i gota look for those wires ??? so u just plug those wirers and run them str8 to the tranny wires?
I also did an OBD1 swap which included a manual engine harness with the reverse light already wired. The automatic engine harness doesn’t have these wires since it used the auto shift lever to signal when the vehicle was in reverse. So if you are using the same automatic engine harness you will have to trace and fish/run new wires from the reverse switch on the tranny (green/black stripe and yellow) into where the shifter lever connector is (inside the center console) and hook them up to the green and yellow wires you see in the picture above.
Hope this helps…
Ng
For some reason I can’t find any yellow and green wires like that. I have a yellow and yellow/black, but I can’t seem to find the yellow and green ones that people talk about. They aren’t in the 12 pin connector are they?
You will find the wires in the connector/harness (12 pin?) that is connected to the shifter lever selector. You will have to cut/modify/depin some wires in order to make it work.
Ng
So all the wires I need are in the 12 pin connector? Sorry for all the questions, I’m just pulling my hair out trying to get these things to work and I have practically given up.
Don’t give up. Find your old auto selector lever (hopefully you didn’t throw it away) and find the yellow and green wires on the 12 pin connector. Remove that connector with the green and yellow wires from the selector lever and hook them up to the wires that connect to the switch on the tranny (you may have to route wires from the engine bay into the center console). Now you can hook it up like the picture above. Let us know how it goes…
Ng