Thank you man! To be completely honest, it’s scary. I’ve never done this sort of work before or seen it up close so it’s a learning experience forsure. But, I spend a lot of time reading before I just start cutting away and ripping stuff out. It’s frustrating when things don’t turn out like you hope but hey…what are you going to do? Quit? Nah that’s not what we do man regardless of the circumstances. We just gotta keep pushing till we get it right. But I truly appreciate you guys kind words
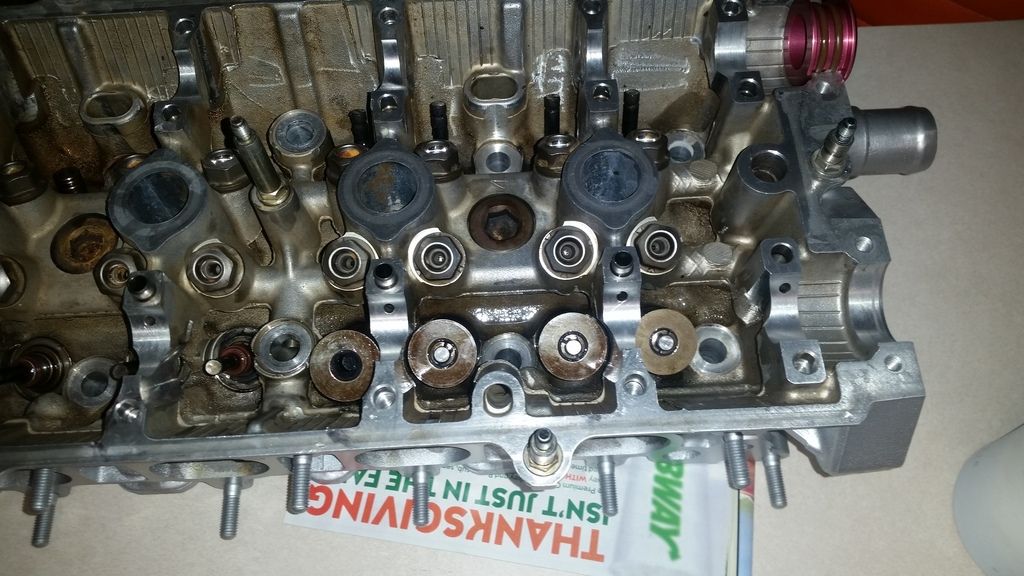
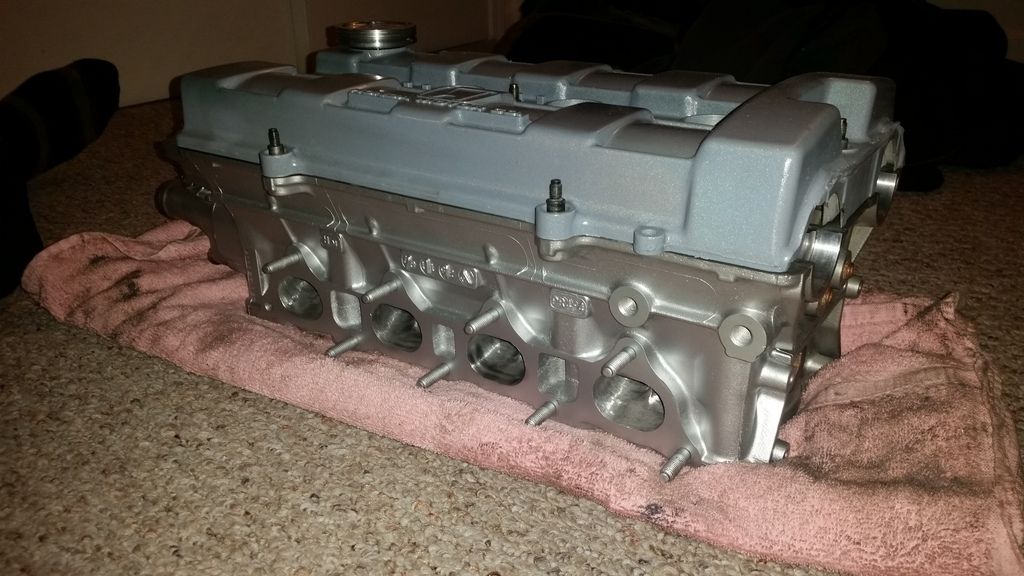
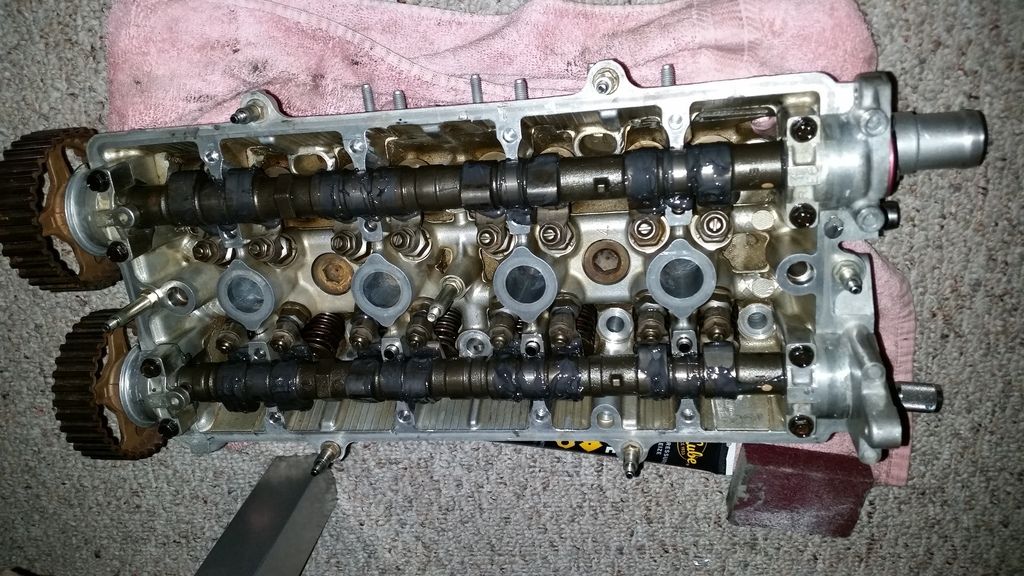
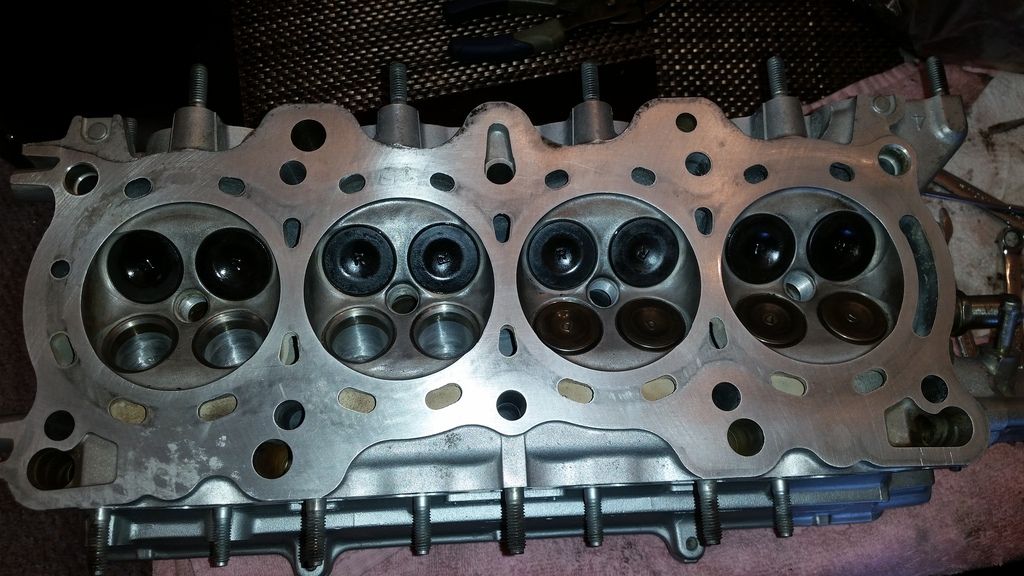
What’s up guys I got some stuff done with the head last night. First off, I bought some high temp silver paint after I got it from the machine shop, finished lapping the intake valves and figured out the differences in between the valve springs haha. But of course we always have an issue right? Well, I bought supertech valve stem seals and a 12mm deep socket…so I got everything all set to go valve and the retainer seats in and lubed everything up with assembly lube… but they wouldn’t go down all the way…so I pushed to hard and tore up some of the rubber so I think I need new exhaust valve seals…if anyone can shed some light on why it was being so difficult for me on that particular side that would be awesome. All the intake seals went on with ease I only managed to get three of the intake valve assemblies put together because like I said I bought the wrong valve spring compressor, I had to modify it and it still is difficult to use lol Anyway some pictures…
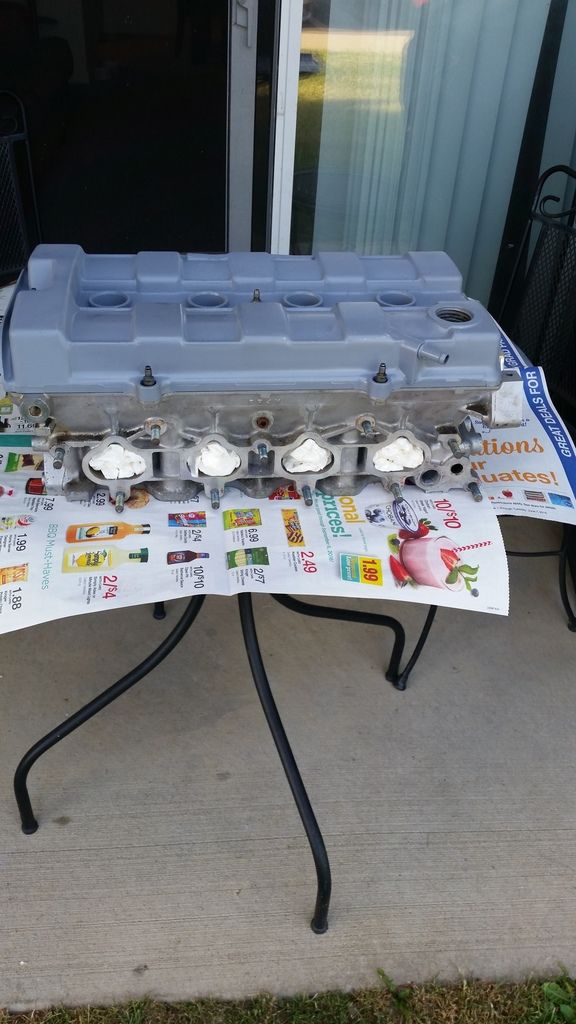
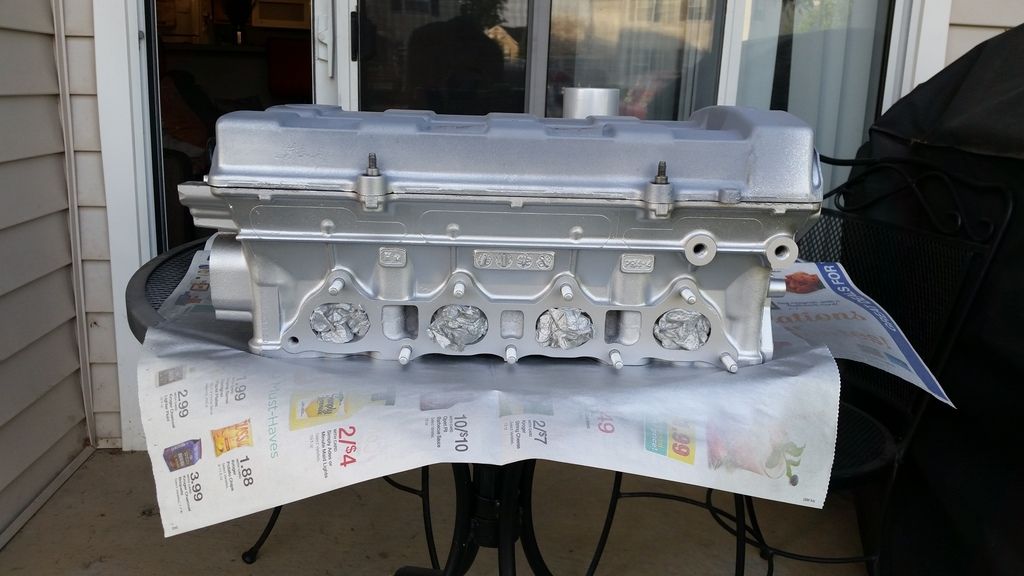
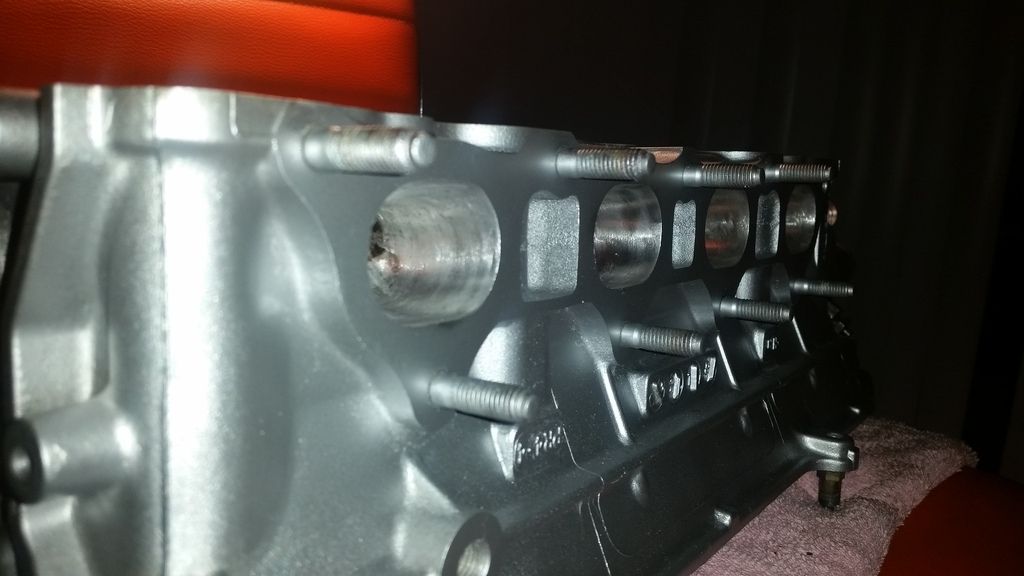
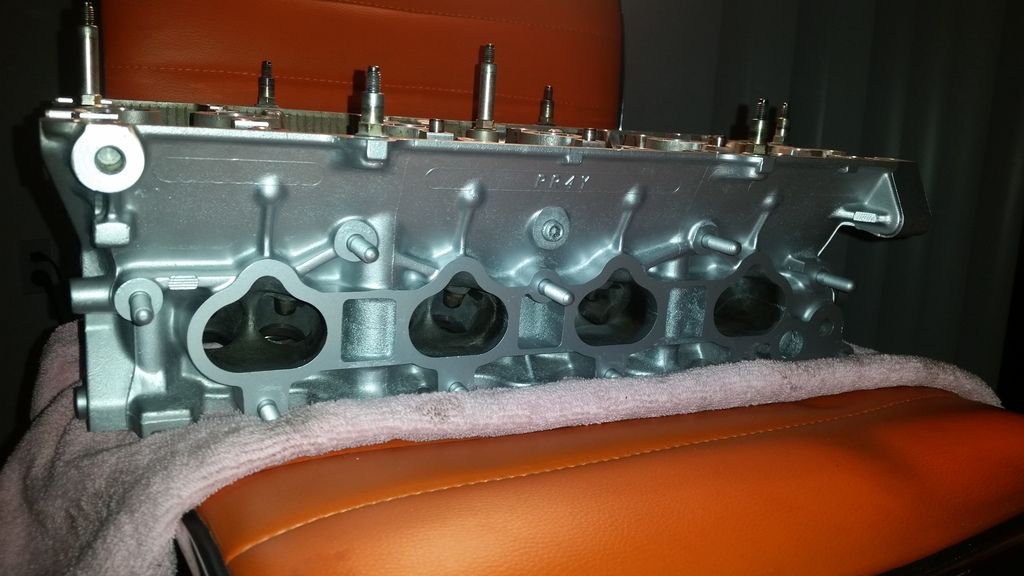
Also, for engine assembly what torque wrench do you guys use? I don’t have enough for a snap on but I’m not going to use a harbor freight one. I just need something that will do its job. What’s better digital, beam style or click style? I just want some opinions.more to come lol
What’s up guys…I’m back with some sort of updates.
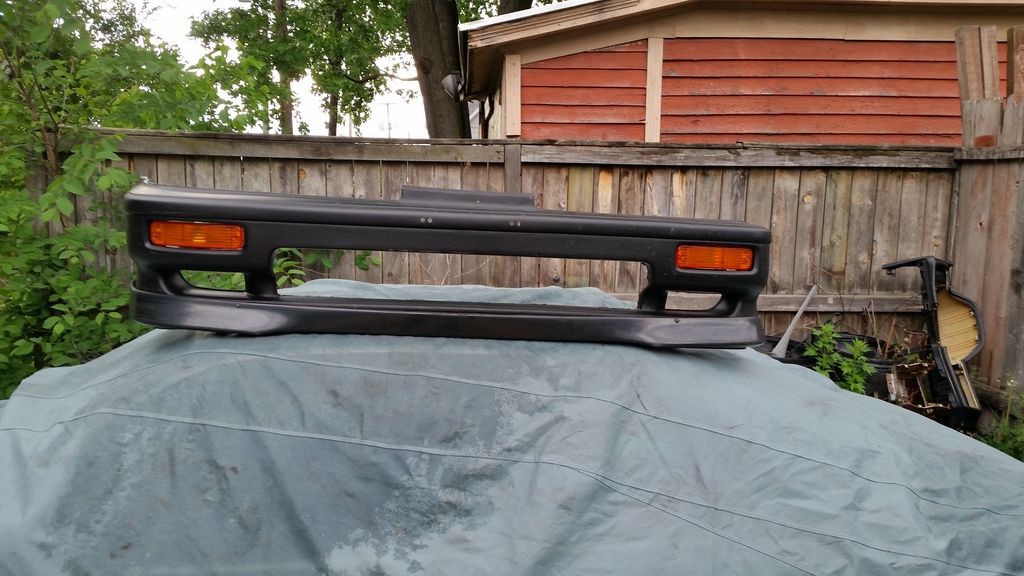
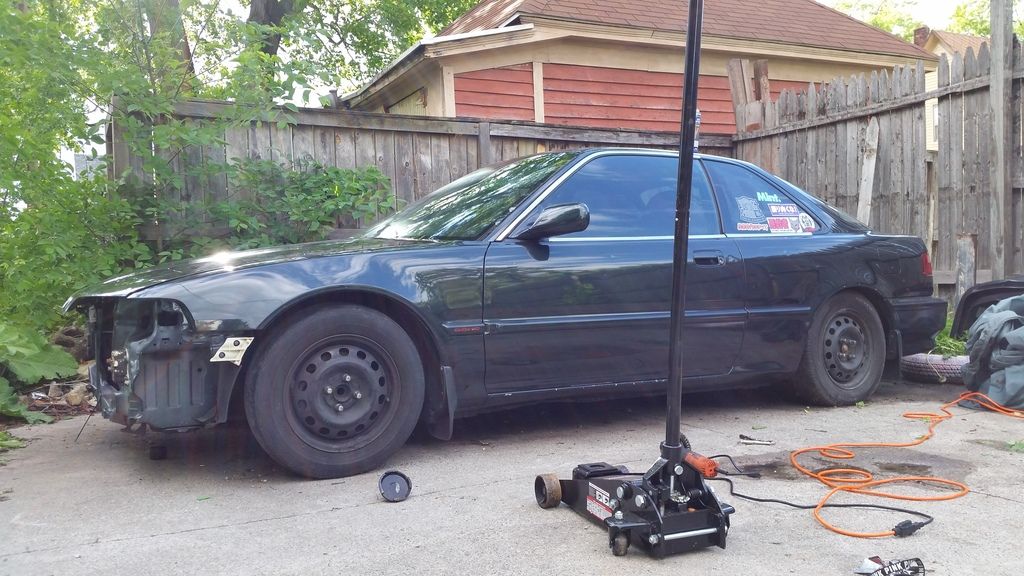
I basically trimmed my 91 integra bumper up to attempt to make space for the intercooler.
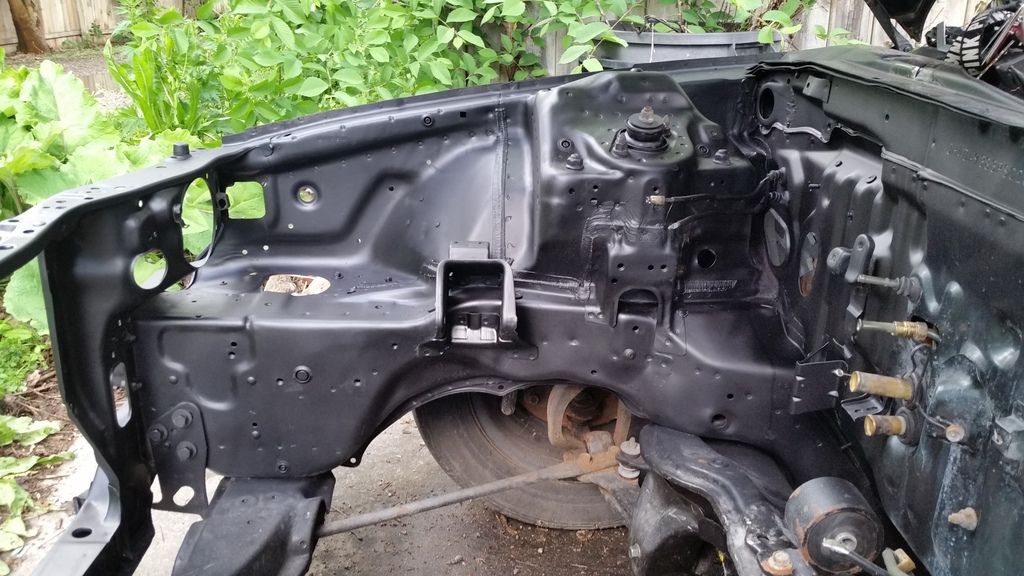
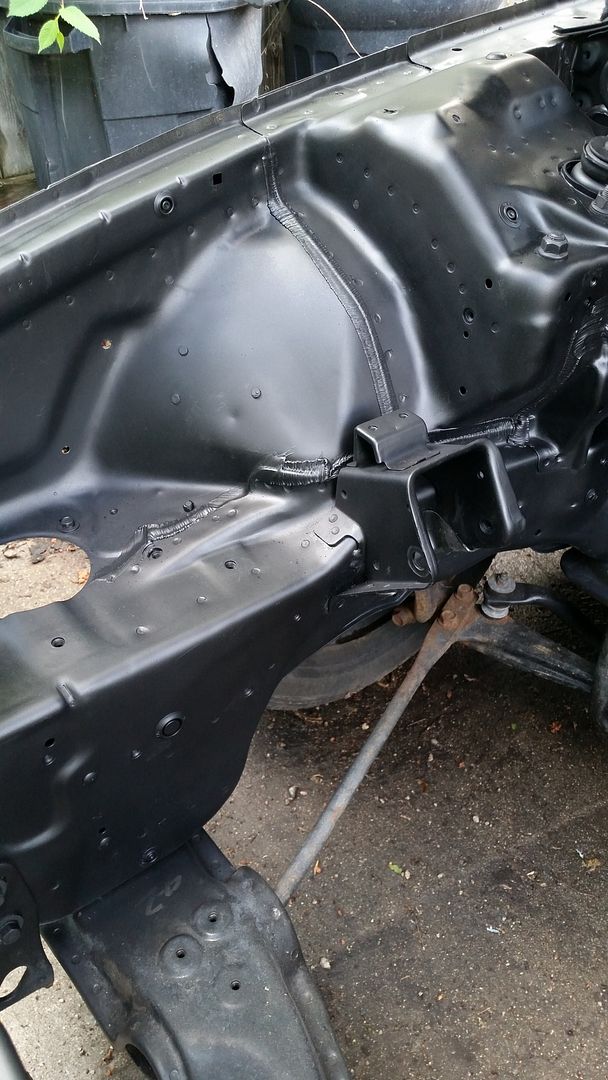
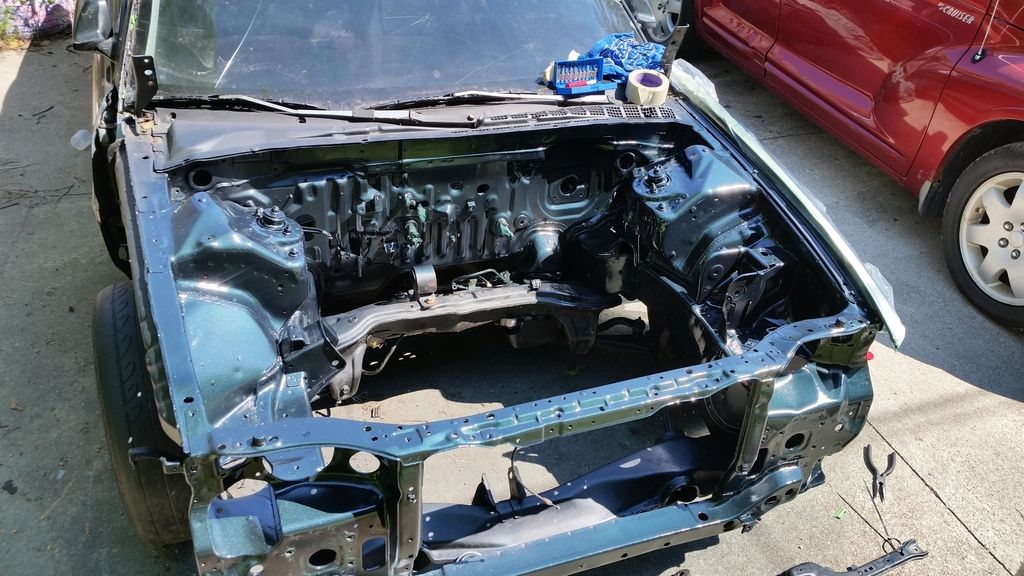
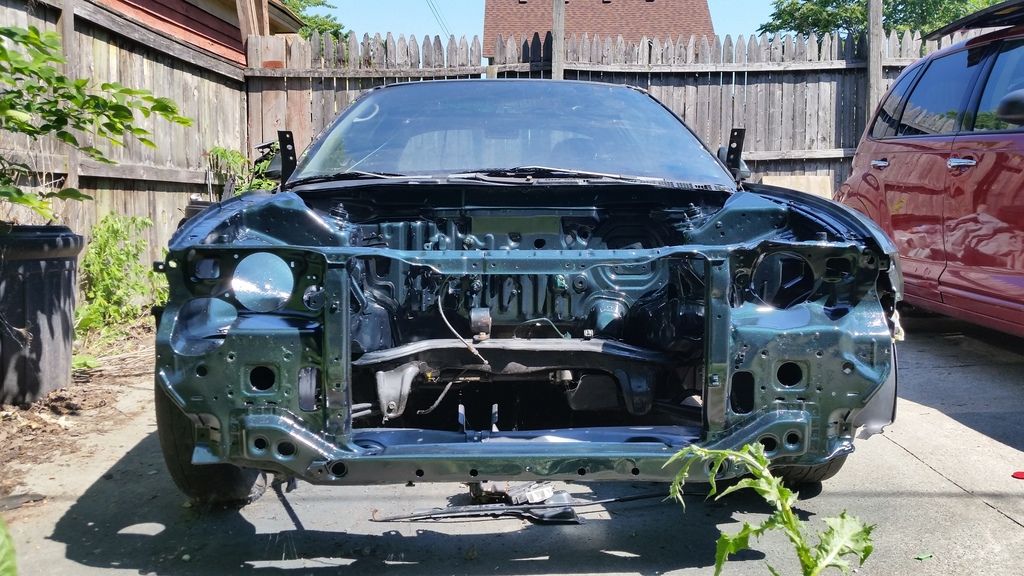
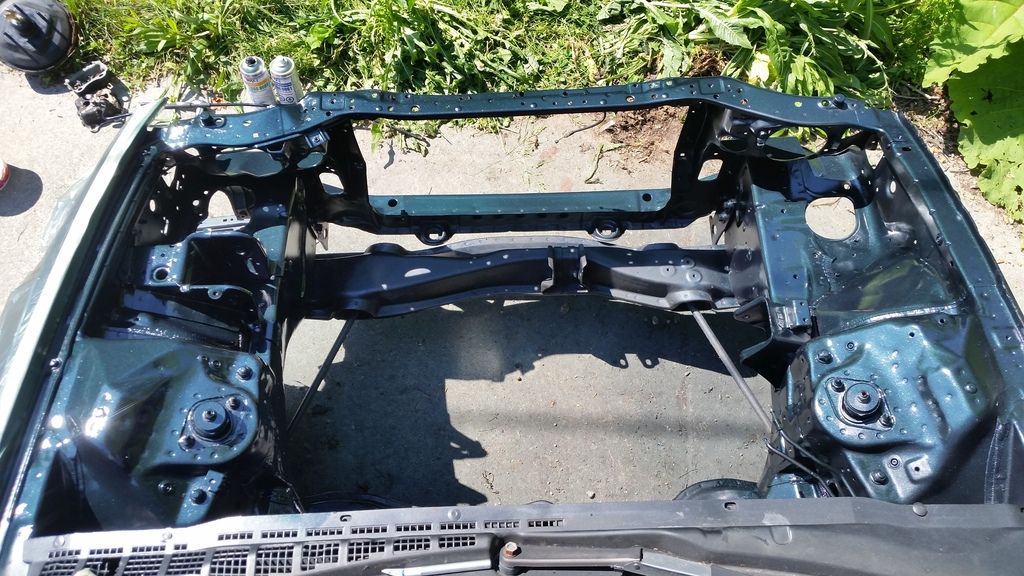
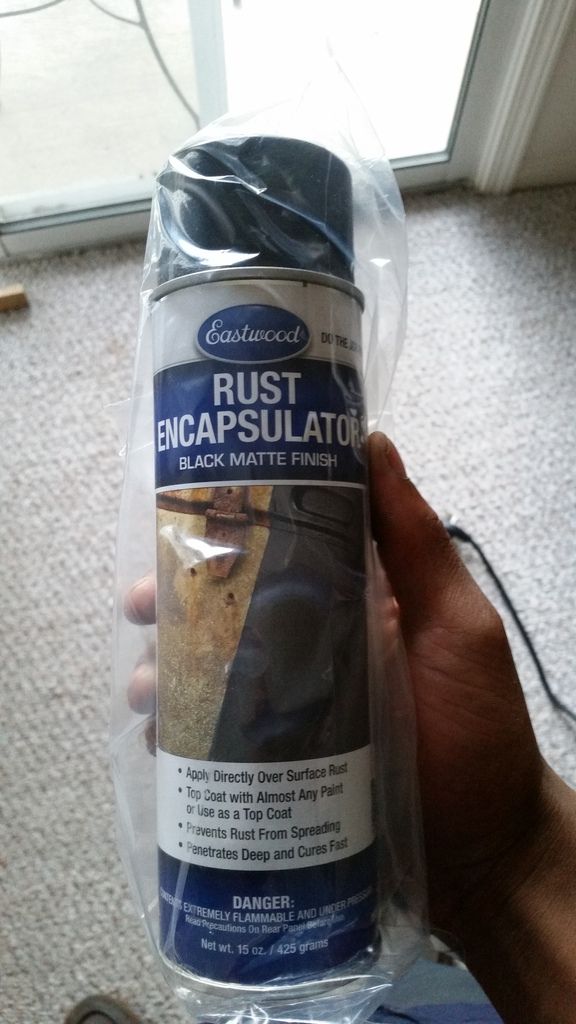
I also started painting my engine bay with rust encapsulator, and I plan to scuff it and paint over it since it says it can be painted over. I also plan on painting the engine bay back the stock color which is g-71p isle green pearl. I’ve already ordered some paint. But, here’s some pics
So I finally finished installing all the valves, valvesprings, ect. I’m trying to figure out where to get a torque wrench that torques really low values for the cam holder caps…
So, yes I gotta buy a torque wrench or two to fully finish it right.
I got my 2k clear too.
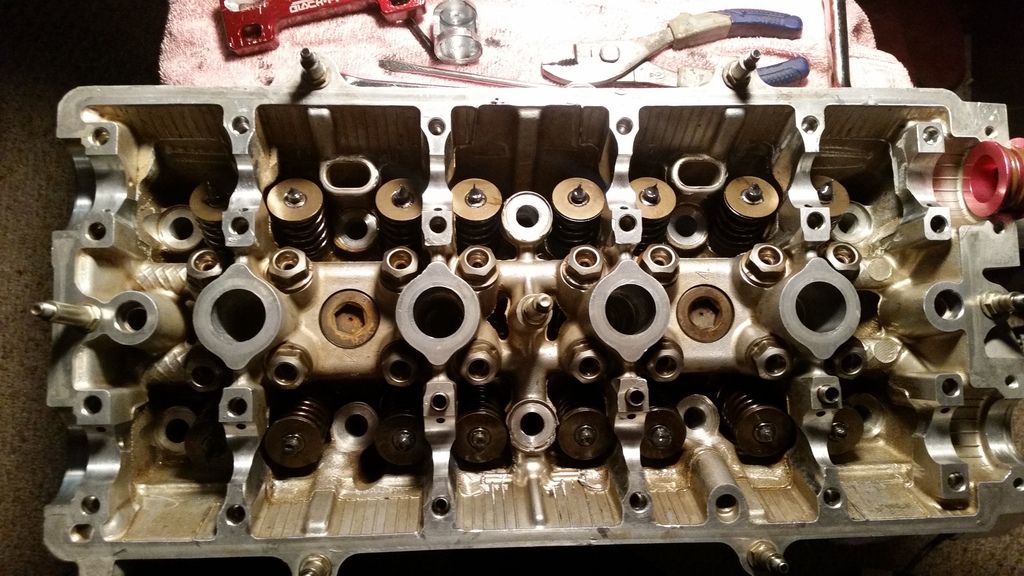
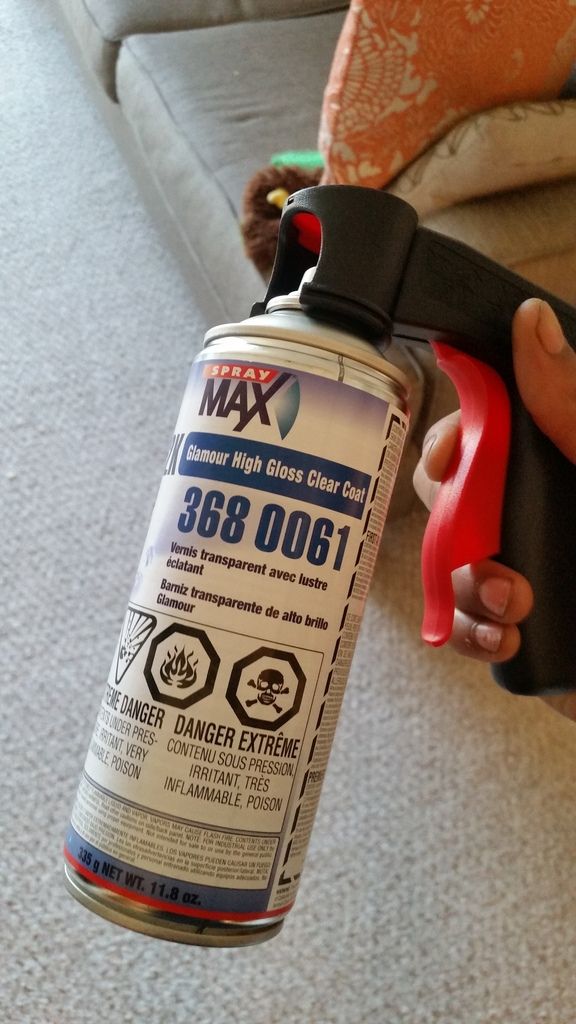
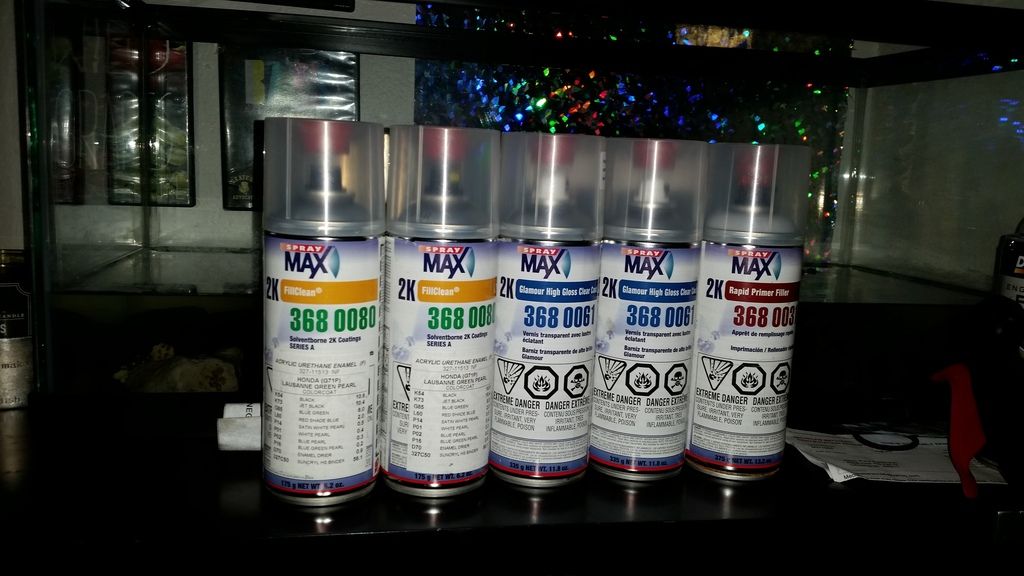
What about $140 of paint looks like lol. So this is what I’ll be using to do my bay. I also ordered a precision instruments 3/8 drive in. Lbs torque wrench for the cam holder cap bolts.
Do you guys think some crower stage 2 turbo cams would be okay on a stock ls valvetrain?
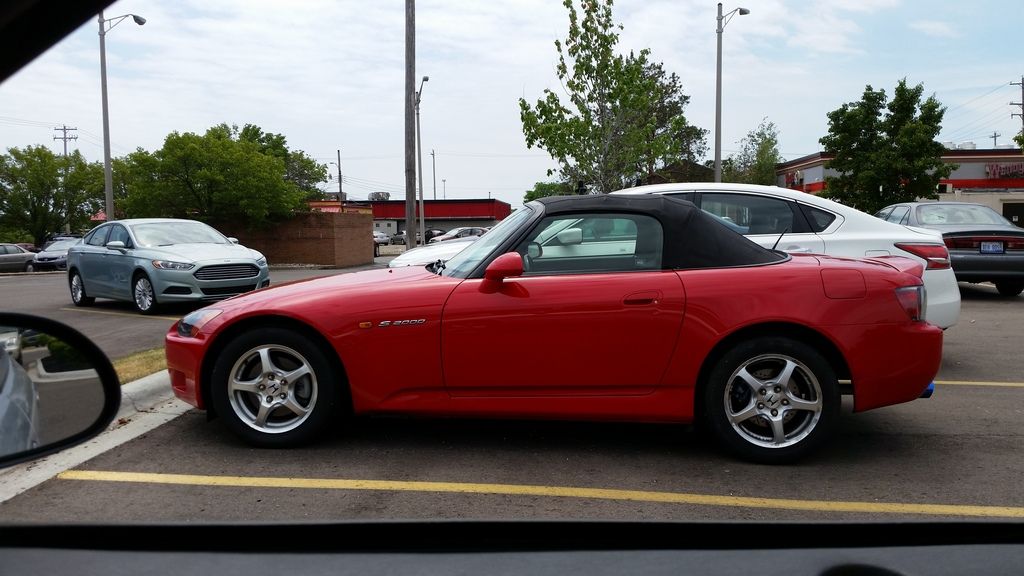
Lastly, I got to drive this at my job
[QUOTE=jalenda9;2334441]
What about $140 of paint looks like lol. So this is what I’ll be using to do my bay.
Holy crap!!! is that paint really good? $140 for couple of spray bottles seem really expensive haha.
i think i spend about 30 bucks for like 10 cans at Walmart of the paint i used for my Bay and Interior
that is including both colors Black and Tan! and also clear coat!
but great job! cant wait to see pictures! after paint.
Supposedly it is lol…it’s suppose to be alot stronger then regular paint and resistant to automotive fluids like brake fluid. But I’m like you I rather buy Walmart stuff lol but decided to give it a go and Also they can paint match your cars paint so that’s also why it’s a little more expensive
Supposedly it is lol…it’s suppose to be alot stronger then regular paint and resistant to automotive fluids like brake fluid. But I’m like you I rather buy Walmart stuff lol but decided to give it a go and Also they can paint match your cars paint so that’s also why it’s a little more expensive
Sorry for the triple post guys but I got my precision instruments 3/8 torque wrench in and started finishing up what’s left of the head.
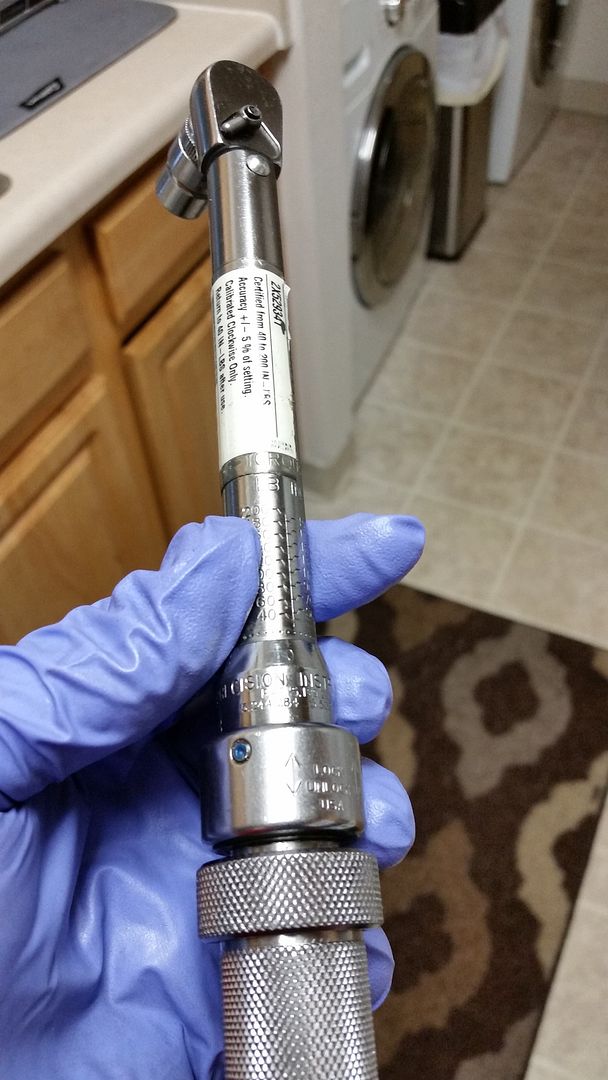
The beginning of torquing these cam holders…
Nice, I’ve had a 3/8" drive torque wrench on my wish list for awhile now. When i did mine I used a 1/4" ratchet and my precision finger torque calibration lol.
Hey man you gotta do what you gotta do. I debated which brand to get, I just wanted something relatively accurate.
I bought this used for around $60 which is sort of expensive for a used torque wrench that only goes to 16 ft. ILbs lol but its worth the investment
looks nice keep up the great work
What’s sup guys. Back with relatively small updates.
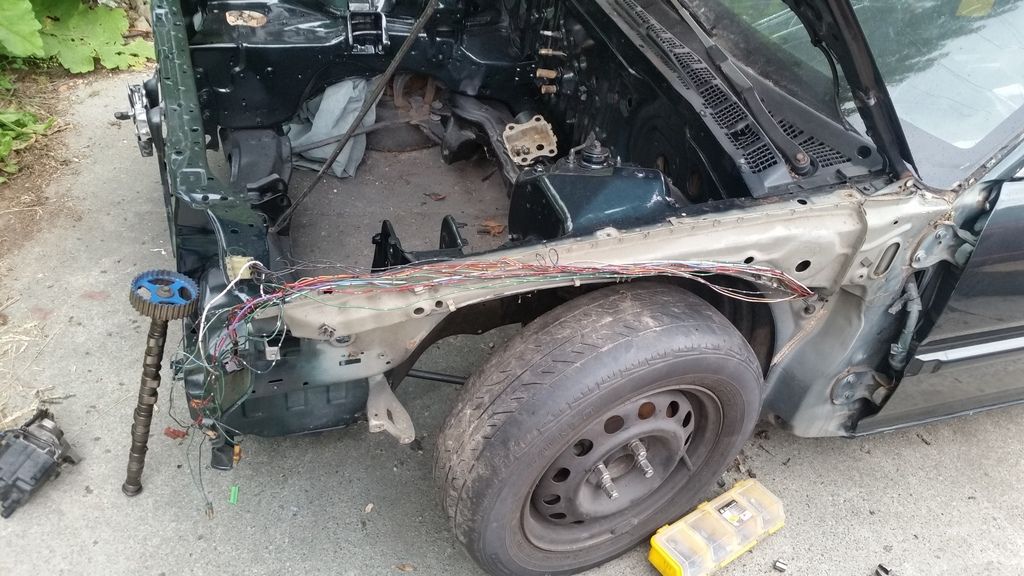
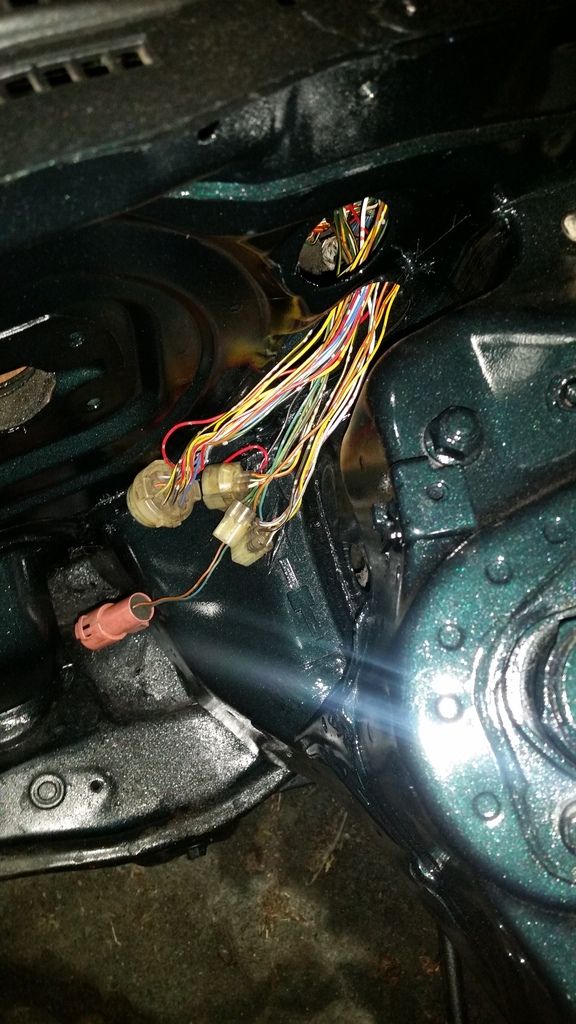
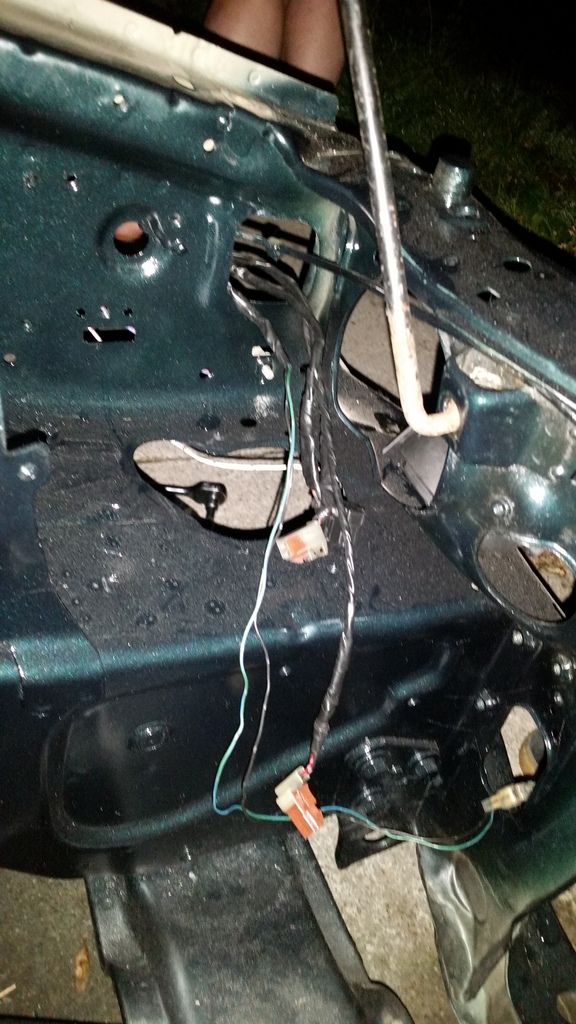
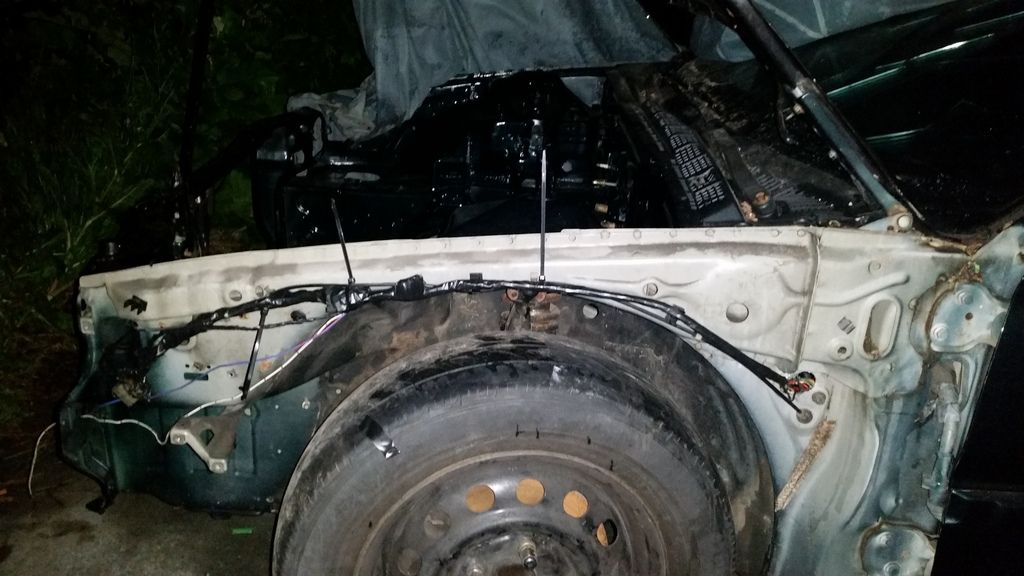
I finally started on the main harness tuck on the drivers side first. It’s tedious and I got some soldering to do, but I wouldn’t call it difficult if you have an idea of what you’Re trying to do.
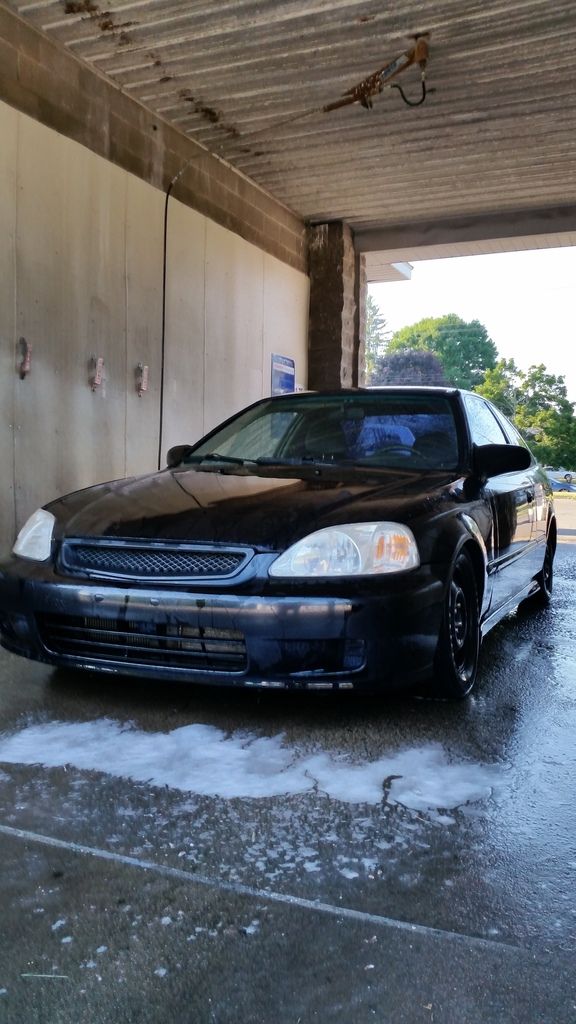
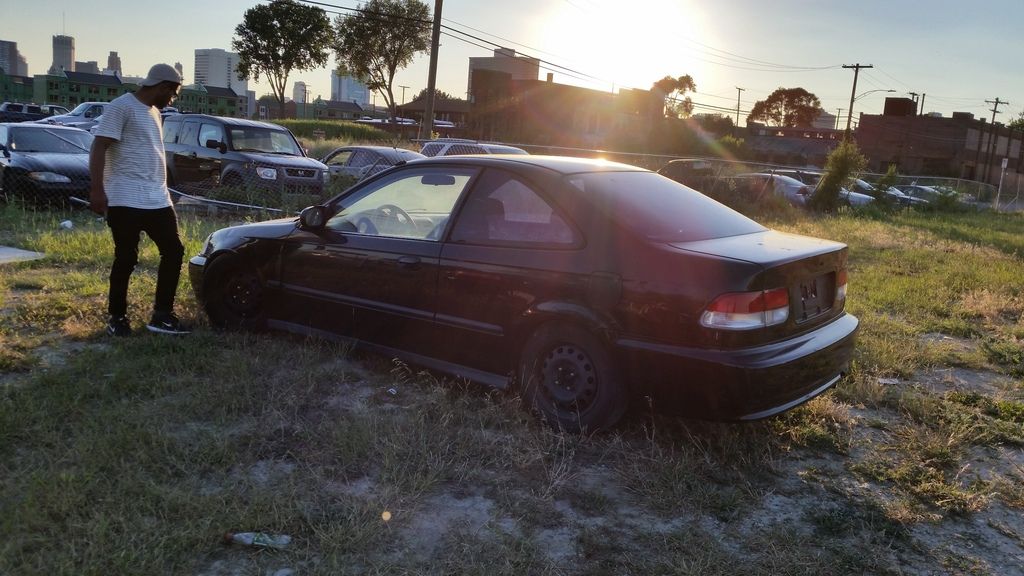
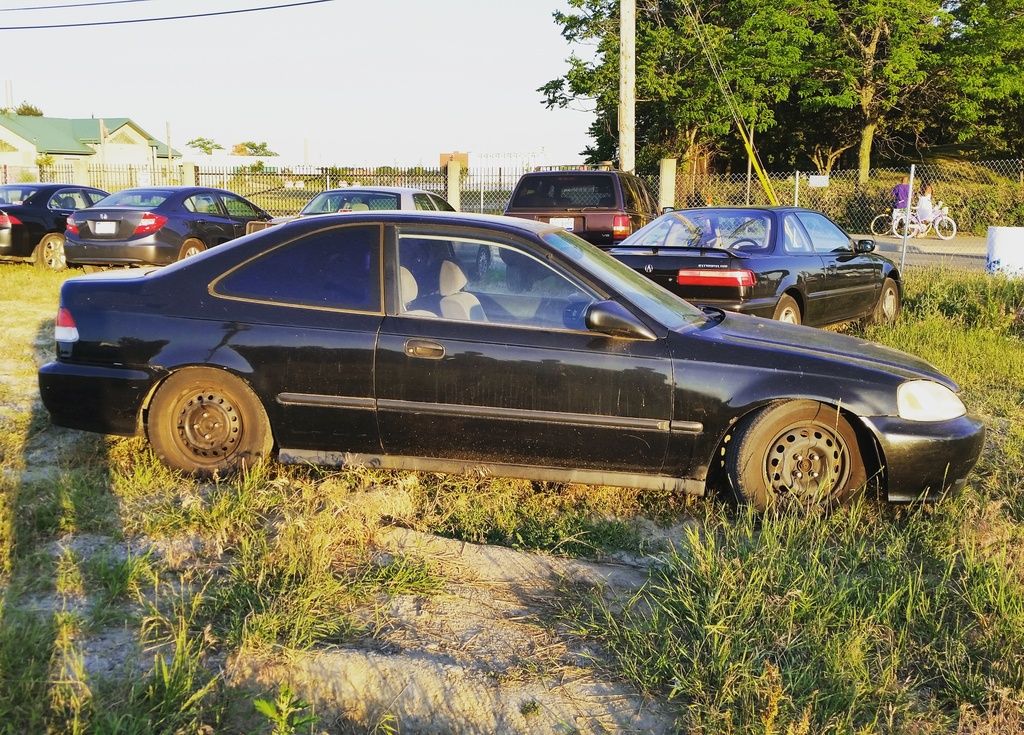
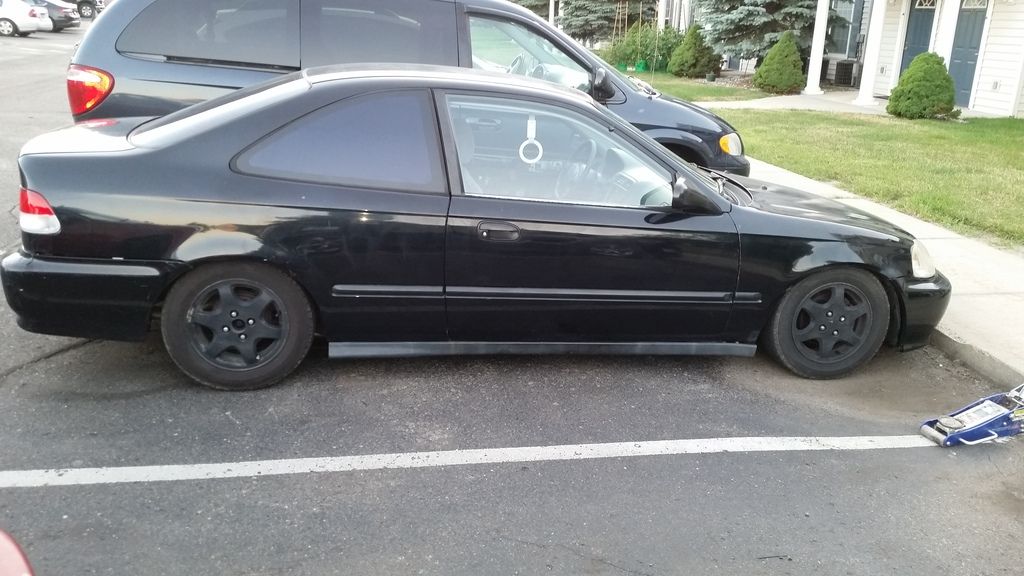
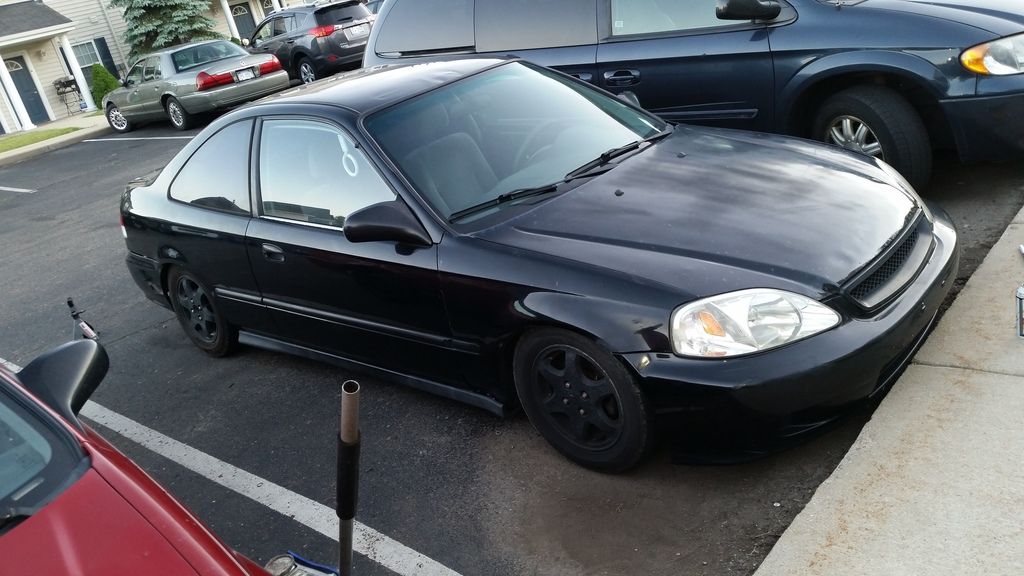
I also picked up another daily for $600 that some how had almost no rust on the quarters…99 coupe ex, 5 speed, 195k and she’s a beater and needs alot of work but hey, you gotta do what you have to do.
Here’s here on all of her beat up glory
[QUOTE=jalenda9;2334441]
What about $140 of paint looks like lol. So this is what I’ll be using to do my bay. I also ordered a precision instruments 3/8 drive in. Lbs torque wrench for the cam holder cap bolts.
Do you guys think some crower stage 2 turbo cams would be okay on a stock ls valvetrain?
Lastly, I got to drive this at my job
2k clear from this company is awesome
Agreed.
Got the rest of the driver side soldered and taped up. Gotta find something else to wrap it in
Sorry for the potato pics and dusty bay it was painted like a week ago lol
Looks good bro
Thanks homie. I found out somehow my car is a 93, it even says it on the door jamb placard but everything is obd0…just look at the strut tower plugs in the picture above and how they differ from that of a obd1.
I was going to order a tucked harness but instead, I’m going to mildly tuck the stock harness I have in storage that’s all intact lol. so, we’ll see how it goes. My ek cope has been keeping me busy ordered a couple things for it and going to be doing some routine maintenance on it.
I swapped the steels for my gsr alloys or whatever they are and my falken sn11’s
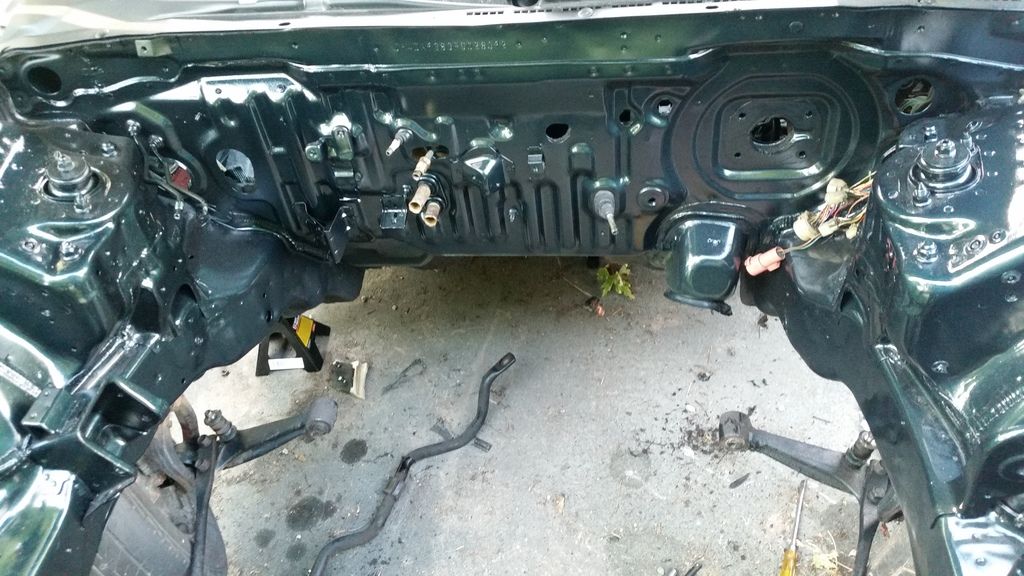
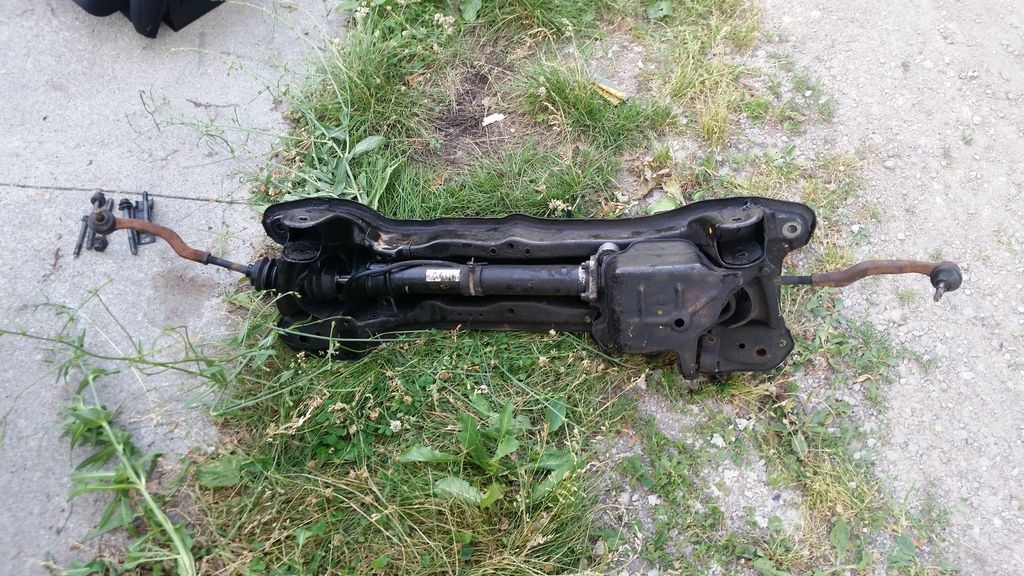
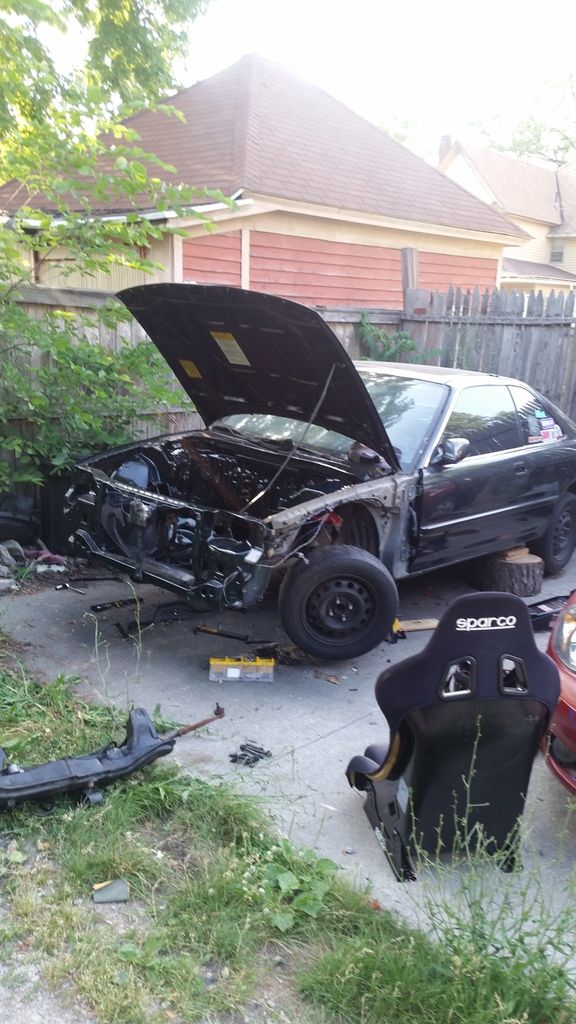
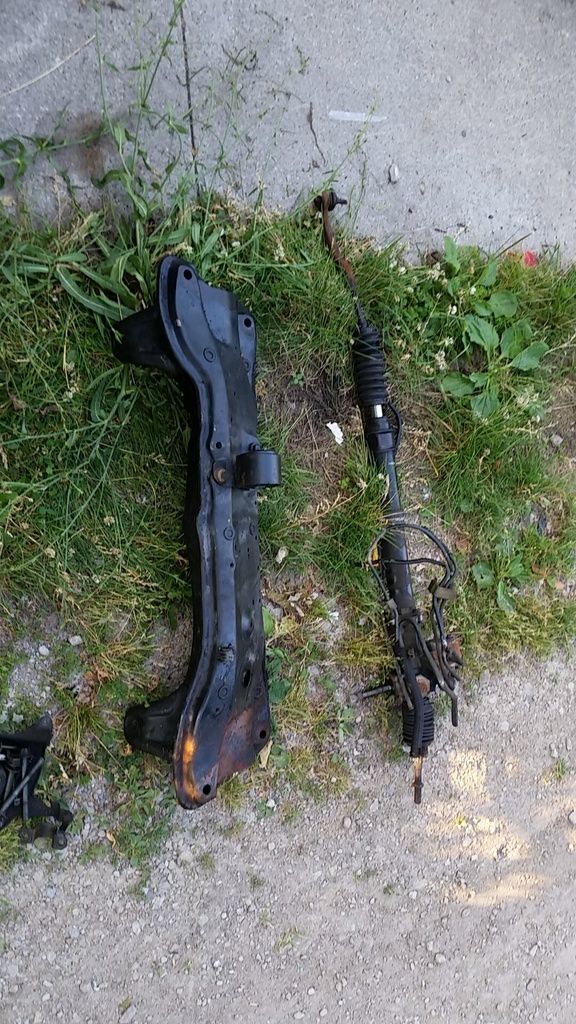
What’s up guys. I got around to removing my subframe and rack. I wanted to convert this car to a full manual rack unlike the setup the po had…he didn’t even loop it. So, I originally was going to use a rack from a ef civic but I dont care for the turn in radius or the fact that the actual alignment of the rack is a bit of an issue that I don’t feel like dealing with. Call me lazy, but I’m going to loop a new rack and run a breather setup.
I know I could buy a quaife quick rack but that really could be money spent elsewhere imo.
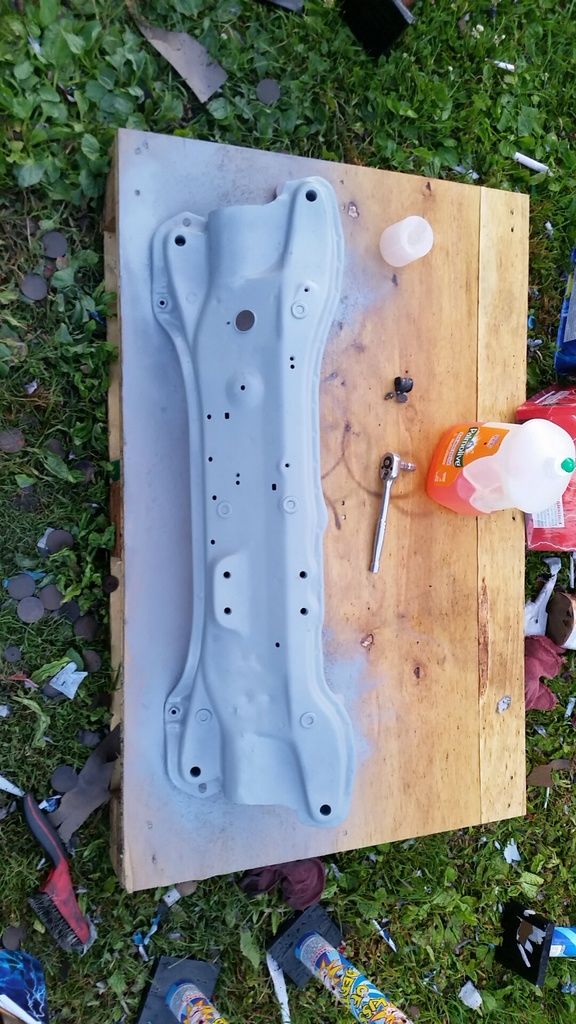
Anyway, here’s some pics after removing the subframe and rack and priming it
Got the subframe painted up. Ehh not the best lol but it doesn’t matter to me. I’ve been focused on trying to clean up my daily and other personal things such as life.
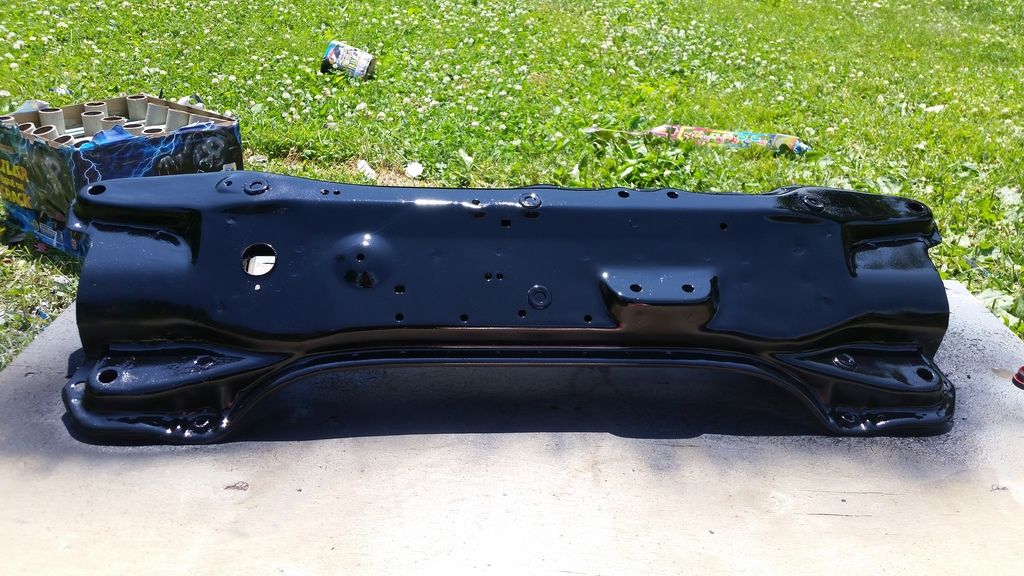
On the car note, I ordered a rack and pinion and I’m going to be focusing on the subframe a looping the rack. I know it ghetto and there’s 1 million and one other things that I could do to achieve a wannabe manual rack but Imo it’s somewhat more cost effective. I’d still give a ef/crx rack a try but I’m not all that concerned.
Anyhow, does anyone know what size the fittings are on the valve body, there’s four. One larger hole, a slightly smaller hole and then two that are the same size but smaller then the previous two.
If anyone can find out or knows what the thread pitch and fitting size is, I would appreciate it lol
