[BUILD] Aussie Jasper Green [BUILD]


         Pictures coming, they're currently being uploaded to photobucket!

Hey Guys!
*Sorry if the format is not the best straight up, I’m on a time limit to start writing this thread up, and will fix as soon as I am able to later on tonight

[About Me]
As I am new to the forums, and essentially new to building cars, here’s a bit of my life story.

I’m Australian, Located in New South Wales, along the Newcastle coast, I’m 18 and have a child on the way (guys, for your own sake, keep on the safe side…this hits the financials hard) I’ve currently just lost my job and am searching high and low for an, “Apprenticeship” to lead my way into mechanics as my career for the rest of my life.

I’ve only been around cars for about 8 months, I started off with a Mitsubishi Magna, and have a had a large variety of different cars, including ones which really weren’t, “street” legal…

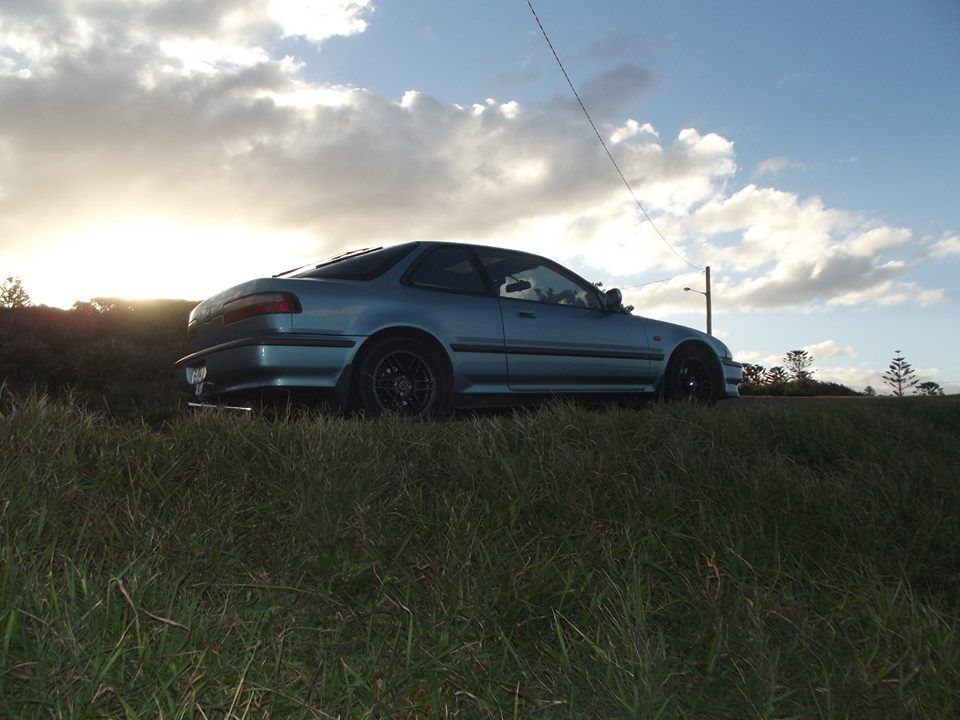
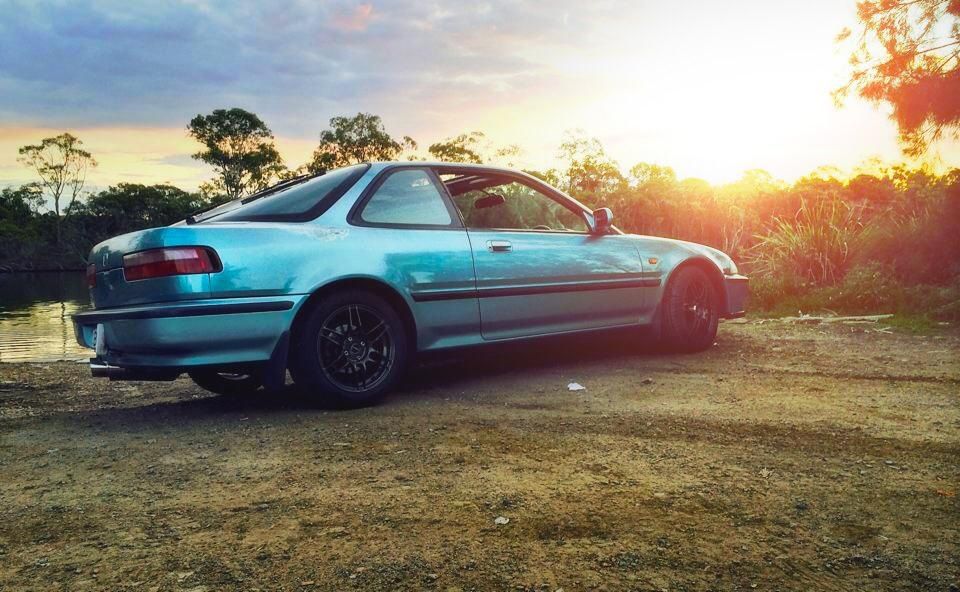
Anyways, I got my Jasper Green 1990 Integra back about 3 months ago, and instantly fell in love with the car, I worked on minor mods straight up, and ran into problems with my alternator a month and a half ago, and after replacing that, it just was shown, that this car is going to be a frustrating experience…

3 weeks ago, travelling an hour away from home, I noticed a dense amount of smoke coming from the bay, and when I pulled over with my partner in the car to check it out, I discovered my Integra drank all my oil, and I had no idea where it went, without warning, so being this far away, I had to do what I had to do, without any oil in my trunk, I decided to drive to my closest store to buy oil…this happend to be 5 minutes down the road, and gosh was that a slow 5 minutes. Get to the store, fill the oil, don’t have time to get a new filter etc, and decided to call te trip early as I had this weird feeling something serious was wrong with my Integra…so we start our way home, stopping every 15 minutes to let the car cool, as the temperatures were spiking well past the Hot zone of the temp gauge, we were 10 minutes from home along the freeway, when…BANG! and a tonne of cussing from me happend, the motor gave way, I sat on the side of the highway for 2 hours, begging for the car too start, and nothing…it was time to call in help and get a lift home…my instance thoughts…has to be my head…just has to be…2 days later, towed it back home after finding out my keys were stolen (DOH! left them in the ignition…my poor JDM lanyard!) I get it home, and inspect it…and there it was…holes…in my block…I could see straight through…

*So my information was longer, but consider that the story of my car aswell…well…up until last month…before that, it was smooth cruising and many! many good times!

[The Beginning - Pictures before, pictures now.]
*Below will be what I expect from this build… which will be slow, painful and very very informative!
*This is my first ever motor removal, actually…pretty much first ever anything to do…I’ve been studying for this though, and am open to all sorts of information! however, the b18a1 stays, I knows it’s probably better to switch to a b16 head, or run a b18C7 etc etc, but, I want to work on this motor…I believe in it.

[The Real Beginning - Parts list, Parts obtained, Progress]

[The End Goal - My goals… My wishes…]
The end goal is to create my very own Turbo B18A1 Motor, pushing out atleast 16 PSI Boost, and be using it as a daily.
To create something, clean looking exterior wise, and rather smart interior wise (Thank God! I studied arduino and many programming language fro mthe age of 10 to the age of 17)
What I really wish to do, is create a lifestyle with this car…
Placeholder

Not Sure if necessary, but, placeholder for first update
*

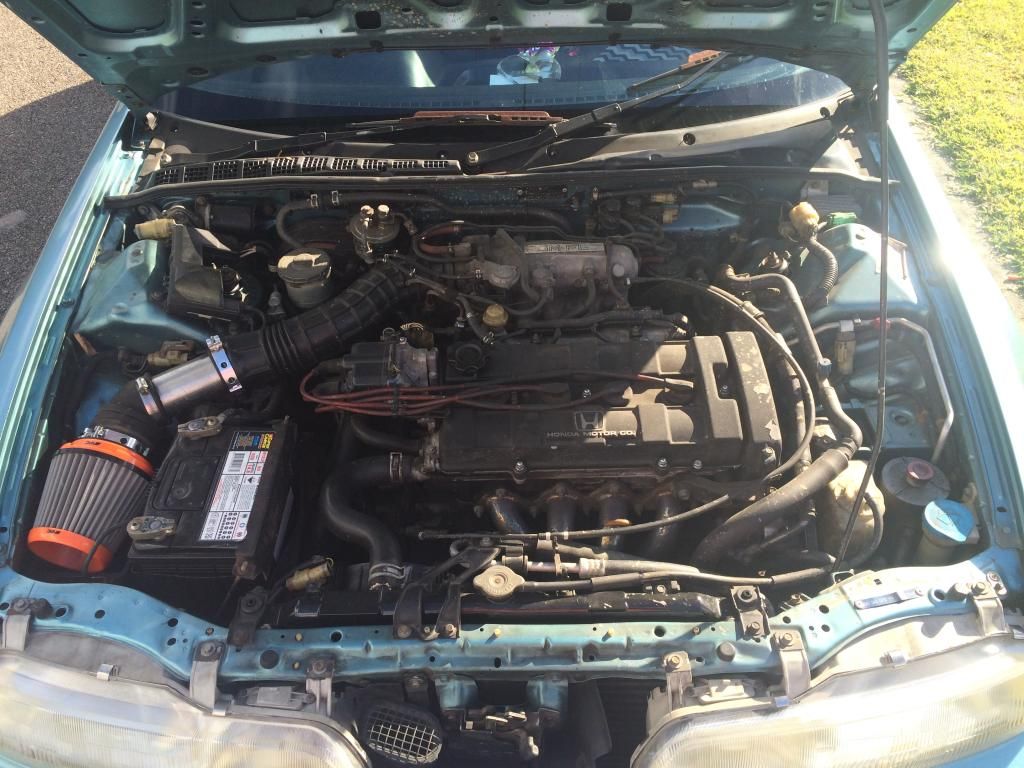
[The Beginning - Before Dead Motor]

Can’t work out how to delete a reply…

Can an admin fix the R31 photo…

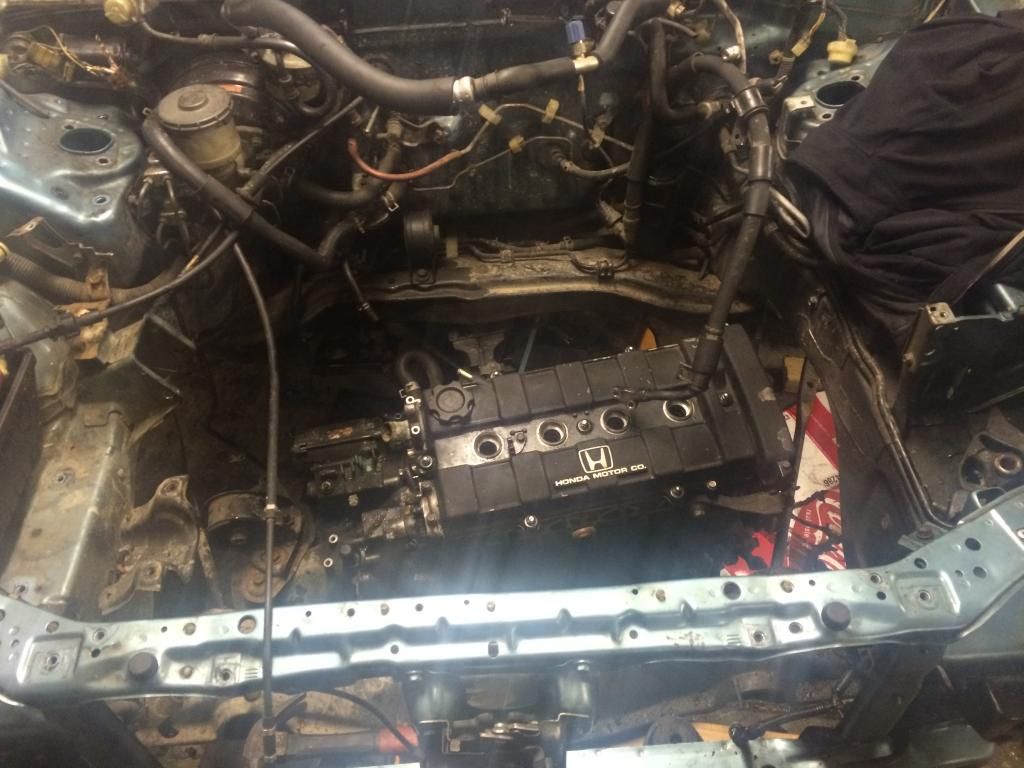
[The Beginning - Pulling my First motor (lack of pictures :’()

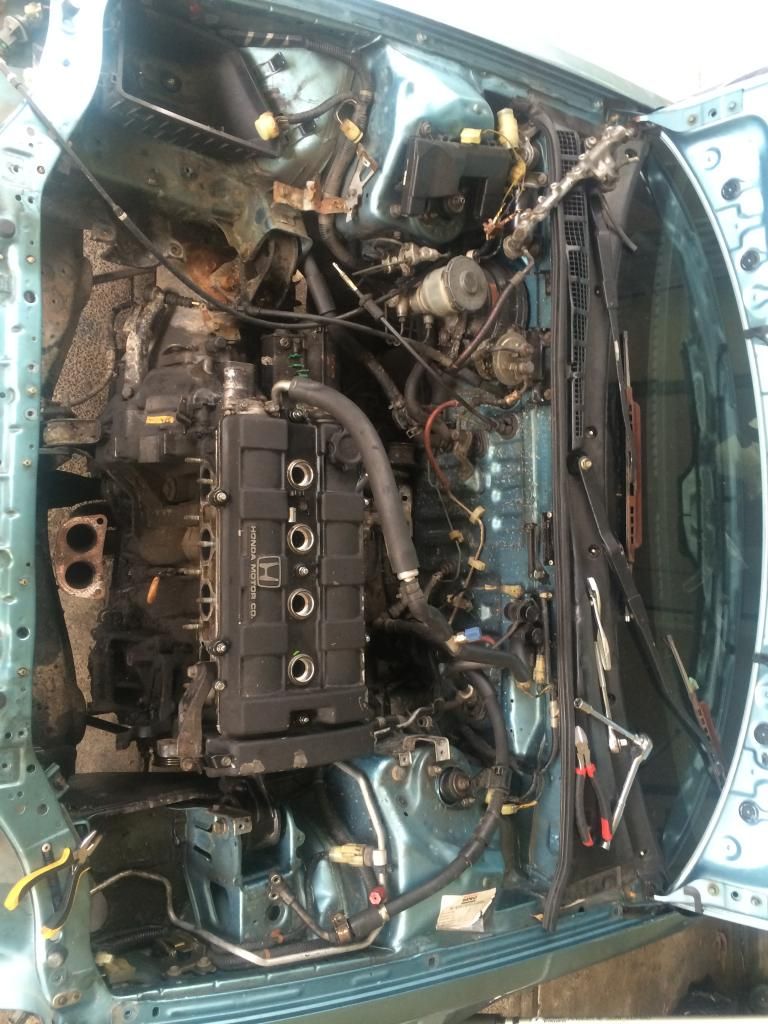
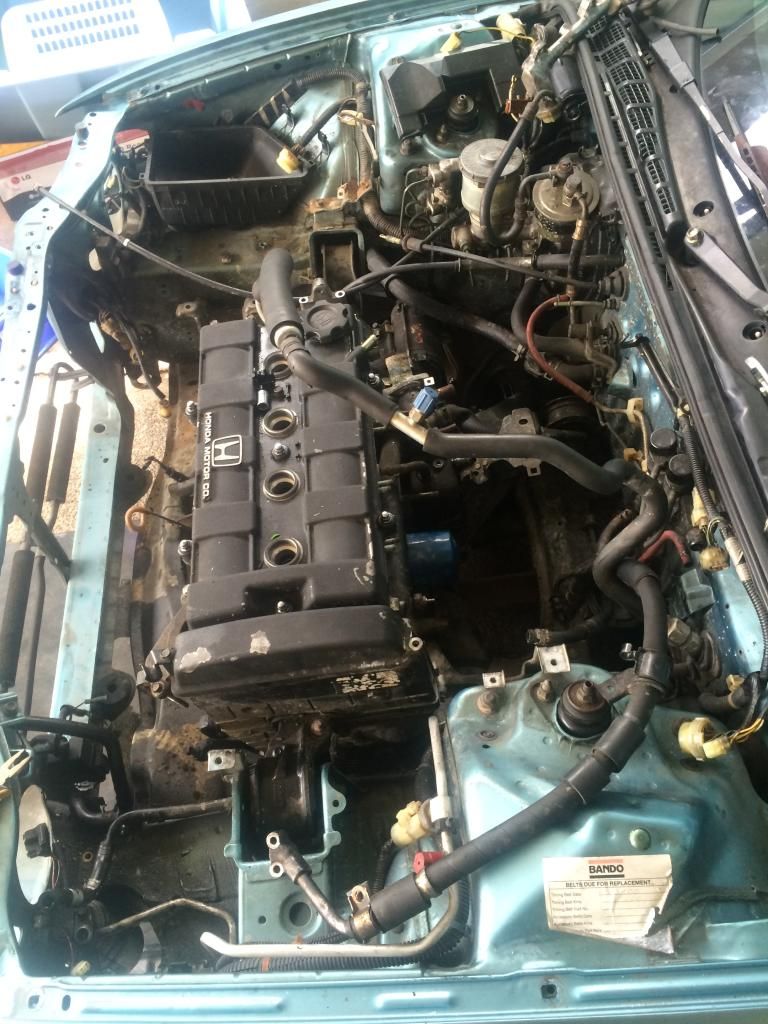
*Below are pictures of my first motor pull

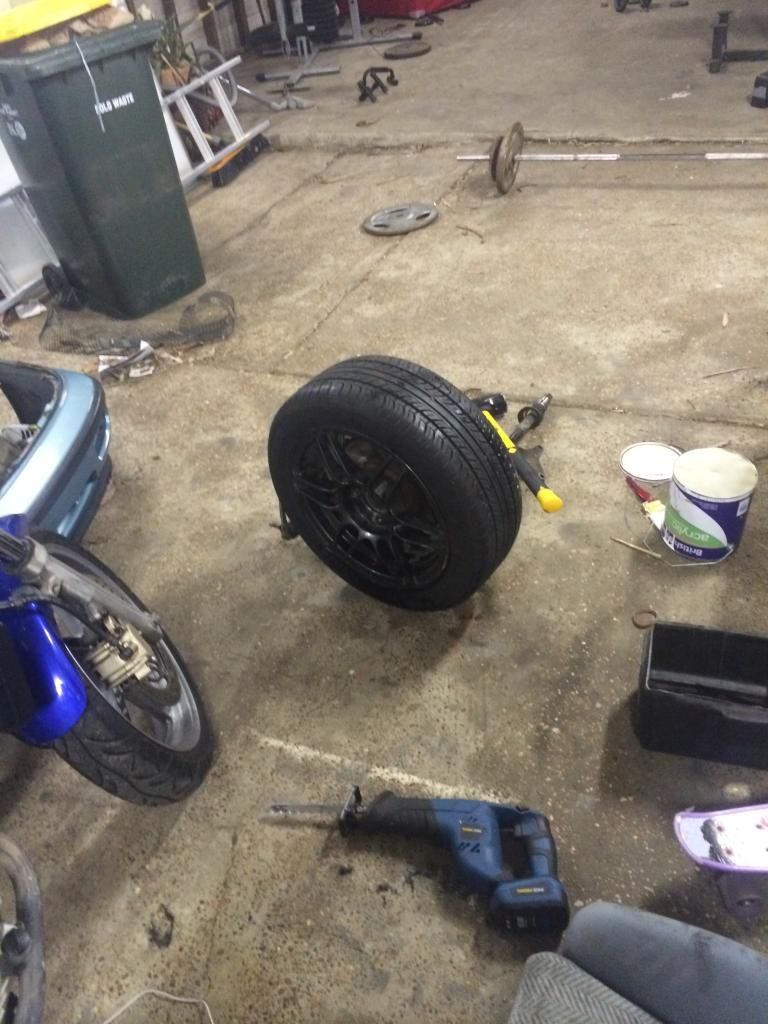
I had to pull the whole suspension off to remove axles (later finding out may have been able to remove the axle nut and force it out) and this is due to the fact the locknuts could not be removed, (took it too the tyre shops and gave them a crack no good…) (any tips to removing the locknuts (one on each wheel) lock keys are all shredded, don’t know what the tyre shop tried but they said they couldn’t get them off

*This was both sides…

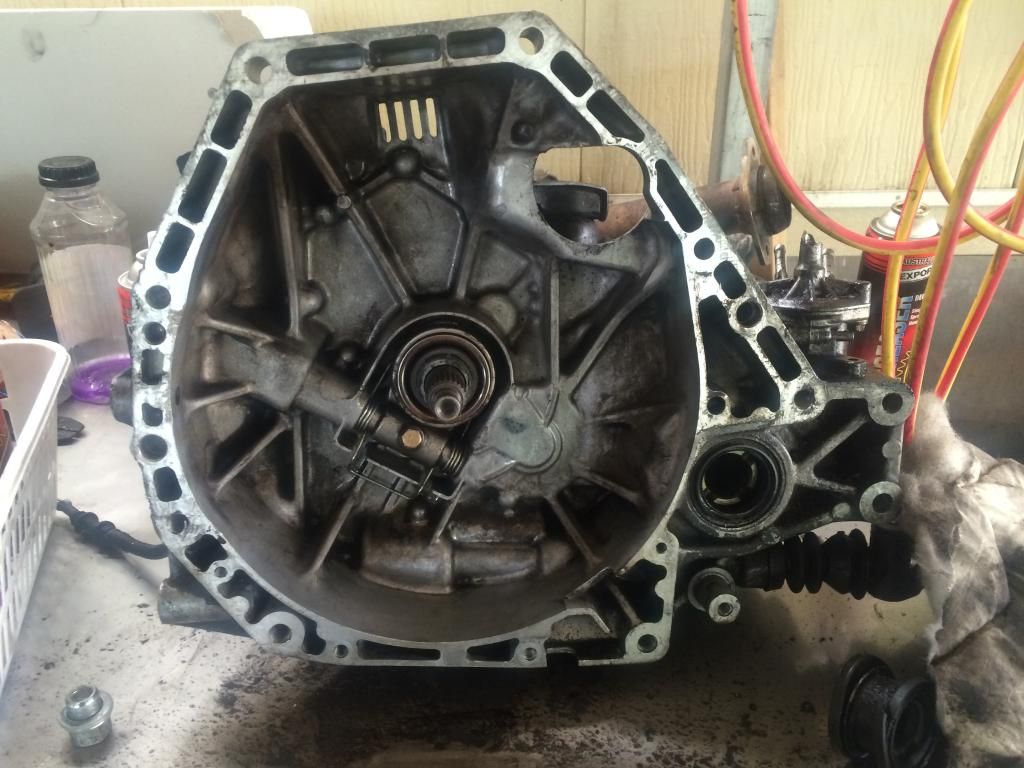
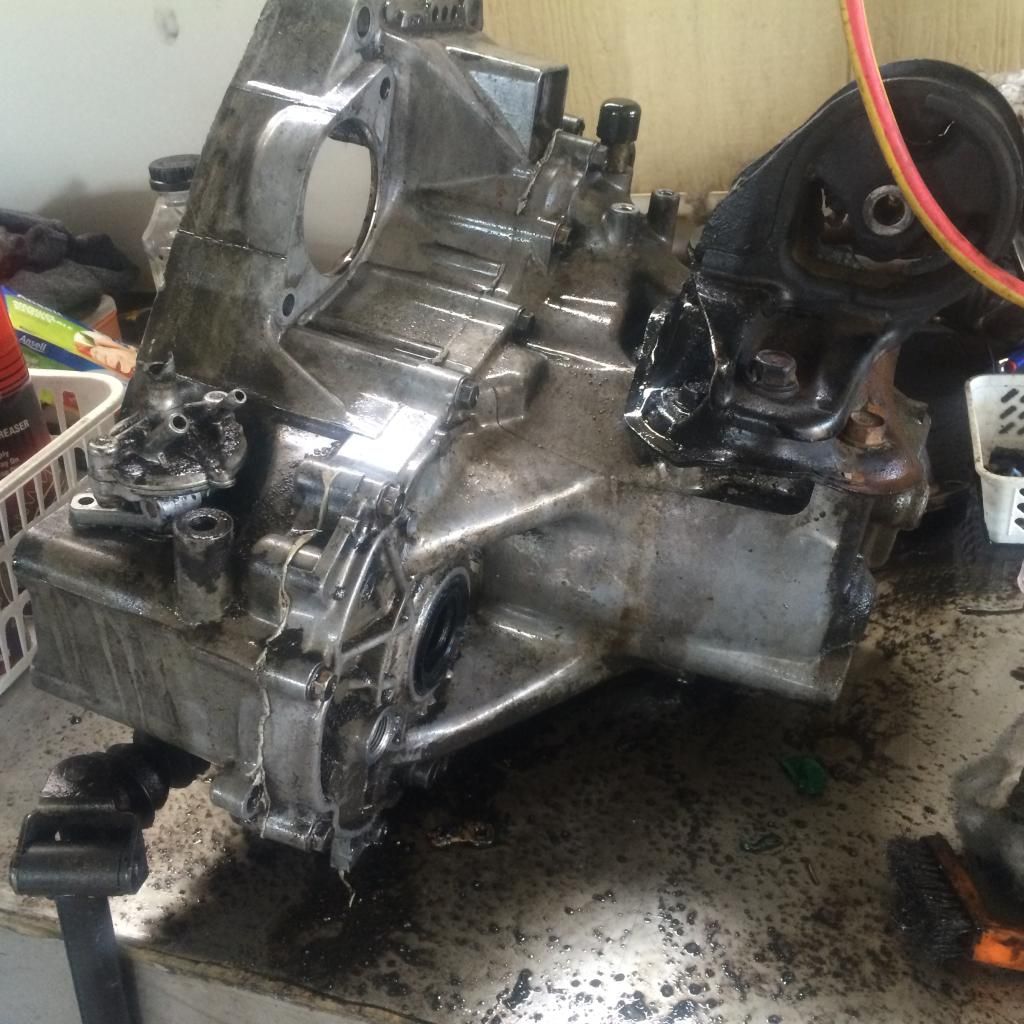
Didn’t do much today, pulled my first box off, am yet to disconnect the flywheel assembly

Put the box up on the work bench and started cleaning the inside

Cleaned up nicely (no before pic of the inside sorry)
Also started on the exterior

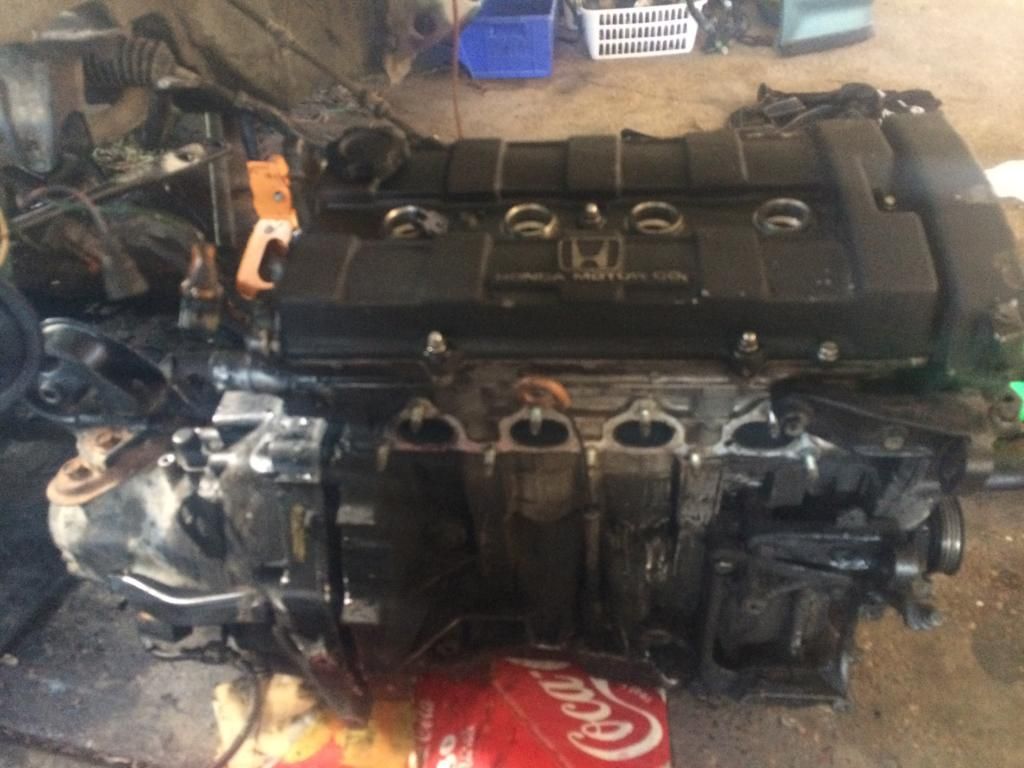
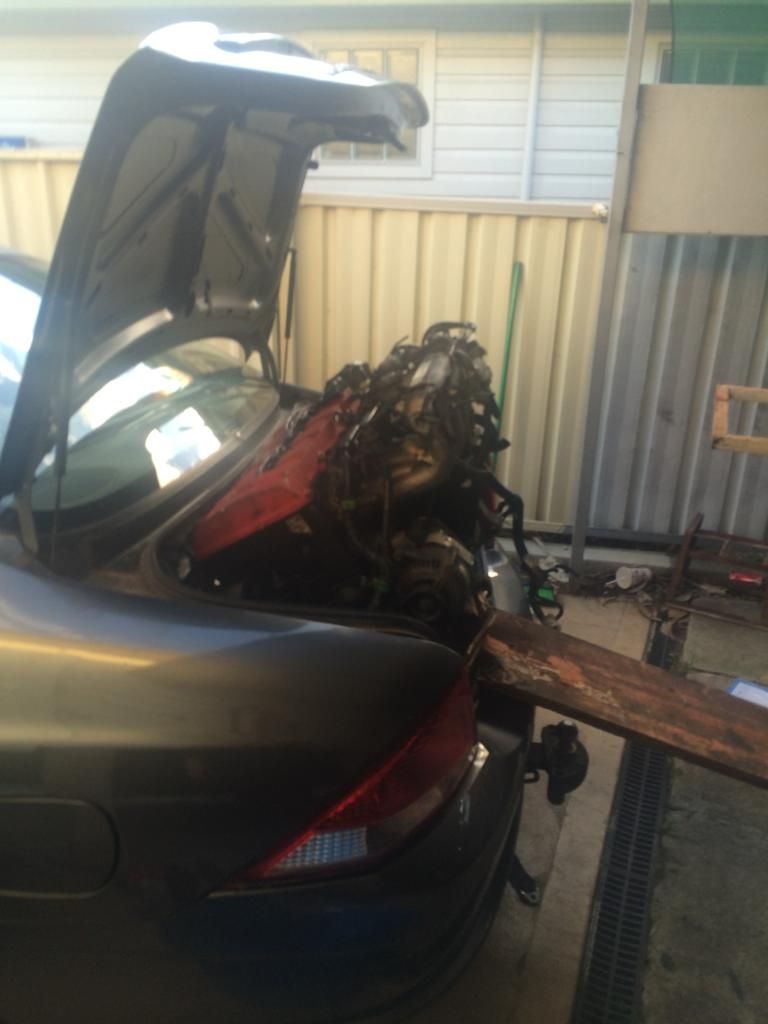
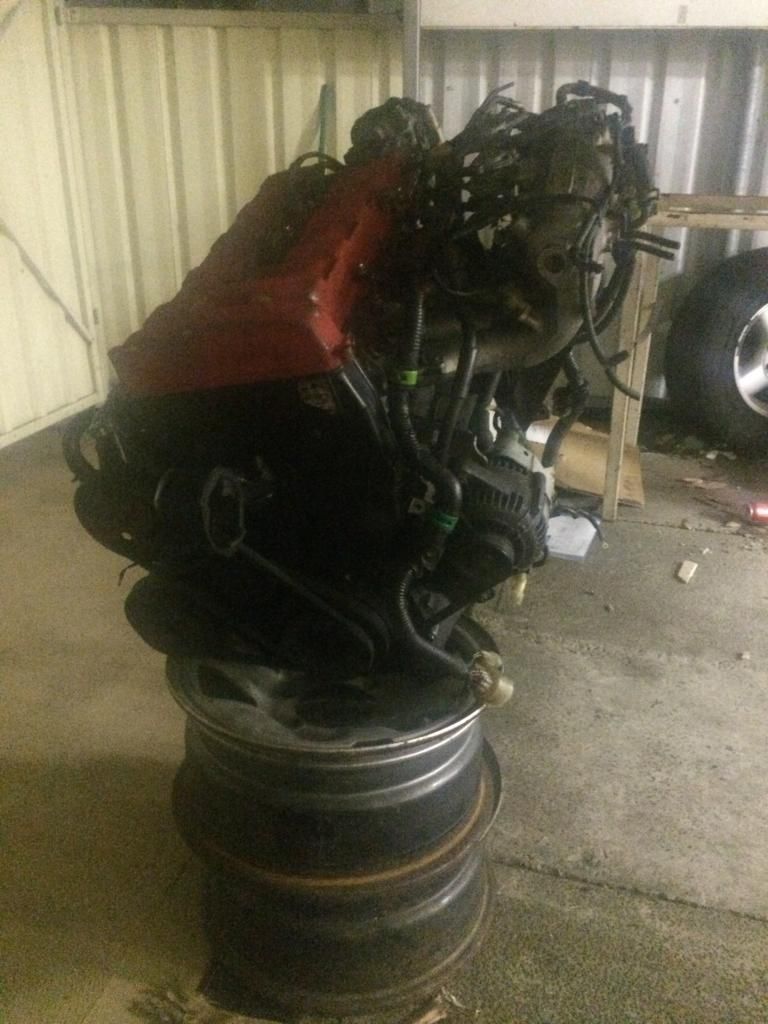
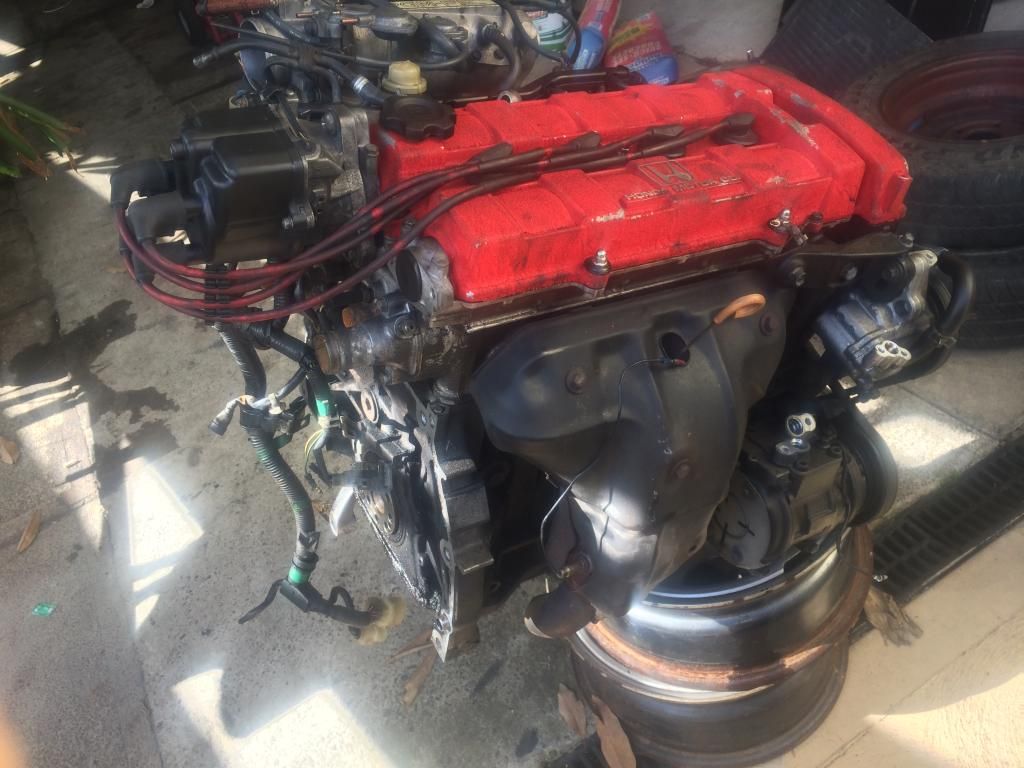
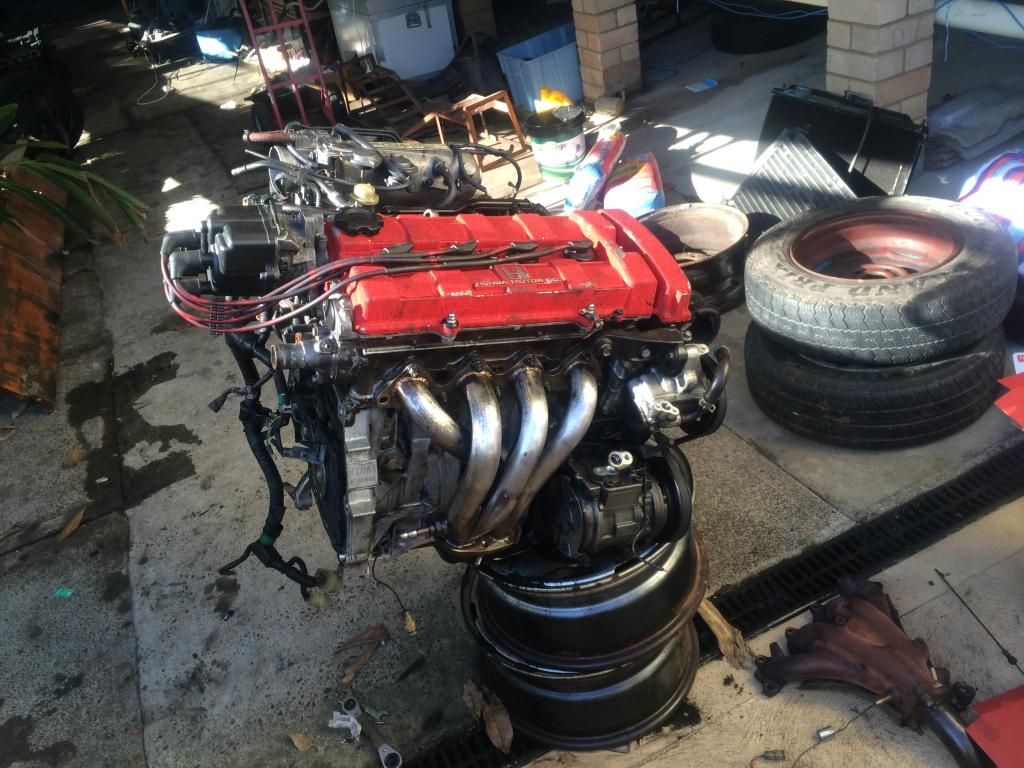
I also had already picked the new motor up with 160,xxx on it, well serviced this was done yesterday, and let me tell you something, these motors have some weight in them, as I had to use my series 3 au falcons boot, and with no hoist at home or another pair of hands, it caused for some pretty big head aches

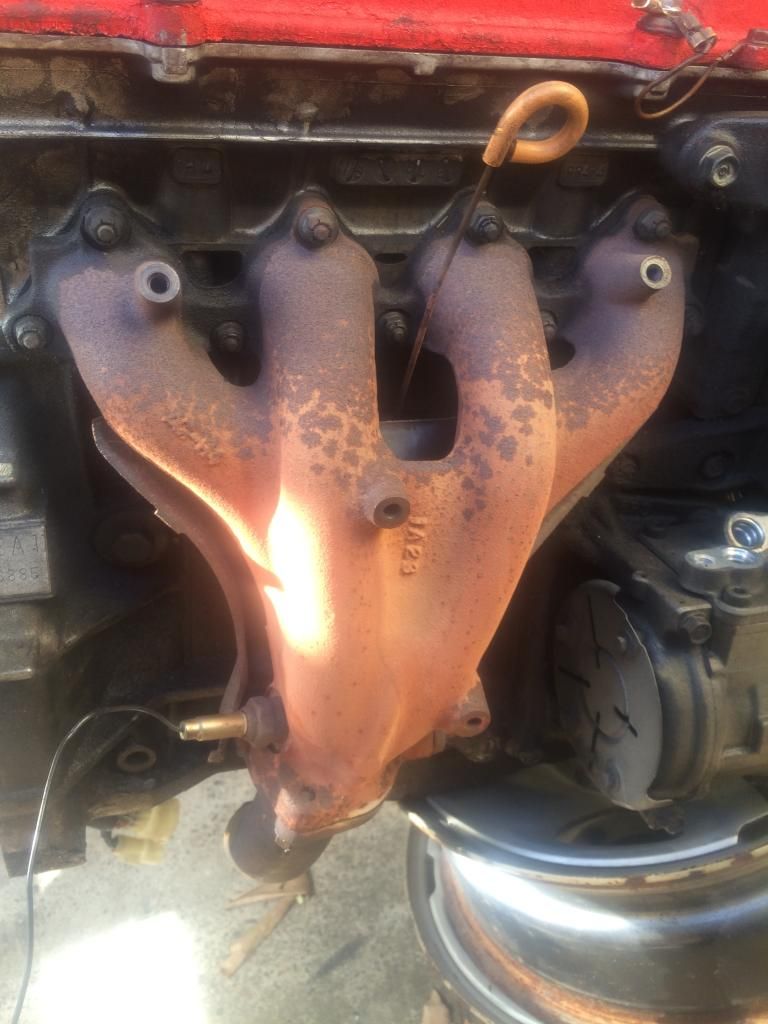
I pulled the exhaust manifold off, and started cleaning up the block

Pretty crusty behind the shield

Replaced old crusty manifold, with my extractors

As you can see with previous pictures the block was caked, has cleaned up well so far…

Waiting til next week to pickup my new coilovers, also working on pulling everything put of the bay, to prepare to tuck some wires (anyone have tips??? Not looking for a massive tuck, just tidy things up with an A/C delete)

Rare to find a good condition teg in Aus in this colour and that second photo is a great one! Love your engine stand too… Good luck with the build

Thanks mate, and yeah, I haven’t seen another DA9 where I’m located yet, and had some pretty ridiculous offers for it before I blew the motor…
And, I needed to raise something high enough for when I sorta rocked it out of the boot…

[QUOTE=AusDA9;2320263]… Waiting til next week to pickup my new coilovers, also working on pulling everything put of the bay, to prepare to tuck some wires (anyone have tips??? Not looking for a massive tuck, just tidy things up with an A/C delete)[/QUOTE]The body and engine bay looks to be in great shape for the age of the car, even with some dirt (especially compared to mine), good luck with the build!

Getting rid of the AC will help with the heat from the new manifold (old one had a heat shield for a reason). It also makes some room to work, for example I found that getting a rusty coolant drain plug out w/ moving the AC lines to be a PITA. Just having some space around an unshielded manifold can help lower the heat in the rest of the engine bay. The guy who owned my parts car did a decent job making room around his header, so take some time with that, I think there are some good examples here if you do a search.

[QUOTE=PMI;2320269]The body and engine bay looks to be in great shape for the age of the car, even with some dirt (especially compared to mine), good luck with the build!

Getting rid of the AC will help with the heat from the new manifold (old one had a heat shield for a reason). It also makes some room to work, for example I found that getting a rusty coolant drain plug out w/ moving the AC lines to be a PITA. Just having some space around an unshielded manifold can help lower the heat in the rest of the engine bay. The guy who owned my parts car did a decent job making room around his header, so take some time with that, I think there are some good examples here if you do a search.[/QUOTE]

Yeah, It also (and this is my opinion) looks nicer to see the headers, so that’s a plus.

And it’s got so much dirt because I decided I’d take it off road and play in the mud (I have some pictures I’ll post up later) but overall it’s a clean and straight car (hopefully I keep it that ay)

[QUOTE=AusDA9;2320270]…I decided I’d take it off road and play in the mud …[/QUOTE]Check the rear roof drains which come out under each side of the back bumper. Once they get dirty and clogged up, water has no place to go except the drain pockets behind the plastic trunk trim on either side (under the antenna and same place opposite side). They need to be cleaned every few years anyway, b/c dust will gum them up from inside.

Same happens in the snow here. The drains freeze up, snow melts and has no place to go, and rust follows… :frowning:

[QUOTE=PMI;2320278]Check the rear roof drains which come out under each side of the back bumper. Once they get dirty and clogged up, water has no place to go except the drain pockets behind the plastic trunk trim on either side (under the antenna and same place opposite side). They need to be cleaned every few years anyway, b/c dust will gum them up from inside.

Same happens in the snow here. The drains freeze up, snow melts and has no place to go, and rust follows… :([/QUOTE]

I’ll give it a look a bit later, concentrating on getting everything out of my bay (tips for removing the fuel rail, I’ve un bolted but it doesn’t anna budge off (can provide pics))

Small Update
Have all the time in the world right now to start wire tucking, as I gradually figure out removing the items from the firewall (not including brake lines just yet, however i’ll say why next)
My main troubles is where the fuel rail connects too, it’s really not wanting to budge off (where it’s crimped,)

I have to take my wheel and the whole assembly to another tyre shop to try get that lock nut off, as I’ve now damaged the rim, but, that’s other news, I’m looking at a complete rebuild of the suspension (ideas? don’t wanna go crazy expensive, mainly front end for now (lca, tie rod end, rotors, breaks)

Definite date set for wednesday for my coilovers (cannot wait for these!) and I’m looking at a couple of diferent wheels

Still messing around with the new motor, cleaning it up, spoke to an Action Clutch representative, and I’m looking at purchasing the 1MS Clutch Kit

I’ve been tossing up between a complete respray in the darker honda blue (similar to the bike in one of the pictures up above)
and looking at different color schemes with the jasper green and the engine bay etc

So…yeah, keeping busy, I want to start this tuck, no idea where to begin, as I’ve never used a grinder or welded before, so…it’ll be a slow learning process