Ok…
I’f you havent already read, fcm did a nice sized writeup on exactly what to do in another thread. That writeup is what I followed to make my spacers.
Ill copy/paste the writeup for all to read here, as long as its ok with fcm. I strayed a bit from the directions but only because of using different tools or not being able to use all the same materials as called for. Not to worry though, The craftsmenship hasn’t been diminished in any way!
Heres the Howto:
To get the best possible sound out of the speakers you will need to completely replace the oem plastic speaker housing with a custom MDF housing that is about one inch “taller” and of coarse made to fit the over-sized speaker, [mounting hole diameter and overall diameter]
This is done be gluing a number of layers of MDF together, [the number and thickness of layers will depend on the speaker being installed].
The first layer, [the one that will mount to the door] I normally make out of 1/2" MDF, I use the oem housing as a template for it’s shape and the mounting holes, once I have this cut out and the mounting holes drilled into it, [1/8" holes] I will cut a 4.5"-5" hole in the center, [where original hole was centered] big enough for speakers magnet to fit through with some clearance.
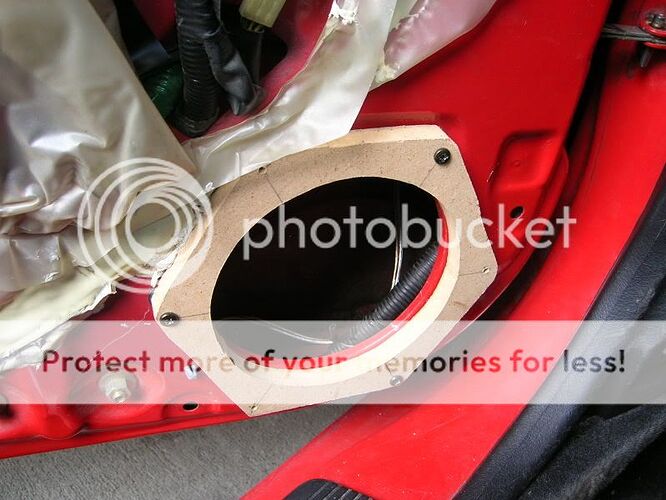
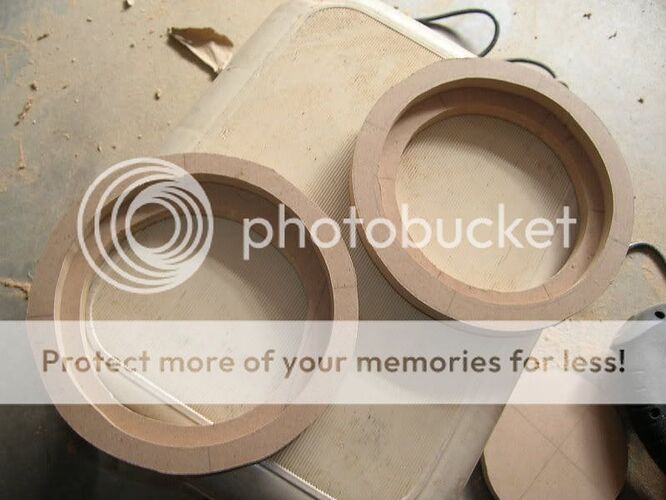
I then mount this “plate” to the door, using the oem mounting locations, [4 screws, most Honda/Acura] then measure from the “plates” outside surface to the window or window guide to see how much room, [clearance] I have, for simplicity we will call it 1-5/8", [it can vary from car to car and even from door to door in the same car][IN MY CAR, IT WAS 2 3/4"] subtract 1/8" from your clearance, in this case you end up with 1-1/2", now measure the mounting depth of the speaker you are installing, in this case it is 3", so you will have to add another 1-1/2" to the “plate” to get the 3" of clearance you need for the speaker. Using 1" and 1/2" MDF you cut “spacers”, [MDF rings] outside diameter the same as speakers overall diameter, [or a little bigger] and an inside diameter to match the speakers mounting hole diameter, stack the 1" and the 1/2" rings together along with the “plate” and you have the 3" clearance you need.
So now you have to glue the 3 pieces together but when you “center” the rings on the proper spot on the “plate”, because it’s an over-sized speaker, the rings may cover one or more of the oem mounting holes, but that’s OK, your not going to use screws anyway, you are going to use “studs”, you will use a 1" pan head machine screw, you will countersink the 4 mounting holes, [thickness of machine screw head] and using a machine screw that will just fit the 1/8" holes you drilled, nice and tight, so you can “screw” them in. a little glue below the head will keep it from spinning when nut is tightened.
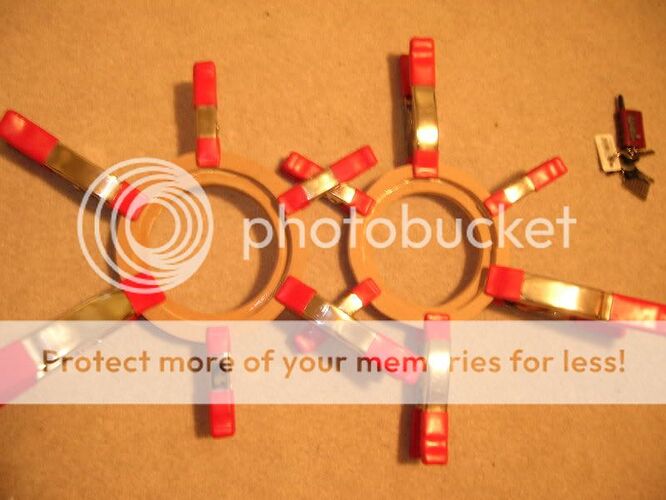
Once machine screws are in place, rings can be centered properly, and glued into place even if they cover machine screw heads, glue, clamp and let dry overnight.
Next day remove clamps, clean up excess glue, do some sanding to clean up MDF speaker housings, then back to the doors, remove the plastic screw “plugs” that are inserted into the sheet metal at the speaker housing mounting locations, cover the whole area, [where speaker housing will mount] with Dynamat, [or the like] one piece please, [no seams or overlaps, it will work as a gasket, cut Dynamat out of hole in sheet metal, place that piece directly behind speaker on the inside of the doors outside skin, so straight back from where you cut it out.
Do a “dry fit”, mount both MDF speaker housings to the door, installing nuts to the “studs” inside the door, it’s temporary, so 2 nuts will do to hold it in place, mount speaker to housing, [predrill mounting holes] install door panel with speaker grill removed and check for proper door panel mounting and clearance for the speaker, no part of door panel or grill can touch the speakers cone or surround.
Some mods may have to be, and can be made to MDF housing so door panel will fit properly, and even to door panel, [inside] or grill to clear speaker properly, once you have made any mods and you know things will fit, take it all apart again, do your wiring, if mounting x-overs in doors, make sure it is on the inside of vapor barrier, NOT INSIDE THE DOOR there is lots of room under and around armrest to mount x-overs, so if tweeter is also in/on door only one speaker wire needs to be run into door.
The final prep on custom MDF speaker housings is to clean them up and seal wood, I use fiberglass resin, paint it on like paint, I “paint” every surface inside and out, except speaker mounting surface, [must be kept absolutely flat] this will make the MDF waterproof. Once fiberglass is “dry” paint housings flat black, mount to the doors, installing washers and lock washers on studs, and “torquing” nuts down a little at a time, like you would a head, let stand for an hour or so then re tighten nuts, [Dynamat “gasket” will compress], using “nylock” nuts will insure that it will not vibrate loose.
TA DA, you are done, you now have a solid wood speaker housing, that is airtight, and will fit the speaker exactly, mount speaker, [using gasket for that all important airtight seal], install door panel and grill.
I guarantee, if done properly, you will be very impressed with the SQ of the speakers.
The part in italics, was written in by my.
I will post up my measurements, but just like fcm said, these numbers can range from door to door so please dont just use my numbers. It just might save you a headache!
Window to door panel - 2 1/4"
MDF thickness - 1/2"
Second ring Outside Diameter - 7 1/4"
Second ring Inside Diameter - 6 1/4"
Speaker Basket Clearance - Min. of 6"
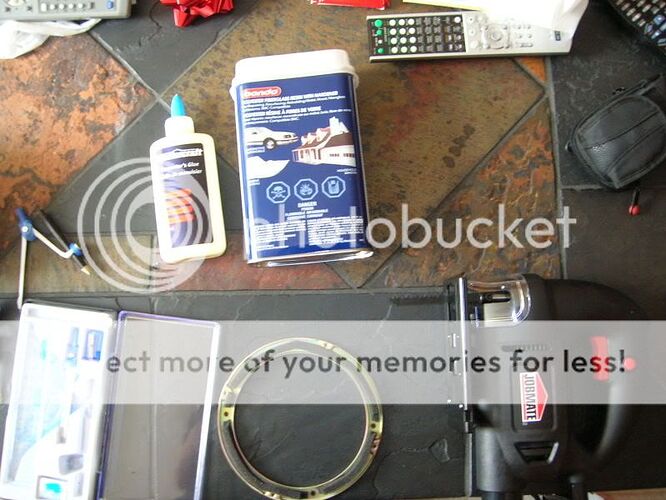
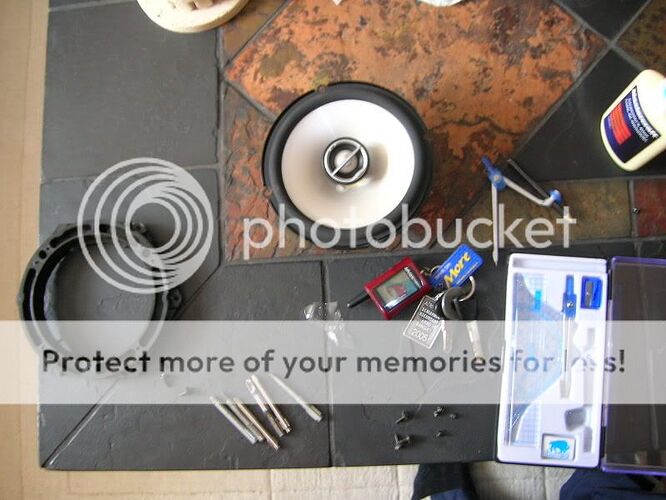
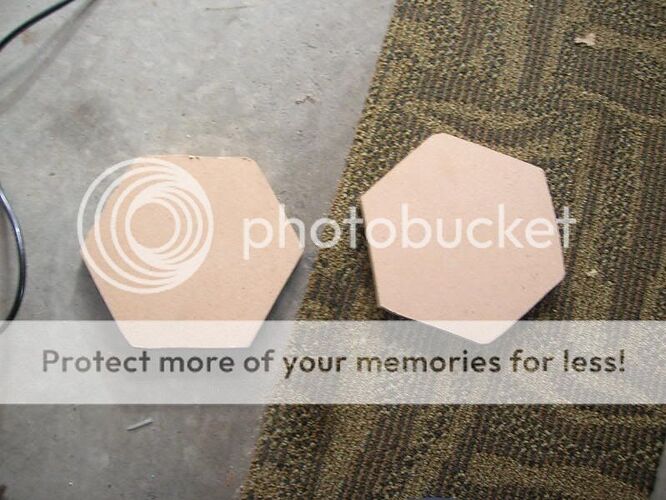
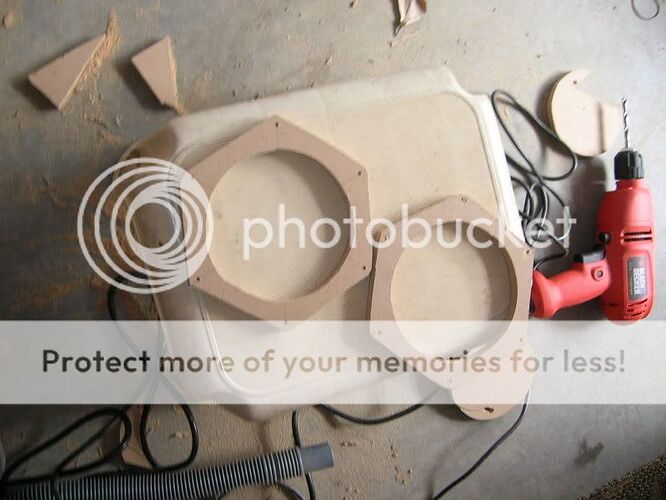
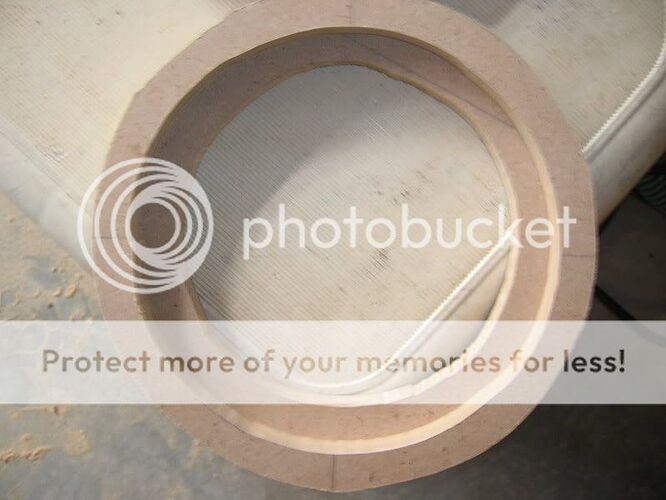
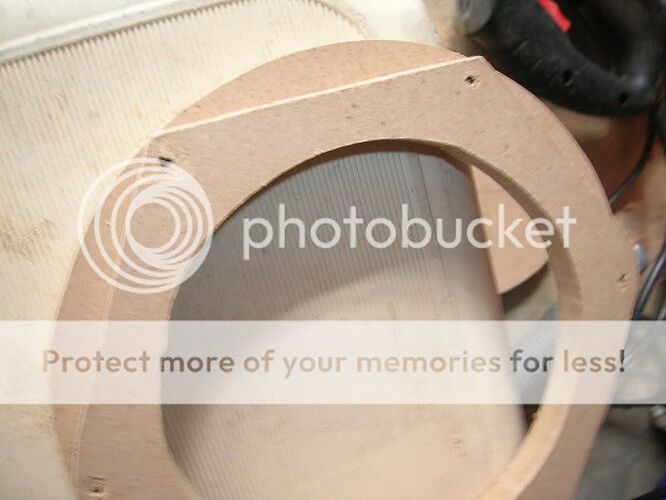
Here are some pics of the process:
I still gotta finish up tomorow by sanding and adding resin than mounting them, but the majority of the fab work is done. Any questions, comments, or constructive criticism are welcome.
Good Luck!
