DIY: EDM rear fog light install step by step..

First of all let me say thanks to rollinmyda and sammyloski for their help on the rear fog light issue. I finally got the time to do the install and promised a write up so here it goes…and I hope it helps others as well since there isnt much information about the rear fog lights installation.

Things needed:
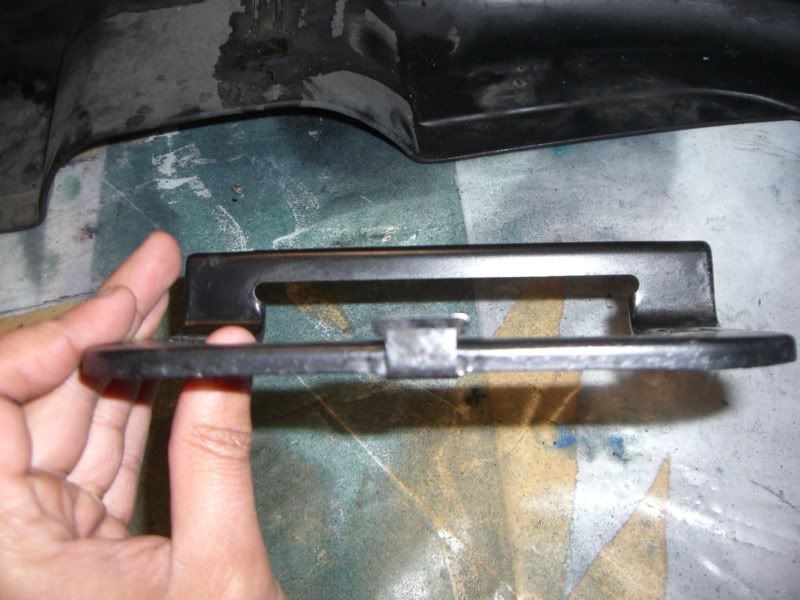
EDM rear fog light from EF with bracket
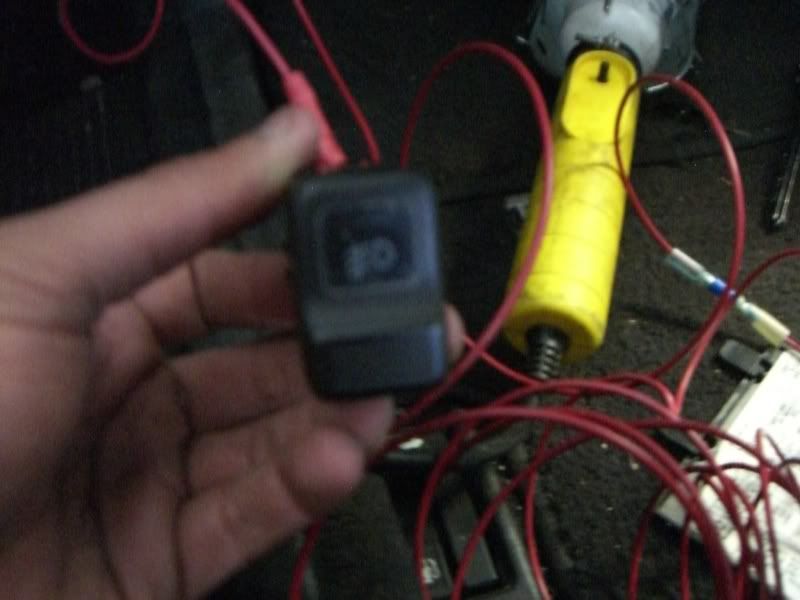
1 OEM DA foglight switch
15-20ft of 16 gauge wiring
male and female bullet connectors
drill and dremel
a grinder with a cutting blade

  1. remove the bumper by removing the 2 side screws on each side and 4 12mm nuts, 2 inside the trunk area and 2 underneath the trunk area…make sure to also disconnect the harness for the license plate light and remove it along with the bumper.

  2. since my bolts on the bumper support were hard as hell to remove and stuck…i soaked them with wd-40…but after that rmove all the bolts that you see connected to the bumper…and also make sure to disconnect the 4 bullet connectors that go to the license plate lights since they will be on the bumper and the harness is attached to the bumper support.

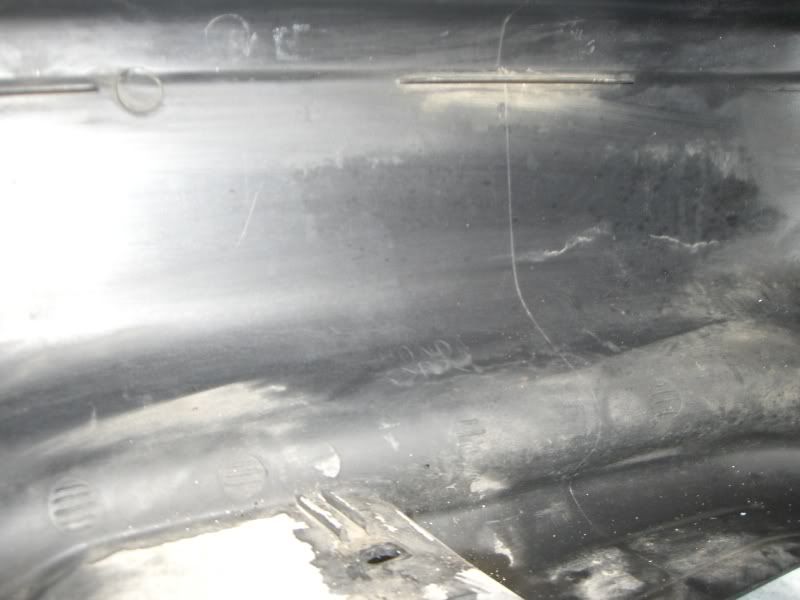
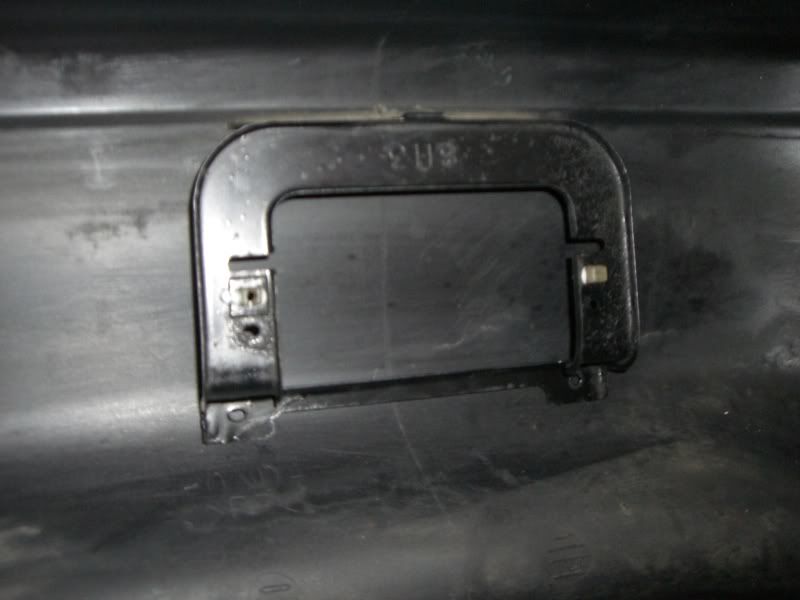
  3. If you have an OEM honda bumper you should have a place to mount the bracket it should look like a little plastic ledge protruding outward from the bumper…thas where the top of the bracket goes…see the pic

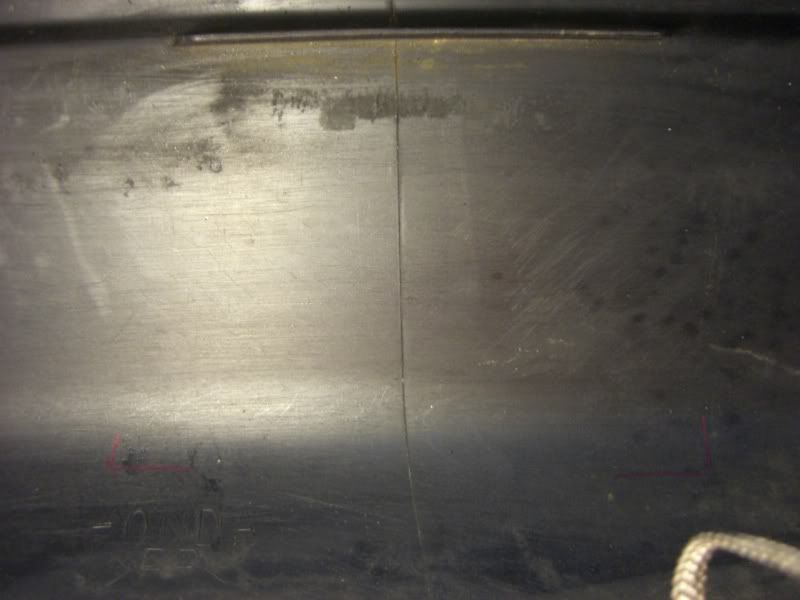
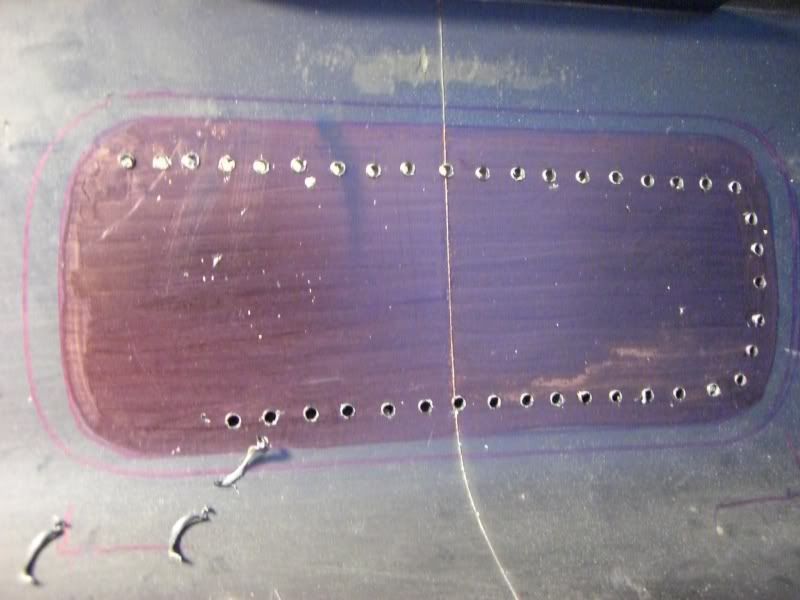
  4. After aligning the bracket with the ledge we need to mark the area of the foglight that needs to be cut out…the measurements are 6.5in long and 2.5in in height…see pic

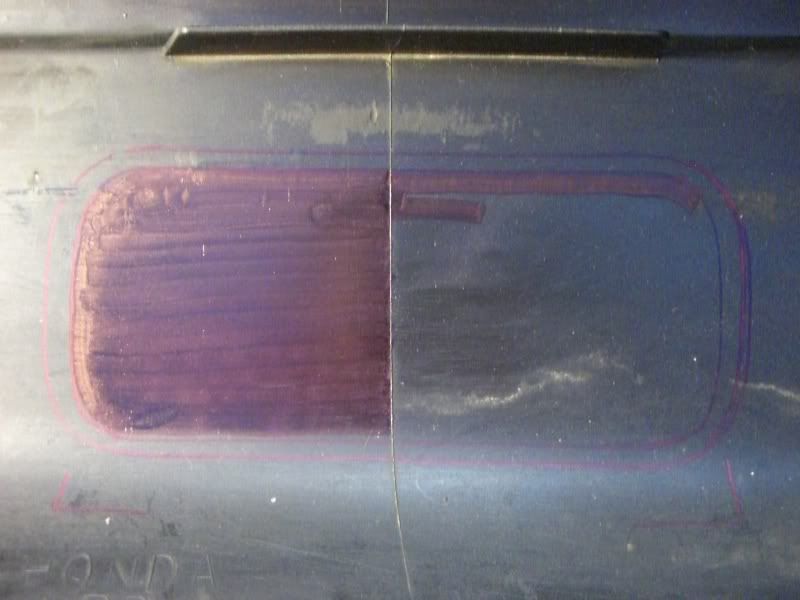
    the easiest way to mark the lines is taking the foglight garnish (the black part) and tracing the lines the outer edge and the inner edge…we need to drill out the inner edge since the outer edge will be held up against the bumper.

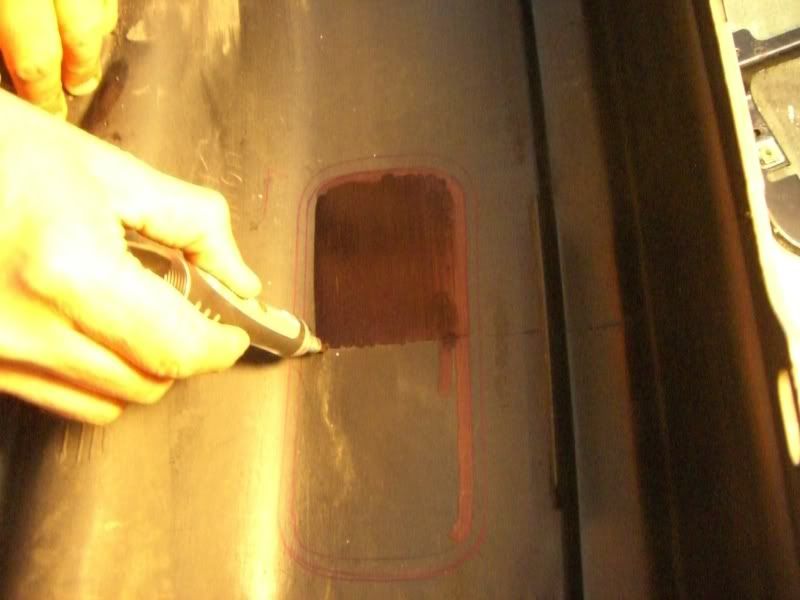
  5. what i did was drill it out using a small drill bit and multiple holes and then using a dremel just connect the drilled holes to cut out the fog light holes…see pic

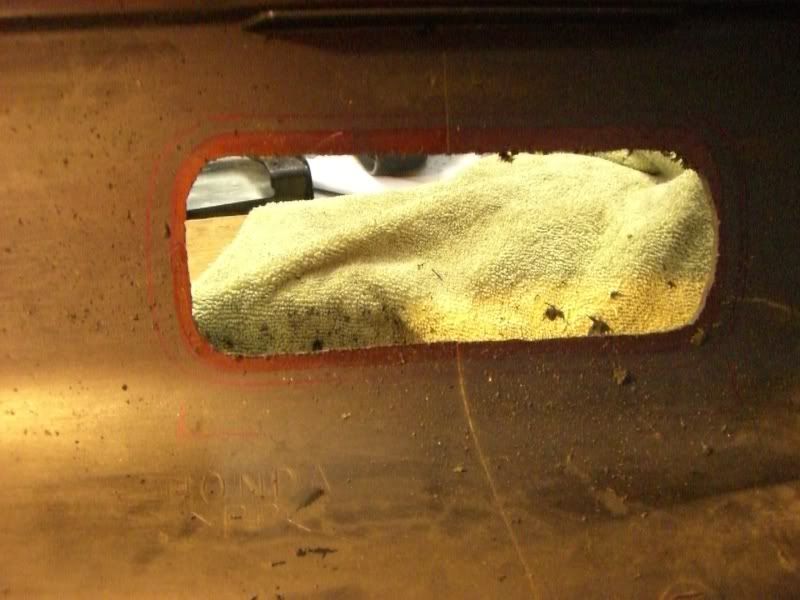
  6. The hole that i measured was measured leaving some margin for error…so after the hole is cut you will ahve to smoothen out the plastic and keep on filing it till the fog light goes thru…and dont make it too big that the fog light goes thru it with barely any force…you want it a little tight so it stays firm…see pic

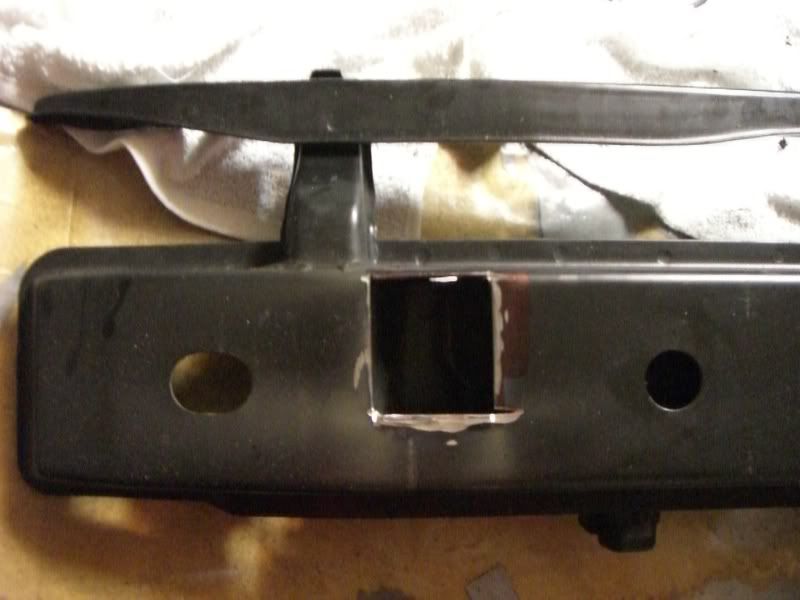
  7. After the light fits now comes the hardest part which is to cut a hole in the bumper support so the rear of the fog light can sit inside it…see pic

  8. After the hole has been cut with the angle grinder you need to test fit it and see if enough metal was cut out for the rear of the fog lamp to clear…see pic

  9. After the fitment is fine the finished product of the bumper with the rear fog should look like this…

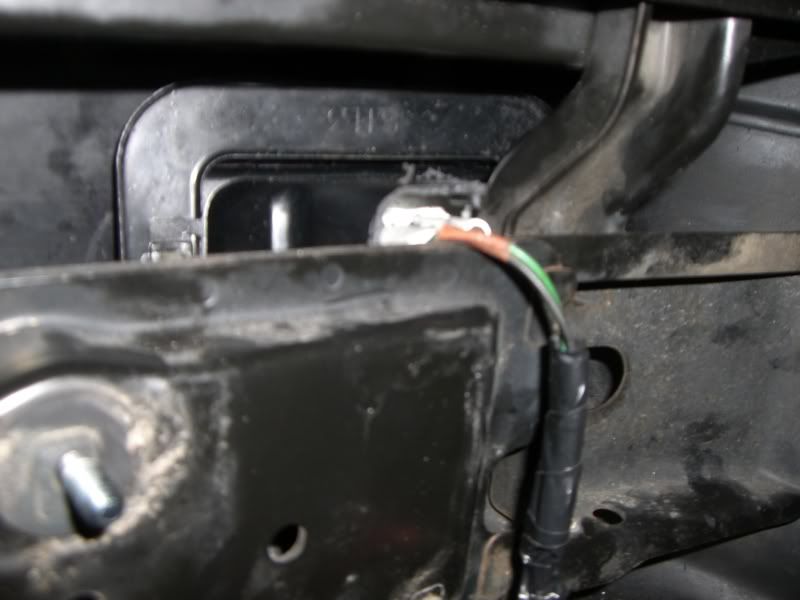
  10. Now comes the wiring part…there are 2 wires comming out of the rear fog light one is green (positive) and the other is black (ground)…what I did was ground the fog light by connecting another wire to the rear fog light and put a round terminal at the end of the wire and hooked it up to the bumper support hole where one of the 12mm nut was hooked up to hold the bumper to the car…the positive wire I extended it and to route it inside the car the location I chose was the side vent that opens up feed the wire thru there and pull it thru the trunk area…

  11. Now install the bumper back on the car and now the wiring part comes to power the rear fog light…The wiring diagram I went off of was drawn by sammyloski…and it is the correct way of doing it since you want to be able to turn it off and on with a switch…see pic

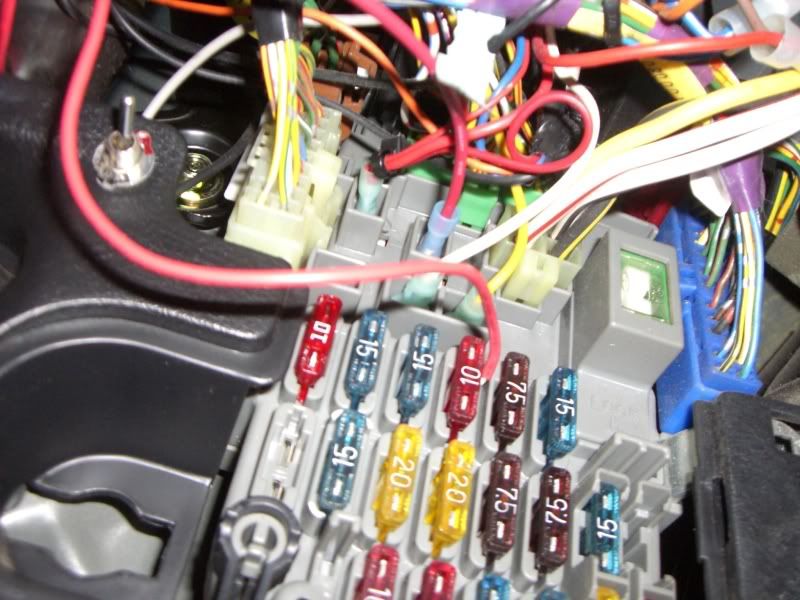
  12. The power source that will power the switch will be drawn from the panel above the fuse box…the location that I chose will let you power it with a switch and turn it on when the parking lights are on…#4 location on the fused panel…see pic

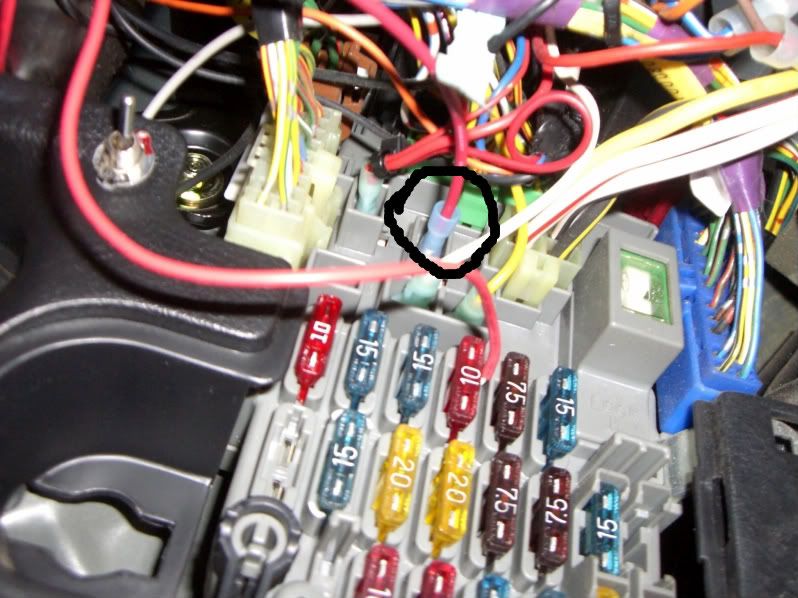
    this power source is already fused so no need to wire up a relay or anything.

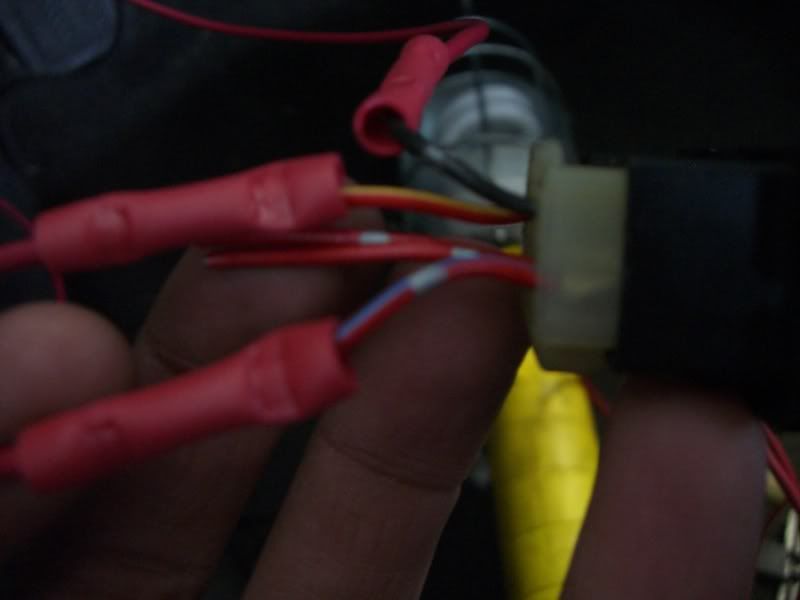
  13. Grab the switch and connect the wires as shown in the wiring diagram above…see pic

  14. Ground the switch on one of the bolts on the dashboard and run the output wire underneath the carpet and underneath the drivers side door floor panel thing (the plastic piece that you see when you open the door on the bottom)…remove that and put the wire underneath there and route it all the way back by hiding it underneath the rear seat and such…and when you get the wire to the rear connect it to the postive wire of the rear fog light that was already routed in the trunk…

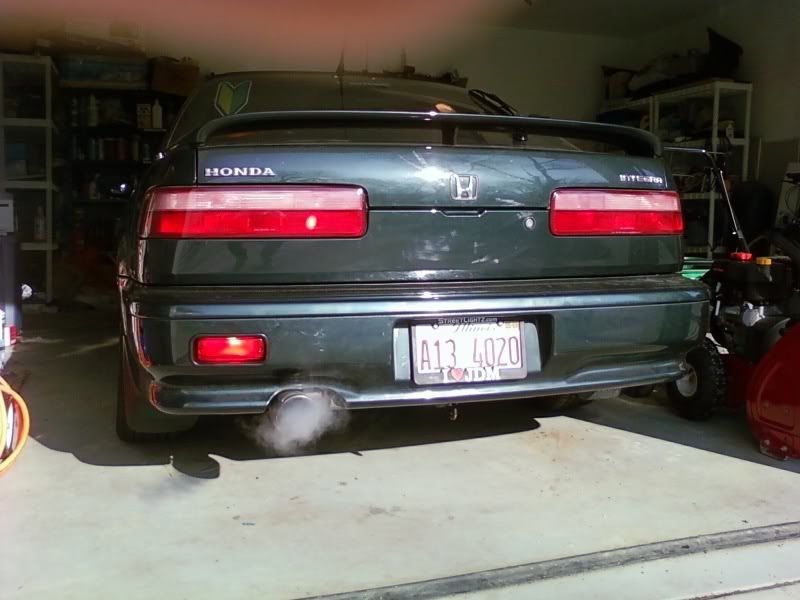
  15. Connect everything and check your connections and turn it on the end result should look like this…see pics

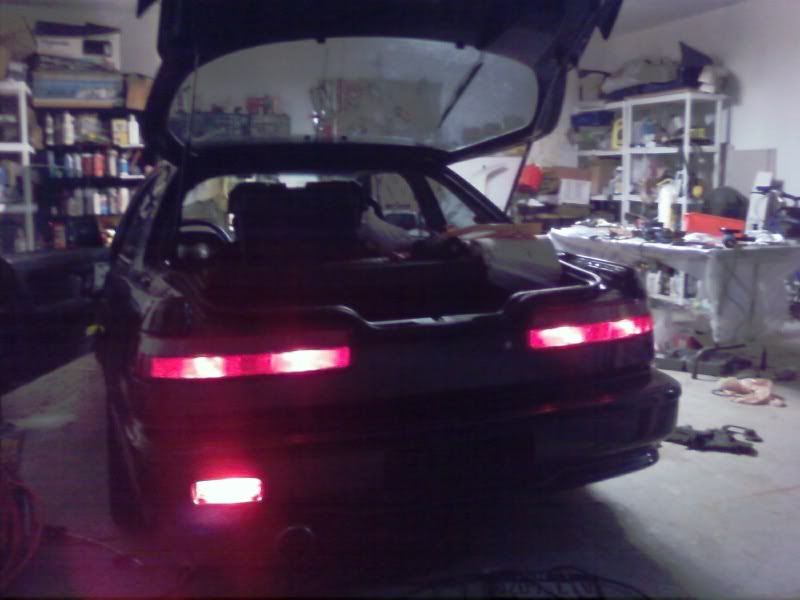
  16. Enjoy a cold beer and admire the hard work ahaha…but it is pretty bright and I installed the fog light switch in place of the cruise control switch since mine didnt work anyways. Everything looks OEM and perfect.

Hope you guys like it and I hope it helped everyone out to whoever wants to do it in the future…if you have any questions feel free to email me at nirmal.naik@gmail.com

damn it, congrats! excellent write up.

will do as soon as i get one of them rear fog lights.

btw, where did you got it, if you don’t mind telling us?

you can buy it brand new from icb motorsports…or keep on checking up on ebay there are couple of them for sale right now…but pricey…

Excellent write up! I wish this was around when I was doing mine. Good work on the install. I see you took off the bumper support to do the grinding. That would make it a lot easier to test fit. I left it on the car and it probably caused more work for myself.

A couple things were different with mine so I’ll go ahead and list them so the info’s here. On the back of my bumper(90-91) I had a outline of the hole that needed to be cut. On my other bumper(92-93) the outline wasn’t there. Also, the wiring from the rear fog I bought from ICB was BLUE and BLACK. Blue was the positive, black the negative.

Looks realy good man. Congrats, and thanks for putting the info on here for other people to follow. You should post a few more daytime pics from the back. I want to see how it looks on the black bumper.

EDIT: I guess thats not really black is it?

[QUOTE=rollinmyda;2004203]Excellent write up! I wish this was around when I was doing mine. Good work on the install. I see you took off the bumper support to do the grinding. That would make it a lot easier to test fit. I left it on the car and it probably caused more work for myself.

A couple things were different with mine so I’ll go ahead and list them so the info’s here. On the back of my bumper(90-91) I had a outline of the hole that needed to be cut. On my other bumper(92-93) the outline wasn’t there. Also, the wiring from the rear fog I bought from ICB was BLUE and BLACK. Blue was the positive, black the negative.

Looks realy good man. Congrats, and thanks for putting the info on here for other people to follow. You should post a few more daytime pics from the back. I want to see how it looks on the black bumper.

EDIT: I guess thats not really black is it?[/QUOTE]

hahaha…no its not black its the LS special green…yea ill snap some daytime pics today and post them up…but yea you are right the 92-93 bumper had no trace at all…which made it a bit harder…but overall the most pain in the ass was the bumper support grinding…

Thatz whutz up

Damn son that looks tight when i seen that rear fog light on icb bout 3 years ago i wanted to do it but decided not to but dang man thatz whutz up fo real oh yeah I like that ls special green too not to many peeps up on that color but itz classy.

Nice write up. :up: Very informative.

Has anyone ever done both sides . . .
. . . just curious. :shrug: Pics anyone?

[QUOTE=TWIZIDY;2004279]Nice write up. :up: Very informative.

Has anyone ever done both sides . . .
. . . just curious. :shrug: Pics anyone?[/QUOTE]

haha thanks man just trying to help out fellow g2 owners who might be interested in something like this since there isnt any info…but I was tempted to do both sides since i do have 2 rear fog lights…:giggle:

btw here is a shot in the daylight as someone requested it…sorry for the cellphone pic but it was sunny as hell as you can see…

Did you measure this piece for the center then the bracket’s center to align them?

[QUOTE=TWIZIDY;2004568]Did you measure this piece for the center then the bracket’s center to align them?

[/QUOTE]

yessir i did…I just took that picture of the bracket just to show where the bracket goes…but when i actually lined everything up and cut it…i measured everything perfectly…

Is this piece on the passenger side as well?

[QUOTE=TWIZIDY;2004946]Is this piece on the passenger side as well?

[IMG]http://i46.photobucket.com/albums/f107/BONER-TIME/C

yessir it is on the passenger side as well if u have oem bumper

Cool, Thanks :up:
I’m going to try this on both sides . . .
. . . if I ever get my hands on a set/pair.

there is a set on ebay right now…that u can get ur hands on ahaha

http://cgi.ebay.com/ebaymotors/JDM-CIVIC-FOGLIGHTS-STANLEY-REAR-FOG-LIGHTS-EF9-SIR-EF8_W0QQcmdZViewItemQQ_trkparmsZ72Q3a1171Q7c66Q3a2Q7c65Q3a12Q7c39Q3a1Q7c240Q3a1318Q7c301Q3a0Q7c293Q3a1Q7c294Q3a50QQ_trksidZp3286Q2ec0Q2em14QQhashZitem400039327366QQitemZ400039327366QQptZMotorsQ5fCarQ5fTruckQ5fPartsQ5fAccessories

Looks sick! Is that original paint? I’ve never seen that color with color matched moldings. :up:

yessir that is original paint…it is the LS special which came in Lausanne green pearl…you dont see many of those at all…it looks almost like the gsr, except no power locks and obviously no b17 ahaha…but other than that pretty similar…oh and also no gsr rear wing…

wassup with the pictures man!!!..this suxs if the pics dont work!

I am not sure…prolly when g2ic webpage was redone or wahtever…let me upload them right now and see if i have any…i got u dont worry lol

Here you go…