Big job if you want to do it right.
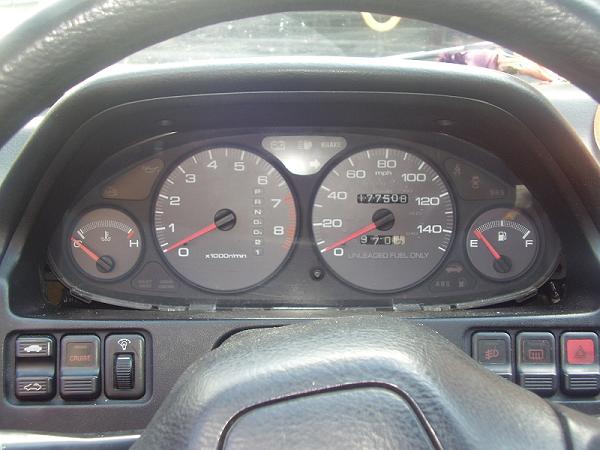
Pix aren’t clear enough to tell exactly the trim bezel contacts the cluster, but that is where I would start, right after removing the steering wheel, I would trim back the back of the bezel so all of it, [all the way around] was about the same distance from the cluster where possible.
Cut a template that covers the part of the cluster you want to see, [same shape and size as the G3 bezel where it sits up against the cluster] the material of the template has to be flexible enough to conform to the shape of the cluster lens, but strong enough to hold that shape, [ABS plastic works great] cut out all but an 1" or so all the way around, so you end up with a “trim ring”.
Your G3 cluster will have to be “bagged” and taped off, you do not want to get fiberglass resin on it, in fact do that right away, just make sure you can still mount it properly. You will also have to cover the bezel with plastic and tape it off to within a 1/2" or so of the inside of the bezel, [the inside lip that you cut an even distance from the cluster lens] but again, you must be able to mount it properly.
With trim bezel off and cluster out, cover inside of dash with plastic, bottom and up the sides, you don’t want resin dripping in there either.
Mount cluster.
Find a small kids “T” shirt, small enough so it will stretch around and hold the template/ “trim ring”, and stretchy enough to stretch around the inside of the trim bezel/
Cut the T shirt just below the arms so you end up wit a “tube”, stretch bottom of T shirt around trim bezel cluster opening and attach by any means possible so it follows the conture of the opening.
Install trim bezel, insert template/“trim ring” into opening, pulling excess T shirt material into center of template.
Rig up something that will press and hold template up against cluster stretching the T shirt tight.
You should now have a clean, uniform transition from the trim bezel shape to the more oval shape of a G3 trim bezel, [where it contacts the cluster lens].
Now some resin and a little catalyst, and a box of 1" fiber-glassing brushes, a few mixing cups, mix up a little resin, [small coffee cups worth and “paint” the T shirt, let it set up, and paint it again, and again until it holds its shape, remove bezel, reinforce back/outside of T shirt where it is stretched around the bezel, add 1-2 layers of fiberglass mat to all the outside of T shirt.
Now comes the work, using a fiberglass bondo, cover inside of T shirt with a layer of bondo to bring it to the same level/thickness as the trim bezel, cut template out, start sanding, rebondo the low spots and sand some more, and keep doing so until you have a smooth surface and transition from the G2 bezel to the G3 cluster, prime and paint or dye custom trim bezel to preferred color.
Clean up the mess, reassemble dash and your done.:bowthank:94

