i got to do my brakes today and thought it would be a good idea to do a write up on it. there are many ways to do this im sure but this is how i did it. you can also use this write up to replace just your pads if you need to.
[SIZE=5]FRONT REMOVAL:[/SIZE]
- first is to take the wheel off. simple enough…
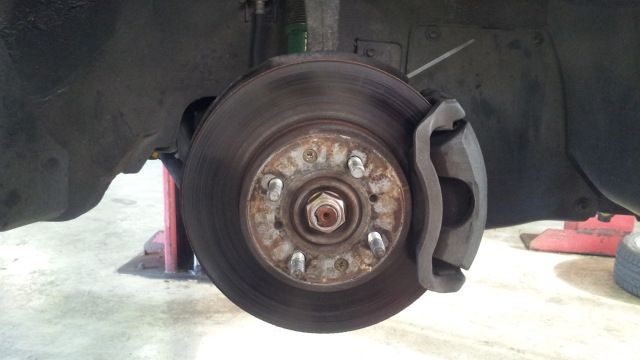
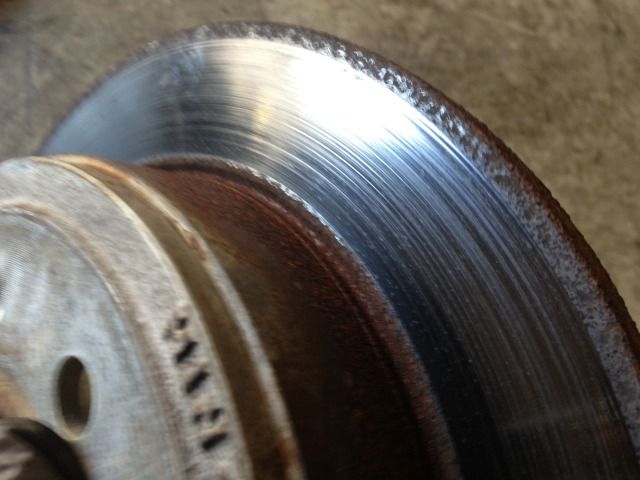
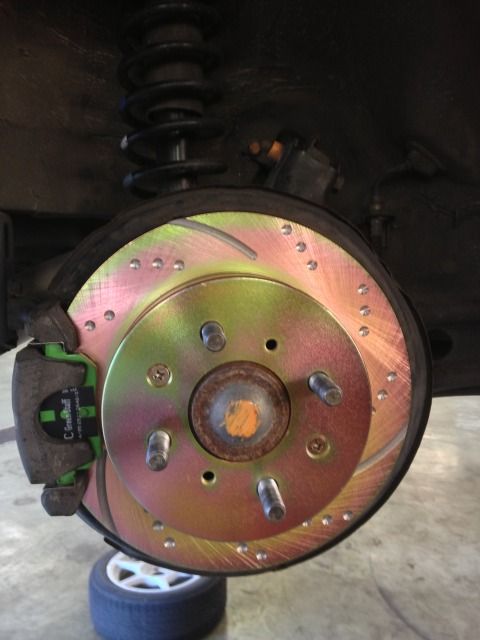
as you can see, my rotors are ready to go
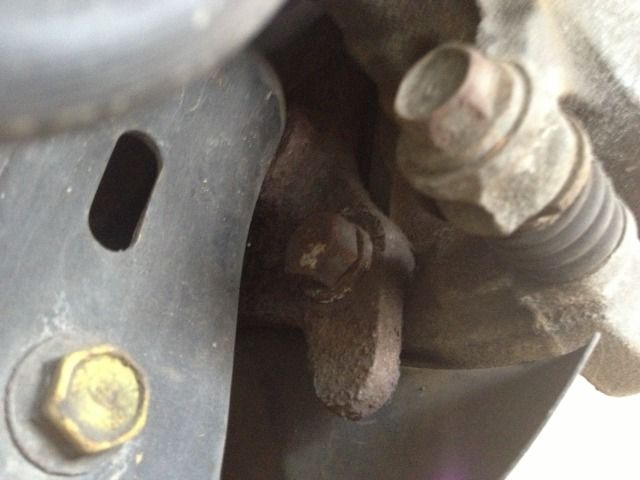
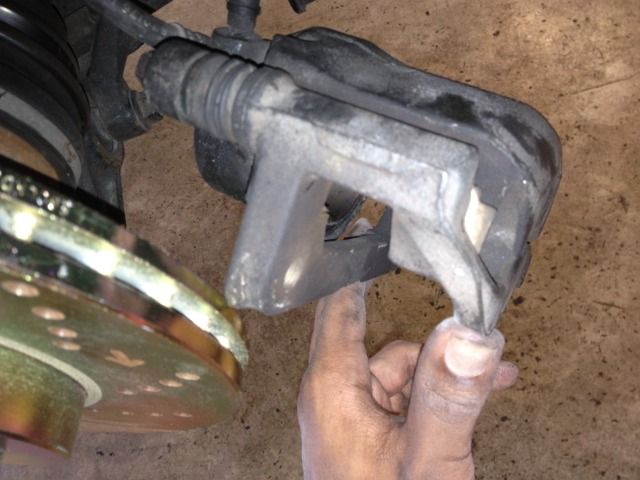
2.now remove these 2 bolts on the top and bottom. the bigger bolts hold the entire caliper and the smaller ones with the boot hold the part that holds the brake pads.
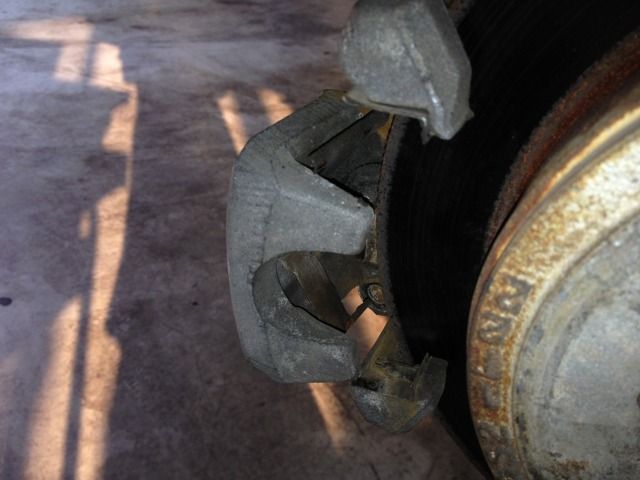
3.the old pads should just fall out
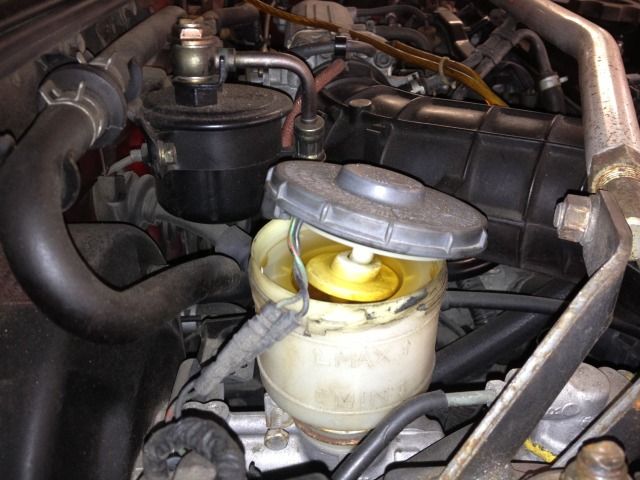
4.now take the cap off the the brake reservoir. this is so when you push the piston back in, the brake fluid has somewhere to go. if you leave the cap on, then you wont be able to push the piston back in. this step is important.
5.this is the piston and im sure there is more than 1 ways to push it back in. i used this
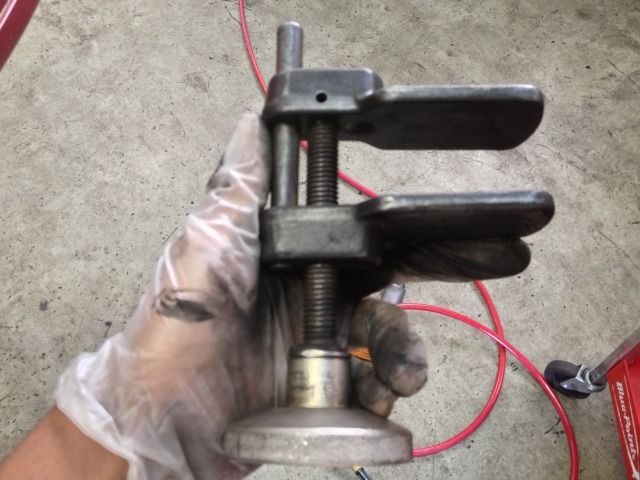
6.if you look at the way it works then you can probably replicate the intention in some way. make sure you push the piston in until it flush with the surface of the caliper, otherwise you wont be able to get the caliper back on the rotor with the new pads. once the piston is back in you can put the bracket part back on like so. at this point, if your just looking to change the pads then skip to step 12

- moving to the rotors. take out these 2 screws. DO NOT STRIP THEM OUT. i used an impact screwdriver to get them out and it worked out great. these are screw that you dont want to strip.
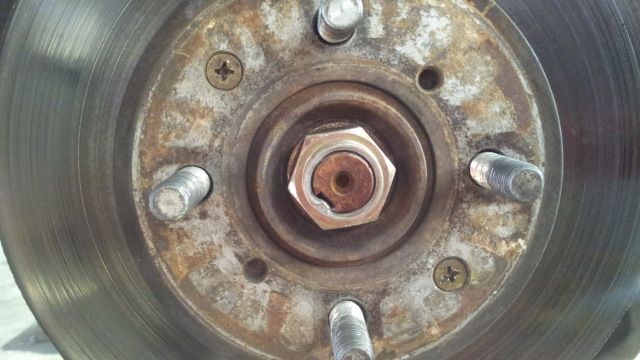
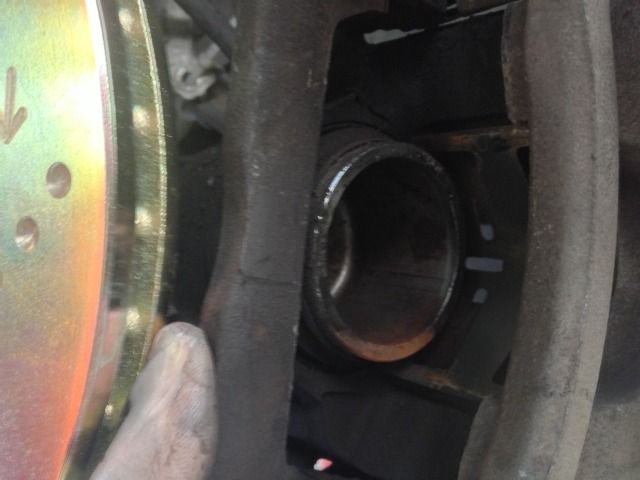
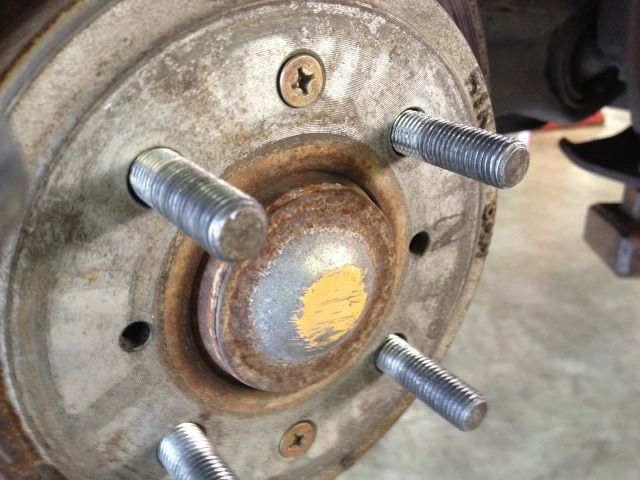
8.once removed, your rotor will be free and when you remove it, you will be left looking at the hub. if you didnt have any screws, get some. the only thing holding your rotor on the hub is the those 2 screws and the caliper.
[SIZE=5]FRONT INSTALLATION:[/SIZE]
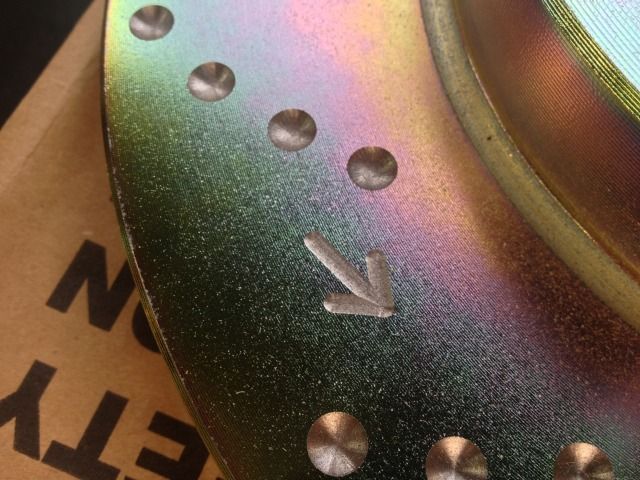
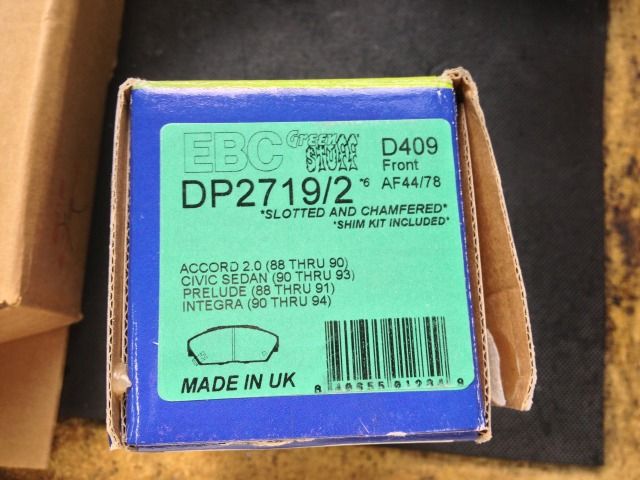
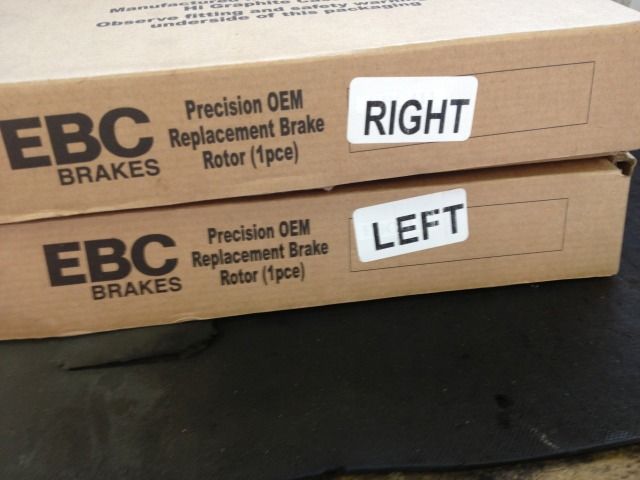
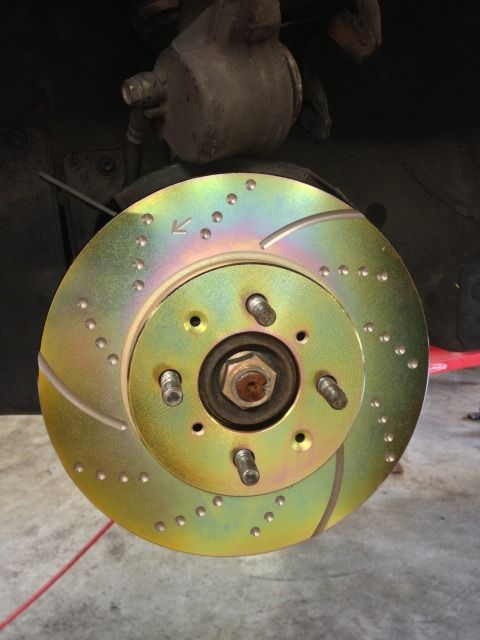
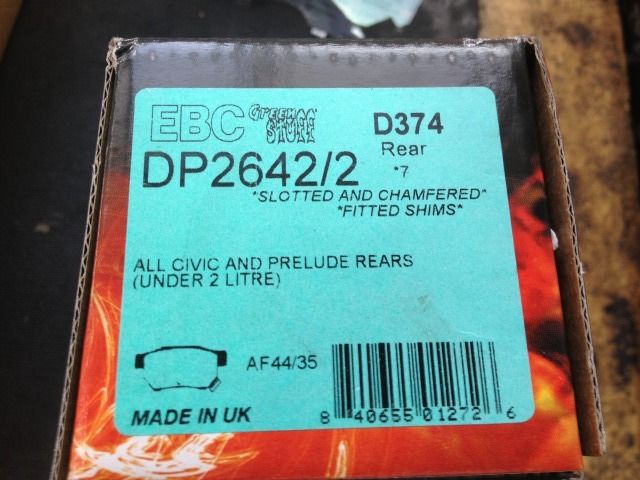
9. when putting this back together, you want to put the rotor on first. so get your new rotor and make sure its the correct one. i was fortunate enough to have the boxes labeled and an arrow be imprinted on the front and back of the rotor so there really isnt any confusion. i went with ebc rotors and green stuff pads. the set cost around 300$ but from the reviews, it should be well worth it.

-
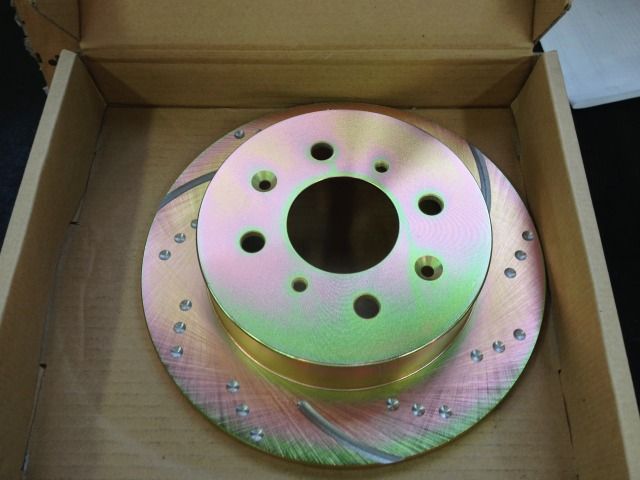
put your new rotors on and make sure the screw holes on the rotor are on the screw holes on the hub. the correct screw holes to use on the rotor are the ones with the bevels. not the flat holes…
-
install screws. i didnt put them stupid tight. i tightened it down with a screwdriver until it stopped then put a little muscle on it. you dont want them bruce banner tight…
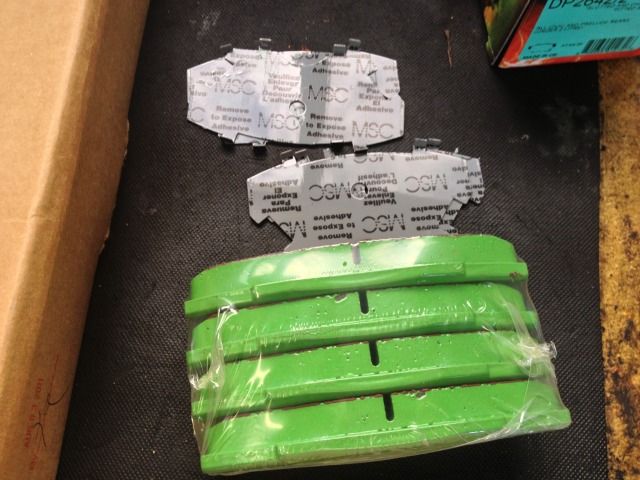
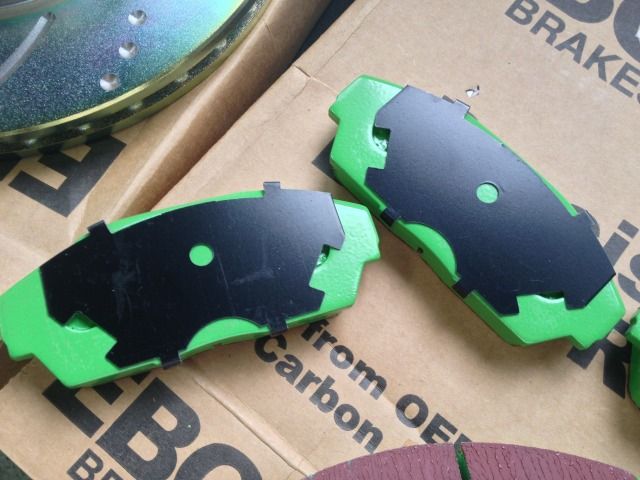
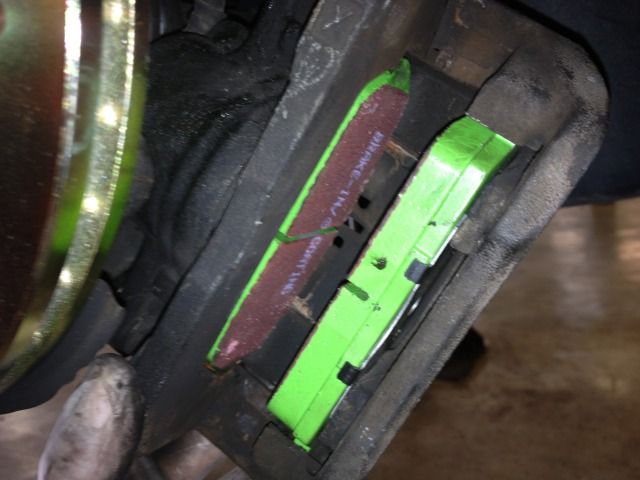
- onto the pads. be sure, you have the correct pads. mine came with optional shims to reduce noise. i went ahead and put them on just because. with the green stuff pads, only 1 front pad came with the wear indicator. if you get pads that have indicators on more than pad then make sure when you install it, the indicator is on the bottom of the caliper. its kind of tricky to install if you dont know what i’m about to tell you.
put the rear pad in first, which is going to be our pad with the wear indicator. put it in like this then swing it up
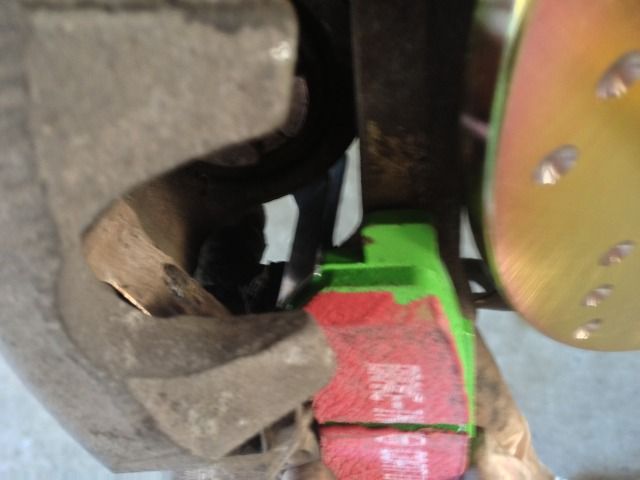
you’ll notice that pad stops short of where the little wings should go. you have to push up and back. there is a metal spring thing on the top part of the caliper that you have to work against. if installed correctly, the two wings on that spring will sit on top of the wings of the pad. it should move freely.
now install the front pad by just pushing up and back so it sits in where its supposed to go.
-
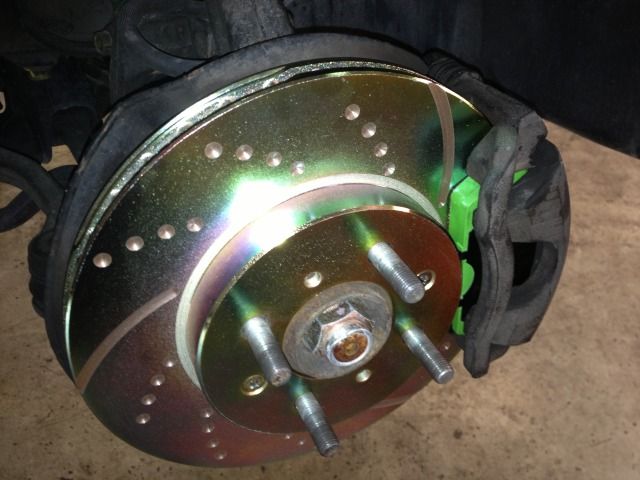
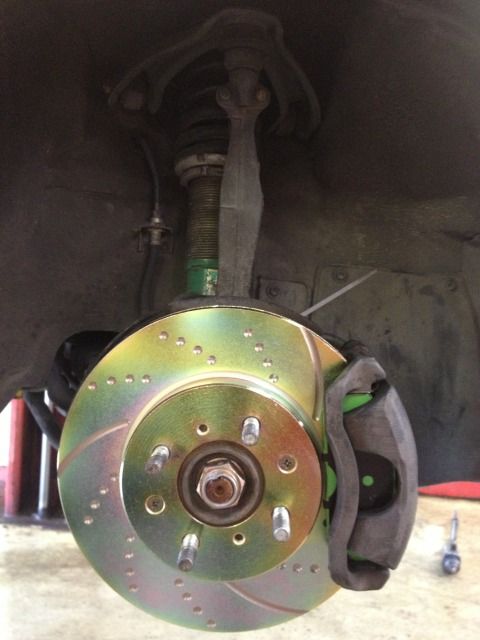
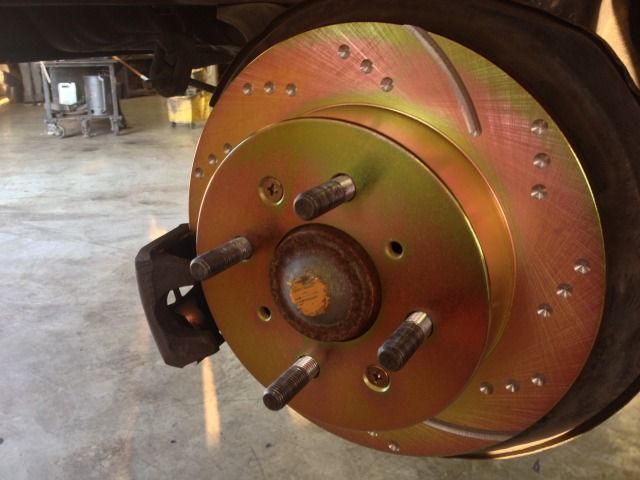
carefully put the caliper onto the rotor while keeping the pads in place so they dont shift at all. it should be a tight fit and re-install the larger bolts that hold the caliper onto the hub.
-
marvel at your brake set up.
[SIZE=5]REAR REMOVAL:[/SIZE]
-
remove the wheel.
-
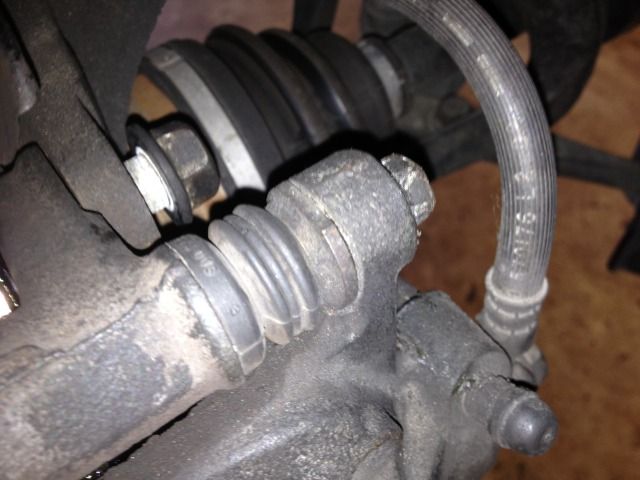
remove these 2 bolts on the top and bottom. you may not be able to use a ratchet on them. i had to use wrenches.
-
once removed, you pads should fall and youll be left with this. if just replacing the pads, skip to step 10
-
remove these 2 screws. again, you DO NOT WANT TO STRIP THESE OUT.
-
the rotor will most likely be stuck so hit it with a metal hammer on the part that has the suds poking through. be careful not to miss and hit one of your studs. dont be scared to hit it REALLY hard. hit in the same pattern as though you were putting on your lug nuts.
-
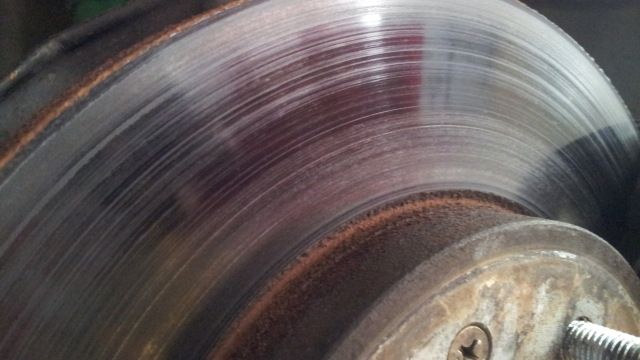
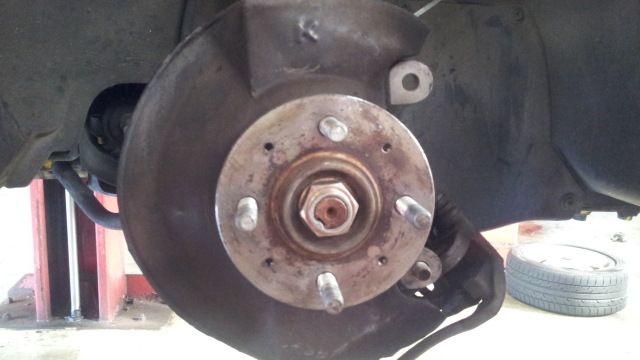
once removed, it will look like this. as you can see my rotors were done for.
[SIZE=5]REAR INSTALLATION:[/SIZE]
- be sure you have the correct rotors. mine were labeled so there was no confusion.
8.install the rotor
-
install the screws
-
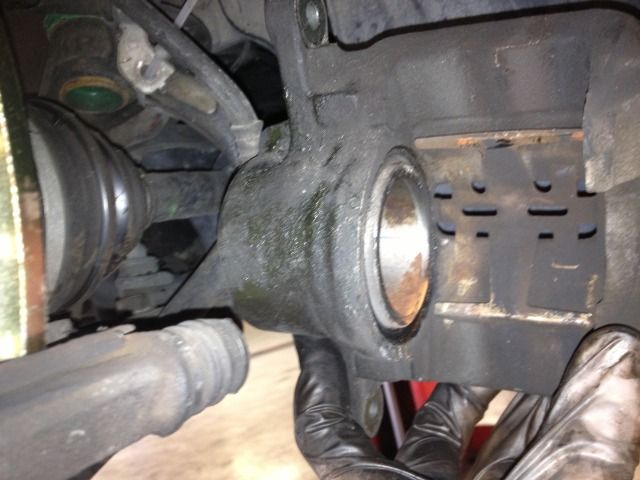
put the bracket back on your caliper so it looks like this. (front pictured)
-
make sure you have the correct pads. with the rears, both sides came with the wear indicator. you want to make sure the indicator will be on the bottom of the caliper when installing.

-
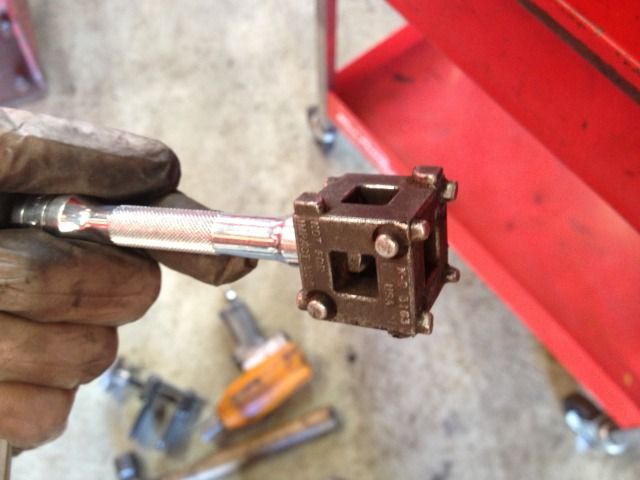
with this piston, its different than the front one. its rotates instead of just being pushed back in. im sure there are many ways to get it back in but i used this thing.
-
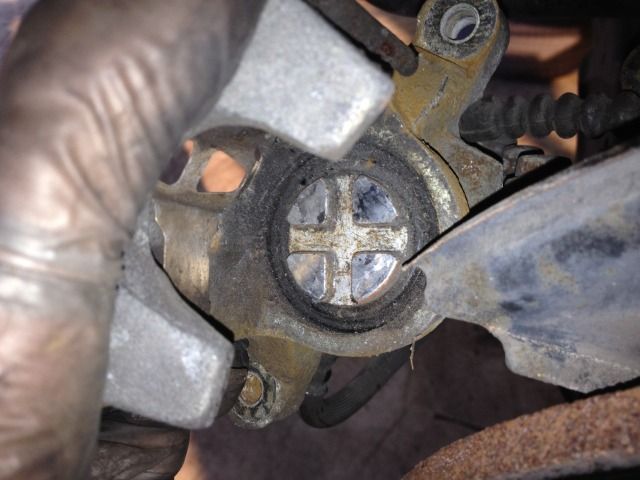
rotated it until its flush. it wont stop spinning when it reaches the bottom. it will just spin and spin and spin. so just stop when its all the way down.
-
to install the pad with the indicator, do the same thing as with the fronts. install like in the picture, swing it up, then push up into the top of the caliper and back into its location.
it will also be installed like this (front pictured)
-
carefully put the caliper back on to the rotor and install the bolts that hold the caliper to the hub.
-
marvel in the beauty.
after your done, pump your brakes a few times to seat the pads on the rotors. you’ll notice that your brake reservoir is probably overflown or close to it. after you pump your brakes, put the cap back on and you should hear it gurgle. go ahead and put your wheels back on and bed the pads/break in your rotors according to what the directions say that should of came with your parts.
enjoy…
I now know how to change my brakes now.
sarcasm? if not, glad i could help…
good write up. i know people know how but still, good job. also, get speed bleeders to make the bleed job easy.
:umno:
You realize these are hub-centric rotors, held in place primarily by the LUG NUTS AND THE RIM, not those screws. They’re free-floating, and this statement is 100%, completely, totally, absolutely false. These screws do help with mounting (they keep it in place while mounting pads and putting the caliper back on the rotor), and keeping the rotors in place when the wheels come off, but[SIZE=5] I ran my 1st DA for 3.5 years entirely devoid of these screws.[/SIZE]
I raced the car, drove it through mountain passes, and never once had a single problem with fade, shimmy, uneven wear, pad life, or other brake problems. If you have them, great, keep them. I just had to drill one out of my current DA, as the screw was rusted to the hub.
I don’t mean to be a dick, just straightening that out, for the record.
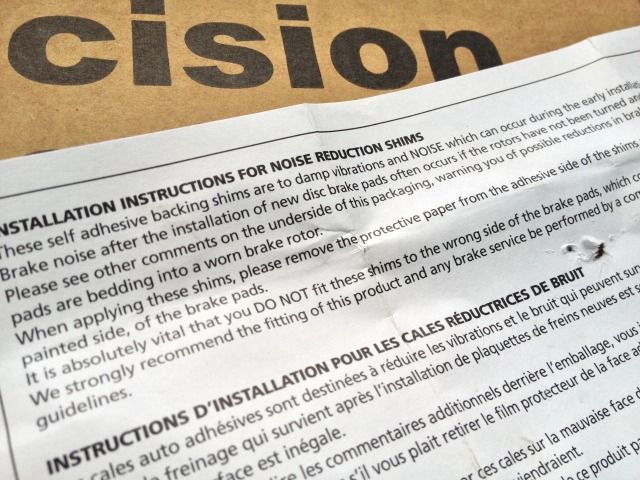
Also: bed-in is EXTREMELY important. I marvel at the number of people (even working as “master techs” or at brake specialty shops, that don’t even know what I’m talking about when I say that. Instructions aren’t always included with brake pads, because it’s assumed that if you’re working on the brakes, the most important part of a vehicle, that you know what you’re doing. A couple tips:
- Make sure if you get blank rotors, you get ones with a non-directional finish, or have a machine/brake shop put one on your rotors. If put on a brake lathe, be absolutely sure to do that before mounting.
- Wash the rotors thoroughly. This removes any of the materials and chemicals from manufacturing. Dry them completely, and make sure there is no residue.
- Follow directions for bed-in. Google is your friend, but can’t always help. In the event you can’t find the right bed-in procedure, plan out a route that has plenty of visibility, lots of room to stop, and nothing to hit, and make 7-10 stops from 45 MPH with normal, light-moderate pressure, allowing around 30 seconds between stops. Then make 3-5 emergency, full power stops from 55-65 MPH, park the car, and allow the brakes to cool to normal operating temperature.
Happy modding!
Yeah I’ve read most often that those screws are prettymuch used on the assembly line, so the rotors don’t fall off before the brakes/wheels etc are put on.
Either way, I think it’s good practice to re-install them if you indeed removed them.