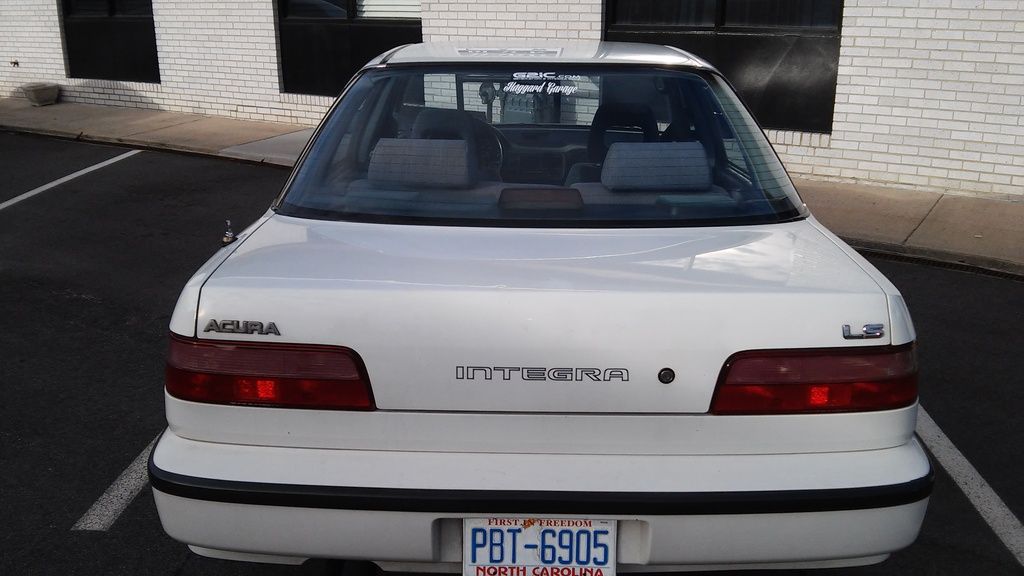
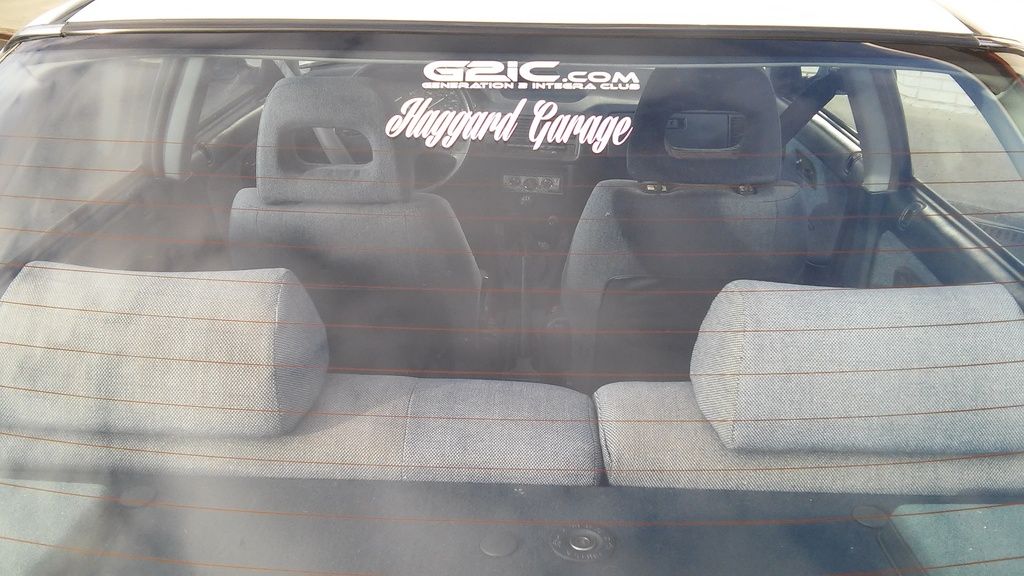
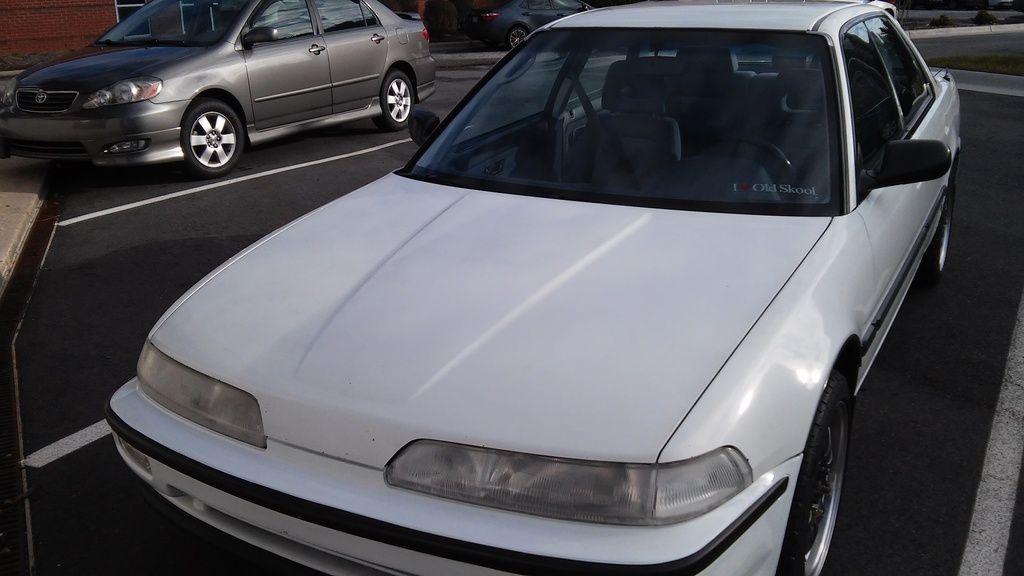
I'm in a G2 Again!

[QUOTE=idriveahonda;2331171]Keep up the good work.

I’ve had my Integra for almost two years and have put 31 miles on it. Taking it slow, and finishing with a complete interior, caged and track prepped car.[/QUOTE]

Nice! I’m not alone then. If you have a build thread somewhere, I’ll snoop it out and follow your progress. I need more patience!!

Thanks man. I’m glad she’s mine.

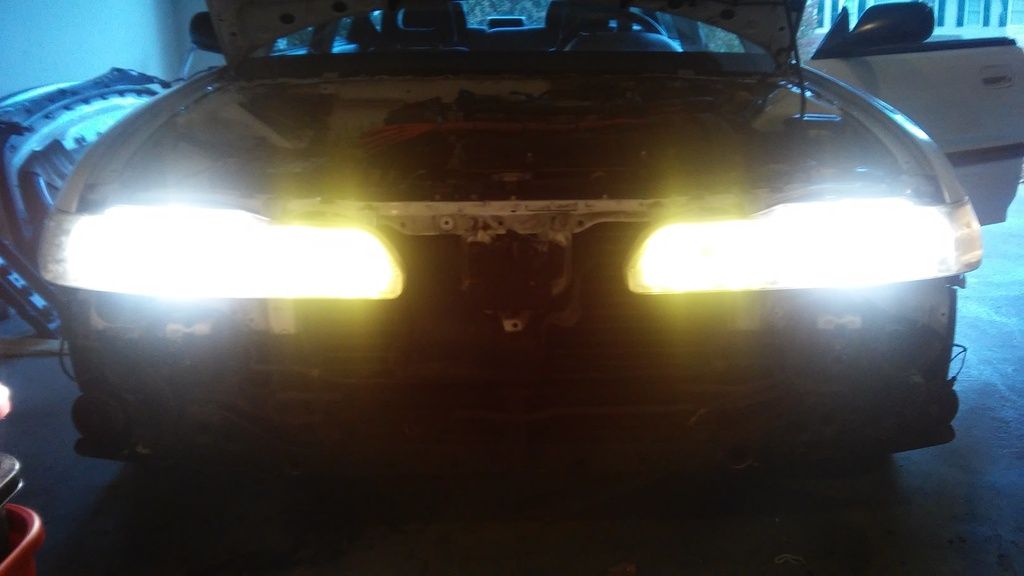
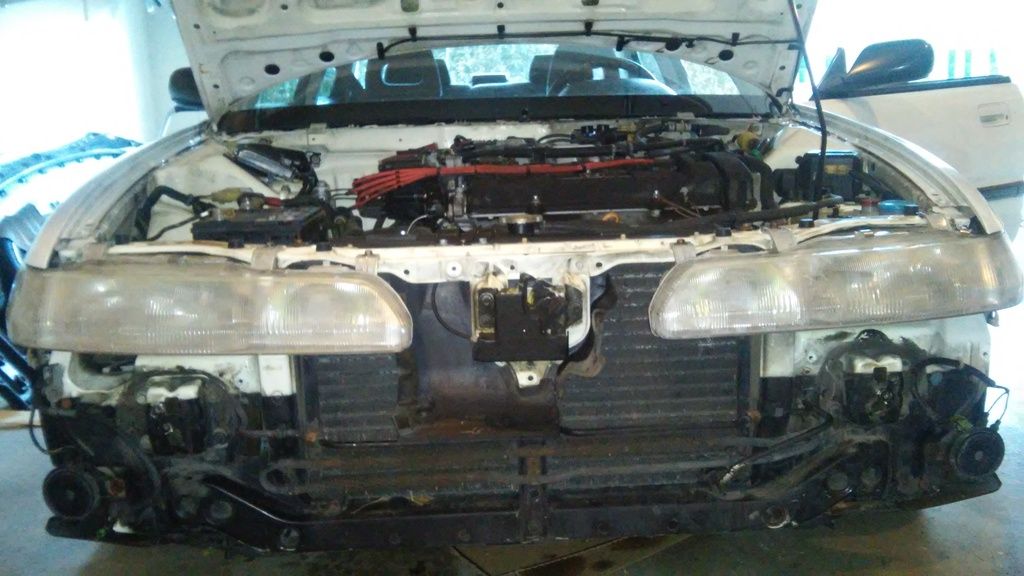
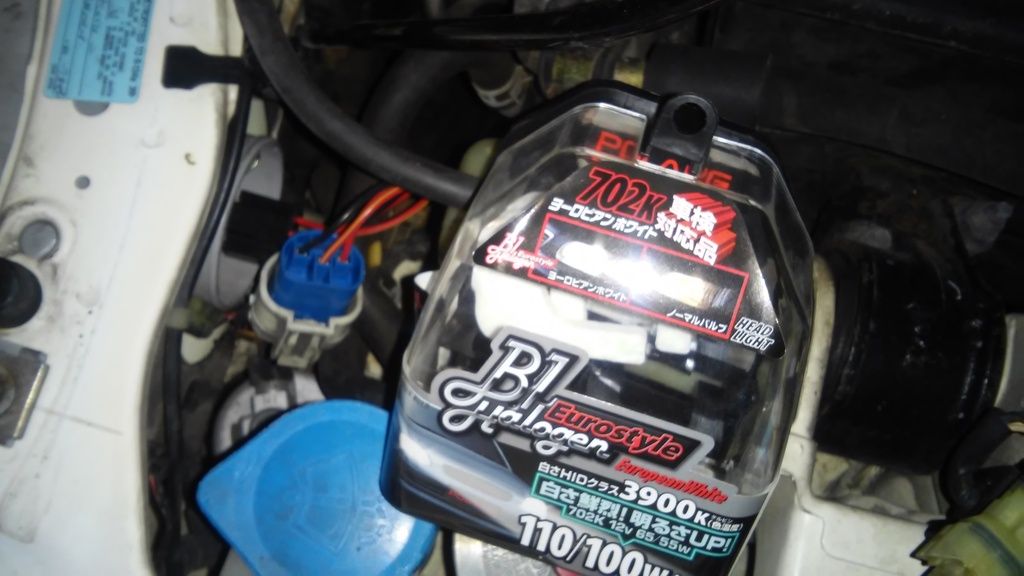
Had some free time today, so I installed these guys. Nice to be getting small projects out of the way so I can get the big ones started soon.

Curiously, fogs and corners stay on all the time, unless I turn headlights off completely. It’s been 10 years since I owned my original G2, so I forget if this is normal. Also, all bulbs are functioning and not burnt out, yet the blinker circuit is still super fast blinking. Not sure what that’s about. Guess I will slowly learn to trouble shoot the electrical system. I will have to also research how my state DMV feels about yellow fogs in the front…

Significant updates to report…the car is rolling! Sold my DD Subaru Legacy, so that invited me to speed up the timeline for registering and getting my DB1 on the road.


Still a lot of wheel gap, but Tien coilovers are waiting in the garage for a nice weekend…

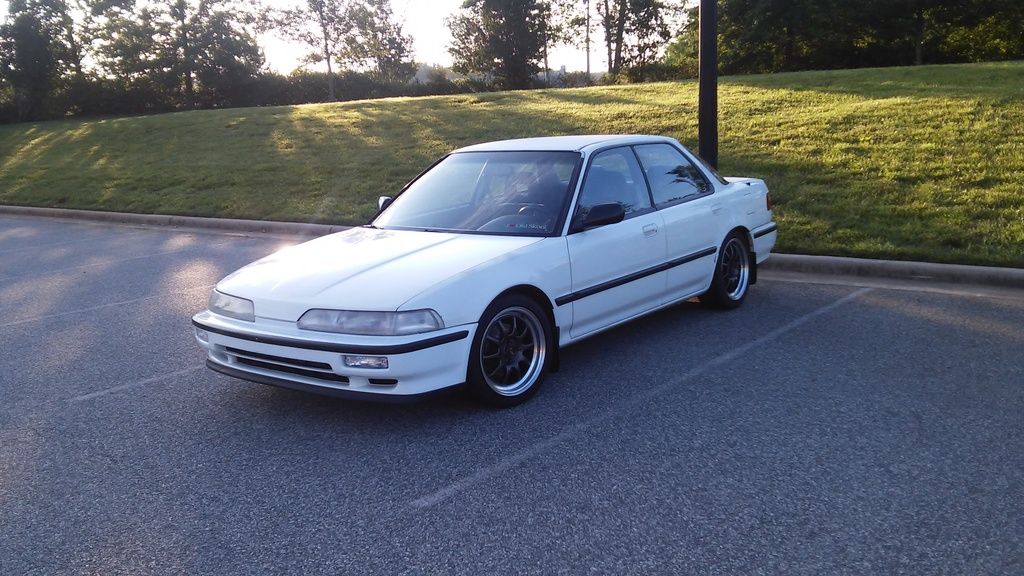
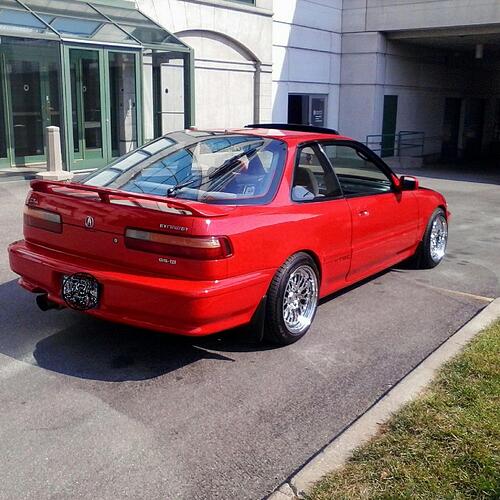
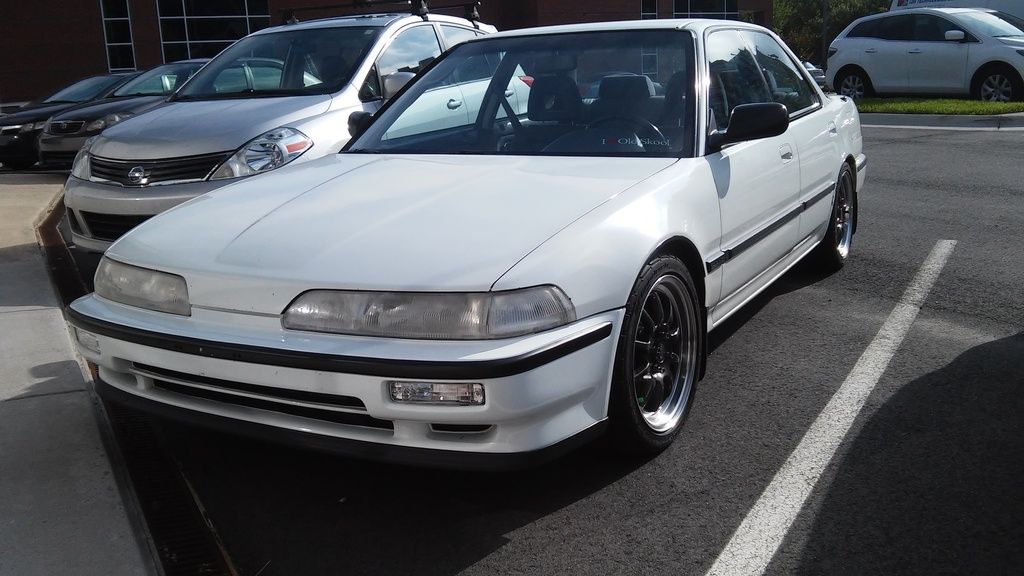
Could not be happier with the 25 y.o. paint.

Represent. The HG sticker gives me a free pass on body rust and crooked decals…:salute:

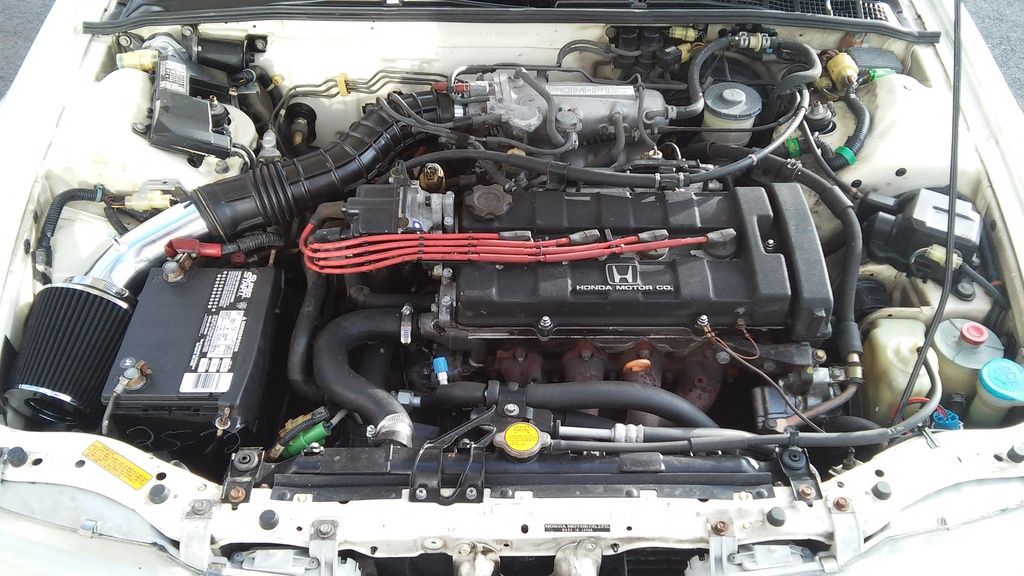
NA life…this bay is a work in progress but I love the untucked look I’m trying to achieve…lol.

Old Skool

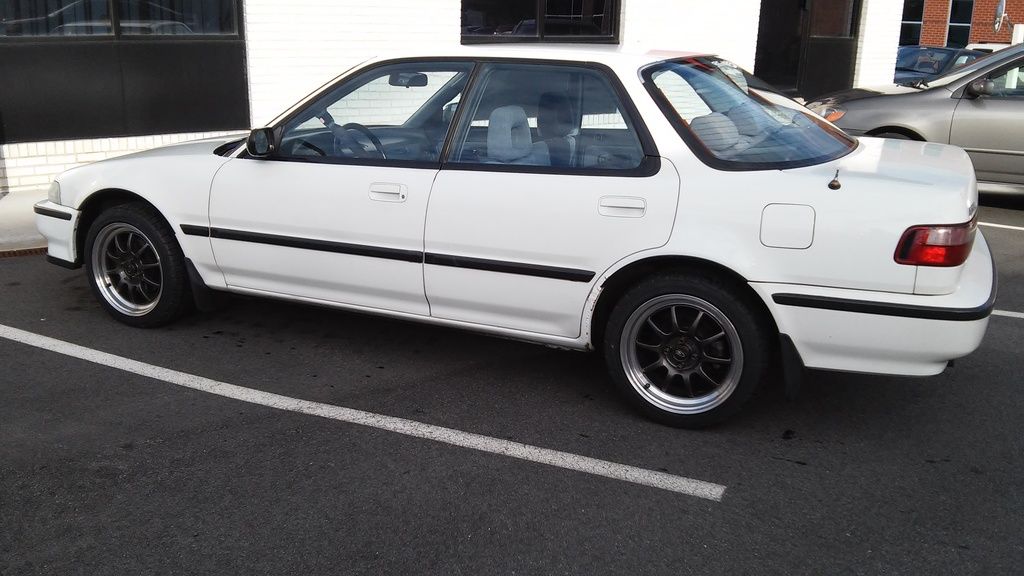
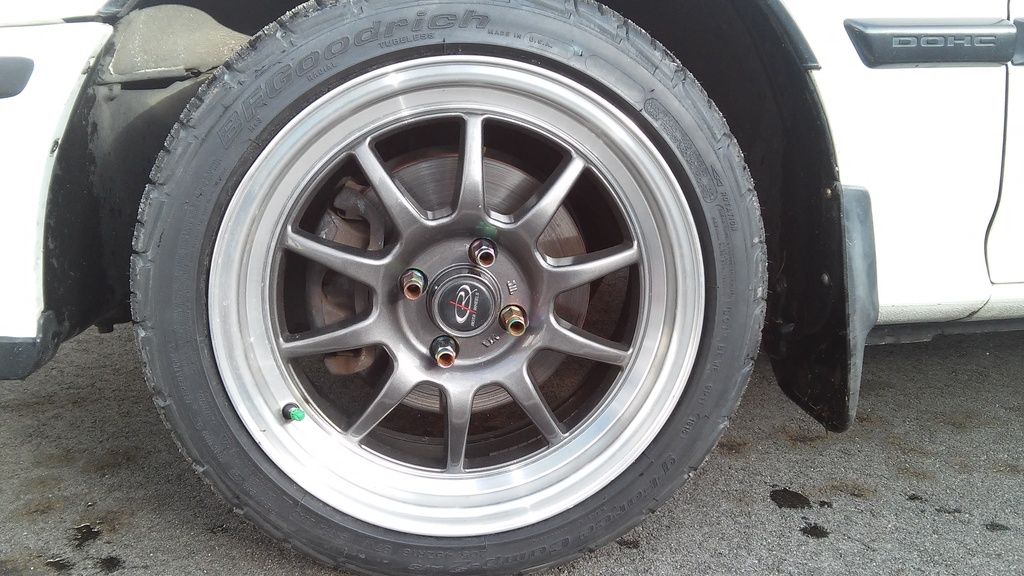
Comp2 all seasons, at a steal from Costco. Hard to find a 205/45r16 these days…

DAMN, I am SOOO jealous. That is one clean DB1, you got there.

Clean!!

Lol did the same 90 all original still with the original floor mats lol clean got lucky

00C0C_5hGRwHWUdc9_600x450.jpg

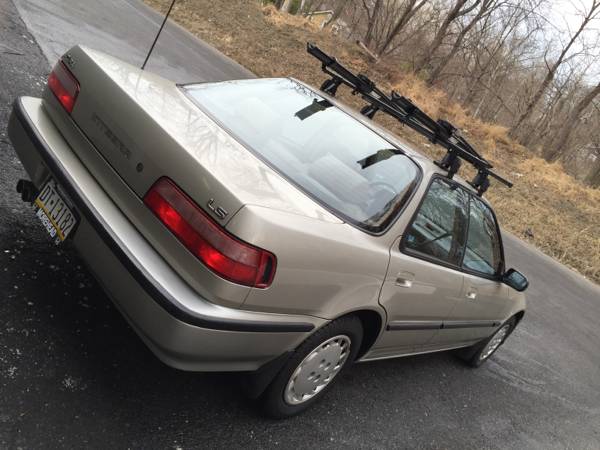
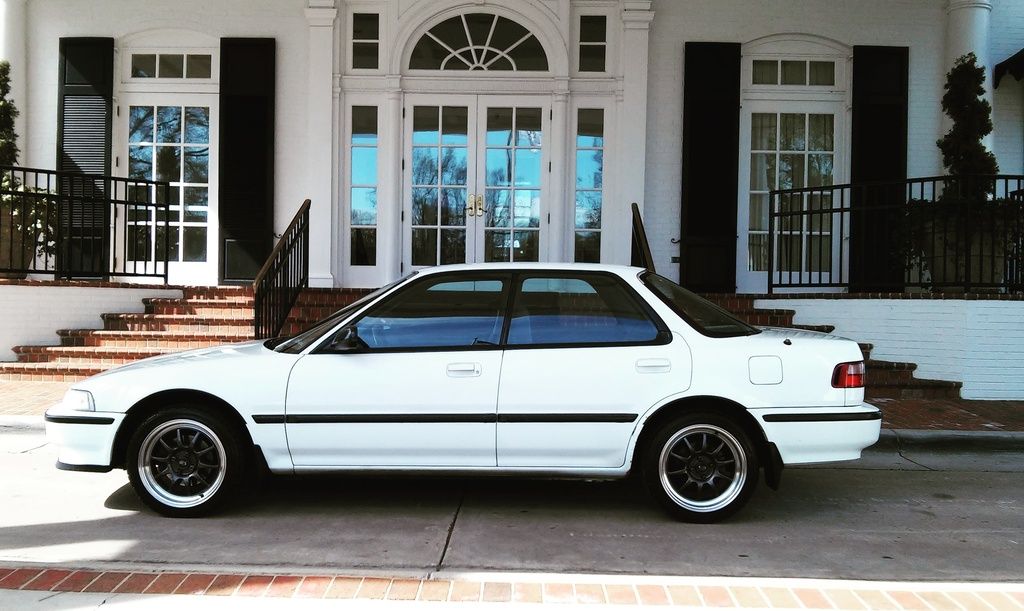
Wow, that 4-door looks like it literally just rolled off the production line and had a roof rack installed! Unreal. … nice find!

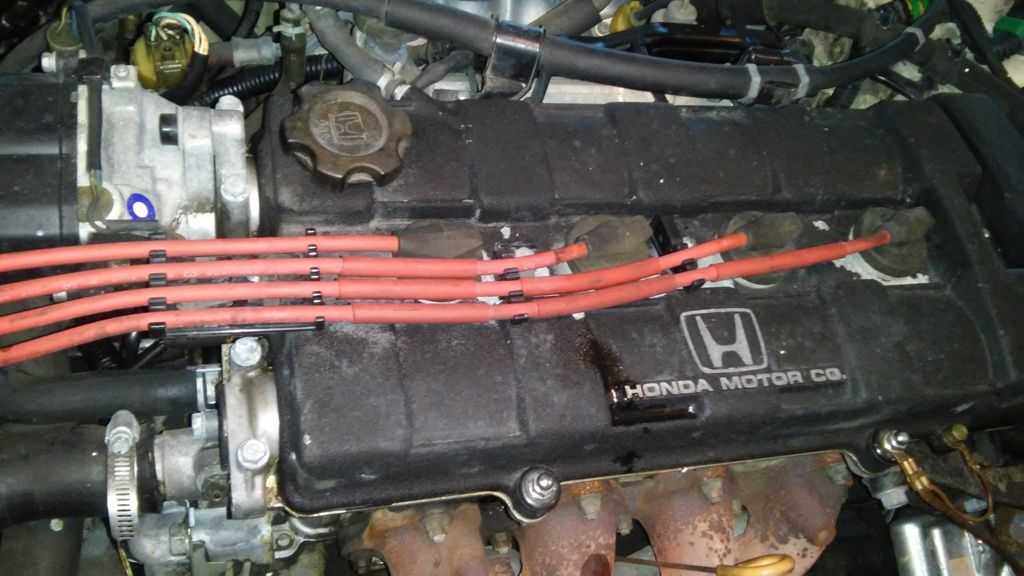
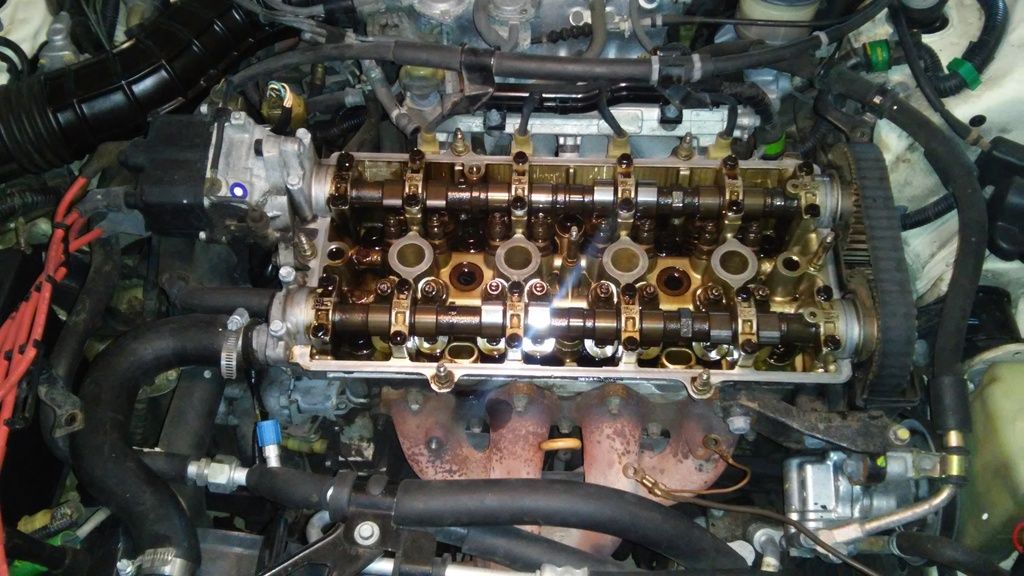
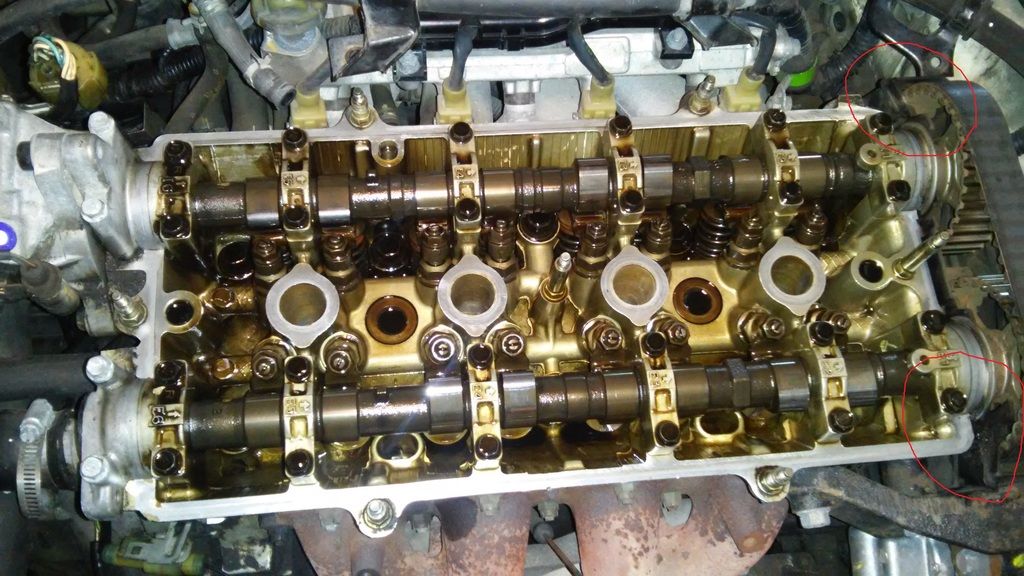
Last weekend was nice weather here, so I got in a good tune-up. Had no idea what age the valve cover gasket was, or condition of the plugs and wires, so it was time.


Before


I had just done a fresh oil change beforehand, and internals look pretty good.


I did notice something troubling… the back timing belt cover, plastic, is rubbing against the cam gears/timing belt on either side (where I have circled in red, above). It looks warped with age or heat, and friction has rubbed a nice slot or gouge in each side. Has anyone else ever had this issue? Is it an urgent replacement, or can it wait for my next timing belt service?


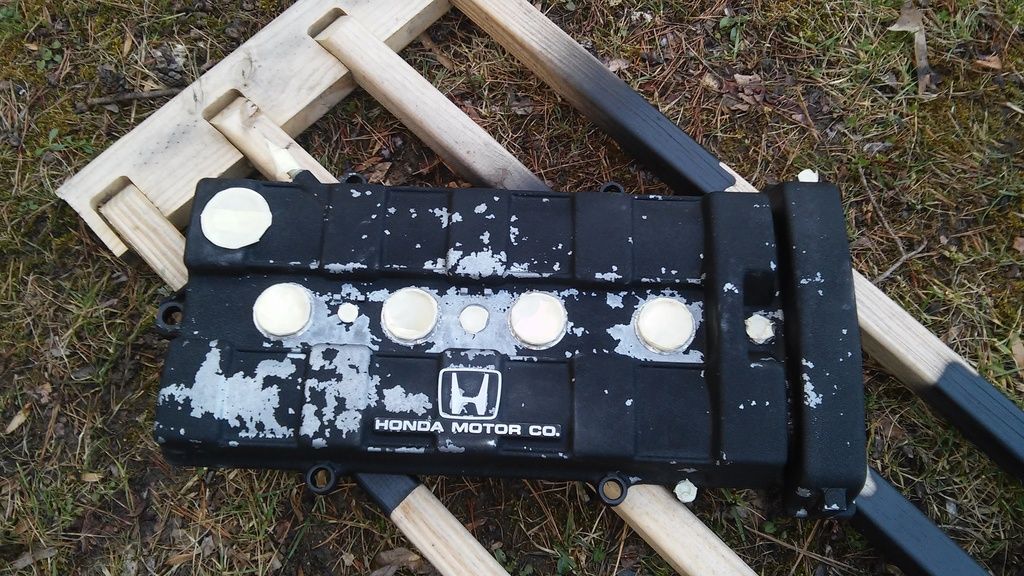
Decided to go a bit crazy with my pressure washer while the valve cover was off. No time/desire to screw with aircraft paint remover, so I ended up with a unique and slightly haggard repaint with high temp engine paint.


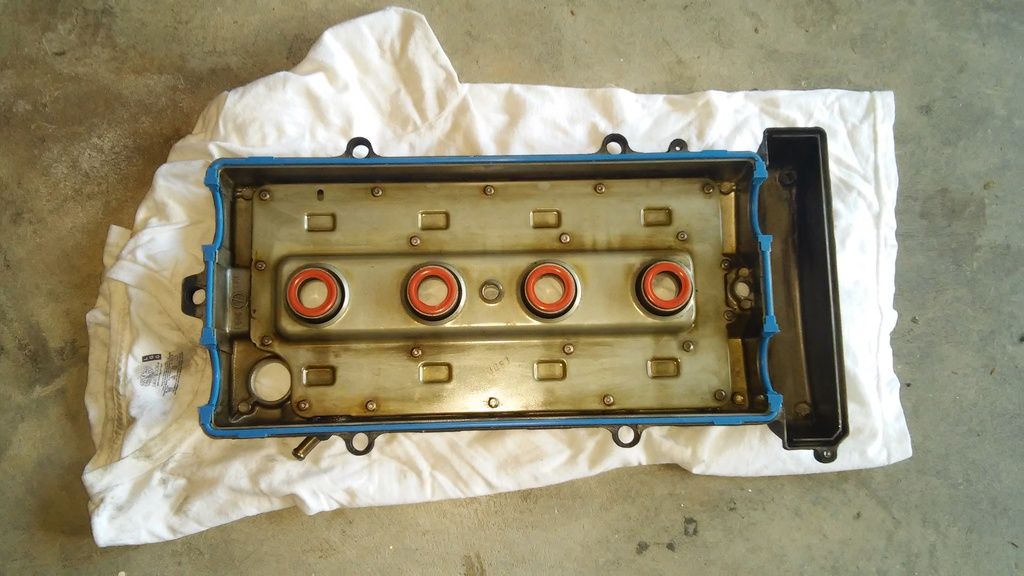
Fel-Pro gasket, nice and clean inside. I didn’t snap a pic, but the plugs were ancient and brown/rusted, but thankfully not oily. The old valve cover gasket was deteriorating, but not leaking yet. From everything I can tell on this car, the original owner had Acura Service Techs do everything, so all components seem fully maintained and functional, if a bit worn.


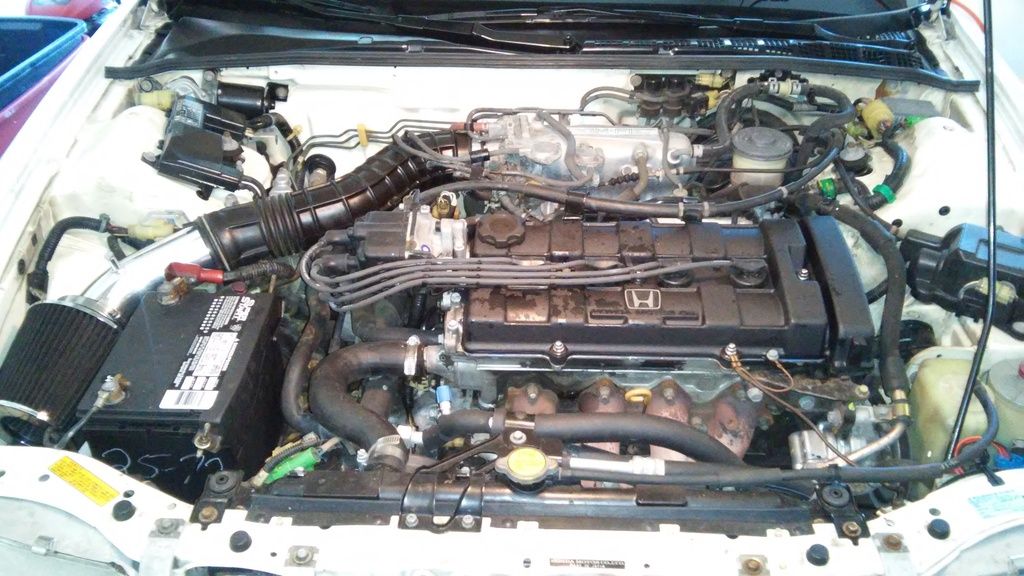
After All done, for now… no leaks, and I doubt anyone else has a ‘custom’ cover quite like this one, lol. Someday I might strip the whole thing and repaint, but for now I am going function over form. It was running decently good before, but the new plugs & wires seem to make this engine purr now!

Plans coming up are full bushing replacement all around (the suspension squawks like a chicken over bumps), adjustable coilovers, and a new drivers seat - refurbished or replaced.

Yeah it really feels like new lol. And thanks it was my second road trip to find a da. I have a original 93 gsr b17 Canadian version without the auto seat belts to . Yours looks really clean as well keep em alive baby. Gd luck with your db1 n keep her lol

Nice sedan. Great find

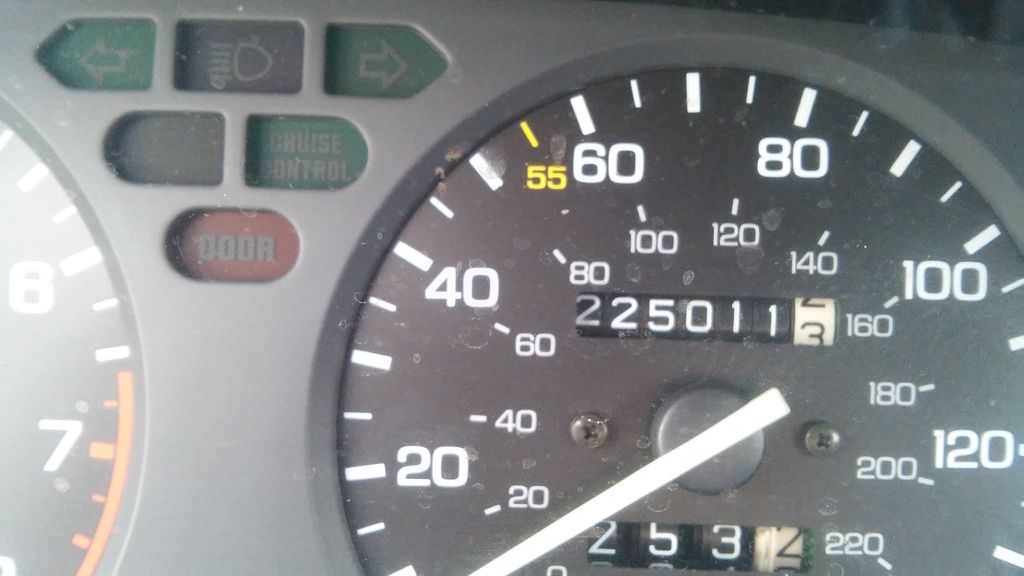
Hit 225k today…no big deal.


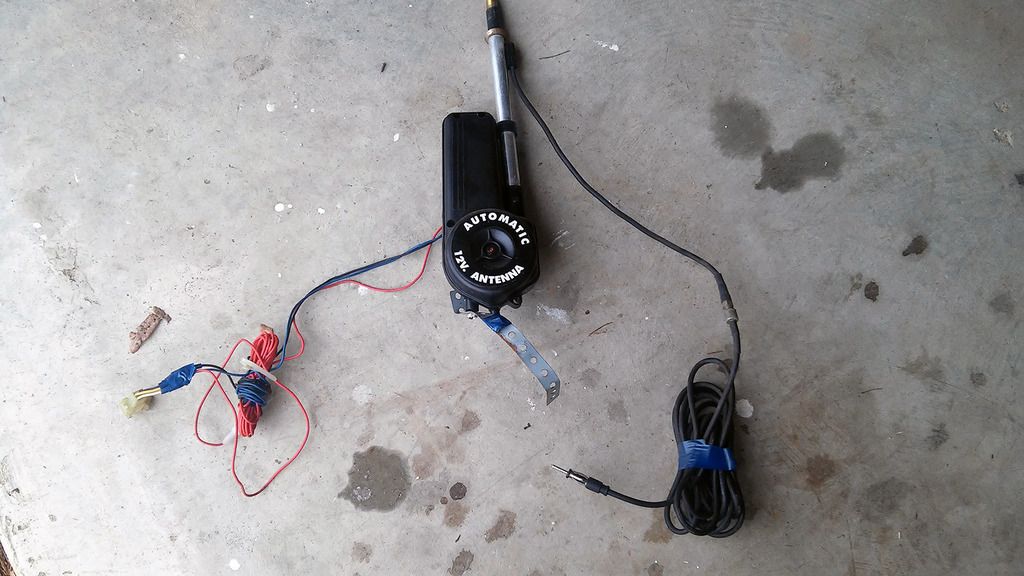
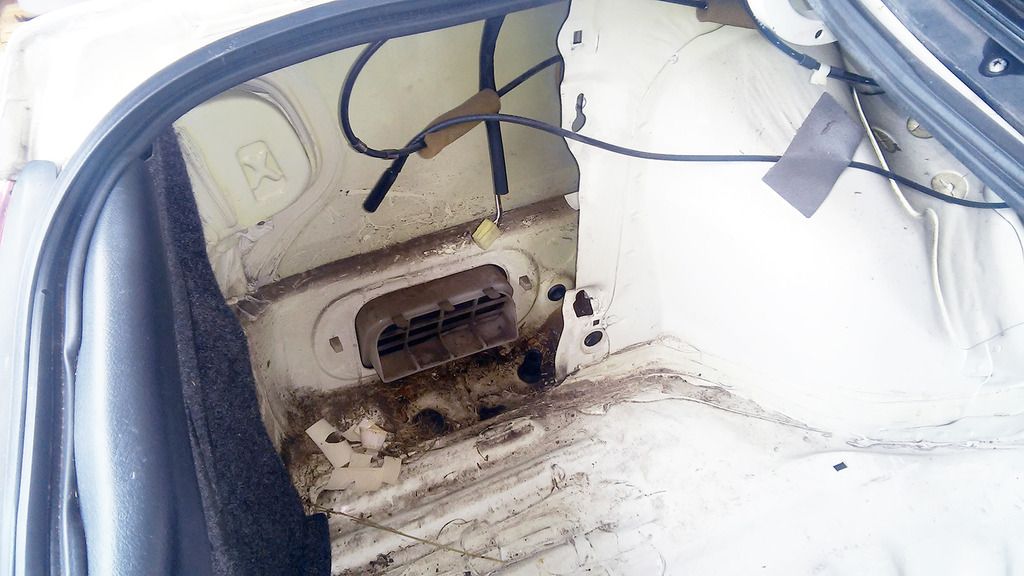
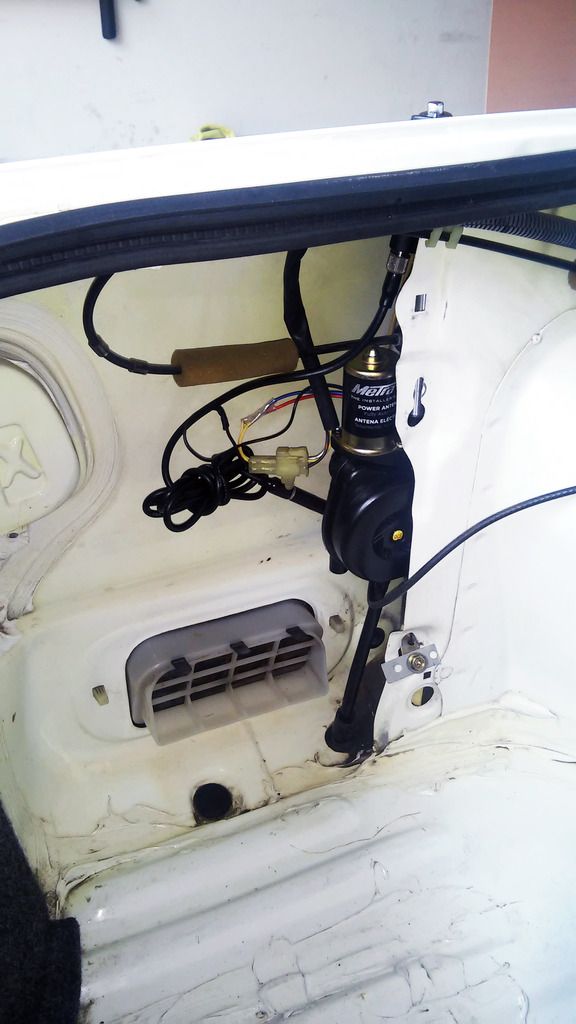
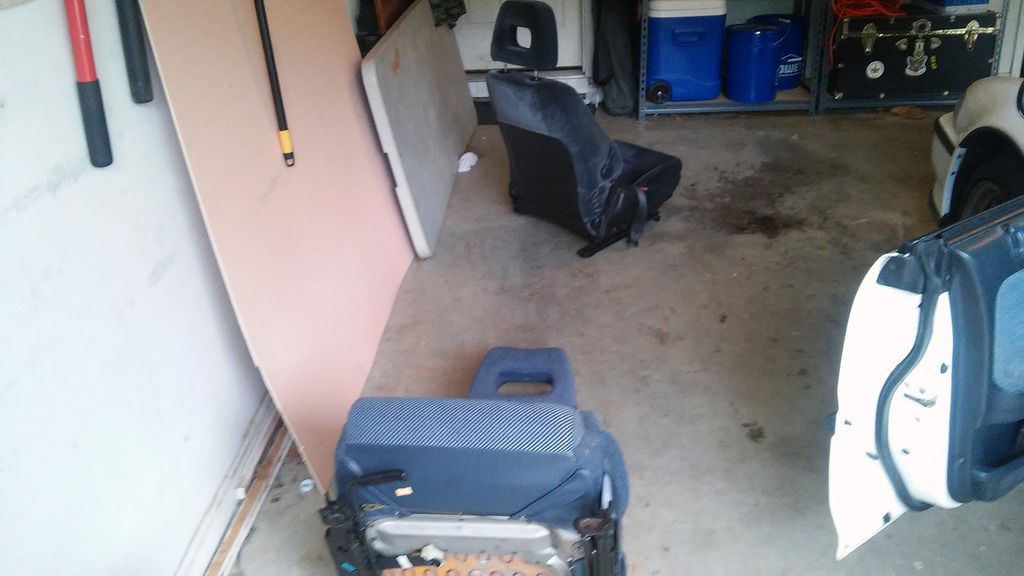
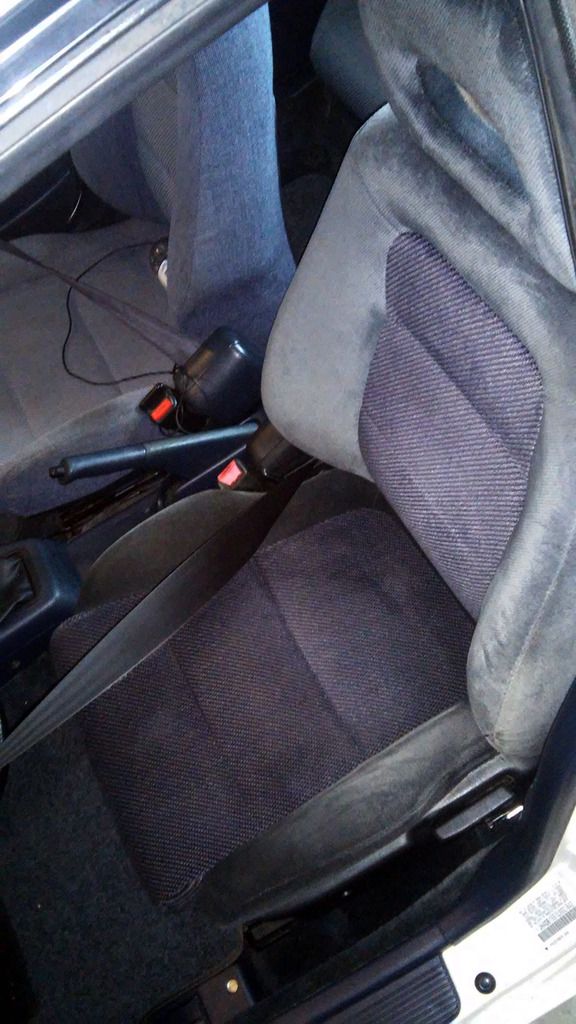
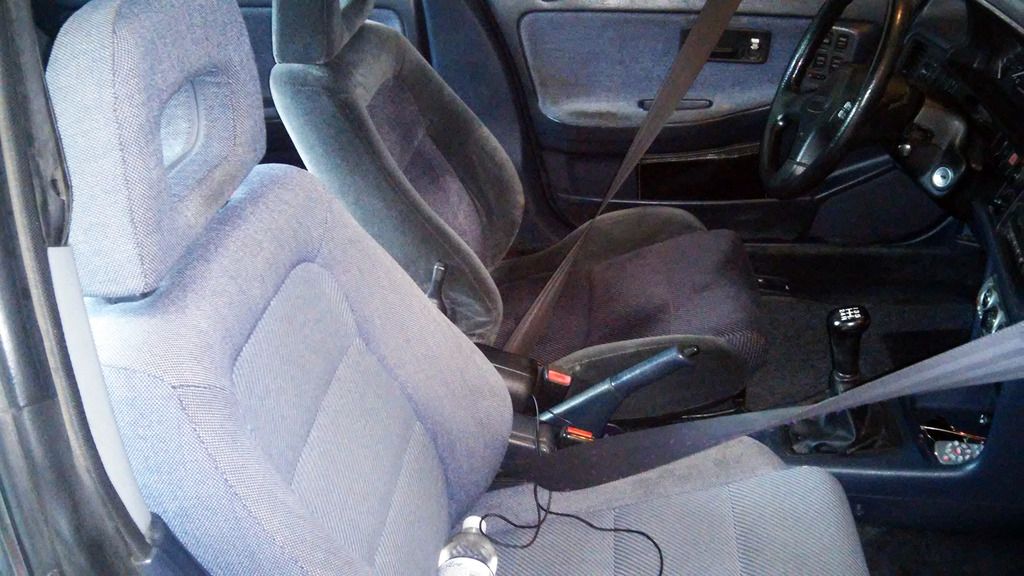
Been knocking out small things from my list of stuff to do… replace the garbage power antenna and clean out old dirt and hay (?) from the trunk space. Also, new temp replacement driver’s seat.

Recently my back has been tweaking because of the tired and worn out driver’s seat cushioning, and the slant to the left was really getting to be annoying and slightly painful. A member on here (IntegraDrew) had a super nice OEM driver’s seat for sale, and he drove it down from Maryland a couple weeks ago. You really can’t beat this community. Because the rest of my blue interior is mint, I still want to get the original seat reconditioned, but this will do until then. IMO it does not look too mismatched, even though it is the grey upholstery. It feels like I am driving a totally different car now!

Why don’t you just have the seat covers swapped? I swapped my rear covers on to JDM frames so I could have rear headrests. All you have to do is bend a bunch of hog rings.

That is a good suggestion, and believe me I would rather do what you recommend than put a grey seat in a palmy blue interior. I have had a hell of a time trying to find fabric for my original driver’s seat, and it makes no sense to put a ripped and worn seat cover on a newer frame. The plan is to get a local upholsterer to restore my seat with all new fabric, and then return it to the car.

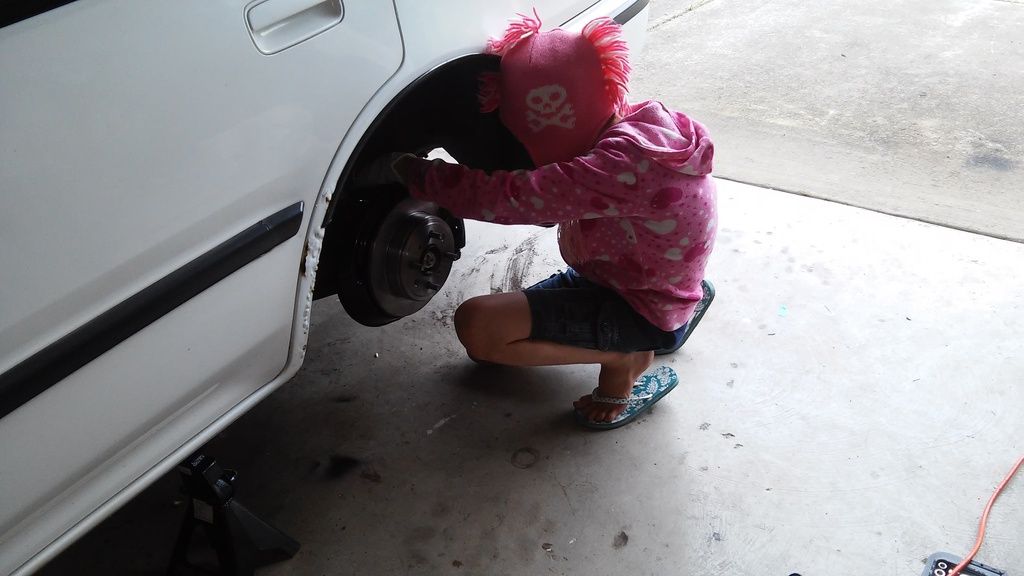
This weekend was my first chance to do serious work on the Integra, so I took Friday off and decided it was time to commit to the bushing and suspension replacement. Being a veteran, it also was a pretty great chance to shut off my phone and reflect on stuff from the past while I was busy getting filthy. Even put my garage bunny daughter to work turning wrenches, at her own request.

Hope everyone had a great Memorial Day.
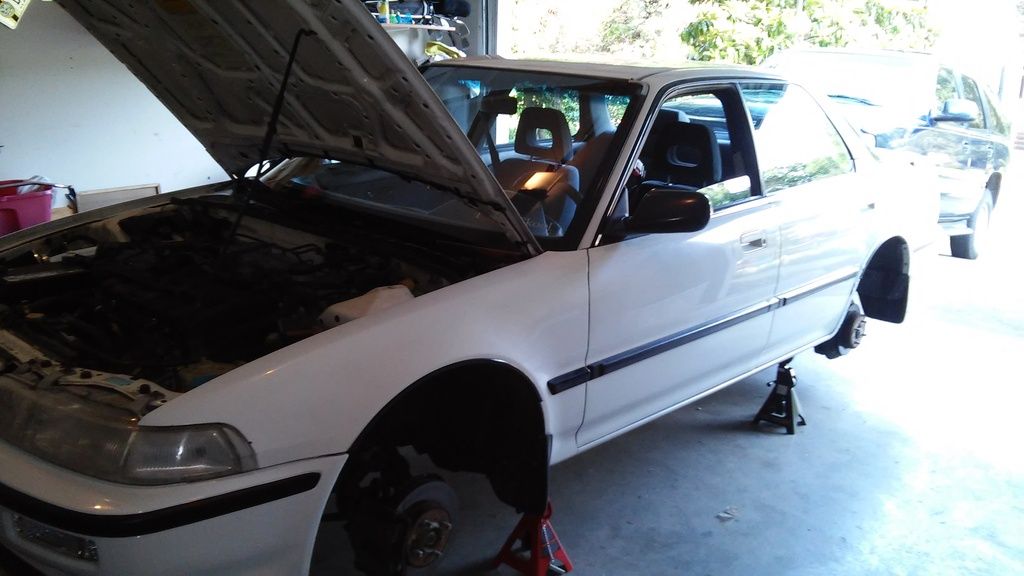

I’ve been collecting parts for almost a year now, and highlights for the weekend were:

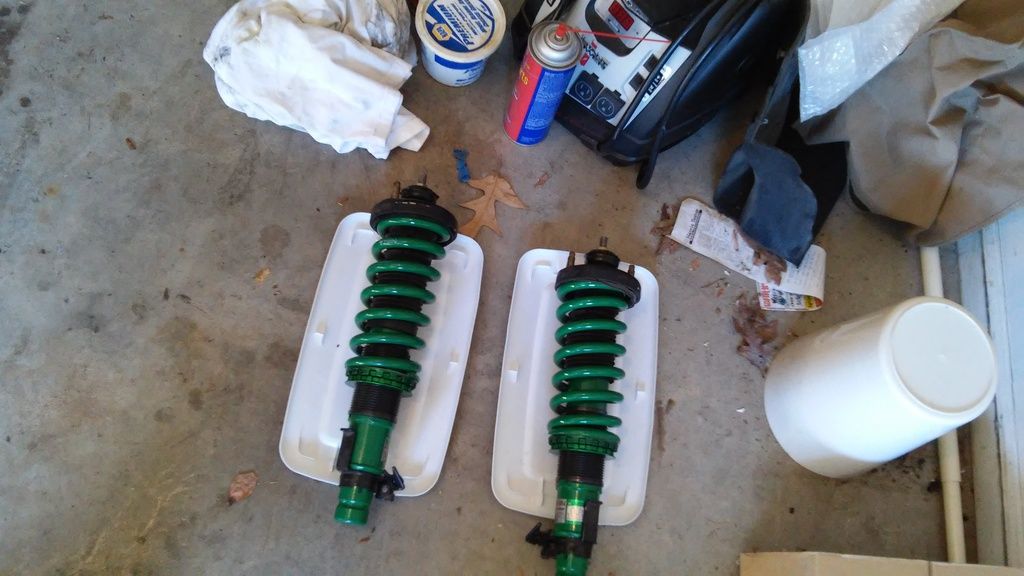
  • OEM strut & spring replacement - Tein Street Basis adjustable coilover kit, front and rear
  • OEM rear lower control arm bushings - Energy Suspension bushings
  • OEM RTA Bushing replacement – Prothane kit
  • New Brake Rotors and Pads
  • EBay strut tower braces
  • Skunk2 rear camber kit
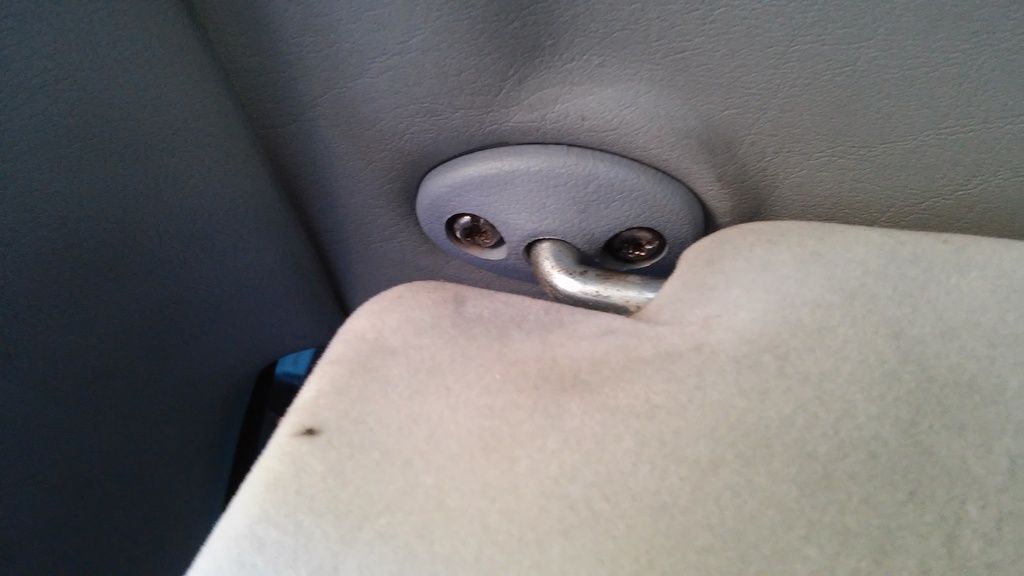
  • Smaller jobs: sunvisor repair, pedal pad refresh

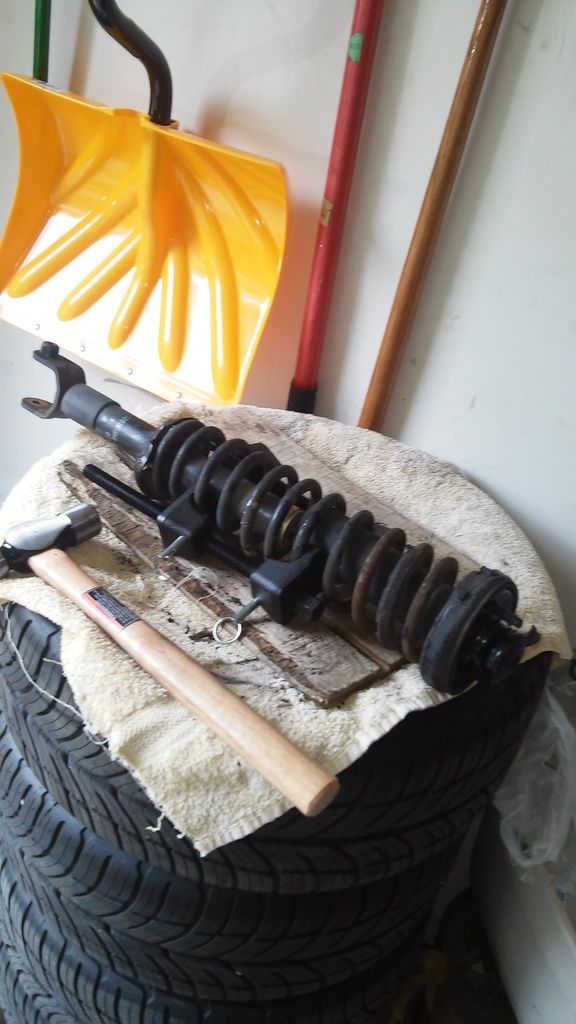
All of this was done in my garage, on the floor, but I had a plan and it worked out really well. A while ago I had purchased a Kobalt corded impact drill anticipating this job, and it more than paid for itself. Also rented a coil spring clamp tool from Oriley’s, which helped that part of the work move smoothly. Jdecks build thread on G2IC has really inspired me over the months since I picked up this car, so I tried to be organized and fairly patient like he has been, with excellent results, lol.
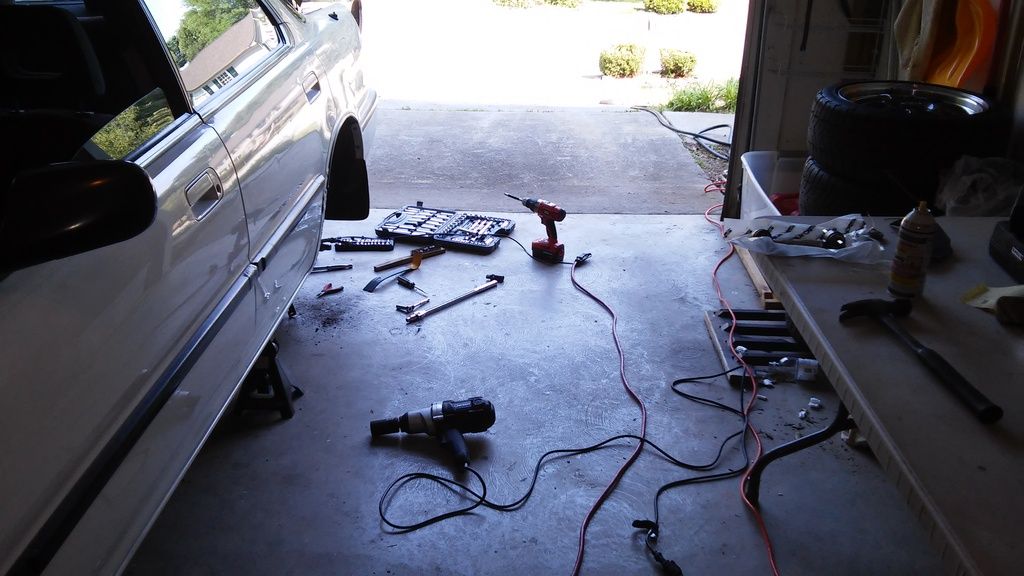
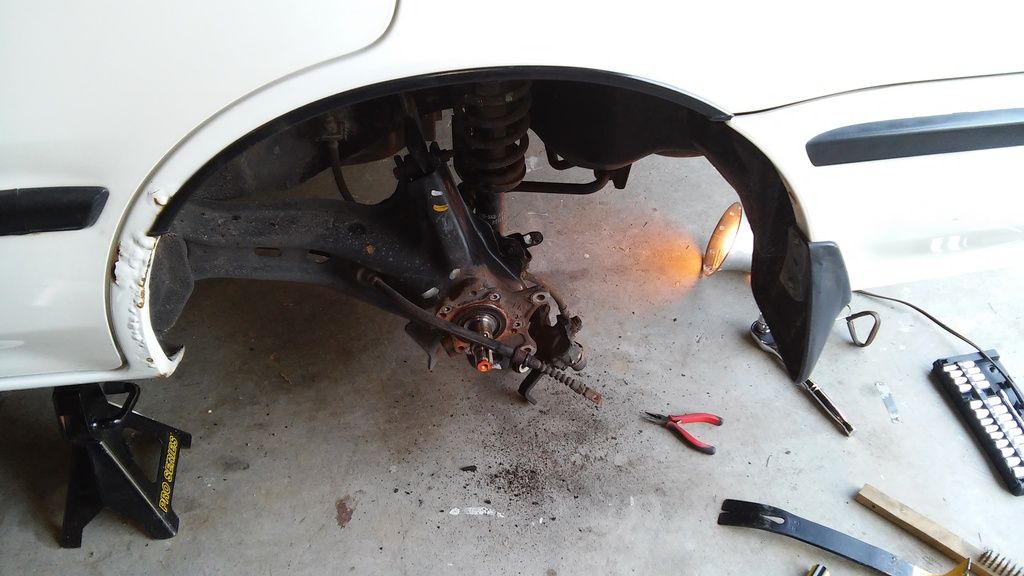
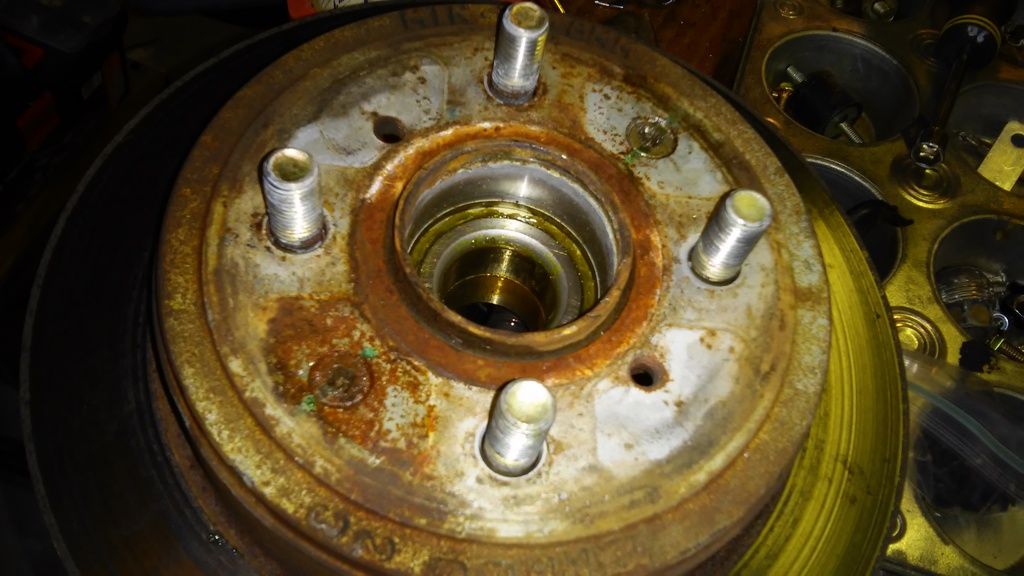
Hate me some frozen and rusted rotor screws.
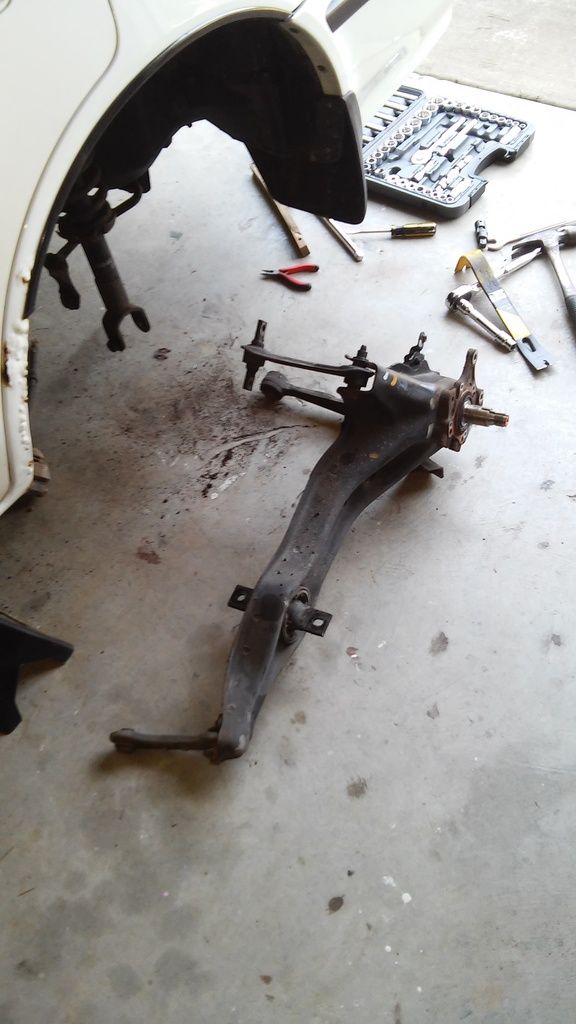
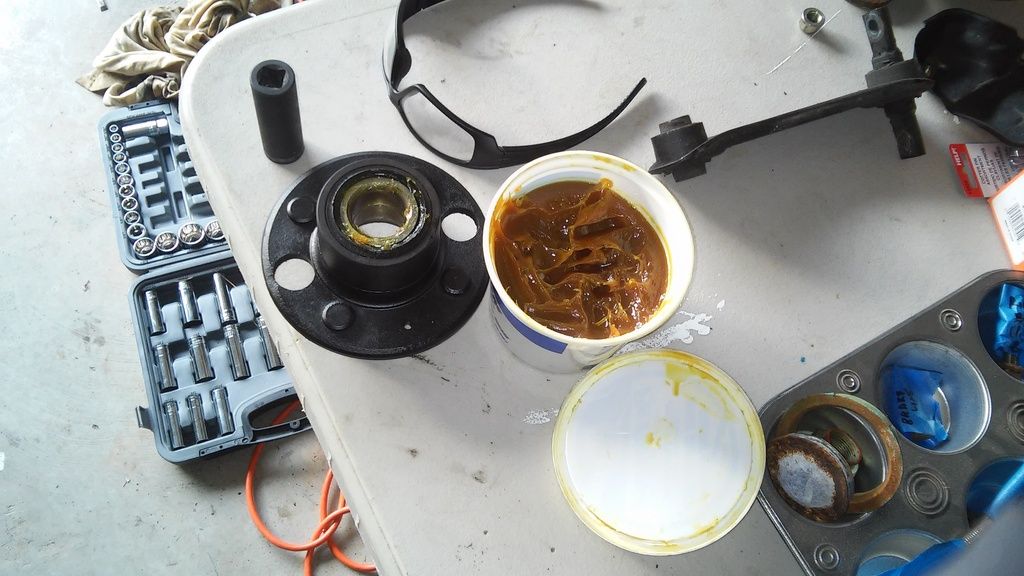
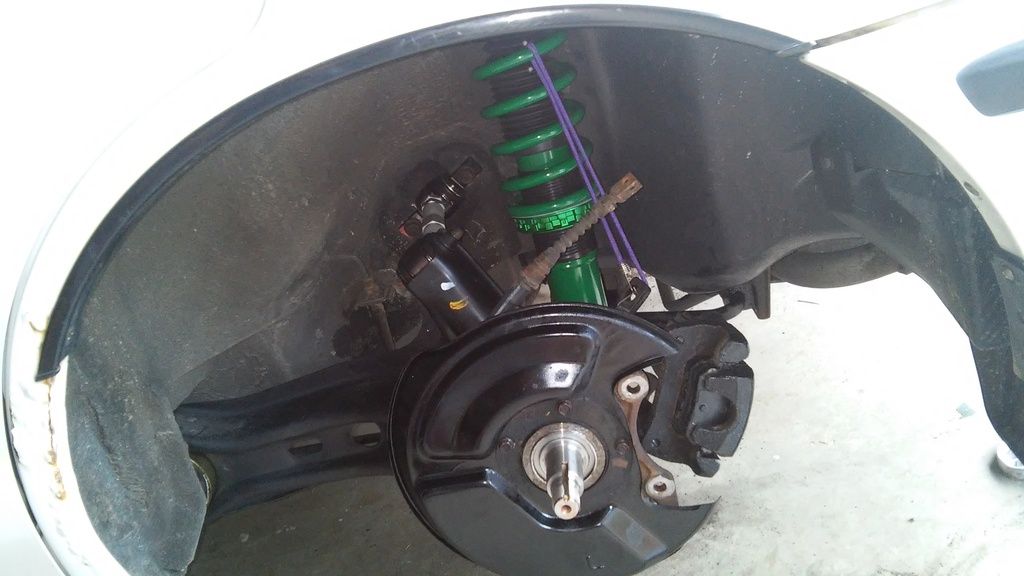
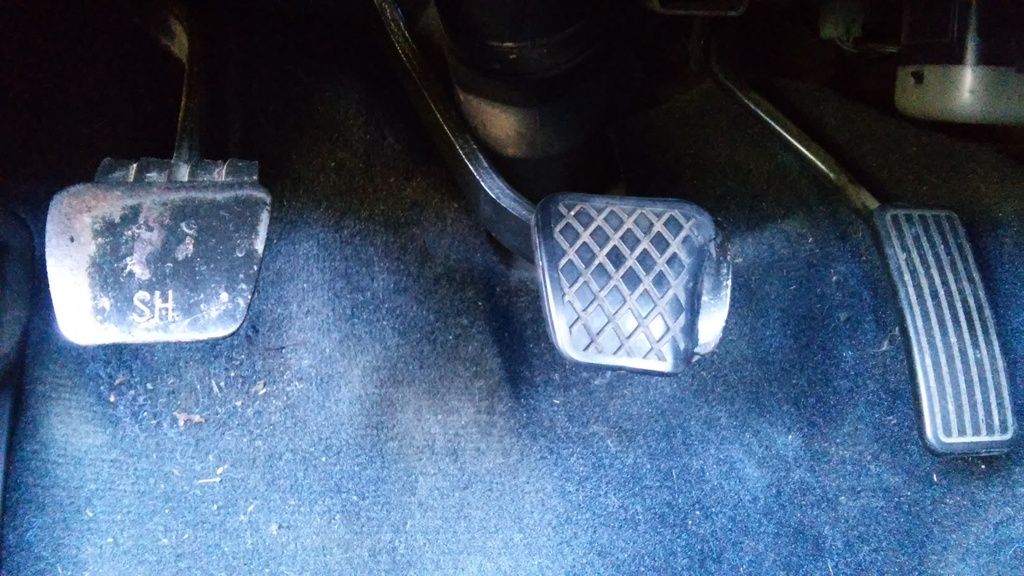
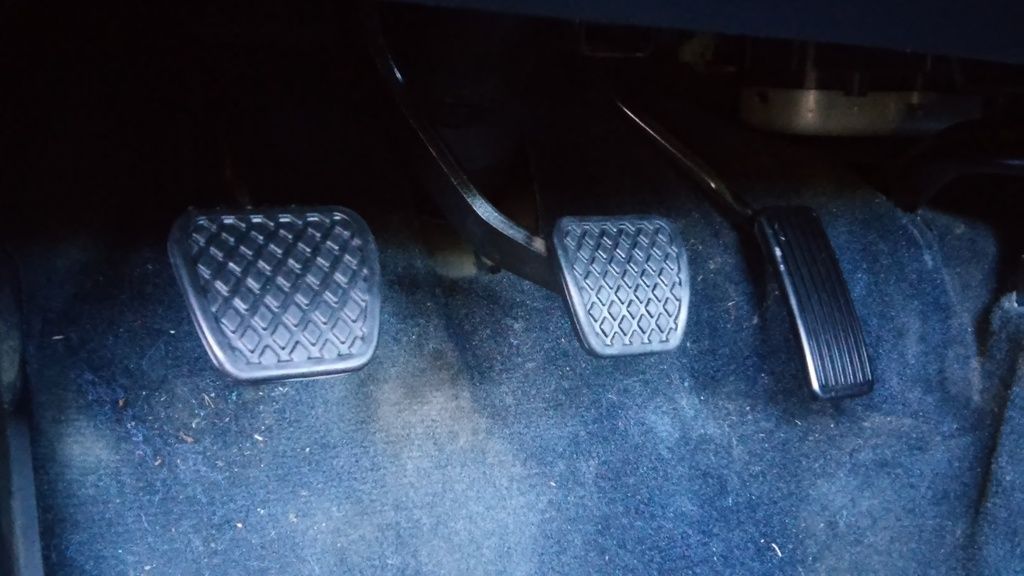
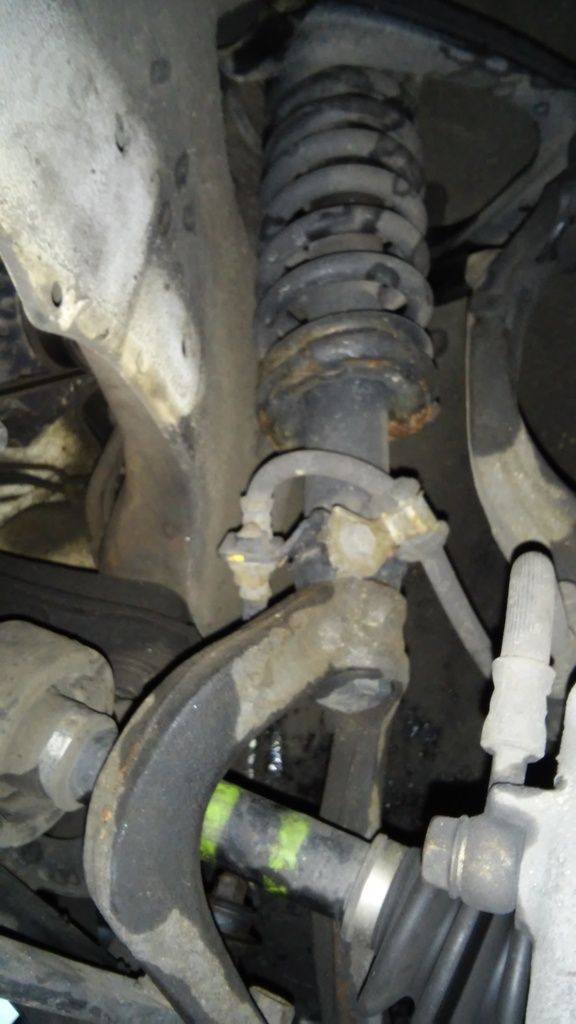
When I got under there and started pulling stuff apart, I found that the car had been dealer serviced and kept super clean, so no visible issues other than age/deterioration. There is more body rust on the rear quarter panel fenders than under the car! I did see an exhaust leak at the muffler, so an axle-back may be next. One of the front springs had also cracked and broken in several places, and it looked like moisture had gotten inside the rubber spring covering and eaten the metal away.
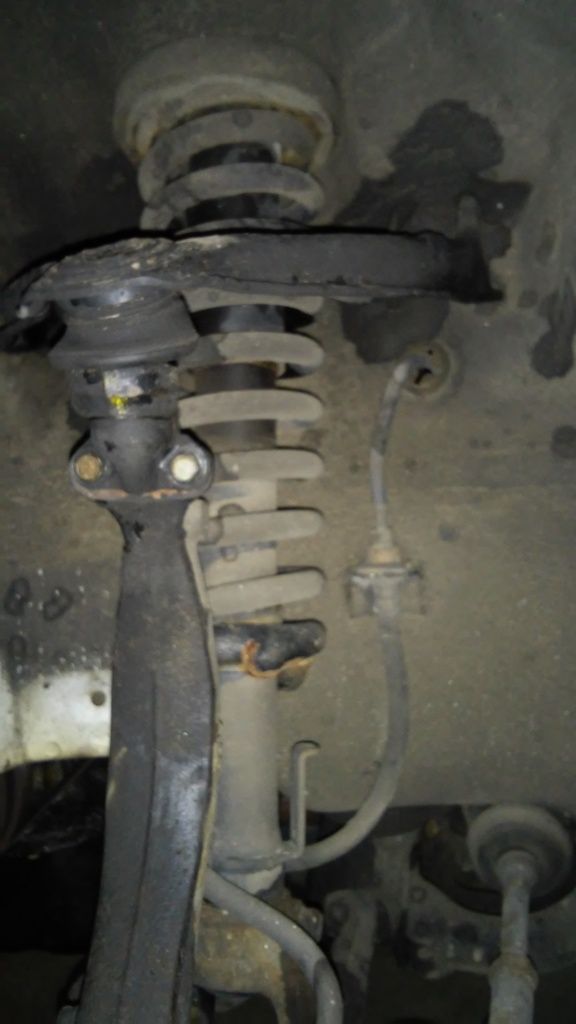
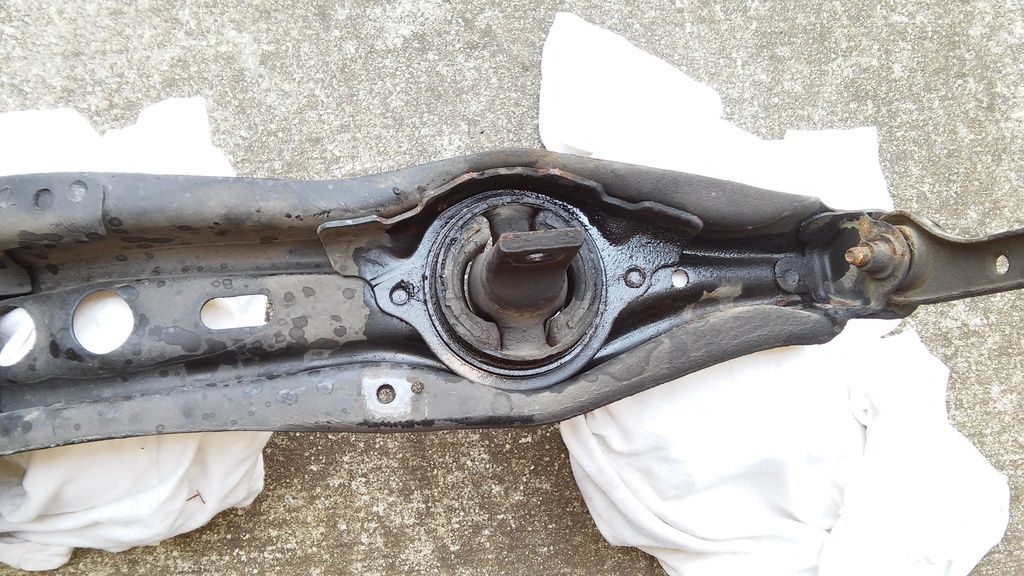
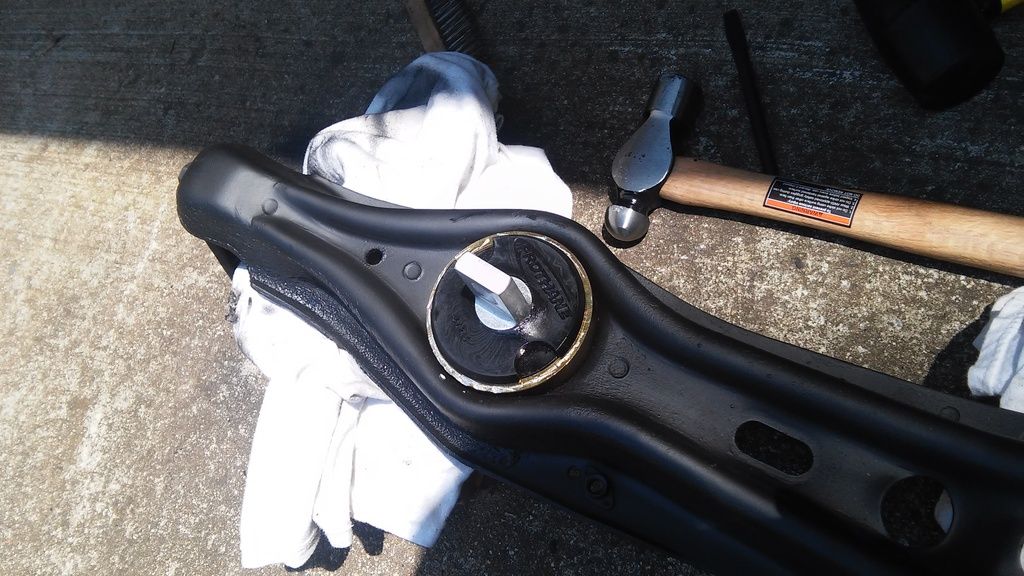
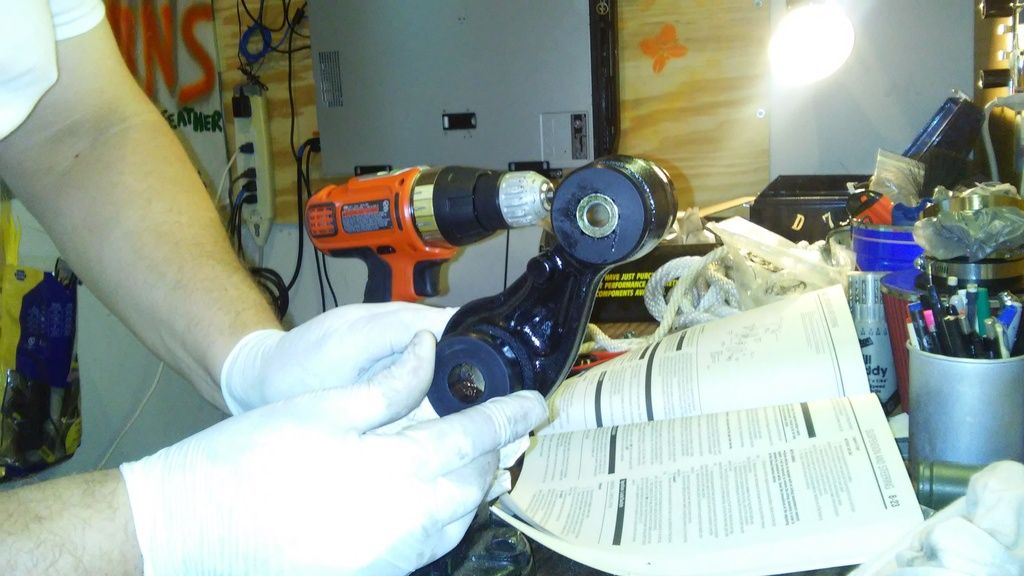
The RTA bushings were squeaky as hell since I bought the car last year, so I knew those had to go. I ended up smacking the old ones out with a hammer and punch tools from Harbor Freight (love that place!), and then I used the punch to seat the new Prothane bushing. You can see that I marked up the sleeve pretty good, but it went in true.
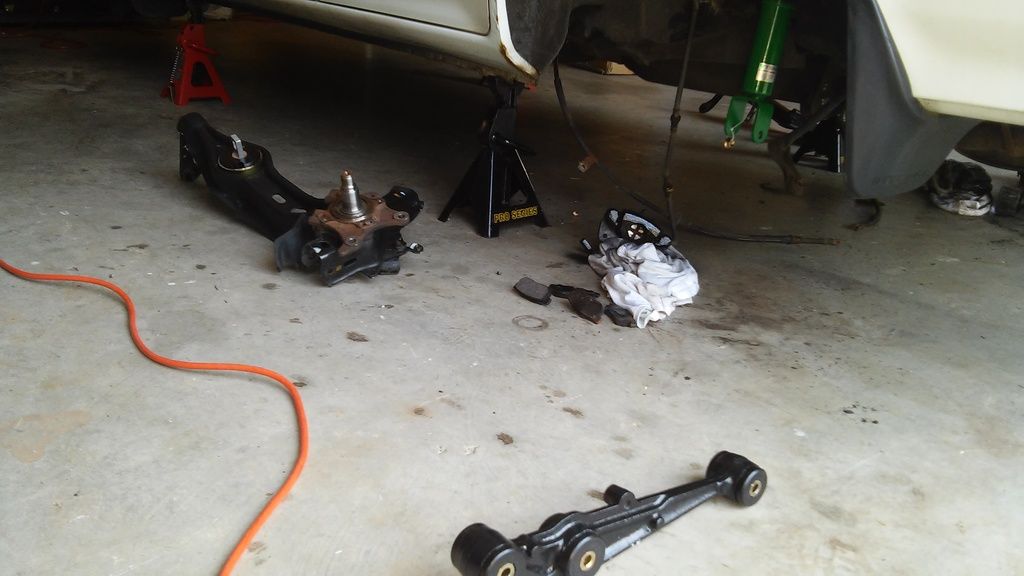
I had never done coilovers (actually any suspension work, ever) before, so I went pretty slow and took my time. The Tein coils require components to be reused from the OEM damper stuff, so I was able to clean up and repaint some of those 26 year-old pieces in the process. Everything went back together fine, and just to be sure I had my local shop check everything over this morning when I brought it in for an alignment. Now I know tons of people here swear by Koni/GC, but for $500 shipped I got a steal on a perfectly good aftermarket coilover setup out if the box, and did brakes/rotors/bushings/new tools/ etc. for what it would have cost me to do the best in class suspension setup. No regrets.
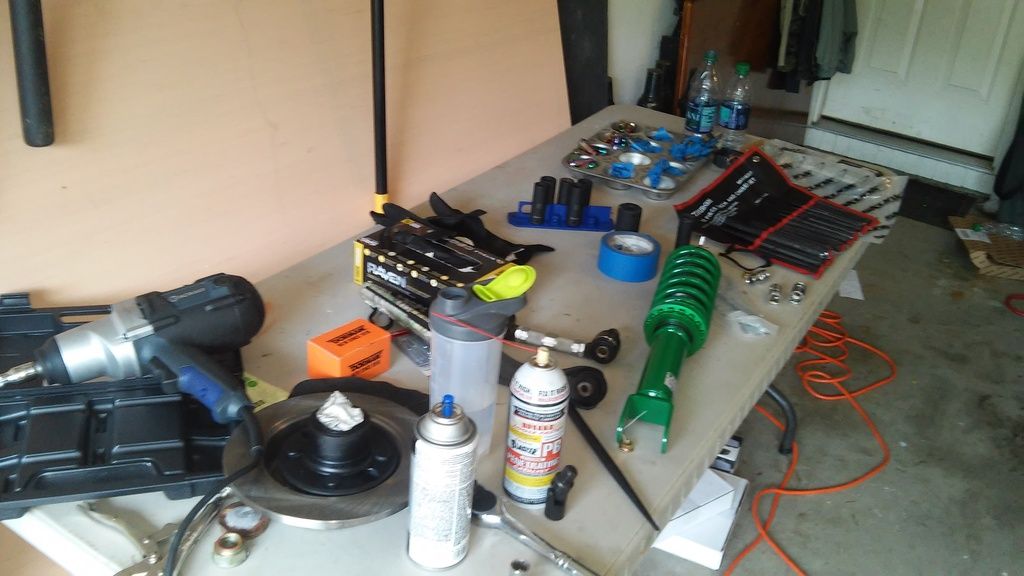
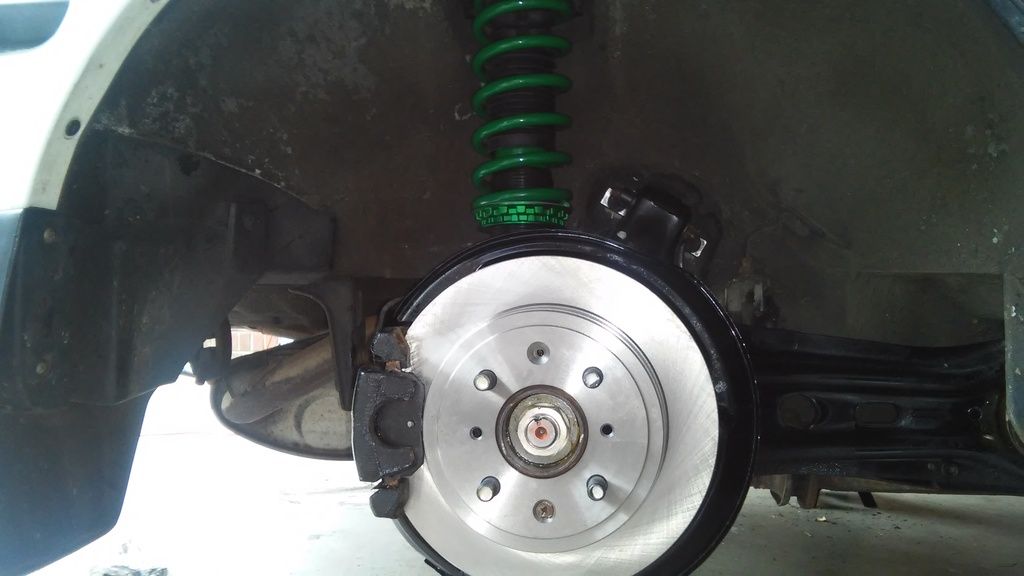
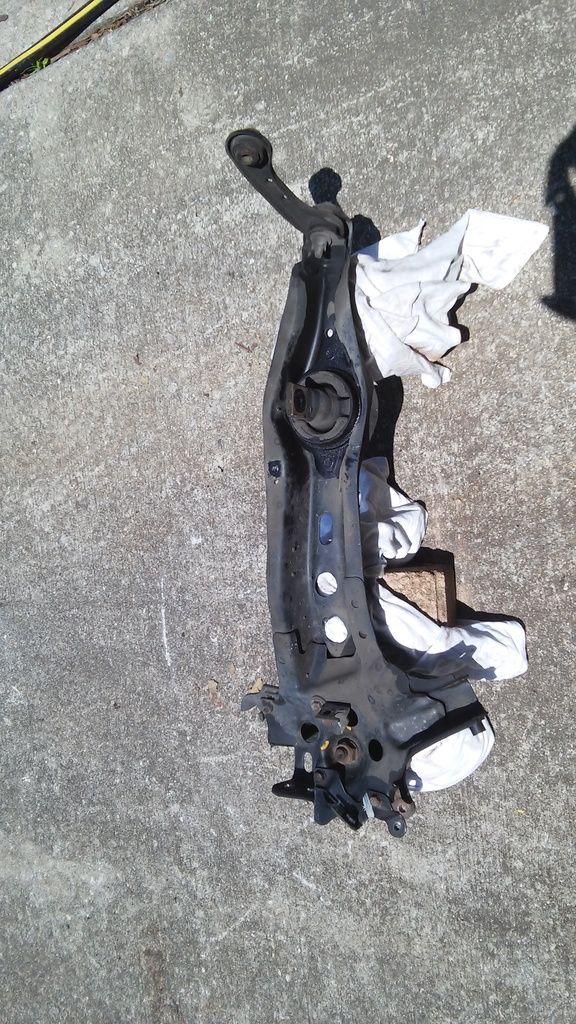
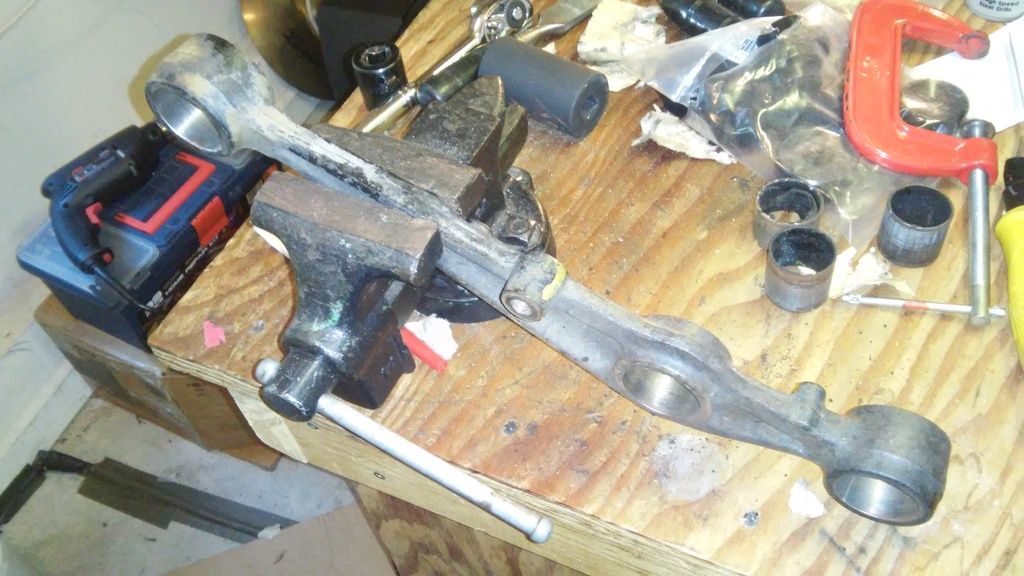
For the rear lower control arms, rather than burn out old rubber, I decided to melt the rubber and then hacksaw out the rings. I used my shop vice to press in the new stuff, and that part was simple.
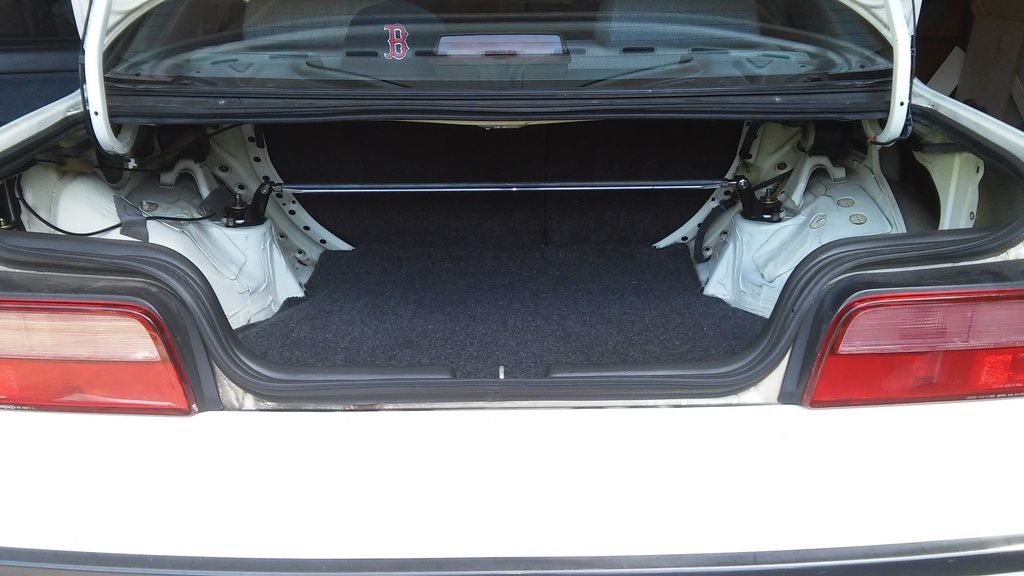
The eBay cross braces make a noticeable difference, despite their garbage build quality and workmanship.
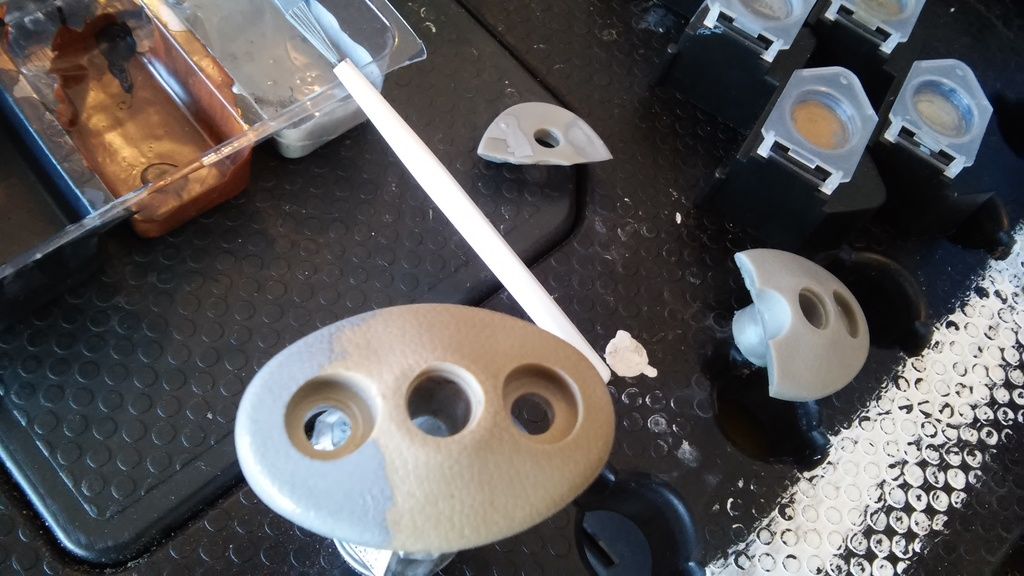
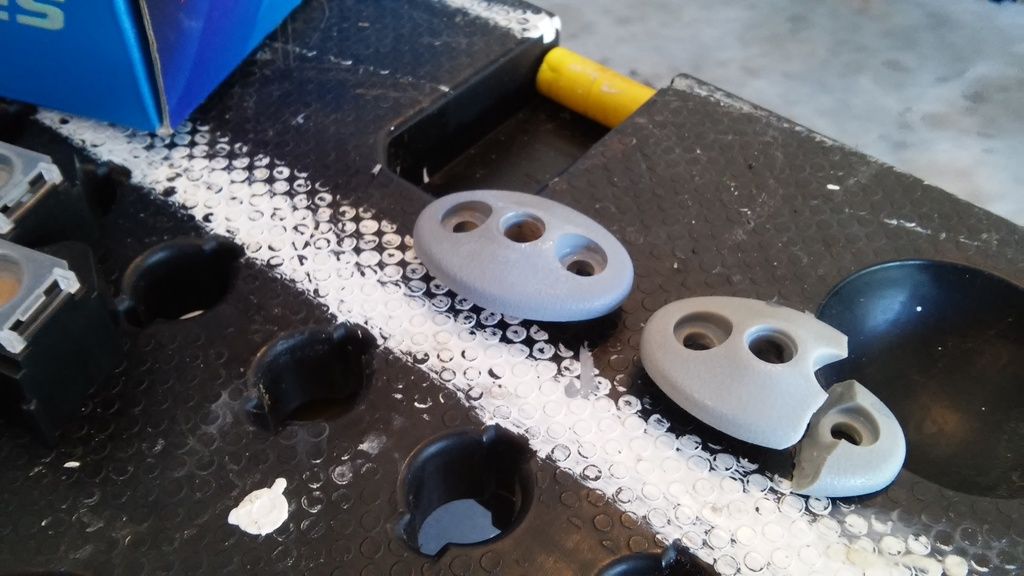
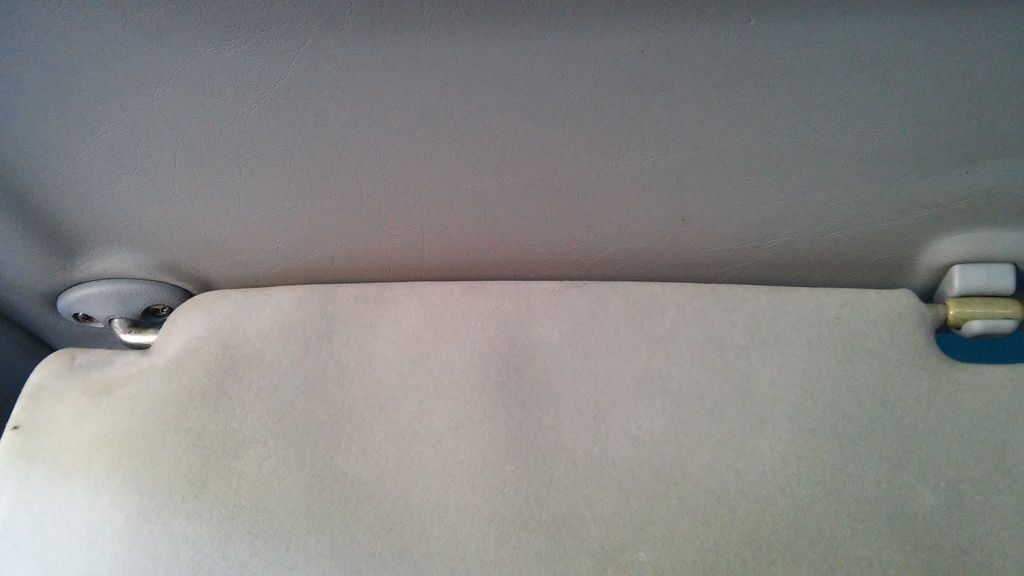
One haggard repair was the plastic brace for my sunvisor, which had cracked in half. I found a replacement at the scrapyard, but it was from a tan interior, so I got out my Testor model paints and had some fun. You can’t tell the difference now, haha.
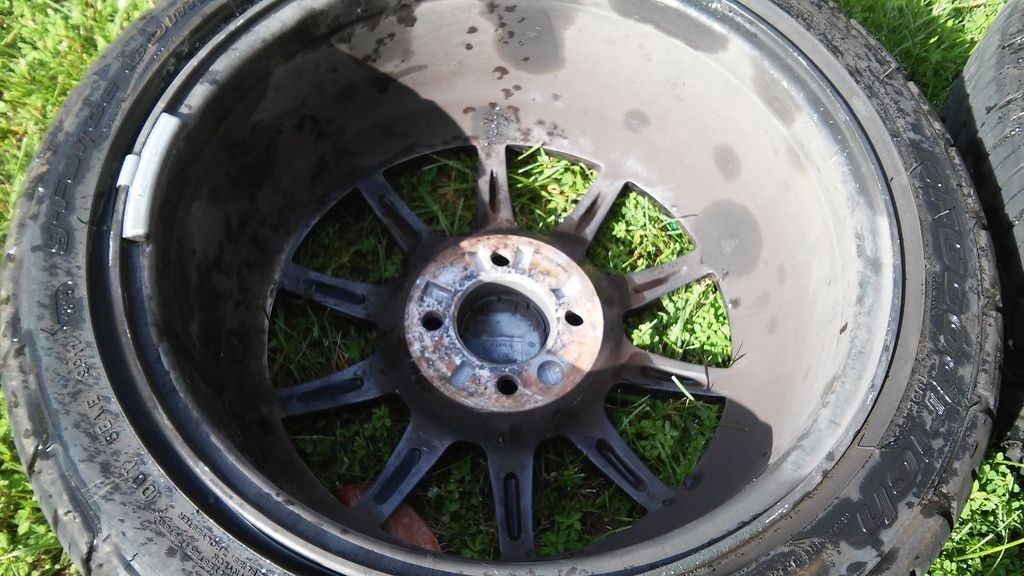
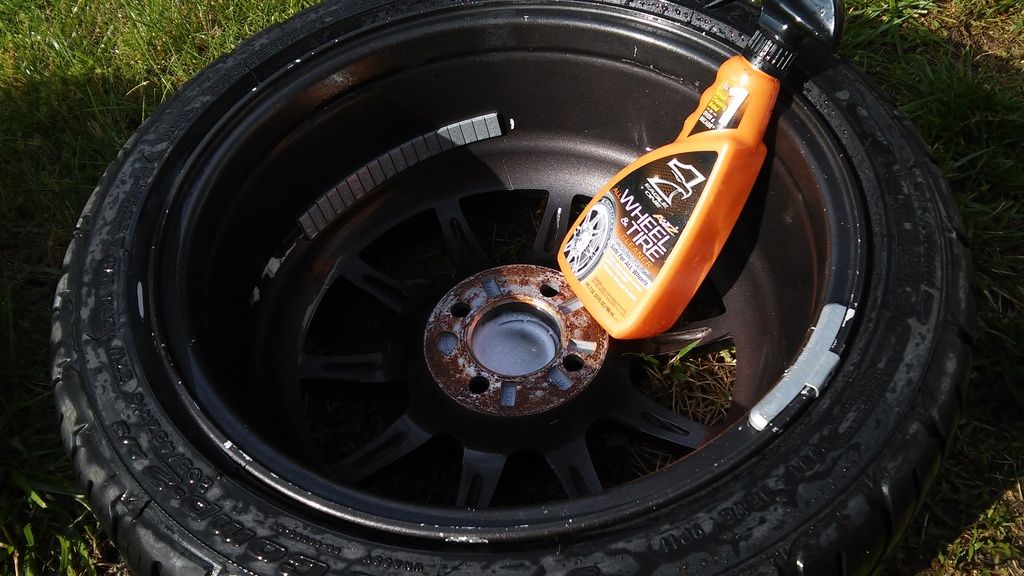
My Rota wheels were filthy from the previous owner, and I had not yet had a chance to deep clean them, so I took advantage of this opportunity. Eagle One wheel foam is amazing, highly recommend.
It took me 3 full days to get everything done, and I still have the entire front set of Energy Suspension bushings because the fronts basically looked good still from the factory. Maybe sometime I will look at a “Part II” of this project, but I am not worried about it right now because everything is good at the moment. The ride is a bit stiffer now, but everything working together, on new rubber, feels like a completely new car. I have a decent drop, and the wheel gap is a huge improvement from the stock rally car look, but I don’t have plans to slam it. Since this is my daily now, the modest drop is good enough for me. Awesome results for a ton of sweat and dirt over the weekend.
One footnote: the knowledge base here and on YouTube is vast for the 2nd gen Integra, and was quite valuable to me when I hit a snag or forgot which way a bolt goes in or something. Thanks to all who have lent their advice or recommendation or wisdom over the years. If anyone has questions or comments, I welcome them on this thread. As a very amateur wrench-turner, these types of conversations on other forum threads were very helpful to me, personally. Thanks.
Holy crap that’s a lot of wheel weights. I want to find a nice DB1 locally but I’d be hard pressed to add a third Integra to the stable haha.

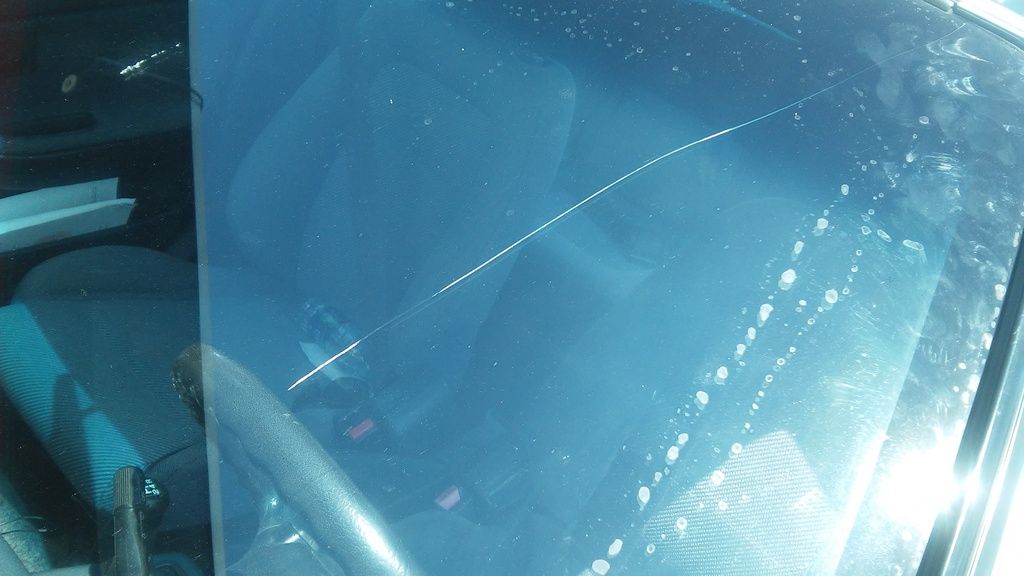
What!? It was so hot out this week that my windshield cracked! No damage anywhere around it, but this damn crack is creeping down, longer each day. Scheduled to have Safelite replace it ASAP. Wild. Not even when I lived in FL did I ever have a windshield crack from heat…

Chances are the windshield was installed incorrectly if it cracked without a chip.

If the windshield was replaced before all it takes is one piece of glass left in the poly and it
Will crack from heat.

[QUOTE=2ndJenn;2334895]If the windshield was replaced before all it takes is one piece of glass left in the poly and it
Will crack from heat.[/QUOTE]

It is evident that this windshield is not the factory glass, so I believe your theories are correct. I’ll know more on Saturday when Safelight comes to replace. Man, I hope the tech does not screw up my cowl fasteners…lol. Just replaced everything a few months ago with the pass. side leak fix.