![]() on finding motivation to work on your car. That last photo of the hatch is nice.
on finding motivation to work on your car. That last photo of the hatch is nice.
Thanks man!
That Midori hatch had an insane amount of work put into it. Full exterior rebuild, full suspension rebuild, full interior rebuild, shaved bay, K-swap. Everything name brand. It was a beauty. Sadly it was parted out and now a stock LS sits in the bay. ![]()
I haven’t done much (at all) to the car lately. Seems like all work and no play, as of late.
BUT, I did manage to pick up a local DB2 cluster the other day. It was a few bucks more than I wanted to spend. Though for $50, I’m not complaining… Much.
So, the idea behind the cluster was:
- I hate having a motor that revs to 8,500RPM on a tach that only reads to 8k.
- I’m tired of the 20yr old lighting that our cars have. It looks so dim and… Dated.
Now, the first part of that is just a slight OCD-esque preference. The second part however, is to update the lighting but also add that little custom touch that isn’t entirely common.
I plan to follow in the footsteps of G2Guru/Dan and use the method he did.
This involves sanding and removing the ‘tint’ from the back of the gauges… And then running a string of LEDs through the inside of the housing.
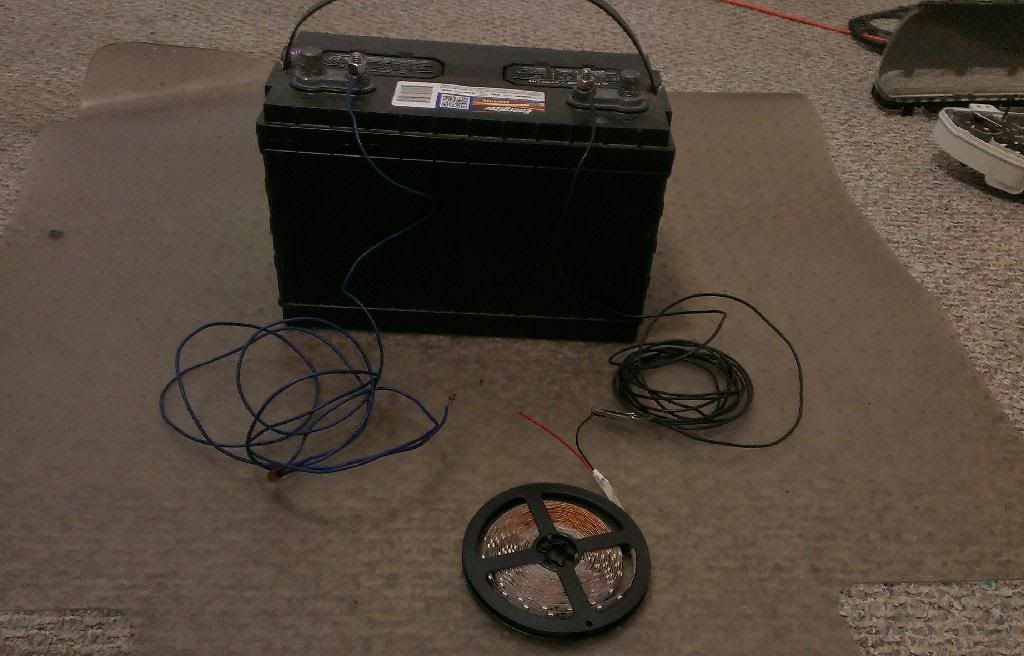
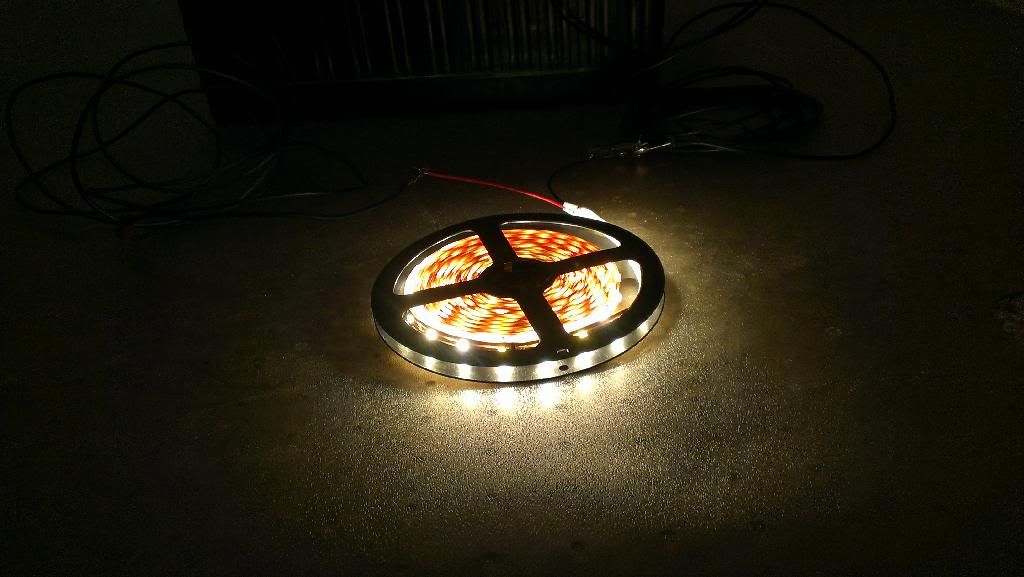
Now before everyone jumps to conclusions, yes, I’m going with F&F bright blue LEDs… Ok, not really… I’m going with ‘Warm White’ which is right around 4000k color temp. Really I’m just wanting good output while night driving.
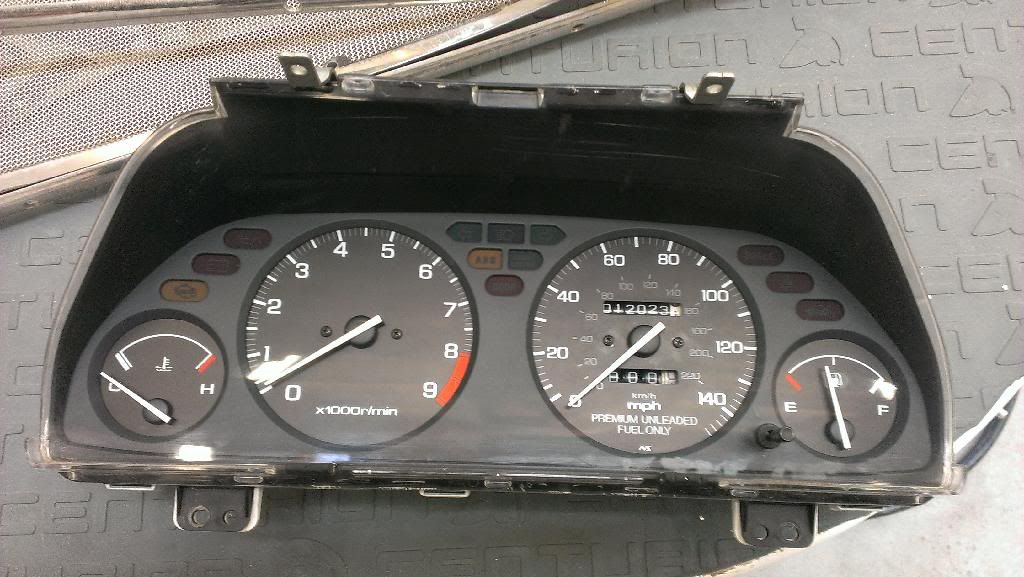
Cluster when i got it:
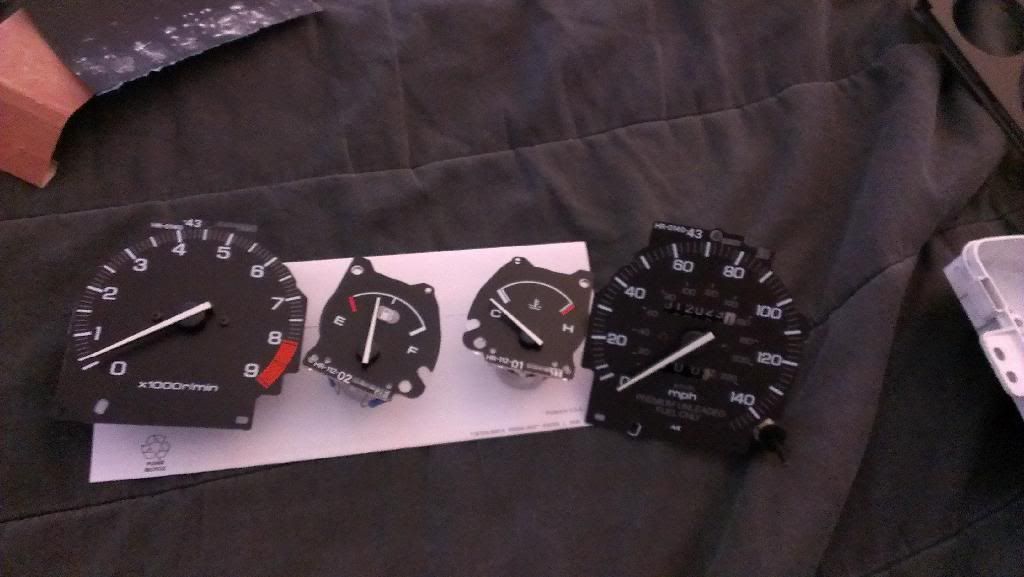
Disassembled:
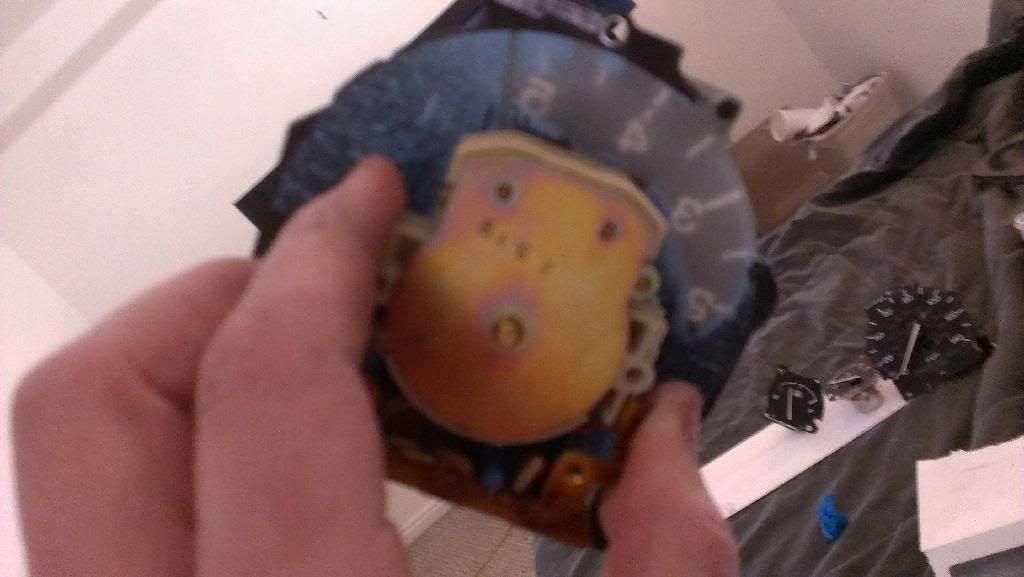
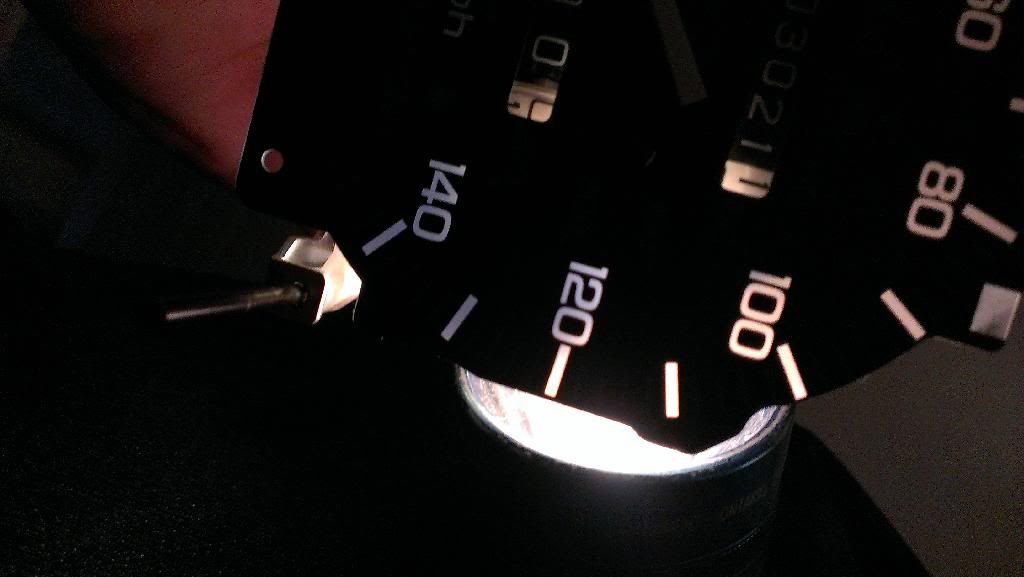
Partially sanded, you can see the ‘film’/tint that is being removed:
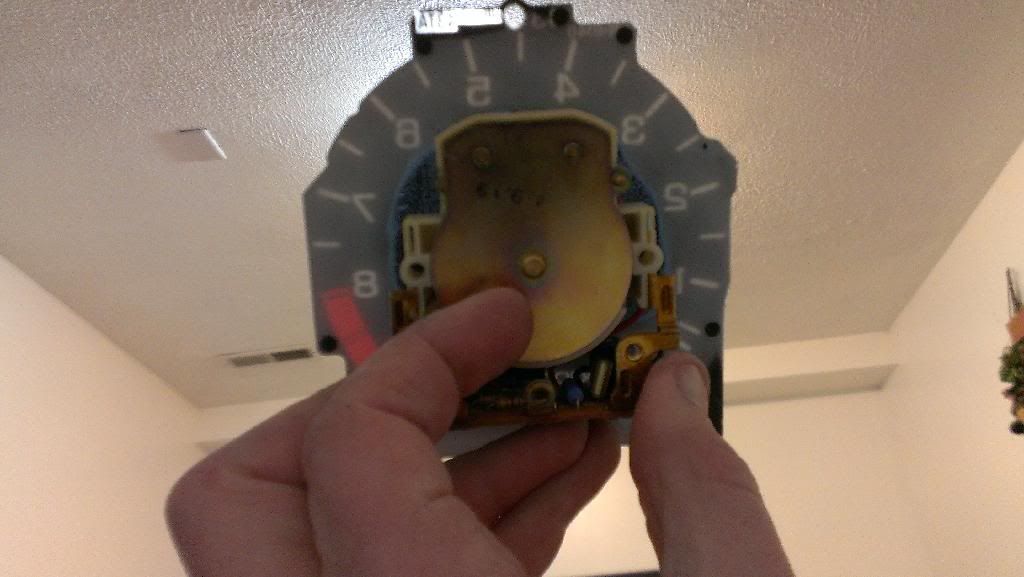
Tach fully sanded:
After doing the tach, fuel and temp, I called it a day. Since the DA speedometer is virtually identical to the DB2, I plan to use the one out of my original cluster, that way I have the original miles for the chassis, as well as miles on the new motor.
While it would be easy enough to write the numbers all down and still keep track of it… I prefer to rock the stock speedo.
LEDs are ordered and en route… so now it’s just a waiting game.
Once they arrive I’ll mock up the cluster and make sure lighting is acceptable. Then comes the hot-glue to make sure they’re installed securely… then enjoy!
While some will likely be pissed that I’m doing such a thing to a DB2 cluster… IDGAF!!
Props and thanks go out to G2guru for the awesome idea and DIY write-up. Here’s the link to his thread to see the final product: http://forums.g2ic.com/showthread.php?214020-Instrument-Cluster-Much-Needed-Update
Dude, what are you talking about complaining that you got a DB2 cluster for $50? That’s a STEAL. Price has come down a little over the past couple years (why???) but these used to sell for $120-$150 and I think the current market rate is in the $80-$100 range.
I really wanted to try this lighting mod with my cluster when I had it out but I didn’t have the time. Let me know how the process goes, I’d still like to do it so that my cluster matches my Defi gauges a little better.
Hah, I know I know… Dude was asking $60, I offered $40, so we met half way. All in all I believe it was fair for both parties.
So far this has been SUPER easy. The film on the gauges does ‘tack’ up, so it clogs sandpaper. Other than that it has been a breeze.
I’ll definitely keep everyone posted on the results!
Colin if you lived anywhere else in the world you would realize how much more parts cost in cali compared to everywhere else lmao. You’re always fair with your prices but the majority or people try to retire off of integra parts.
Really? Seems pricing is pretty consistent from what I’ve seen, maybe I’m just looking at different stuff these days. For me local is almost always better due to no shipping costs.
I think it’s more a situation of people thinking that their parts are gold, or not knowing market value…
Like the dude from NY trying to sell his USDM LS cluster for $100+.
The thing I notice more about Cali folks is the “no shipping” stipulations, which to me is so odd, especially with small pieces.
Wow, $50 for a DB2 cluster? You got lucky! Only way you’d find one cheaper is if you found one in a junkyard.
I was about to suggest ordering an extra led strip just in case a few go out but I see youve already ordered your stuff. Only reason I would suggest it is I’ve had sections of 3 LEDs die on those strips when I’ve used them in the past. It wouldn’t make the cluster unreadable but it would definitely cause a dim spot.
Looks good! Take lots of pictures of the install of the LEDs, and finished product! ![]()
Yes sir. $50 well spent! Sort of sad that the DB2 cluster will be sitting being unused… but I’m glad to have the spare gauges. Never know when something will decide to shit the bed lol.
Actually the only thing I could find in the color/spacing/style I wanted was sold in 5-meter lengths. So I definitely will have plenty. Good point though! It will be nice to have extra, in case.
The only other thing I need to grab is a potentiometer. Then once the lighting comes in I can throw it all together.
Where did you order the LEDs from? I’ve used superbrightleds in the past and they have lots of types available. 5 meters is a huge strand! I assume you can cut them down to length?
That’s an awesome site! Just browsed it quickly, and they indeed could have helped me out.
I ended up ordering it off eBay, of course. Amazon nor NewEgg had what I was looking for so I just pulled the trigger. Thanks for the source though. Definitely bookmarking that one.
The stuff I got is breakable every 3 LEDs (5cm) I believe. Then you just solder your power leads on. Should be straight forward… I hope.
That should give you quite a bit of flexibility with length. The ones I’ve bought from that site I mentioned can be shortened but I don’t think the part you trim off is usable again unless you’re very skilled at soldering. They are tiny!
Looking forward to the results!
Finally, the LEDs are in!!
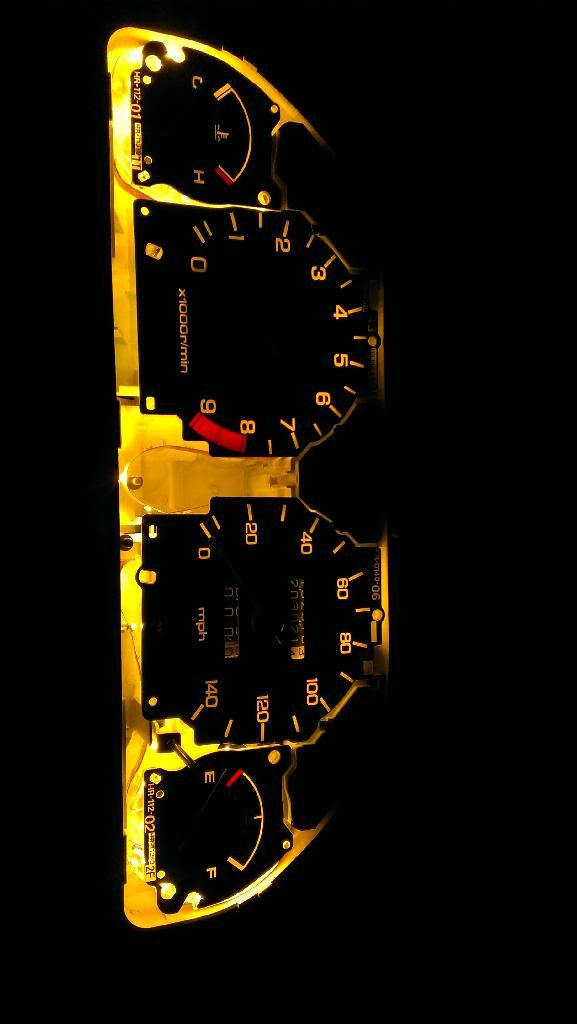
This is a shot that shows the blue ‘tinted’ numbers, and the ‘white’ results after sanding the backs of the gauges.
This one is after the LEDs were strung through the housing, but without the garnish/surround.
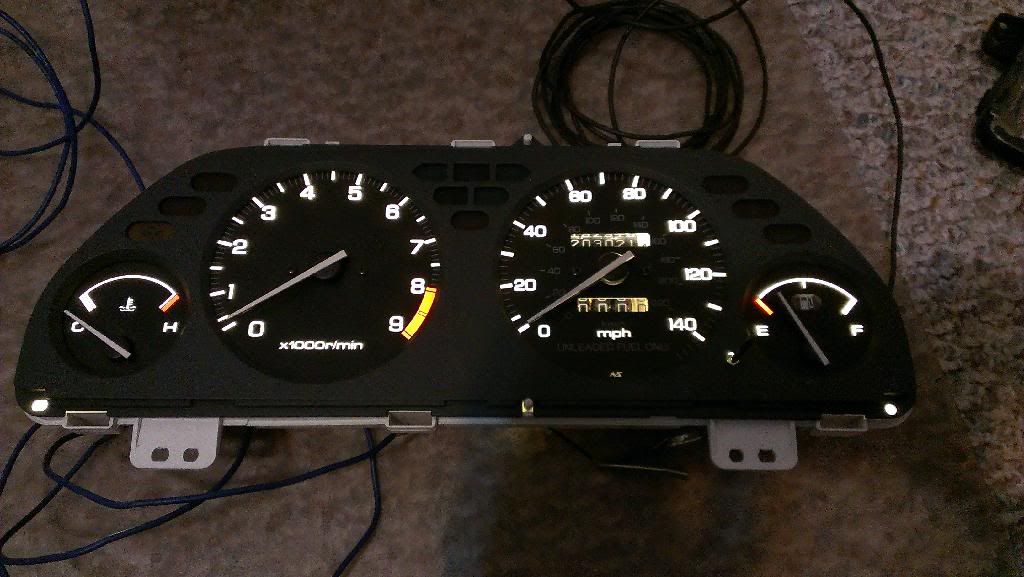
This is with the garnish on
They definitely are a LITTLE bit more yellow than I wanted (warm white), but I am very pleased with the updated output. So much more vibrant and evenly lit compared to stock. That, and my phone camera has a very hard time getting an accurate display of the outcome. The reds are really vibrant, even though they don’t appear so.
I still need to make the needles red, and figure out what I’m wanting to do with the overhead display lighting.
Opinions?
Looks good, always hard to tell the warmth of light from a photo since there are so many variables (including everyone’s monitor). But I was thinking the same thing, that maybe they’re a little yellow. But each pic you took is different so it’s hard to see what you’re seeing.
I’ll be sure to get some good snaps with a decent camera… Worst case scenario I’ll pick up another LED strip and re-do it. I actually didn’t hot-glue anything in place like Dan, so replacing the strip would be super easy.
This year’s Spring Meet is on the 20th of this month, so there will be a few things added between now and then.
Hoping to do the following:
- Install the black carpet
- Install USDM arm rest
- Install new passenger door sill
- Apply wrinkle-black paint to valve cover, and install
- Install catch-can
- Install new timing belt tensioner
- Install red-stitch ITR shift boot
- Refinish Neuspeed strut bar
- Install miscellaneous splash shields
- Detail and polish exterior
I think that is about it, really.
Came out looking great! As for the upper lighting, you could replace them with individual LEDs, I’m pretty sure there are LEDs with that base type available. I think I read about it in one of the older LED mod threads. Should be available in plenty of colors. I’ve been wanting to do this forever and have never gotten around to it.
Nice long list of items to do! Keep us updated!
How long did it take to sand the gauges?
About 10min per gauge. Just threw on some TopGear and went to town.
The whole mod in general was super easy.
So much win! I want to redo my gauges now ![]()
[QUOTE=unified112;2312916]About 10min per gauge. Just threw on some TopGear and went to town.
The whole mod in general was super easy.[/QUOTE]
Can’t go wrong with some Top Gear lol.
