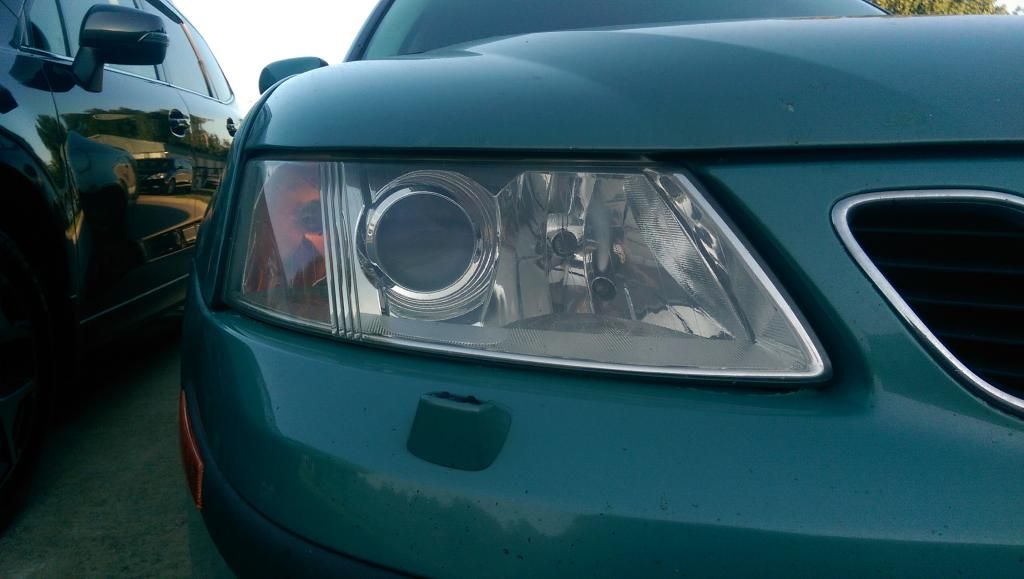
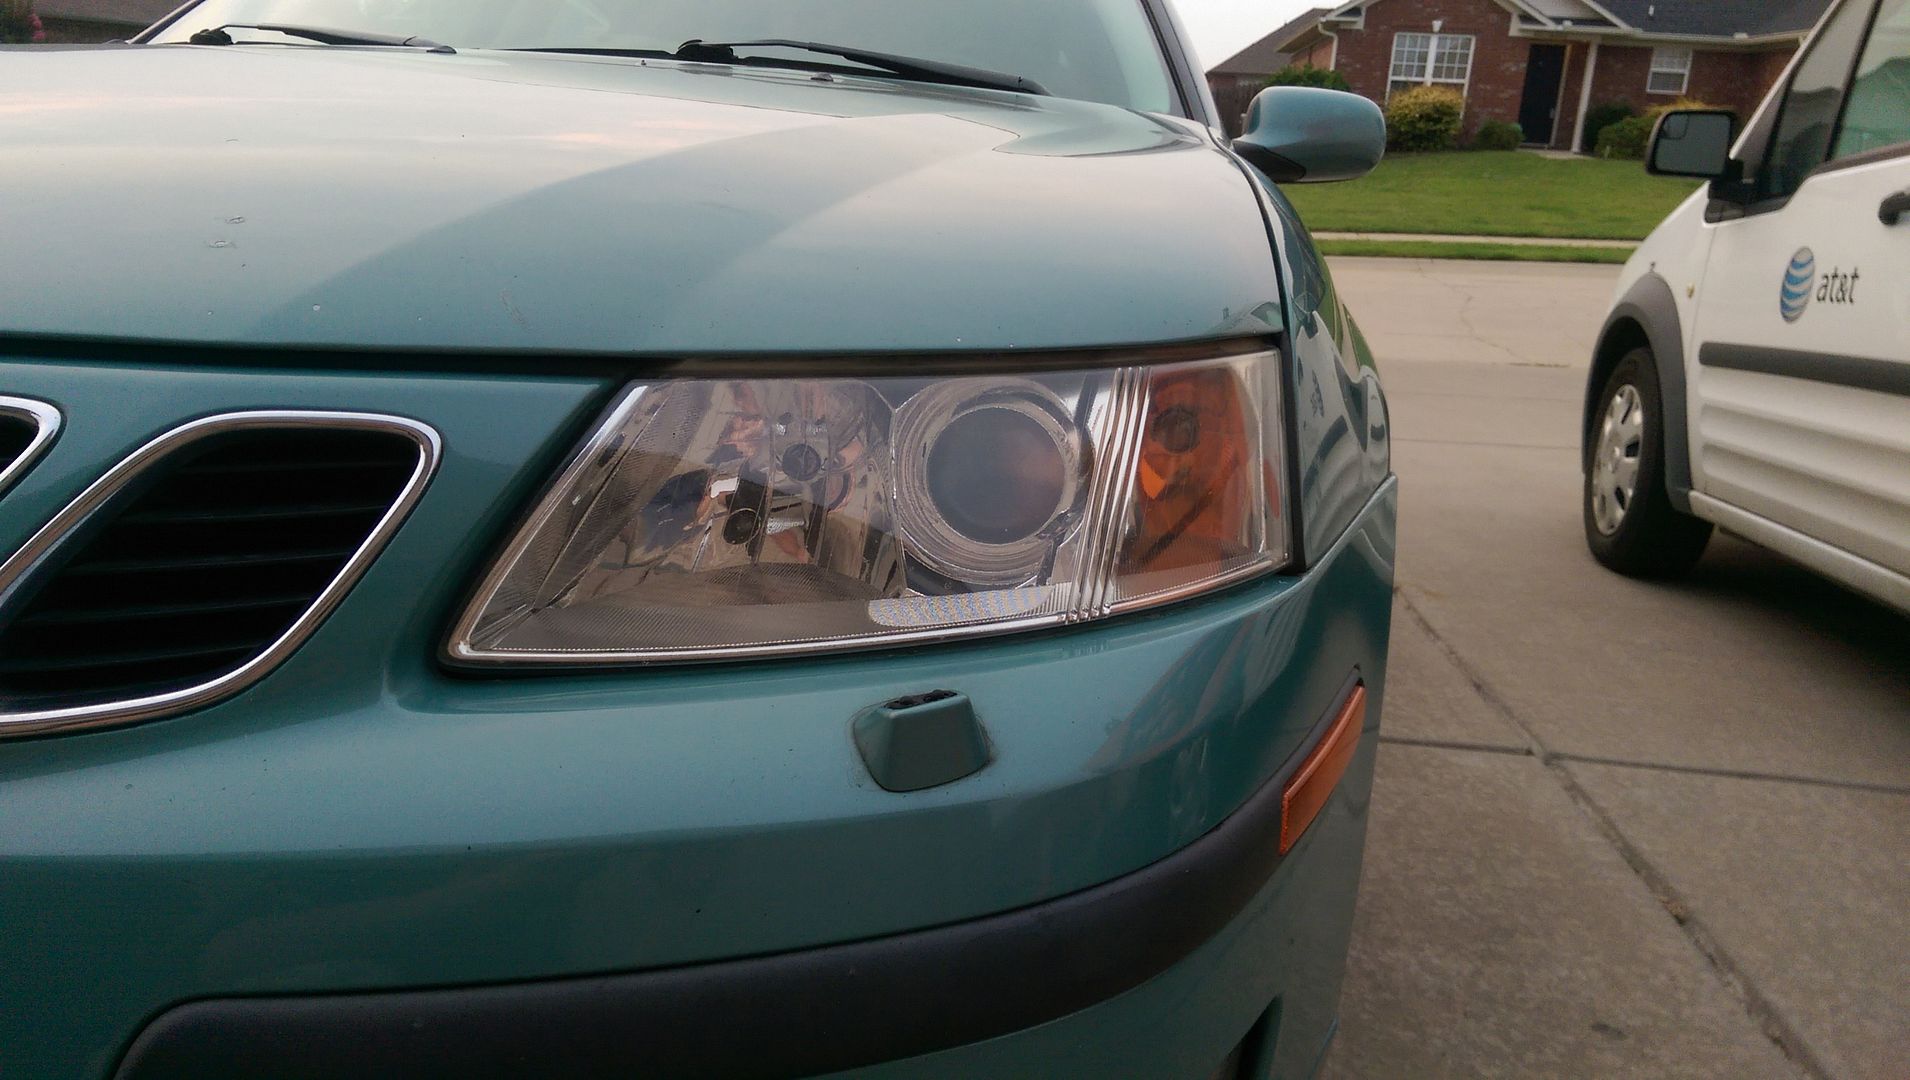
First of all, this is not G2-specific… Though depending on how well it stands up, I may do the same thing to the one pieces.
This was performed on my daily driver because they were looking like crap.
My brother bought this stuff from our local paint shop because it caught his eye. We’ve used SEM products before and they tend to perform great. He ended up refinishing his CTR headlights with this product, but his car is literally not driven, so we have not seen how it stands up to daily sun/UV exposure.
http://www.semproducts.com/solaray-uv-clearcoat/
That’s the stuff… SEM Product#: 21013
I forgot to snap a picture of the instructions, but they are picture-based and infer that you:
- Clean the surface with soapy water
- 400 grit wet sand
- 1500/2000/3000 grit wet sand
- 2min flash-time between coats
- 5min dry time
- UV heat lamp (or direct sun light, obviously)
I thought that 3000 was a bit too smooth… being a painter I tend to want a slightly rougher surface to ensure that the new material bonds well… it has a nice surface to “hold on to”.
So what I did was 400/800/1200/2000 wet, making sure to get all of the stock UV coating off… its quite obvious once you’re through it and when its all off.
Then clean the housing… mask off whatever you need to mask off… use a wax/grease remover, not an acetone/thinner product as the lens will melt and the surface will not be even enough to spray over.
Admittedly I messed up on the first light. After two coats I put it in the sun for about 4 minutes. Then got it in the shade and did another coat. The UV exposure was enough to not let the third coat melt into the first two coats. This left a slightly textured surface. The closest thing I could relate it to is like a high-quality screen protector for your phone… not 100% opaque, but close.
The second light turned out better as I laid all the coats down before putting it outside. I sprayed it pretty heavy to make it ‘flow’ out and not have a spattered or textured finish. With about 2-3 min flash time between coats.
After about 10min in the sun they were pretty damn dry. But I let them sit out there for about 20min, rotating them to make sure all sides and angles got good exposure.
It’s and odd product in the sense that the material that was on plastic was dry to the touch… but the overspray on the masking paper was still tacky. So its definitely a material designed for plastic, and its activated/hardened by sunlight.
On to the pictures!
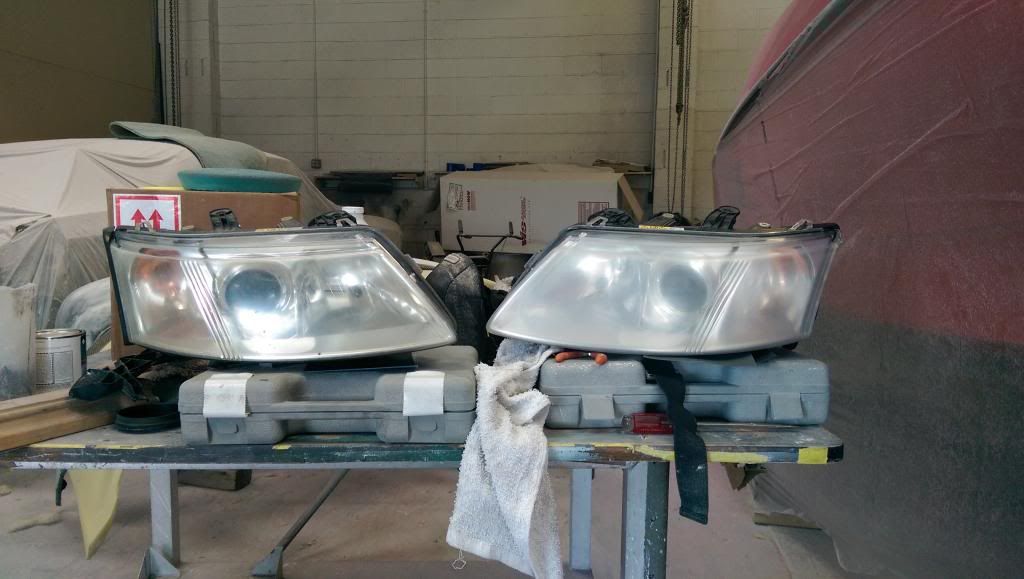
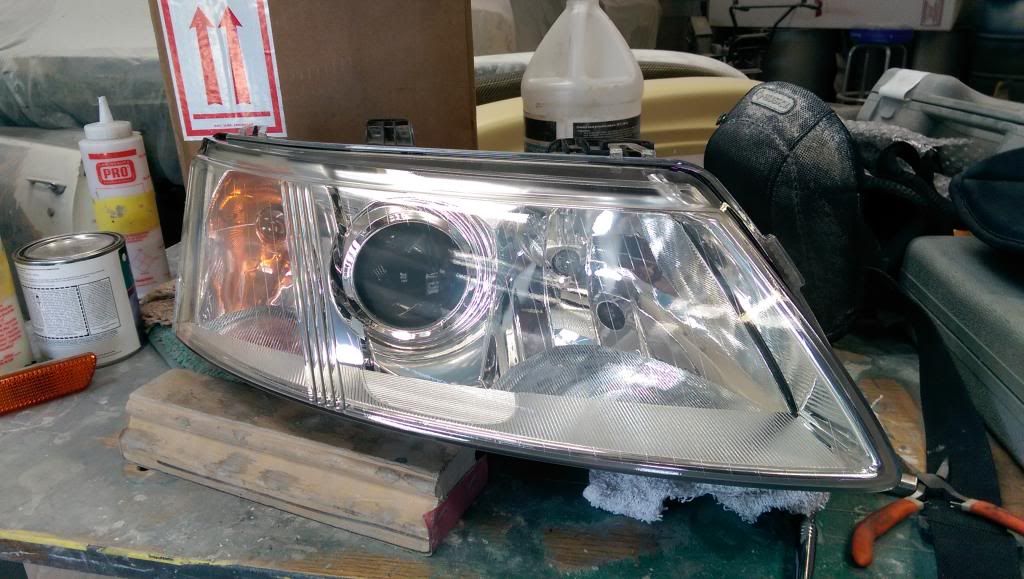
The light on the left is how it looked untouched. The one on the right is after the four step sanding process.
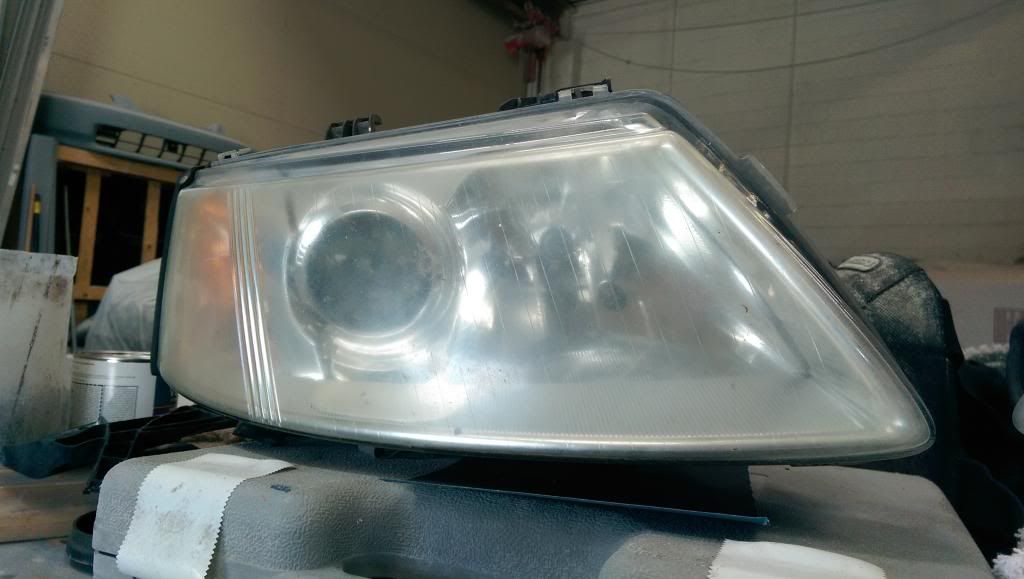
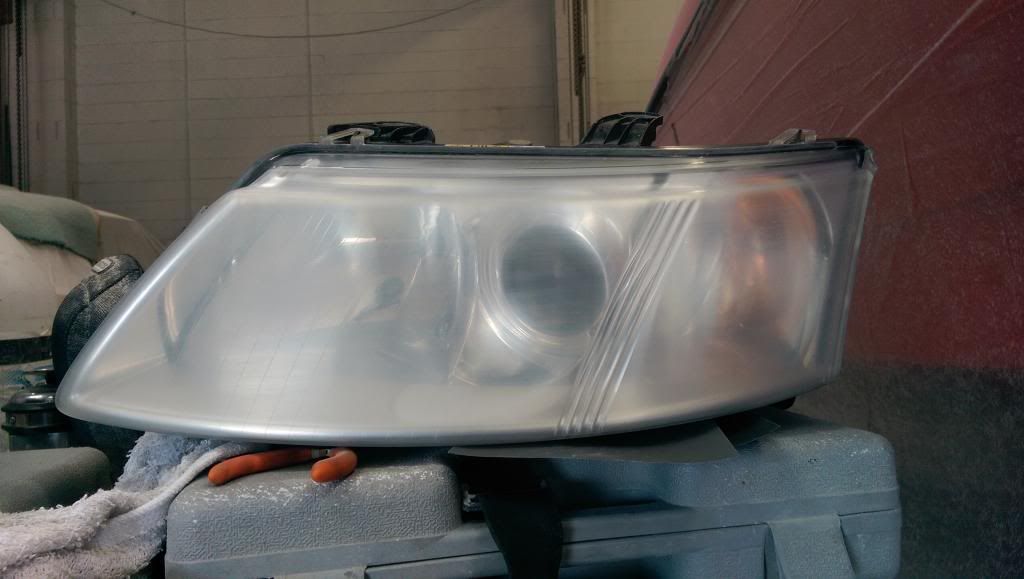
Before:
Sanded:
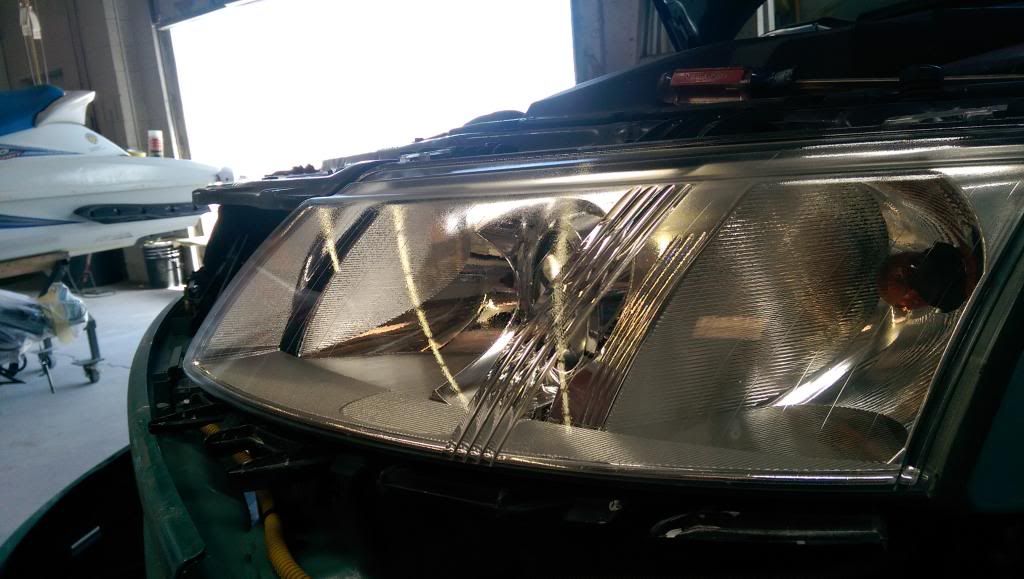
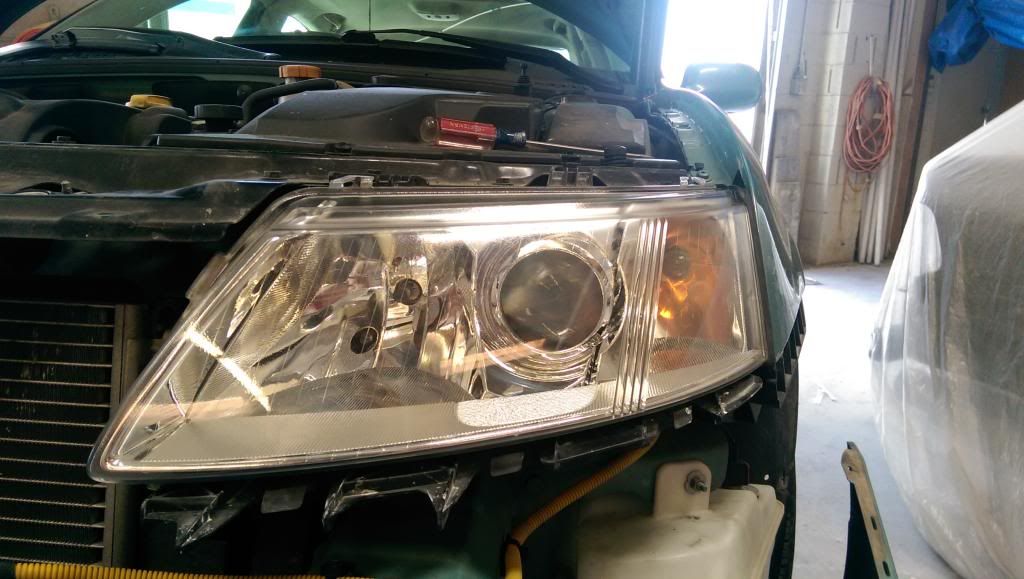
Sprayed, installed:
Sprayed:
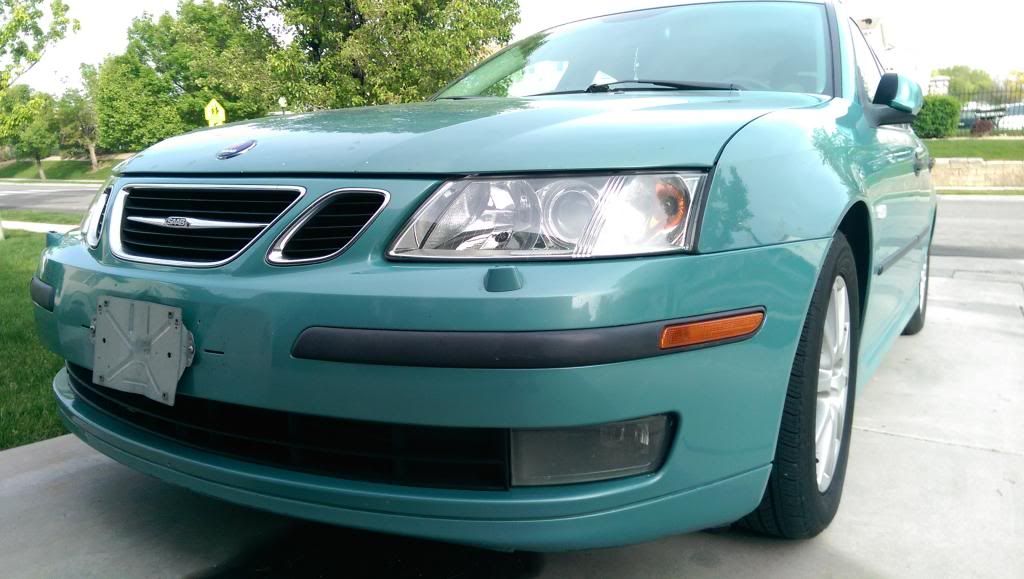
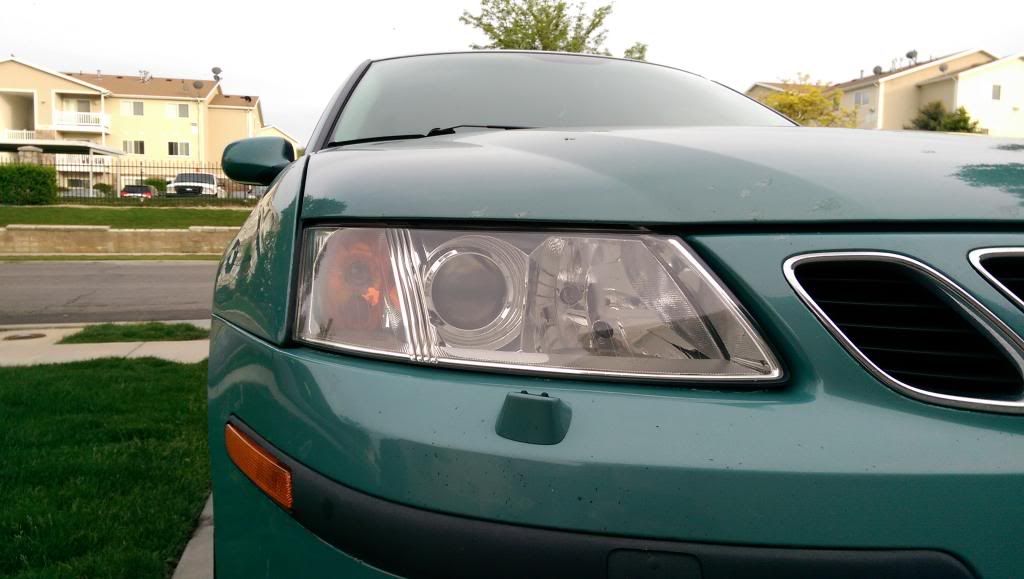
After:
After:
After:
So as I said at the start, there long-term durability has yet to be seen… But if the cost, and general reputation of quality are any indication, it should be a relatively long-lasting cure for hazy and dull headlight lenses.
Of course some lights that leak and fog up etc need to be opened and completely re-sealed using butyl tape. That was not needed this time around, so that’s a whole other subject.
Either way this should help out if anyone is wanting to refinish theirs.
If you wanted you can polish them out after the sanding process, rather than spending the money on the product… but without the UV coating, the plastic will age and yellow fairly fast. You could keep them waxed and very clean and they will last even longer… But hopefully THIS is an even longer lasting remedy.
Opinions, advice, criticism and questions are all welcome.
