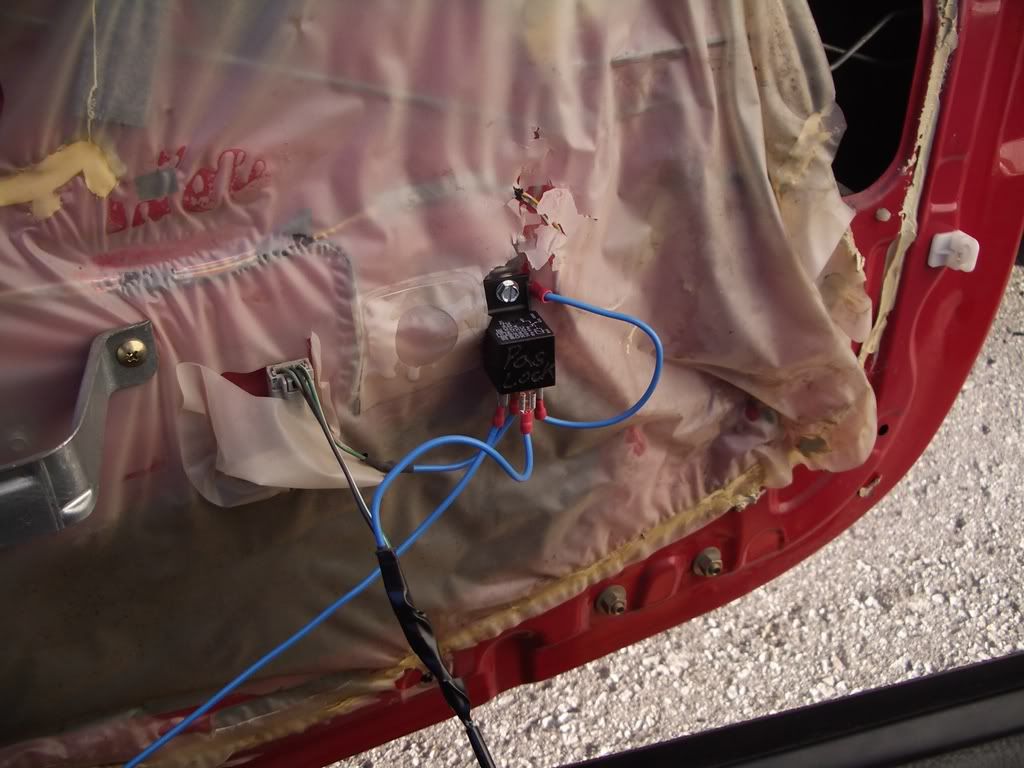
This write up will show you how to rewire your door locks so you can only unlock the door with the car turned on.
Olders Integras have frameless windows and popping the lock button with a coat hanger is cake. Even Hondas with framed windows are easy to do this too. Now with the rewired you cannot do this so it’s a bit harder to break into the car.
I warn you know though this is a double edged sword, lock your keys in and it will be a bitch to get them out.
Materials:
female spade connectors
2 relays.
2 ring terminals
18ga wire (red and black for ground).
Heat shrink tubing
Electrical tape
self tapping screws
Tools:
#2 Phillips screw driver
Panel Popper
Channel Lock 909 Crimpers
Wire cutters
drill
wire brush
Step 1: Remove your door panel, if you are doing this I’m assuming you know how to remove the door panels. All the wiring colors are for 90-93 Integras so if you want to do this on a different car, look at a wiring diagram for your car.
Step 2: On my Integra, I need not need to unplug anything, I just let the door panel sit on the ground. You will be looking at the lock button wiring, I choose to cut all the split loom off, you don’t need to do this but it gives more room to work.
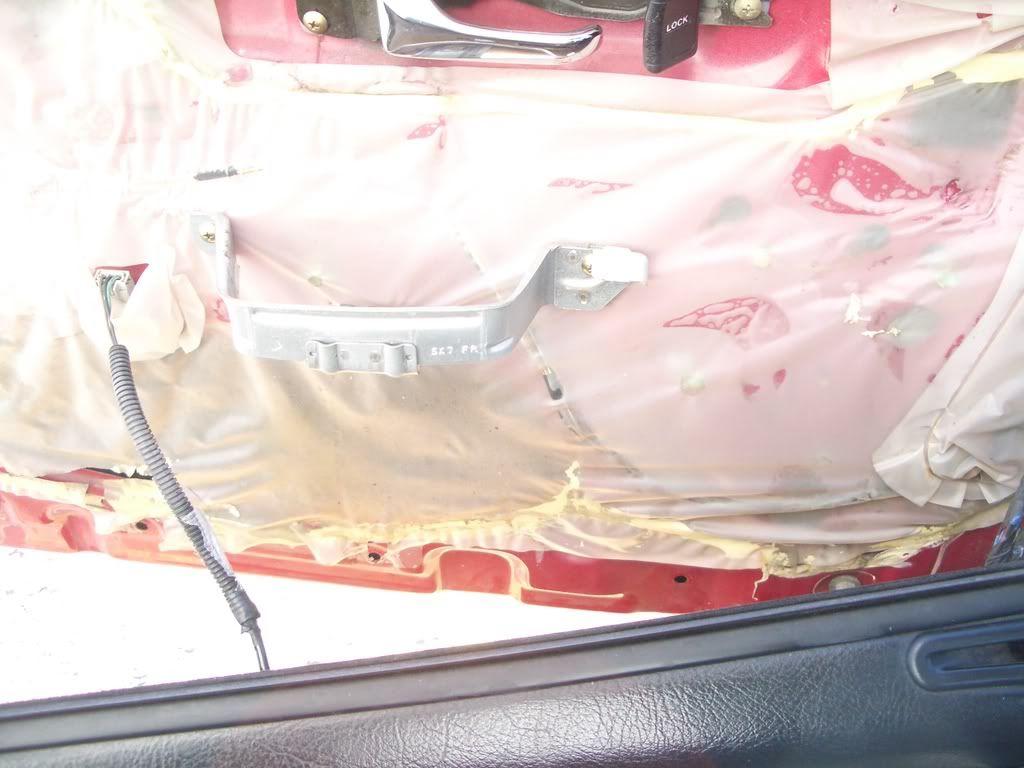
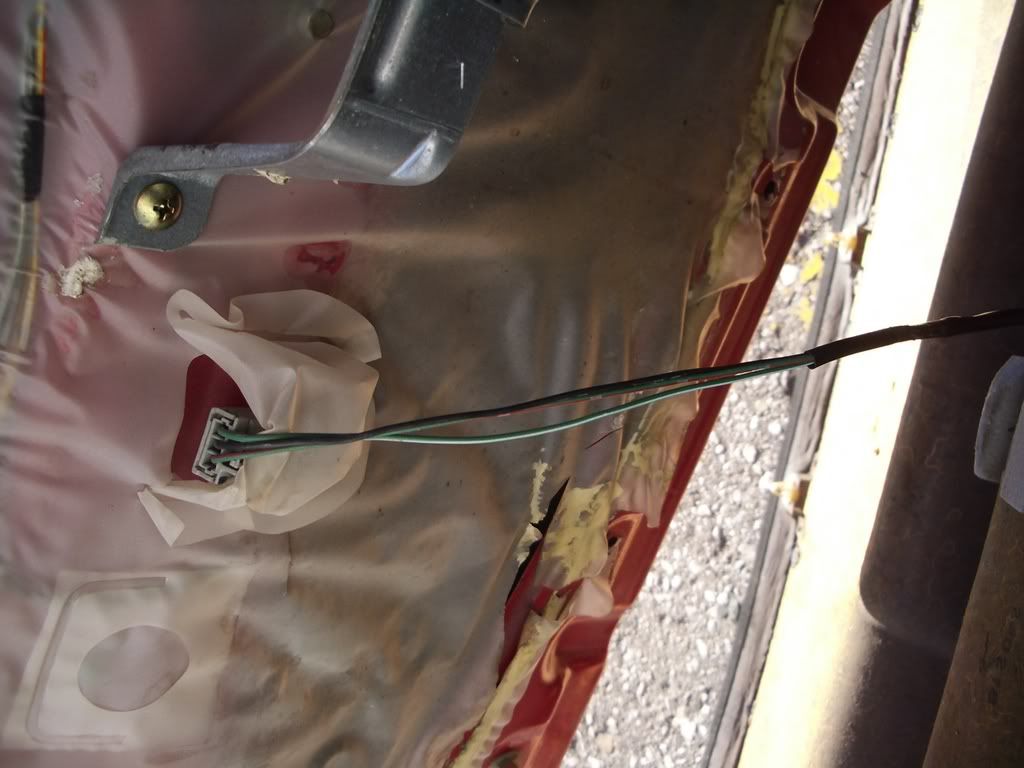
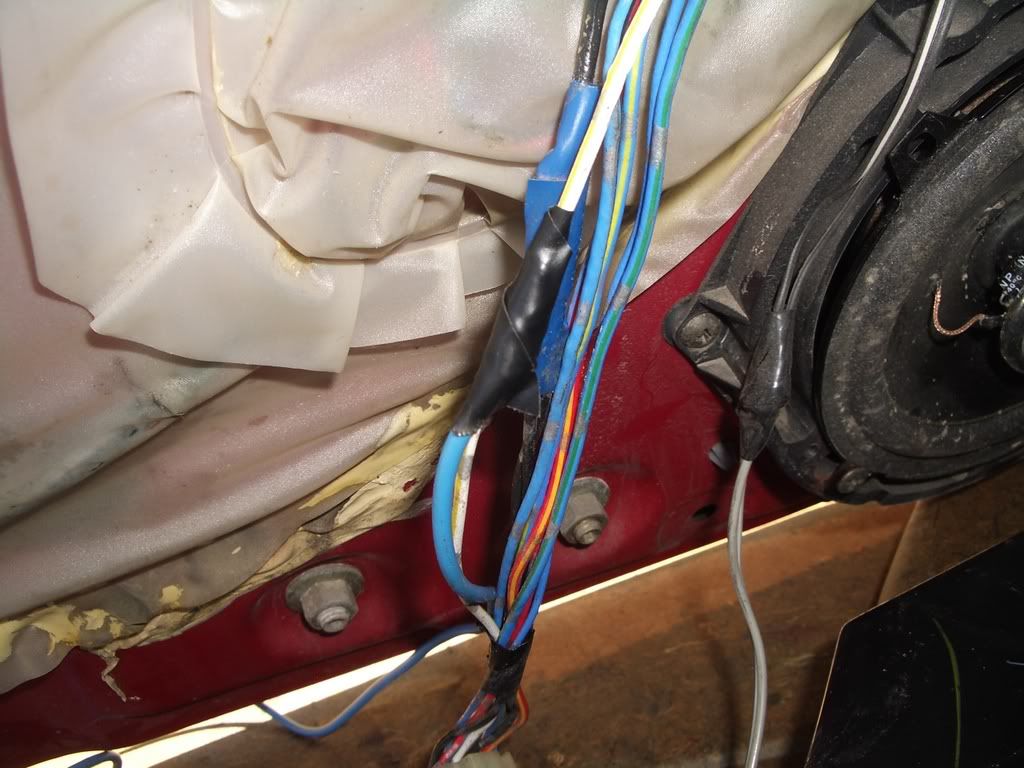
Step 3: You can now see the 3 wires, the one we will be cutting is the green/red wire. This sends the unlock signal to the lock module to unlock the doors.
Step 4: To provide power to the relay, we will be taping into the power window power wire. This is a switched power wire so it only works when the car is turned on. The wire is white and yellow.
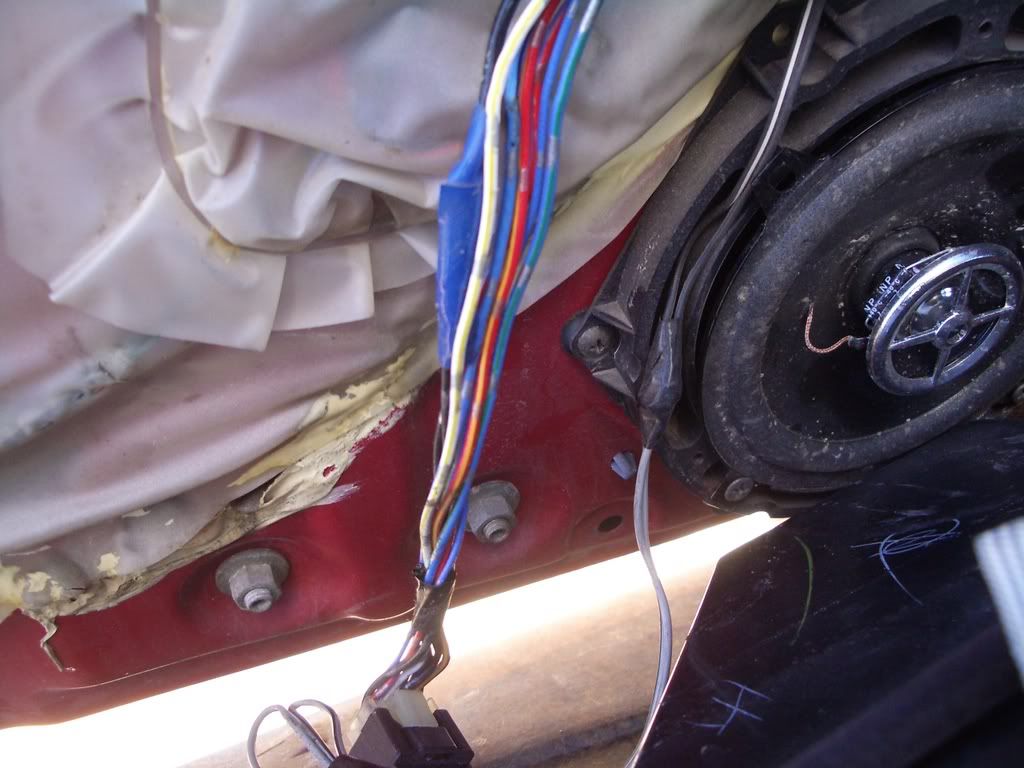
Step 5: Now it’s time to tap into the power wire, strip the wire back, twist the 18ga we are using on to it and then tape it up. On the other end, crimp a female spade terminal.
Step 6: Pick a mounting location for your relay and use the drill and wire wheel to bring it down to bare metal.
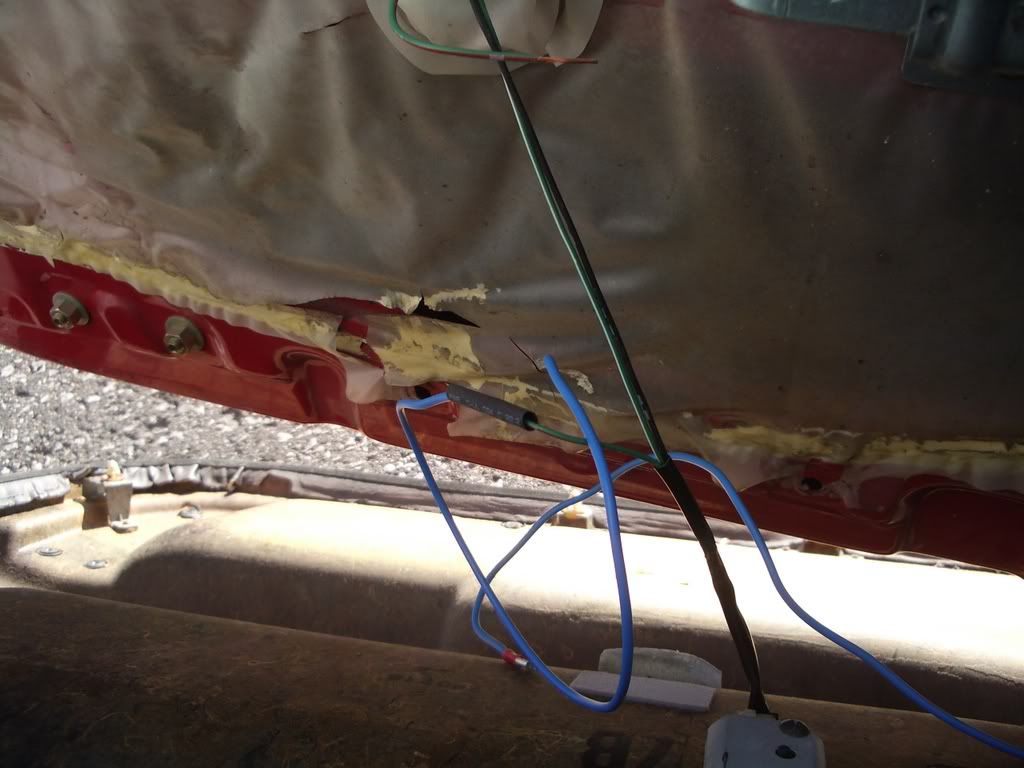
Step 7: Cut the green/red wire going to the lock/unlock switch. You will need to extend the wires a tiny bit (use heat strink, solder if you can). Then crimp a female spade connector on.
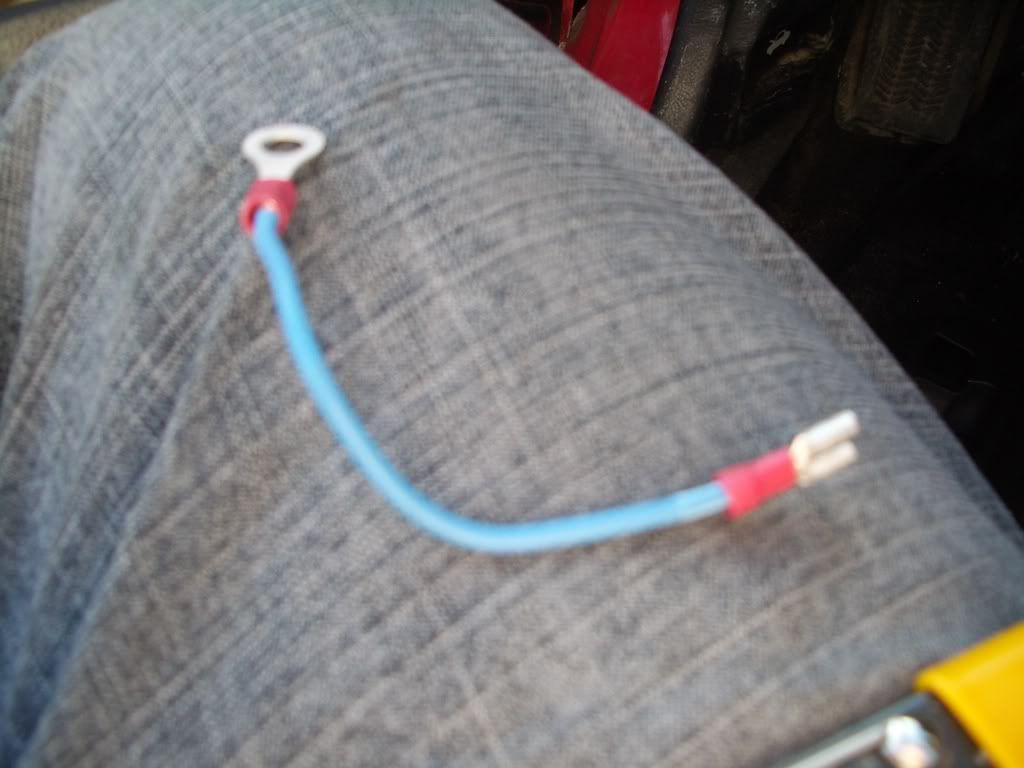
Step 8: Make a small ground wire with a spade terminal on on end and a ring terminal on the other.
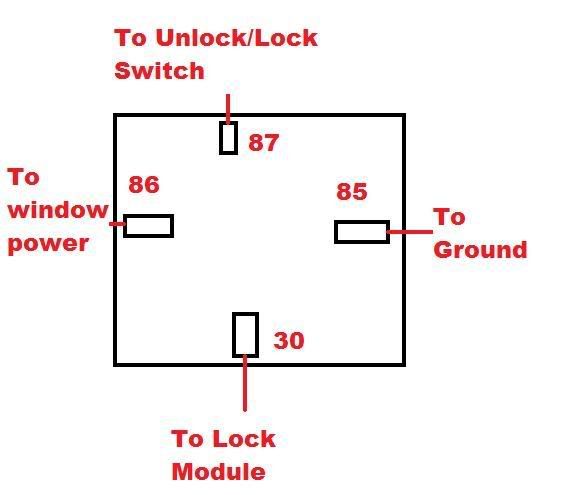
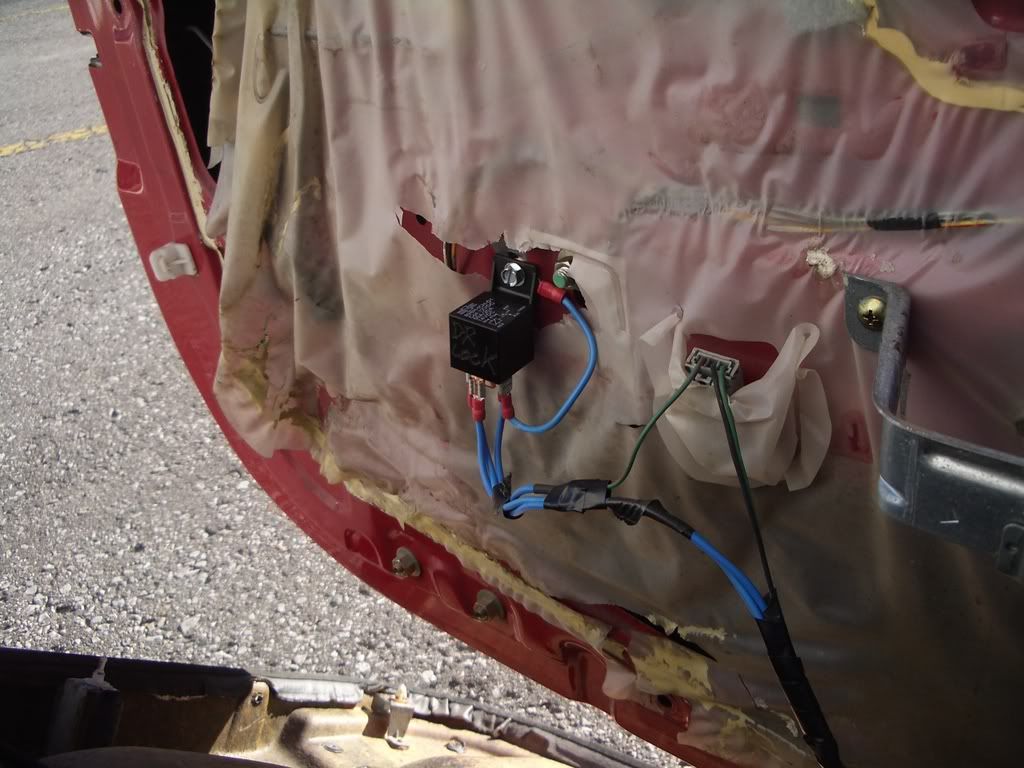
Step 9: Wire up the relay and mount it. The diagram is below.
Step 10: Reinstall the door panel.

