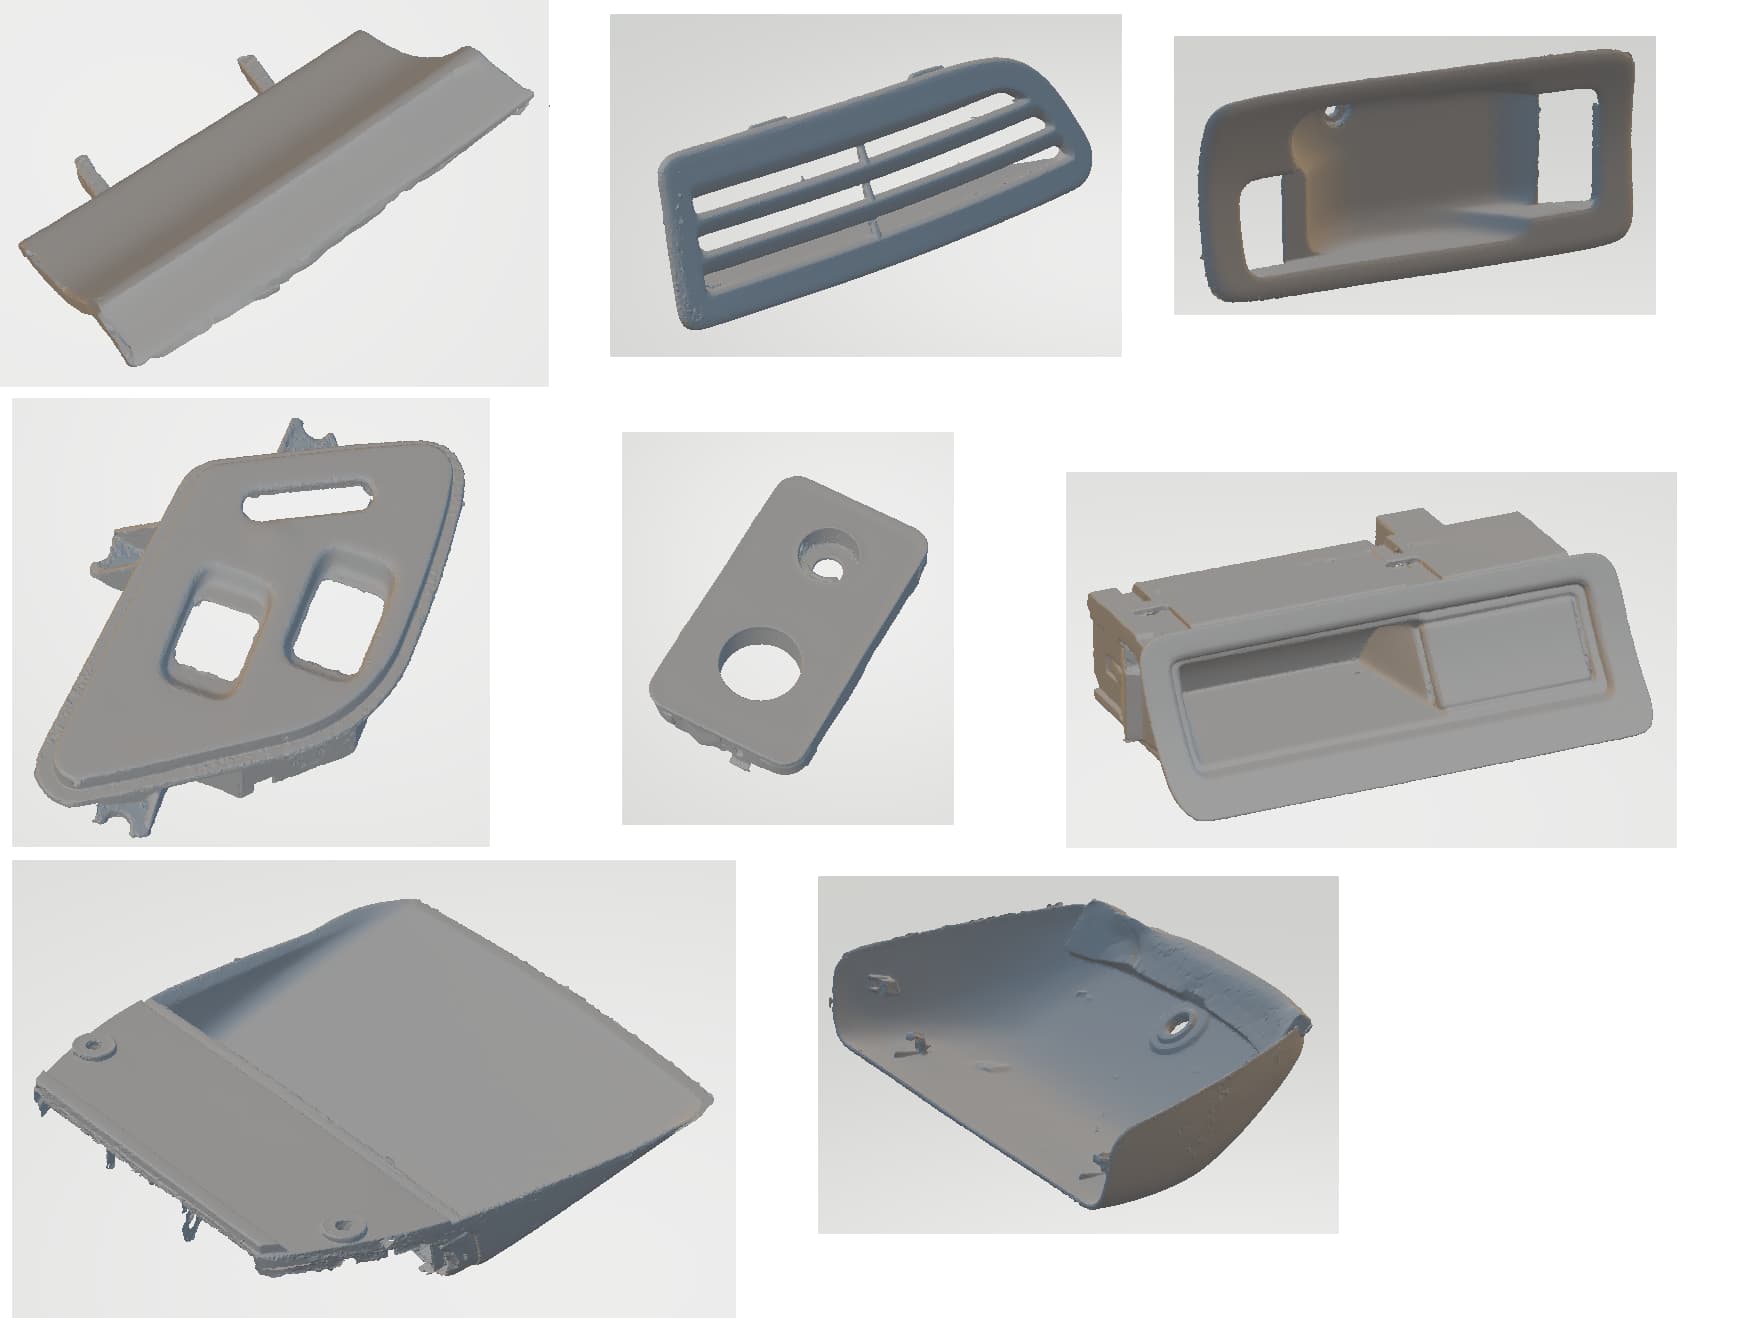
I’m working with another member to get some parts scanned.
Upper taillight
Clock
Door handle cups
Window switch bezel
Bumper horn grill (90-91 bumper)
These have complex surfaces that are difficult to measure. I need more powerful software to handle the scans, and I hope to get that purchased and installed by the end of the week.
Take note that 90-91 clocks are different on the back end that accommodates a differently shaped PCB as well. The front is the same, except it seems like the “vinyl” pattern on the front edges are more pronounced on the 92-93 ones. At least from what I see.
Interesting. So I scanned that to see whether an aftermarket clock can be put in there. So the intent is just to be a fascia. Either that, or if someone would prefer to delete it, it’ll just be a plate with “INTEGRA” on there instead. Or “G2IC” if you wanted extra HP.
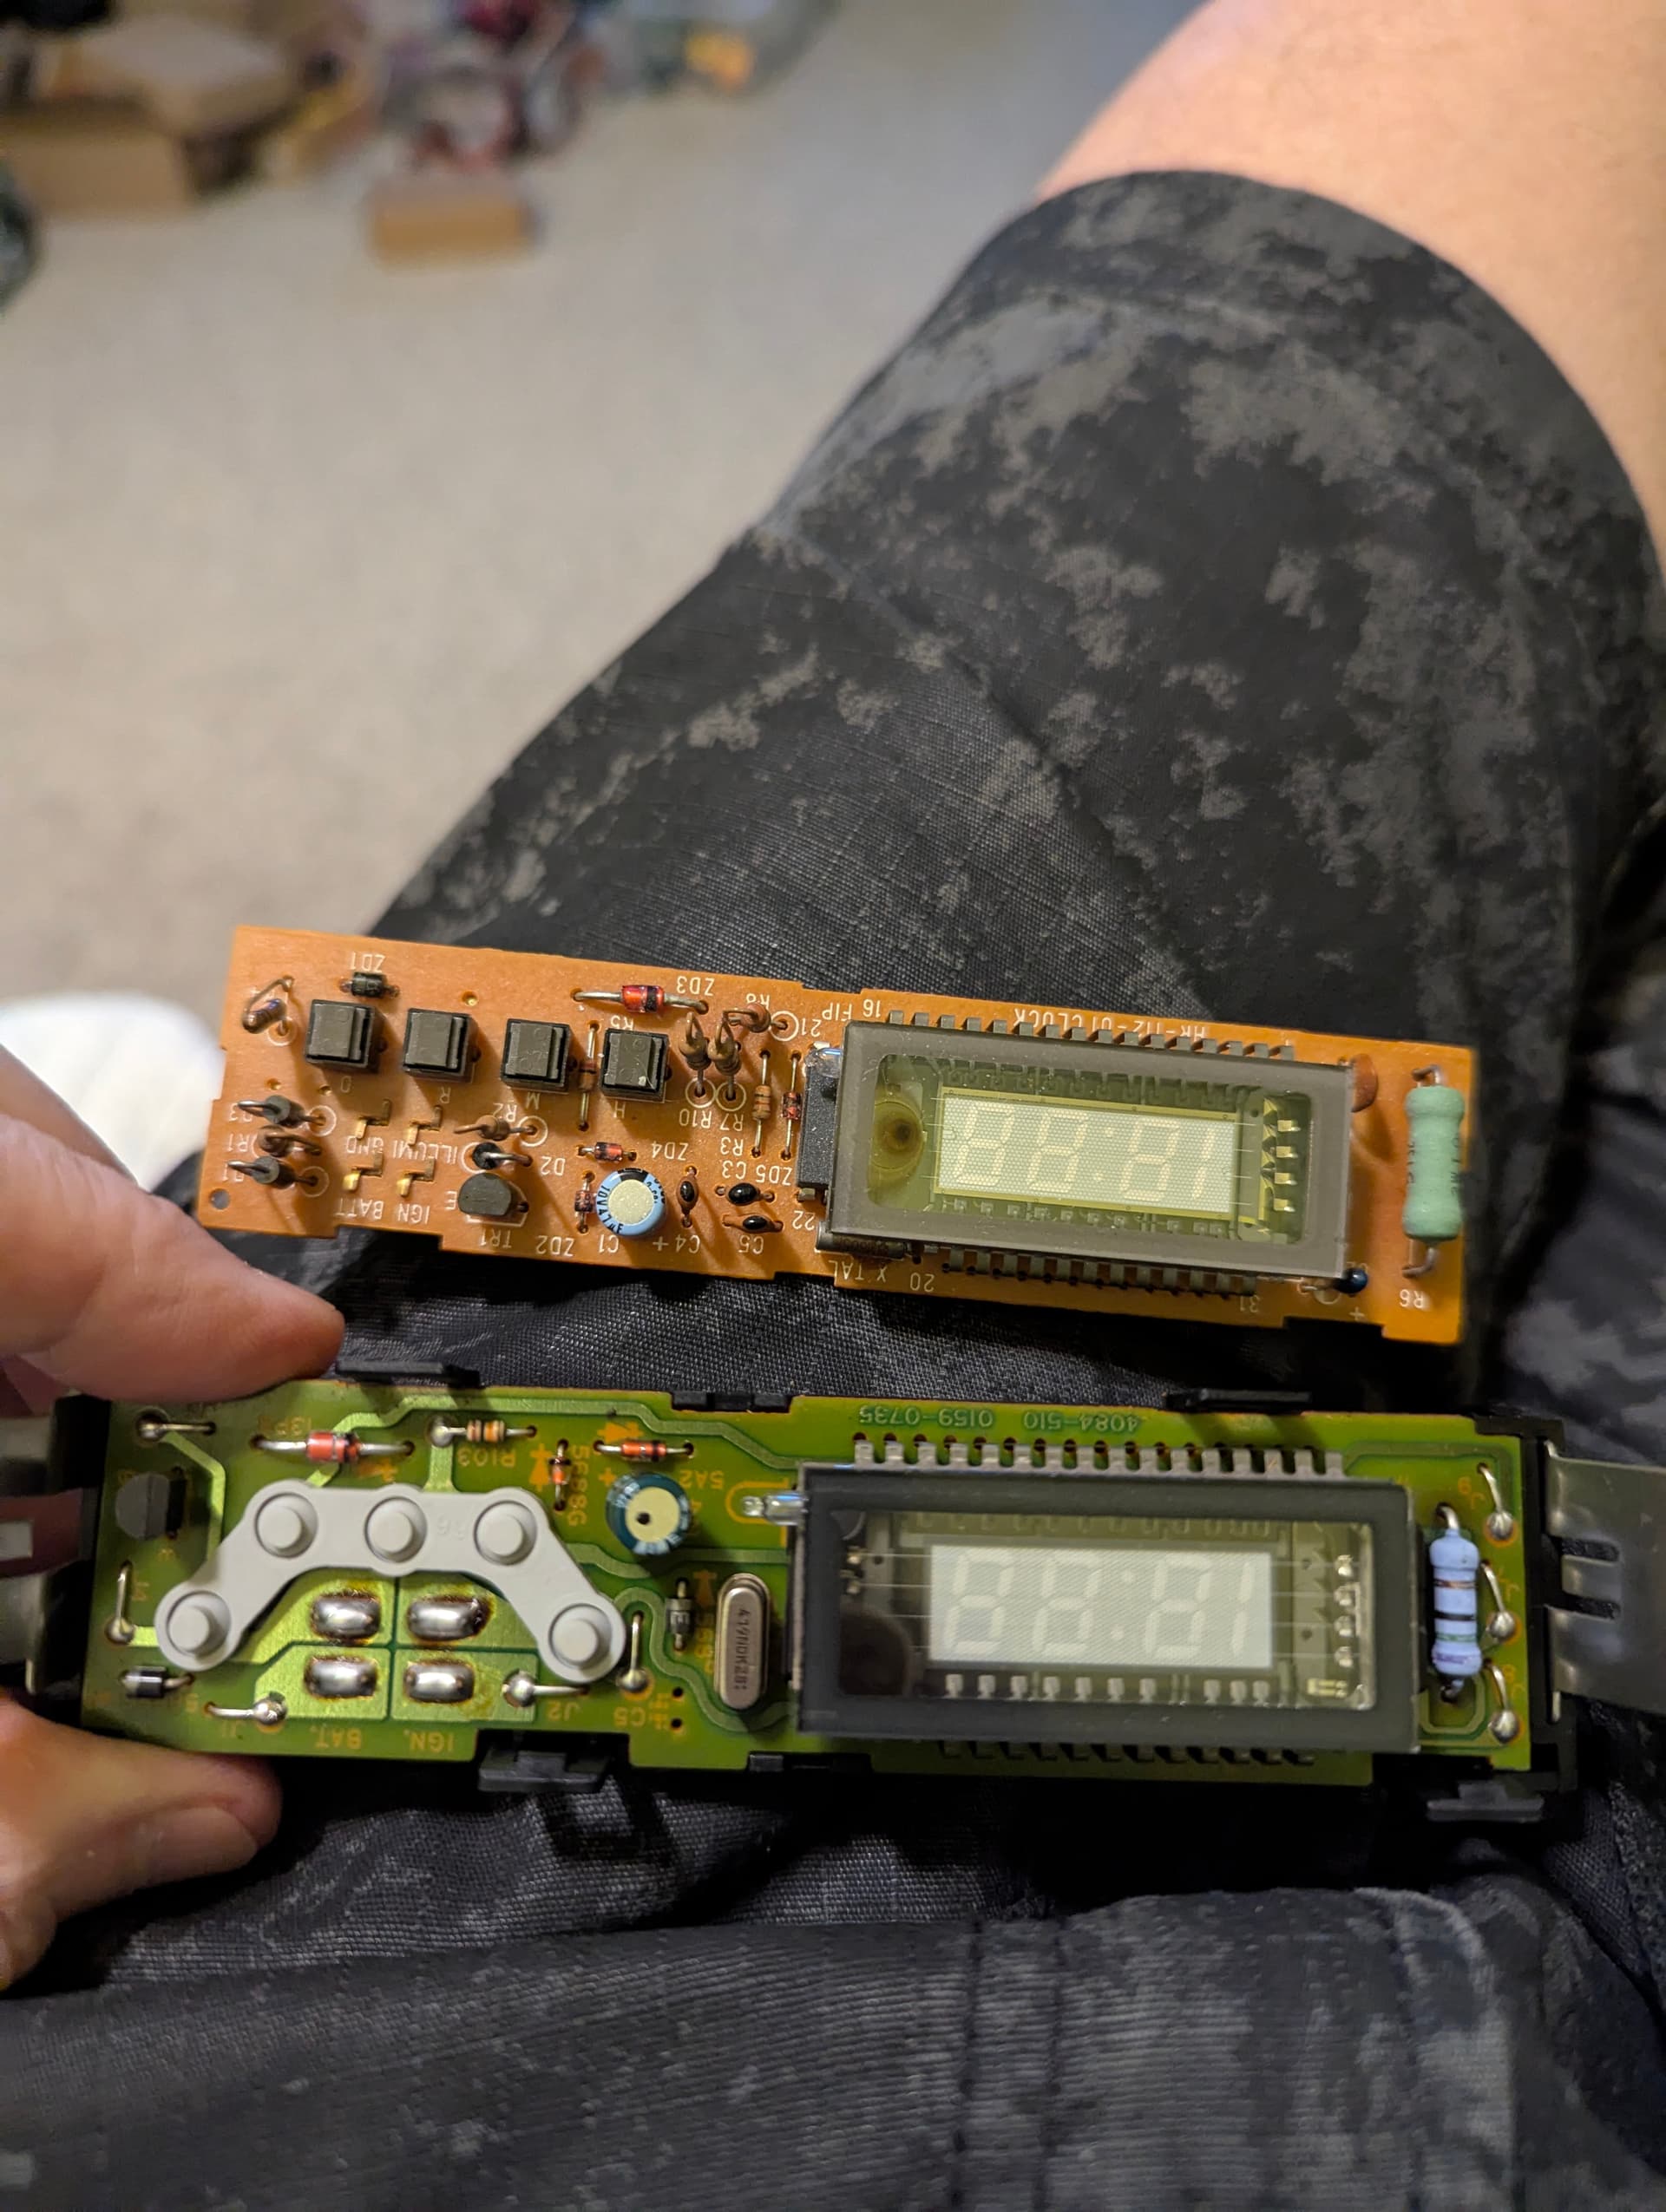
Just to show you the difference in the circuit boards. You can see the edge cutouts are different, as well as the metal side clips and back plate that hold it all in place. But the complete clocks physically fit in opposite year vehicles. Top one is 90-91. What is interesting is that the 92-93 had 5 buttons instead of 4, but only 4 are used. So they may have had a plan for something but decided not to do it.
Thanks for the pix! I never took them apart to that level. The only thing I did was remove the light filter and put a red one on to get a red clock instead of the white. Usually there’s a word printed on the board that says what the connections/button does – that’s not on there?
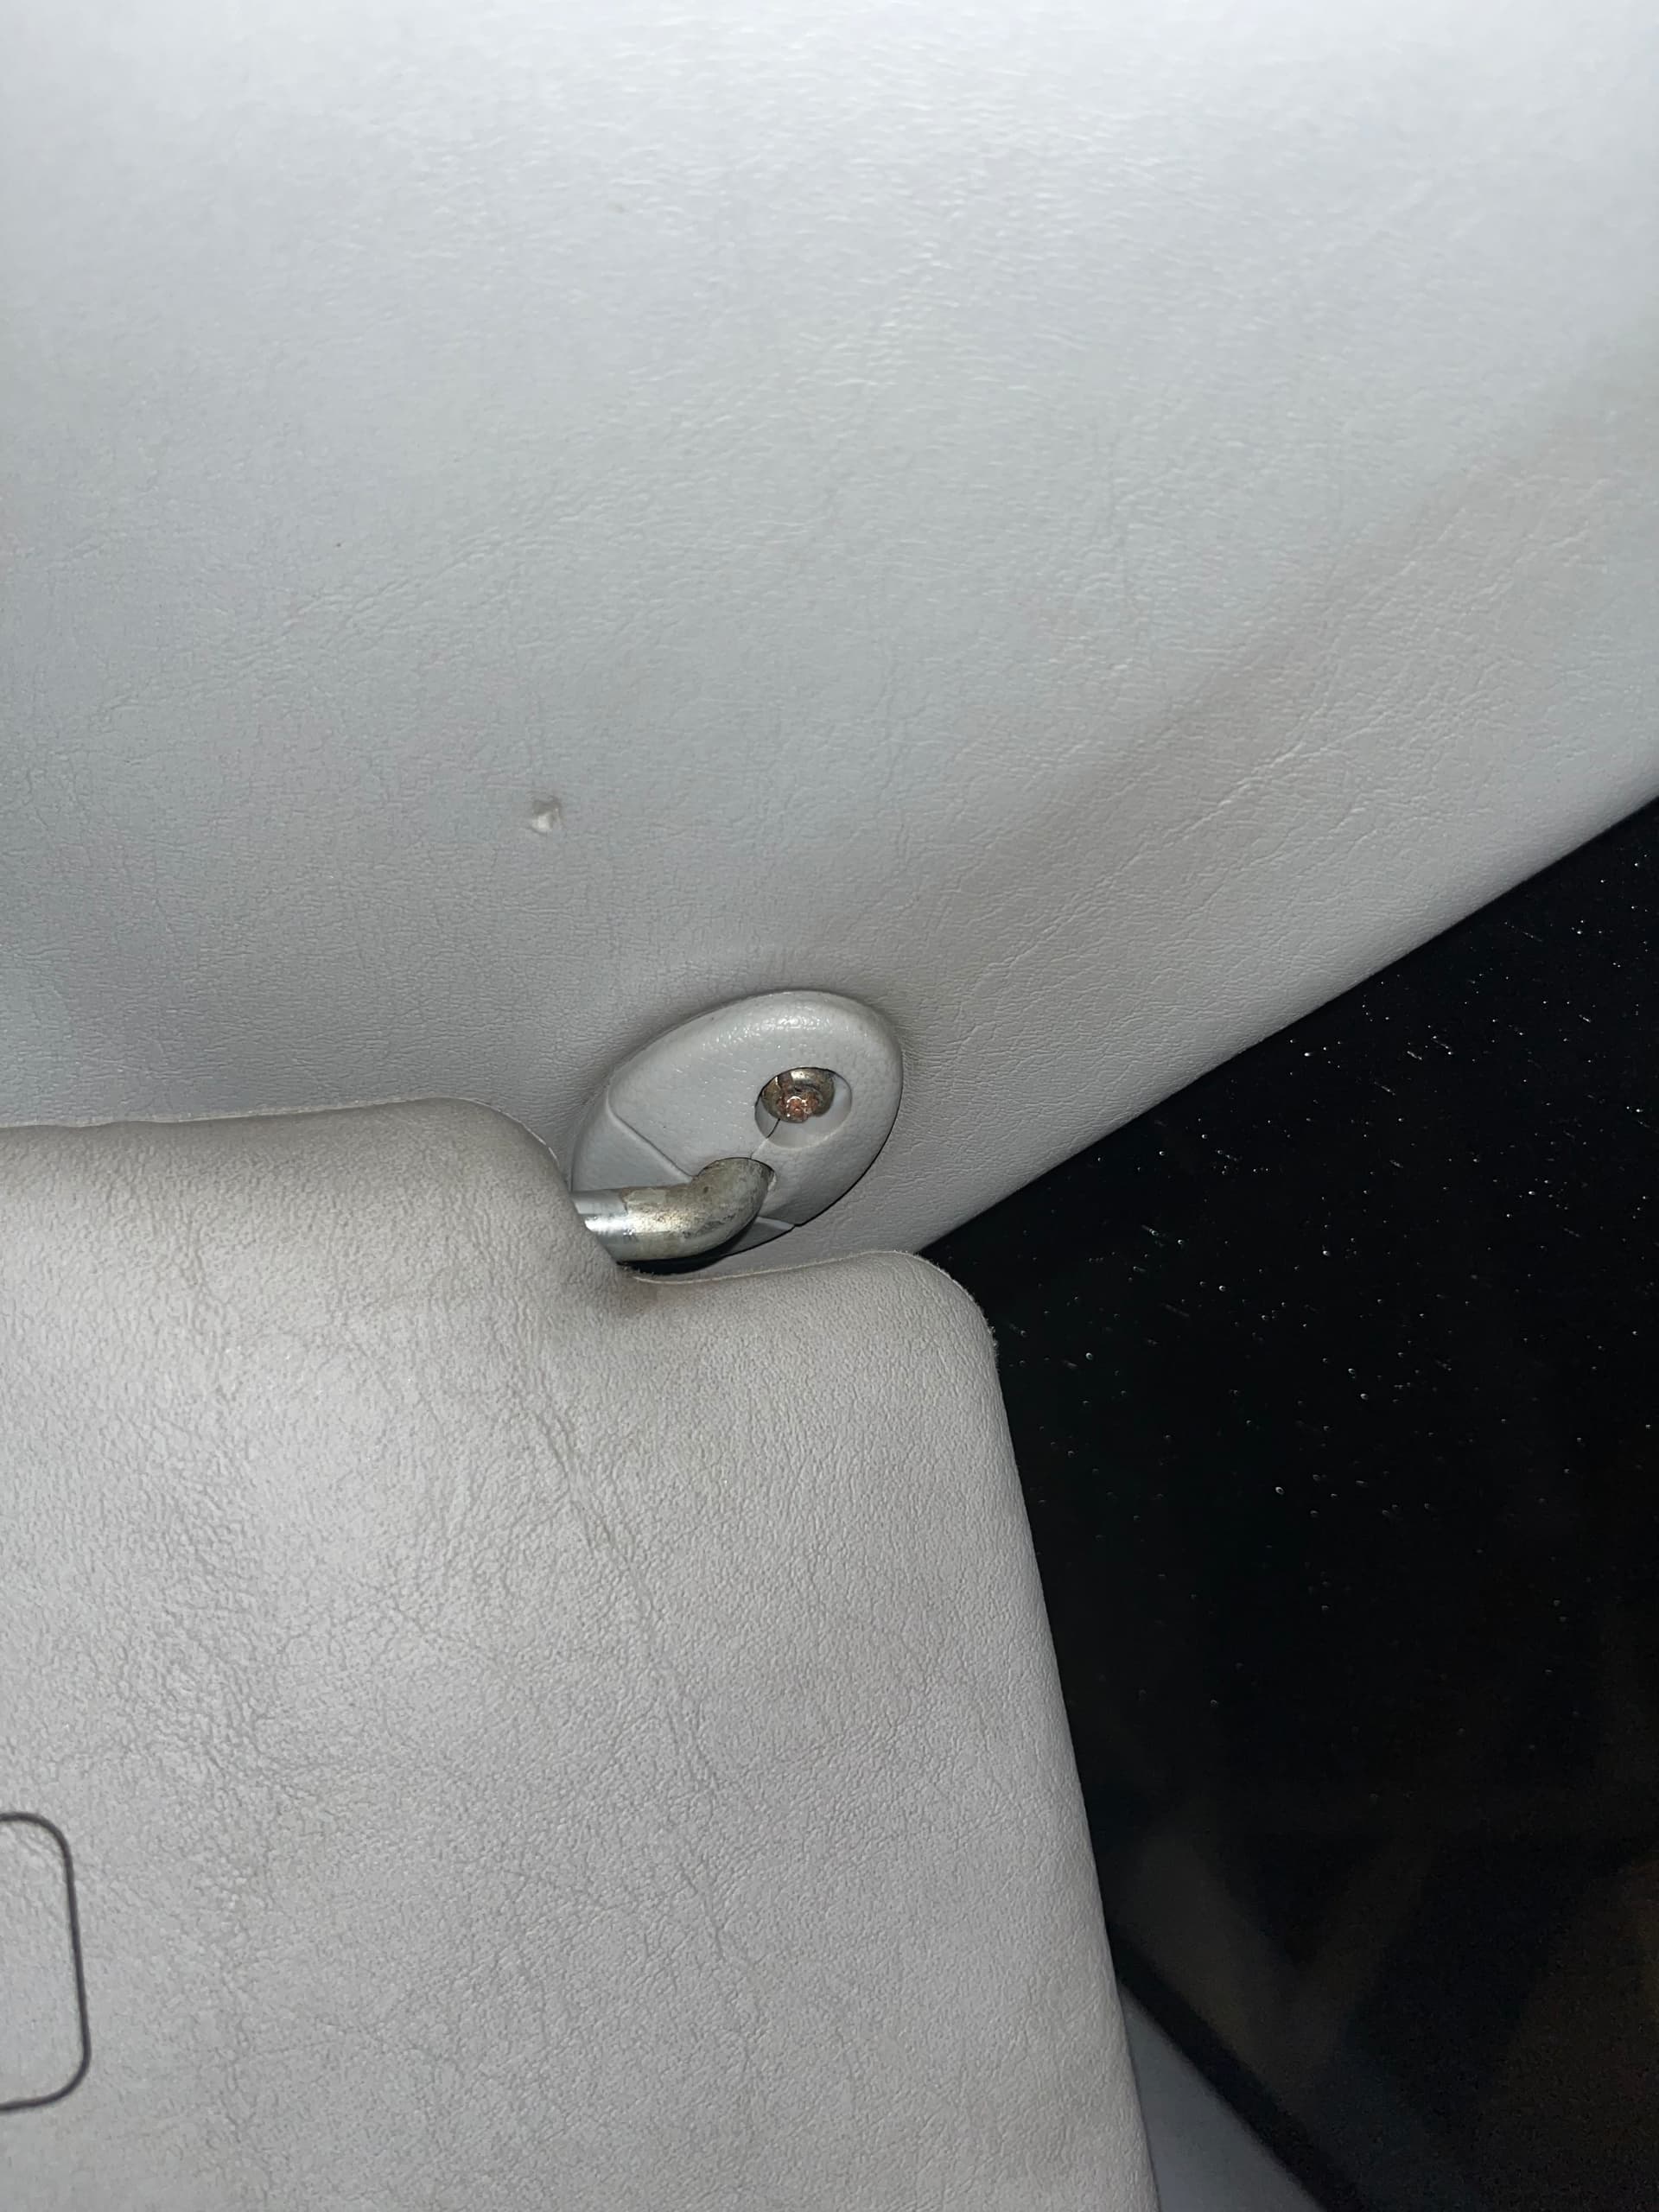
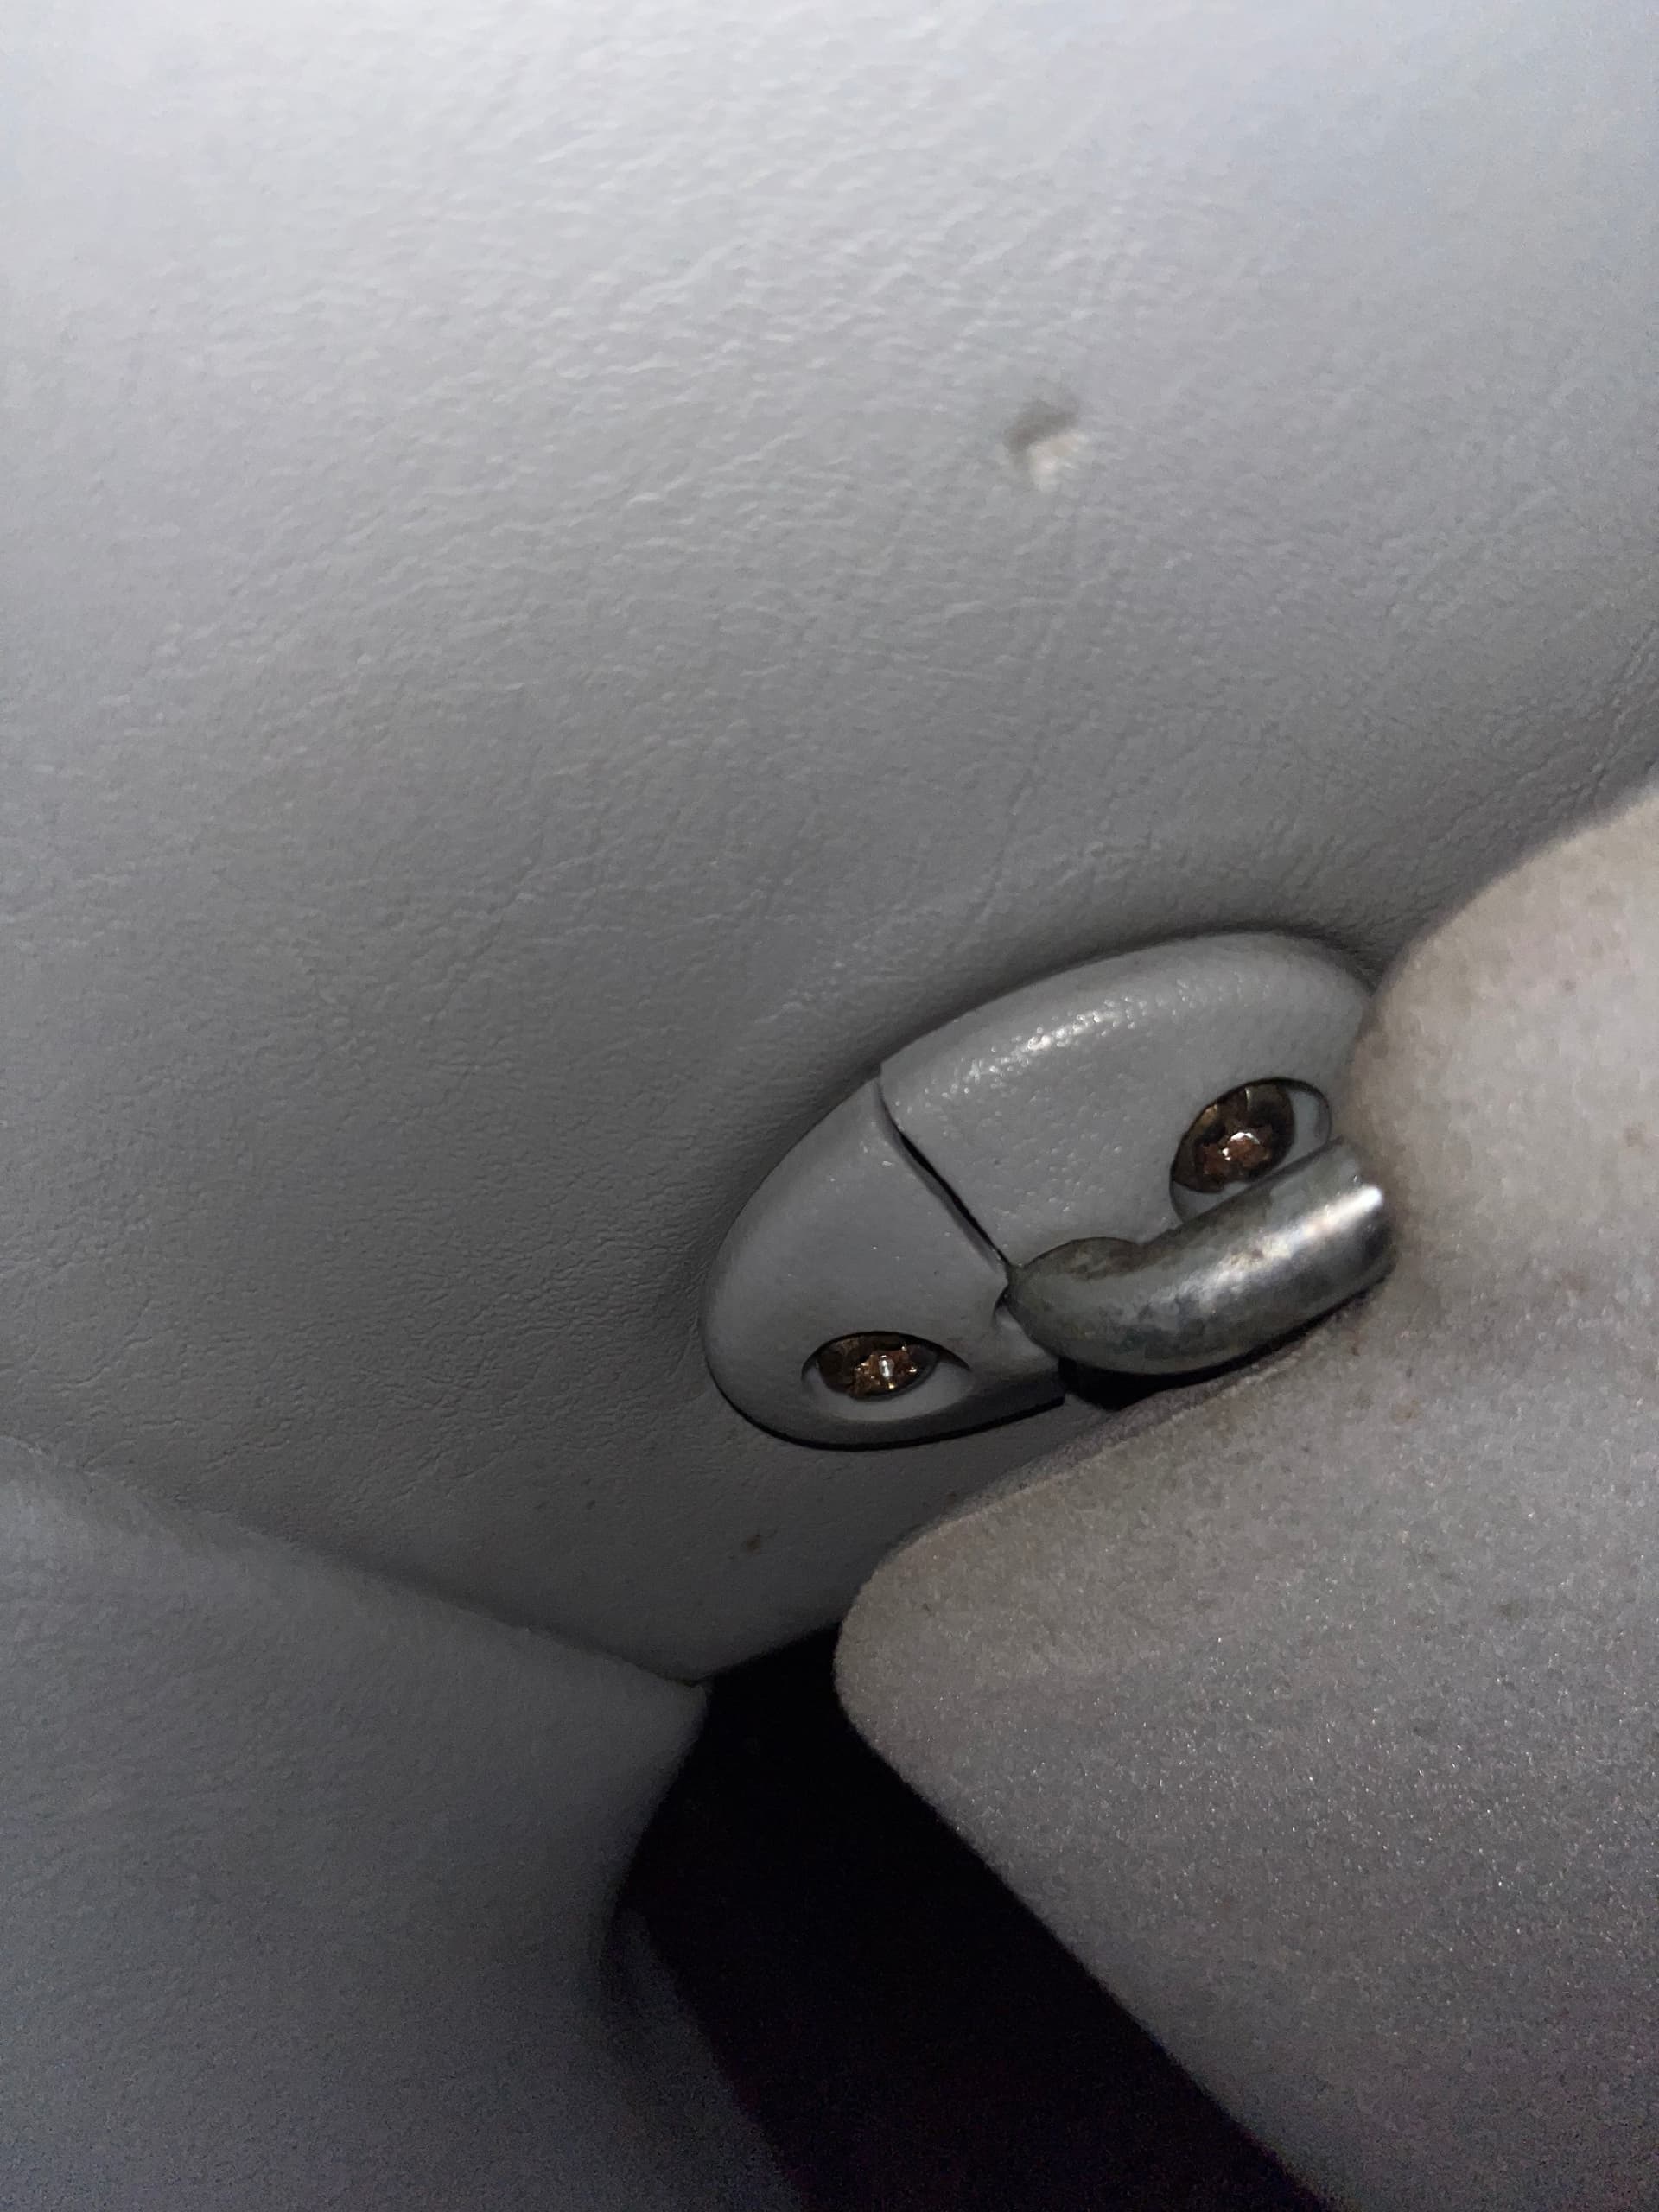
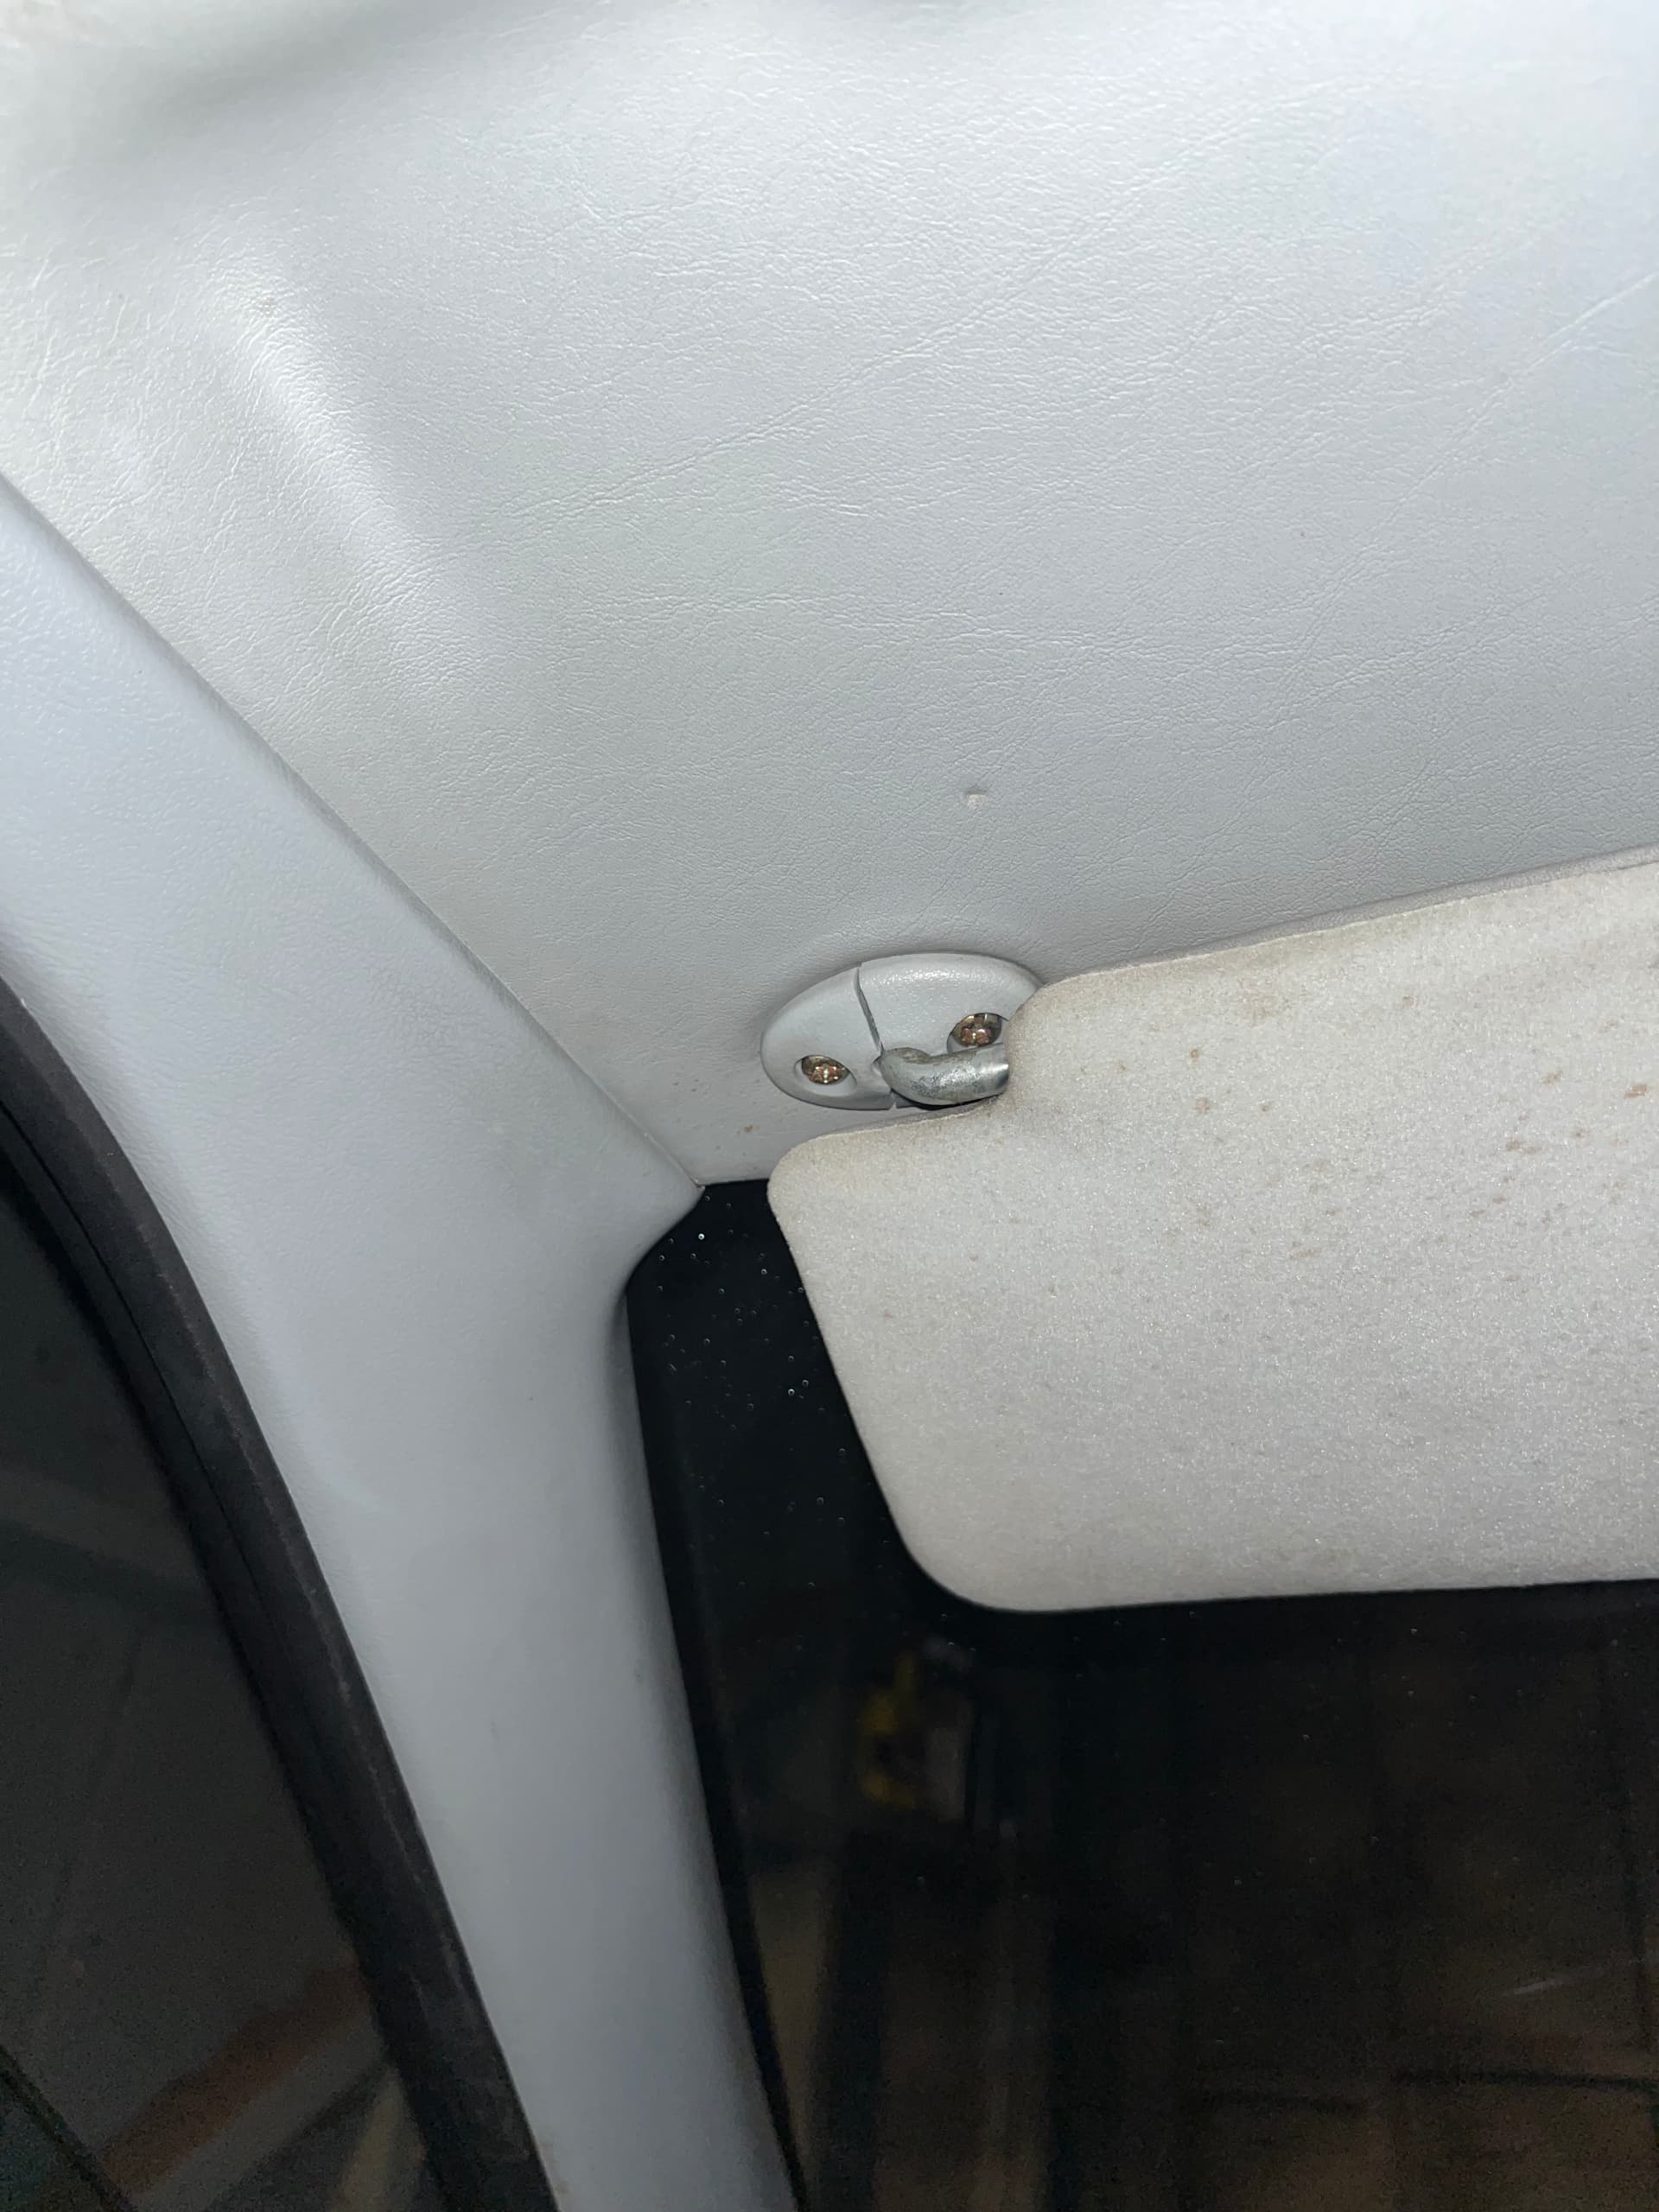
my sun visor was nearly sticking out the window when i opened my door and my automatic seatbelt pulled the visor down and cracked the little plastic piece that is held down by two screws. would that be easy two 3d print?
That’s actually part of the visor – I and I believe it doesn’t come apart. I did not spend too much time looking at the attachment yet, but I have spent some time looking at creating a new visor.
If you can figure out how to remove and also reattach a new one, then it’ll be good to print.
Actually, maybe just figure out how to remove it without breaking it or the visor rod. I can create a new design that perhaps can glue together via two pieces that encompasses the metal rod.
I think I have a spare visor and I’ll take a look when I get home. If you have time and can provide details, please make a new thread in this subforum.
i wouldnt mind finding whole new visor because some guy once throw coffee in my car, not because i cut him off or anything, but i cleaned it all up but the visor still has brown spots maybe i could bleach it but yeah that little piece is cracked so now my visor swings around when i go around corners
That plastic is molded to the bar that part and spring loaded if I recall. a 2 piece design would be a great work around but might have to content with that.
I might have an extra visor to donate for replication.