Nice work m8
I’m about to replace bushings on my steering rack with the same ES bushings. Do u happened to have any pics of your steering rack installed already?
Nice work m8
I’m about to replace bushings on my steering rack with the same ES bushings. Do u happened to have any pics of your steering rack installed already?
I haven’t put it on yet, I might get to it tomorrow so I’ll post pics as soon as I can!
just did mine… god.!! that was a PITA! :squint: had to remove the steering rack and disconnect everything ![]()
It’s much easier with everything off of the car. I didn’t get to mine today, spent most of the day shopping for a Honda Ruckus lol
lol those r fun ![]()
mini turbo ruckus?? ![]()
Anyone have any tips on getting sound deadening that wont easily come out with dry ice? I purchased a torch, a few wire wheels and a puddy knife to get all the gunk out. I know it comes out with those materials but if anyone has an alternative thats less time consuming, im all ears!!
Ive removed all of the HVAC and have started focusing my time on getting the engine mounted in the bay. Ive started with painting the bay, i just finished my last coat for the night so tomorrow i can finish up and post some pics!! I still need a clutch/flywheel and intake manifold to get the engine mounted, ive had my eye on an exedy stage 2 clutch and a competition clutch 9 pound flywheel. Anyone have any objections to running a stage 2 clutch on a bone stock engine? A buddy of mine had the same setup and loved the way the clutch felt, i dont have much experience with diffrent clutches and flywheels so i dont know if a stage 1 clutch would bite the same as his stage 2 did with the same fly wheel. Anybody want to share their experiences?
Finished up the engine bay enough to get some nice pics, it still needs a few more coats to smooth everything out but it came out alright! Going to take more precaution to prepping the surrounding area next time, with my subpar paint skills and lack of knowledge, the overspray got just about everywhere in my garage. Even though i wasnt painting directly at the ground, the majority of the paint that didnt stick to the bay ended up on the floor :bang: Looks like ill be doing a bit of cleaning before driving after the car is done… Anyways, heres the almost finished product:
Hopefully the engine will be in soon! When my engine was in my previous teg it had a small oil pan leak, so instead of just replacing the gasket i went and brought a Canton Racing 5qt Baffled Oil Pan. It may be overkill for some basic autoX but eventually i plan to have the car on a road course and maybe travel to some different tracks here in the states. Above all that, the pan is gold. Who doesn’t like gold!? ![]()
For the engine, this pan and an S2 intake manifold and TB are about the only performance mods going on it. Shooting for lots of reliability to cope with my novice driving skills!!
Stay tuned everybody!
Wow I wonder who taped that son of B up, looks like some quality tape skills right there yo
Weird update here… Ive scrapped the red RS and picked up a white RS… :shrug:
I decided to restart the entire build due to the red teg not being rust free, having ugggly faded paint and needing some body work. So instead of spending a fortune on body work and paint, I got lucky and found the white teg above running and driving and only having minor front end damage for $1000 bux. The best part is that the paint is 100x better, its rust free with the exception of some easily removable surface rust and I have the white hood from my totaled rs. Even though my previous work has gone to waste, I think I broke even! Originally, the plan was to have the car done to drive in the last few events of the season, but with the time that ive lost it probably wont be done until the winter time. There’s always next season!
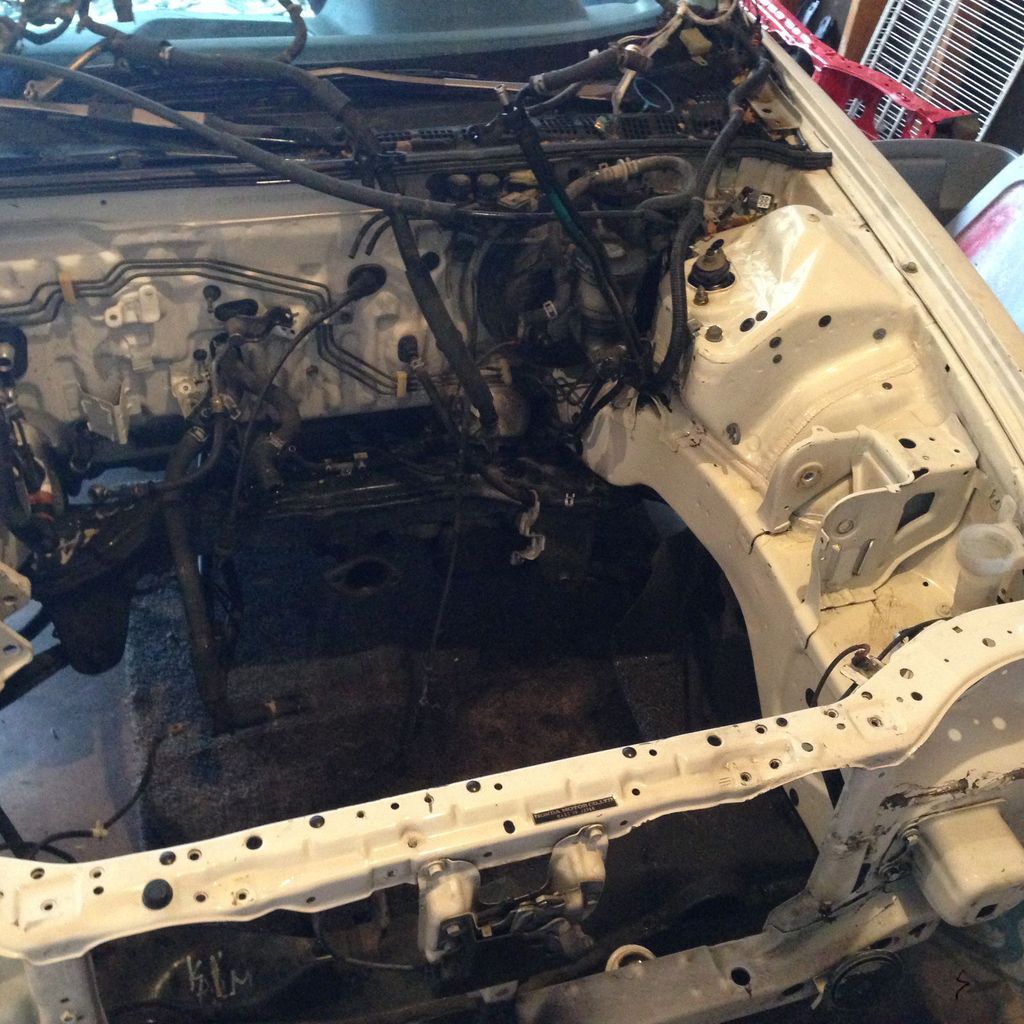
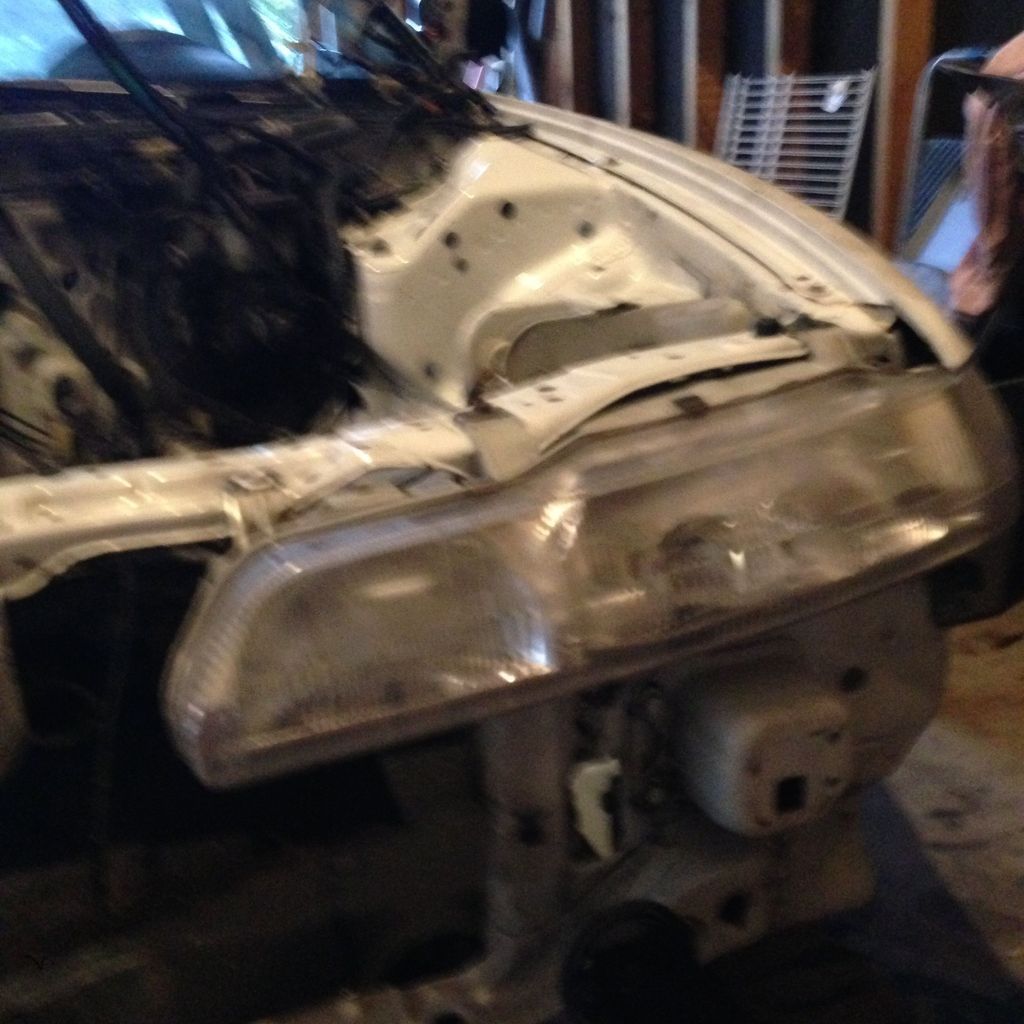
Anyways, with the help of some friends, the new chassis was stripped of its engine and interior. Before sending the old chassis to the scrapper, I cut the core support off because the damage on the white teg seemed to have hit the support just enough to prevent the headlight from bolting up. With the peace of mind of having a spare core support, I took hammer to the damaged support and was able to finagle the support just enough to make everything line up!
Here are some pics of the work done!
After cleaning engine bay and banging core support
Headlight Bolted up (crappy pic)
So thats what ive been up to guys! Sorry this thread has been hibernating over the summer, the next update will be the engine going in. Im going to do the same stuff I did to the red teg in the previous updates so I wont be posting pics of the process, but I will show the finished product! Going to end on a picture of the B20 after I sprayed some hi temp paint on it to match the transmission, hopefully I will have it in and get the first start here in a couple months!! ![]()
Stay tuned guys!!
This thread is long overdue for an update! While being busy with school and work I just never got around to updating this thing, but now its time to brush some dust off of this! A lot has been done since the last post, Ive completely undercoated the bottom of the cars from the front wheel wells to where the fuel tank begins. I plan on undercoating the rest of the car, but as of right now I’m more focused on getting the front suspension squared away and first start out of the engine. I didn’t take down all of the factory rubberized coat thats on the bottom of the car originally since it was a PITA grinding everything off with the car on jacks. What I did do was remove all of the dirt and oils that were on top of the OEM coating, removed any sort of moisture I was able to find and re spray the bottom.
Here are some before and after pictures of the work:
Before
[URL=http://s1299.photobucket.com/user/Drewbeed/media/IMG_0611_zps6yf3ti39.jpg.html]
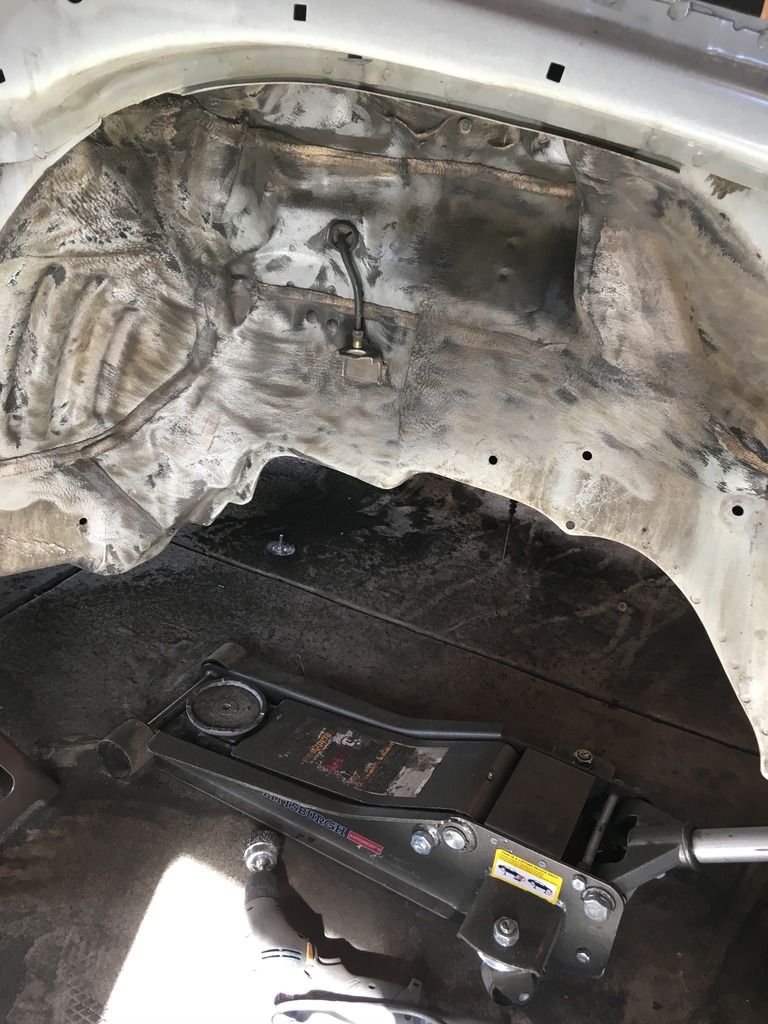
I also banged out all of the sound deadening. This was probably the hardest part so far, it took endless hours of grinding the leftover pieces after the dry ice to get it all out! Acetone, a grind wheel and a few good friends is all you need for a job like this. Most of the big pieces would come out with a hammer. There was a lot of black tar like residue leftover that needed the grind wheel and acetone to come out.
Glad its over, it will definitely look a lot better once it has a cage and painted. Here are the pics:
After all that, I moved on to getting the engine ready to be dropped in. Starting first with all of the wires in the engine bay, I didn’t do anything fancy with all of the wires like some of the threads on here. What I did was just peel off all of the old electrical tape and re wrap all of it with new tape just to make it look clean. I originally wanted to tuck the headlight harness but the work to do it didn’t seem to practical for a lapping car, so i just put back the harness in its original location with some new cable ties. After all, it looks pretty clean having all the wires nice and shiny ![]()
Here are some of the only pictures of the bay I snapped after the work:
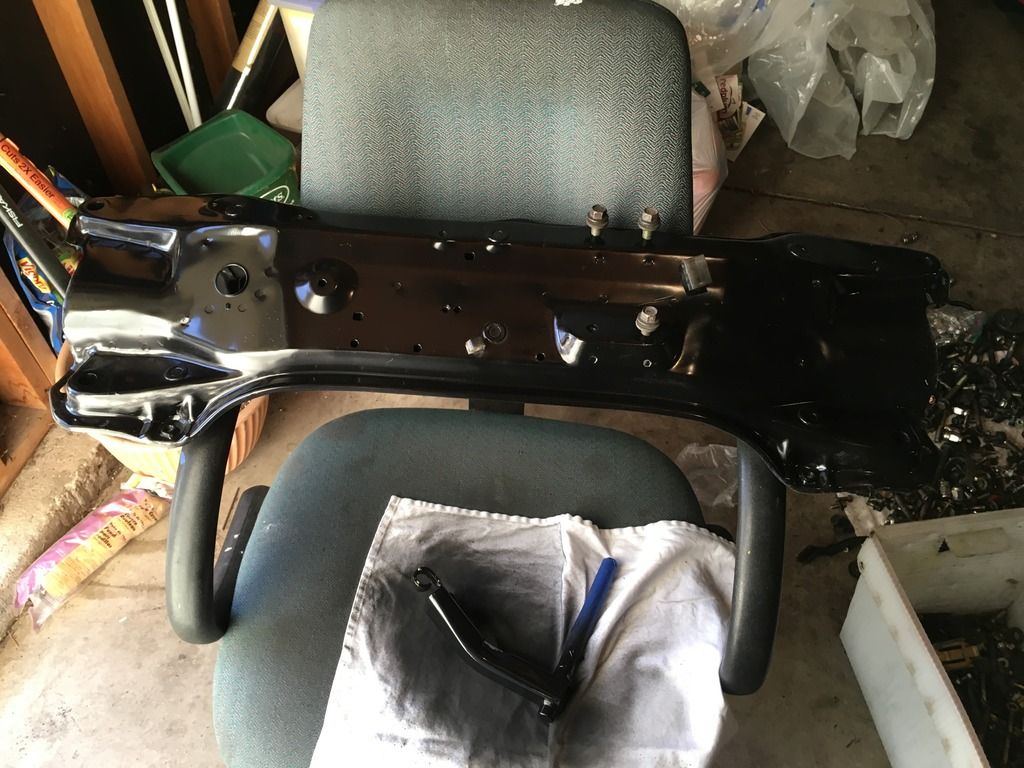
After getting the wires squared away, it was finally time to get the engine in there! I started with re painting the subframe black along with some other little things to clean up the engine. I went with a Competition Clutch 8.5lbs flywheel and an Exedy Stage 2 clutch and ARP Flywheel/Pressure plate bolts. I advise not to get these bolts unless you don’t have any stock ones like I did. First reason to not get them, have you ever seen a stock flywheel bolt and pressure plate bolt fail when properly torqued? OK, Ok, some of you may have seen that, but its not likely for a low HP application LOL. Second, In the instructions, they tell you to torque these things down to specs that exceed the factory spec by quite a bit. For example, the factory spec for a pressure plate bolt is around 19 ftlbs or something like that, the arp bolts require 45 ft lbs which was hard to put on a little bolt on the first place. The lube thats required for installation of these bolts is also a bit messy. These bolts aren’t the worst thing, the installation process of the factory bolts is just much easier.
To end my rant, here are some pictures of the work and the new parts :
Painted subframe and clutch swing arm
And finally, some pictures of the engine in the car :excite: :dance:
Still a lot more work do to the car, and it starts with buttoning up the engine to start. I began with installing the Canton 5qt oil pan. To use this pan, you have to get the Canton windage tray since the pan won’t clear the factory windage tray. It took a while to get this pan seated correctly, at first i was having trouble getting the slosh baffles in the pan to clear the oil pickup with the aftermarket windage tray, but after a couple days of messing with the thing and removing the oil pick u about 10 times, I finally got it on. Its a real tight fit around the oil pick up so thats what made it so difficult. Lets just pray for no leaks, i really don’t want to take this thing off again!![]()
Here are some pictures of the install:
Hoping I can start it and move on to the rear suspension by next week!
Moving on to the other little things i got for the car! I installed my Mishimoto radiatior along with the hoses and I’m still deciding if i want to get an aftermarket fan for it or just rock the stock one for now. Until I step my safety gear up with a hans and a proper cage, I wont be doing much more that little auto X events in my area so I’m leaning more towards using the stock fan and getting more safety gear.
Pics of the radiator:
I also ordered and installed a Full Race traction bar. This thing is sweet, but it does hang pretty low.
Hanging low
[URL=http://s1299.photobucket.com/user/Drewbeed/media/IMG_0764_zpsmwfypu2t.jpg.html]
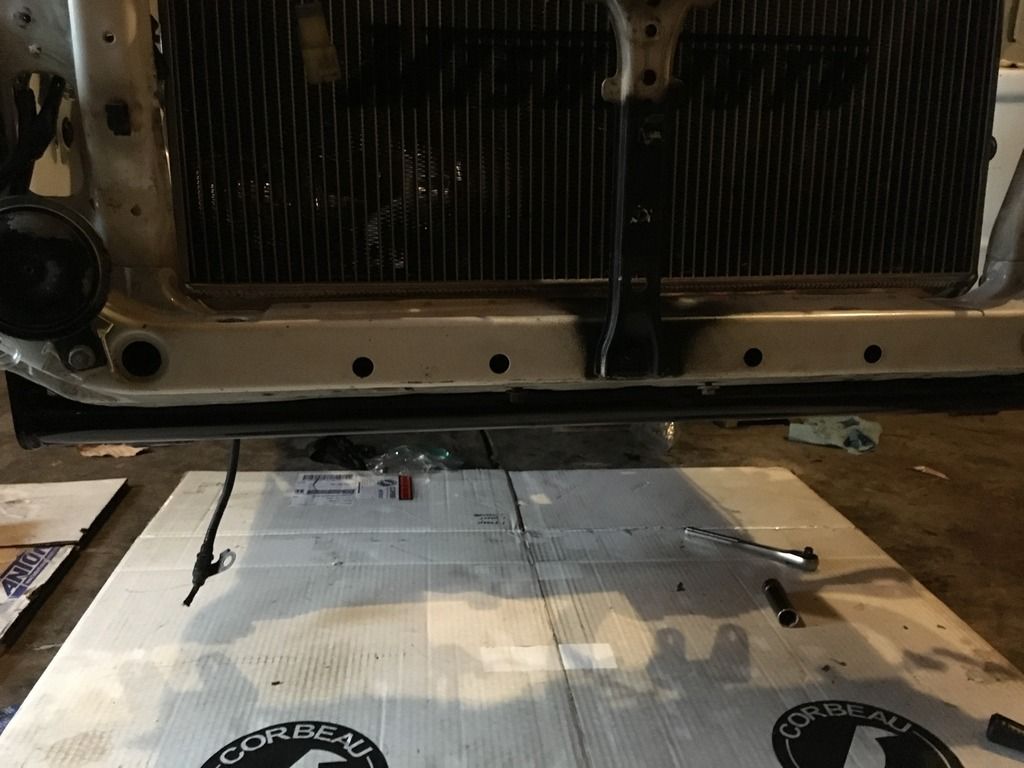
After I get my front LCA’s bolted in i can finish getting this thing on there!
I finally got around to ordering suspension as well. I went with the Koni and Ground Control setup with 550f and 450 rear spring rates.
Pics:
Next is my seat, Shifter/linkage and my wheels and tires!
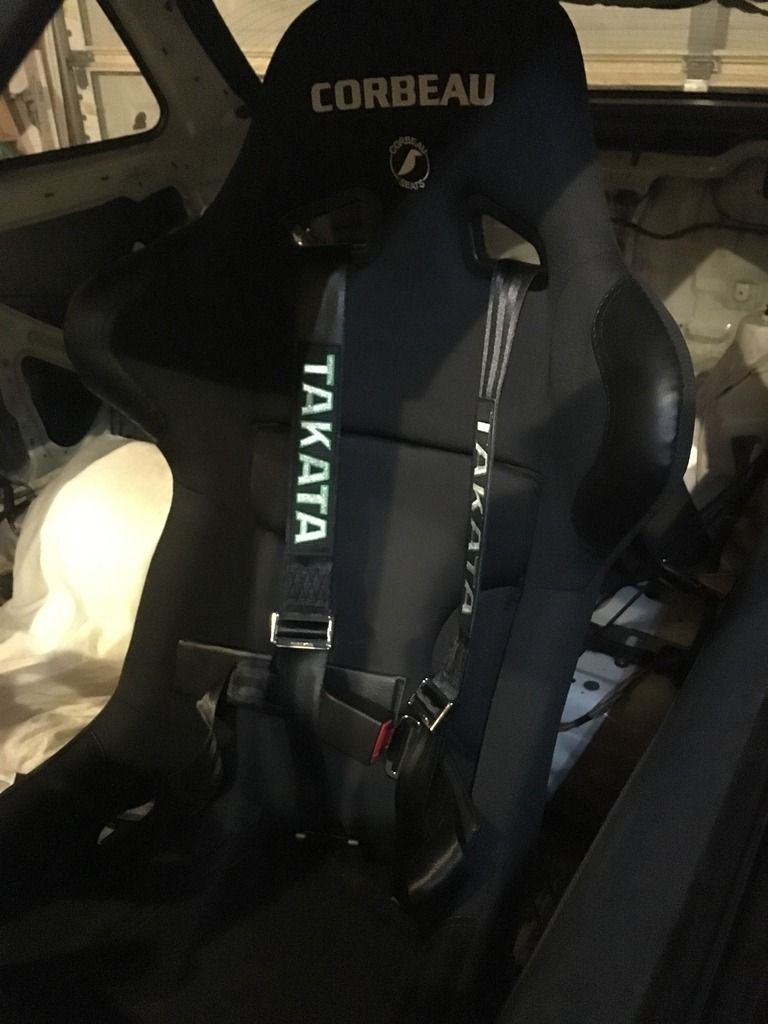
I went with a Corbeau FX1 seat since i like the style and it was fairly cheap compared to its competitors. Its not fia approved, but its perfect for what ill be doing for now until i step my safety up. The only downside is that i sit a little high, and helmet clearance might be an issue, but eventually it will become my passenger seat so I’m not too worried about it. I also ordered Ktuned shifter because I’m a ricer at heart ![]() and installed the softer and linkage with the Dimes Performance Solid Shifter Bushings. As far as i can tell, these bushings along with the shifter feel great!! Thats about all i have for now, here are the pics!
and installed the softer and linkage with the Dimes Performance Solid Shifter Bushings. As far as i can tell, these bushings along with the shifter feel great!! Thats about all i have for now, here are the pics!
[URL=http://s1299.photobucket.com/user/Drewbeed/media/IMG_0808_zpsmzxqbcar.jpg.html]
[URL=http://s1299.photobucket.com/user/Drewbeed/media/IMG_0809_zpsnf0onafa.jpg.html]
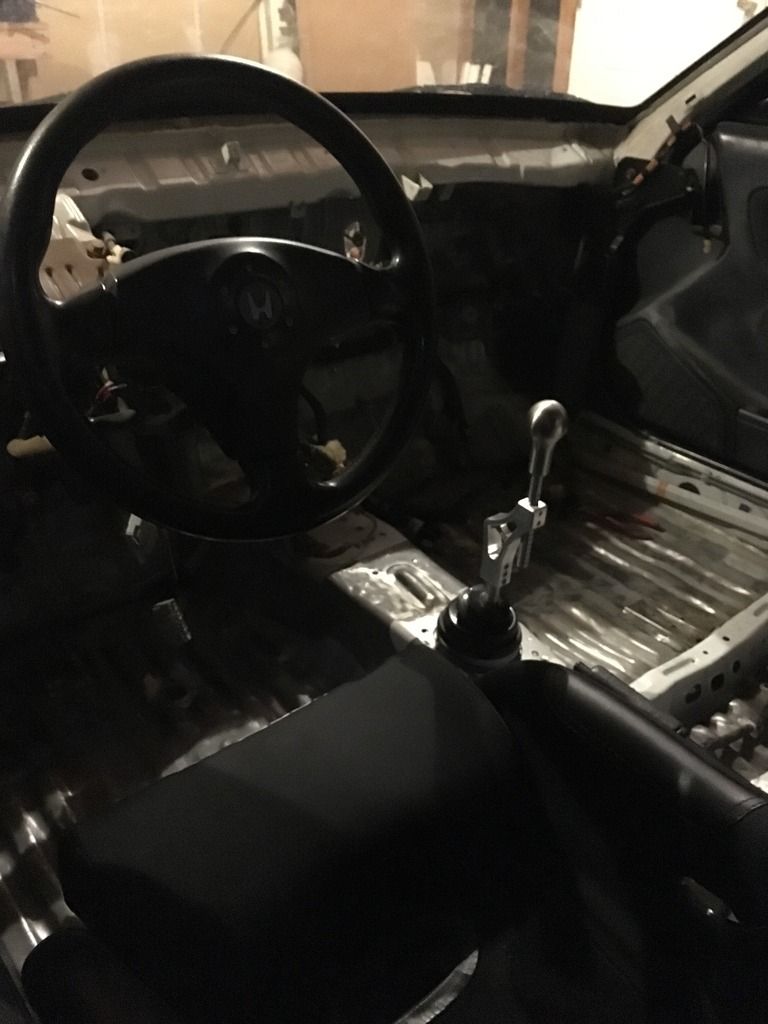
Yes, I’m putting the flywheel inspection cover back on. I have to modify it to clear the pan.
Thats it for now! Im hoping to get a first start next weekend. Ill post a link for a video on here when it starts!
To end this post, here are some pictures of my wheel and tire setup! Ill try to update this more regularly since I’m trying to have the car done by the middle of april, stay tuned everyone!!
Enkei RPF1 15x7 +41 Bridgestone Potenza RE-71R 205/50/R15
Oh man this is coming along nicely! That oil pan is sick! It’s a shame you had to scrap the old shell, but rust free is always better. Can’t wait to see more ![]()
good stuff man ![]()
Thank you! If everything works properly with this pan, I’ll definitely recommend it to everyone!
Very nice, I like where this build is going. Keep up the hard work!
Nice! Really nice. I am planning to clean and repaint my suspension components as well when I upgrade, even though my younger brother thinks I am crazy. Very solid work…
Now that you have that fancy new racing seat, what are you doing with the stock blue seat? I am a long-ass way from CO, but…
very nice build. Looks like it will be a solid setup. So clean compared to my car.
I know you mentioned it will be for auto-x at first, but the setup will be perfect for HPDE and later TT, you should come out to the NASA April event at Pueblo, ill be there, hopefully in my DA if I can get the motor back in in time.
[QUOTE=G2Again;2332784]Nice! Really nice. I am planning to clean and repaint my suspension components as well when I upgrade, even though my younger brother thinks I am crazy. Very solid work…
Now that you have that fancy new racing seat, what are you doing with the stock blue seat? I am a long-ass way from CO, but…[/QUOTE]
Thanks! I really like the look of clean suspension. It also makes it easier to work on so I’d go for it of I were you! The original seat is gone, the pervious owner didn’t take care of the interior bits and it was in rough shape.
[QUOTE=Chris;2332787]very nice build. Looks like it will be a solid setup. So clean compared to my car.
I know you mentioned it will be for auto-x at first, but the setup will be perfect for HPDE and later TT, you should come out to the NASA April event at Pueblo, ill be there, hopefully in my DA if I can get the motor back in in time.[/QUOTE]
Thank you!
My goal is to get it to a few HPDE later this year and eventually try to race something like TT as this is my first track car and will be my first car to do any sort of driving at this caliber. As of right now the only thing keeping me from driving in those events is my lack of safety equipment. Definitely not limiting the car to just auto x, I just wouldn’t be comfortable taking it anywhere else without proper gear. I really want to get more involved in the local racing clubs here so I will more than likely attend that event regardless if the car is done. Gonna PM you, we can link up at the event!
Sweet build! I can’t wait to see this thing in action, keep up the good work!:salute:
Looks like I won’t be starting the engine this weekend, I’ve been hit with a little setback with the oil pan. After I put oil in the engine, I got down there to check if the pan had any leaks, and sure enough it did… :bang: BUT it isn’t an installation error, the pan has a defect along one of the welds. There is a hole about the size of pens tip causing a slow drip. I’m currently in contact with the manufacturer trying to figure this thing out. Hoping I can get the ok to send it out here in a day or so.
This isn’t the biggest setback but it’s definitely frustrating, as I dumped 5qts of fresh oil quite literally down the drain.
In the mean time, I’ll be re locating the battery and buttoning up the engine harness to start it. I might even move on the the rear suspension too.
Anyways, here are the pics of the pan.
Cleanest oil change ever!!!