sorry
awesome thanks! i didnt go to the first page of this thread… if i did i mustve missed something but thanks for taking the time tah help!
sorry
awesome thanks! i didnt go to the first page of this thread… if i did i mustve missed something but thanks for taking the time tah help!
I’d rather it look stock than have all that fancy LED shit, so I was window shopping for this stuff and decided to post it up.
on the top of the gauge cluster the top bulbs. what is the size of the bulbs? also basically how many bulbs to replace to change the gauge cluster lighting? oh and one more question what is the bulb size of the climate control? because im gettin confused.
If you would have read, all that information is throughout this entire thread.
[QUOTE=4sd4dr;1813743]If you’re wanting to just use stock bulbs from Honda, they seem to be cheaper than aftermarket LED’s…
#2 34505-SA5-003 BULB, NEO-WEDGE (1.2W) x 1 @ 4.17 ea
#3 35505-692-003 BULB (12V1.4W) x 2 @ 1.38 ea
#1 35505-692-003 BULB (12V1.4W) x 1 @ 4.17 ea
#23 79629-SR3-003 BULB ASSY. (BLUE) x 2 @ 4.07 ea
#26 80415-SK7-003 BULB (T4.2) x 1 @ 3.68 ea
#7 35851-SB2-003 BULB, NEO-WEDGE (T3) x 7 @ 2.30 ea.
$39.02 before shipping off http://acuraautomotiveparts.org[/QUOTE]
for real!
[QUOTE=oL_sKooL_inTeG;1808278]I got 2 194 Superstar Bulbs With Metal Heat Sink, 5 3LED 74s, and 2 Regular LED 74s, 2 Wide Angle 24s[/QUOTE] thx man!
Dash toggle switches bulbs
Yep, indeed, they are the neo-wedge type A (8mm).
Changing the color of the toggle switches
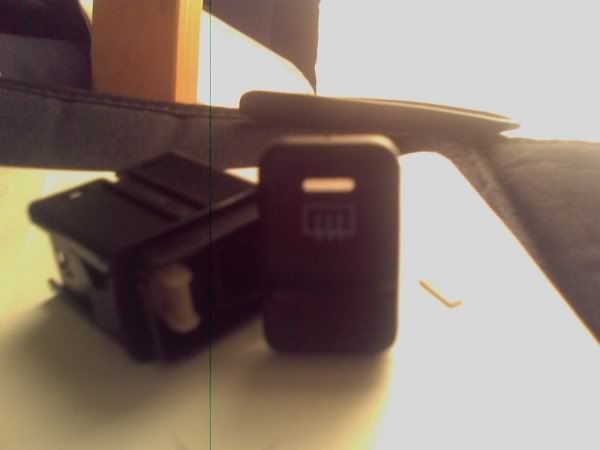
I checked into how to change the bulbs in the toggle switches (hazards, etc). As greenbling said, they are neo-wedge type A 8mm bulbs. I am going to put blue leds into mine. The problem is that the lens that the light comes through is colored. So we have to remove the colored piece so that our led light shines through in all its glorious blue (or whatever). There are two bulbs in the switches that have them. One on top to show that the switch is on, and one on bottom to light the switch. The top part of the button uses an orange filter, and the bottom part uses a blue one. Luck for me! I am only going to remove the top one, but I believe the removal of the bottom would go the same way.
First, pull the button out and unsnap it form the wire harness. Use a jewelers flat head screwdriver and turn the white bulb bases to the left about a quarter turn until it stops. Then pry it out carefully and pop it out. If you want to clean the electrical contacts inside, use the same screwdriver and release the black case from the white clips one side at a time while sort of pulling the white part away. Don’t force it or it will break. Use some contact cleaner and clean the traces on the board. You can skip opening the case if you don’t need to do this. On to the filters. You will notice the toggle part of the button that you push pivots on two points. Take the tiny screwdriver and pry it away from the pivot point on one side. CAREFULLY! Remove the face.
I noticed on my faces that the front part of the clear plastic was coated with something that flaked and came off very easily. I went ahead and cleaned it off. It may be some kind of protective coating, or residue, who knows. Anyhow, the back side of the face is what we are going to work with. You want to push from the backside against the blue part in a slow and even manner to pop the filters out as one piece. Push on one side of the blue and then the other until it pops free. It’s weakly glued in. Once it is out, take some tweezers and just pry off the smaller top piece. That is the orange filter. The blue one may come off in the same manner, I didn’t try. If nothing else, maybe you could buff it clear or something, or sand it off or something. Once the little top filter is removed, take a baby q-tip or something and clean the clear window on the face. Now you have to re-glue the lens piece back into the face. I just put a tiny bit of goo into the corners and set it back in and let it dry. Replacement is the reverse of removal, being careful not to bend the pivot points or force anything. I will post pics when they are all dry. In the meantime, here is the gallery with pics from the process. - edit - The clear diffusing lens that is left after removing the colored piece covering it is a little yellowish. With my blue leds it may make them sort of green, so I think I am going to give it a shot, but possibly consider replacing it with a different diffusing piece. I think you could use any small piece of clear plastic or glass, and sand it a little so that it diffuses.
http://semisynthetic.net/kill-9/gallery/thumbnails.php?album=15
for the lazy…
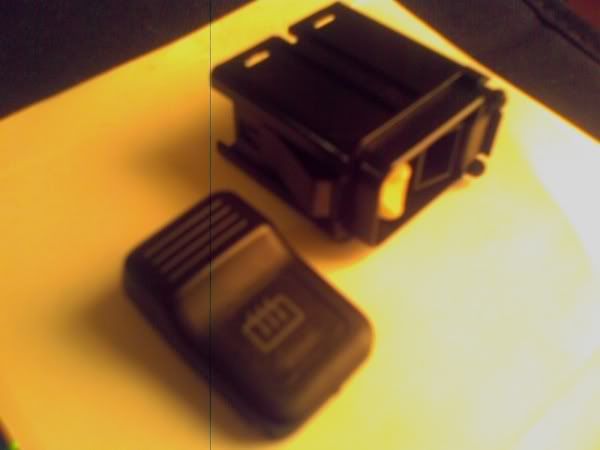
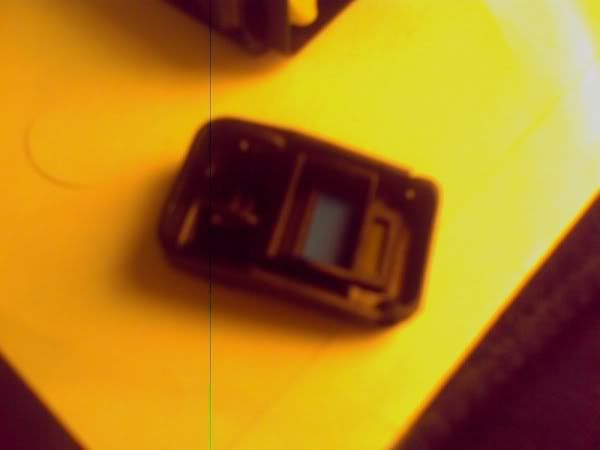
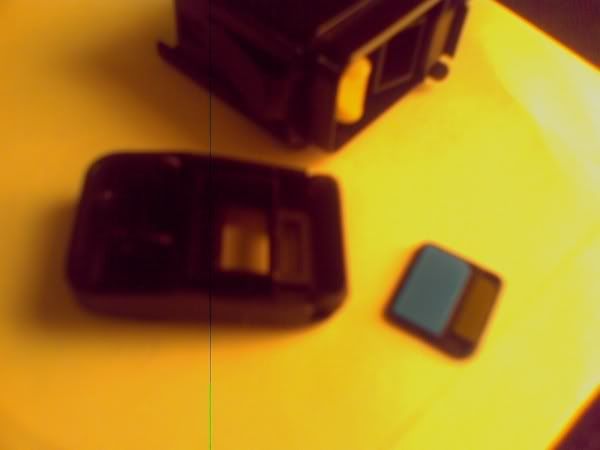
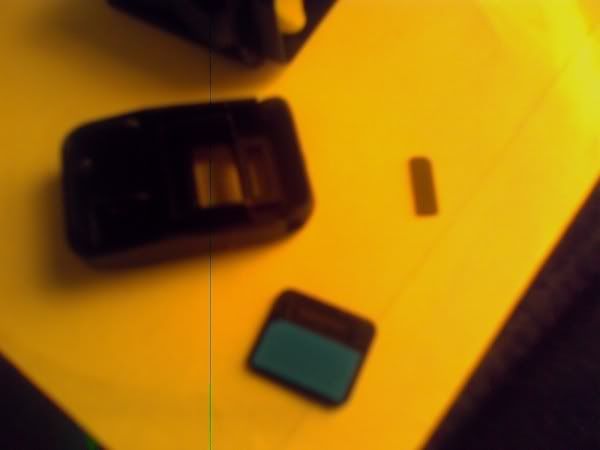
There are pics in my gallery also of my blue led swap. Nothing much different than others, just more proof that it works.
http://semisynthetic.net/kill-9/gallery/thumbnails.php?album=14
It took me about 3 hours. About an hour of that was redoing leds that were in backwards and fiddling trying to get them to fit when they wouldn’t fit snugly. It was my first time pulling the dash too, so that was most of the time.
Good Job!
Where did you get the dome light bulbs? What numbers are they?
*Dome Light: DE3022, DE3423
*Courtesy Light: DE3423
I got mine from superbrightleds.com
I tried to find it again and couldn’t, but I know I searched using the above info.
They are festoon type. I know I got 3 of one size, and two fit great in the courtesy lights because the mounts were the kind you snap the bulb into, like the cylindrical fuse mounts. The dome light however has the kind where it is two metal tabs with holes in them, and the bulb fits into the holes. The bulb was a little too long so I had to force it and bend the tabs just right. I just did the 9004 to 9007 mod to my headlights, so now my corners seem all wrong, so I think I am going to put leds in the corners as well, maybe even the fogs if possible. I know there may be an issue with the turn signal bulbs blinking, but I doubt it, since they work in the dash turn signal bulbs. I believe the corners are 194 or 168. I believe also that the corners take two bulbs each, 1 for pointing to the side and one for pointing forward. Are the stock ones amber I assume? Both of them? Anyone who knows speak up so I don’t buy the wrong ones. Also, are the bumper bulbs 194 or 168 also?
The corner bulbs are 194/168. I was just in the parts store and they highly recomended the Piaa 168’s… Told me they were super bright and white. Stock the corners were both clear bulbs…
Also the Bumper bulbs if I remember correctly are 1156. Unless you switch them over to dual filament 1157 to were they are on with the headlights and flash with the turns. Thats in the teg tips…
Thanks for the Dome light numbers…
Cool. So to reiterate, here’s what we have:
corners - 168* (WLED type if getting LEDs)
bumper signal - 1156
plate: 67/97
fog bulbs: H3 (H3ST if Sylvania)
turn signals: 1156
I added an edit to my post above about the buttons. The diffusing lens that is left in is a little yellowish, so beware. I haven’t tried it with the blue yet but it may need to be replaced with a sanded piece of plastic or something. Or just removed.
Is the bulb thats above your cd player a #2 by looking at the picture in a few post before mine? My bulb burnt out and i was thinking of putting a blue LED light in its place if its possible since i want to change all my reg lights to Blue LED’s anyhow…
who are you asking onlyjosh?
can i buy these from someone? that cahrt on suberbrightled’s is giving me a headache!
up… help, someone!!