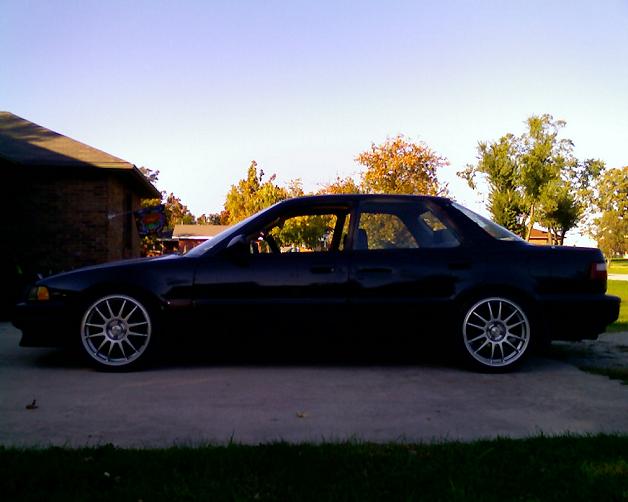
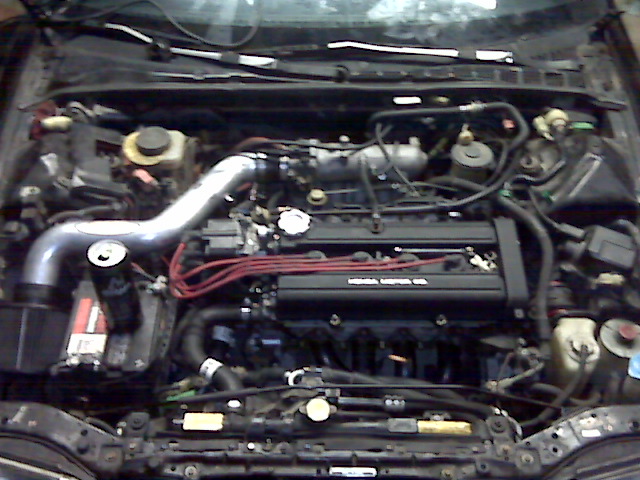
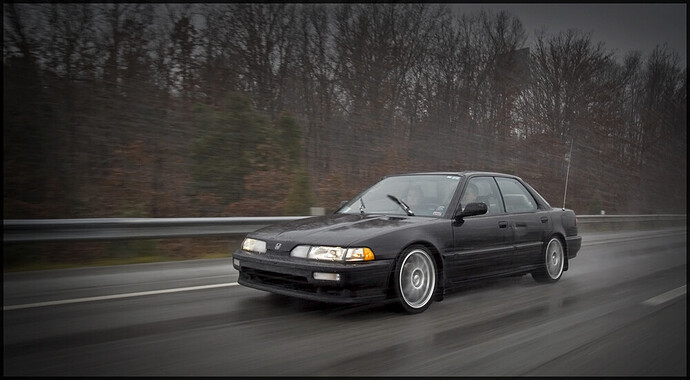
I recently swapped a b20b in to my '91 GS sedan and figured I’d whip up a quick guide on this since all the b20b-in-to-DA/DB guides seem to revolve around high-comp b20bs in to late model 2nd gens.
This guide covers a 1996-1997 JDM b20b low-compression engine with the P75 cylinder head/intake manifold and with no knock sensor, going in to a USDM 1991 Acura Integra GS Sedan 5spd while staying OBD-0(I did obd-1 not long after the swap, but it’s not necessary to complete the swap and drive the car). My car was complete, running, and driving prior to this swap and I had my b18a1 to use for parts. If your swap differs in any way then I can try to answer your questions, otherwise you’re on your own.
What you’ll need from the b18a1…
-Fuel injectors
-Fuel rail
-Fuel line from filter-to-rail
-Distributor
-Alternator
-Transmission(I used a freshly-rebuilt 1993 LS ys1, you can go with whatever you prefer)
-Starter
-Power steering pump(unless you delete)
-A/c compressor(unless you delete)
-Complete engine harness
-Any little parts/sensors/bolts/nuts/etc that may be broken/missing on the b20b
-Exhaust manifold/header + downpipe
-Crank pulley + key
What you’ll likely/should need to buy(order your parts for a CRV matching the year of your motor unless otherwise noted)…
-New timing belt
-New tensioner pulley(hit or miss when re-using the original, up to you if you want to take the risk)
-New p/s belt(order for Integra / unless you delete)
-New a/c belt(order for Integra / unless you delete)
-New alternator belt(order for Integra)
-New o-rings for the a/c lines where they connect to compressor(order for Integra / unless you delete)
-New fluids(oil, p/s fluid, coolant, trans fluid)
-New thermostat
-New gaskets(valve cover, oil pan, thermostat housing, intake manifold, exhaust manifold, etc)
-New gasket sealant(I highly recommend Permatex mega-grey)
-Funnel for fluids
-That clear/yellow hose assembly for the trans fluid(makes this job much easier)
-A/C recharge kit(and r134 conversion kit if car is still r12, follow all rules/laws regarding this stuff / unless you delete)
-May also need stuff like a top-end gasket set, clutch kit, water pump, oil pump, main seal, etc. Just depends on condition of motor and what you have on-hand already.
The only real modifications needed are…
-Extend ECT switch wiring
-Extend MAP sensor wiring
-Delete Oil Temperature sensor wiring.
Some details on the above mods…
-
ECT Switch wiring. On the 1990-1991 b18a1, the ECT switch is on the back of the motor, is huge and ugly, and has a two-prong style connector. On the 1996-1997 jdm b20b the ECT switch is on the thermostat housing and has a plug-style connector. Not only will the ECT switch wiring in your b18a1 engine harness not reach the new ECT switch location, it wont even plug in to the ECT switch. What you need to do is either extend that wiring, or cut a slit in the harness up to the thermostat, pull the ECT switch wiring towards the thermostat wiring, remove excess wiring and re-tape the harness. Either route you take, you’ll need to cut the two-prong style connectors off of the harness and replace with a two-contact plug…something you’d use for an oil pressure switch or something, easy to find online for cheap.
-
MAP sensor wiring. On the 1990-1991 b18a1, the MAP sensor is on the firewall by the vacuum pots and master cylinder. On the 1996-1997 jdm b20b the MAP sensor is on the throttle body. The MAP sensor wiring needs to be extended to the new location, super easy to do…just remember to be smart when you make that cut and don’t short yourself on wiring on the plug-end of the harness. You’ll obviously need some wire to extend this, color doesn’t matter as long as you properly match it all up. Electrical tape or solder, up to you. I highly recommend buying new harness loom to tidy up this extension, exposed wires are no fun.
-
Oil temperature switch wiring. The b18a1 has the switch, the b20b does not. It’s up to you if you want an un-used connector hanging around behind your motor, I didn’t so I cut what was hanging out of the harness, taped the end to avoid shorting on anything(if this is even a possibility, better safe than sorry I say), then hid it in the harness before re-taping it.
The swap itself is very easy and mostly self-explanatory. You basically just swap over the above b18a1 parts to the b20b, install/use all the new stuff, make those harness modifications, then drop the motor in as if you’re putting the b18a1 back in. While you’re doing the swap, now is the time to decide if you want to do stuff like clean the engine bay, clean the new motor, install Prothane engine mount inserts, inspect radiator, basically all the stuff you can’t easily do with the motor in the car.
If you’d rather go OBD-1, simply purchase an OBD-1 or OBD-2 distributor(yes, both will work), OBD-1 ECU, 4wire o2 sensor, and the adapter harnesses for the ecu and distributor(and extension harness for the new o2 sensor unless your ecu harness comes with one). I did this and the car ran like crap with a P75 ecu, ran worse with a PR4 chip, ran like a champ with a Phearable basetune meant for the motor. I also went with an OBD-2 distributor since it came with the b20b(money-saving ftw), just had to fork out $30-40shipped to Monotech on HT for his adapter harness…I’m also using his chipped P06. I made a custom 4wire o2 harness and tied it in to the Speedfactory harness, installed a factory 4wire o2 sensor in place of the old 1wire o2 sensor. As my car sits, EVERYTHING works including the ice-cold a/c, runs and drives like new…absolutely no CELs or other issues.
I’m not going to cover testing, inspection, timing, or actual swap steps because these are basic steps for any swap and I assume you know this stuff. If not, there’s a trillion guides out there. This guide is simply a check-list for those wanting to do this particular swap, when I bought my motor I had no idea what I needed from my b18a1 and what I may have needed to purchase to make the motor work. Turns out it was a lot easier than I had first assumed, and now it’s time to pass this info on to someone else.


