EDITED. READ THE BOTTOM OF THIS POST.
This method is ghetto. I’ve already said so. Now that aside, its hidden. I dont know when your friend or whoever is ever going to see the car with the cowl removed. Do you?
after almost a week of rain, the floor is perfectly dry. This works, period.
Materials needed:
- Socket set + ratchet
- Shoe Goo (works very well as an adhesive. Its basically really thick rubber cement).
- A zip loc bag, or you can even try tin foil because it can be shaped.
- needle nose pliers
- Box cutter or blade
Step 1: Remove windshield wipers using ratchet, place them aside.
step 2: Now, use your needle nose pliers to squeeze the plastic pins from along the length of the cowl from inside the engine bay.
step 3: Remove the black circle caps on the upper part of the cowl, you may break them if they are old and brittle from the sun. I did, and haven’t replaced them yet to this day.
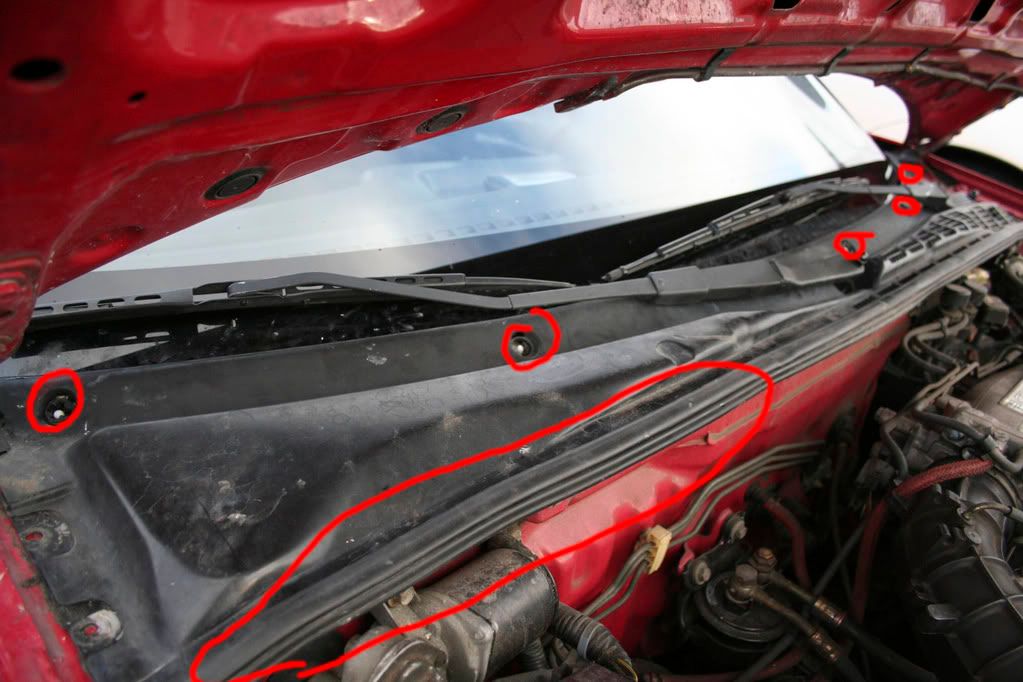
Step 4: Slowly and carefully remove the cowl. Watch the ends as they may get snagged and break. It should look like this:
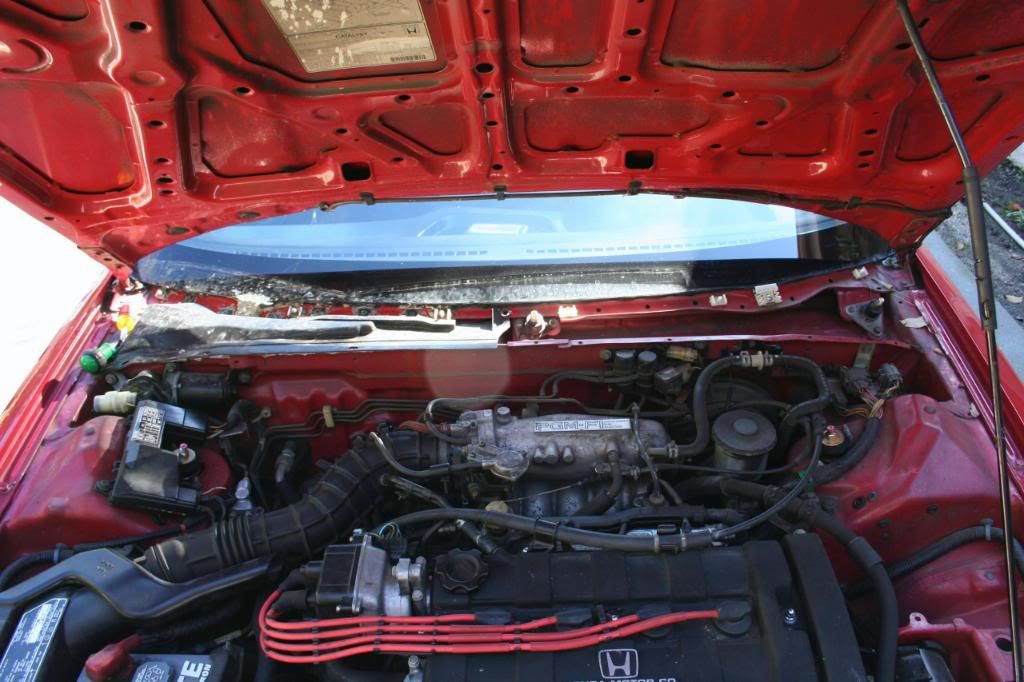
Step 5: Once the upper cowl is removed, there is yet another cover on the passenger side. That is the blower cover. You will have to remove it by taking out the screws and their clips (this is where the rubber seals are). There are two clips on the fender side of the cover which are inaccessible. Just rip them out. This must be done to remove the blower cover completely.

Step 6: Remove the blower cover and look around the area.
Step 7: Rip the zip loc bag length wise, so it effectively doubles its length.
Step 8: Now put a bead of shoe goo along the edge of the bag. You dont need too much, because we’re not using the goo to do the actual blocking of water. That’s the bag’s job.
Step 9: with your hand, press the edge with the shoe goo underneath and past the area where the clips and rubber seals come out, effectively blocking all (this is important) clips and seals from the blower hole.
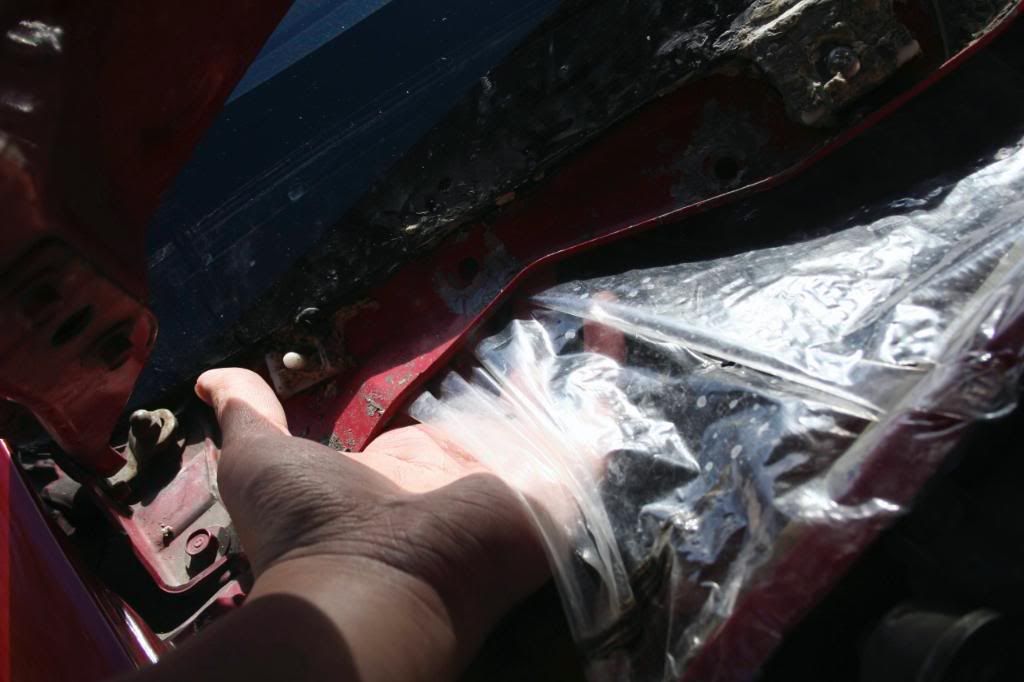
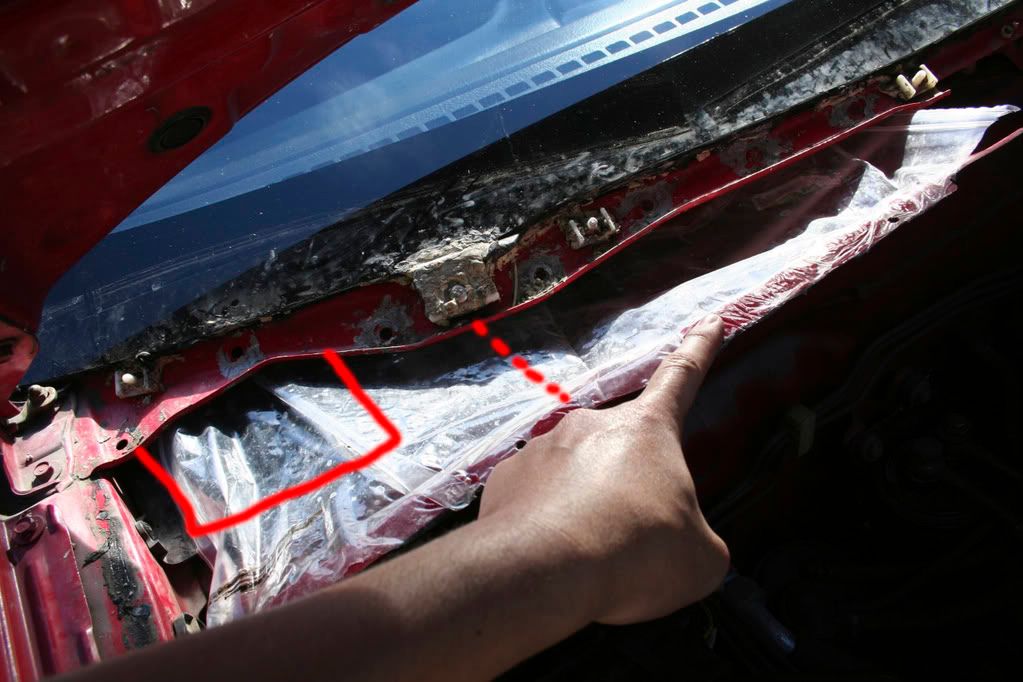
Goo the other edge of the bag and just press that against the firewall. Make sure the bag is taut so it creates a tent shape around the hole. This allows you to still use your ventilation mode for your HVAC. Make sure it does not get in the way of the windshield wiper rods.
pathway to fresh air:
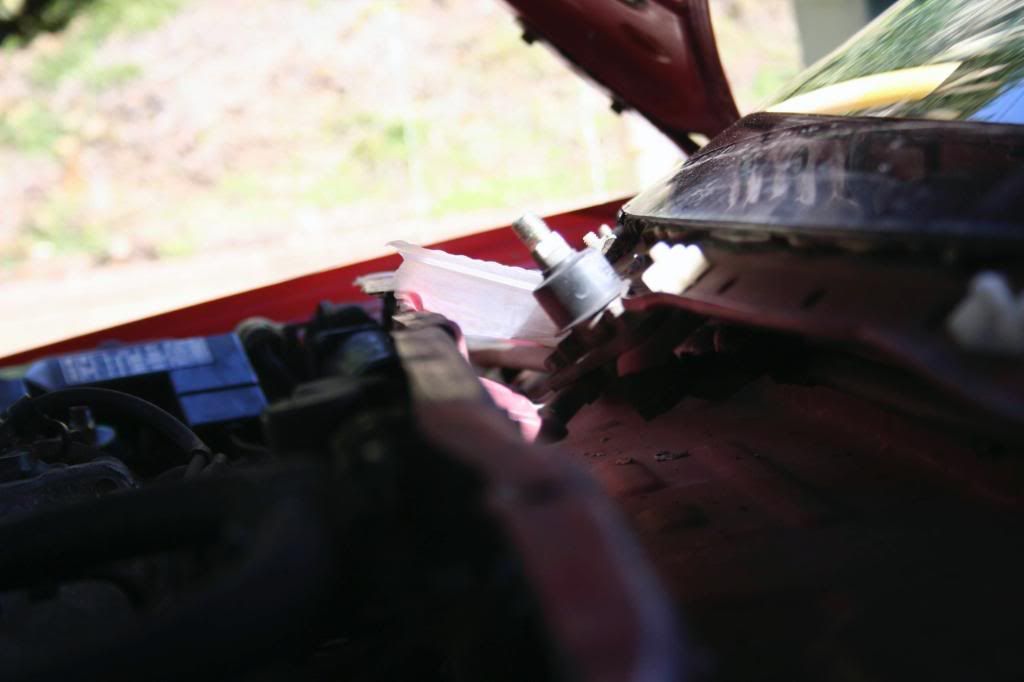
Step 10: Test by pouring water down the windshield without the cowl and blower cover. Note the highlighted area where there is slack, to allow water to drain appropriately around the blower hole. Tack the corner of the bag and leave some slack in that area.
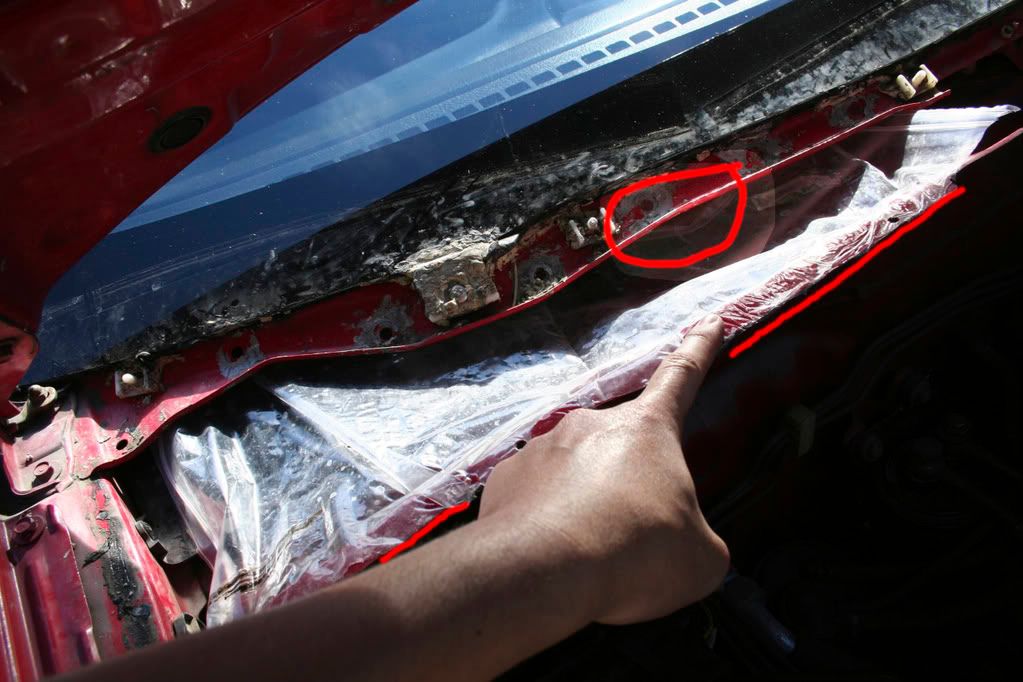
step 11: Test by pouring water. Note areas where water gathers, proceed to poke holes in the bag. Use common sense as to where you poke holes. Note where they are in relation to the blower hole.
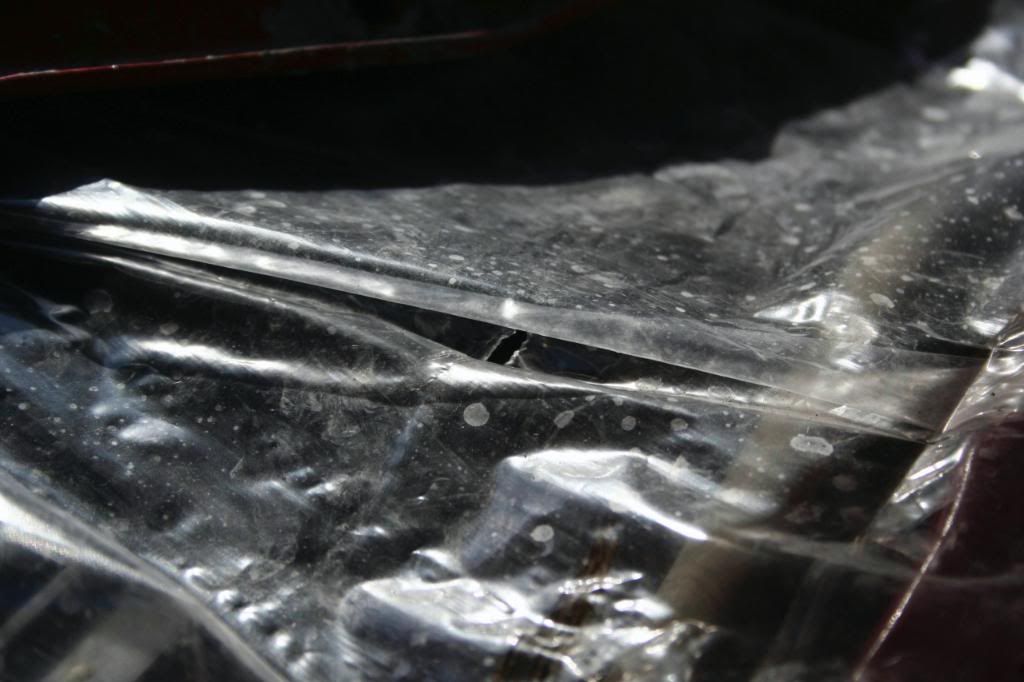
Step 12: Use a blade to cut the excess that sticks past the firewall for that clean look, and use the clips in the cowl to assist in holding the bag in place

Finished product should look like this:
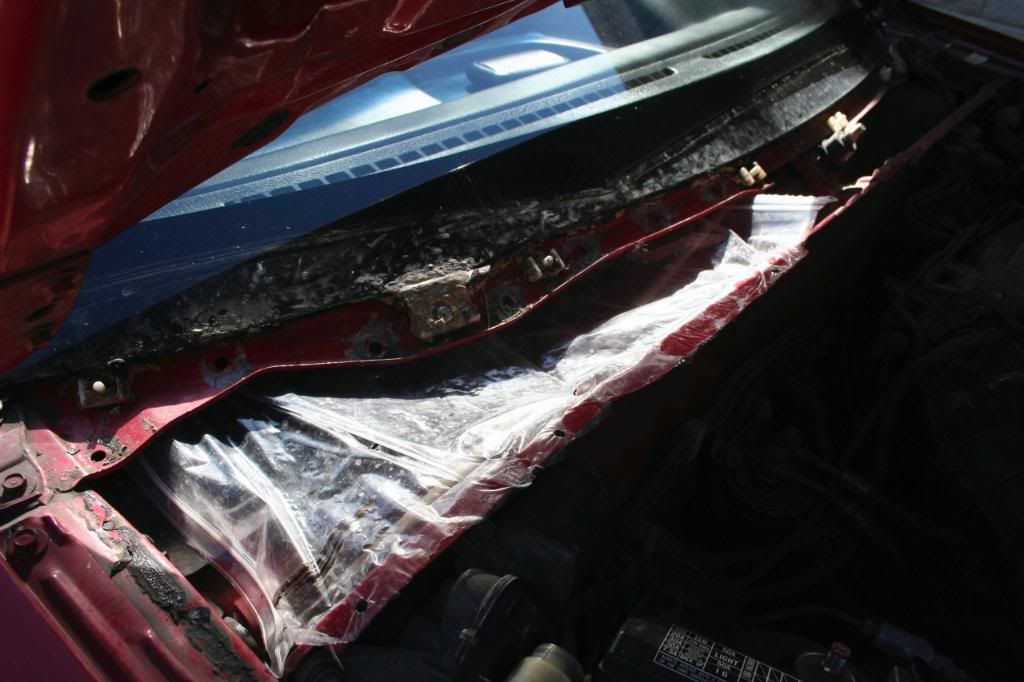
Step 13: Test for interference with wipers and HVAC system. If all is well, replace the blower cover, its associated screws and the cowl. If there is interference, think of different areas to make tight, etc. But if you follow the general shape as mine, you shouldn’t have any problems.
your carpet will thank you.
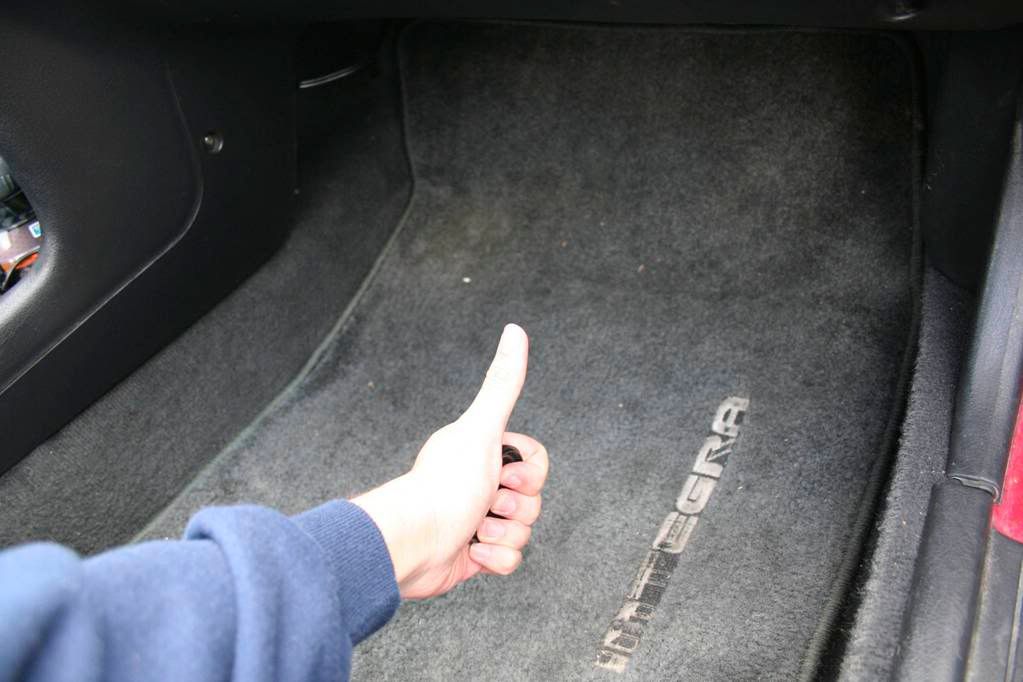
Bring on the rain!

Think Different.
GL.
edit: i’ve since modified the design. The bag eventually got loose and got tangled with my wiper motor. Instead of tacking it to the firewall, guide the bag down past the vent and under the wiper motor rods. proceed to tack the bag in place with the bag UNDER the arms rather than over. I dont know why i didnt think of this before, but this method allows better drainage of water.
i also witnessed the leaking in action and the water essentially drops from the lowest point of the series of holes which lies right over the vent. You can cut down the size of the bag significantly. I have 100x more airflow in ventilation mode now.
 [/QUOTE]