nope. Car is further behind than i thought it would be by now so i took up some more hours at work. Should be in paint within the next few weeks though. Just finally getting to the body work.
looking good.
Thanks guys! She got some serious attention at the East Coast Honda Meet yesterday. I received more compliments and praises about it just as I was pulling in, than I did in the last 2 years altogether. I was parked next to a genuine Integra Type R and a stunning NSX.
Had 3 different people tell me it should be in a magazine.
The goal is to have it mag ready next year with a tucked and repainted bay, and a refreshed interior.
yea it looked good man. i wanted to get a couple more pics but by the time i ALMOST finished making my rounds in the VIP lot and making sure people were parking right my phone battery died
had a small photoshoot yesterday ![]()
some pics were done with my friend’s Sony cam that shoots 14 megapixels, the others were done with my Nikon.
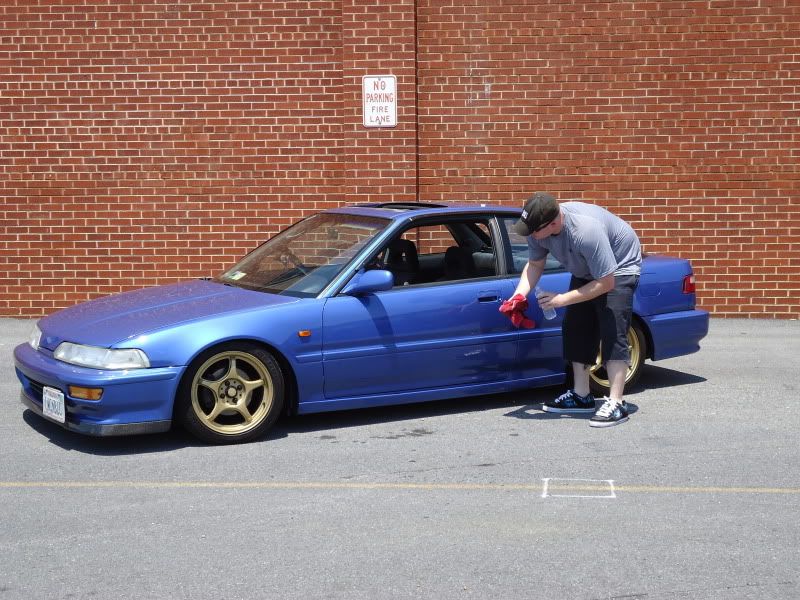
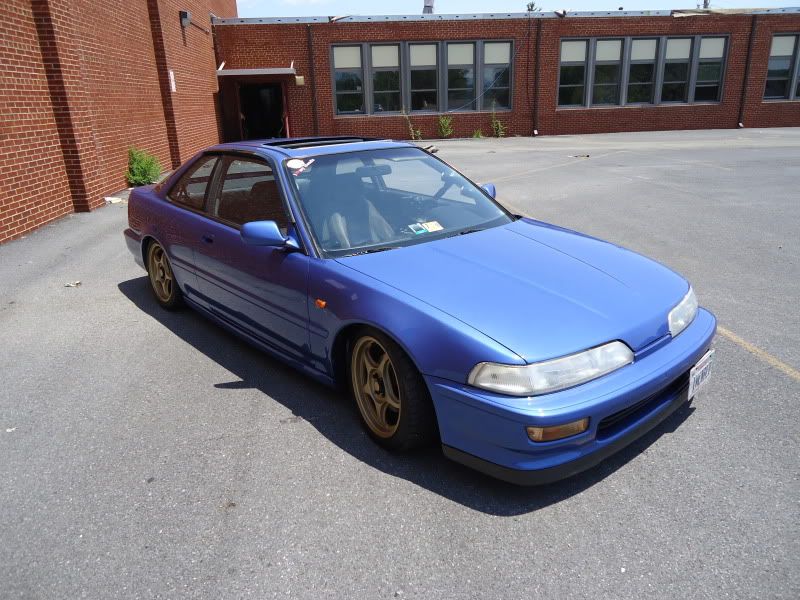
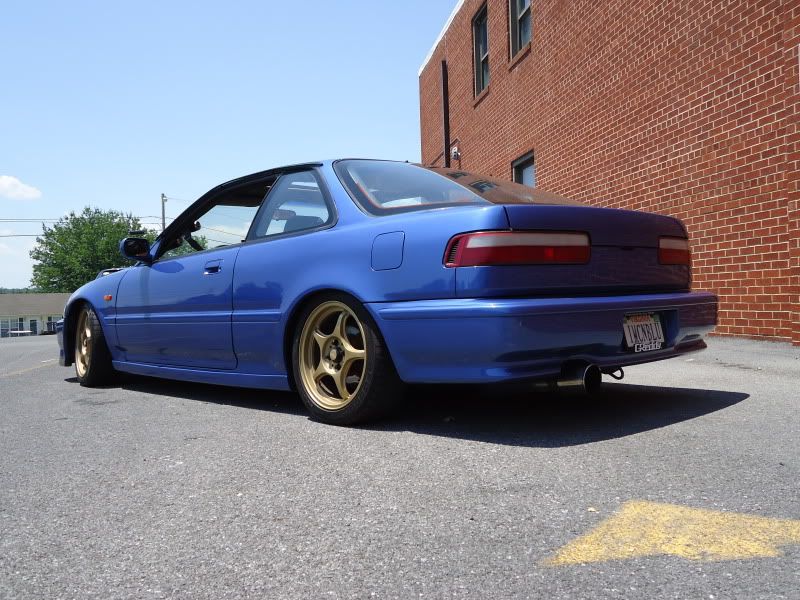

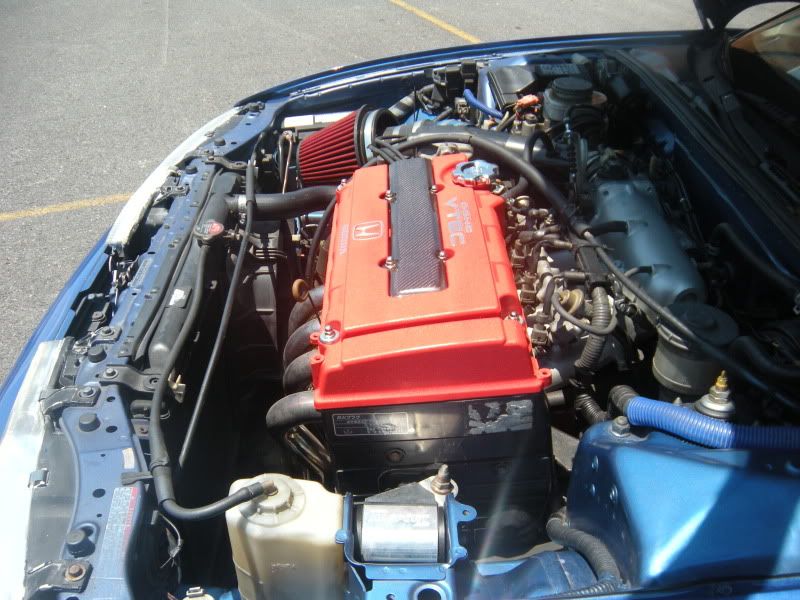
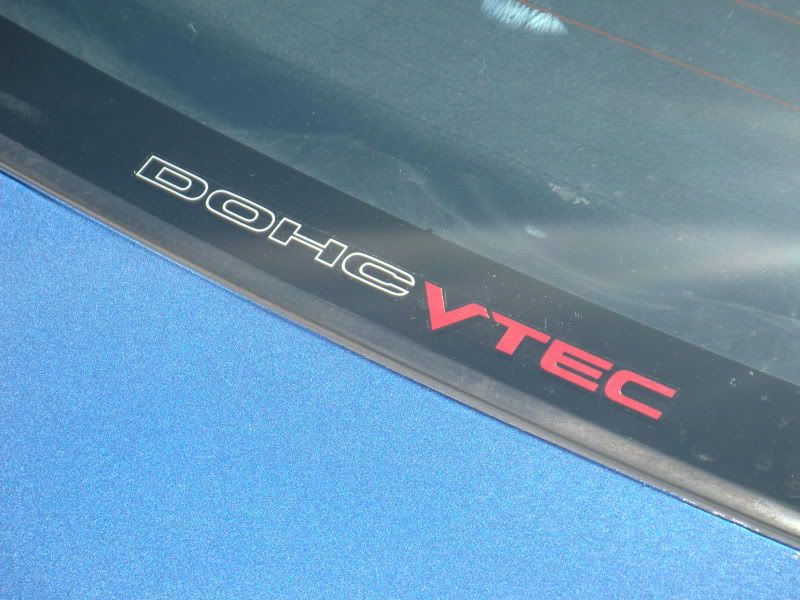
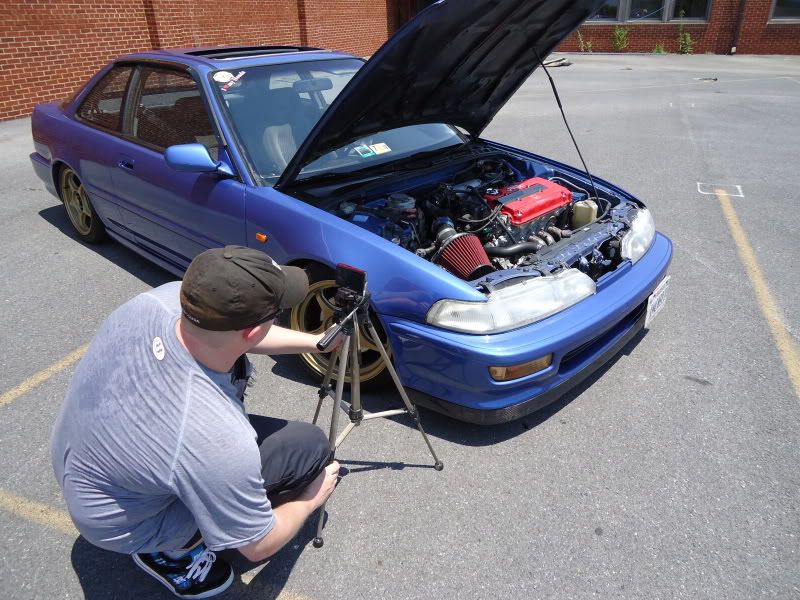
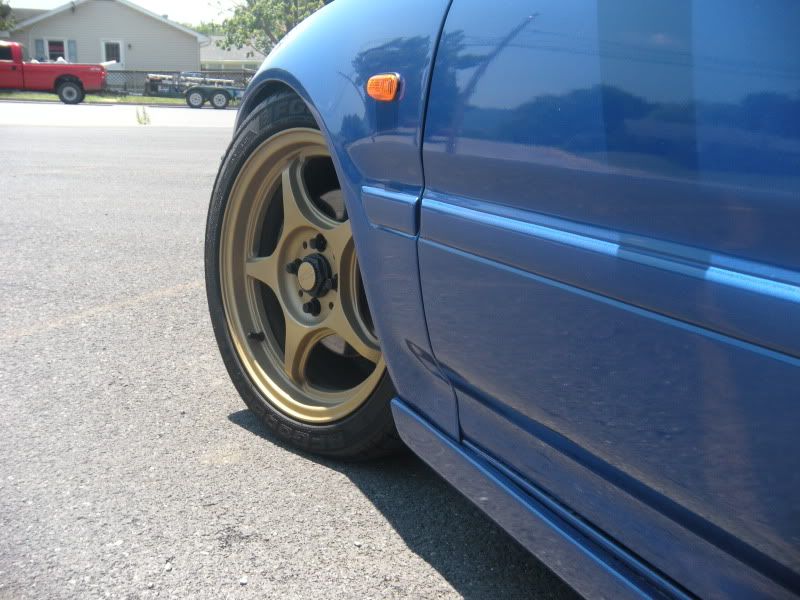
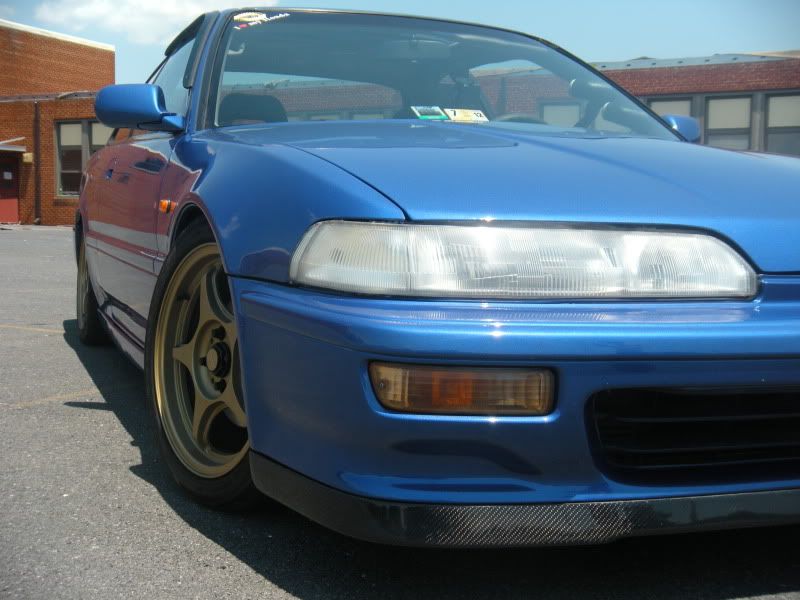
As always, opinions are welcomed ![]()
Tuck and bay respray n urs deff will be on the top of the lisof best das altough it alrady is
I’d get a new coolant reservoir, new oem brake master cylinder, new oem oil dipstick, redo the blue wire loom with black, re route the clutch cable, raise the rear a little and it would be tits. It’s already nice though!
somethin is funky with the turn signals but I can’t complain that is such an amazing car! It is one of my fave 2nd gens for sure. I like the pics, thanks for sharing them man
I’ll I got to say is that ride is hella sick man.
I dig the color, kinda reminds me of that Civic Si color (electric blue?). Looks great with the gold rims too!
Looks great Jake. I’m going to ask you to stop now, I’m tired of being inspired to work on mine because of you haha. I’m slowly getting there. By the way, what paint was used to respray? I’m assuming a shop did it for you but do you know if they used PPG? Sherwin? Dupont? lol I’m so afraid to respray mine and have it not match close enough. CBP is not an easy color to get right, but yours looks very close to oem in the pictures.
Lol. Yeah, this was a shop spray. Not sure what they used, but my friend works there, and I can ask him. He’s on vacation til the 15th, but as soon as he’s back in this time zone, i’ll ask him.
If you don’t mind me asking what kind of side skirts are those on your car? they look supperb if I might add. I like them so much Id like to try out a pair my self, and I was wondering if you had to prep your valve cover and what measurements or spray patterns did you take to make it wrinkle like that cause I’ve tried so many times on mine but it just won’t wrinkle as much as others do. Those gold wheels you put on just make a night/day difference and look very well excecuted with the blue hue.
Thanks ![]()
The skirts are made by VIS. They are called the Techno R skirts. They are basically Mugen replicas, without the indention for the badge. There are several places online to get them, but most have been sold out or extremely overpriced. I ordered direct from VIS on their website. It wasn’t the cheapest route, but I knew I was getting the right part, and would have it in a reasonable time frame.
As for the valve cover, I stripped it with aircraft remover, and cleaned it up with brake cleaner first, then with good old soap and water. I laid down a few coats of self etching primer. Then after a few hours to let it cure, I began painting. For the most part, I went with semi heavy coats horizontally. Not really heavy, but definitely more liberal than light coats. I did the first coat until I basically had even coverage on all areas of the cover. I let it cure naturally for about 15 minutes, then hit it again all over in vertical passes. A little more air drying, then I hit the last coat which was actually really light as the paint was already starting to show signs of light wrinkling. I then took it inside to hit it with a hair dryer on it’s highest setting to speed up the wrinkling process to ensure tightness in the finish. If you let it wrinkle really slowly without a heat source, the wrinkles will be very big and loose. not very attractive looking. Once the wrinkles are that big, there aren’t any tricks you can do to tighten them up. So, the trick is to get the wrinkles as small and tight as possible EARLY in the drying process, then heat it in the oven at about 350 degrees for approximately 10-15 minutes. It SHOULD have a near OEM wrinkle finish ![]()
[QUOTE=imcnblu;2265208]Thanks ![]()
The skirts are made by VIS. They are called the Techno R skirts. They are basically Mugen replicas, without the indention for the badge. There are several places online to get them, but most have been sold out or extremely overpriced. I ordered direct from VIS on their website. It wasn’t the cheapest route, but I knew I was getting the right part, and would have it in a reasonable time frame.[/QUOTE]
Those sideskirts are $189 on VIS website, is that for both or each side? I only ask cause the other skirts say “each” and those ones don’t. I assume it’s per side, which isn’t that bad for quality product.
price is for the pair ![]()
after shipping, it ended up costing me around $250
[QUOTE=imcnblu;2264642]had a small photoshoot yesterday ![]()

[/QUOTE]
Love this pic Jake, way to keep her looking clean mang:up:
thanks. She’s getting another wash/detail tomorrow morning ![]()
anyone have a DA specific 3" short ram intake they want to get rid of? I need a new pipe so I can set up a cold air intake. My current intake has been hacked up a bit, and i can’t reuse the leftovers for the new project.
Thanks in advance.
Looking good.