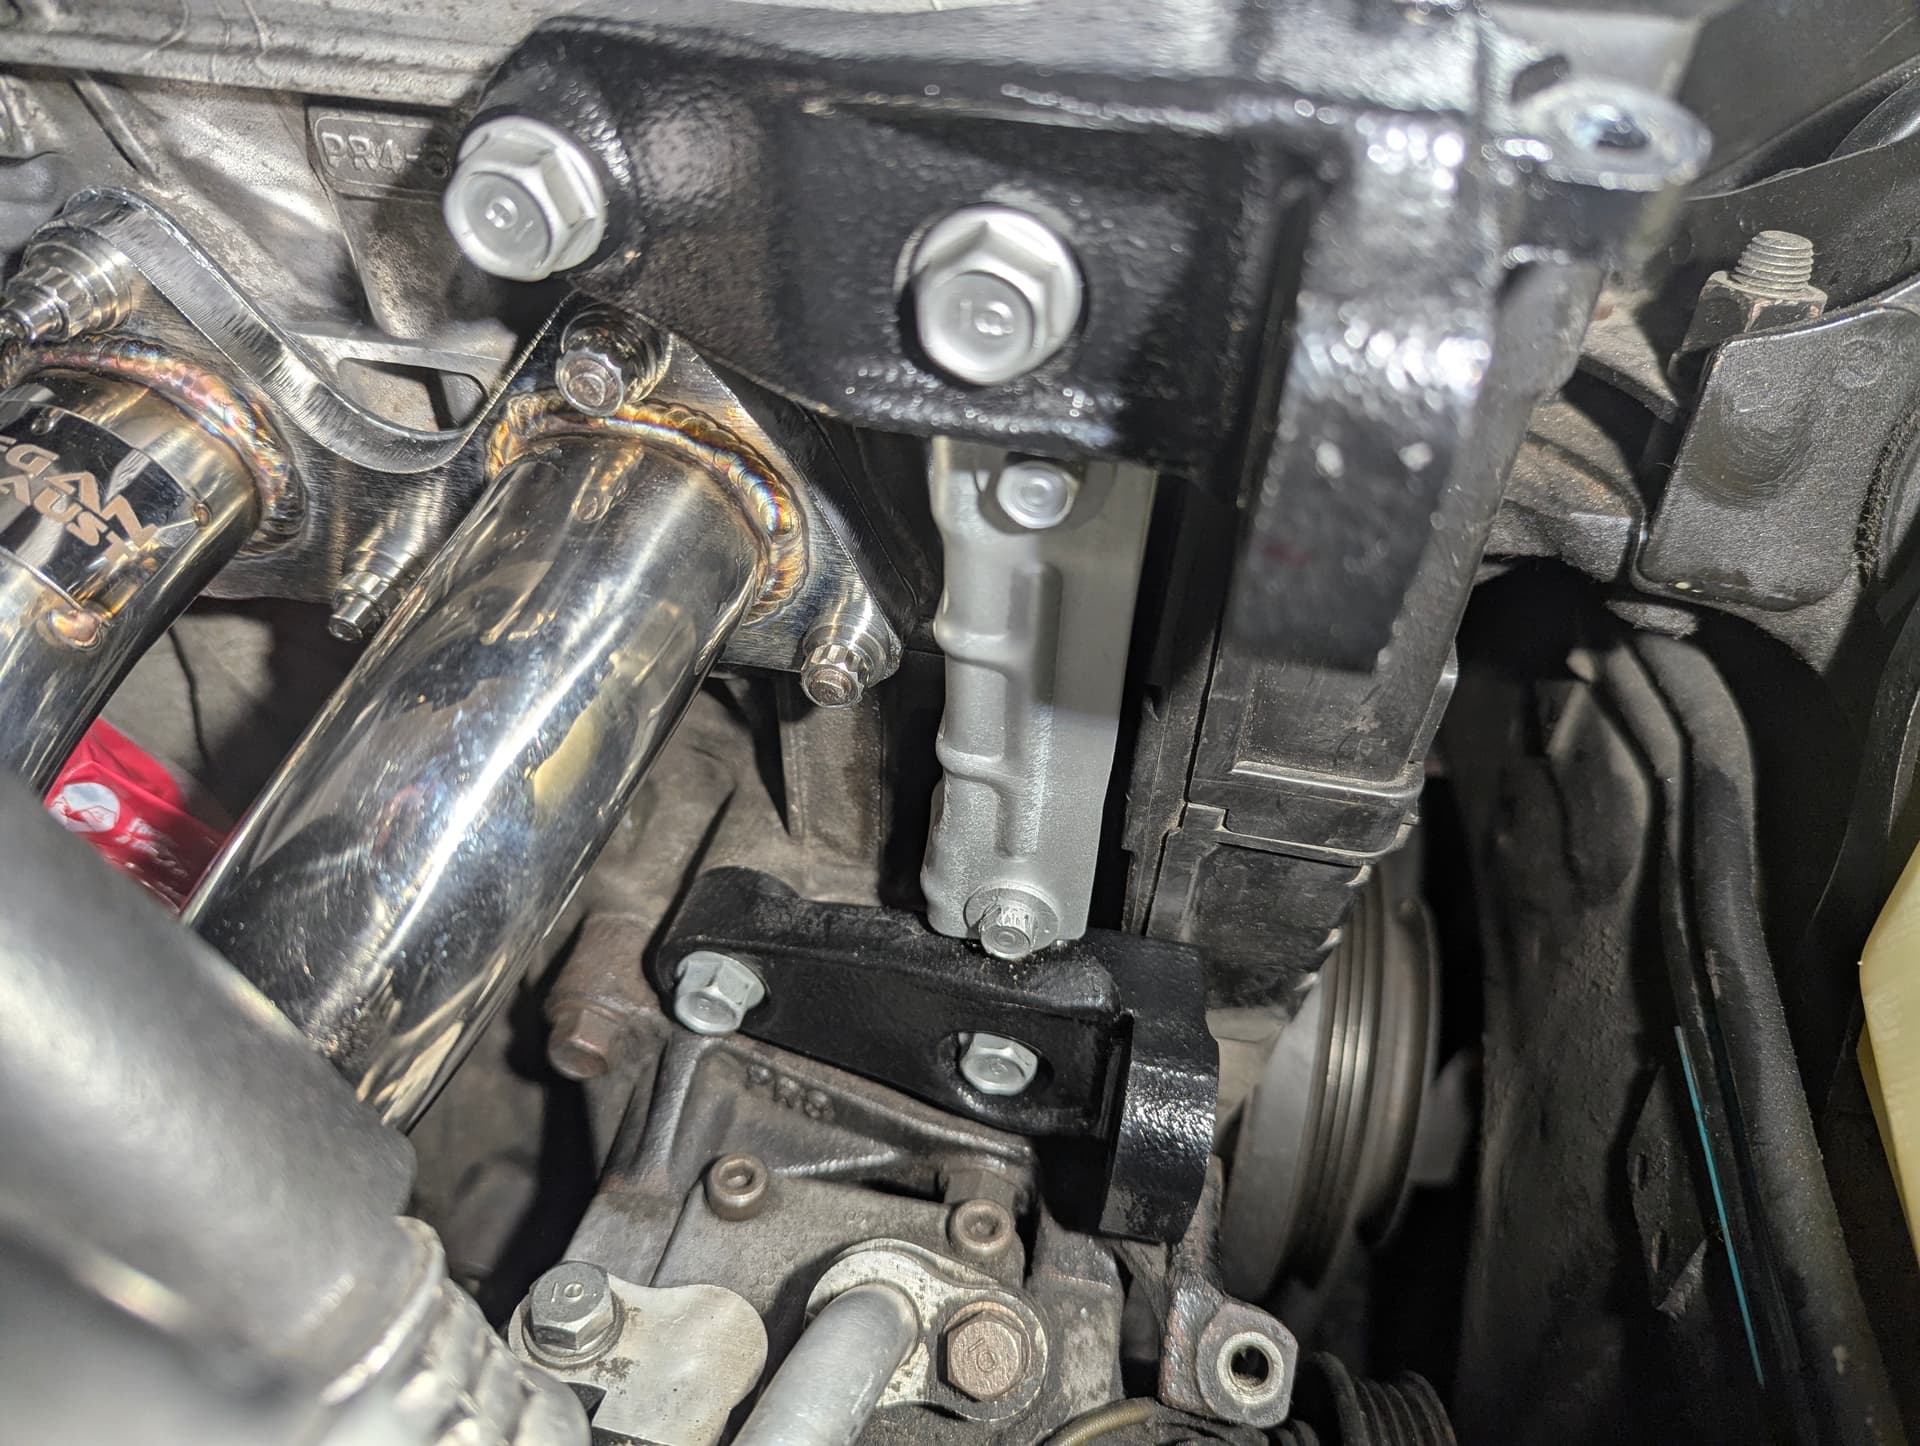
Upper part of headers are in and brackets for power steering.
? No context here. Did you mean to add to an existing thread?
Sorry, just exited about it starting to come back together. After a year of being up on the quick jacks, should be able to get it back on the road for the summer. Rebuilt power steering pump, removed tons of brackets, some hoses, removed full exhaust, new headers. At some point you think, there’s too much to put back.
Can you rename it something like “My progress so far…” and I’ll just post my progress pics here? I don’t think I have permission to change the title.
1 Like
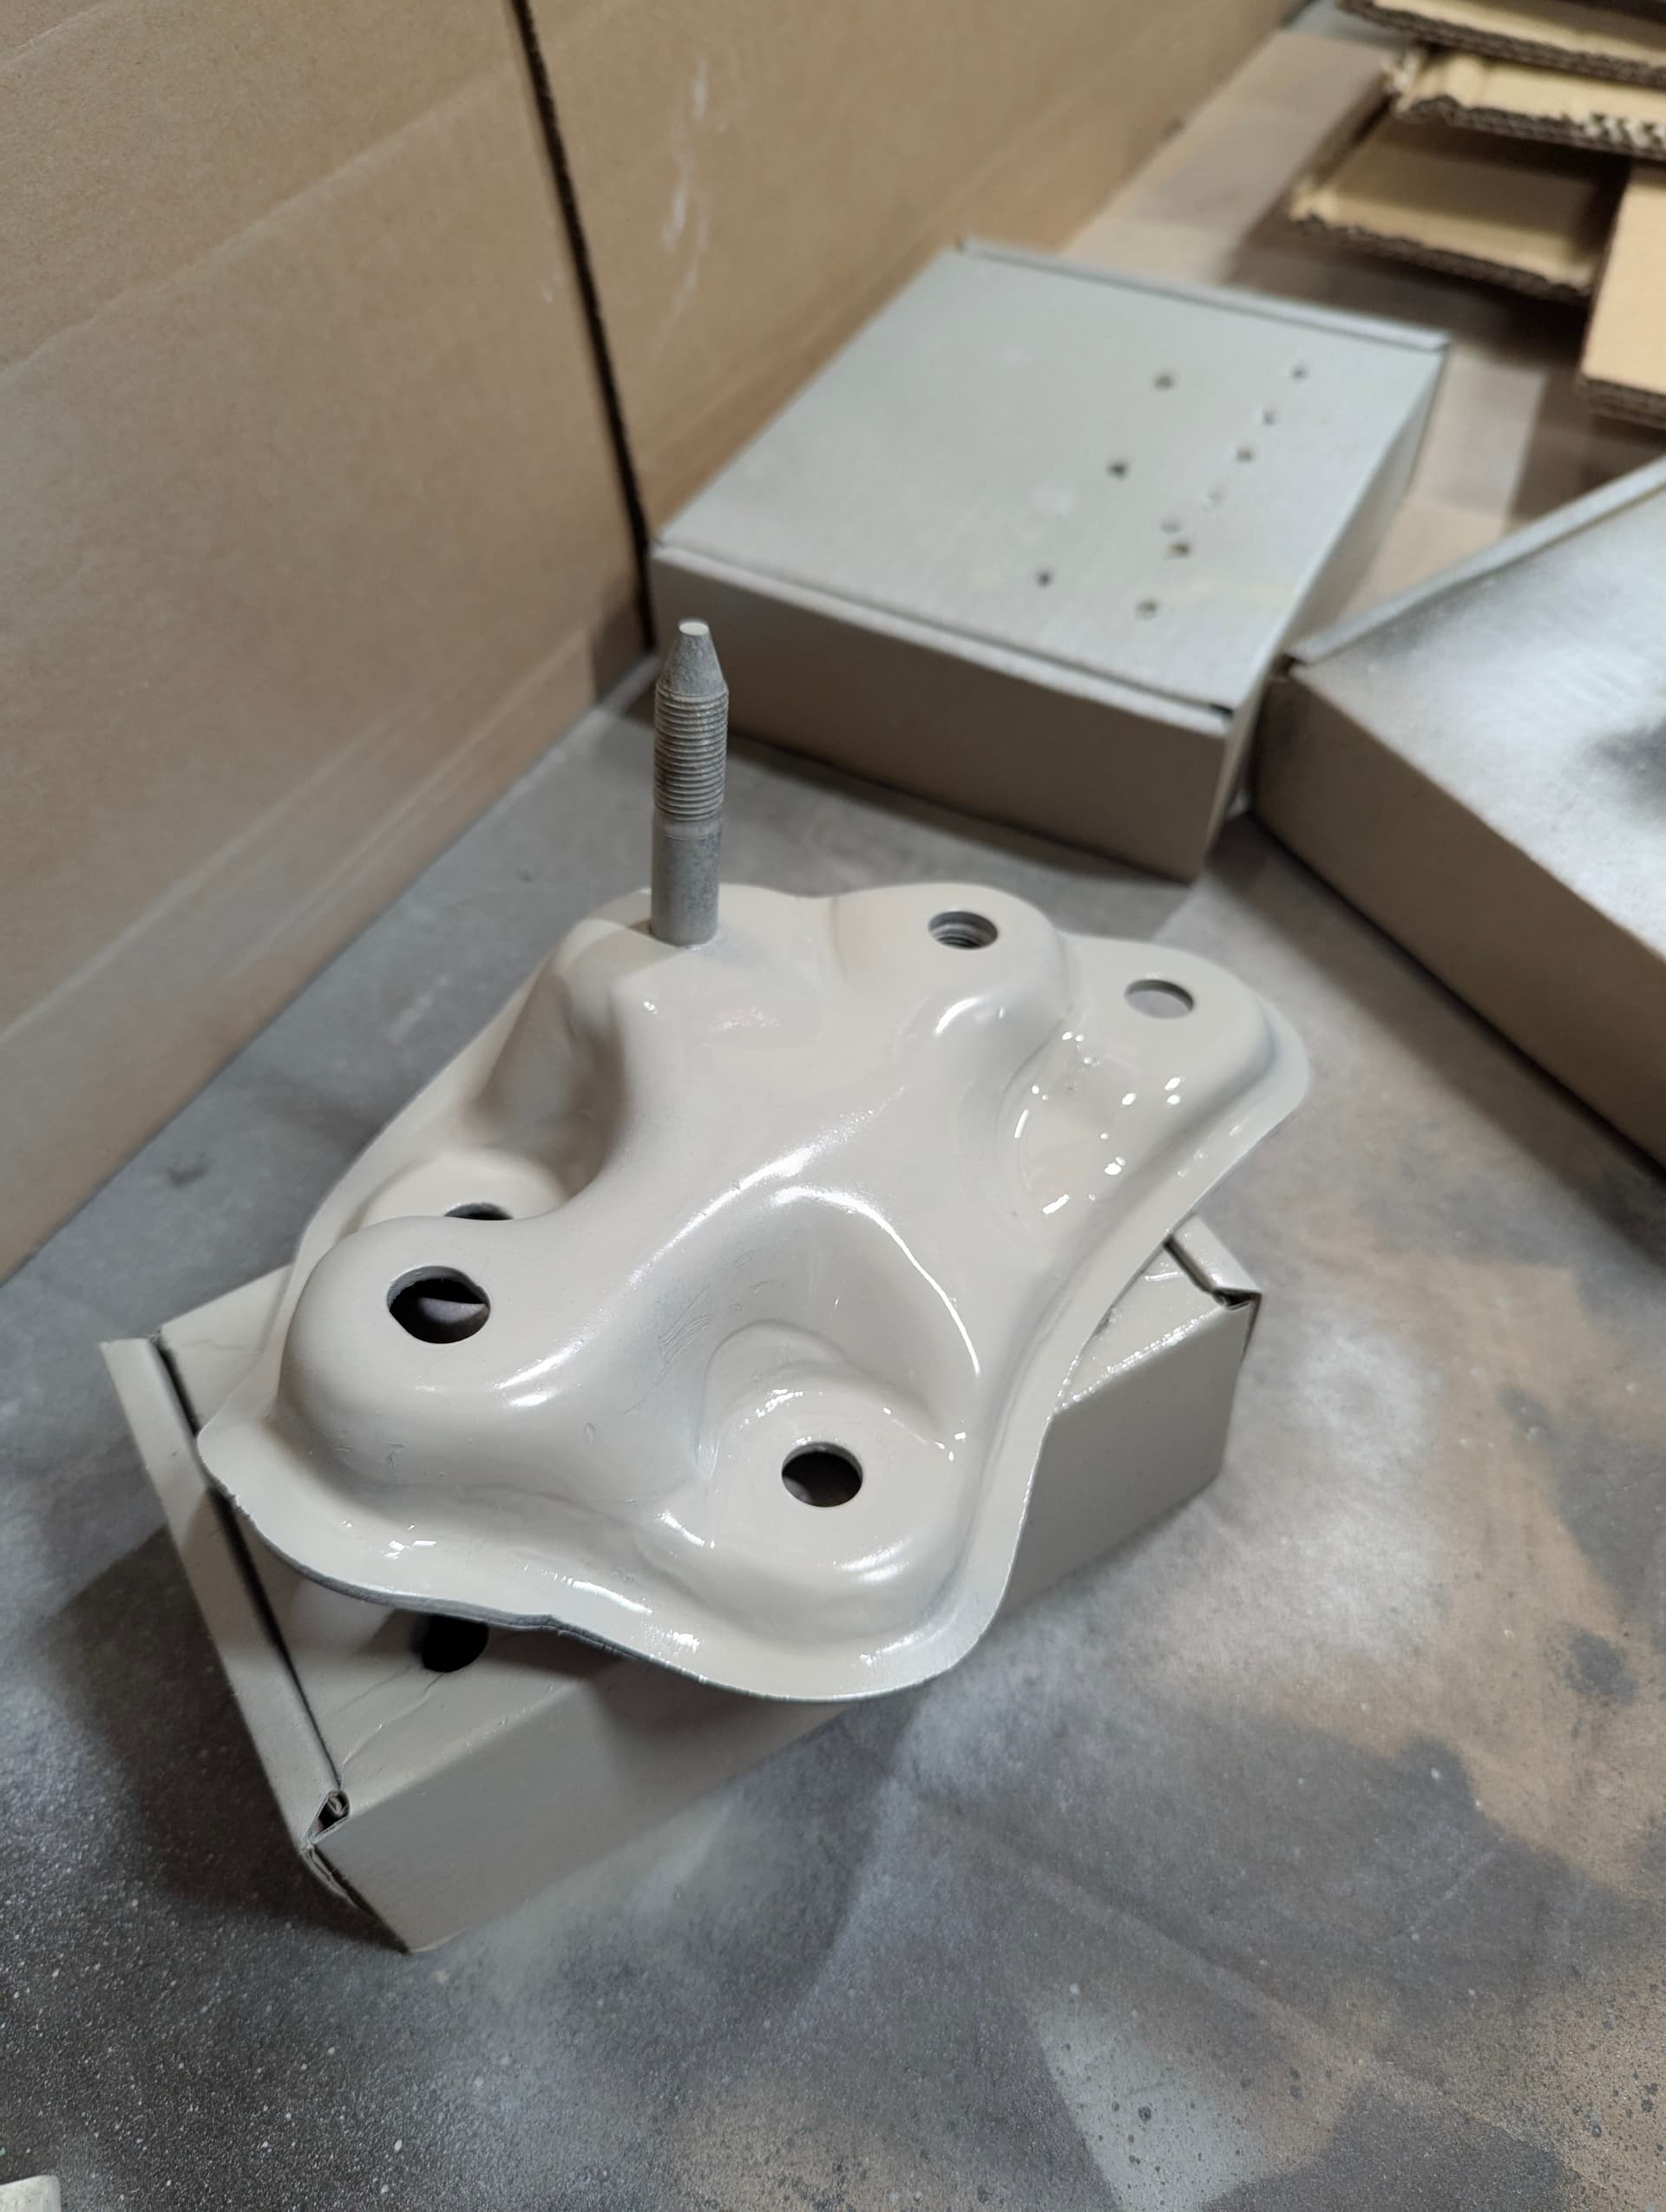
Primed transmission mount
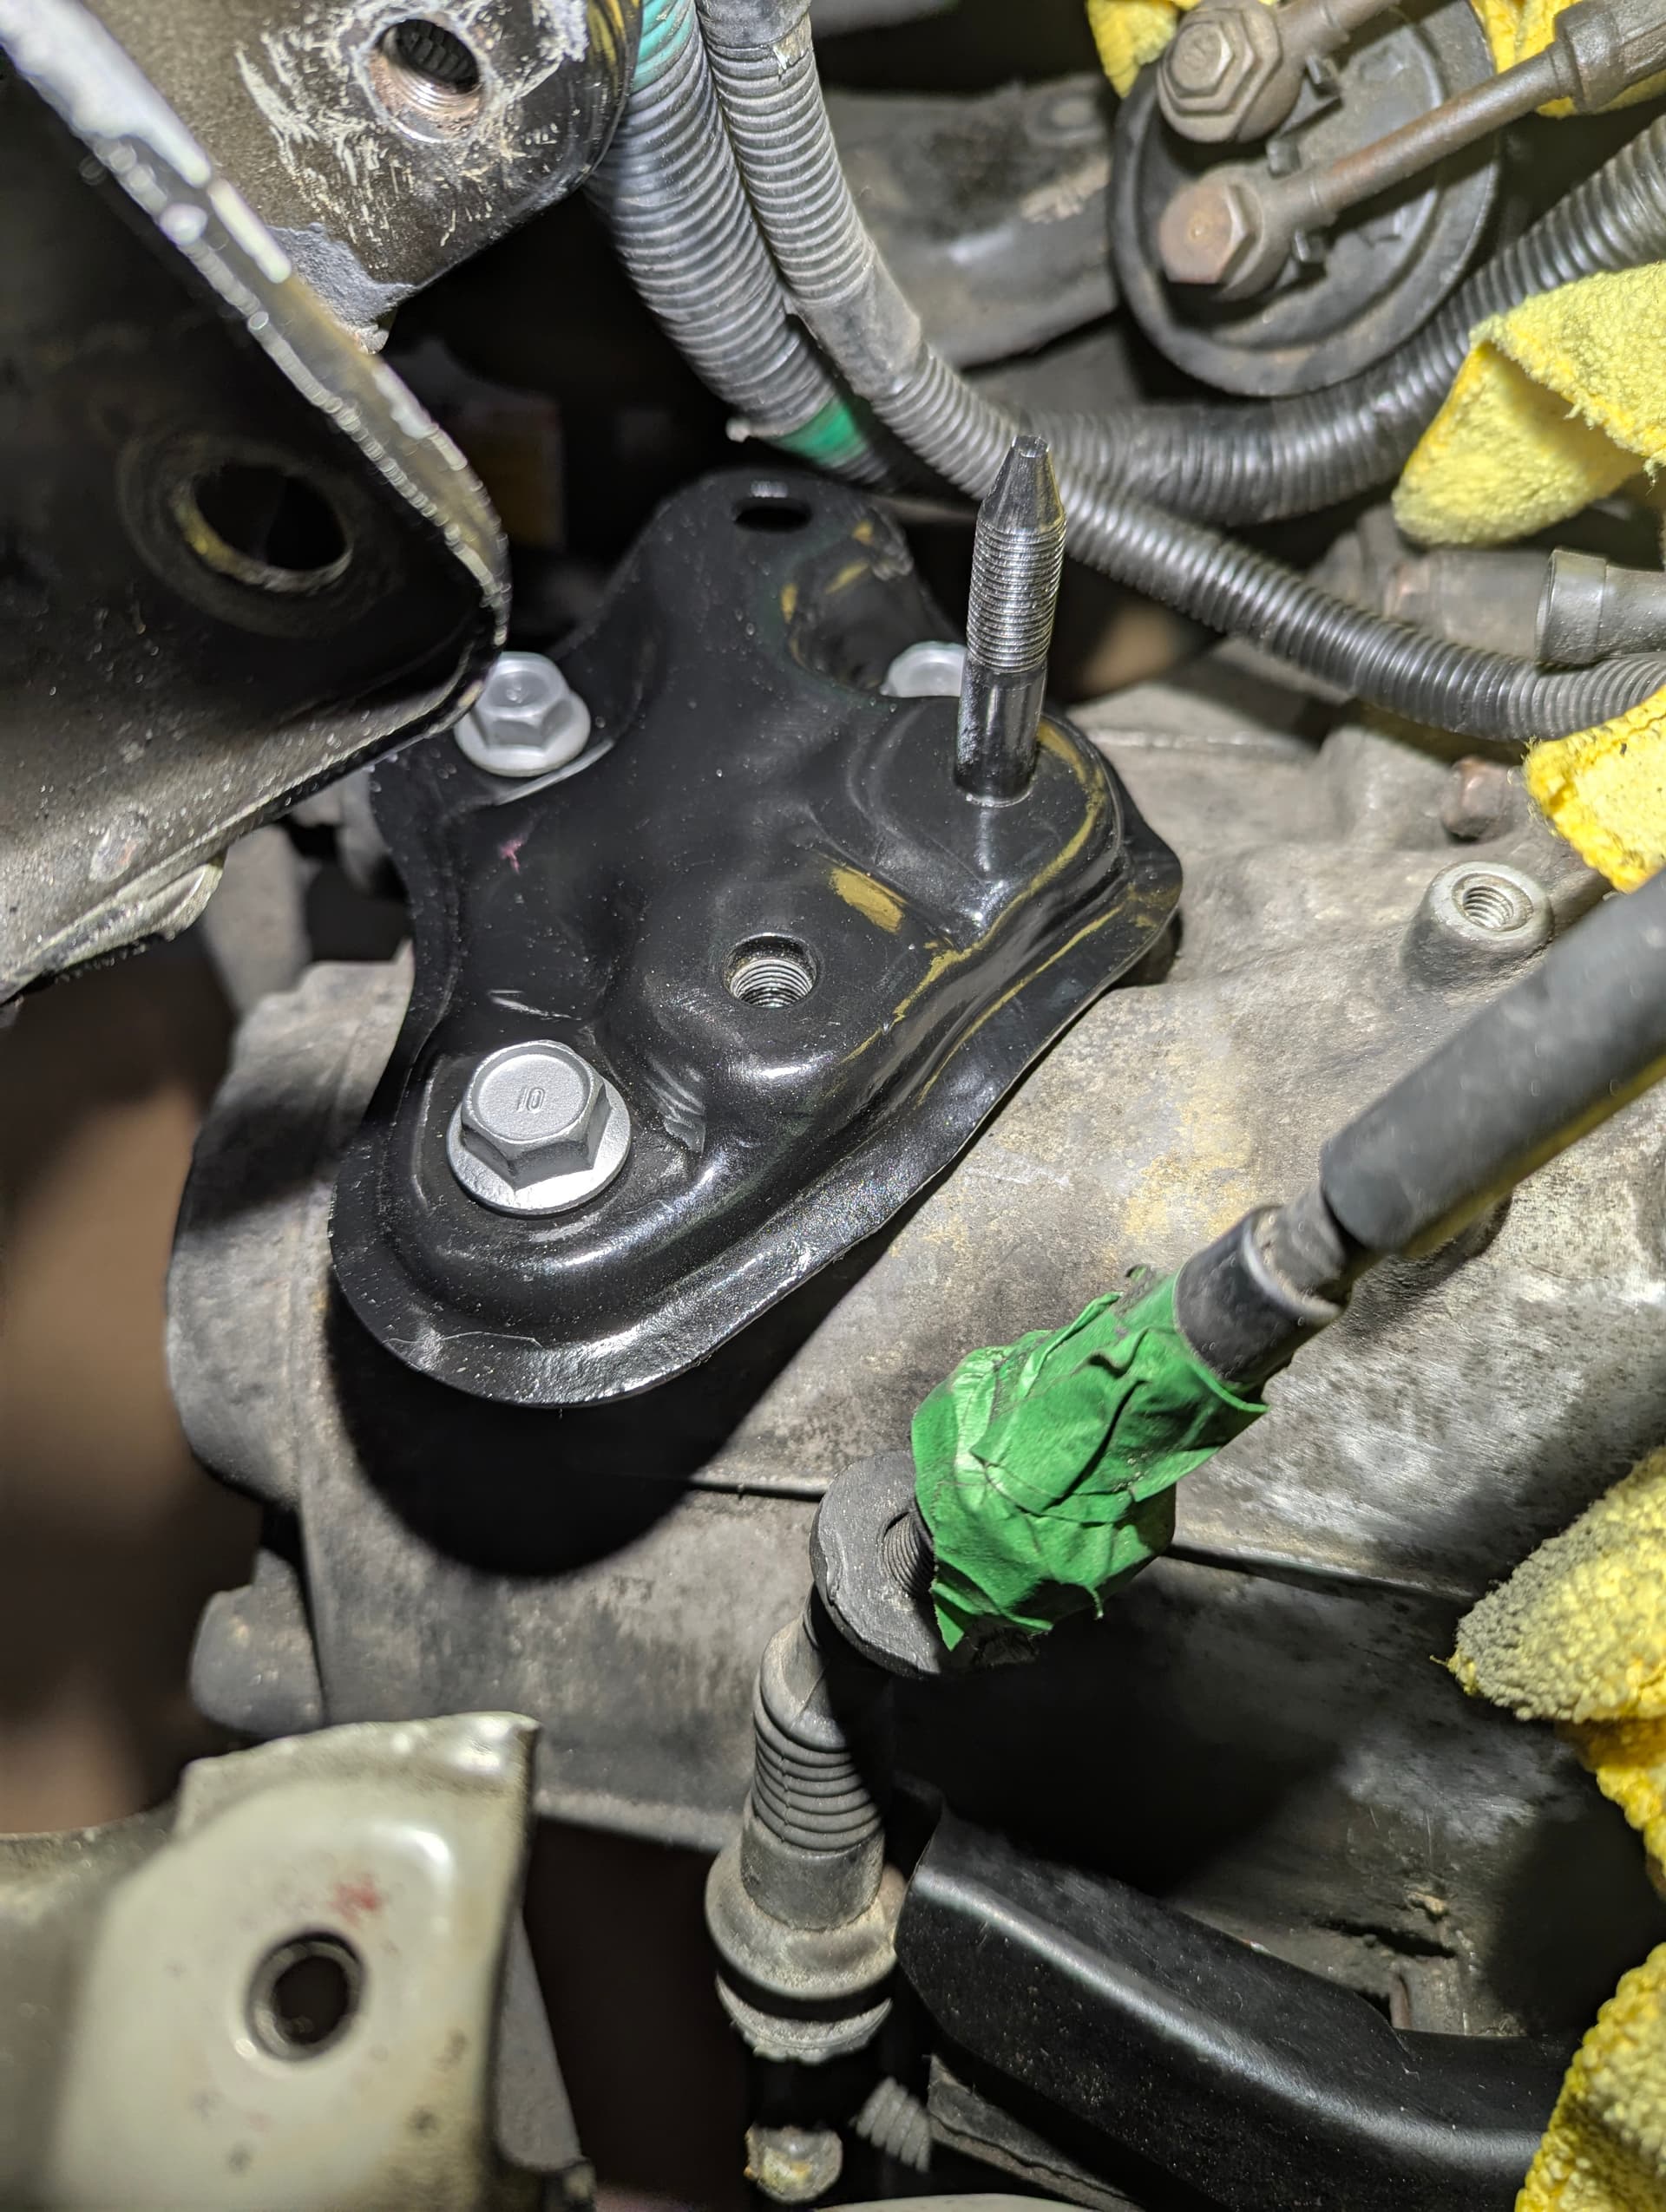
Installed Trans mount
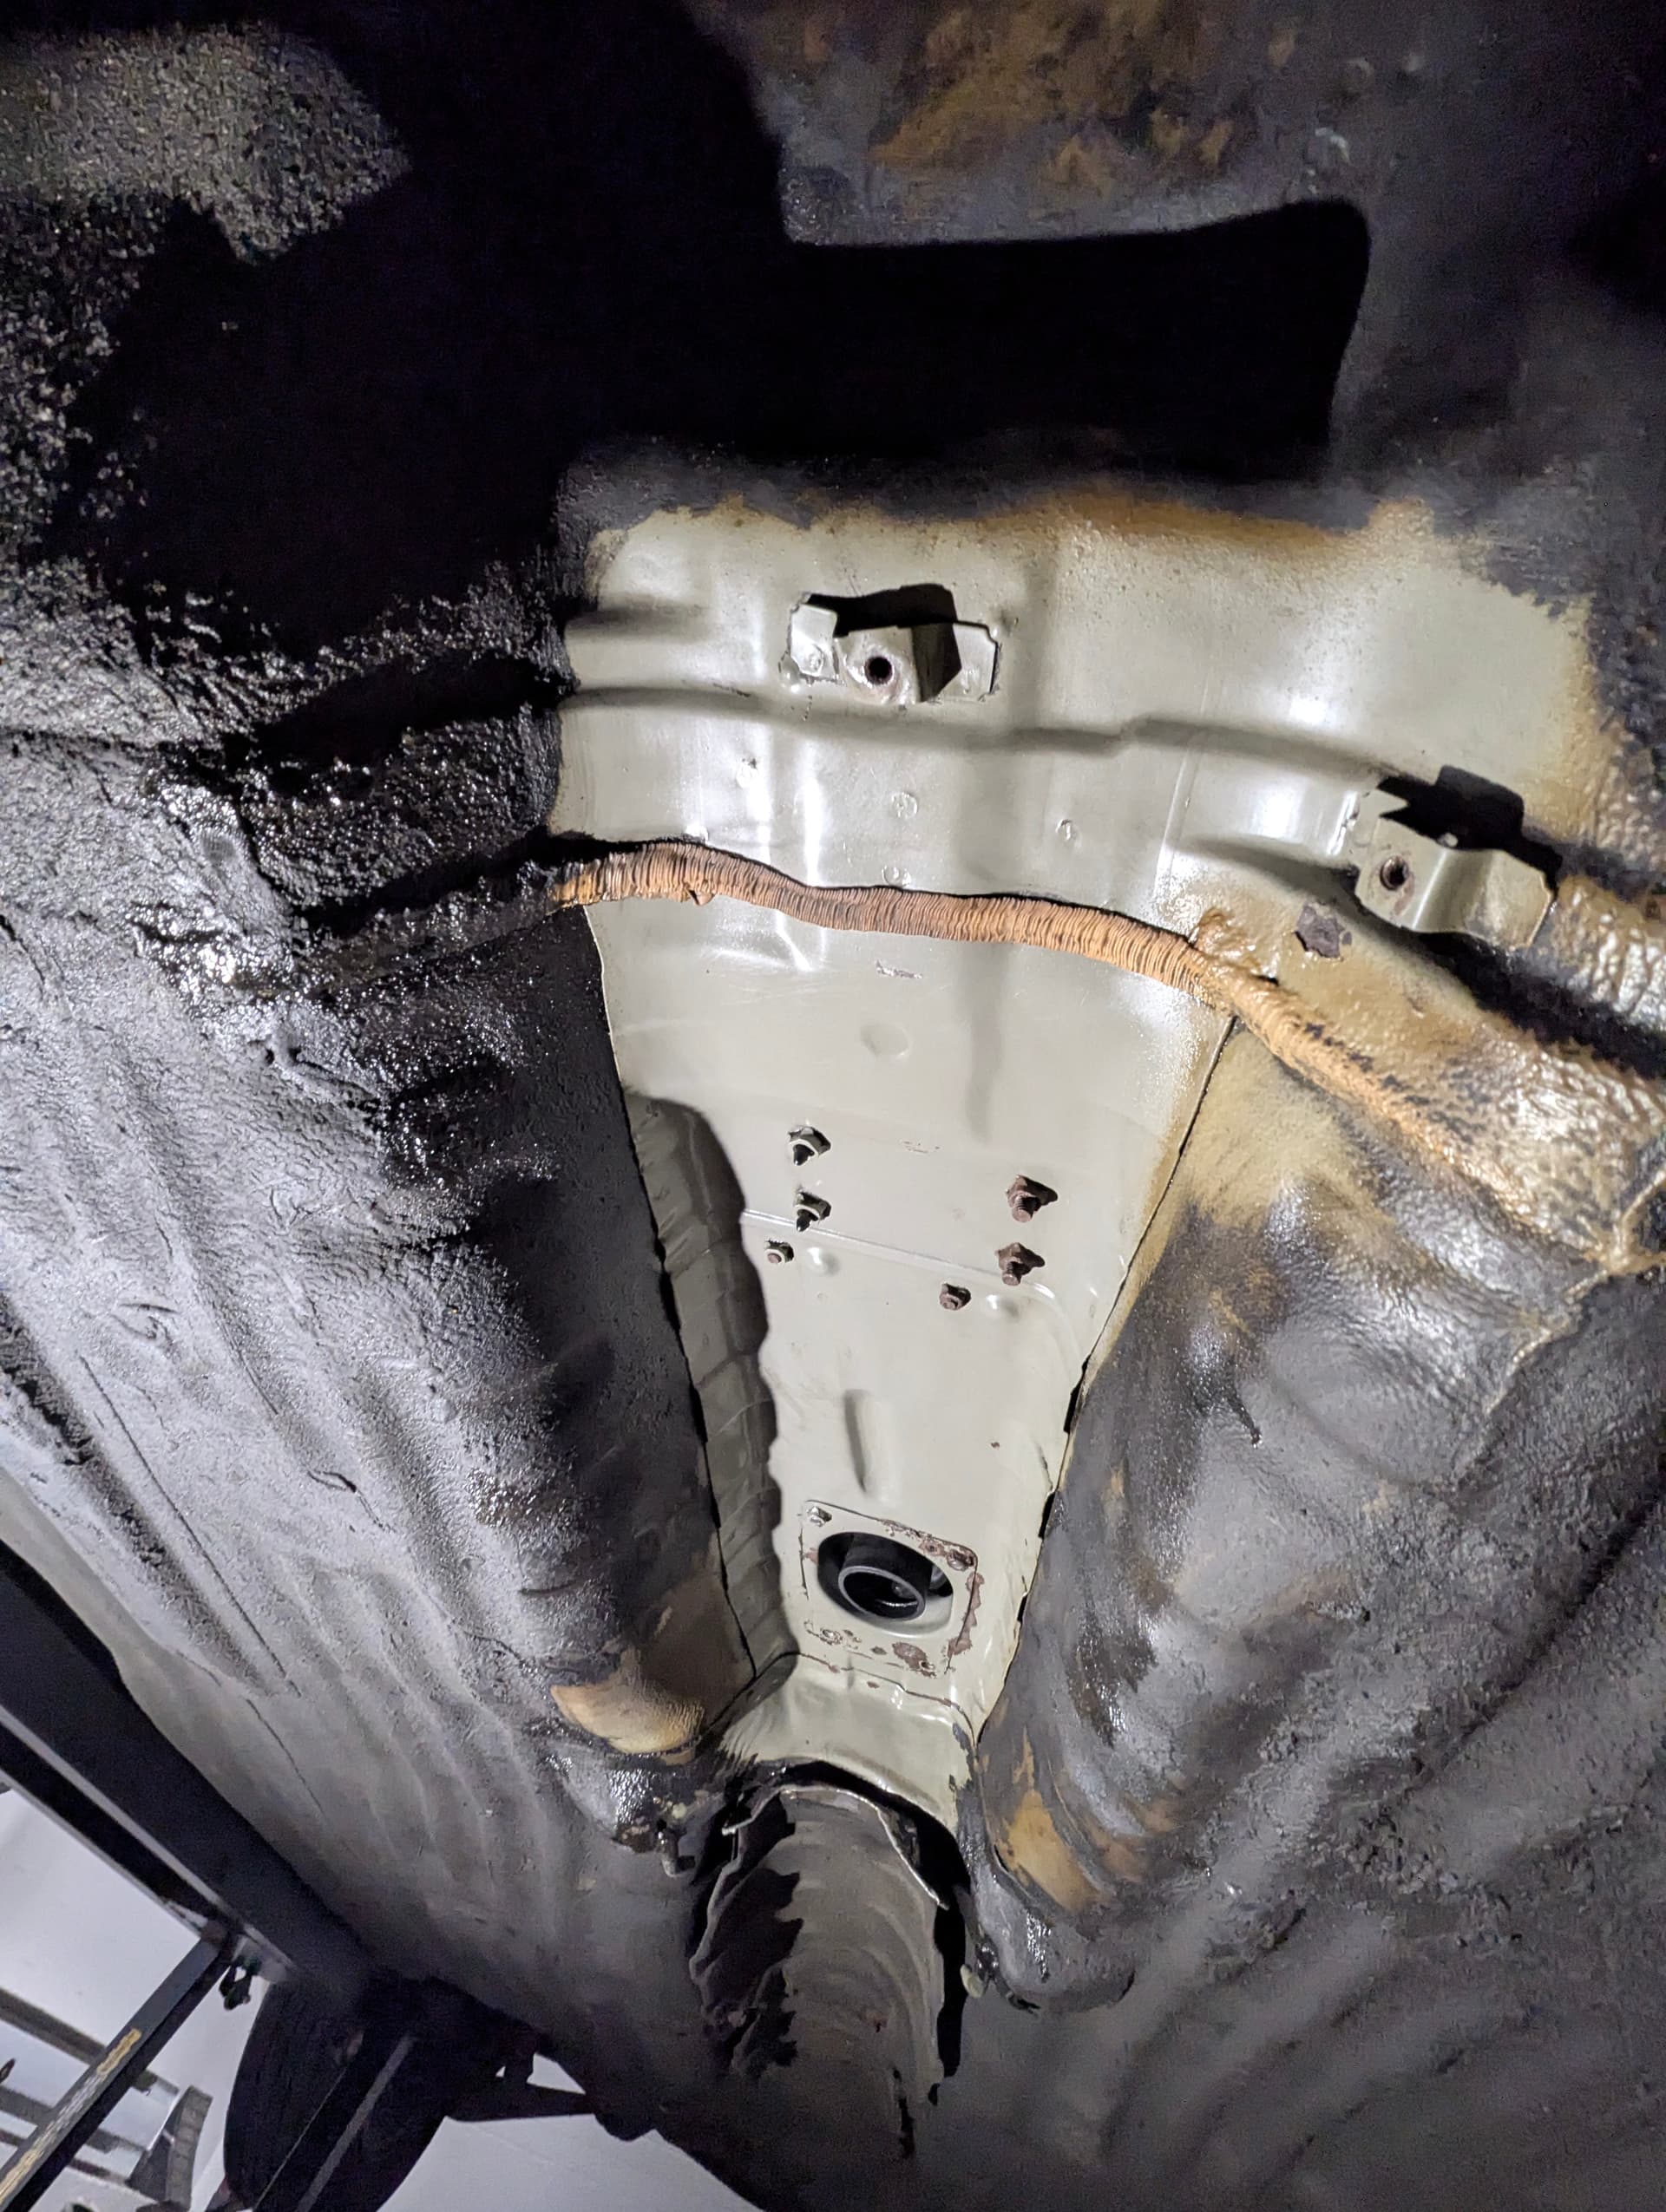
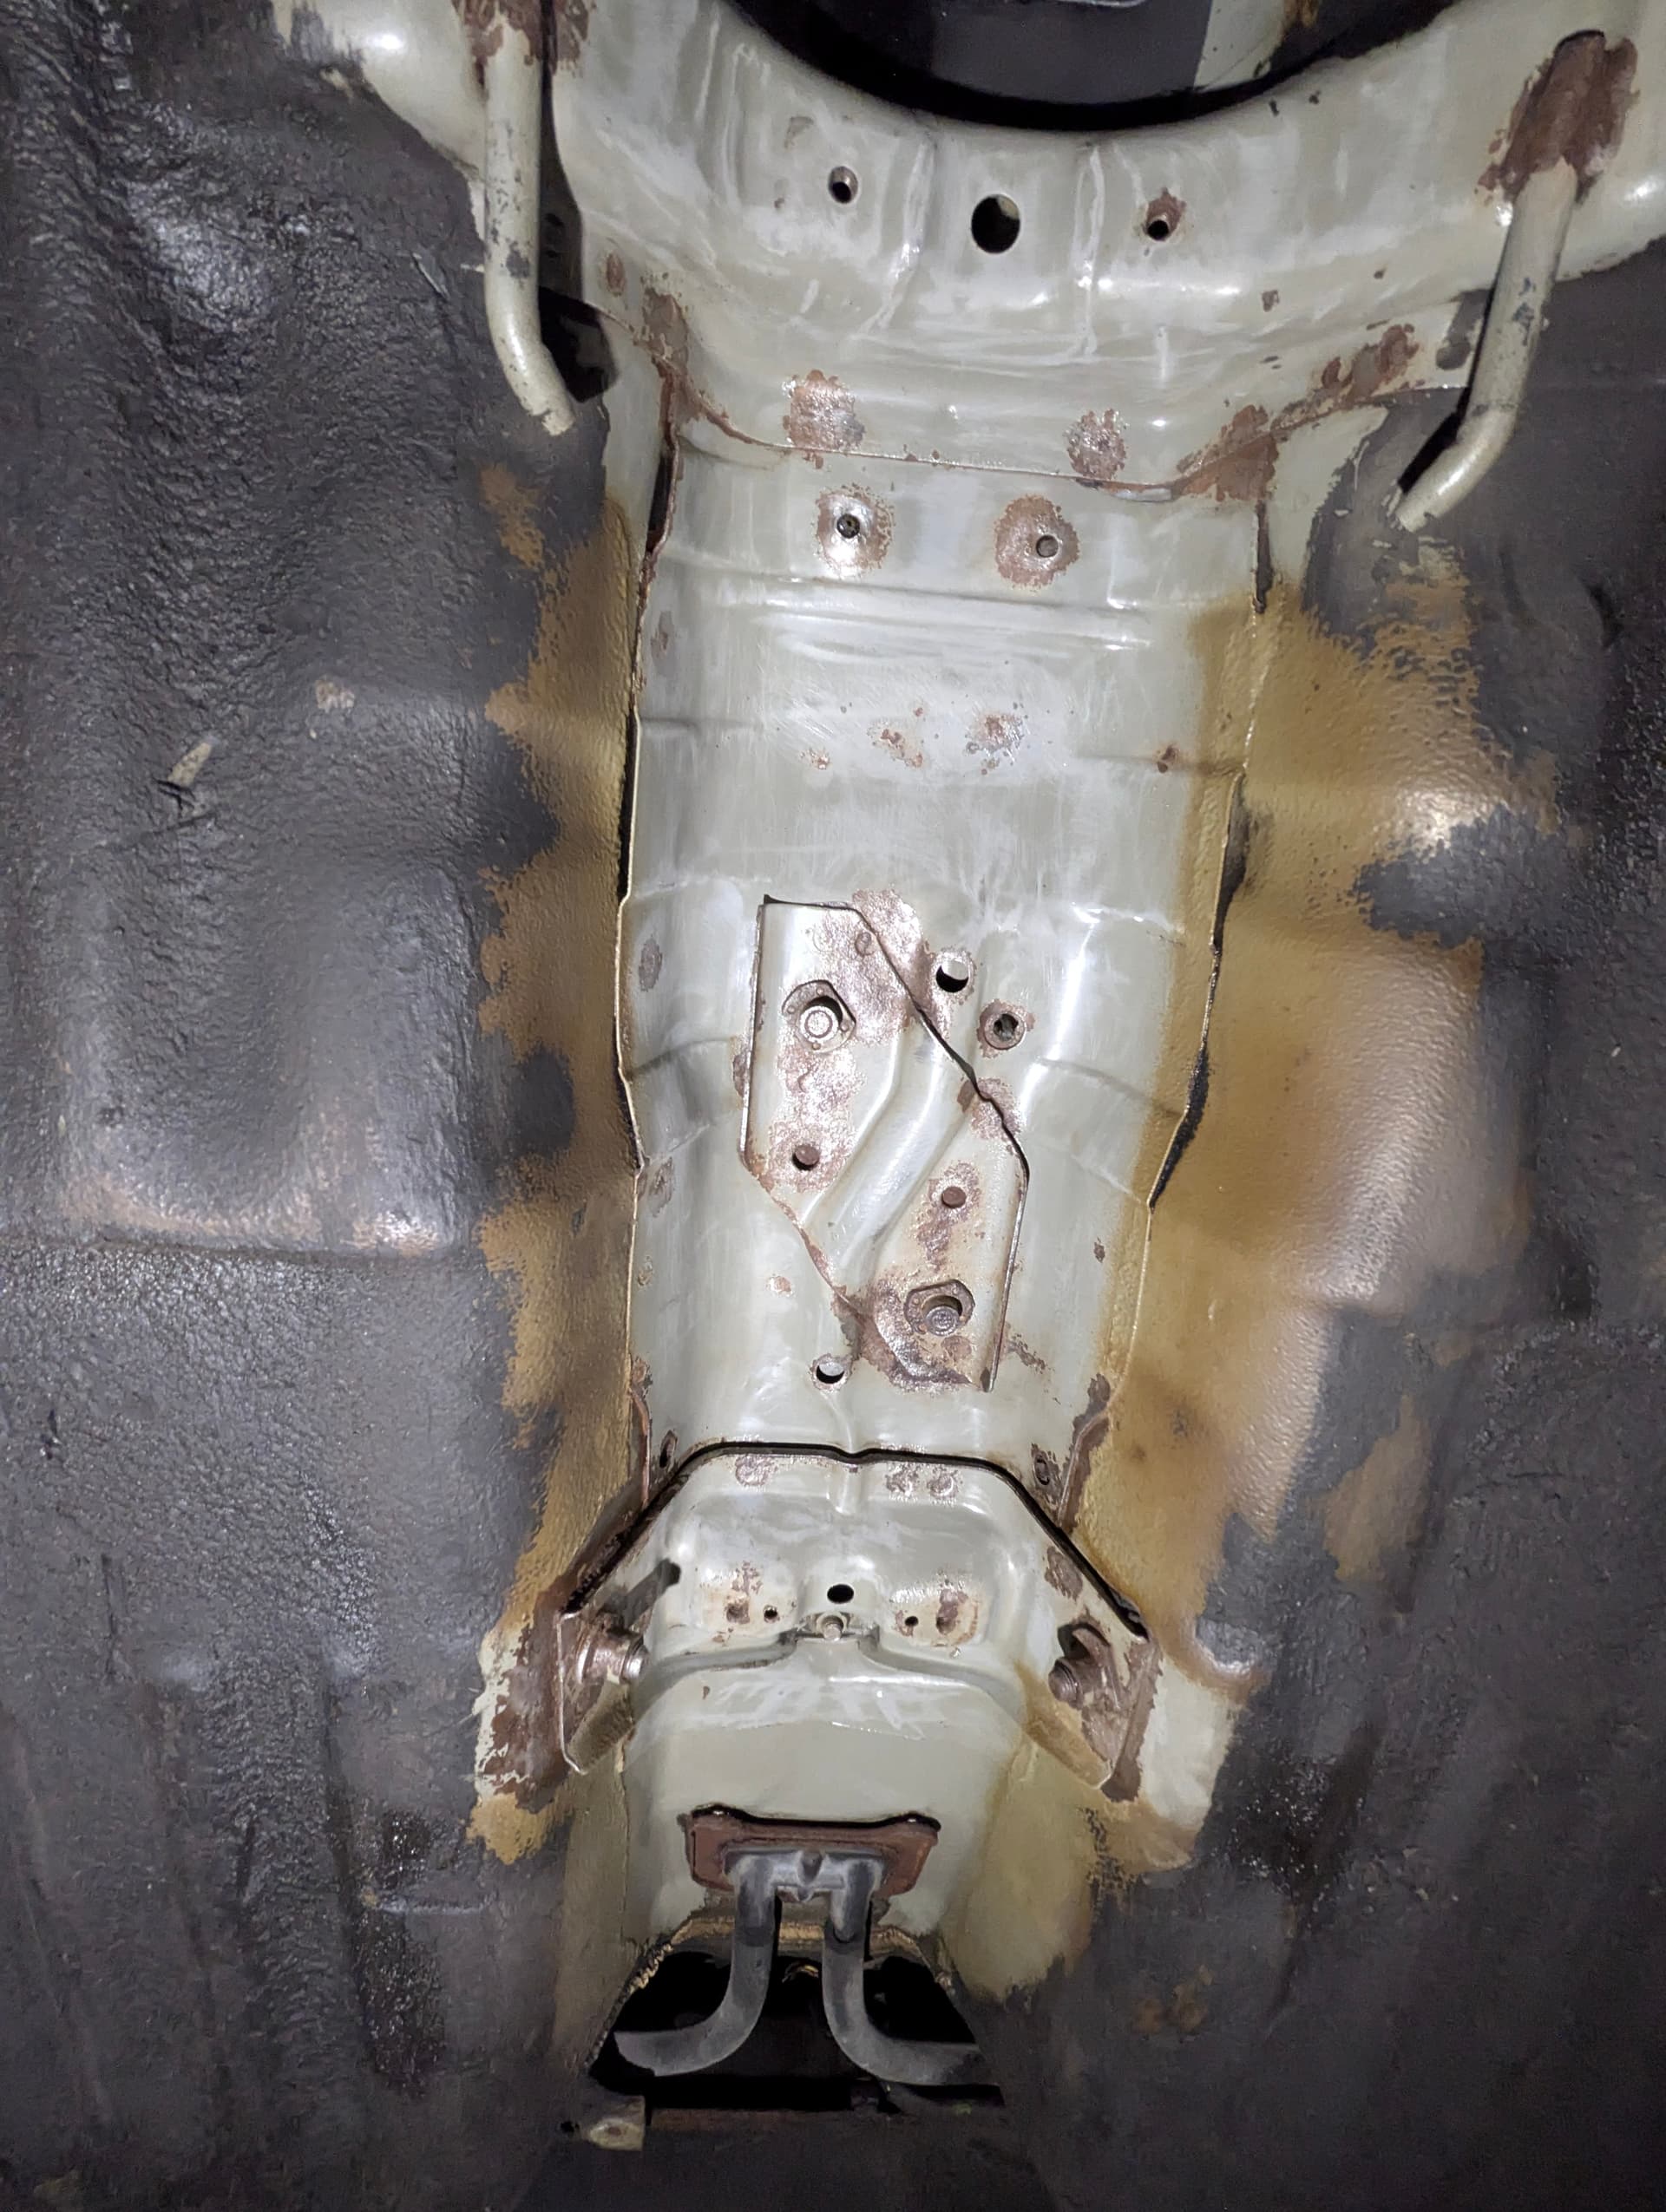
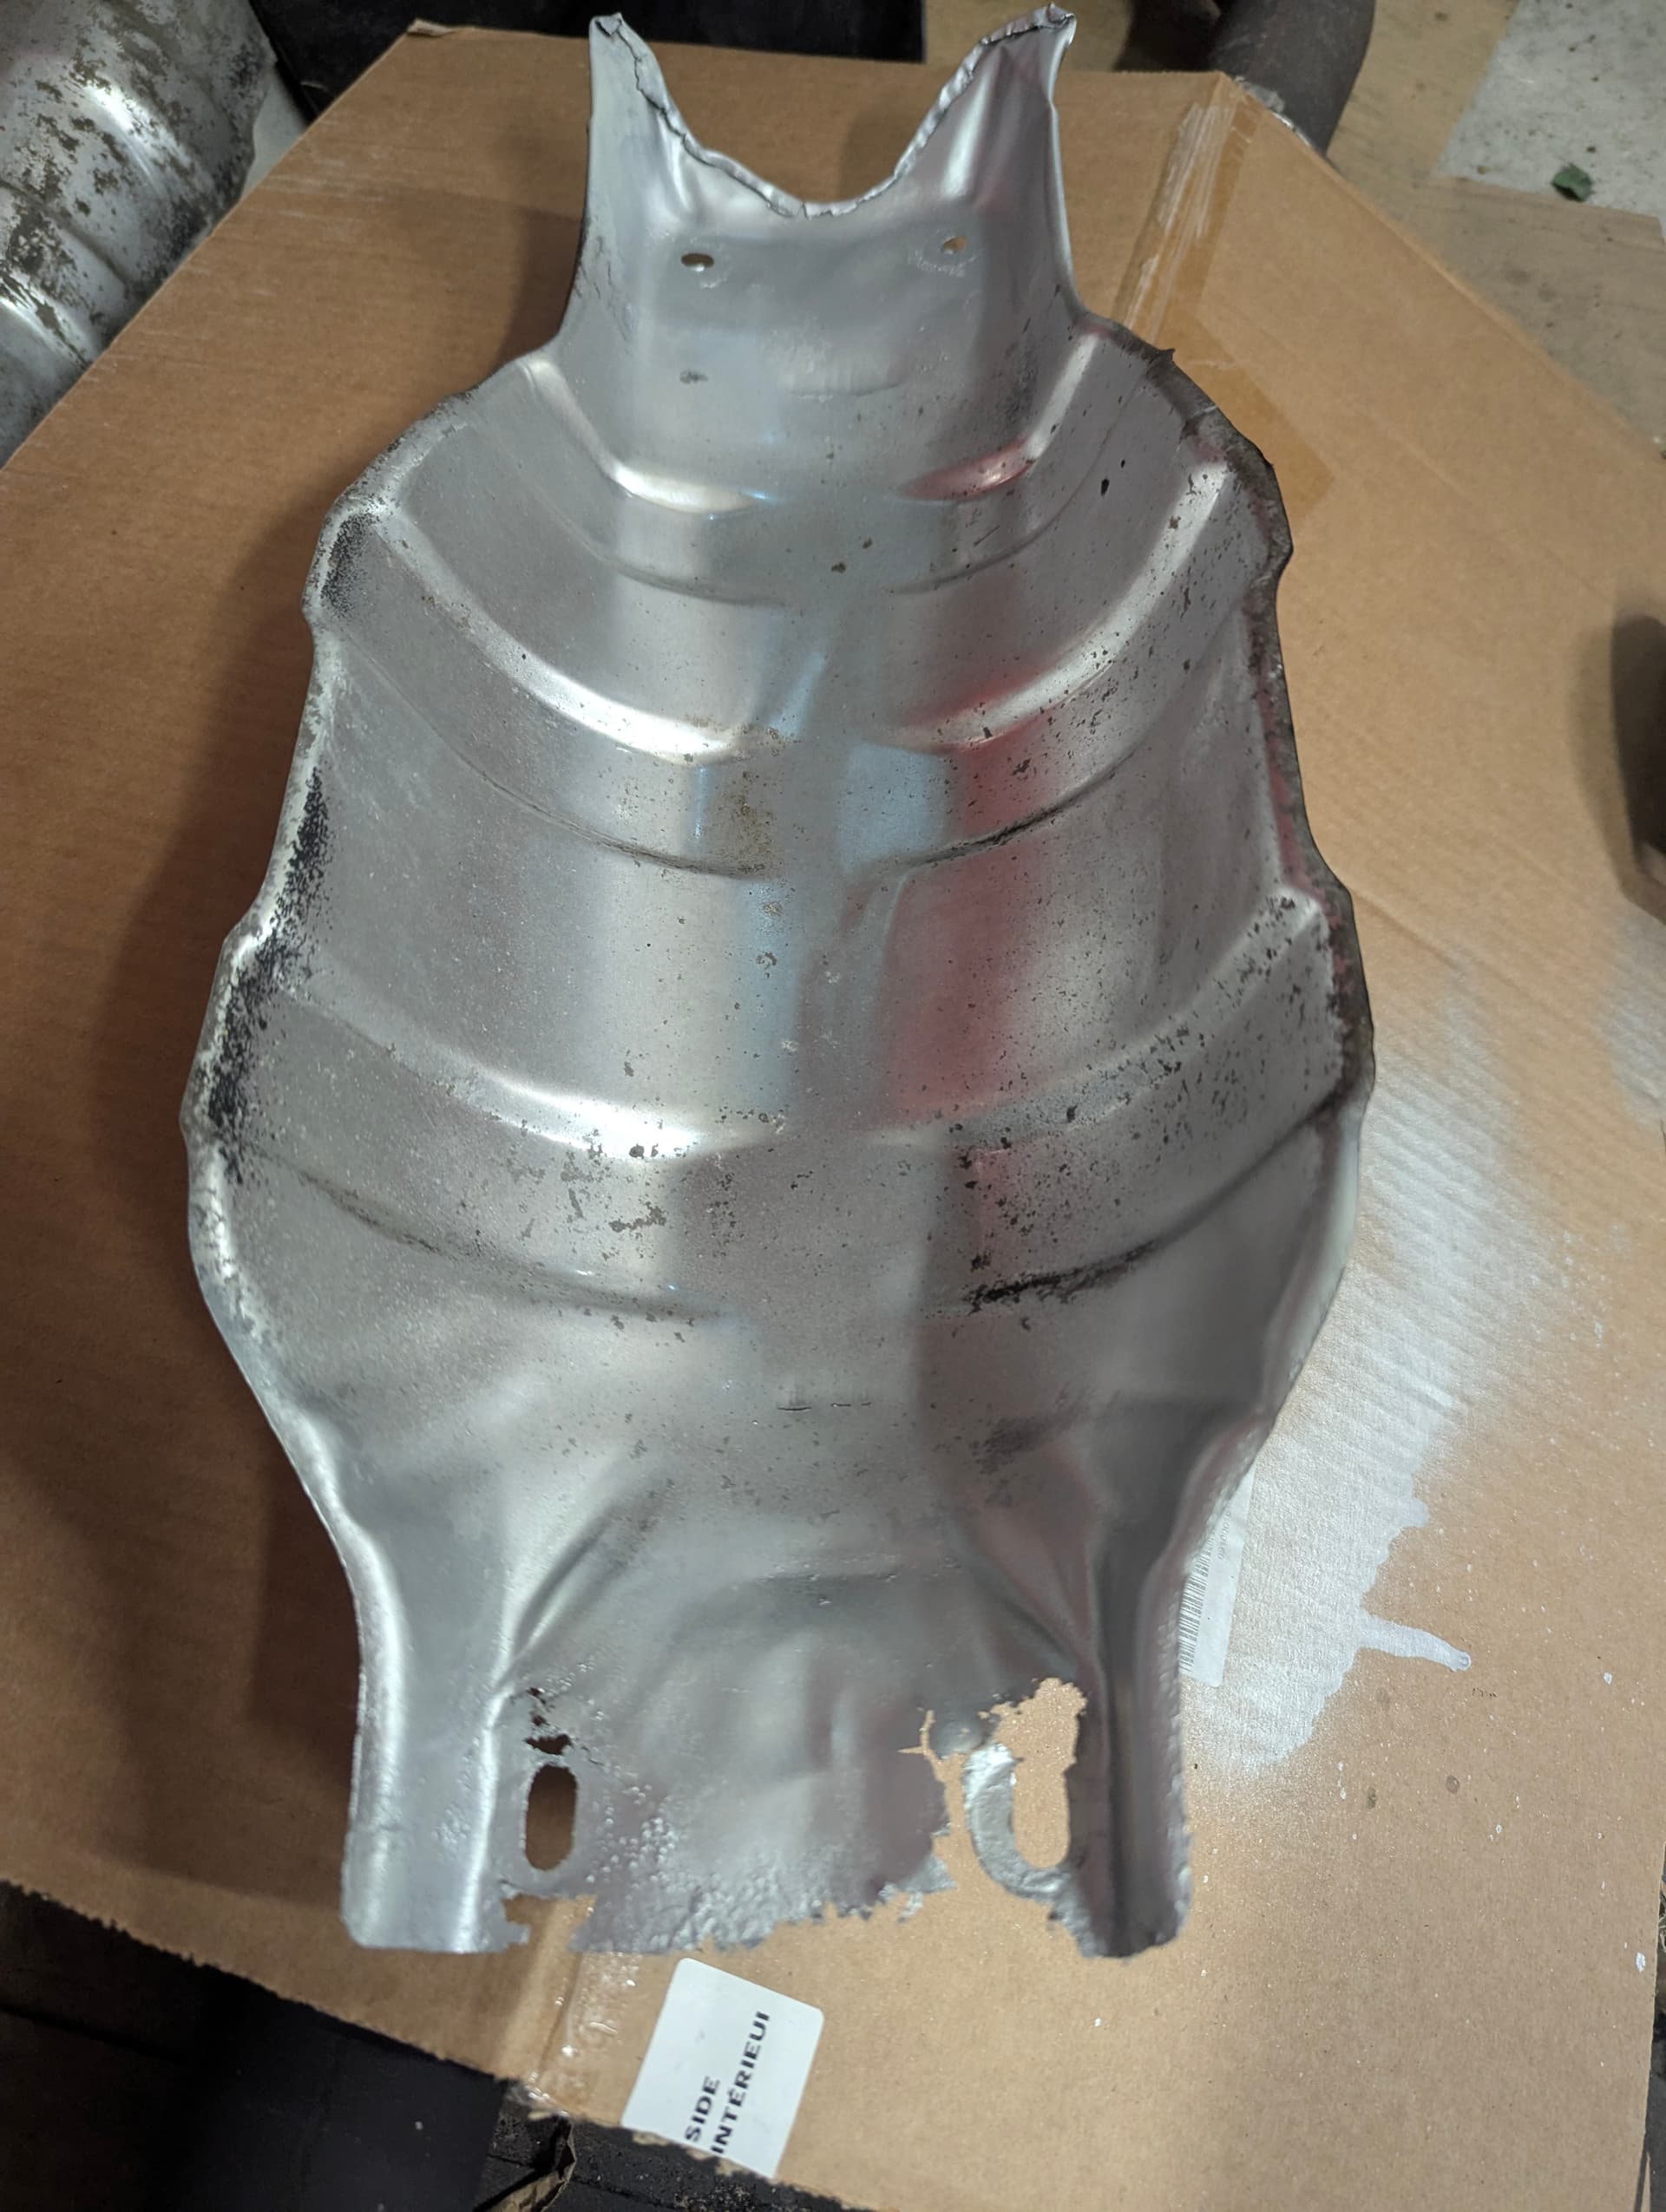
Cleaned exhaust tunnel exposed some rust to take care of
Since I’ve removed the center part of the heat shield, I folded over the sharp edge
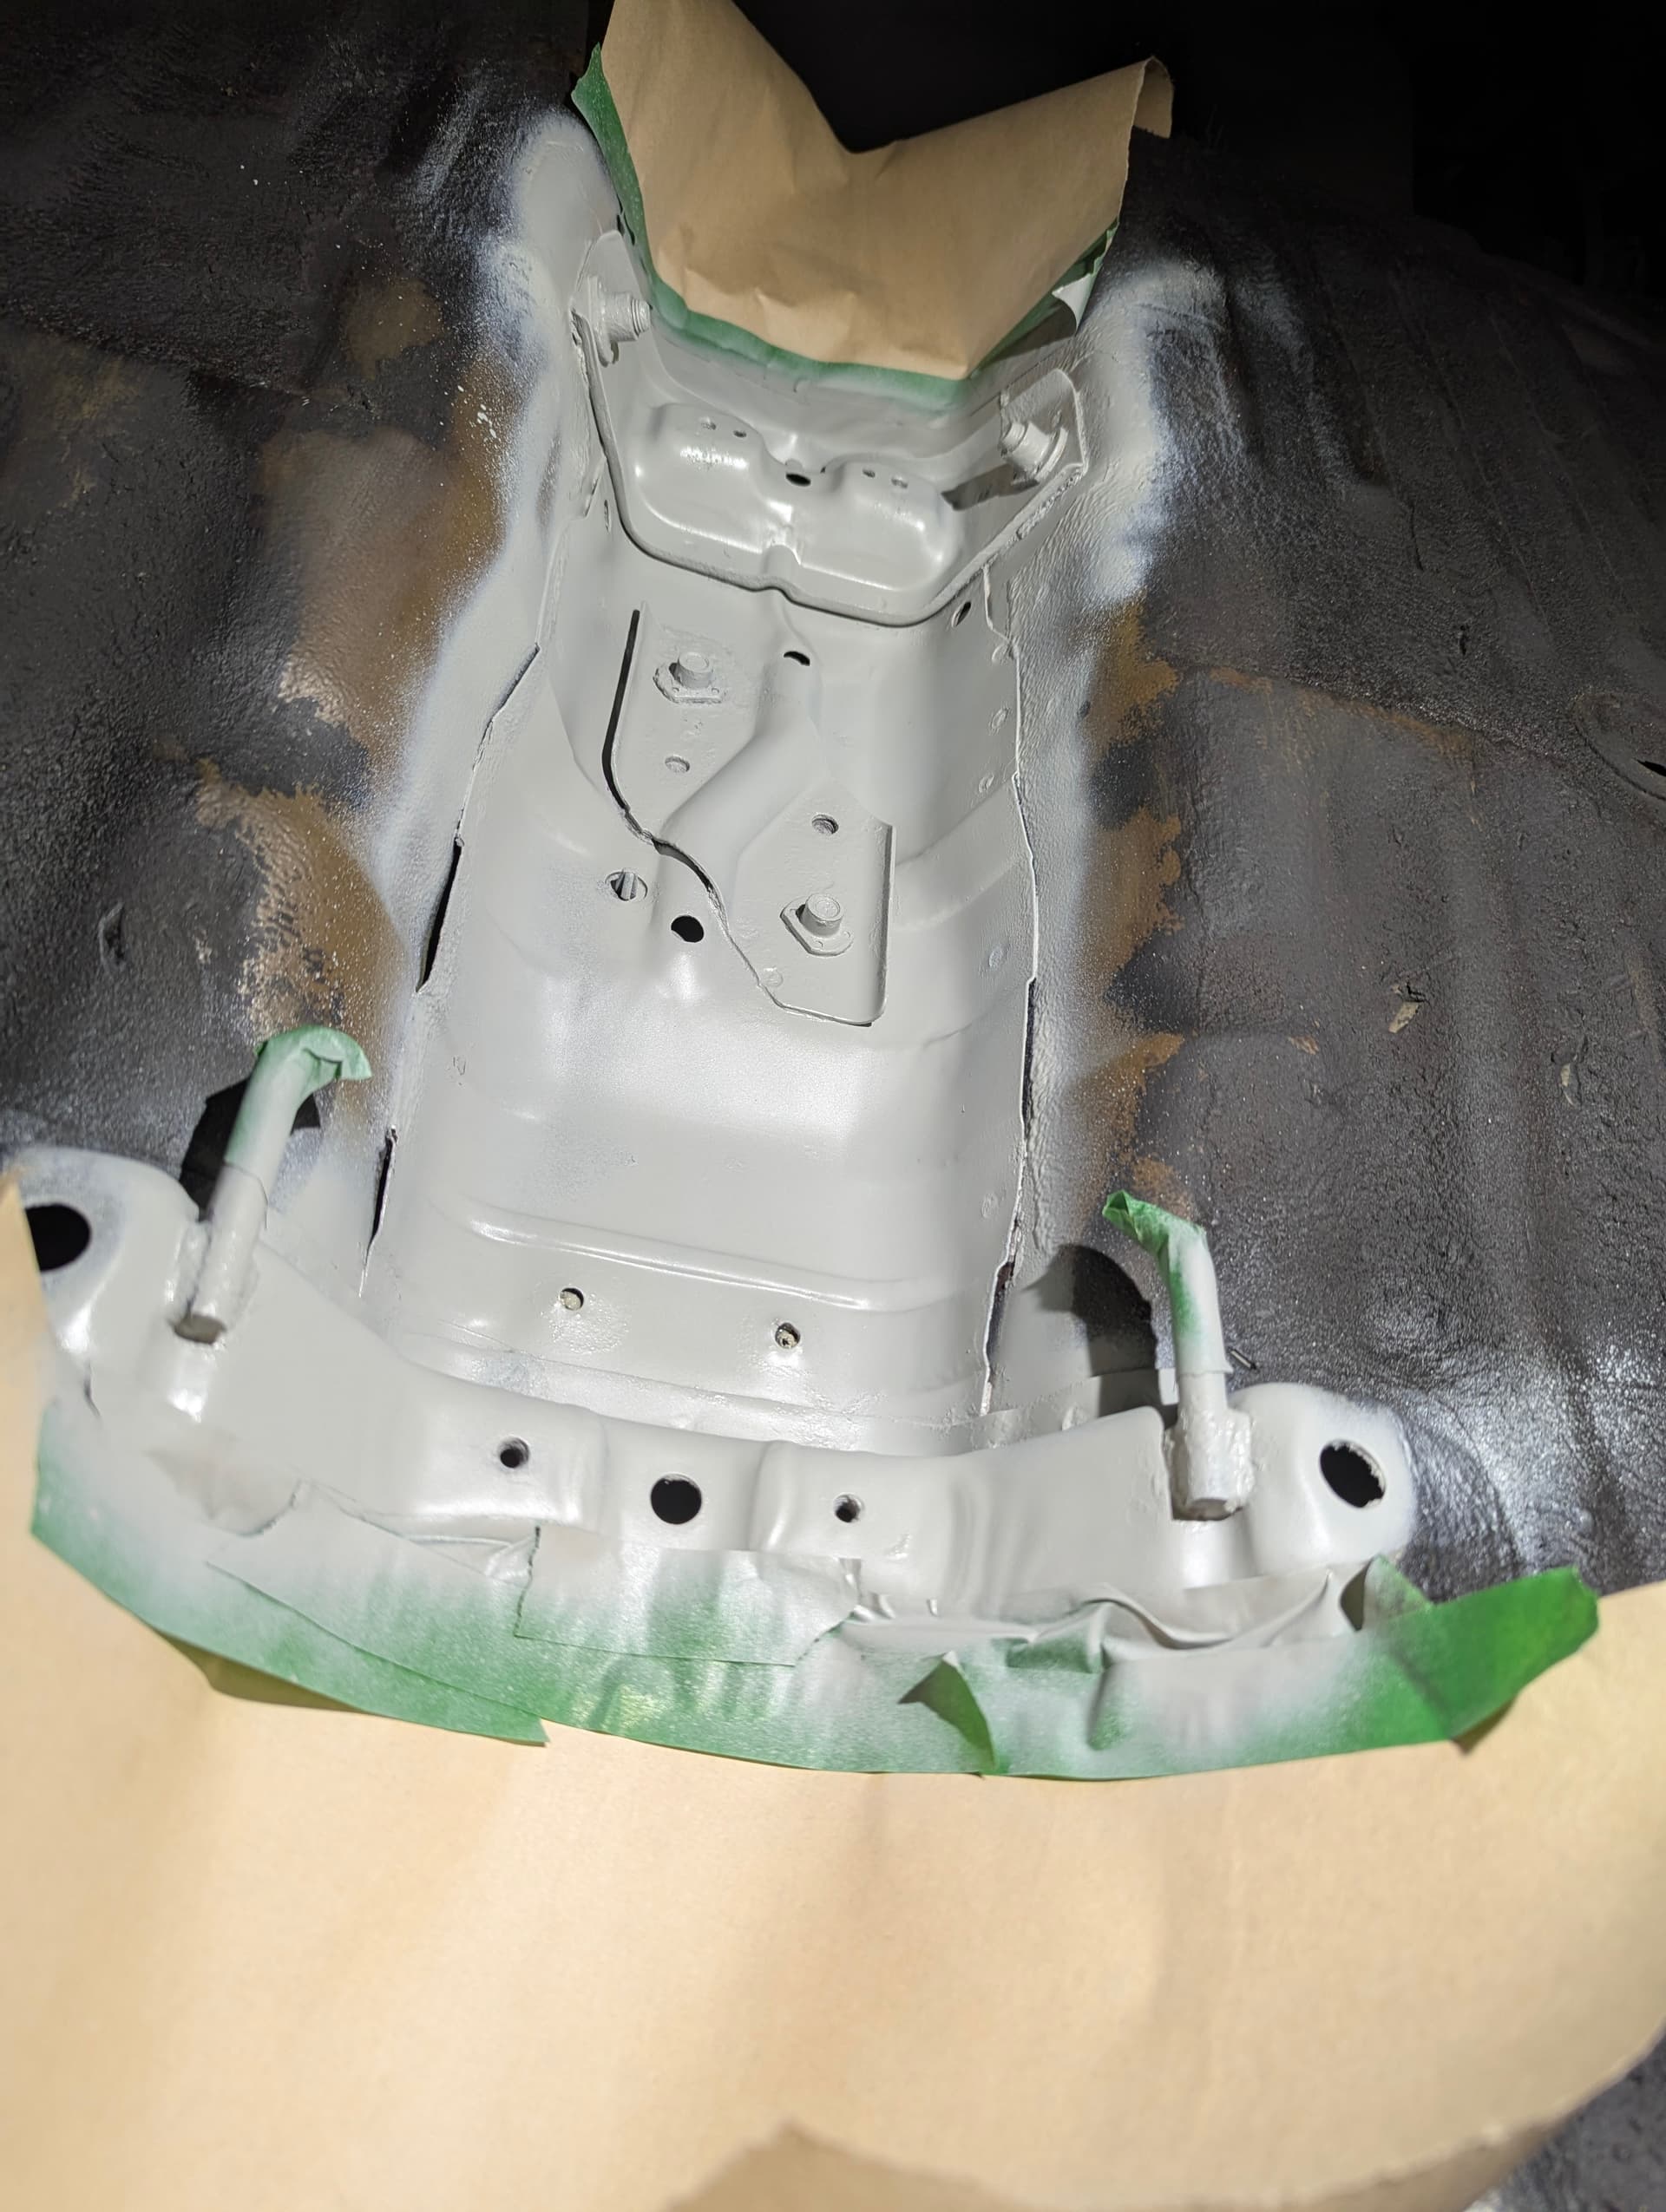
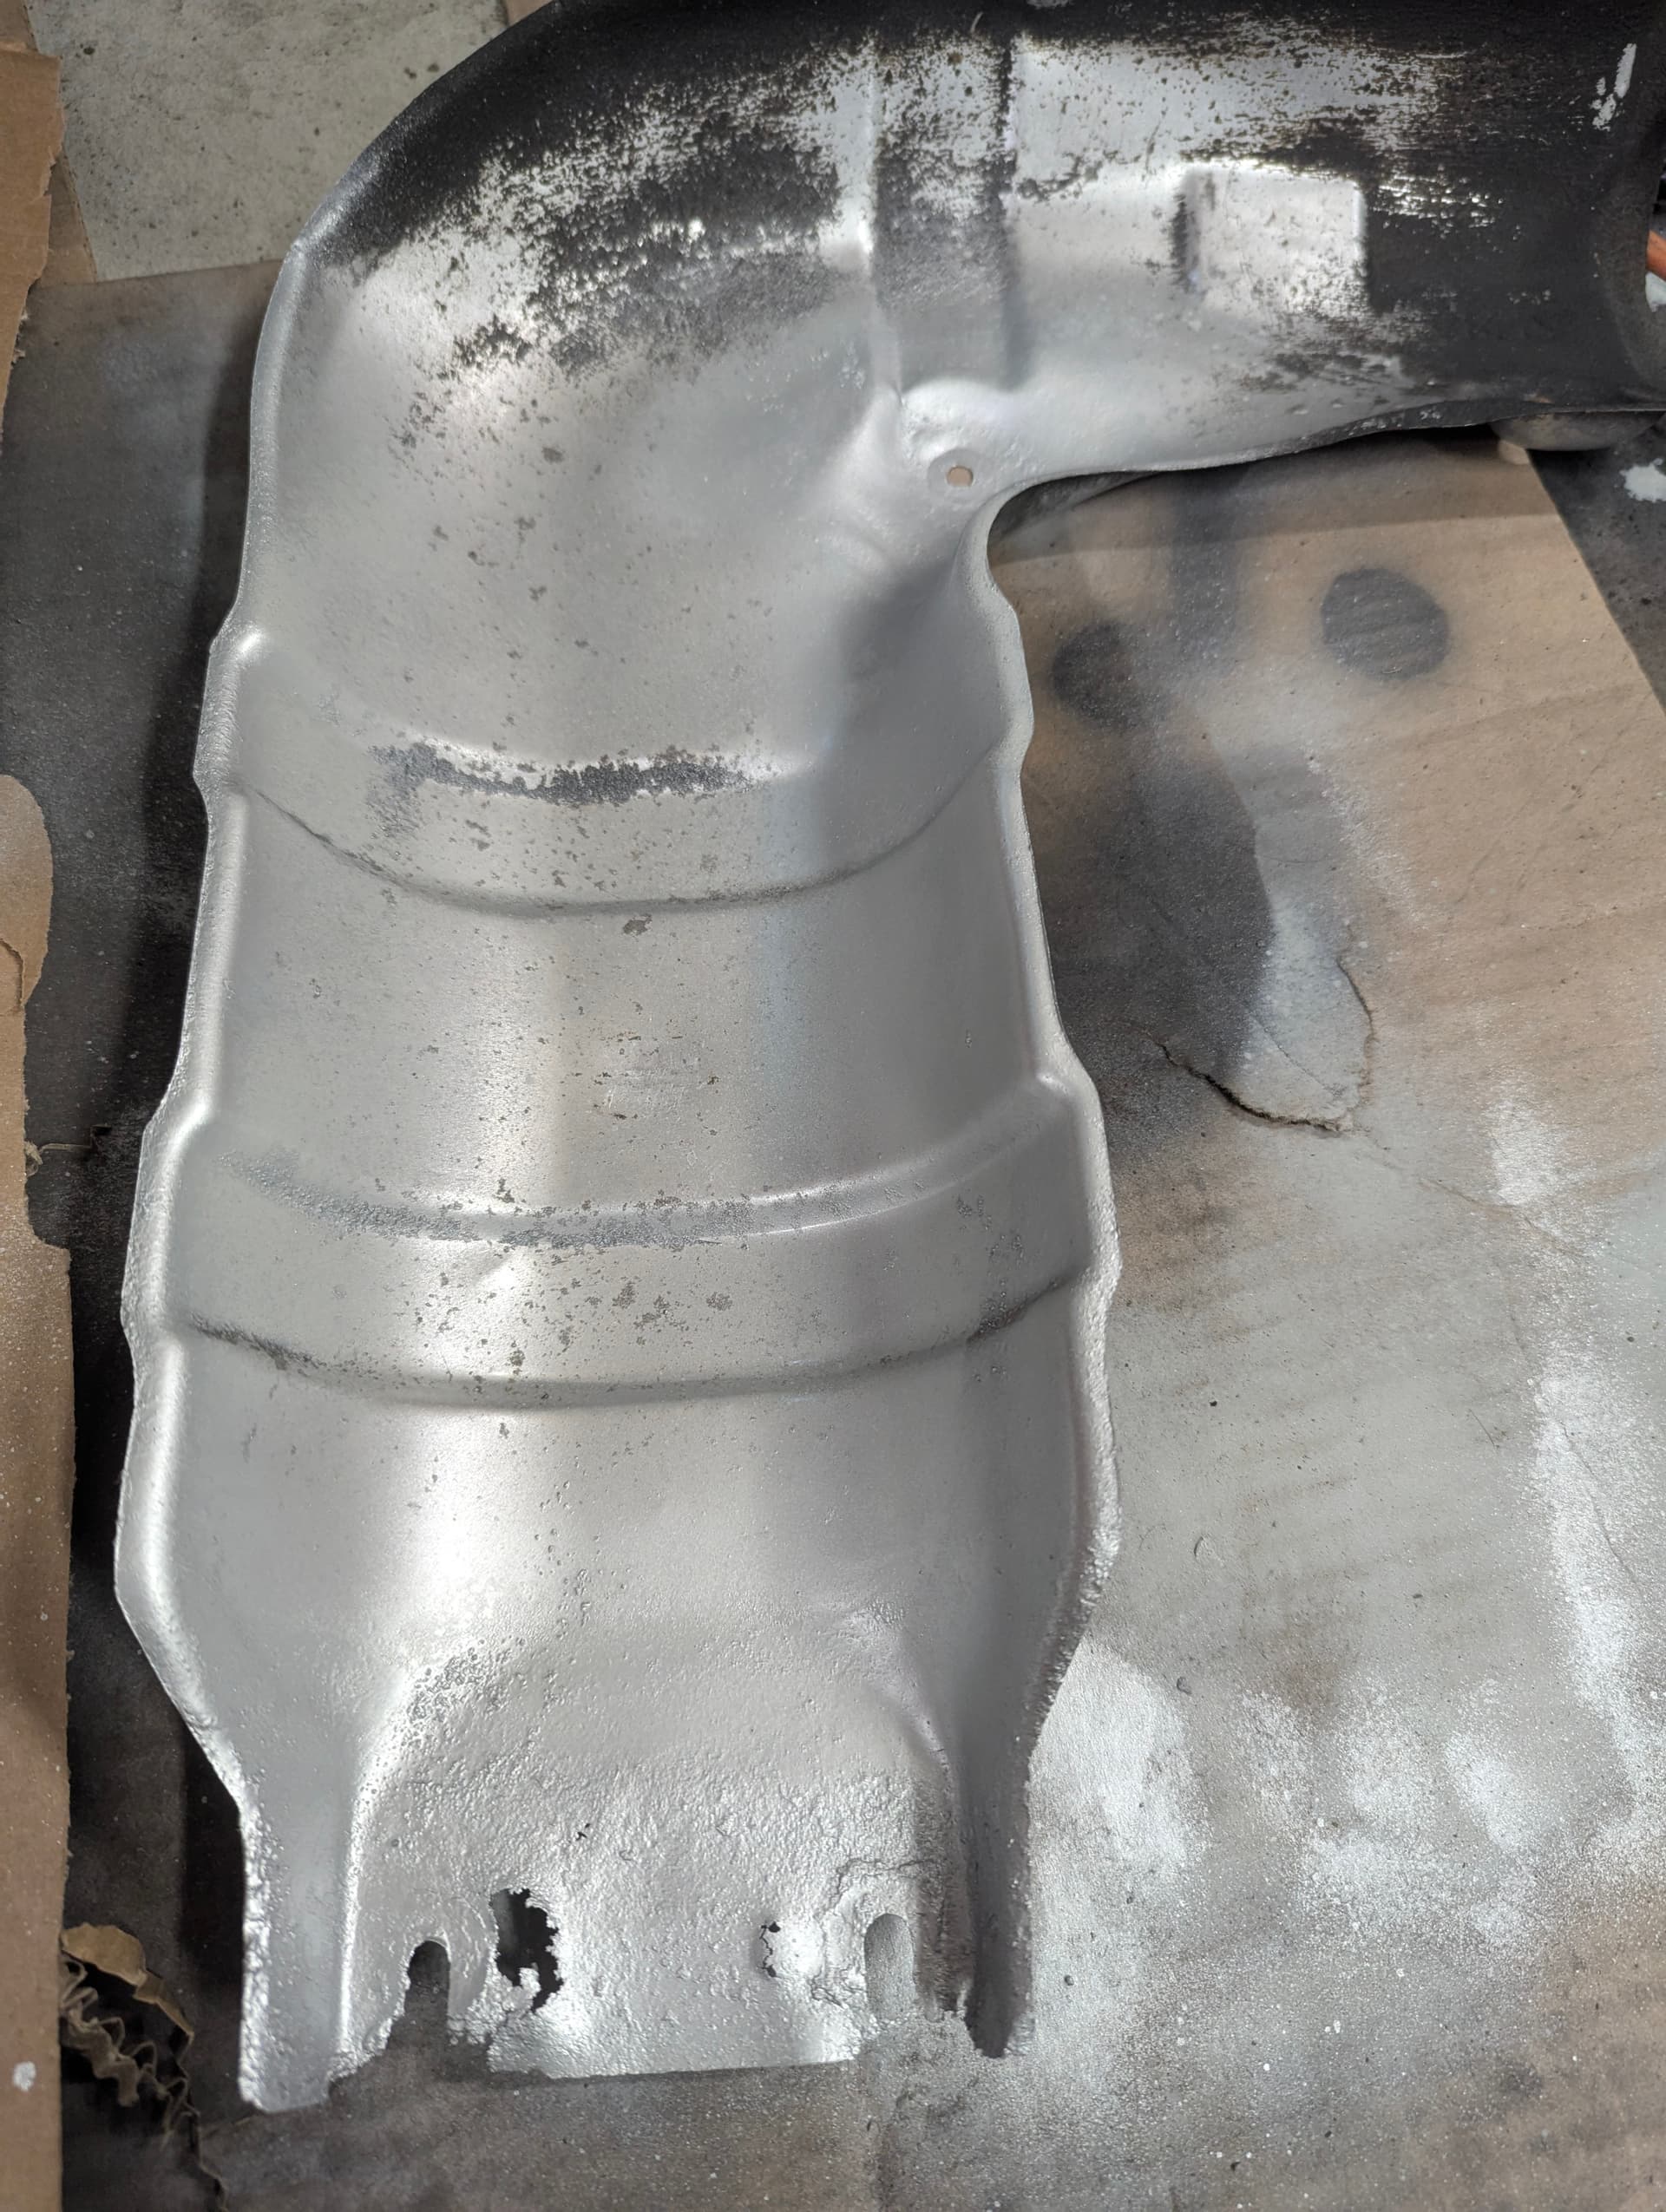
Grinded, sanded and primed with high temp VHT primer.
Cleaned and covered some of the other areas
Black VHT paint as the final coat

The tunnel will be recoated with fluid film rust prevention
2 Likes
Cleaned and painted shifter and stabilizer arm.
Rear engine mount bracket re-installed
Clutch cable bracket and trans hanger bracket re-installed
Slight angle difference on the megan racing header flange, probably just off a bit when they welded it on. I had to extend the holes on the mounting bracket so it would attach to the engine. Primed in the photo.
2 Likes
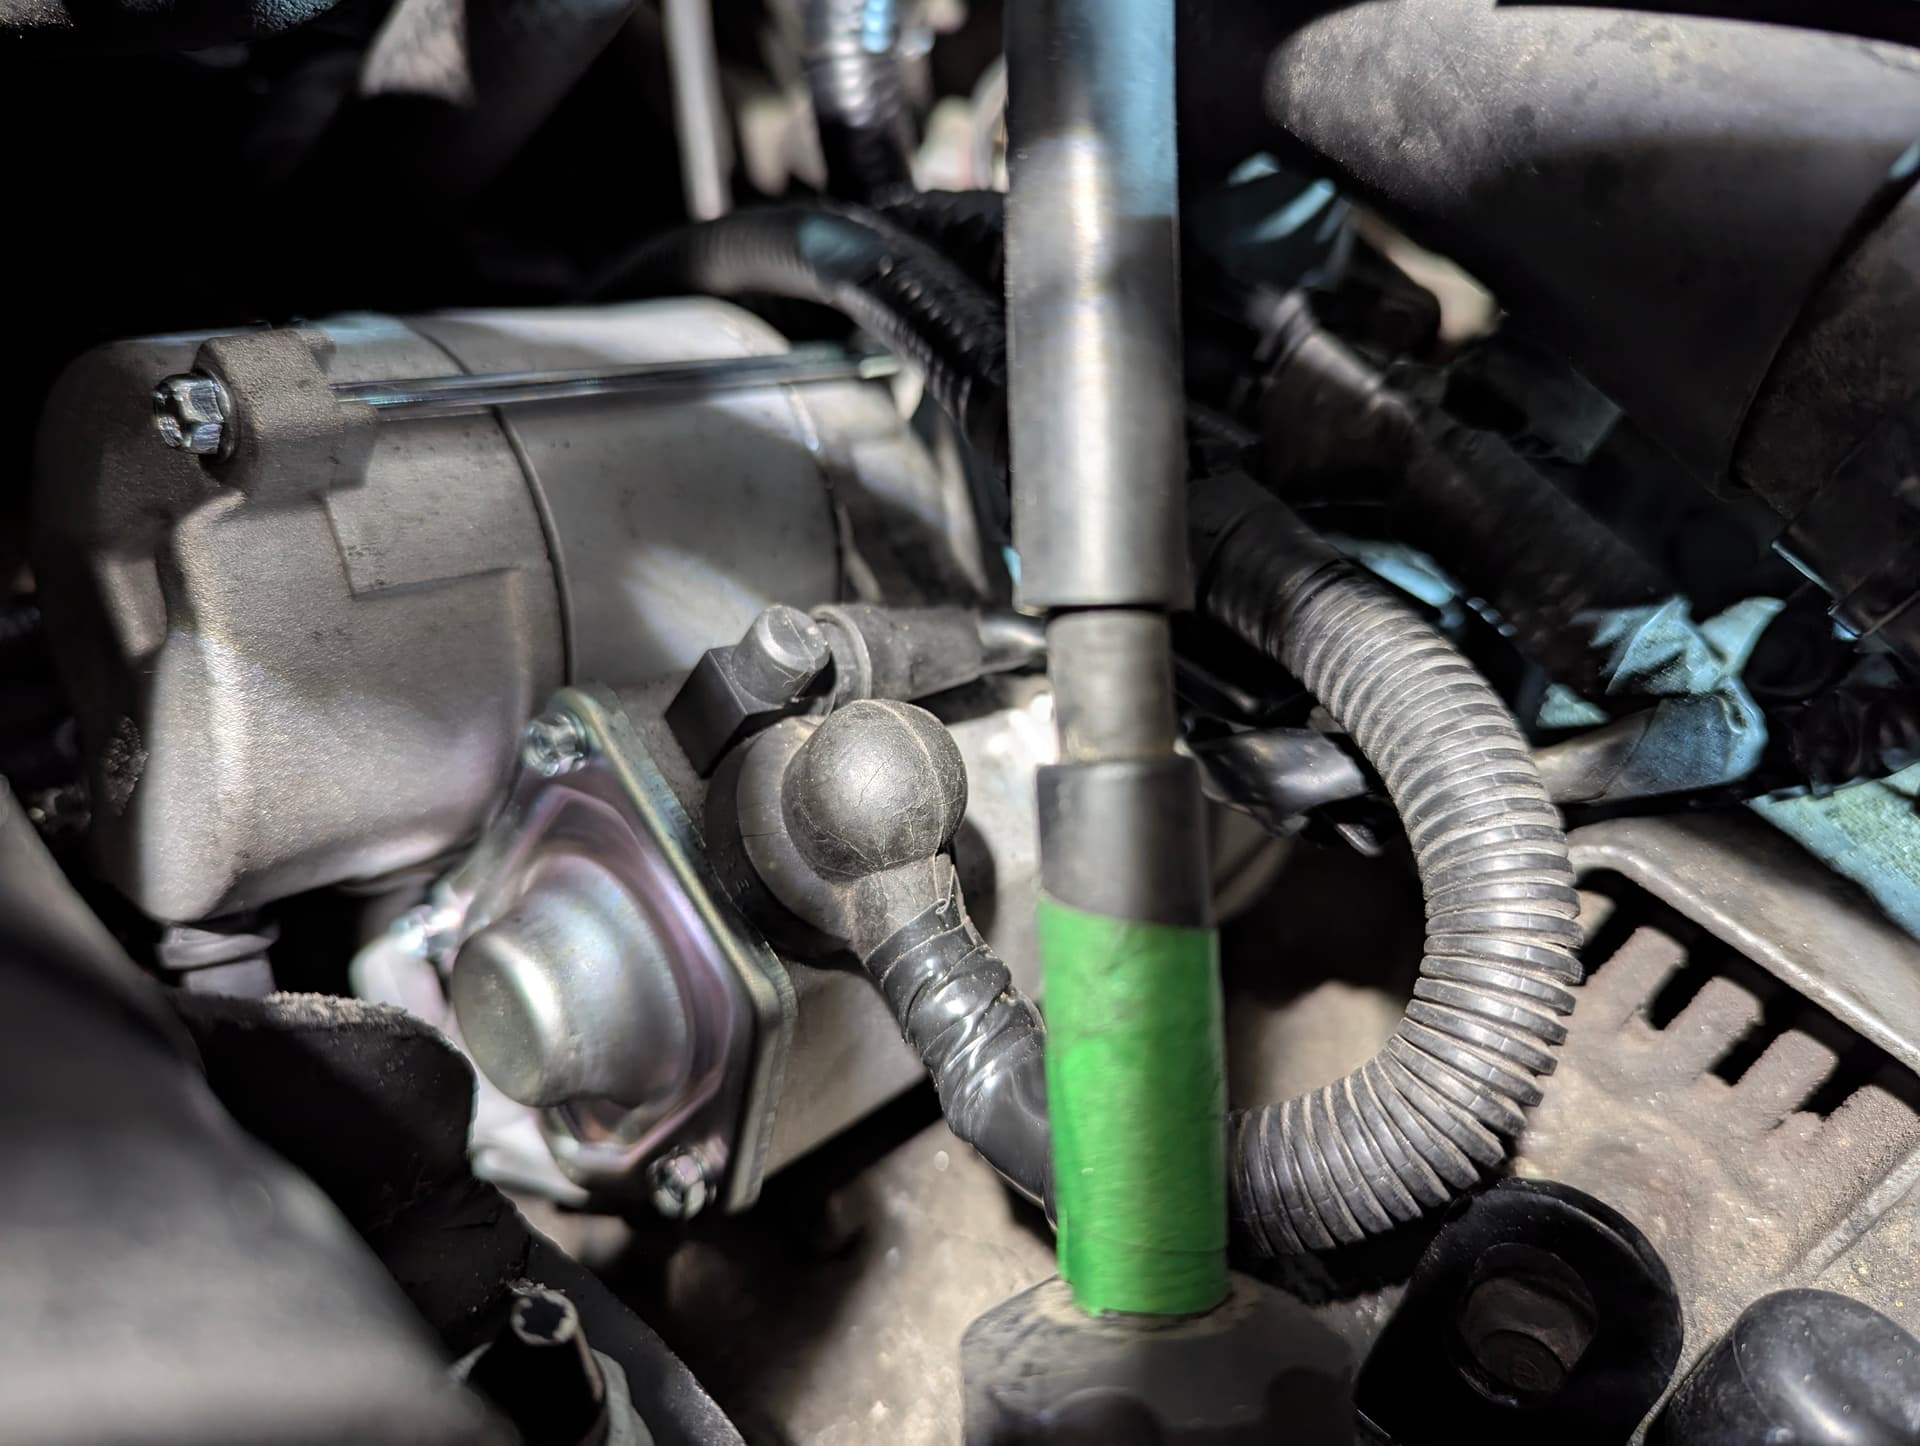
New starter installed
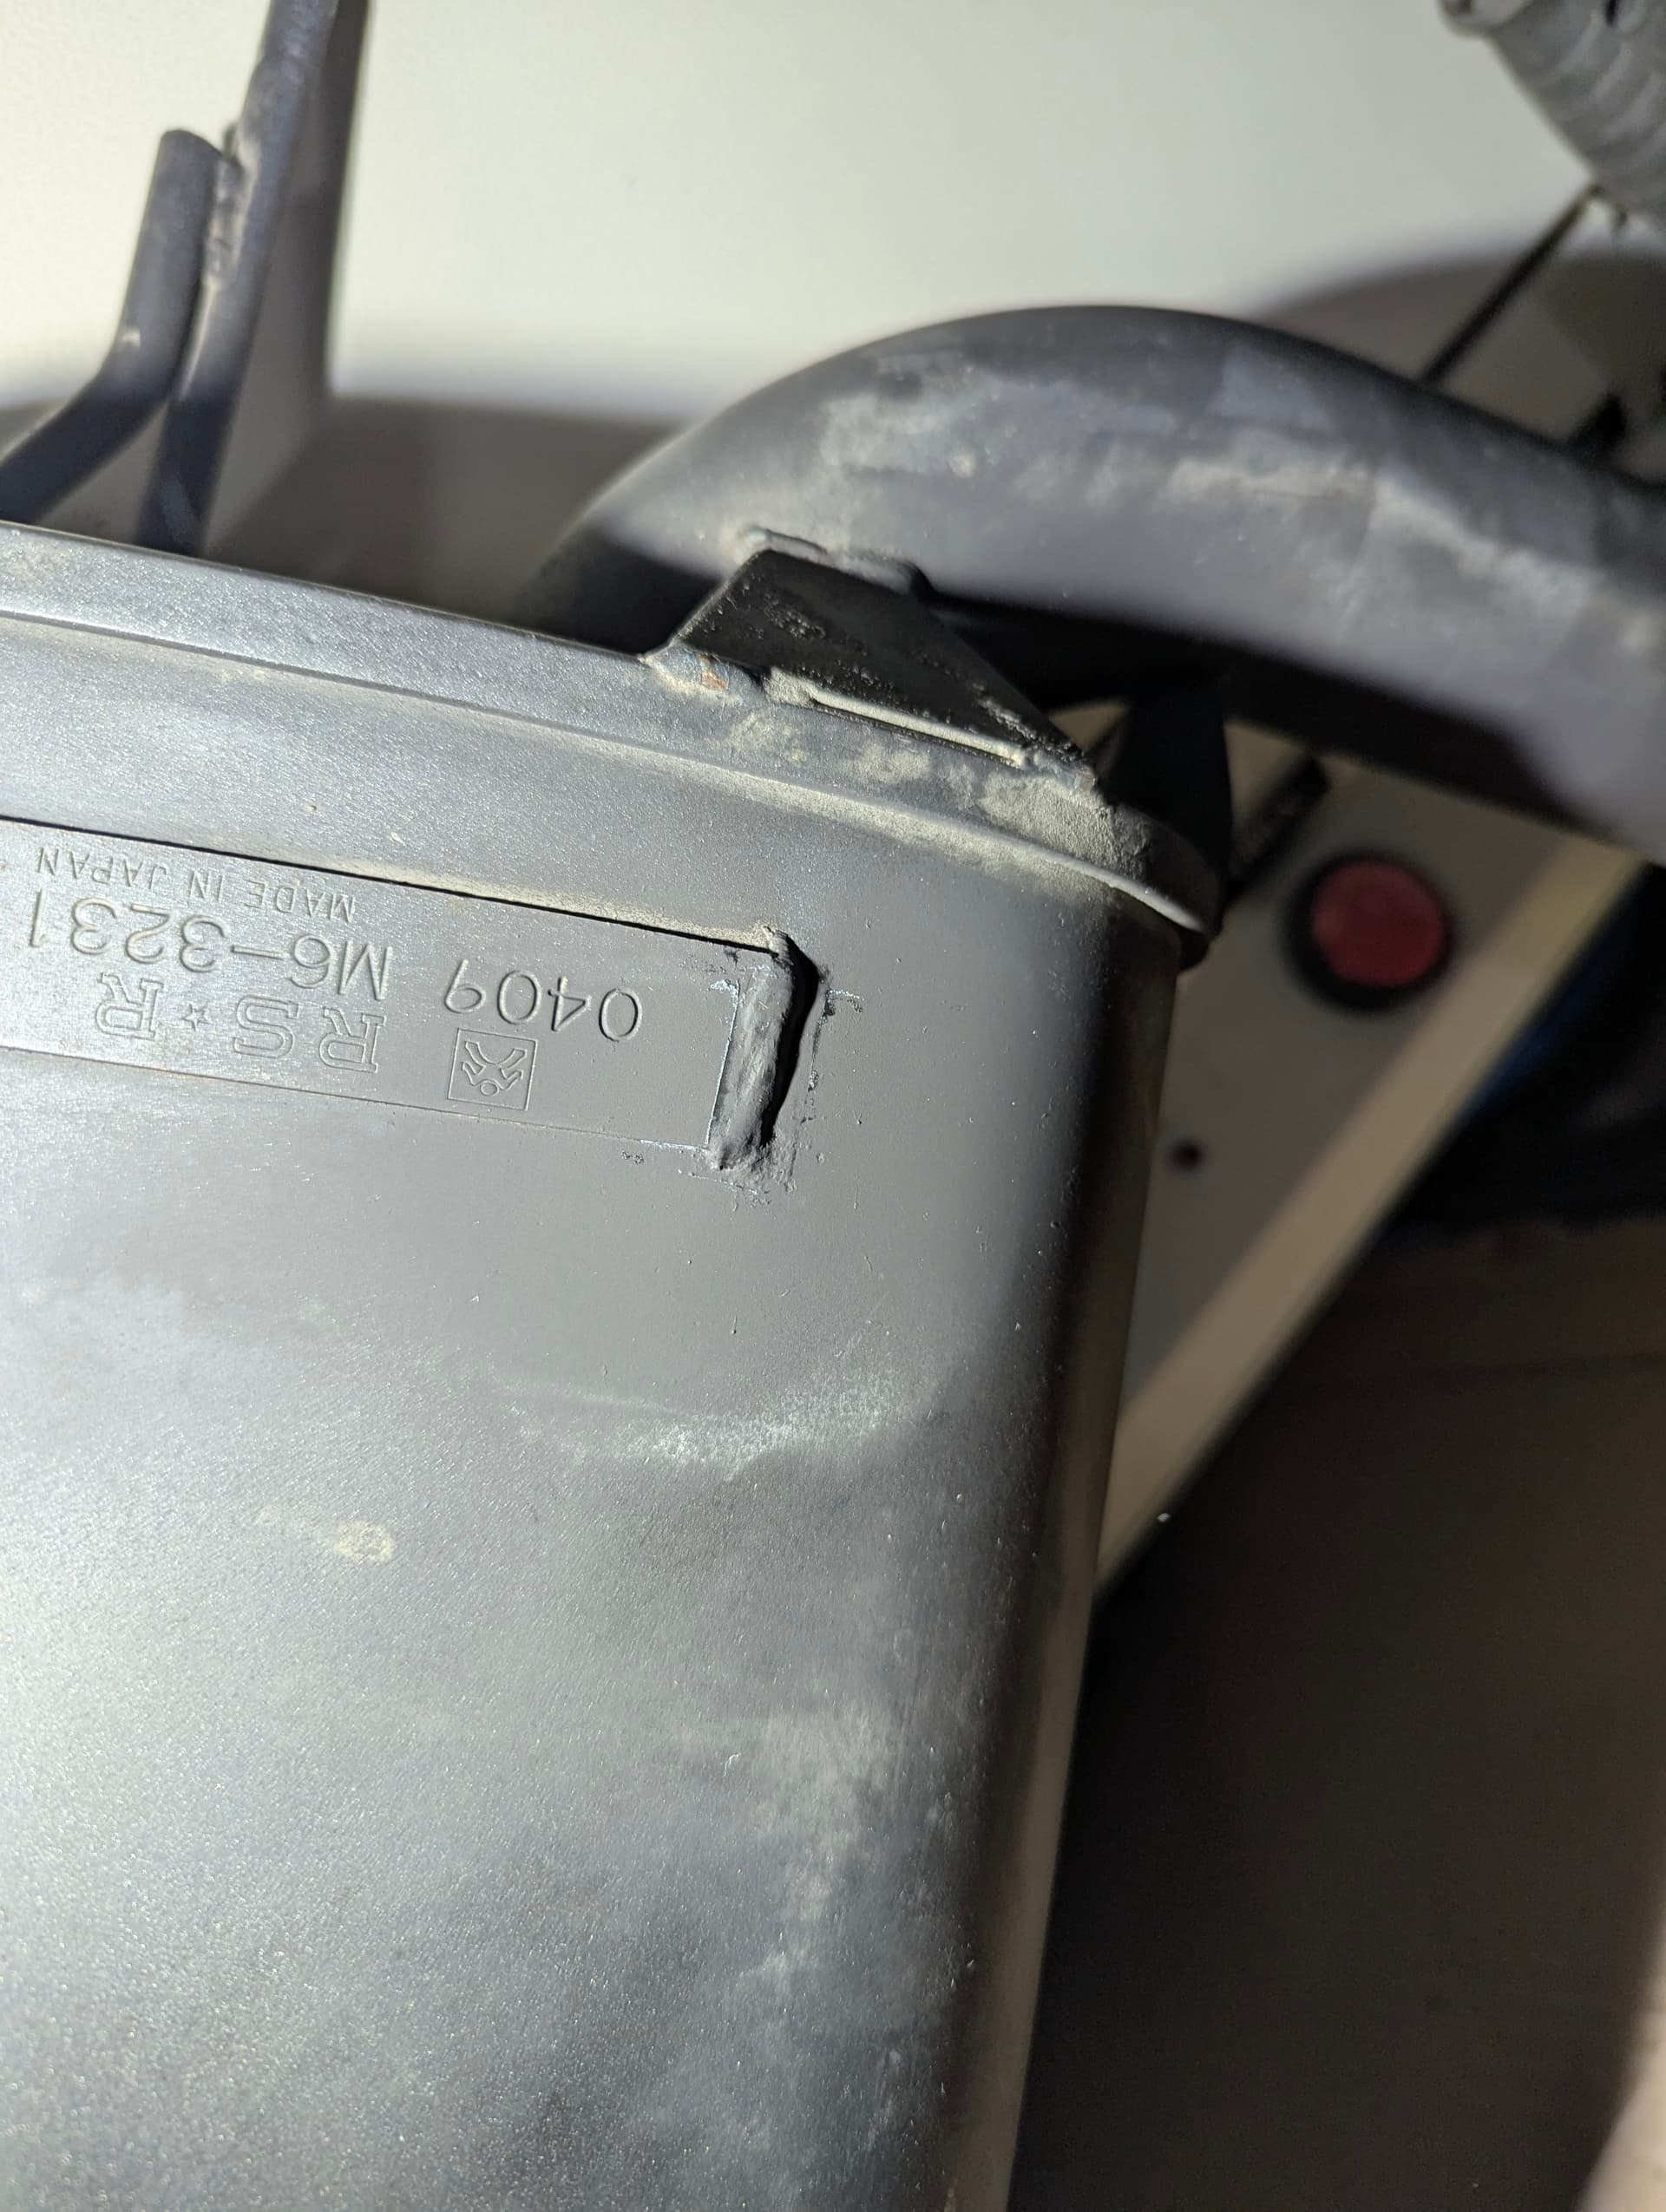
Respray of rusting parts of RSR
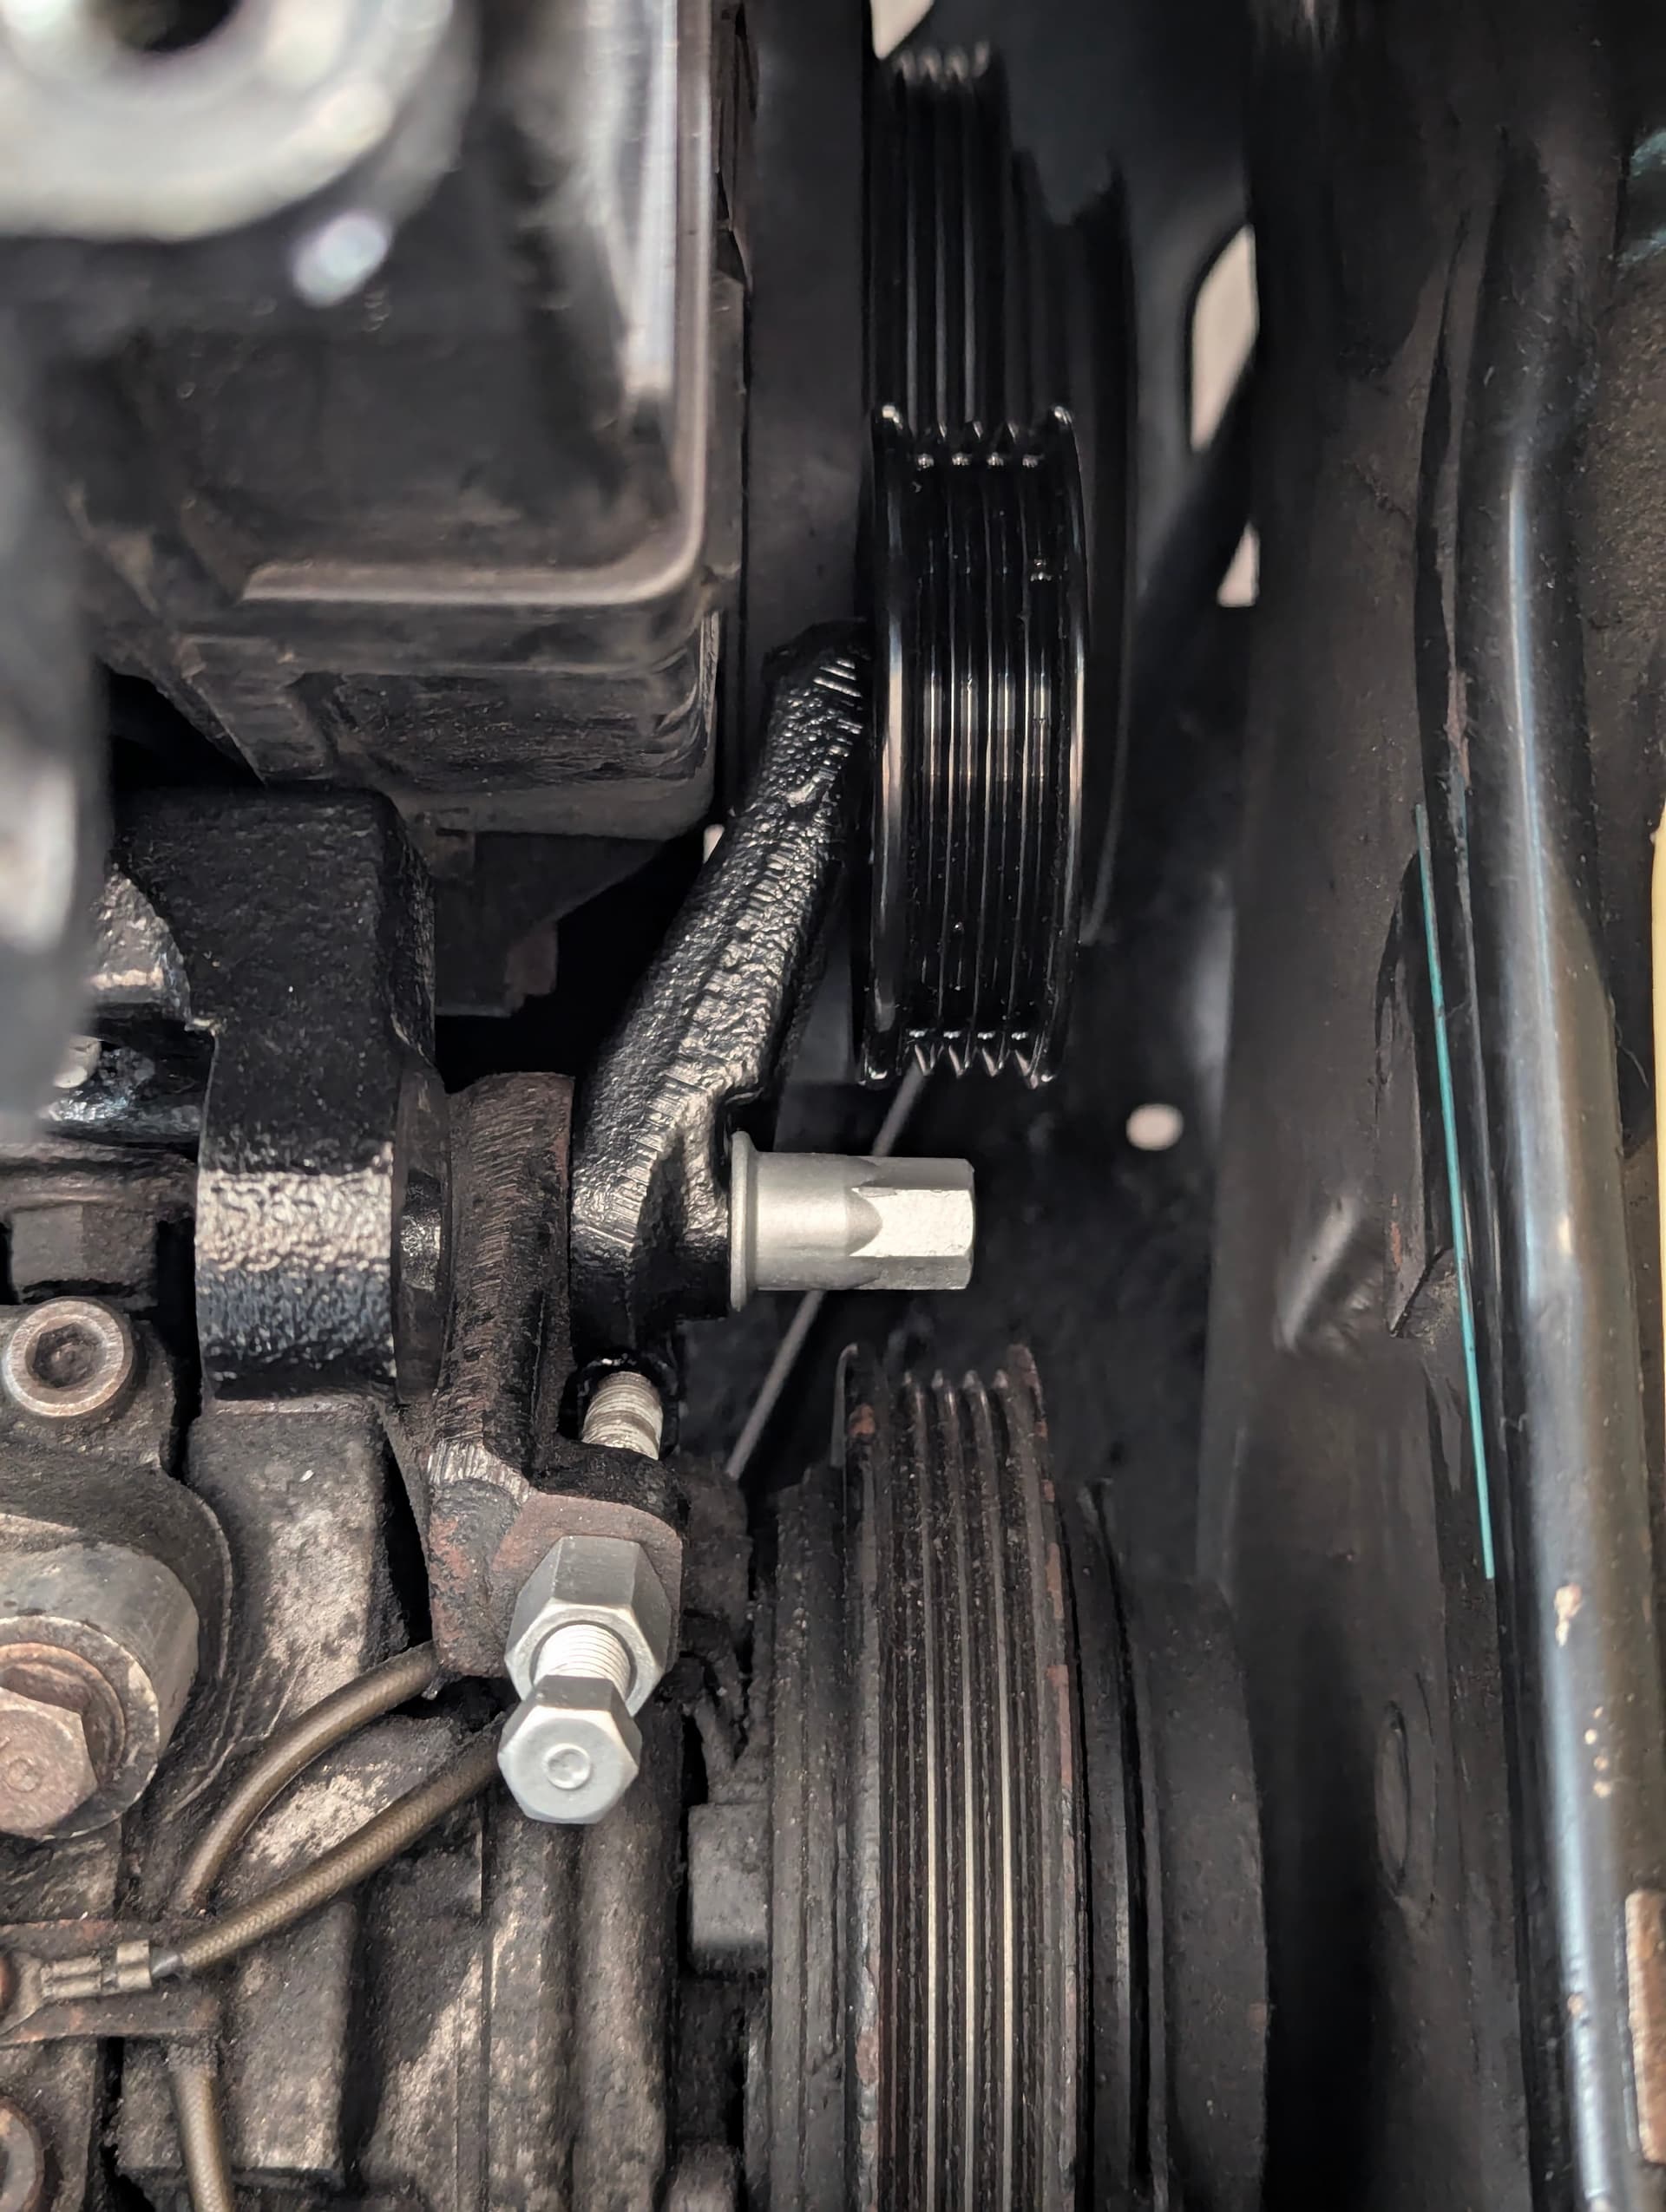
Installed new belt pulley
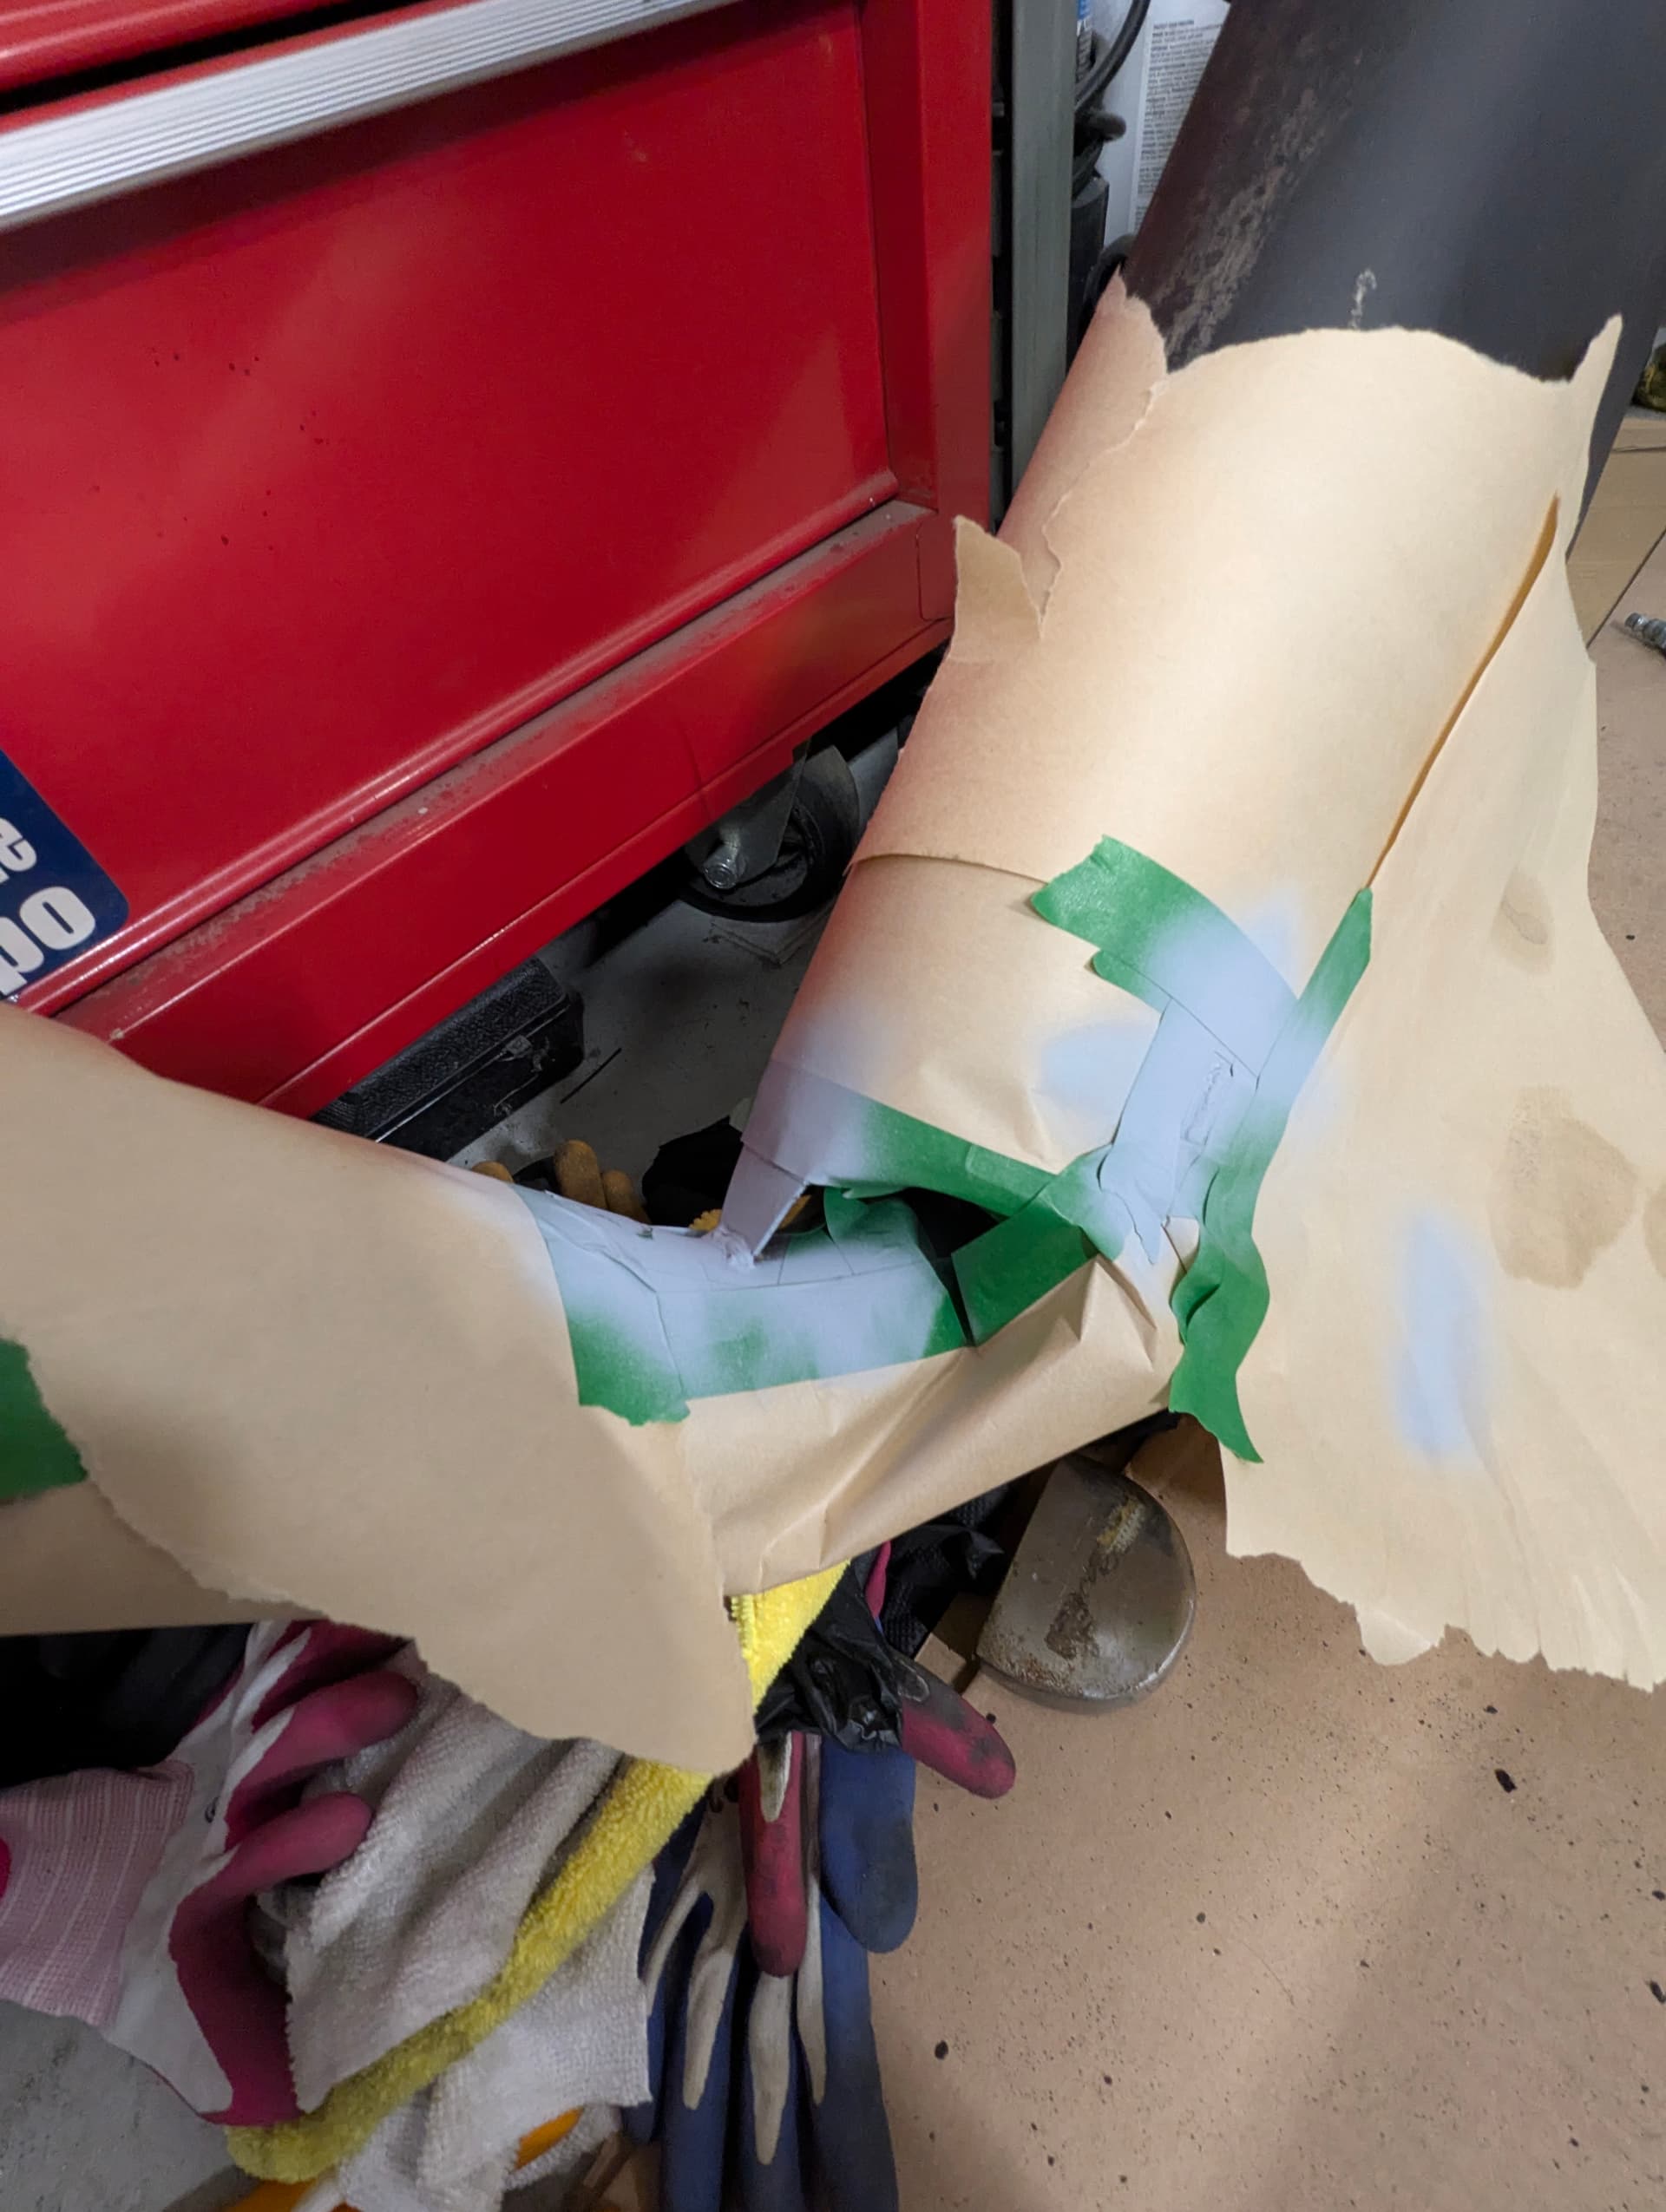
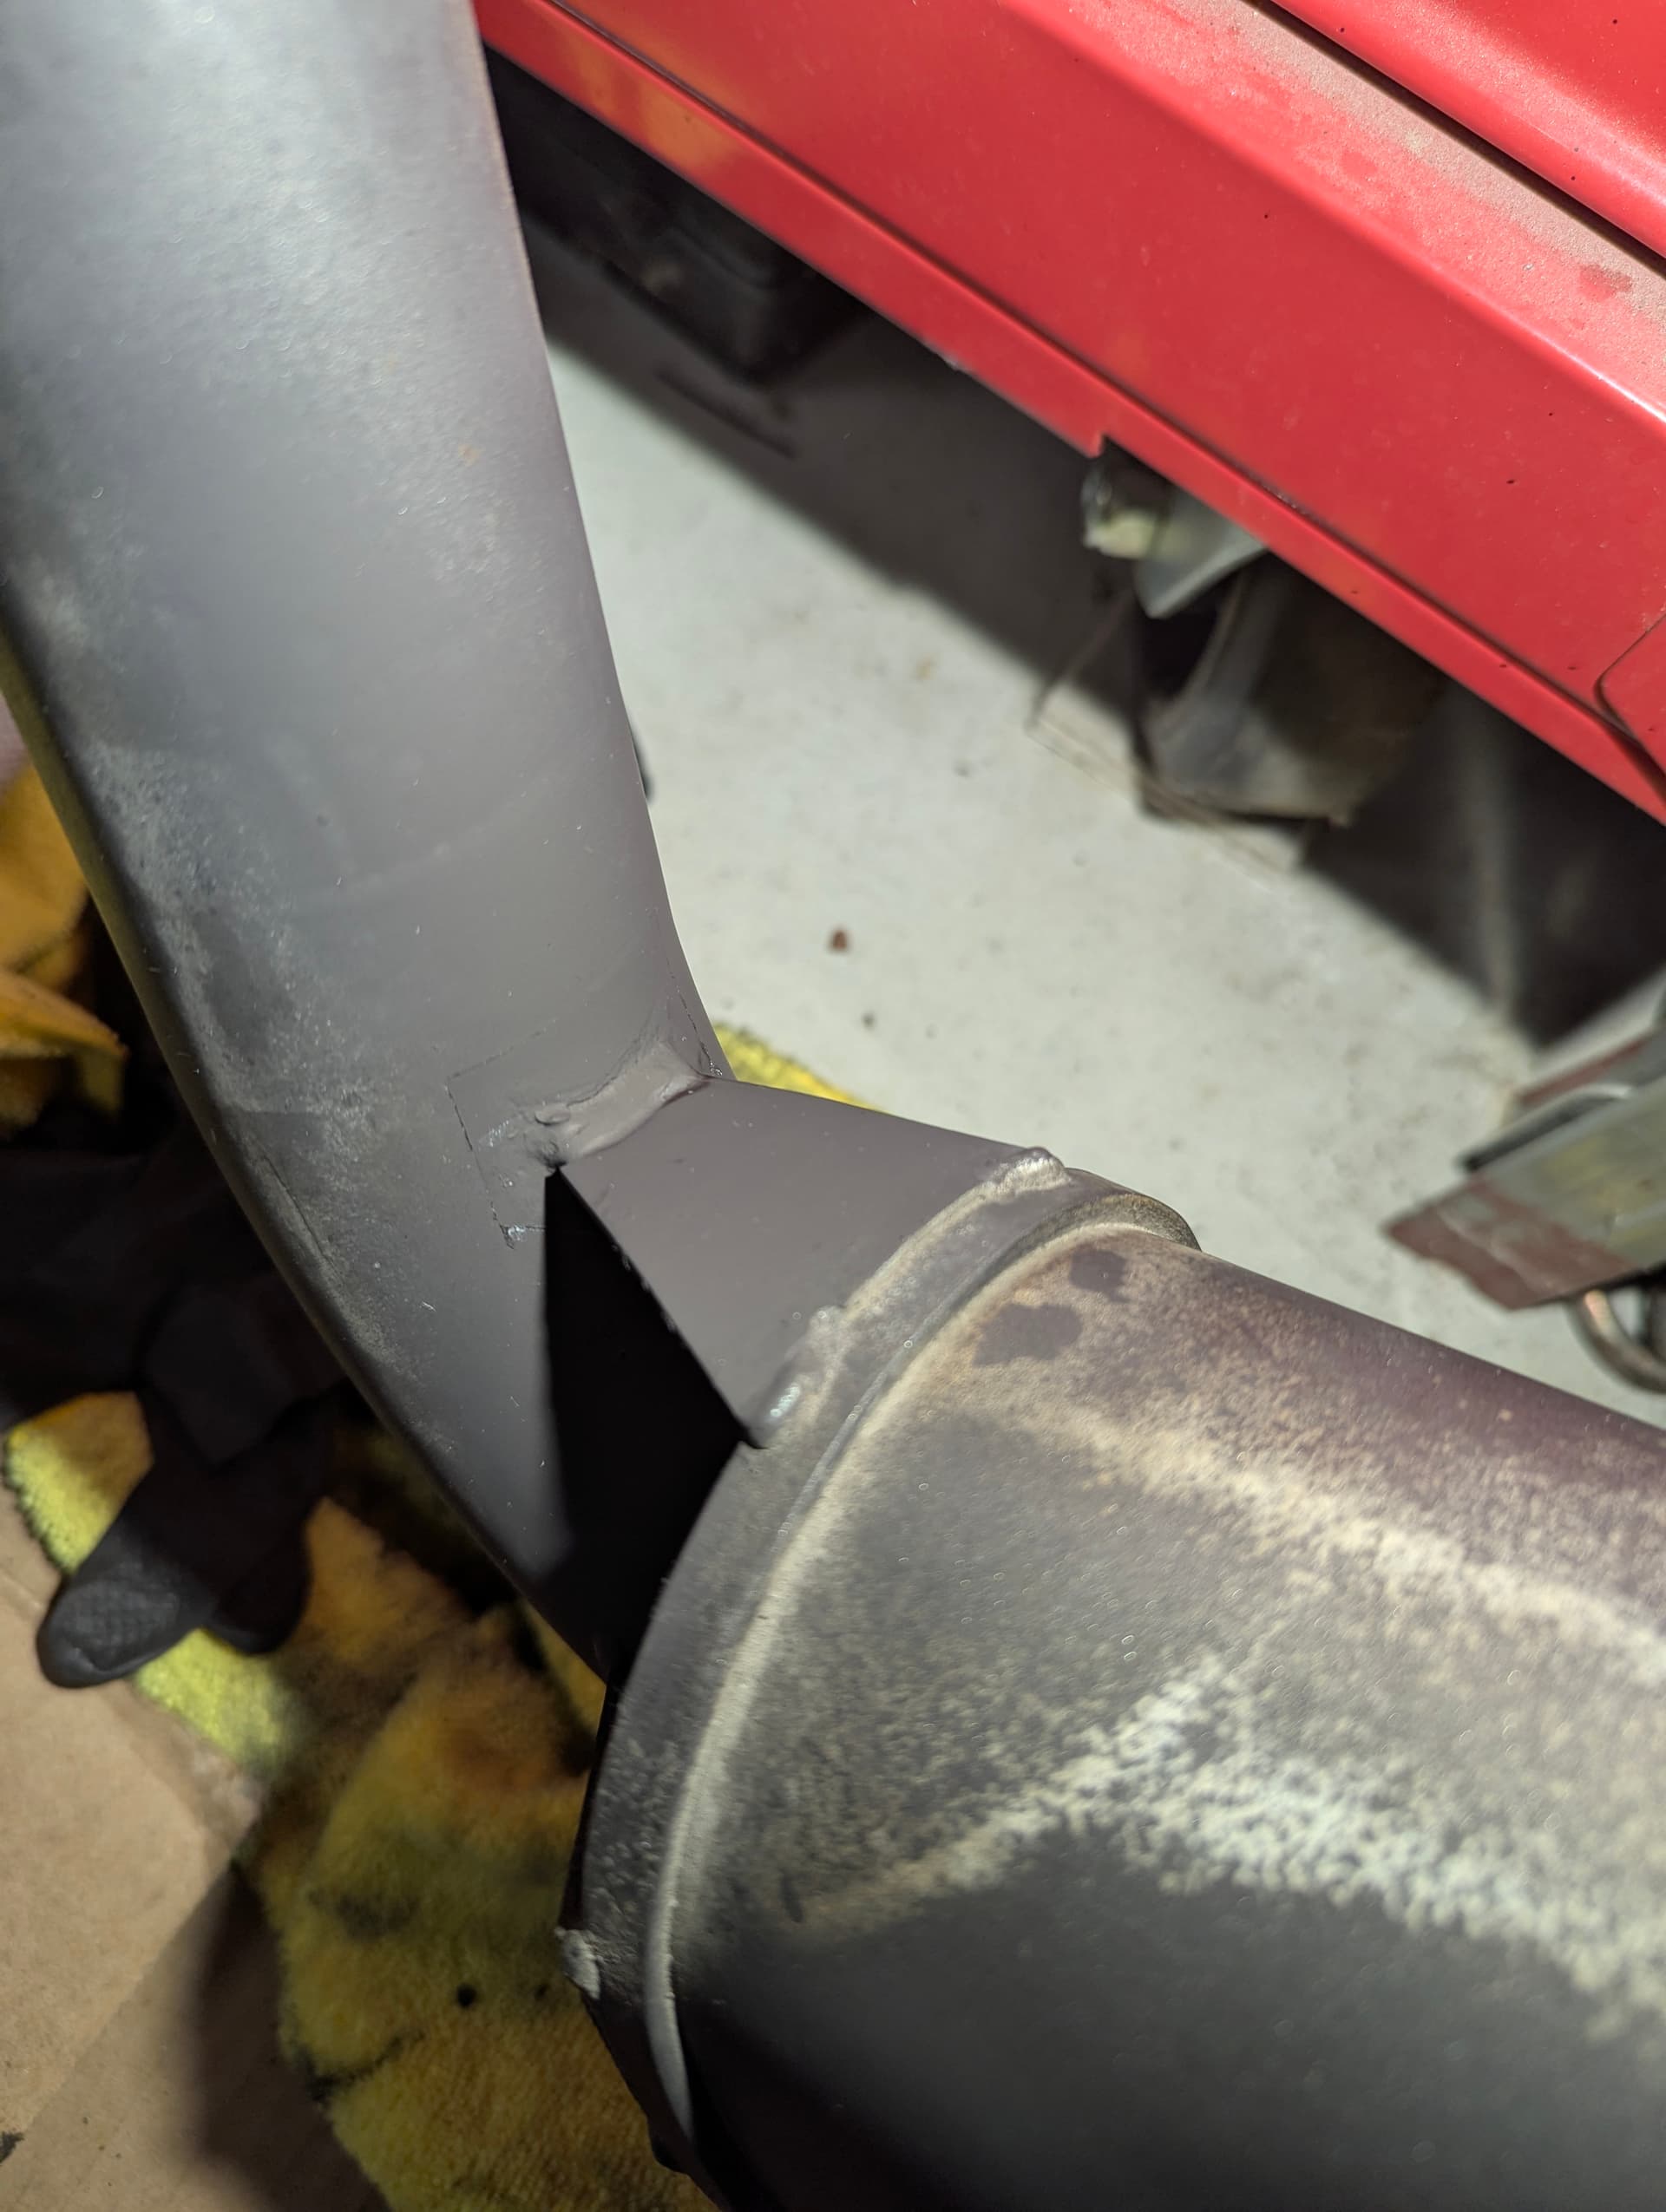
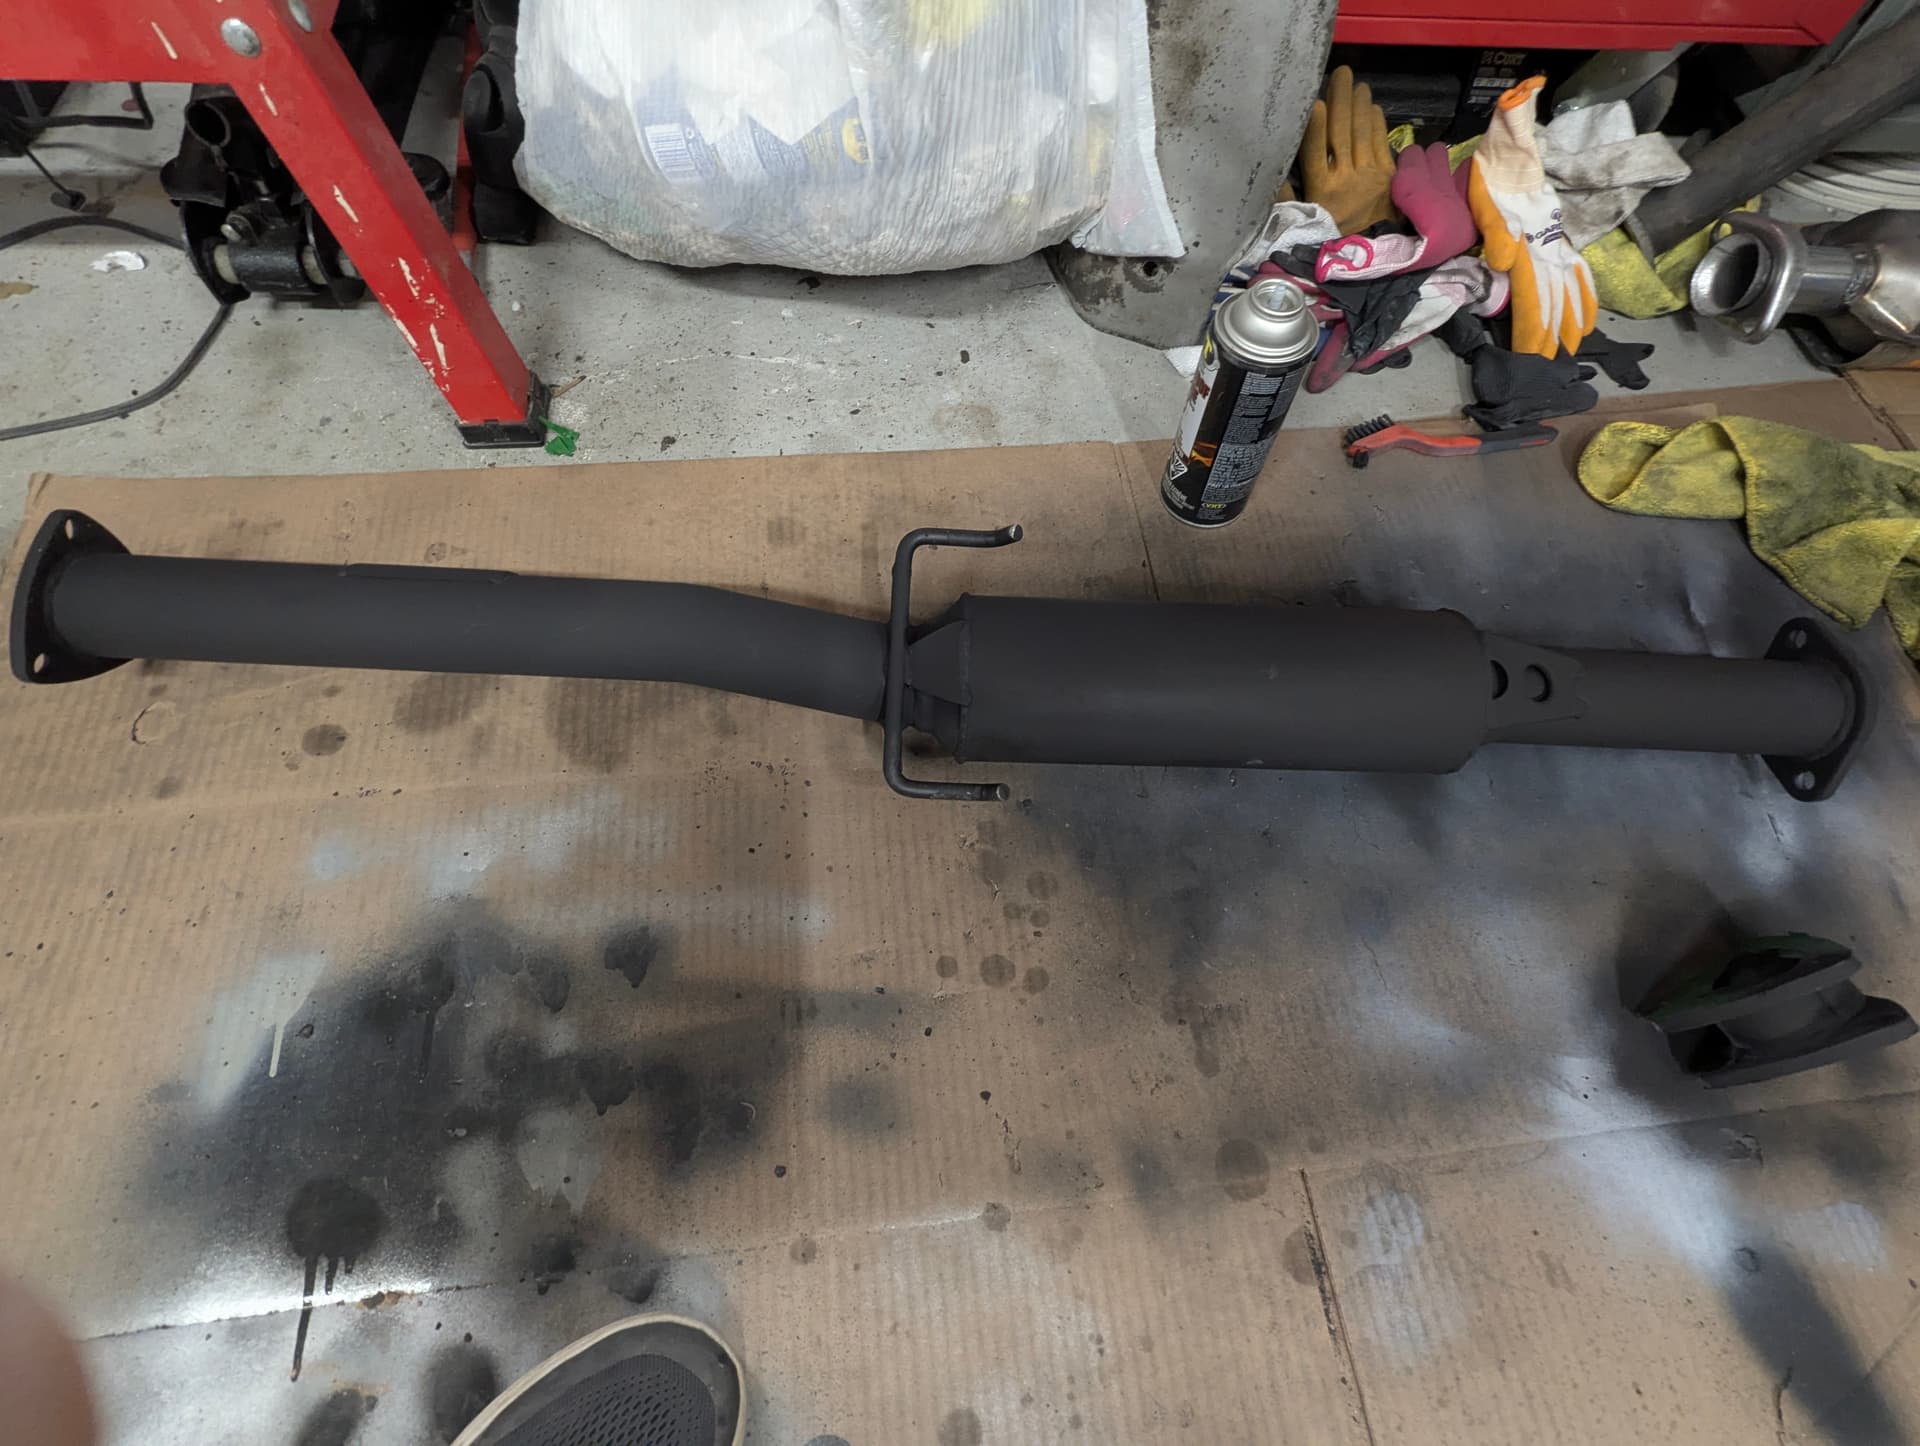
Respray Resonator pipe of RSR
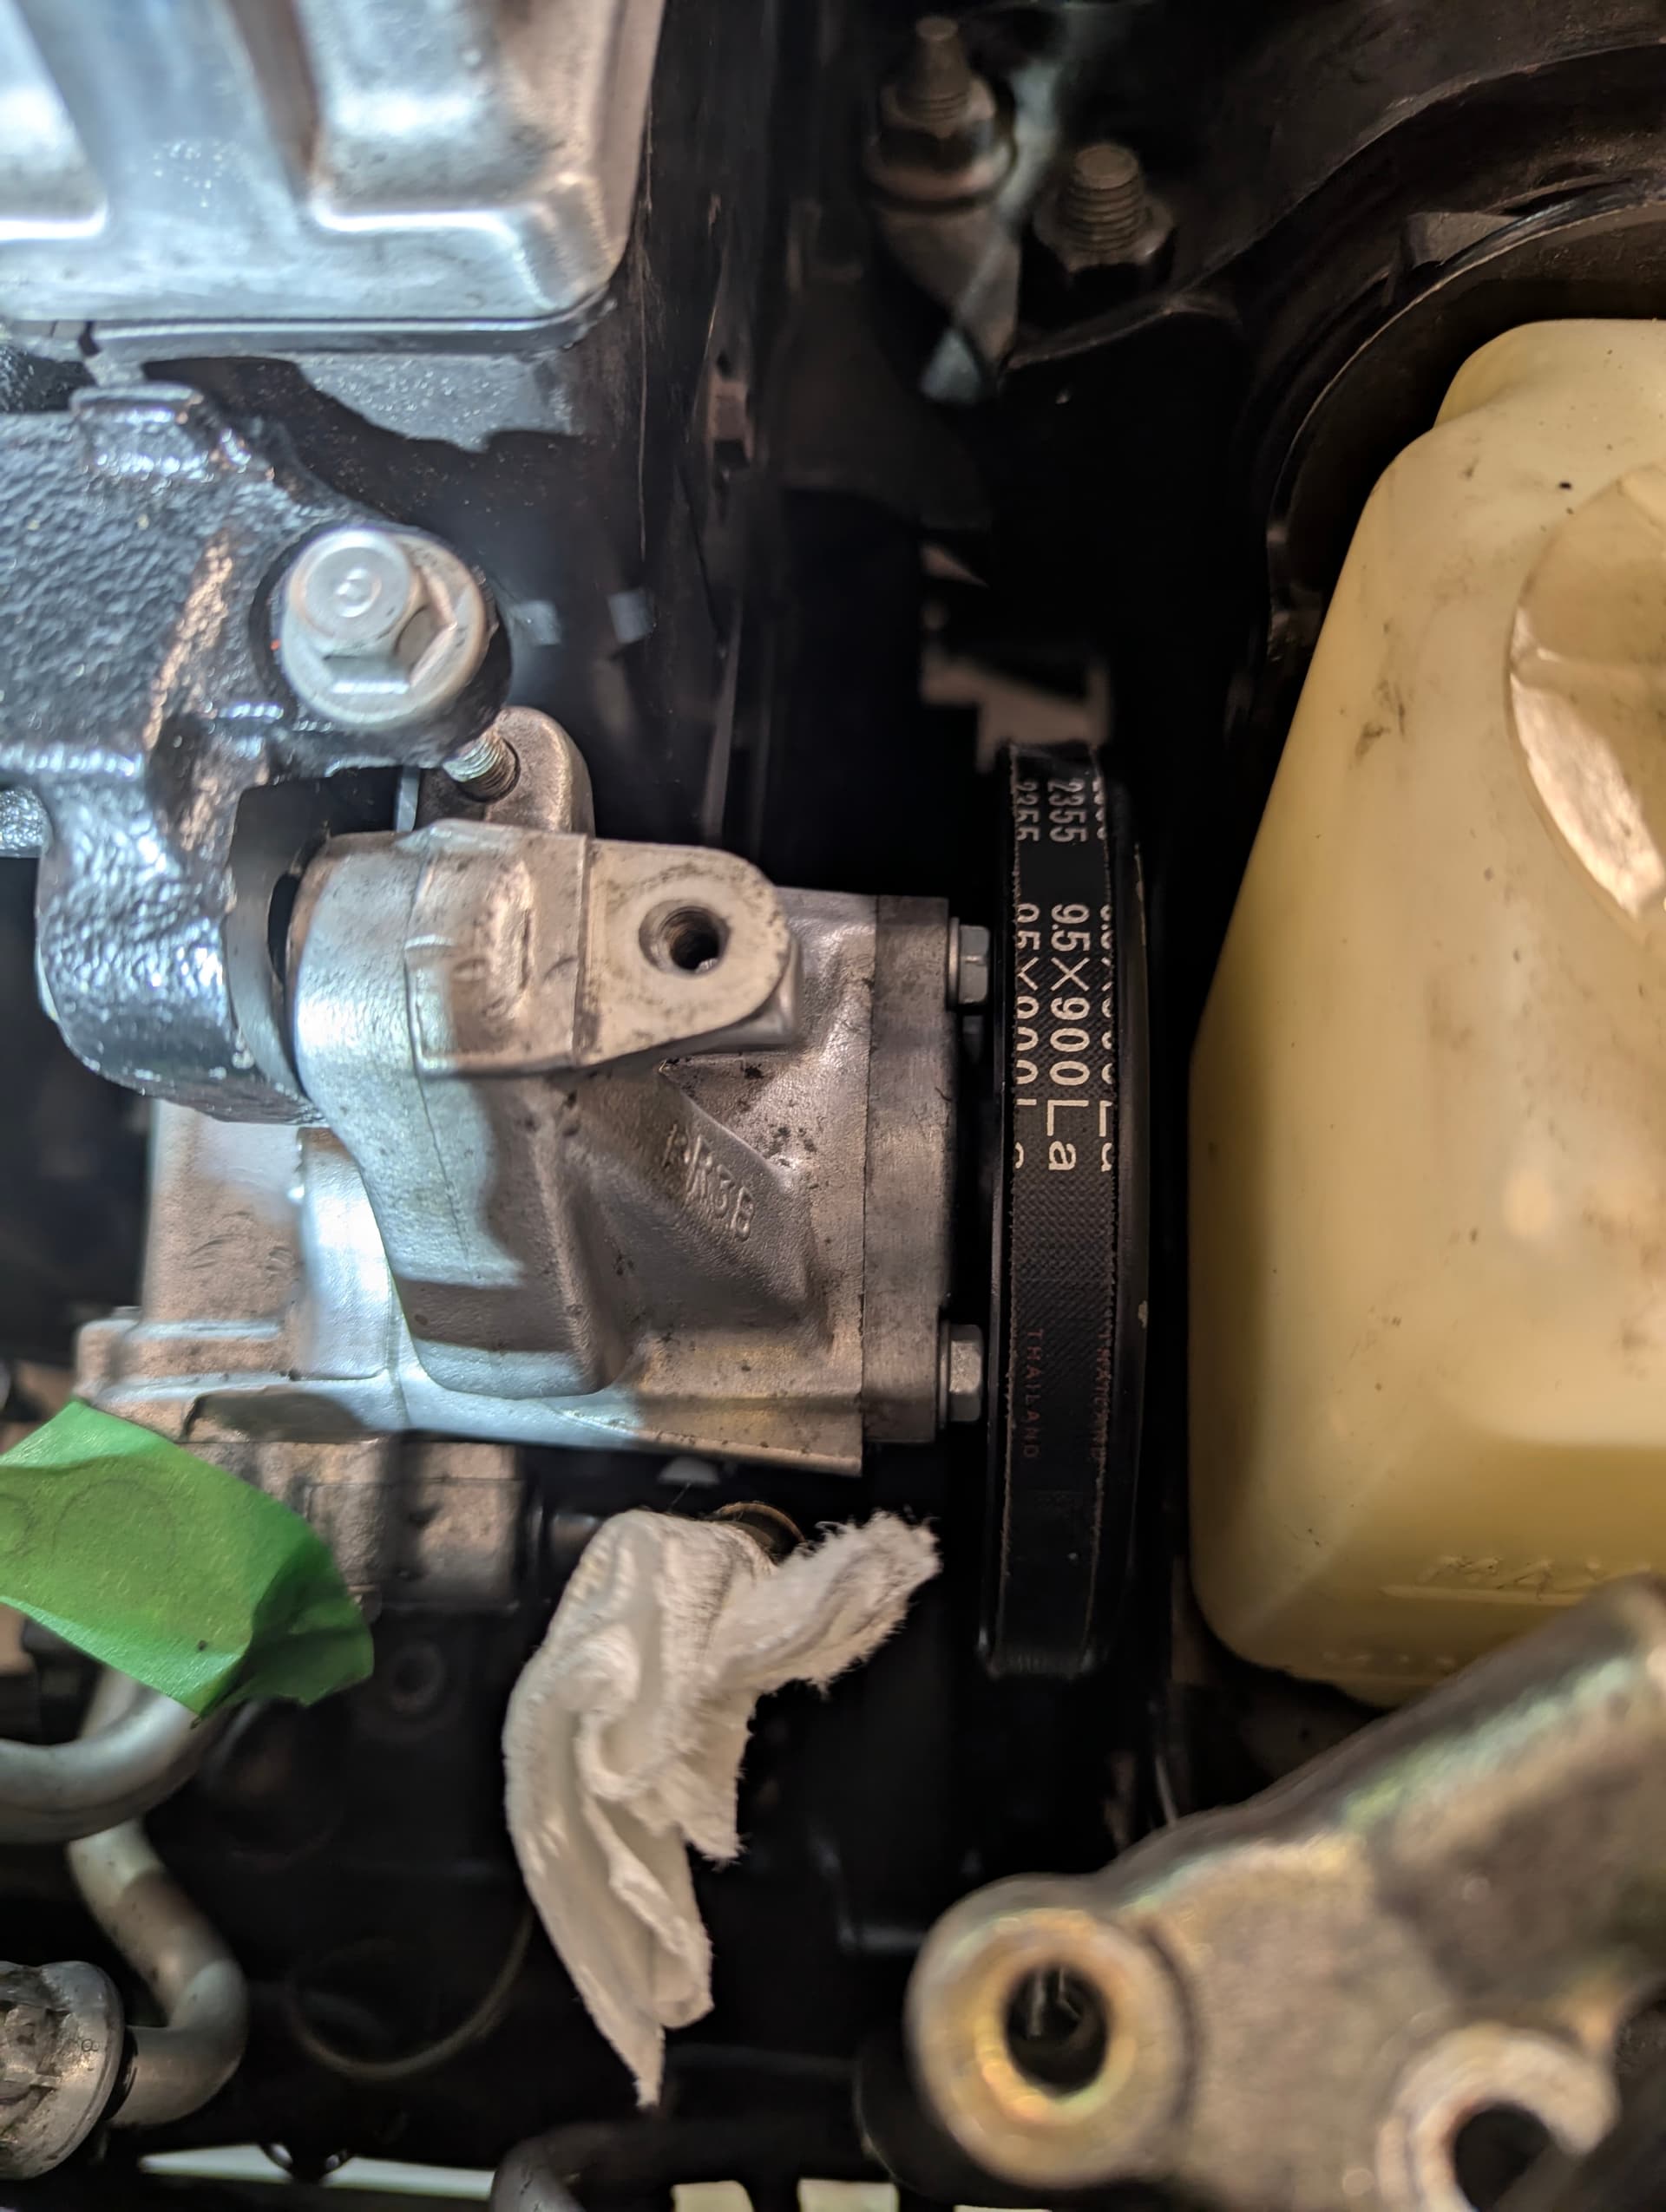
Installed new belts and mounted PS pump
1 Like
What exhaust paint did you use?
VHT grey primer and then VHT black. Will see how well it stays on. Prep on the resonator pipe was minimal - degrease, some sanding, then mineral spirits to clean. Prep on the rusted joints was well done so that should adhere well.
Those are good. I don’t remember whether I used primer, but the VHT black held up well in the MD salty winter roads (even lowered).
Quiz of the day. Do you take the shields off and clean the rust/paint it, or spray it with rust check and call it a day?
I decided take the shields off and clean it up. That’ll just add a day or two to getting it back on the road.
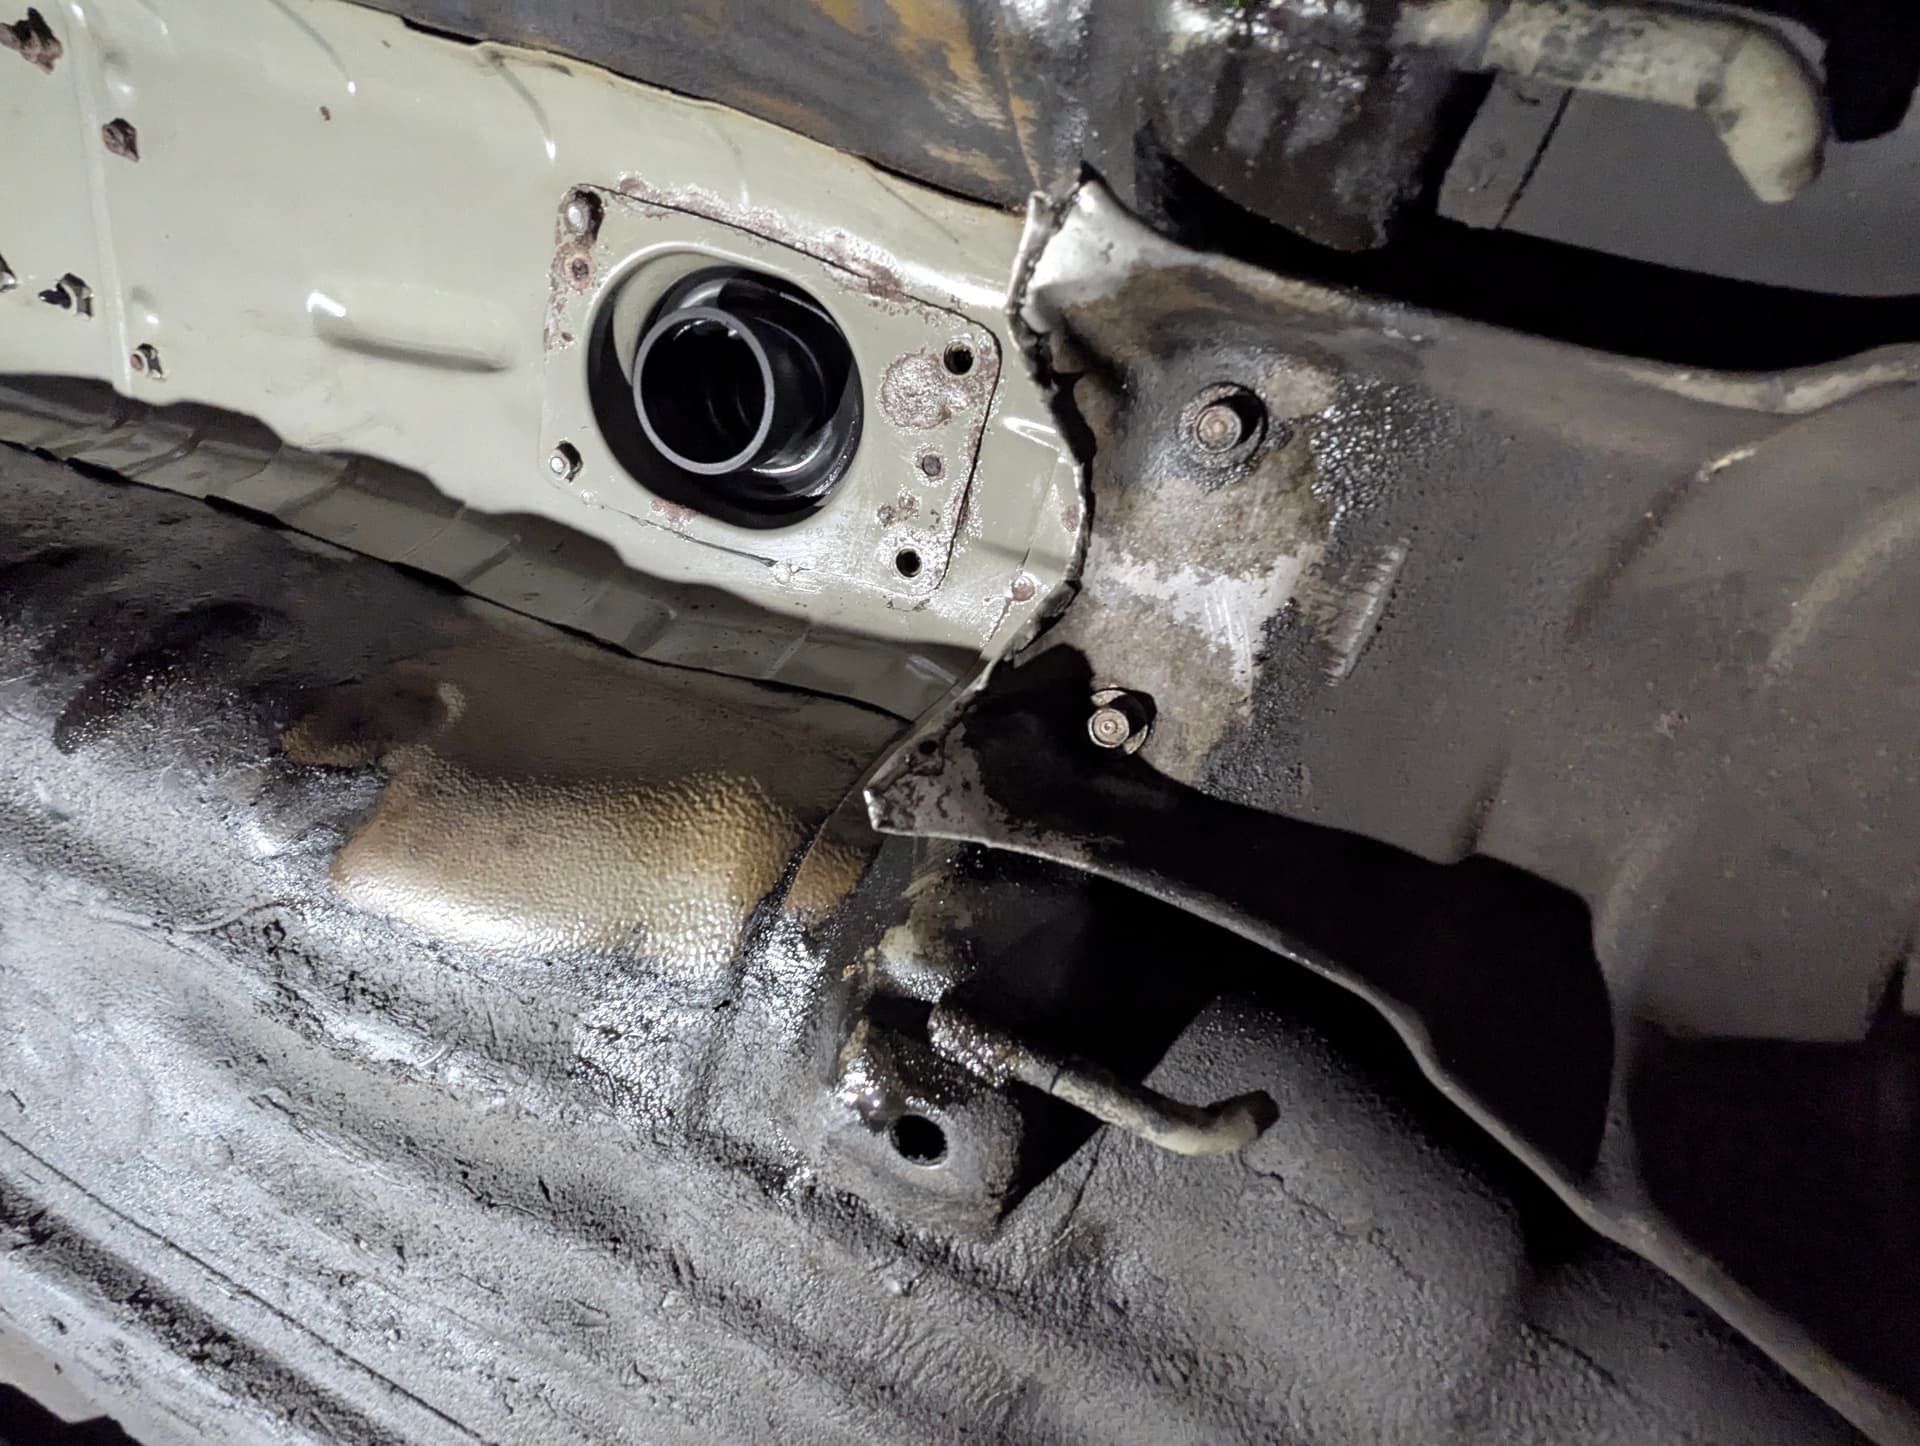
Well I was wrong about that! Now that I see underneath, I can’t leave it like this…
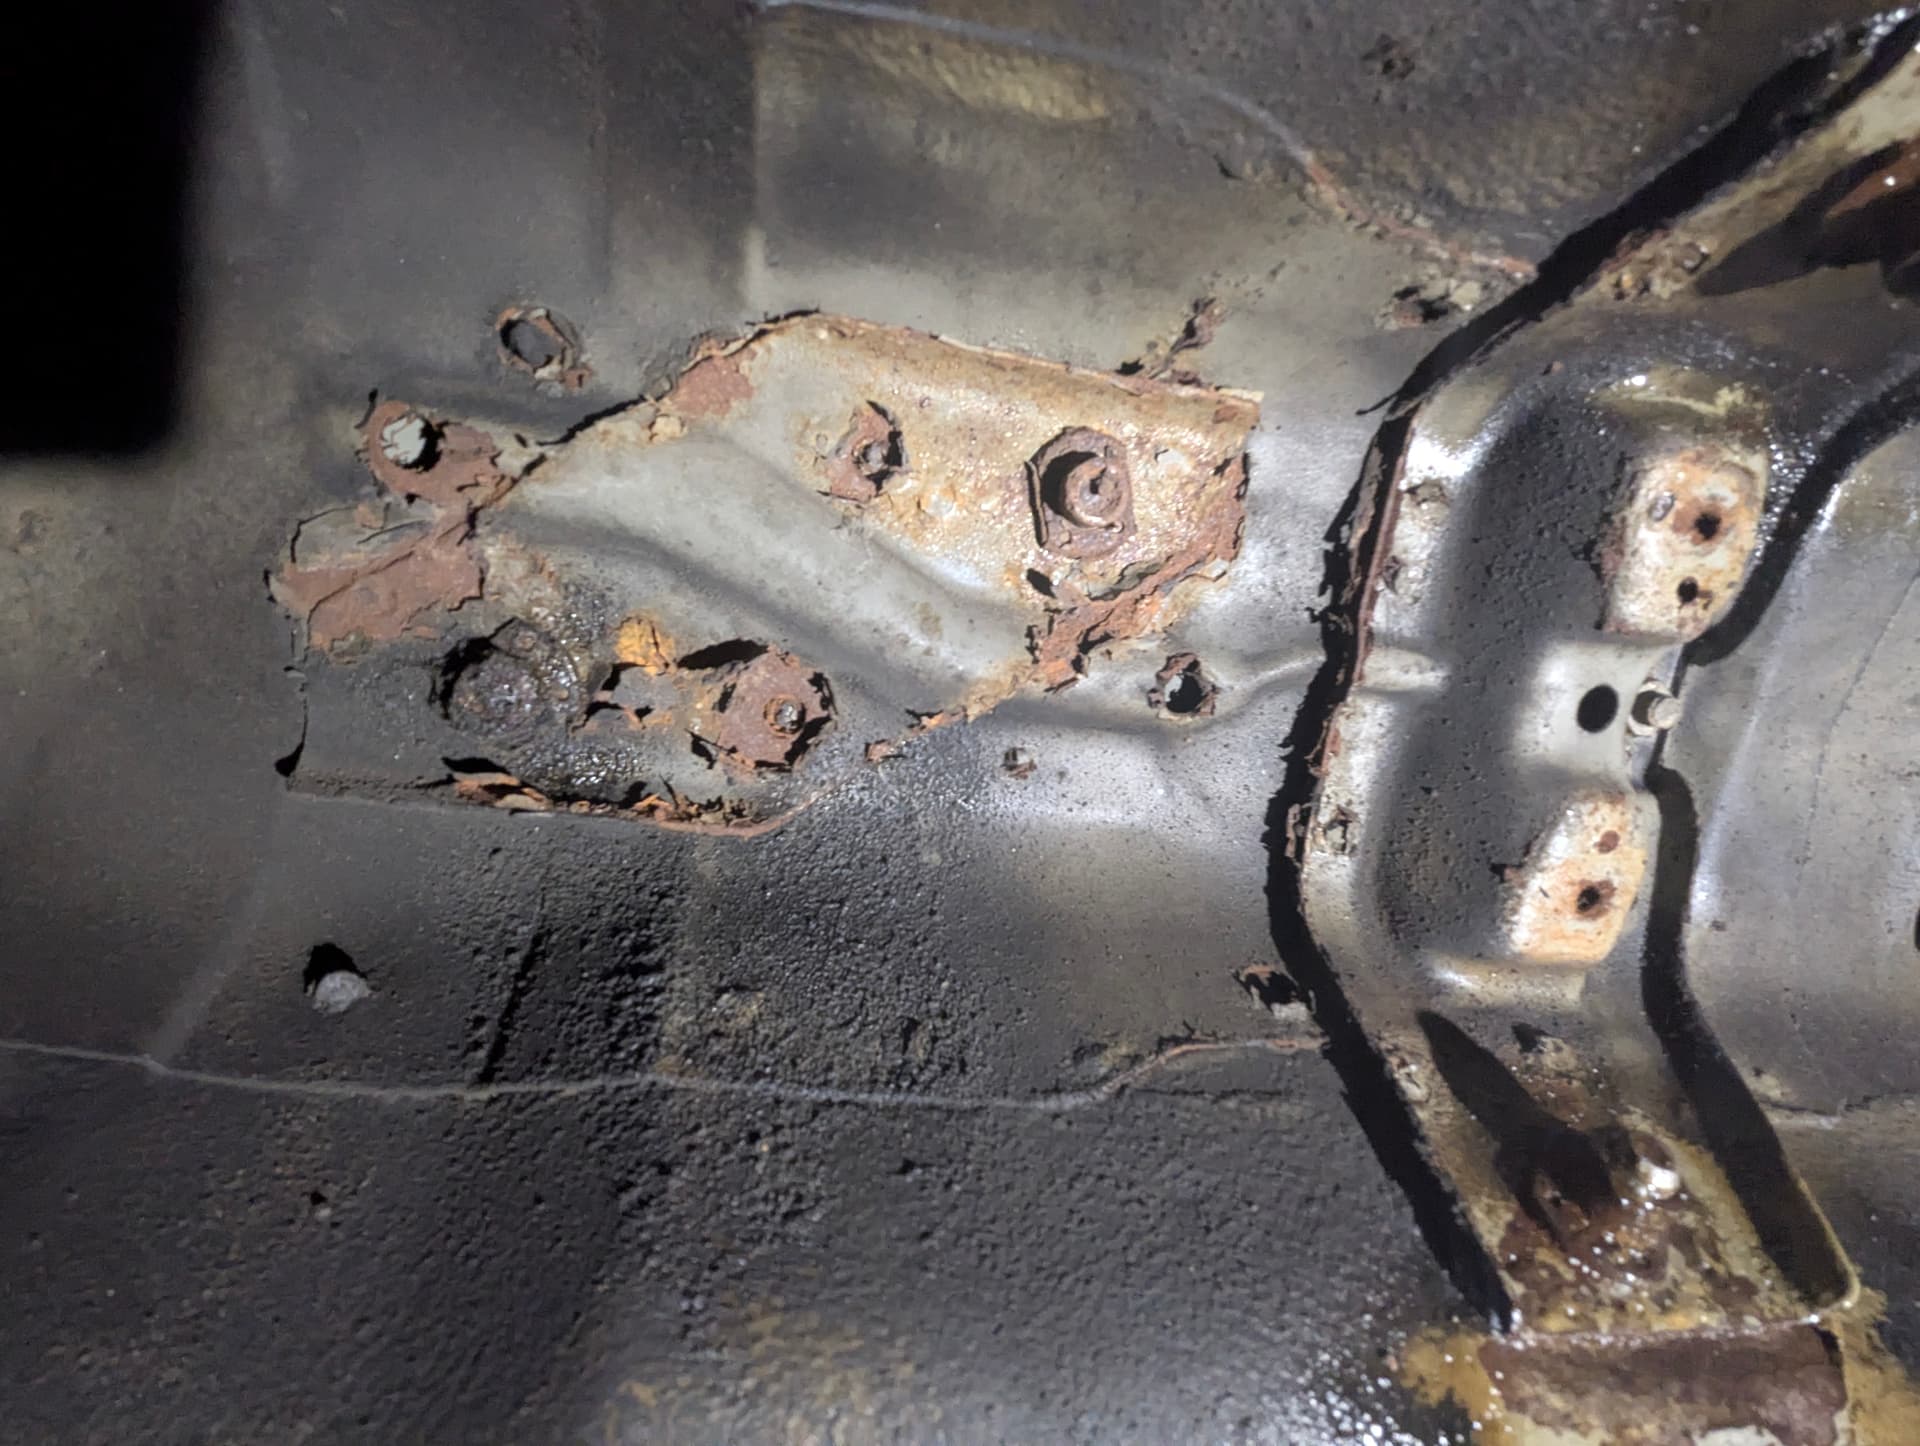
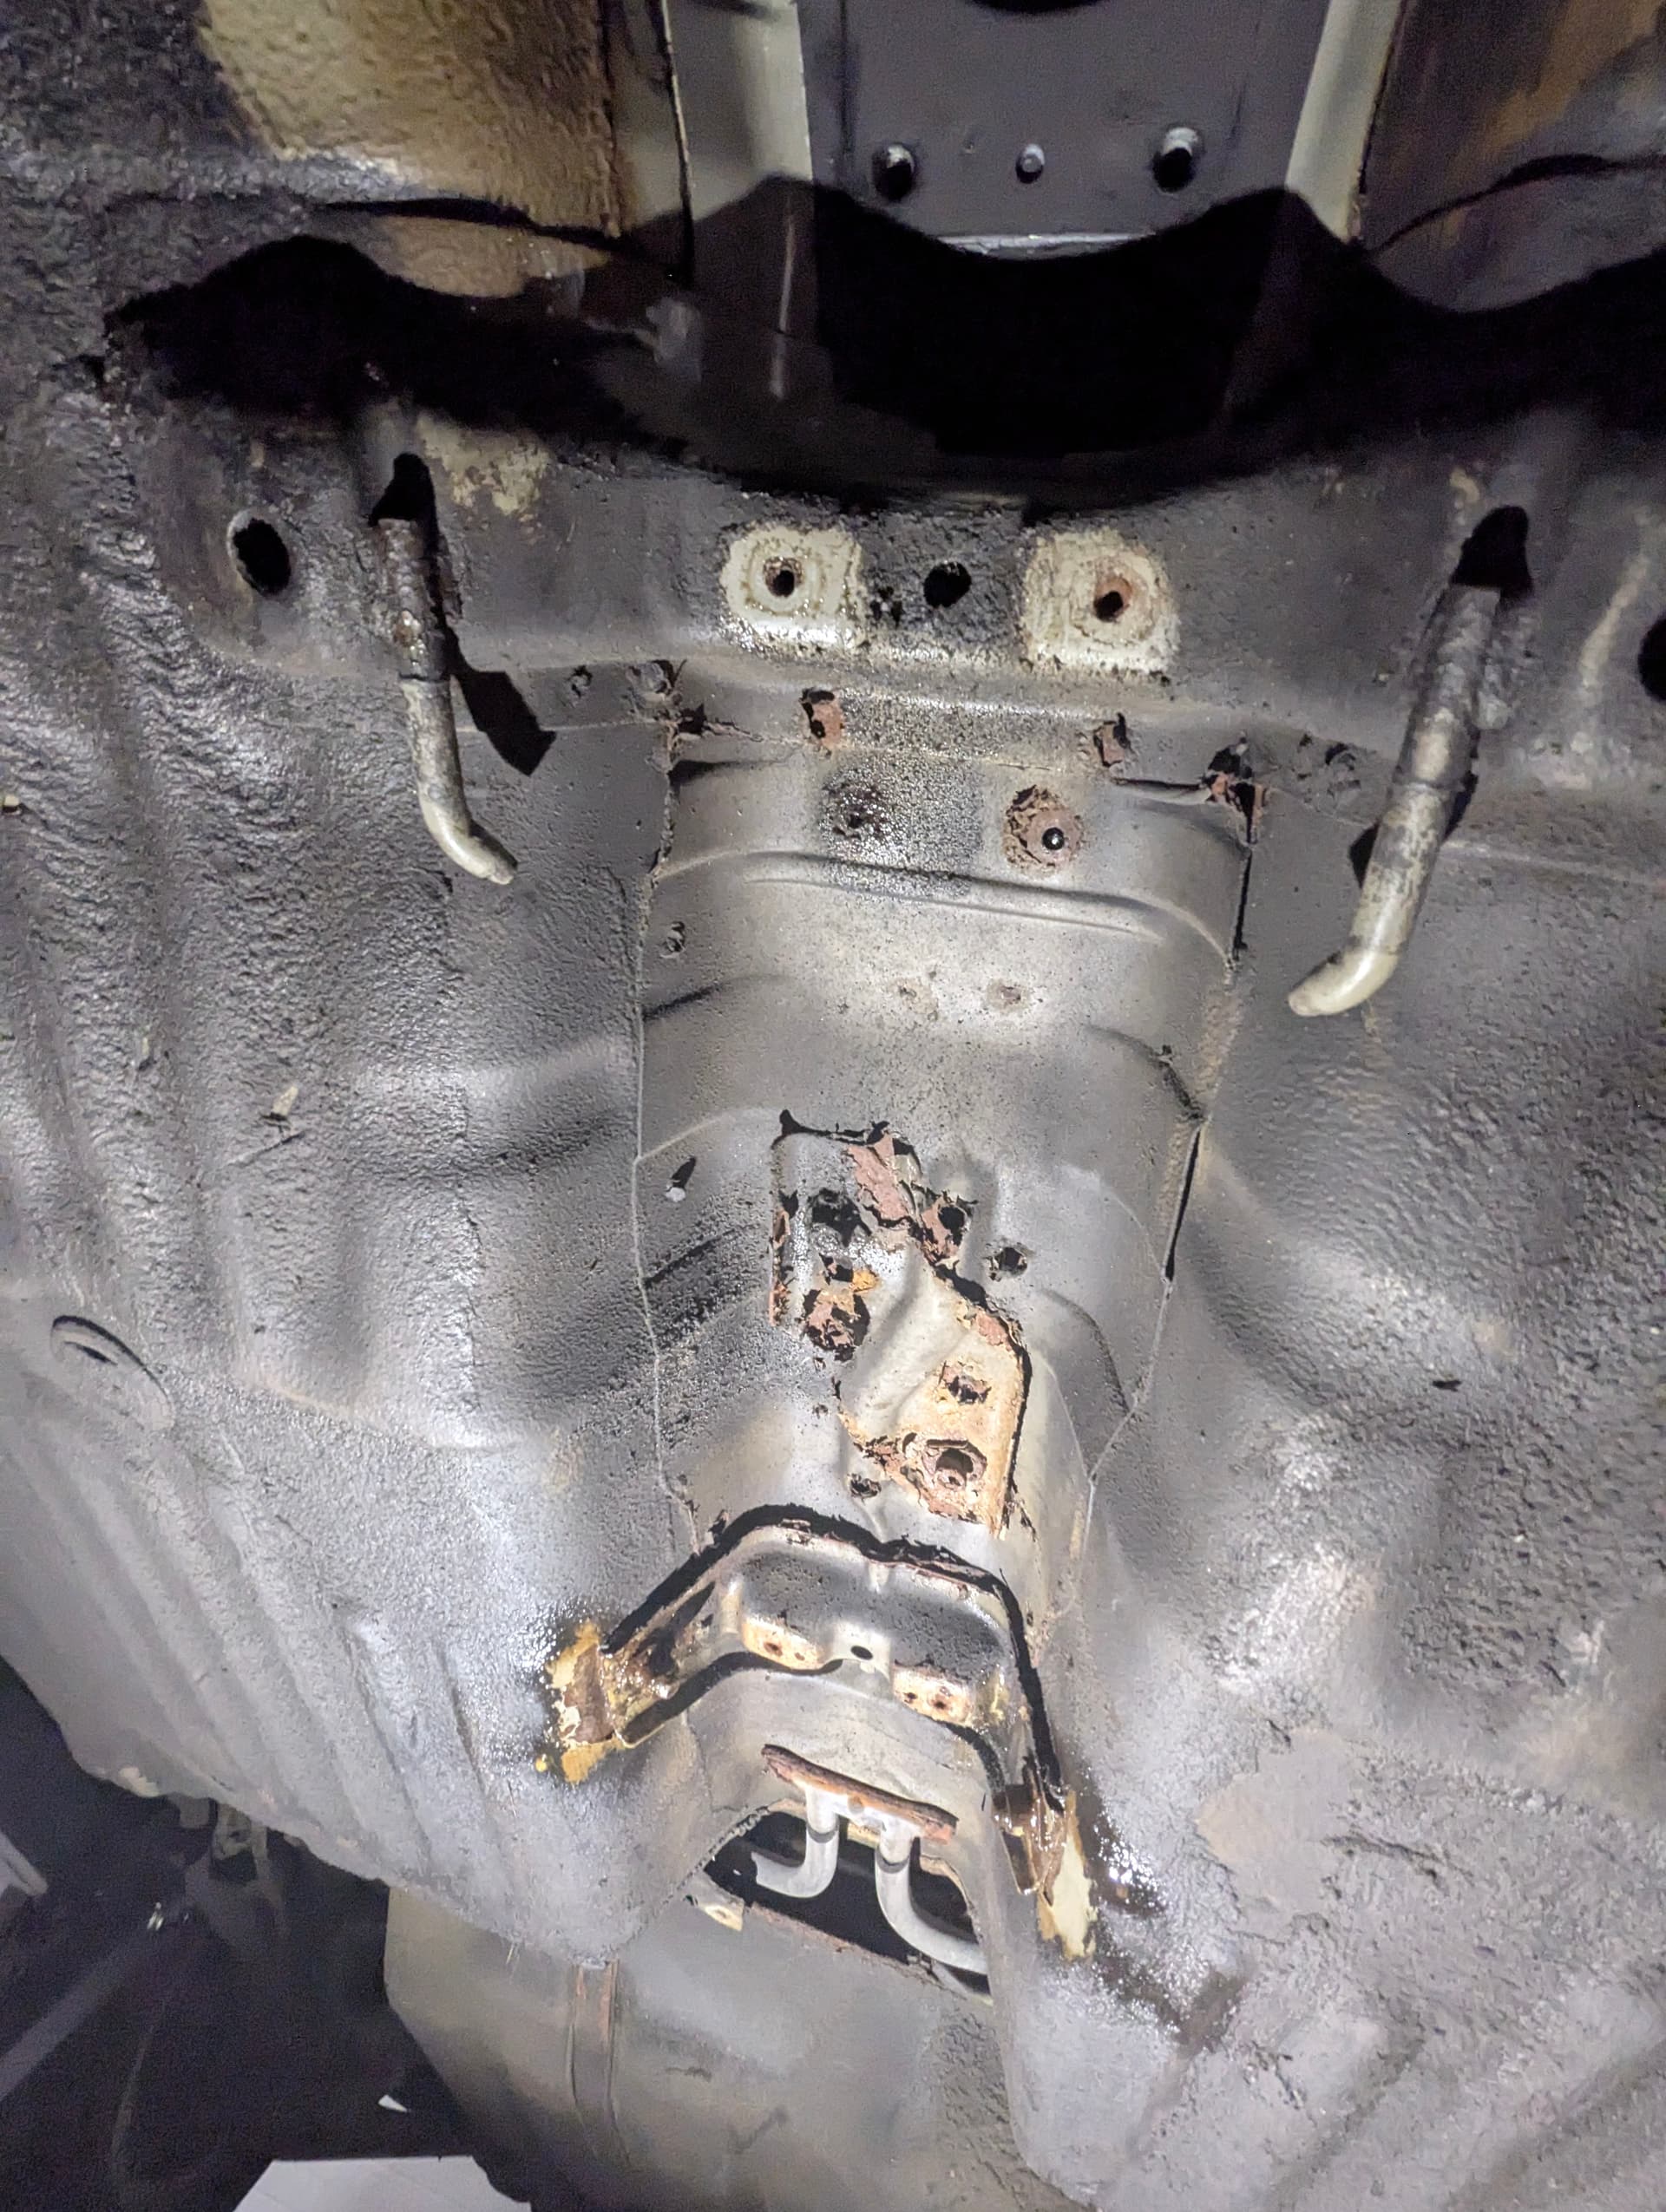
Add at least a week to get this done.
I can’t picture what this is. Ebrake cables? Or the shifter?
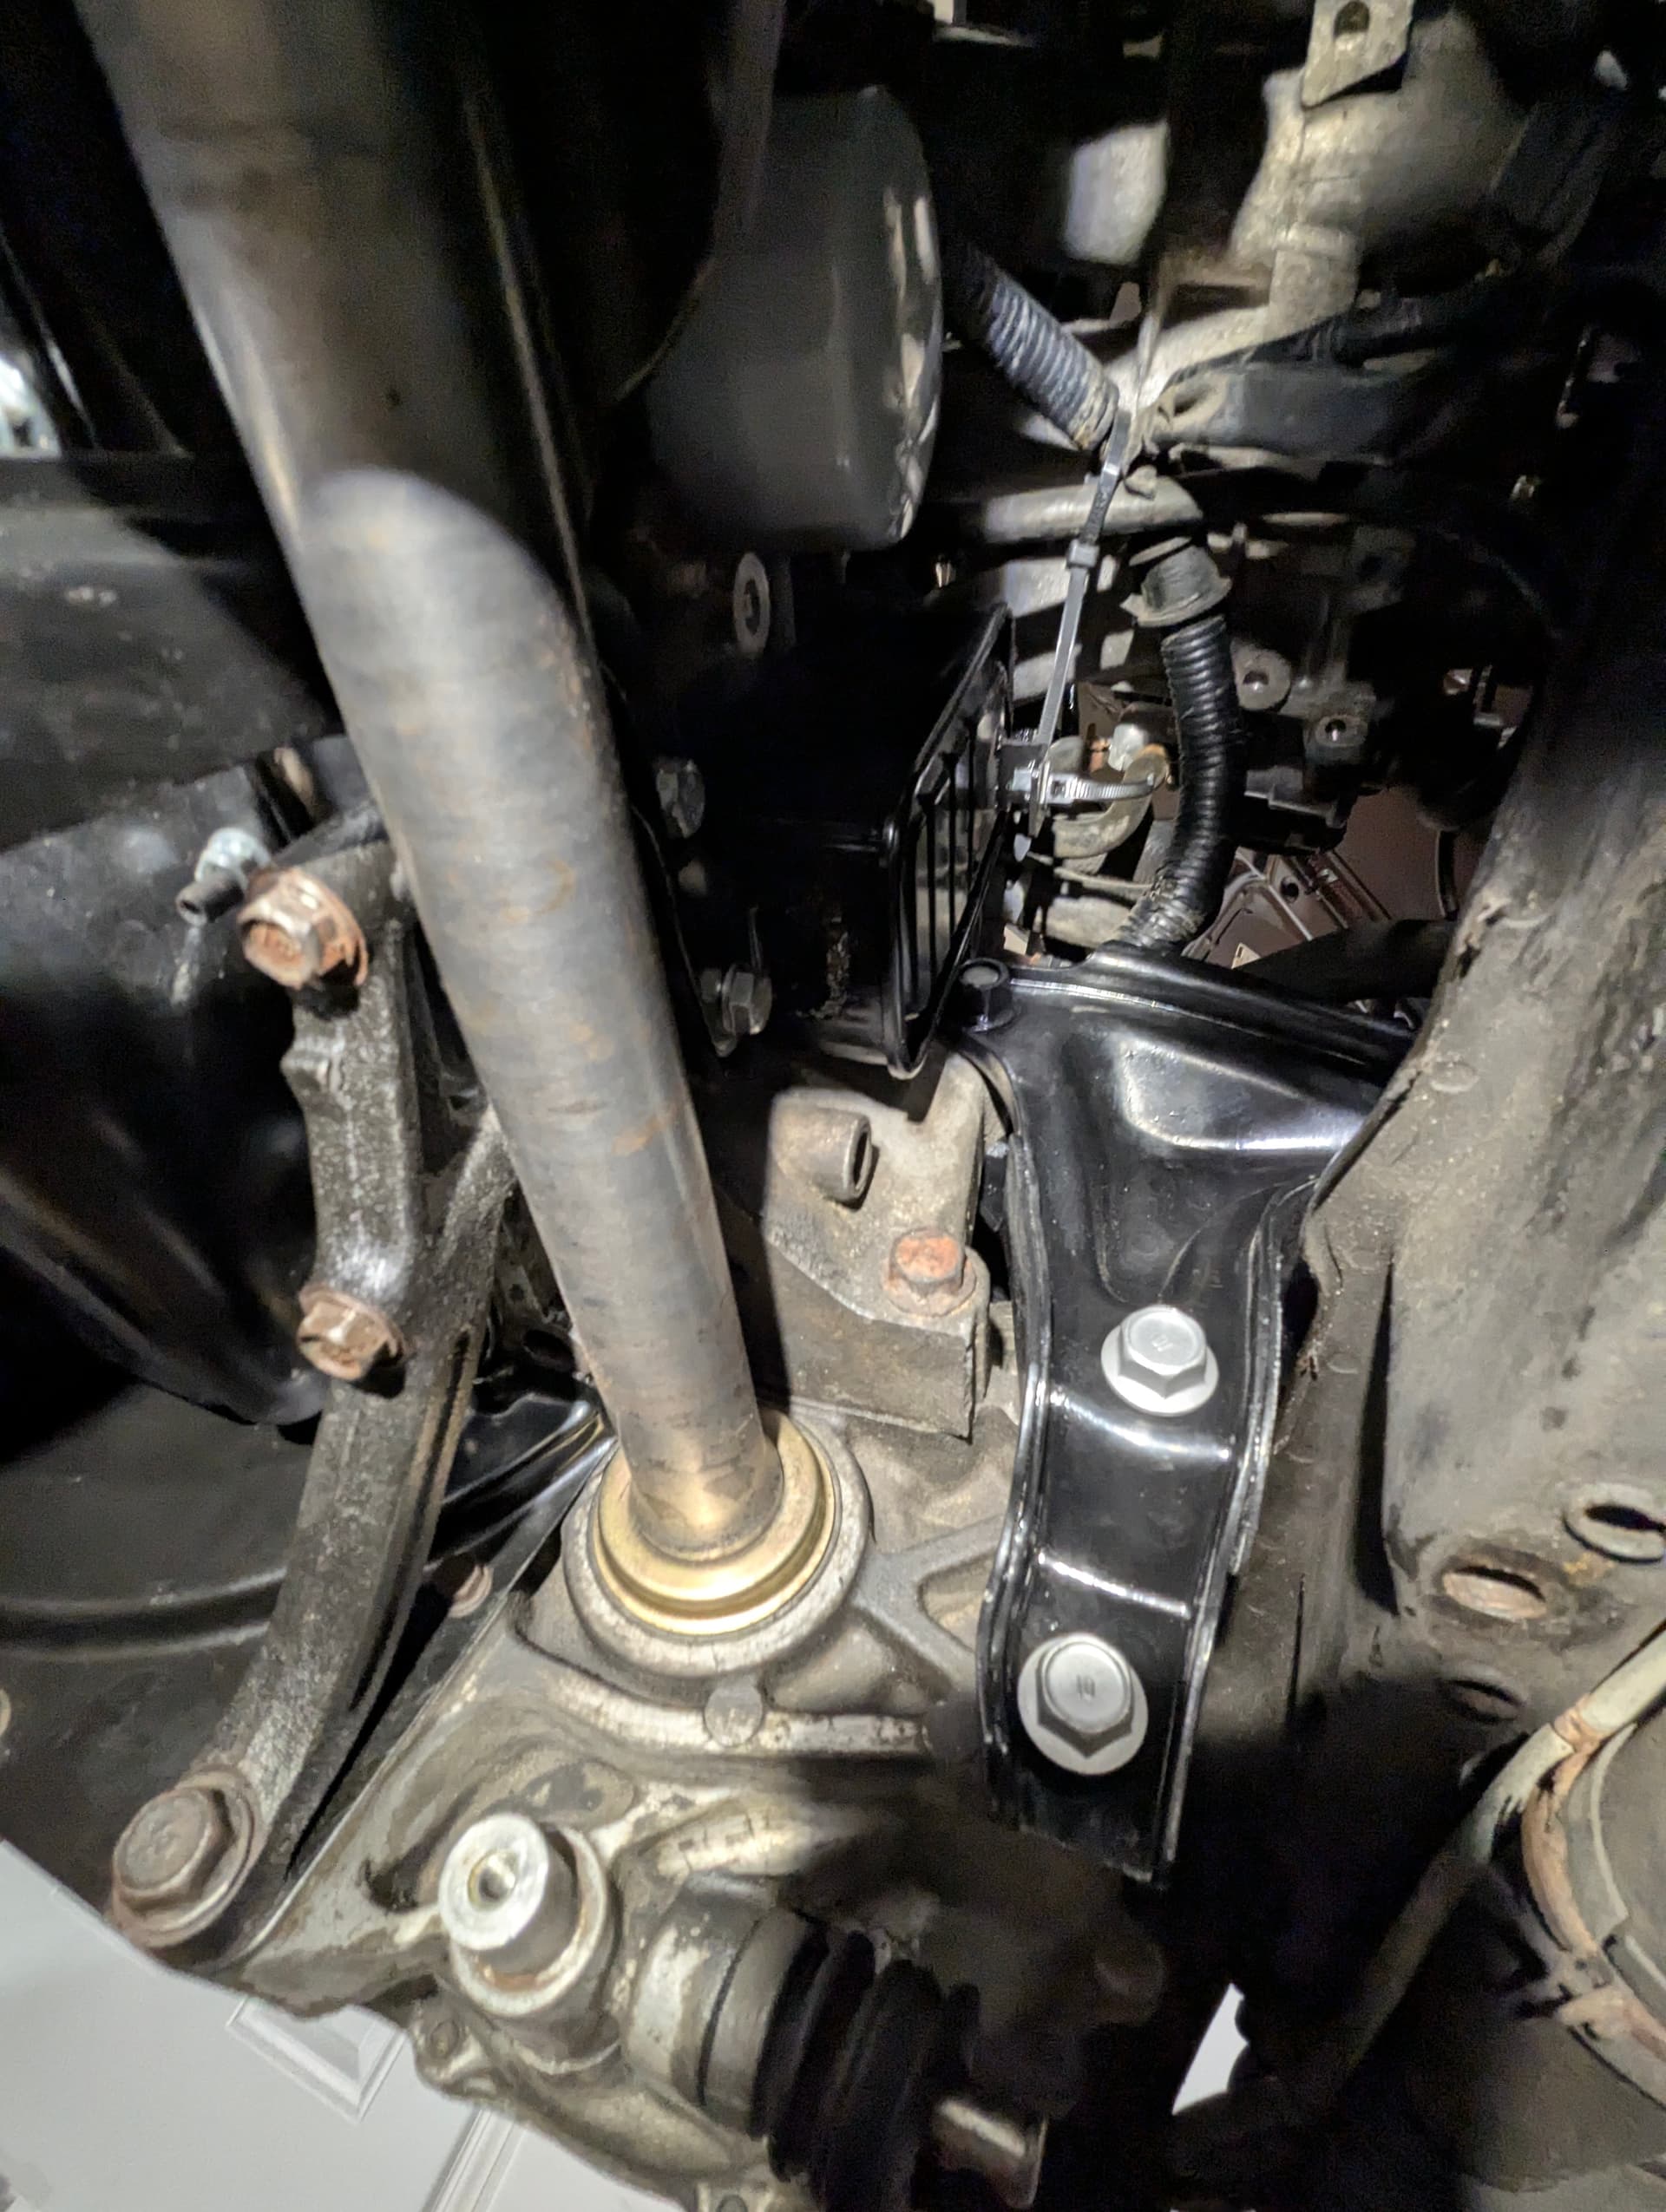
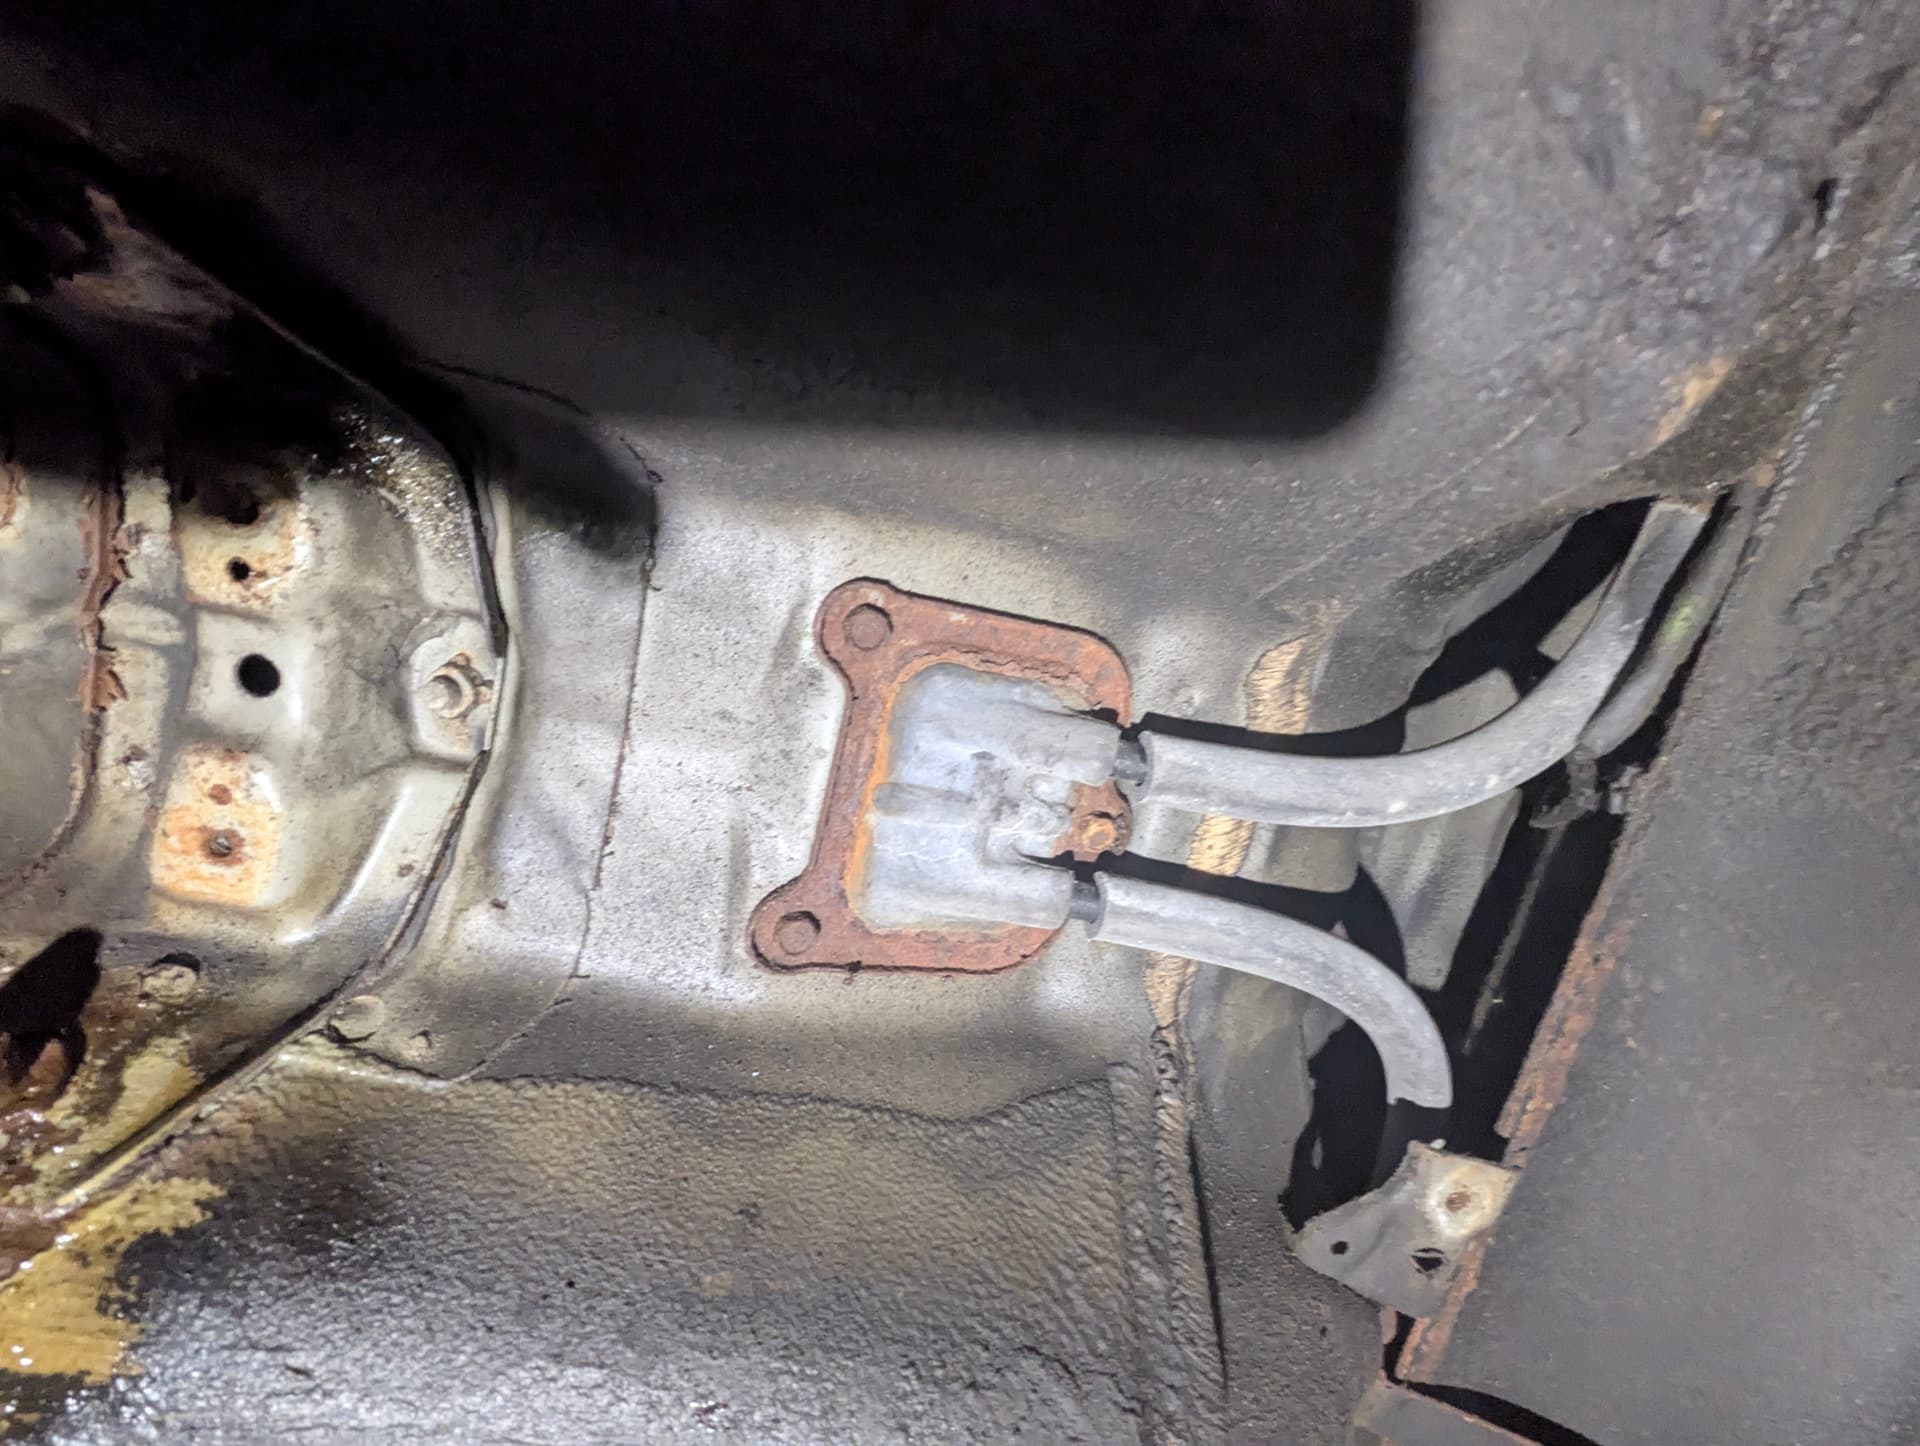
Under the two shields, starting at the shifter going back to the tank. The rusted plate with two cables coming out are the hand brake cables coming from in to out of the body. I’ll need to detach the cables at the handle to be able to slide that rusted plate off and repaint it. That middle rusted plate that is an odd shape, not sure what that is yet, maybe what’s holding the ebrake handle? probably won’t take it off, just clean, wire brush and paint.
1 Like
I looked by the shift linkage stuff a while ago and it was torn up and rusty due to the salt when I was in MD. I was afraid to touch it for fear of breaking anything so I just bought parts “just in case”. I might have to take it to a mechanic for that though. I don’t trust myself with it based on what the Helms showed ![]()
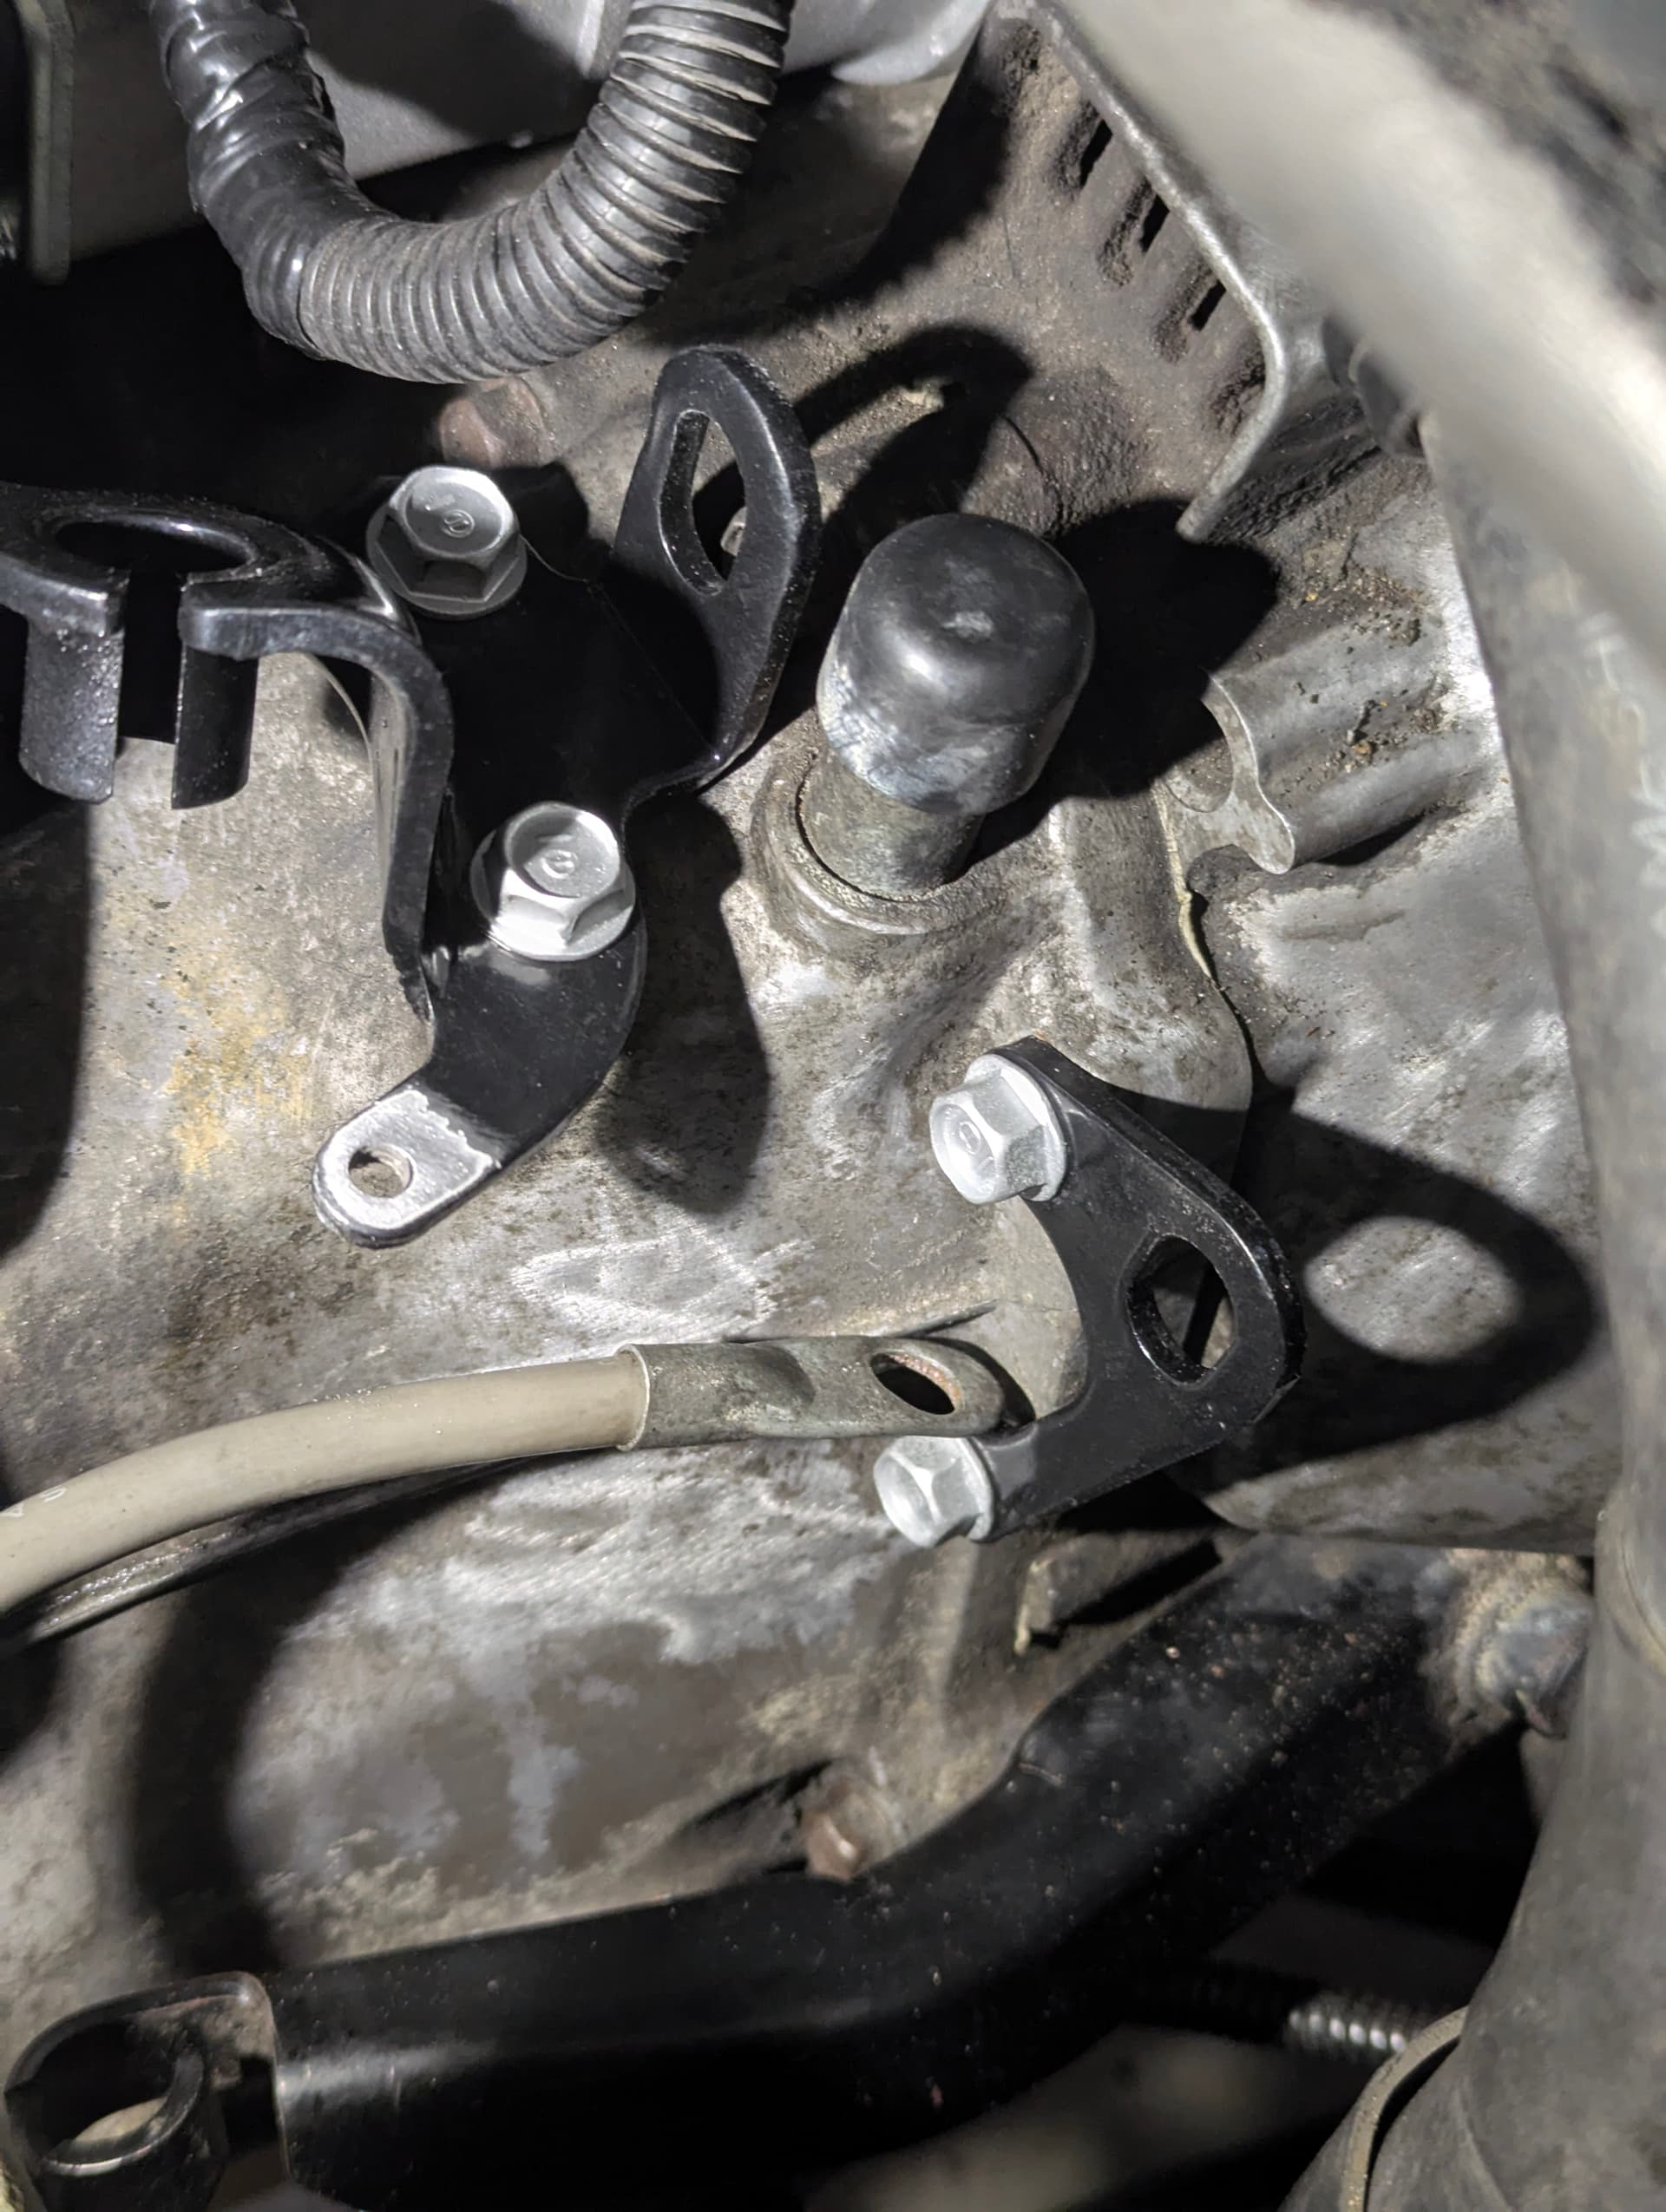
For the shift linkage, do you mean where it attaches to the transmission?
I’ve taken mine off and waiting for this to come in
2 Likes
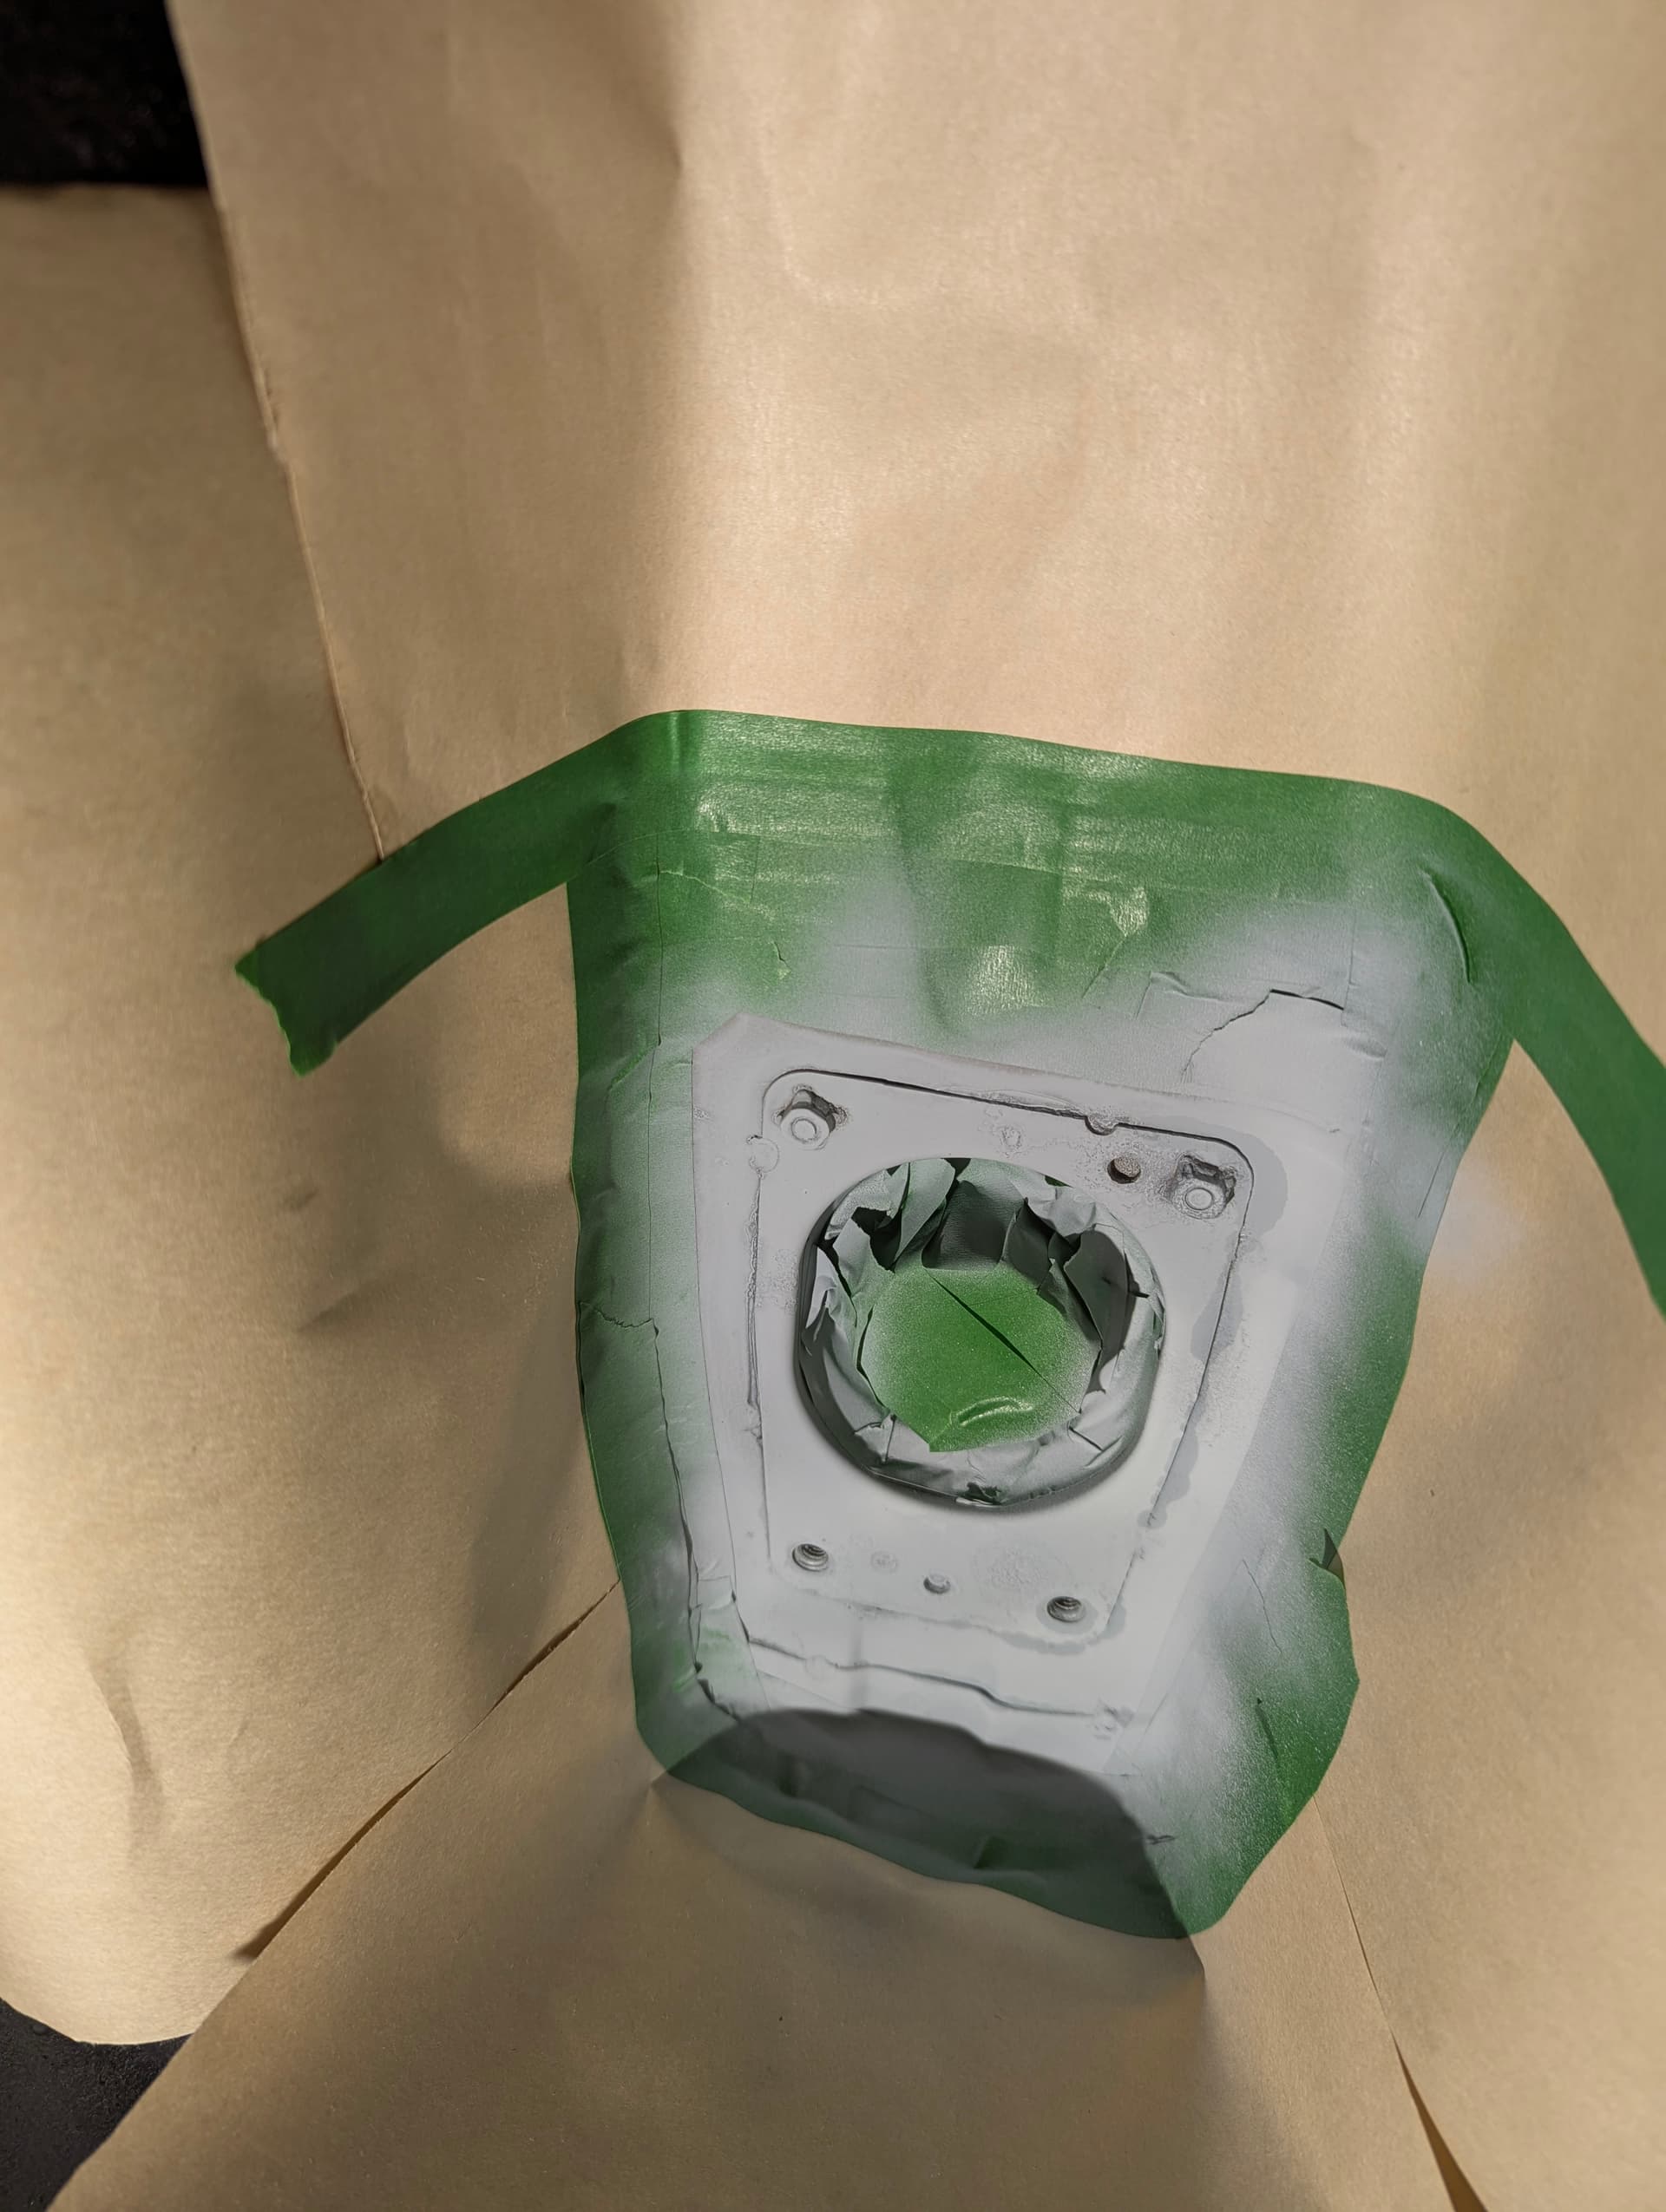
Cleaned and scuffed up ready for primer and paint. I went with my regular combo of grey oxide primer and engine enamel paint.
And the same on the heat shields on the rusted parts.
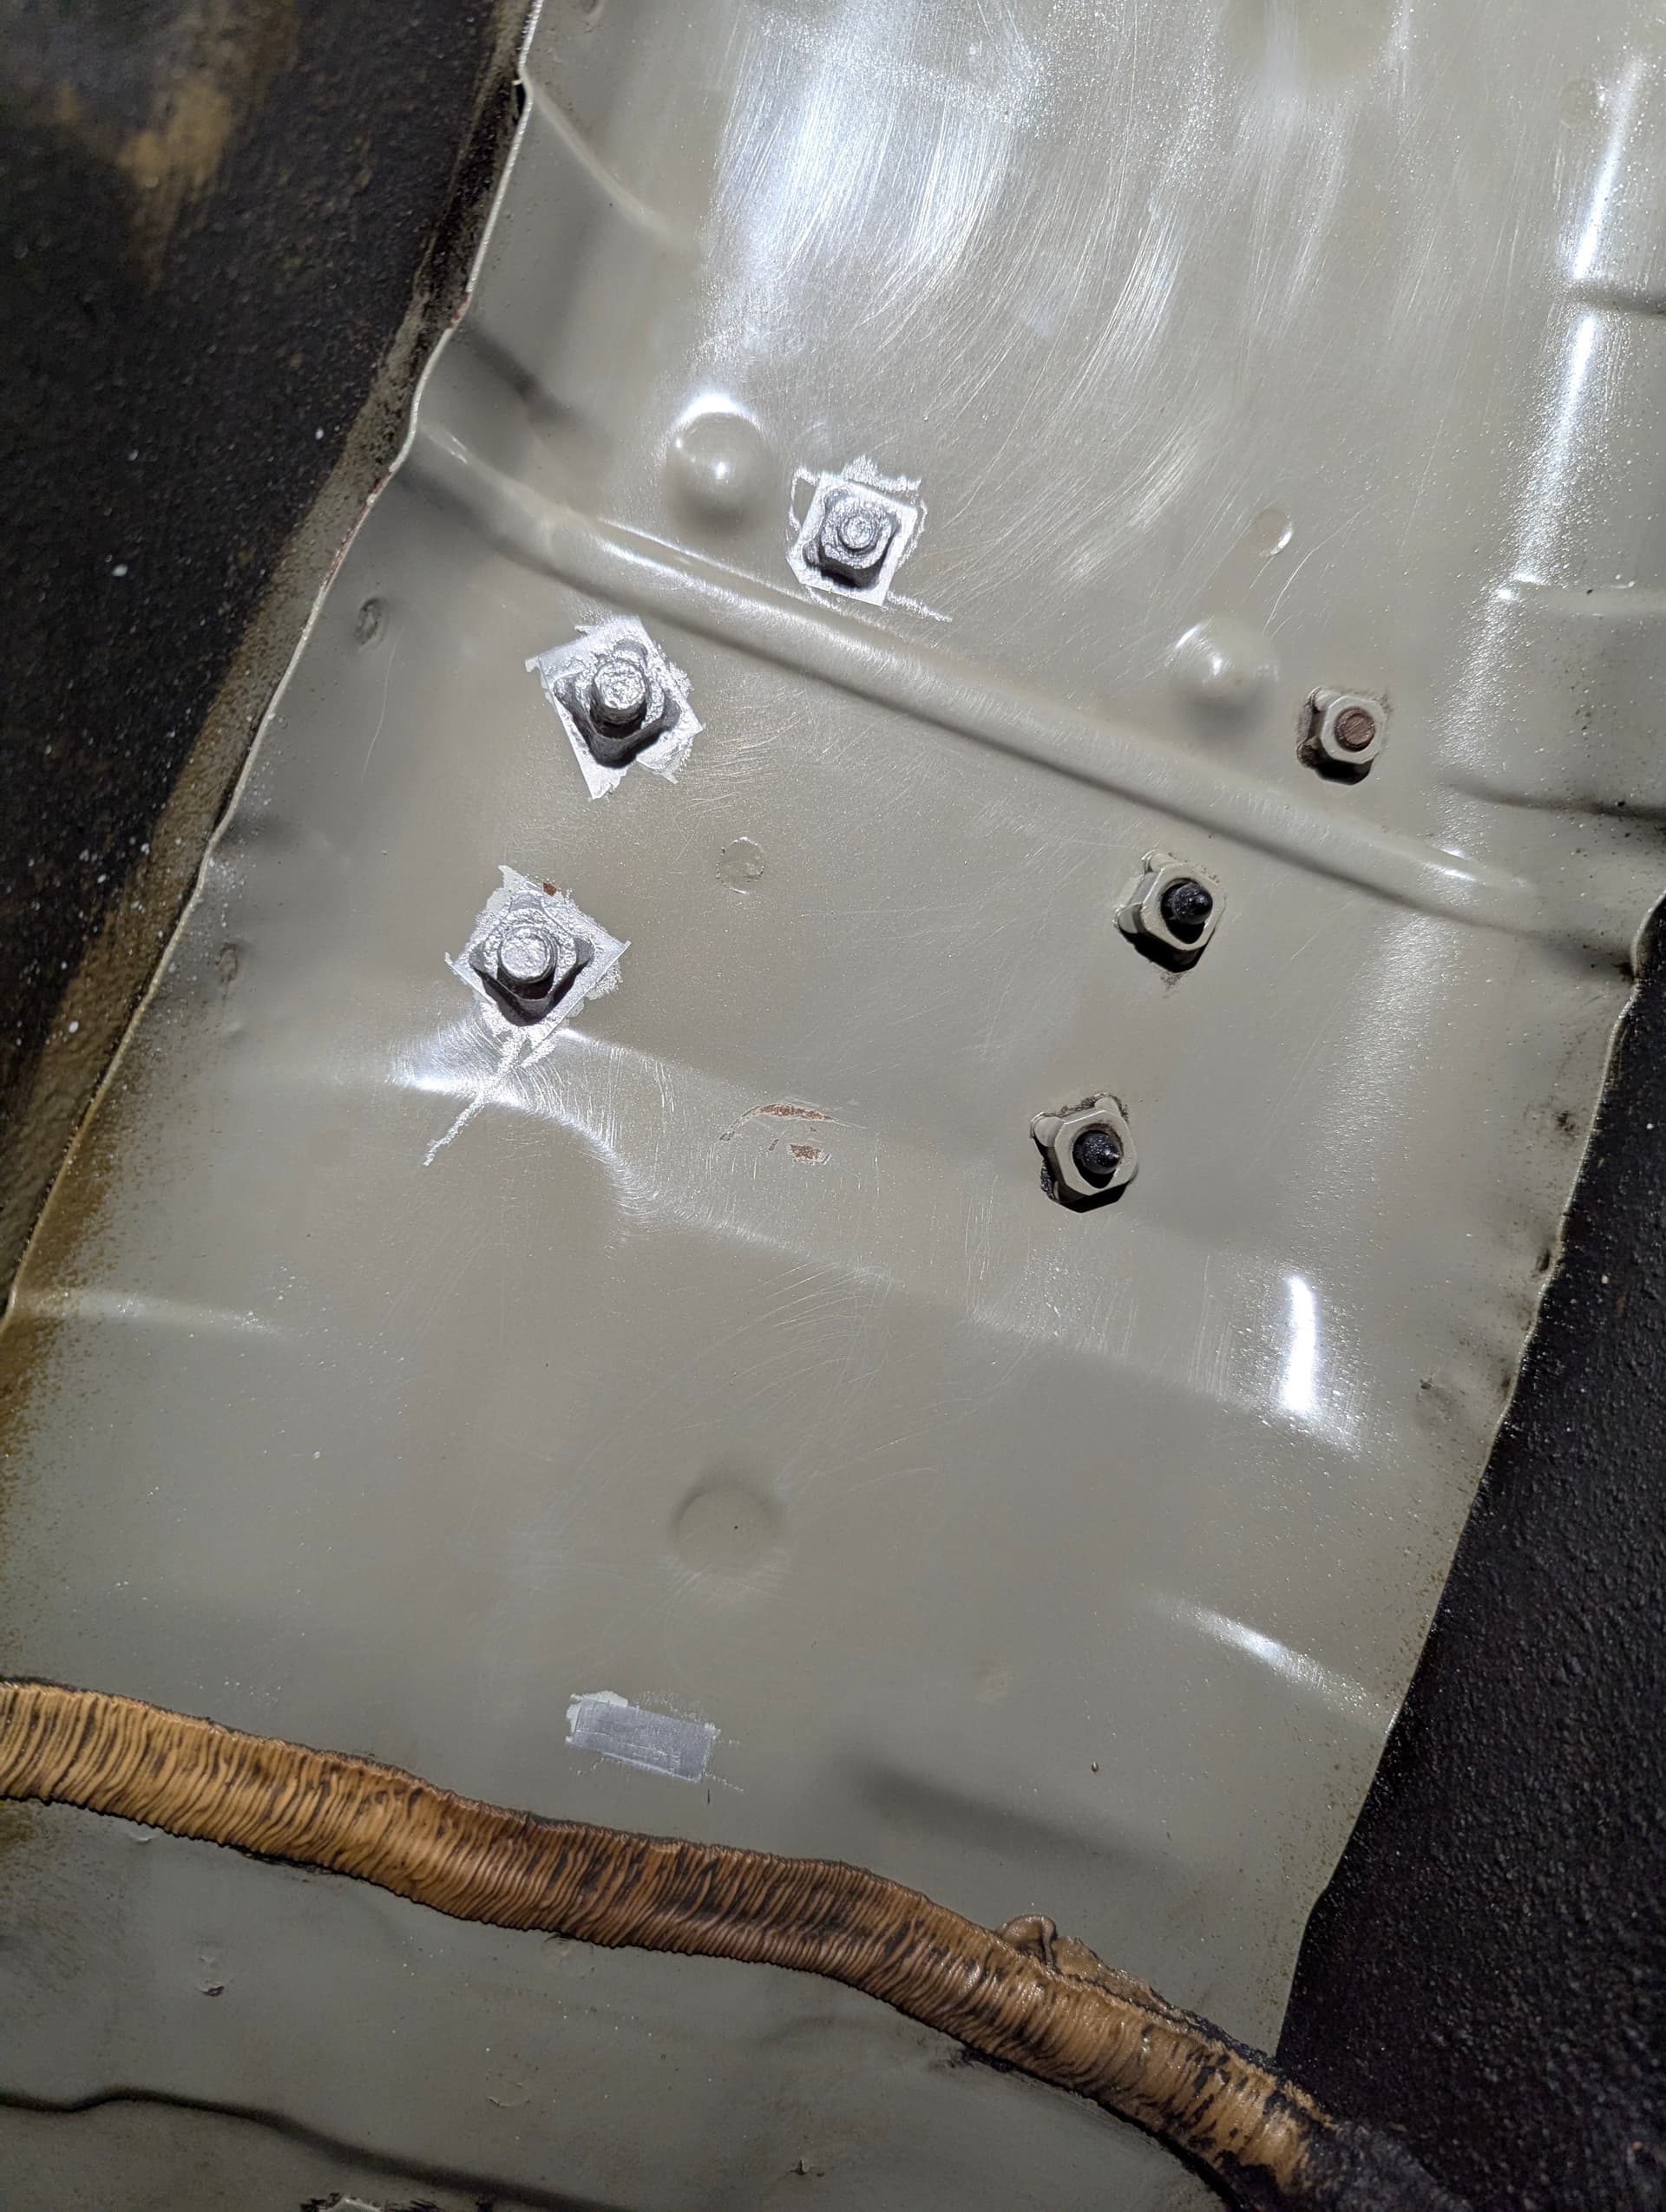
I left the square metal ring around the e-brake cables as rusted, since it would have required more time to pull the cables. So I just wired brushed it and redid the three bolts holding it.
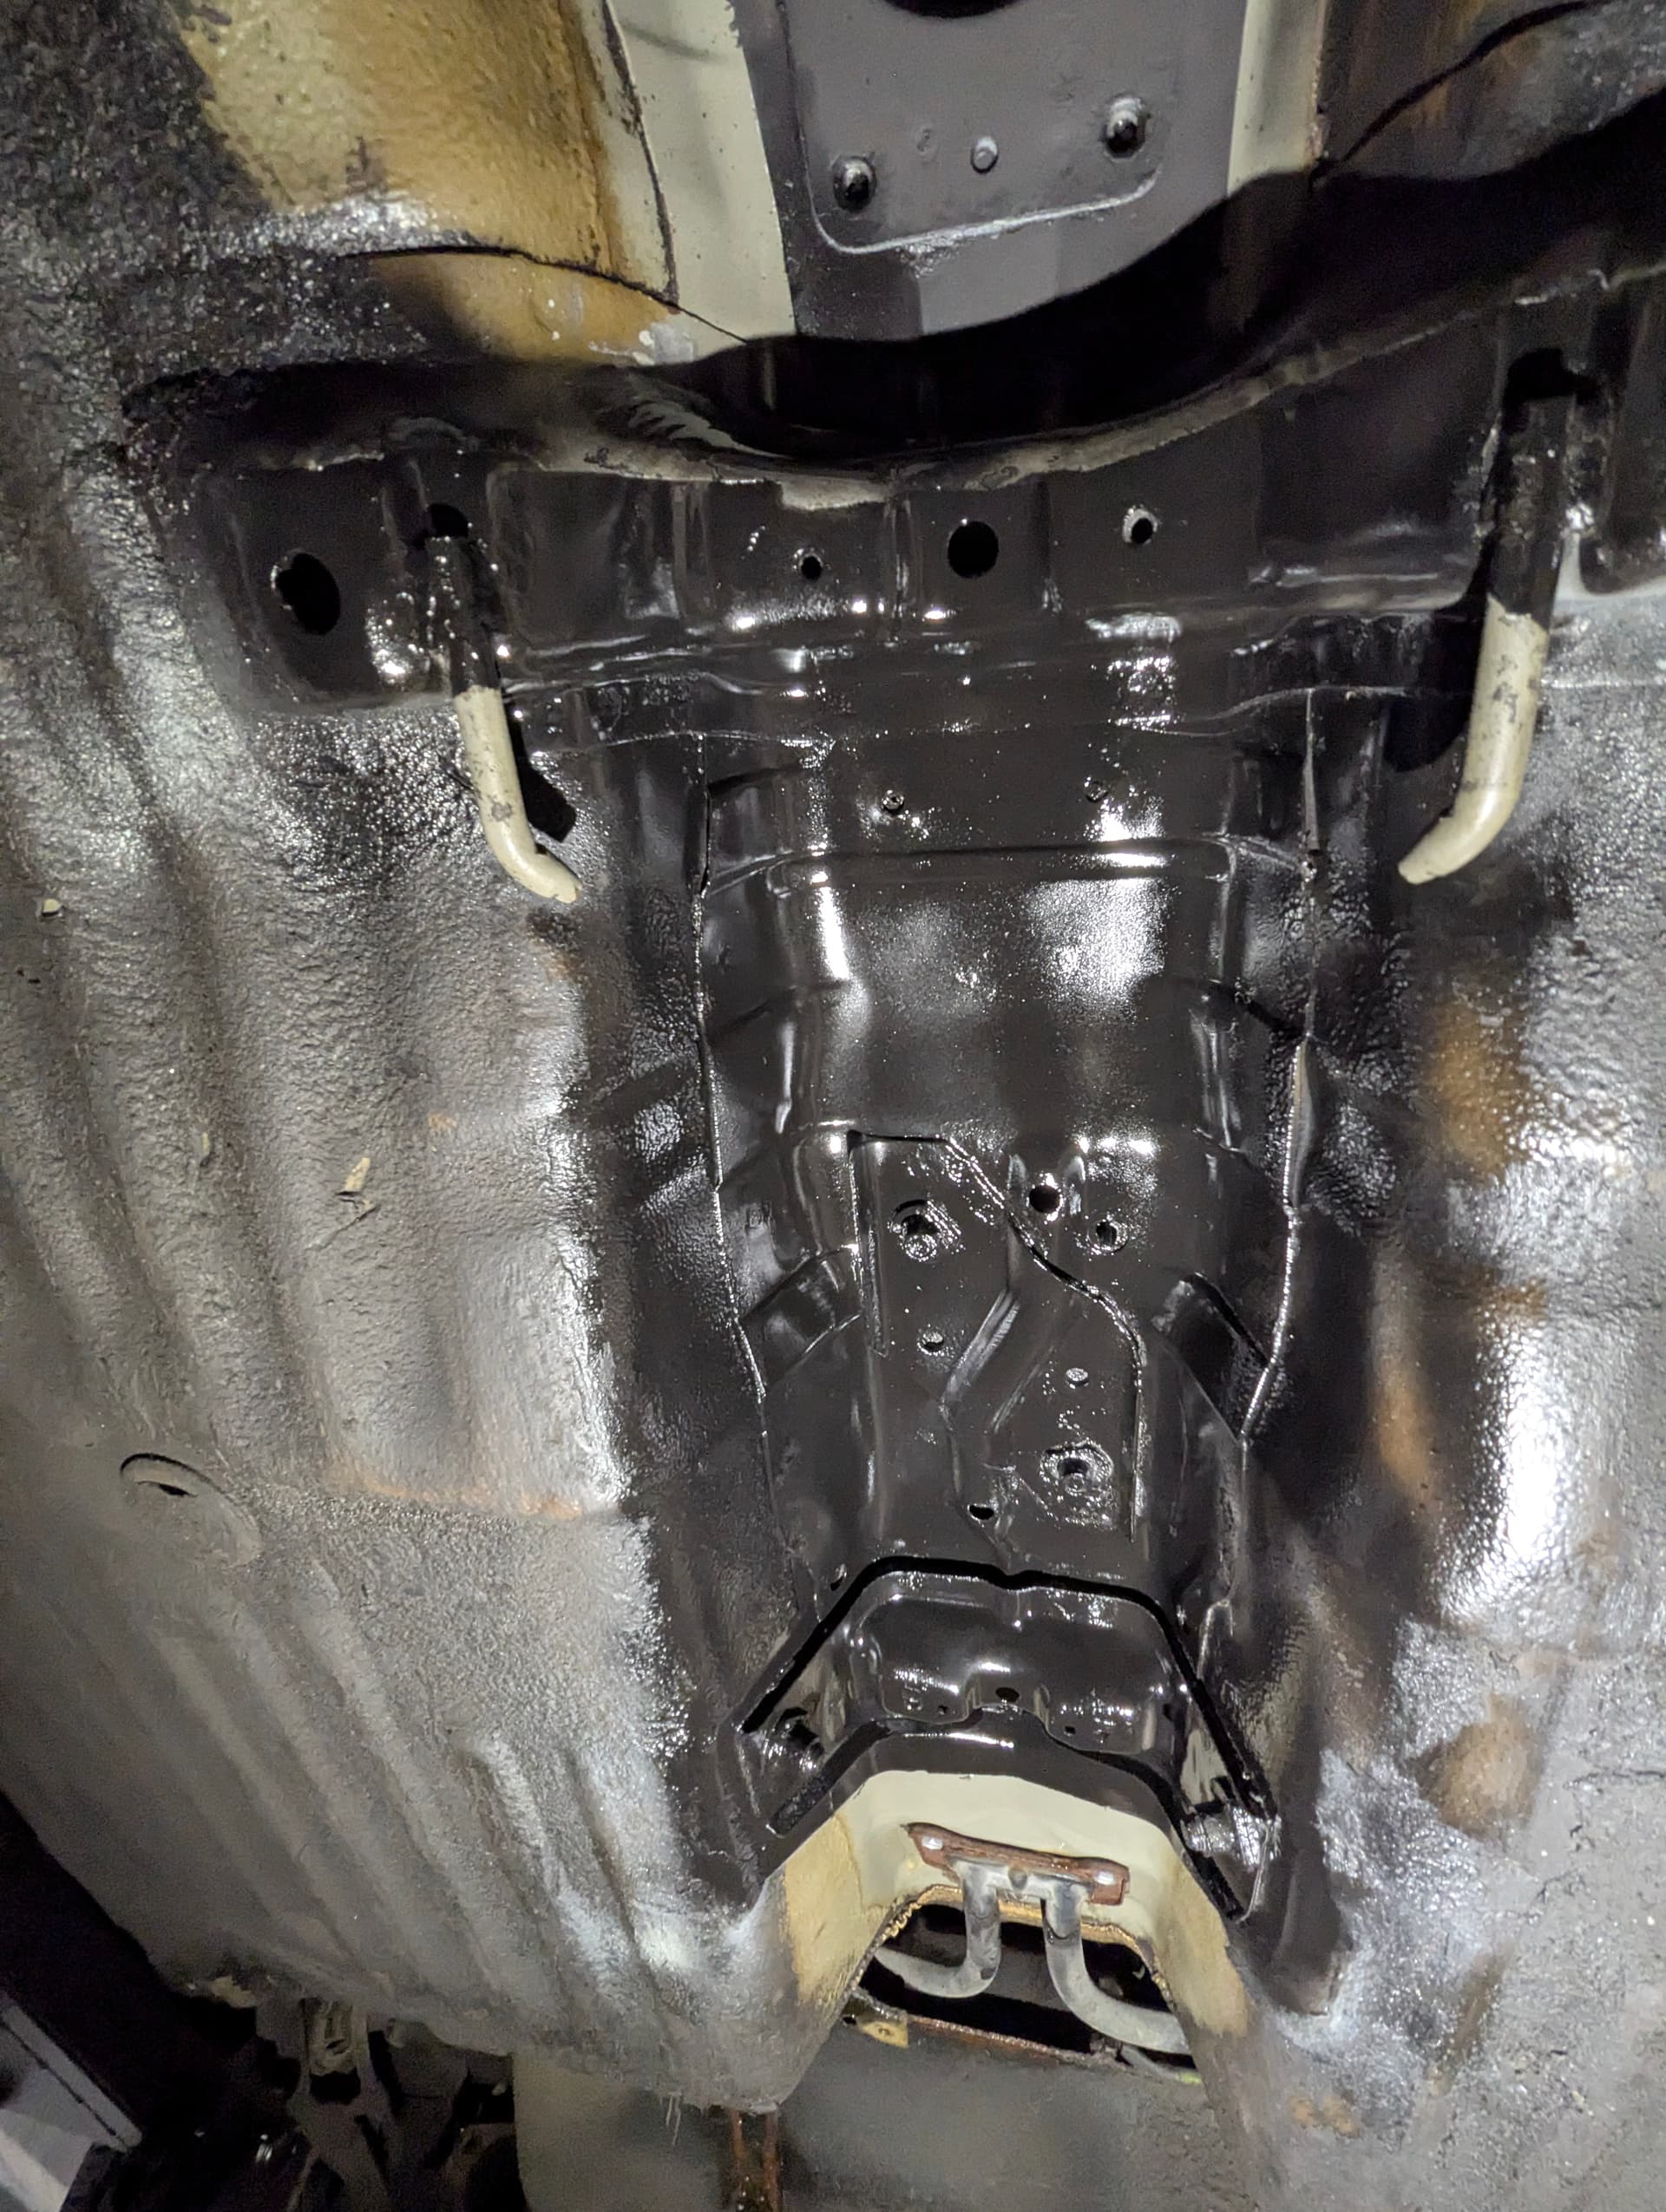
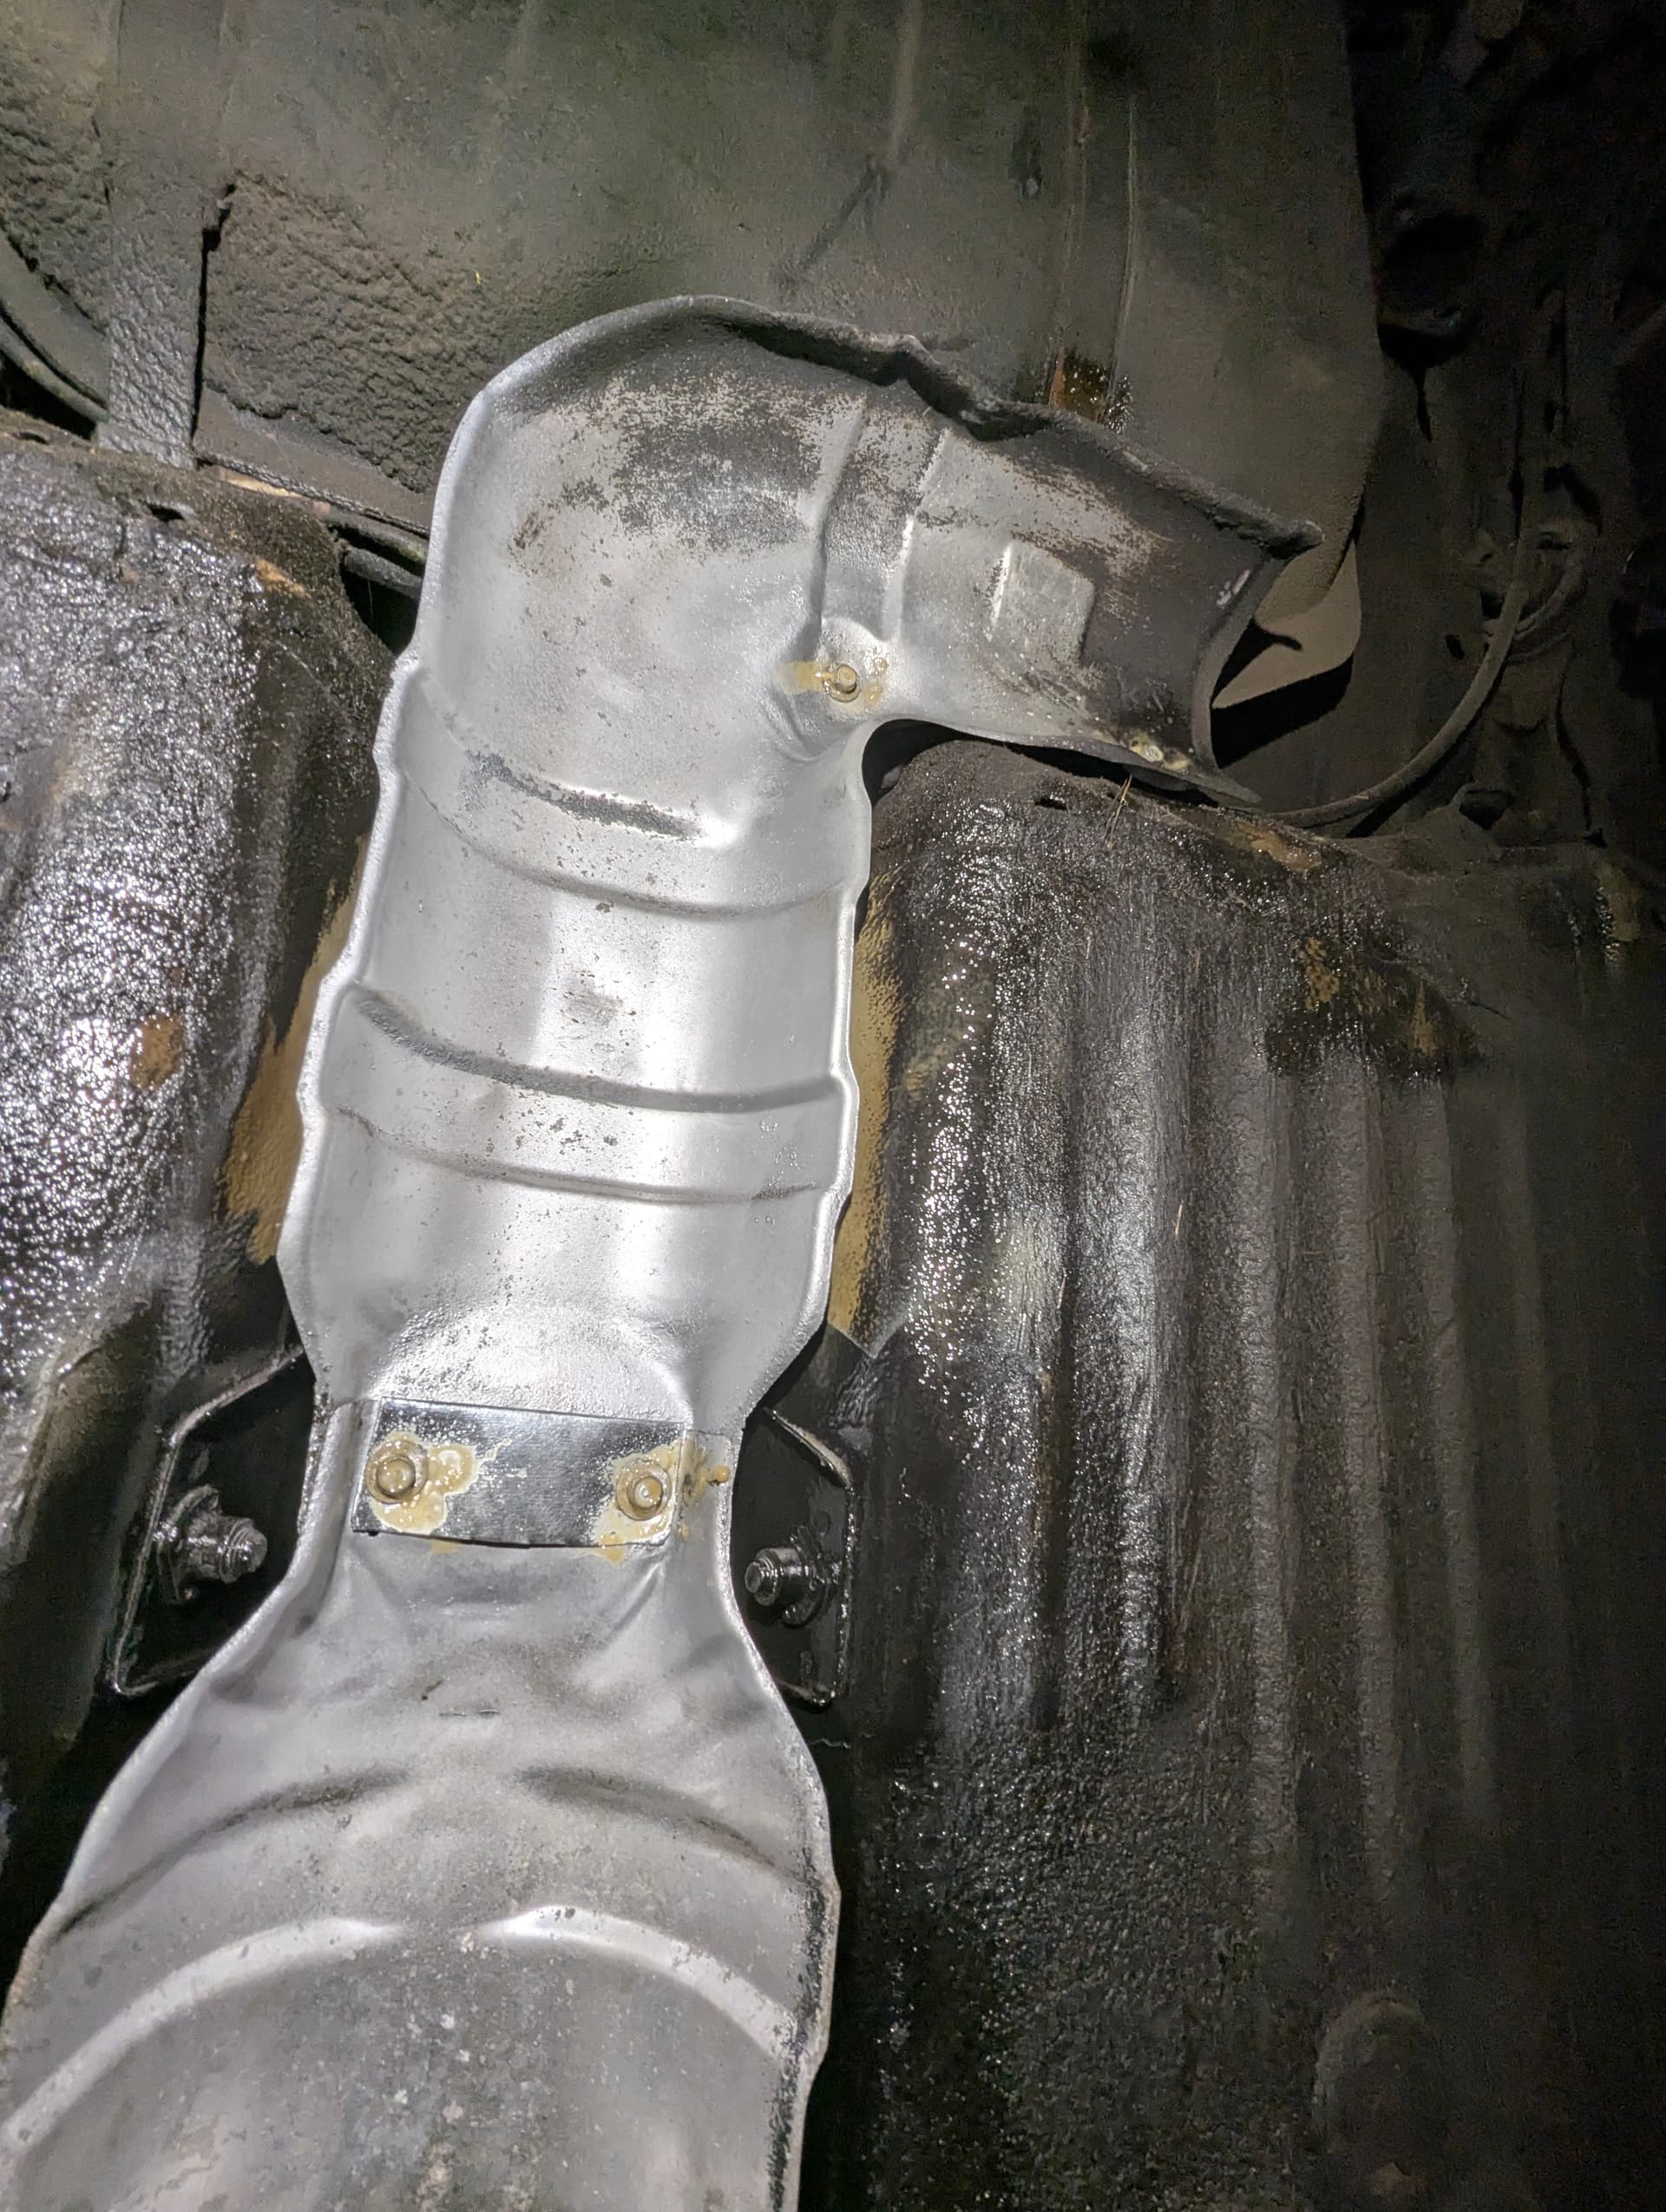
Everything got coated with Fluid Film. then I put the heat shield back on.
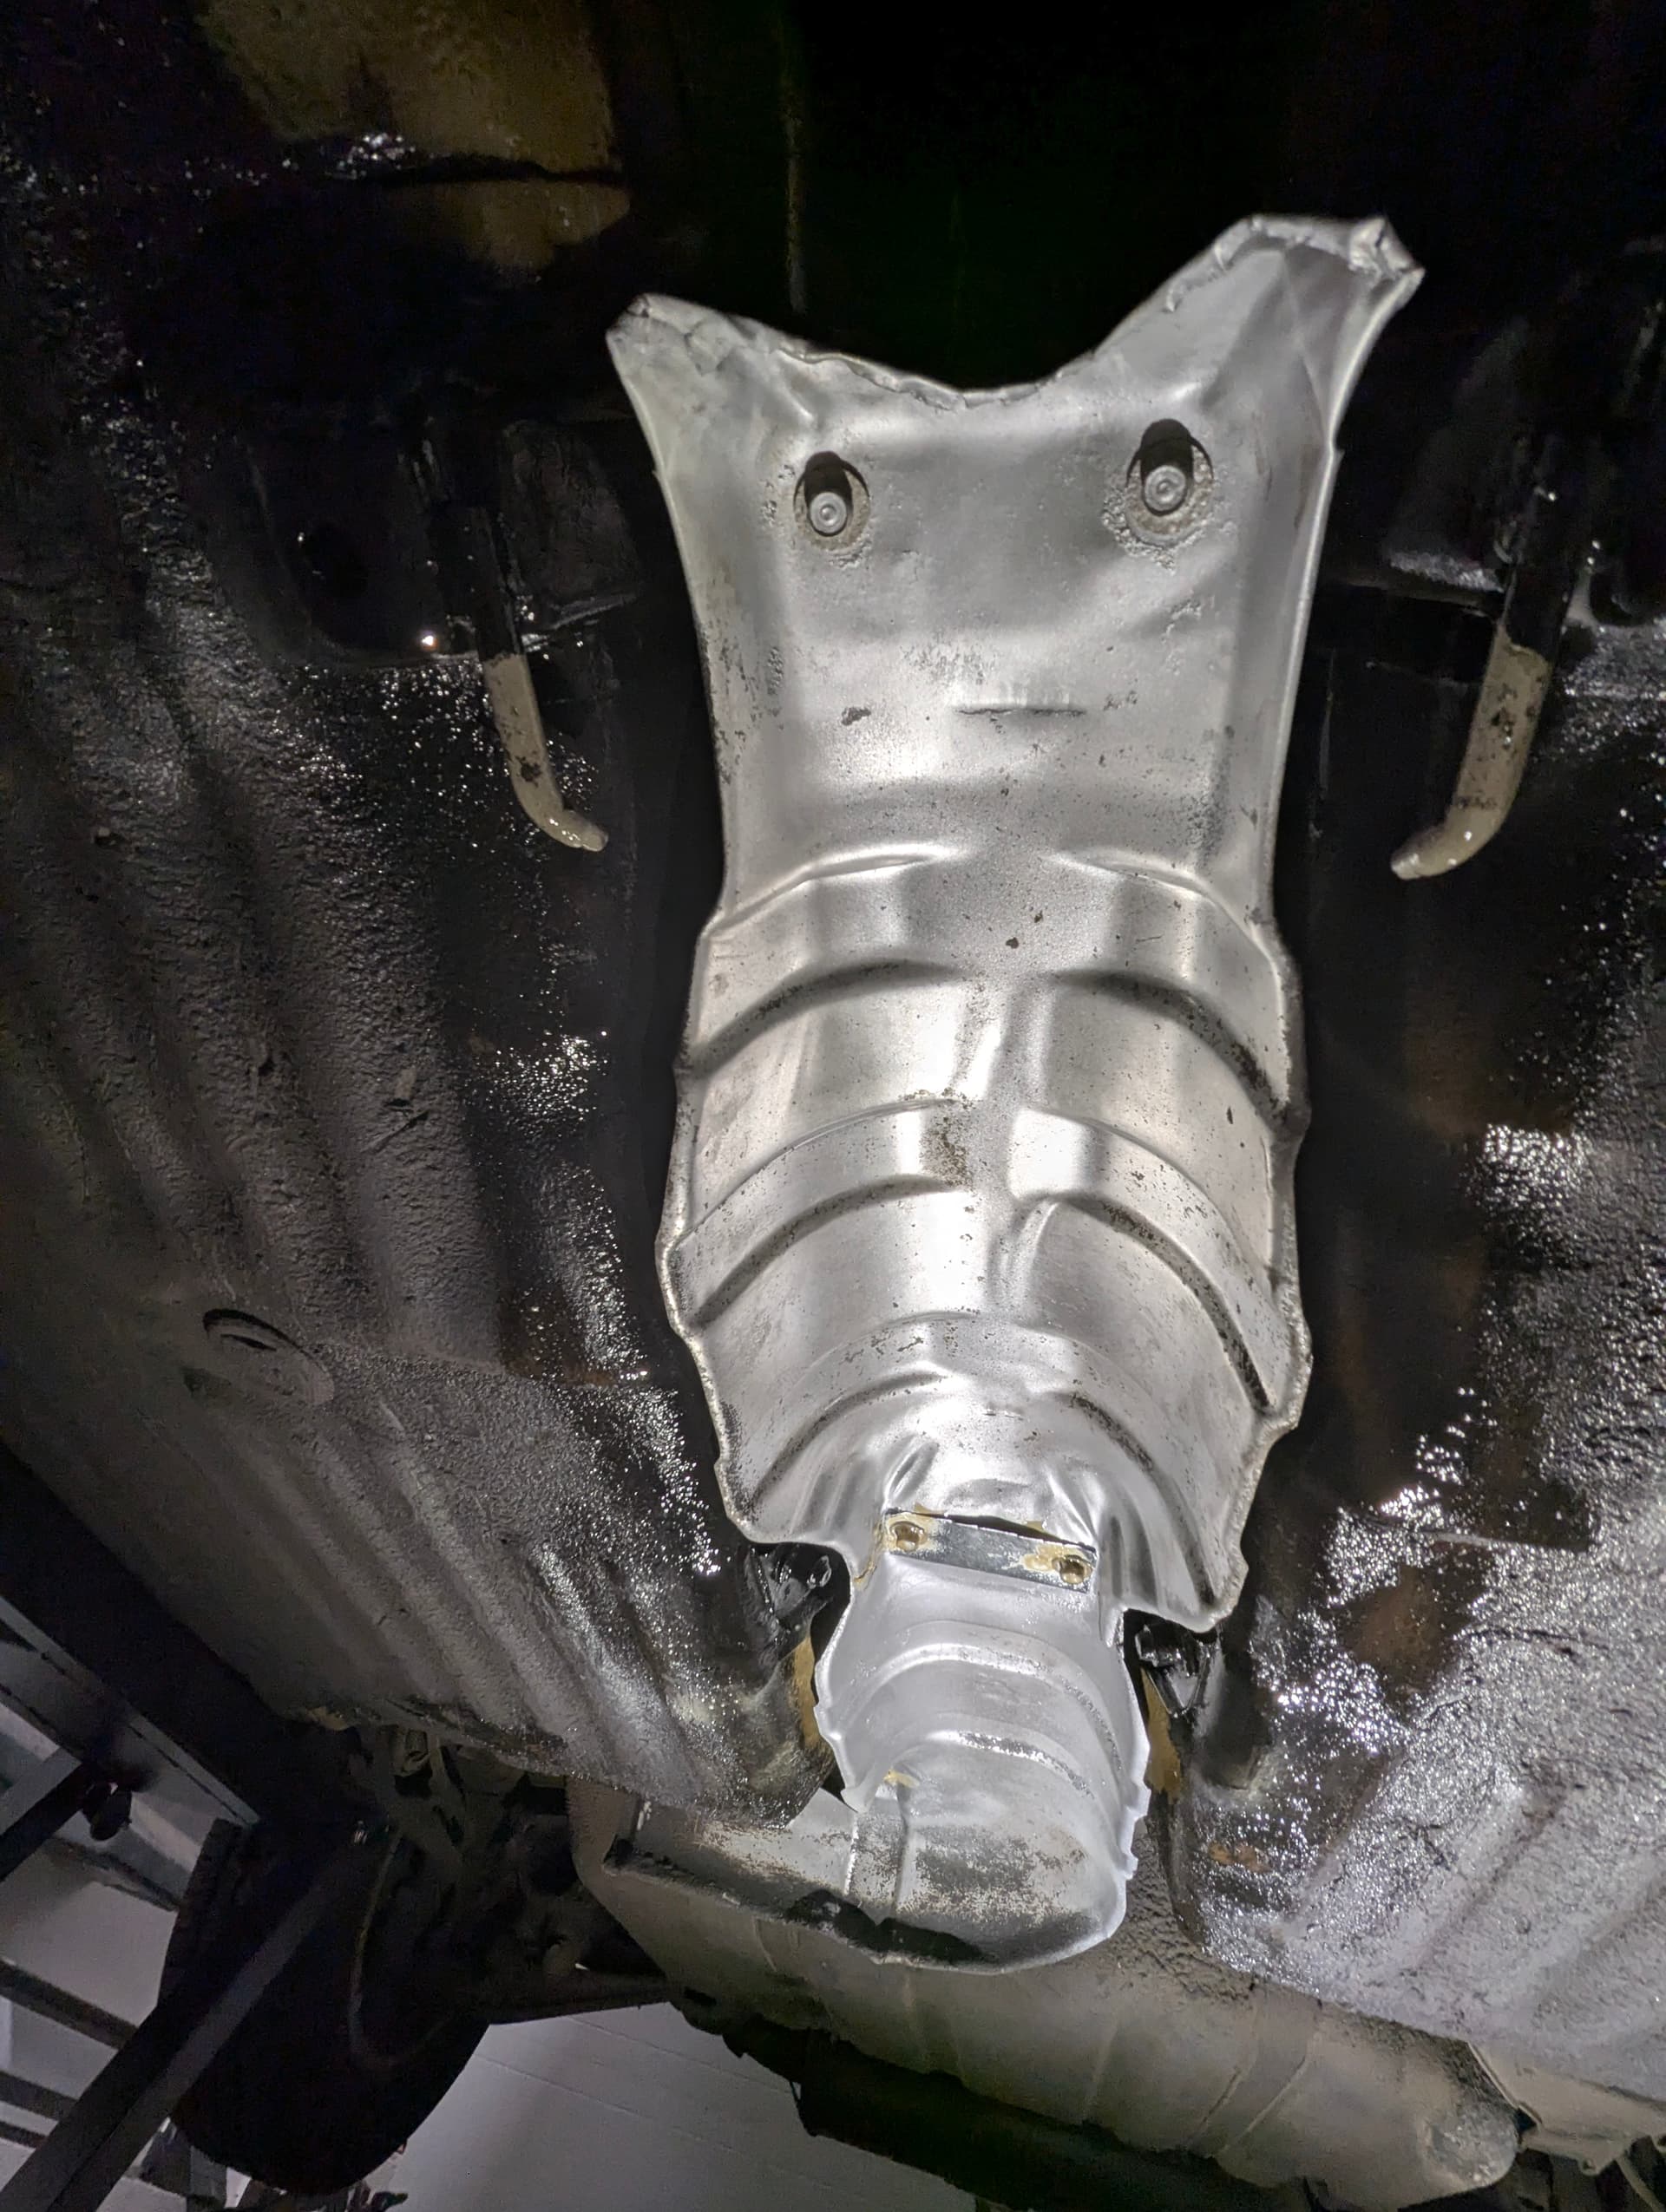
Tin galvanized steel plate used for support where the rusted shield was. With the primer and paint, there shouldn’t any issue for a while if they are dissimilar metals.
1 Like
Wow I’m loving how this is turning out!
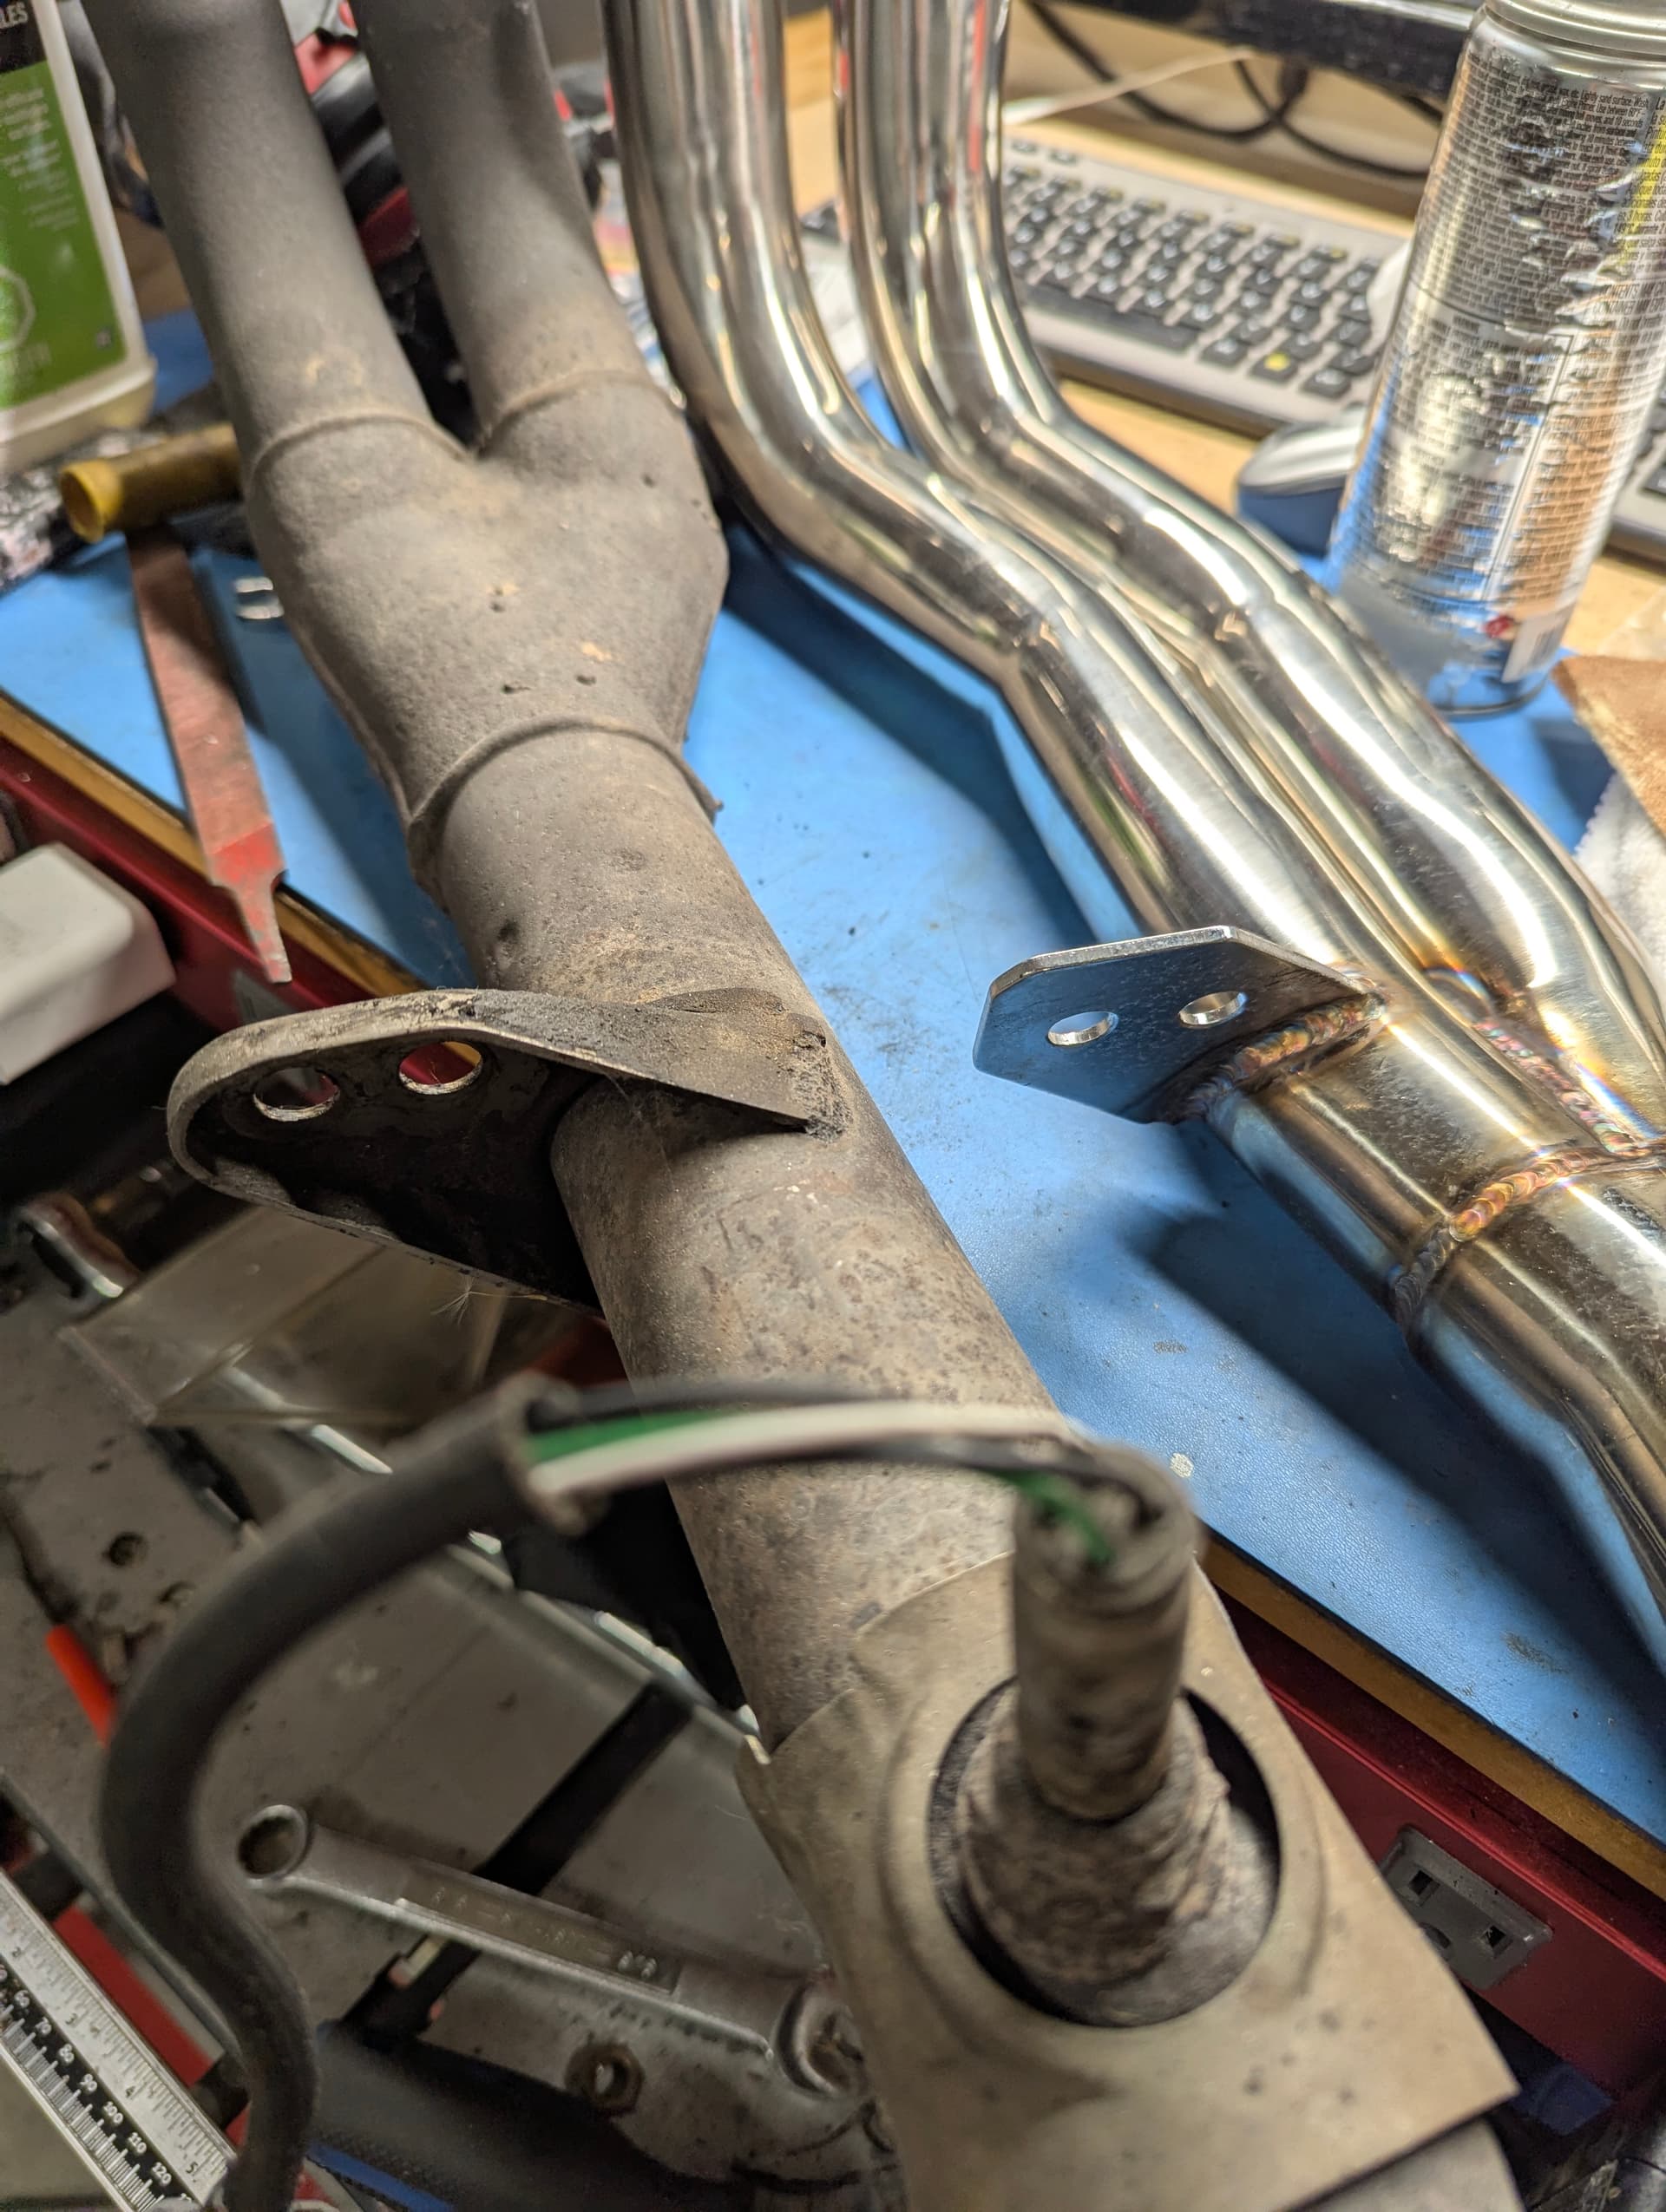
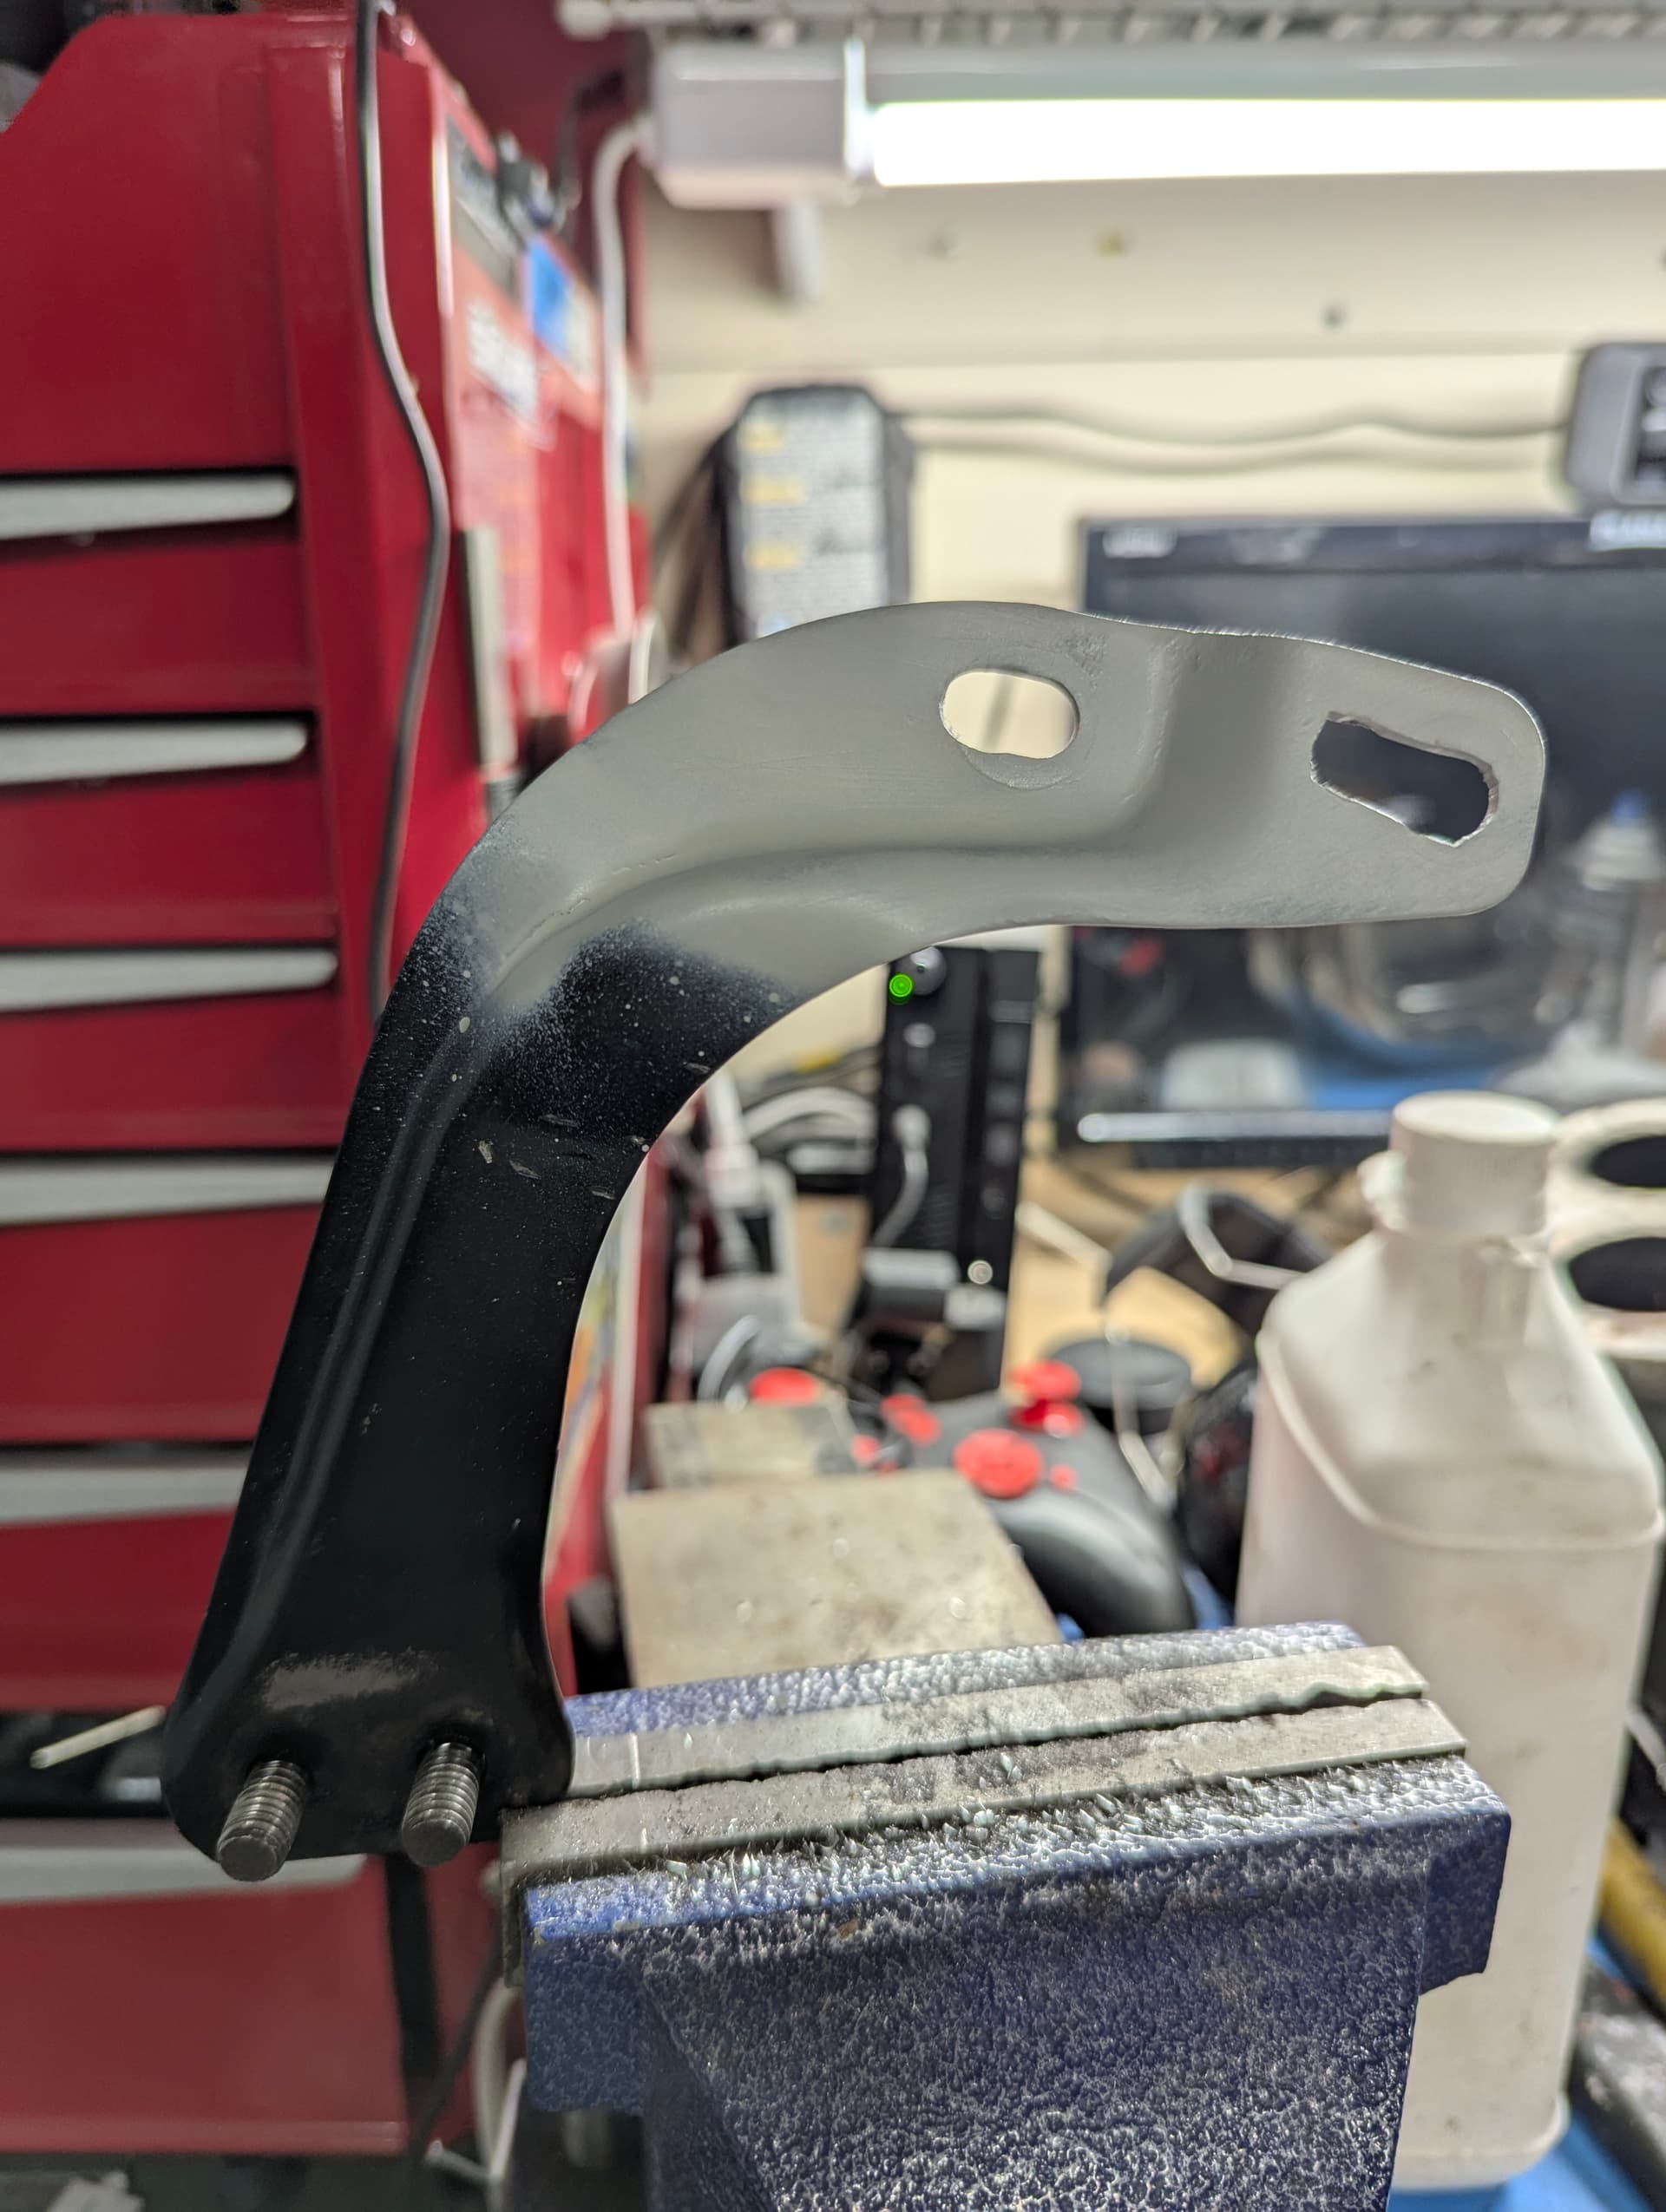
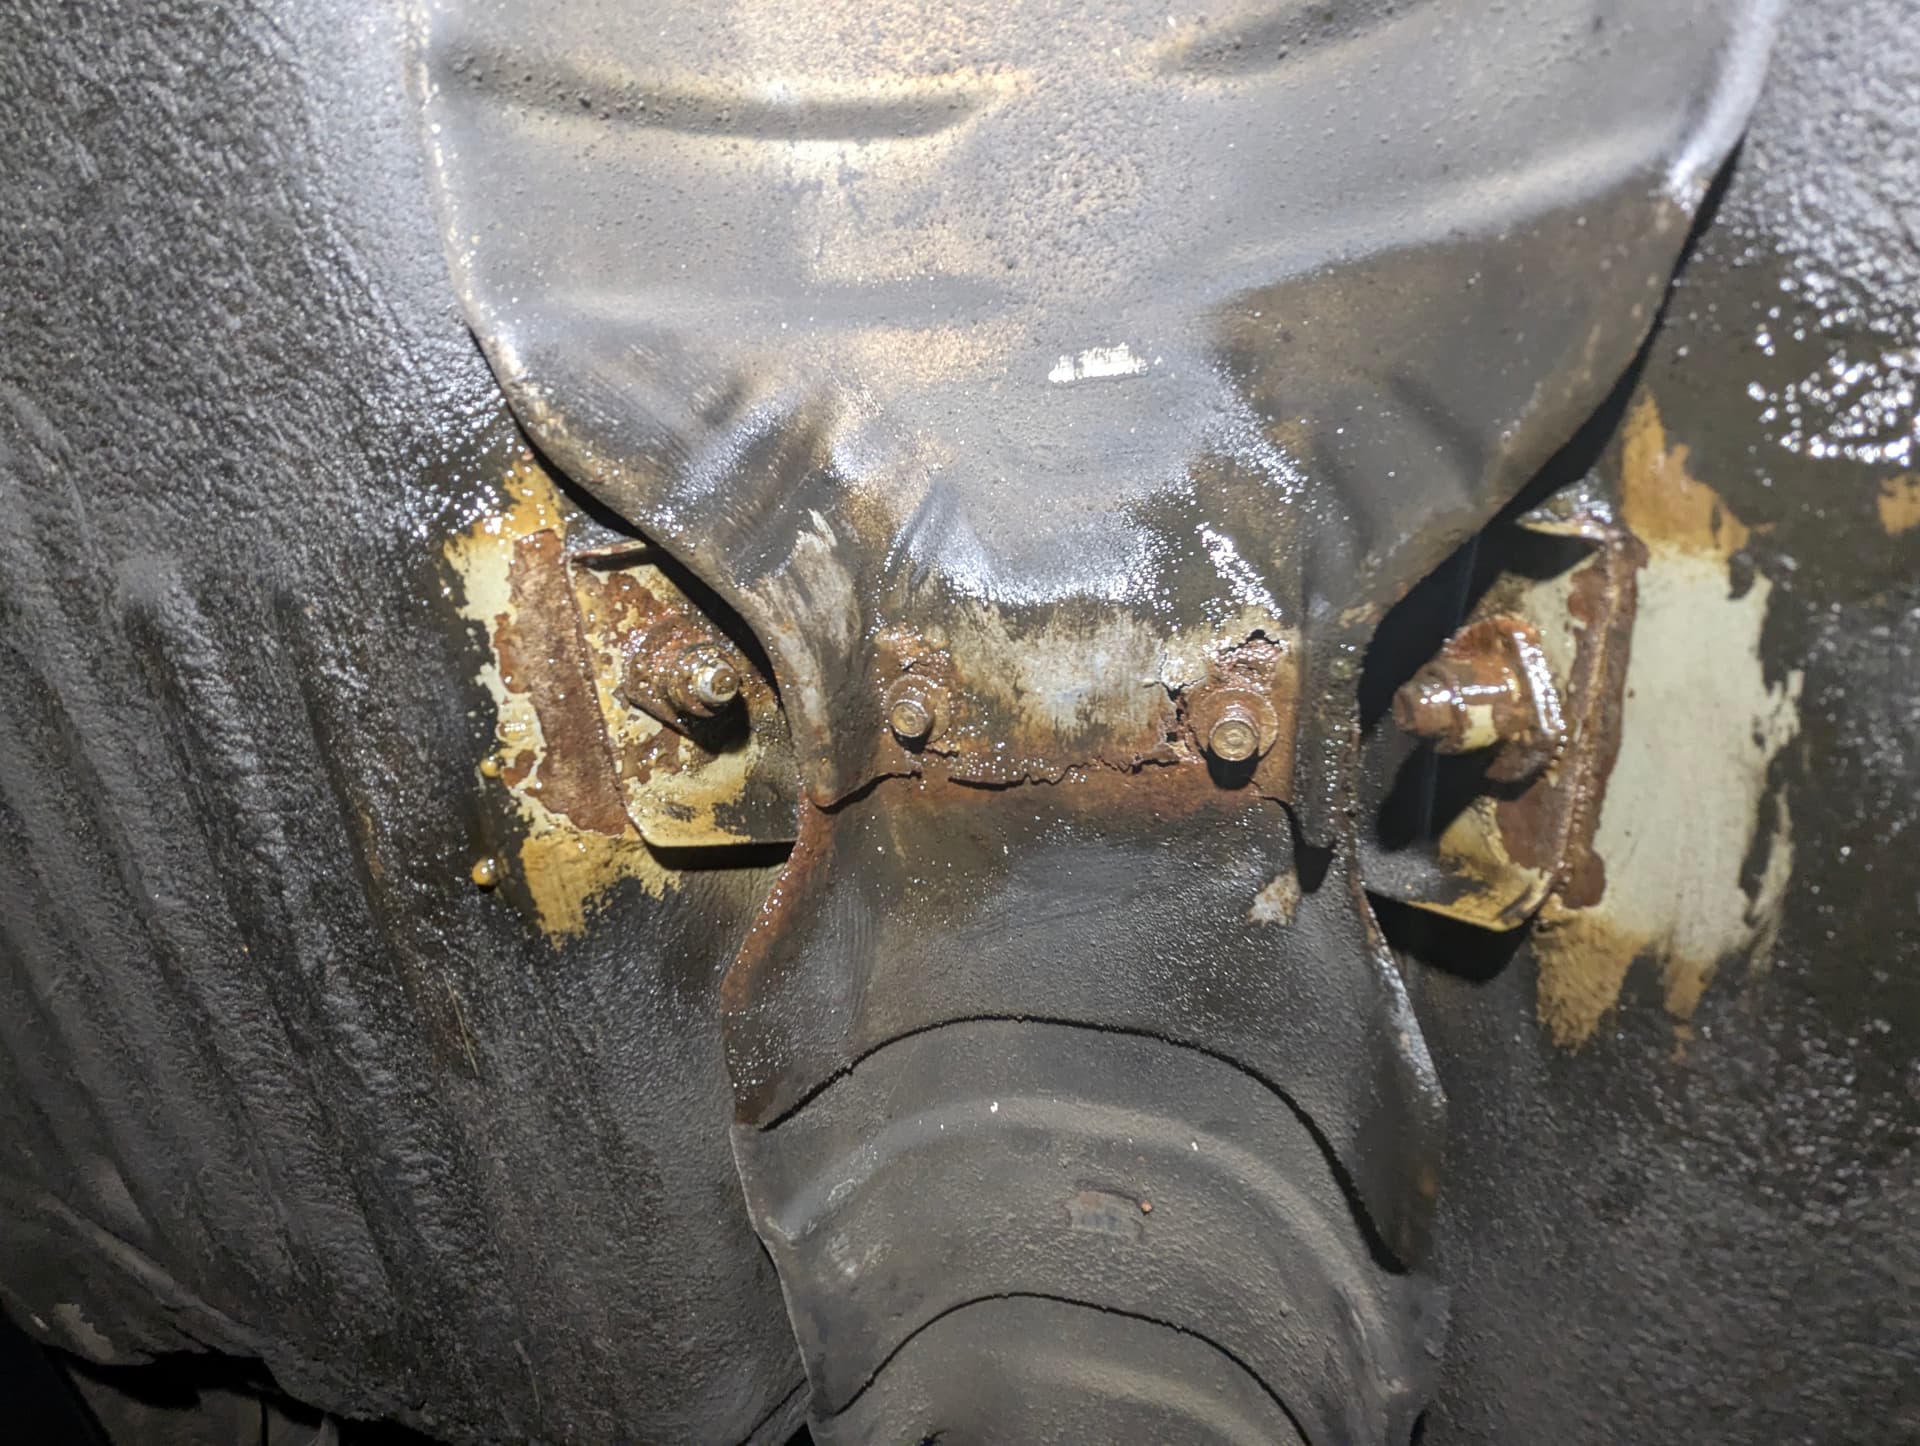
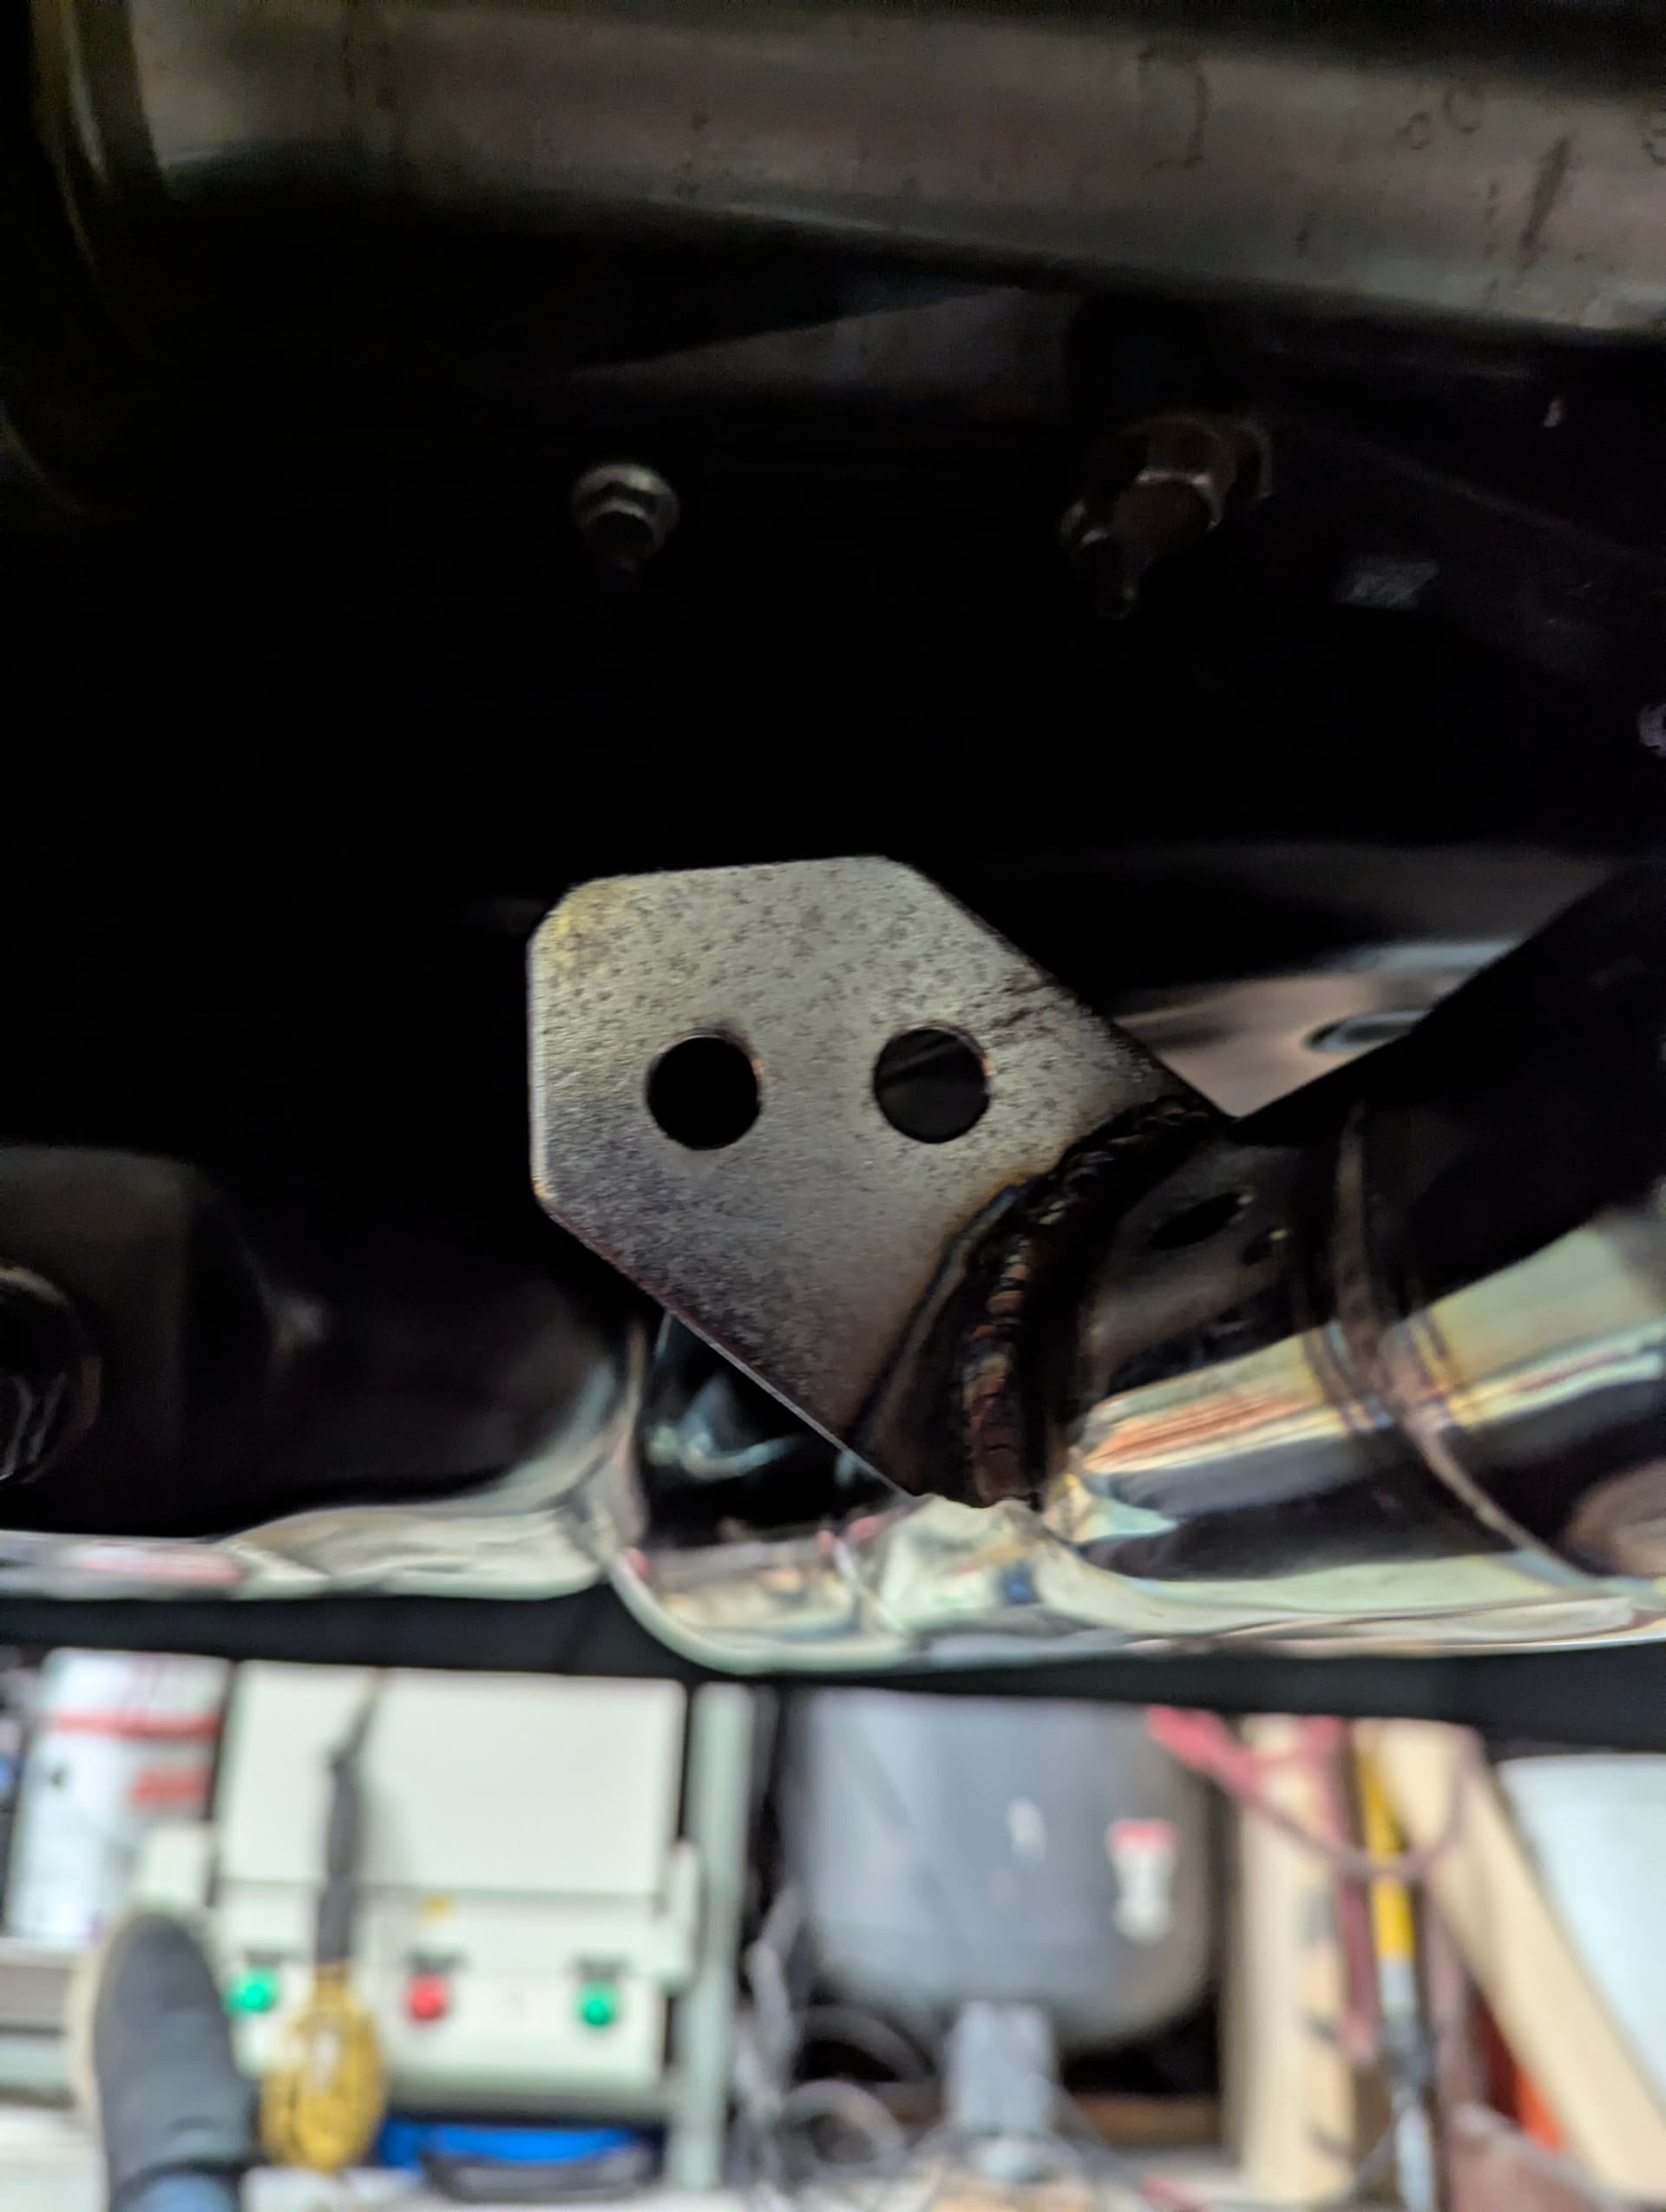
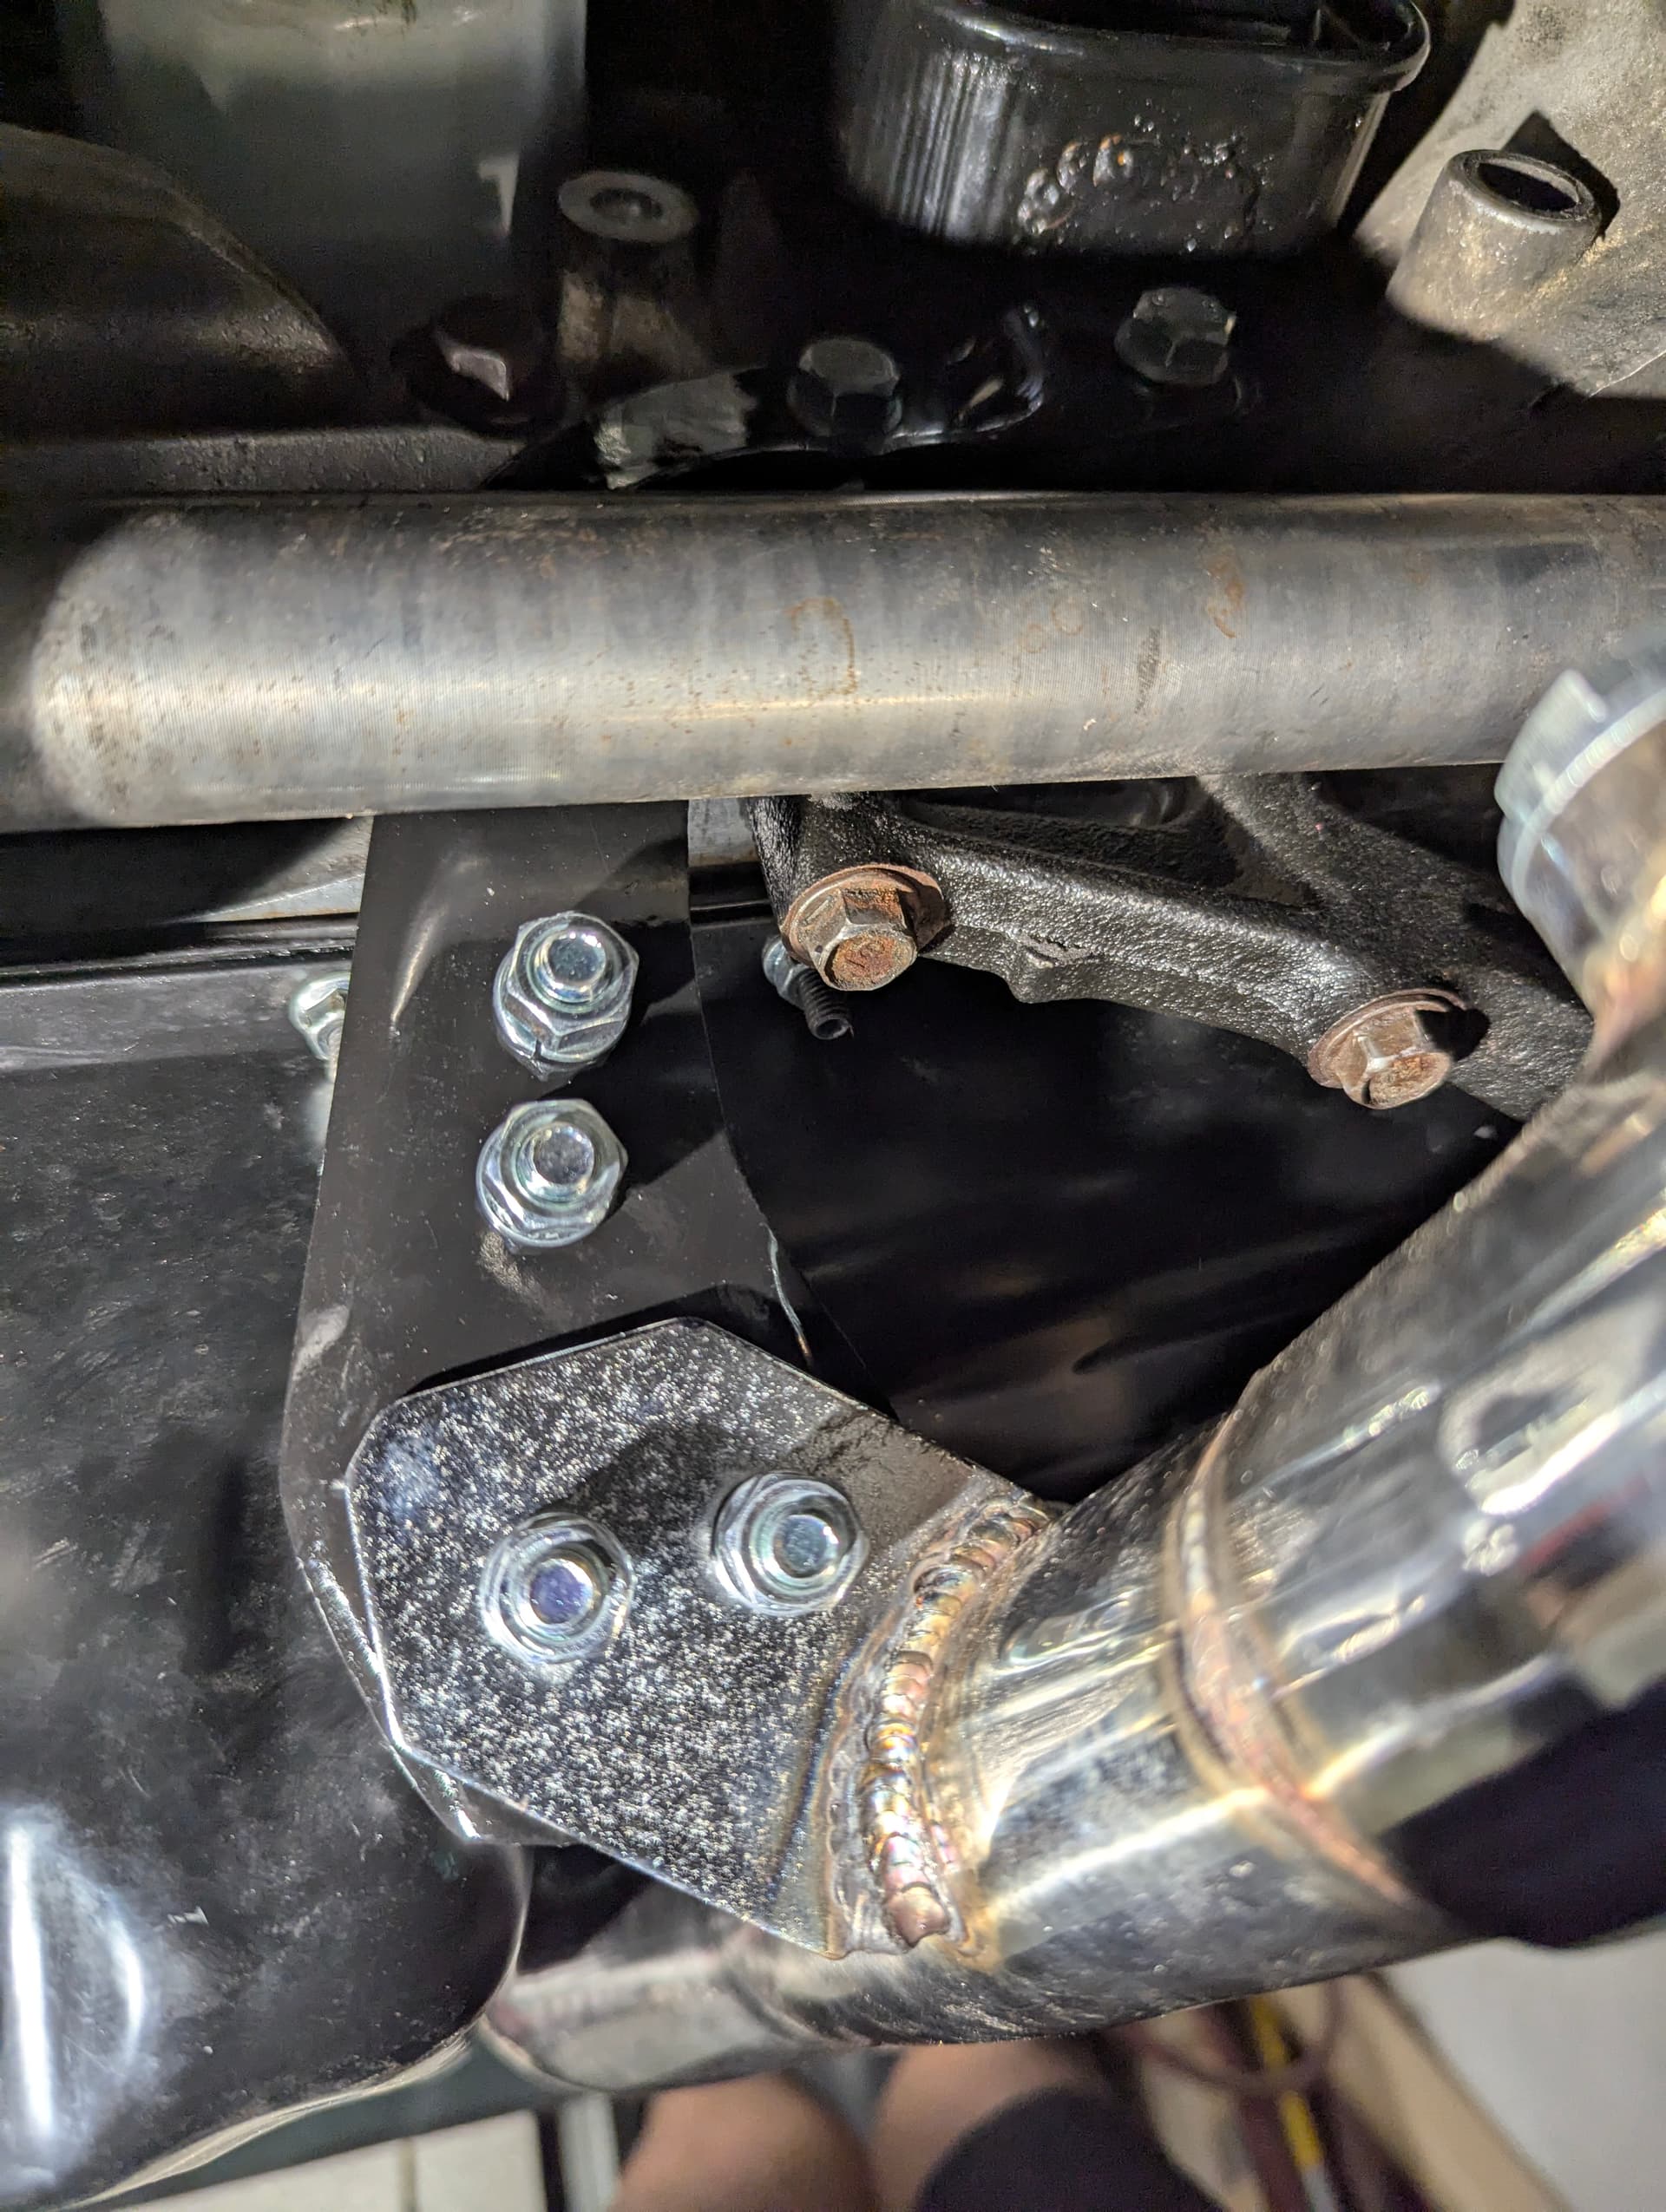
Turns out the bracket to hold onto the lower header pipes doesn’t line up with new pipes. It did when I test fit it with no gasket so I must have had it tilted without realizing it, or the gasket made that much difference. These are the holes that don’t line up.
So I took the bracket that attaches to the engine and with some 16 gauge sheet metal, added an extension to it.
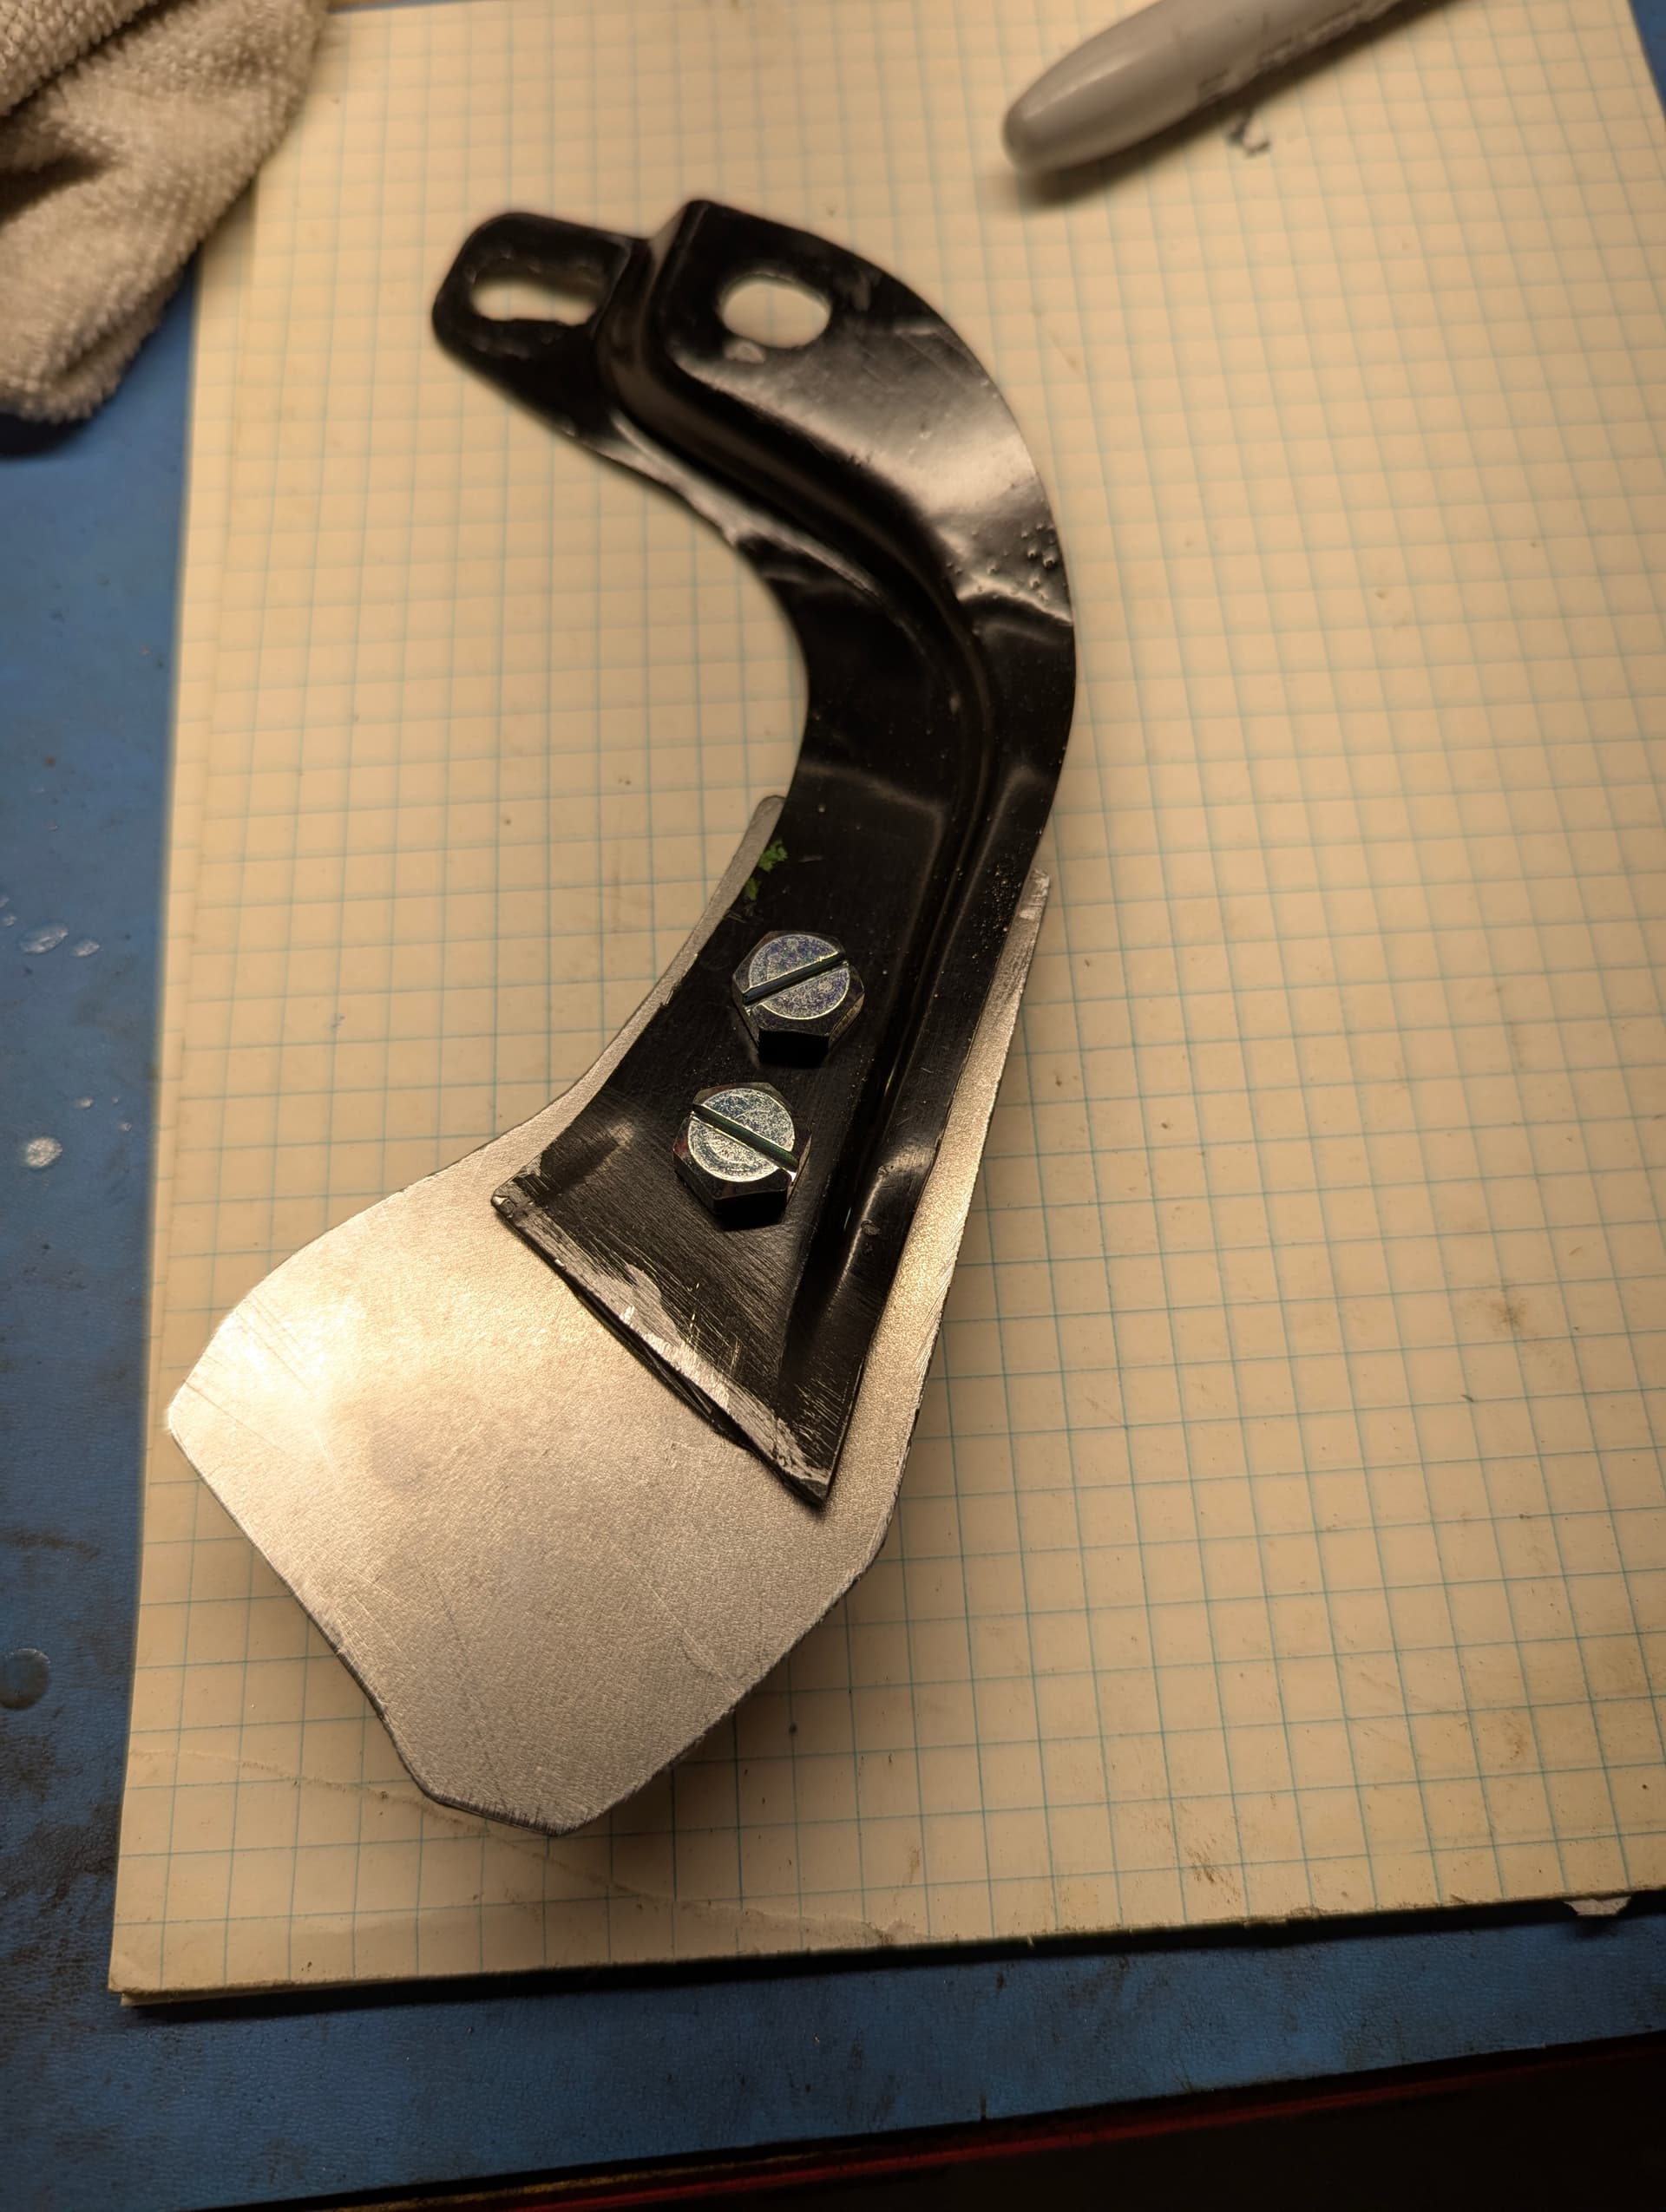
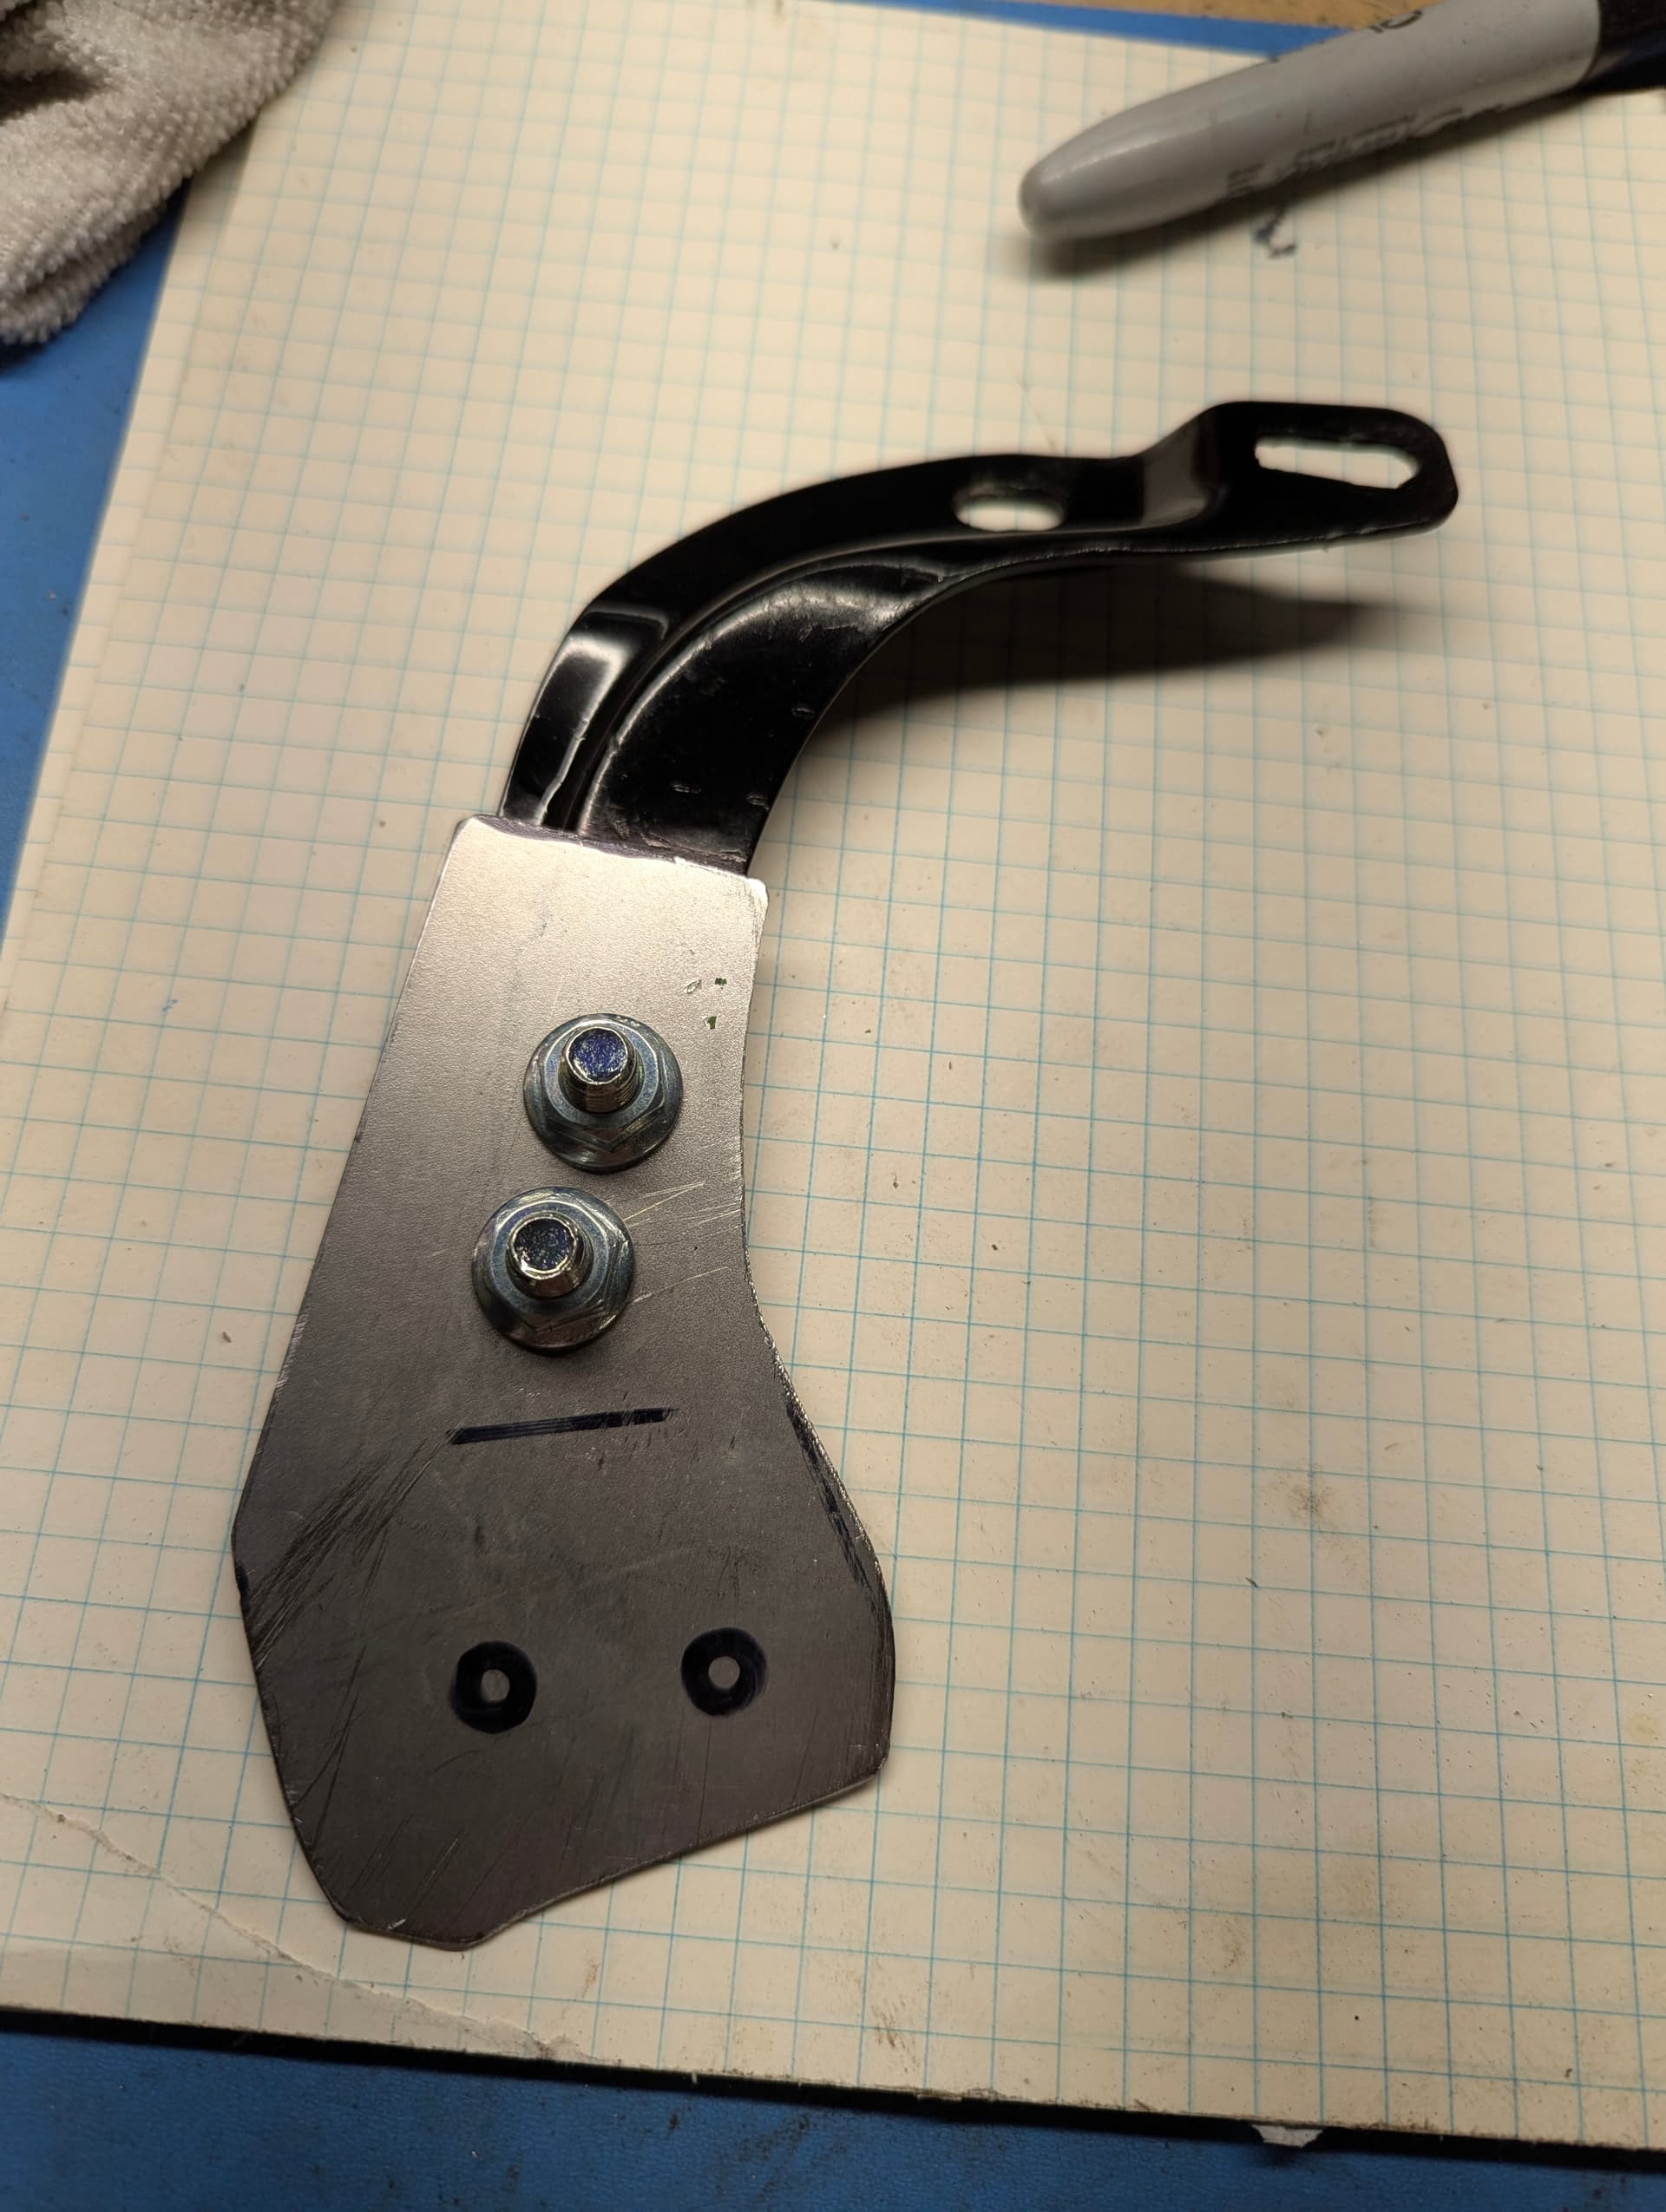
After some bending and tweaking it lined up. I was going to weld the parts together at a friend’s house but I want to get this done, so I’ll be bolting them together.
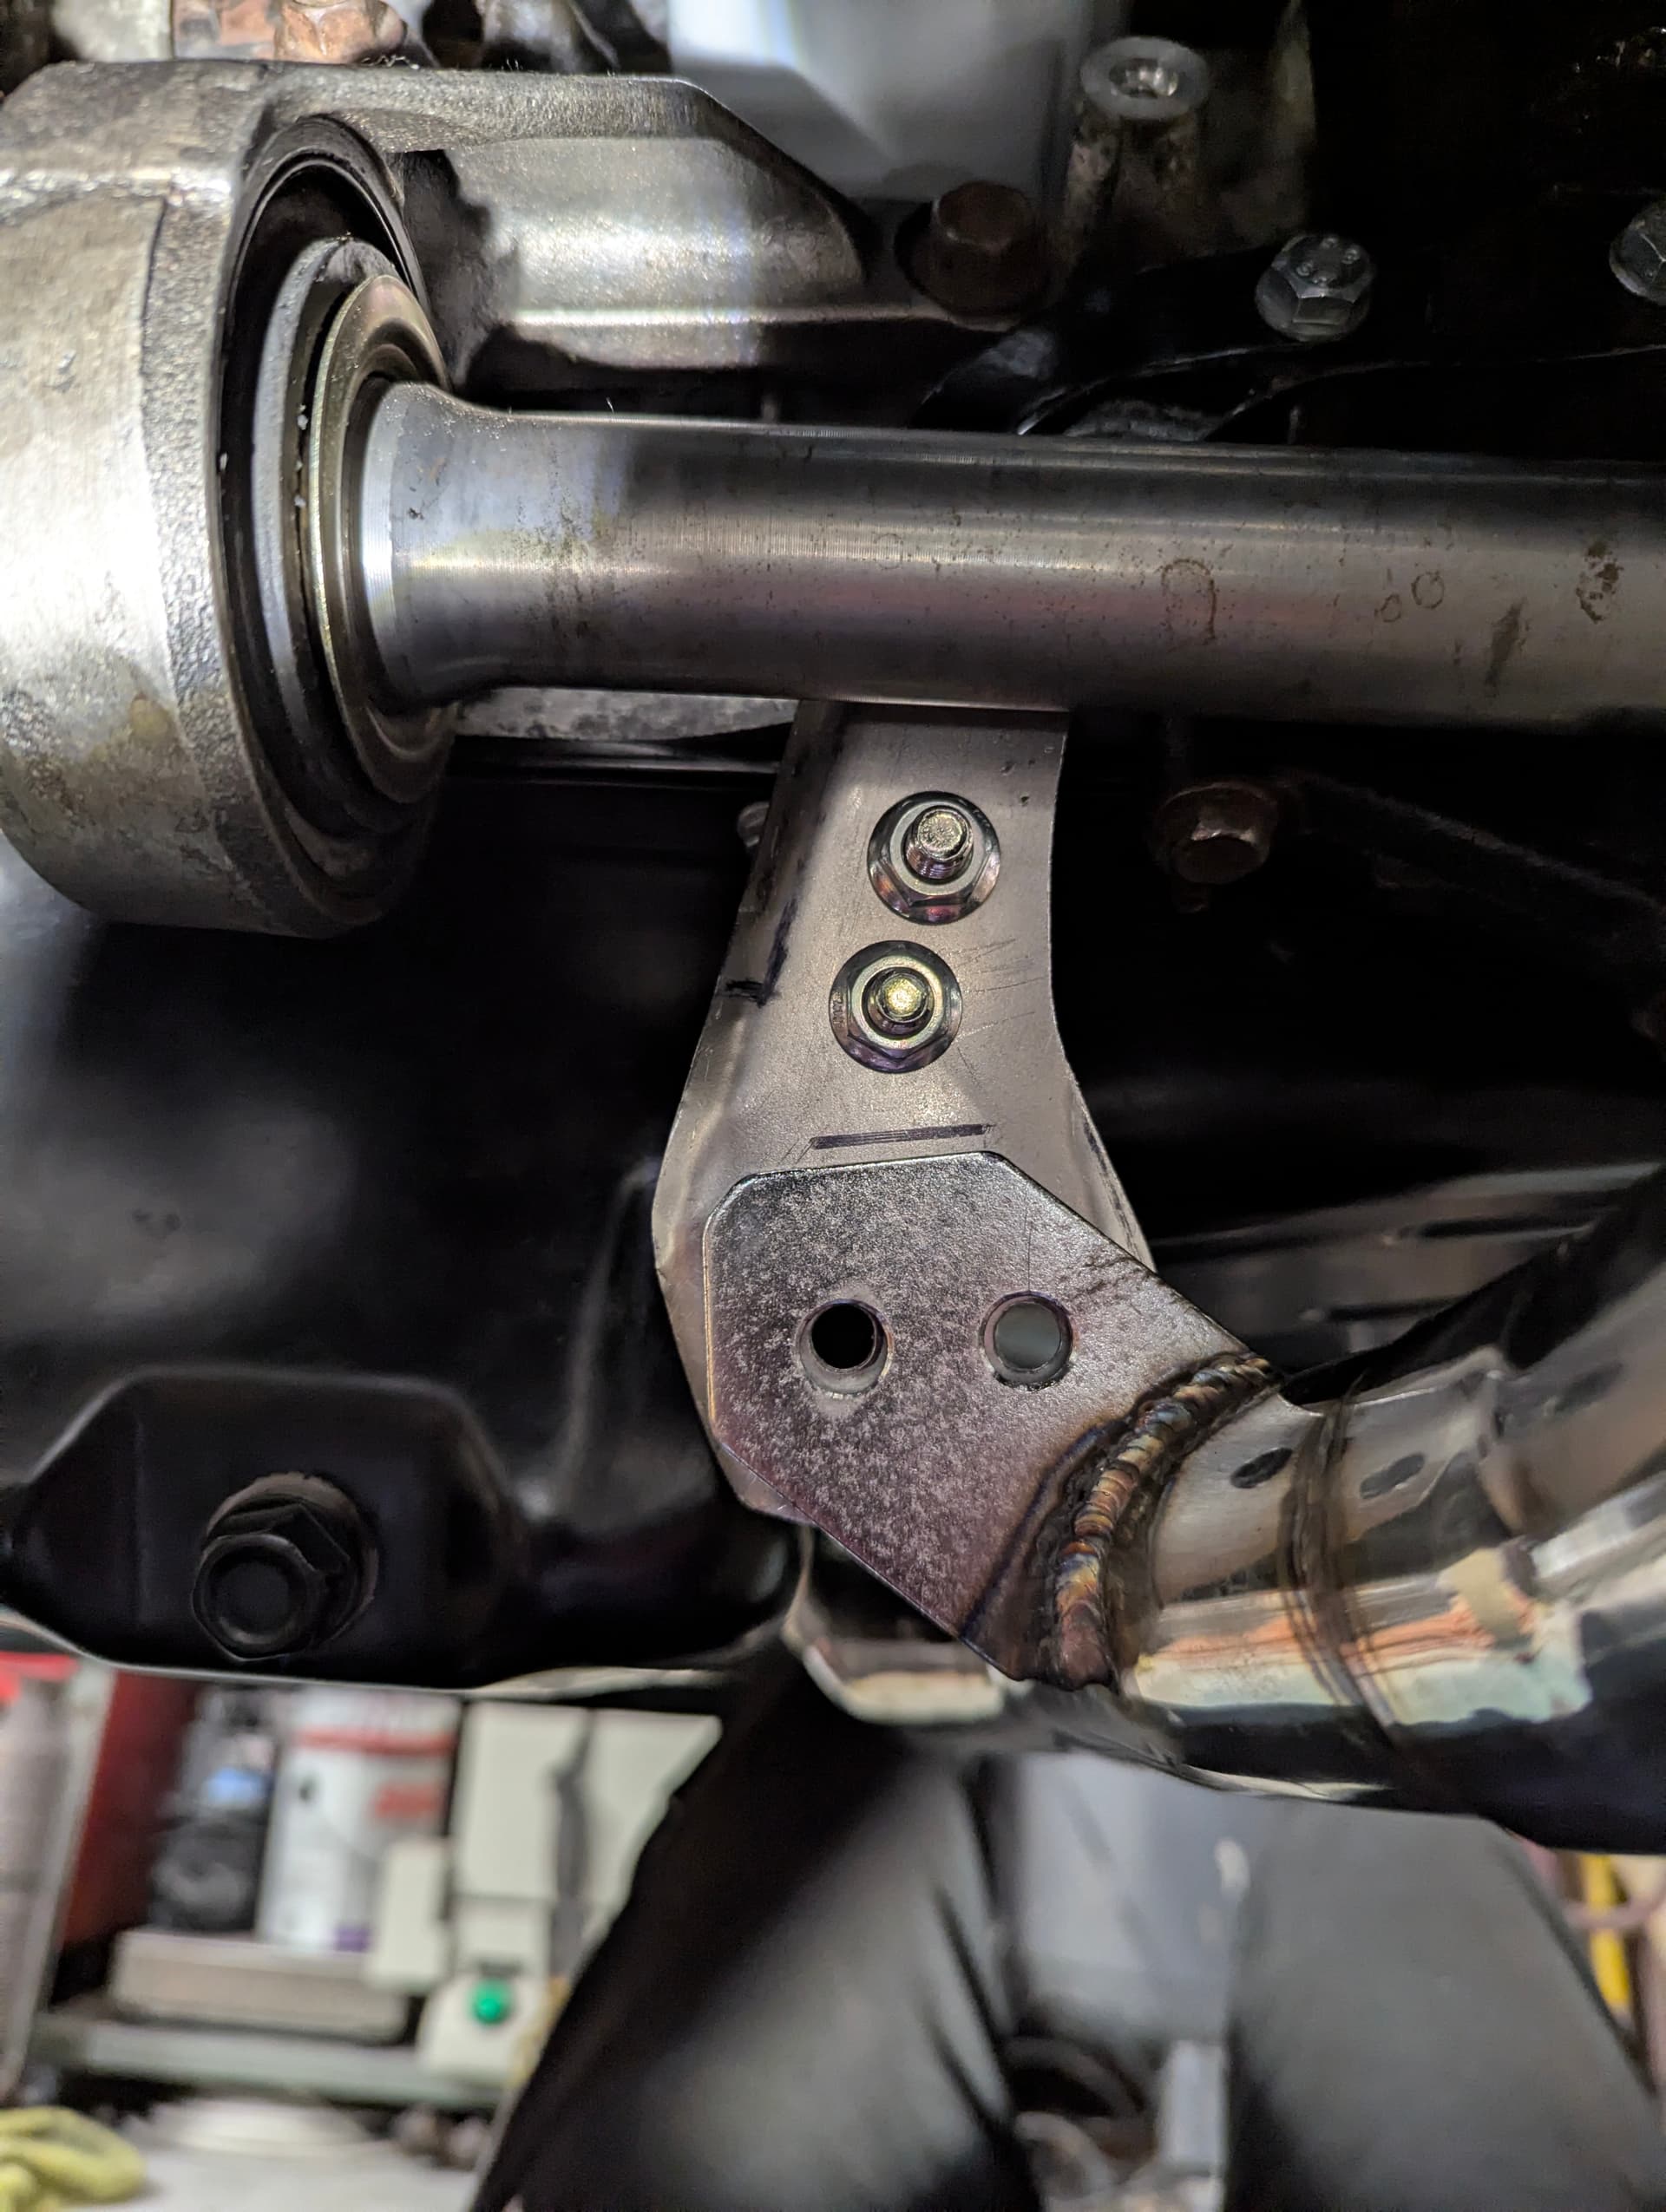
Coat of primer then will get painted black.
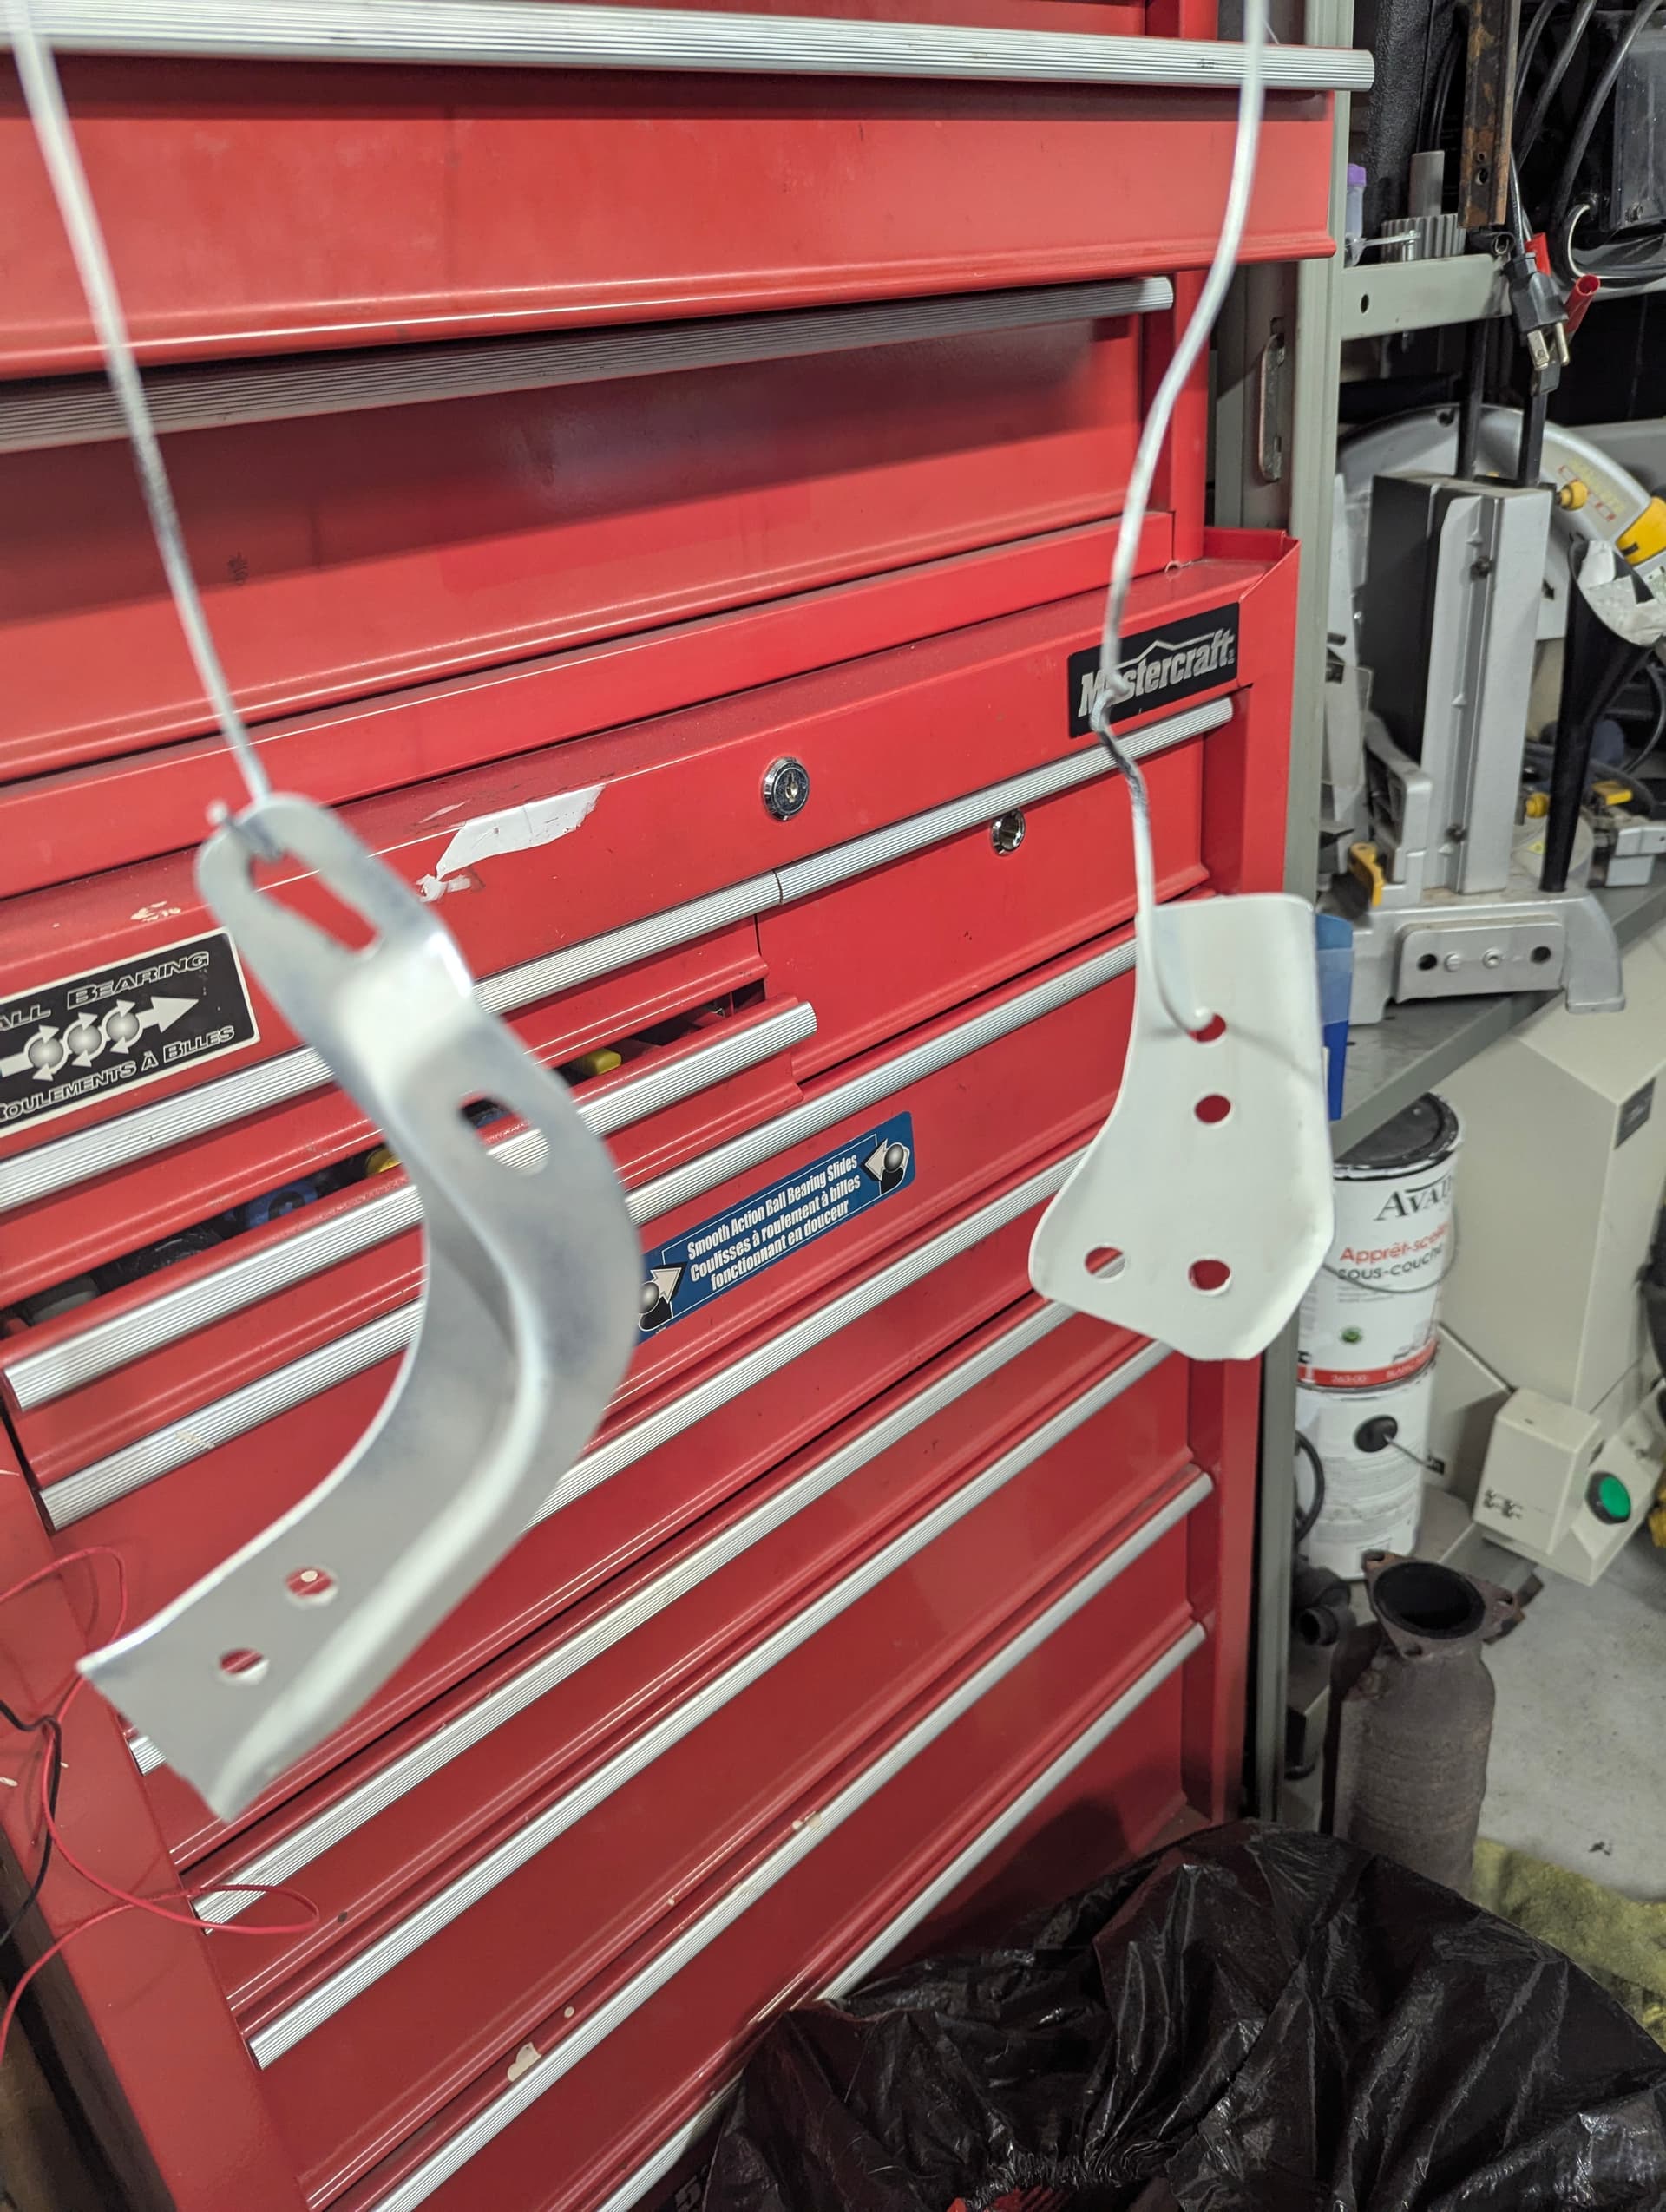
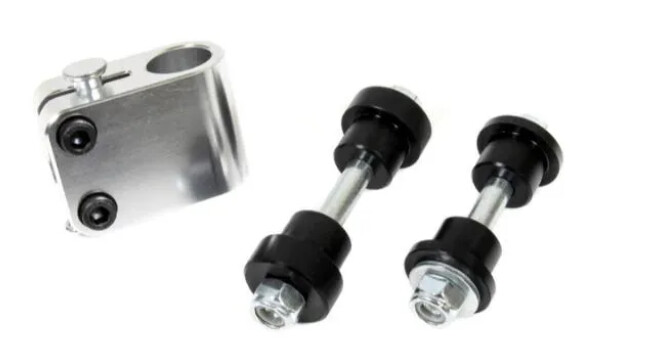
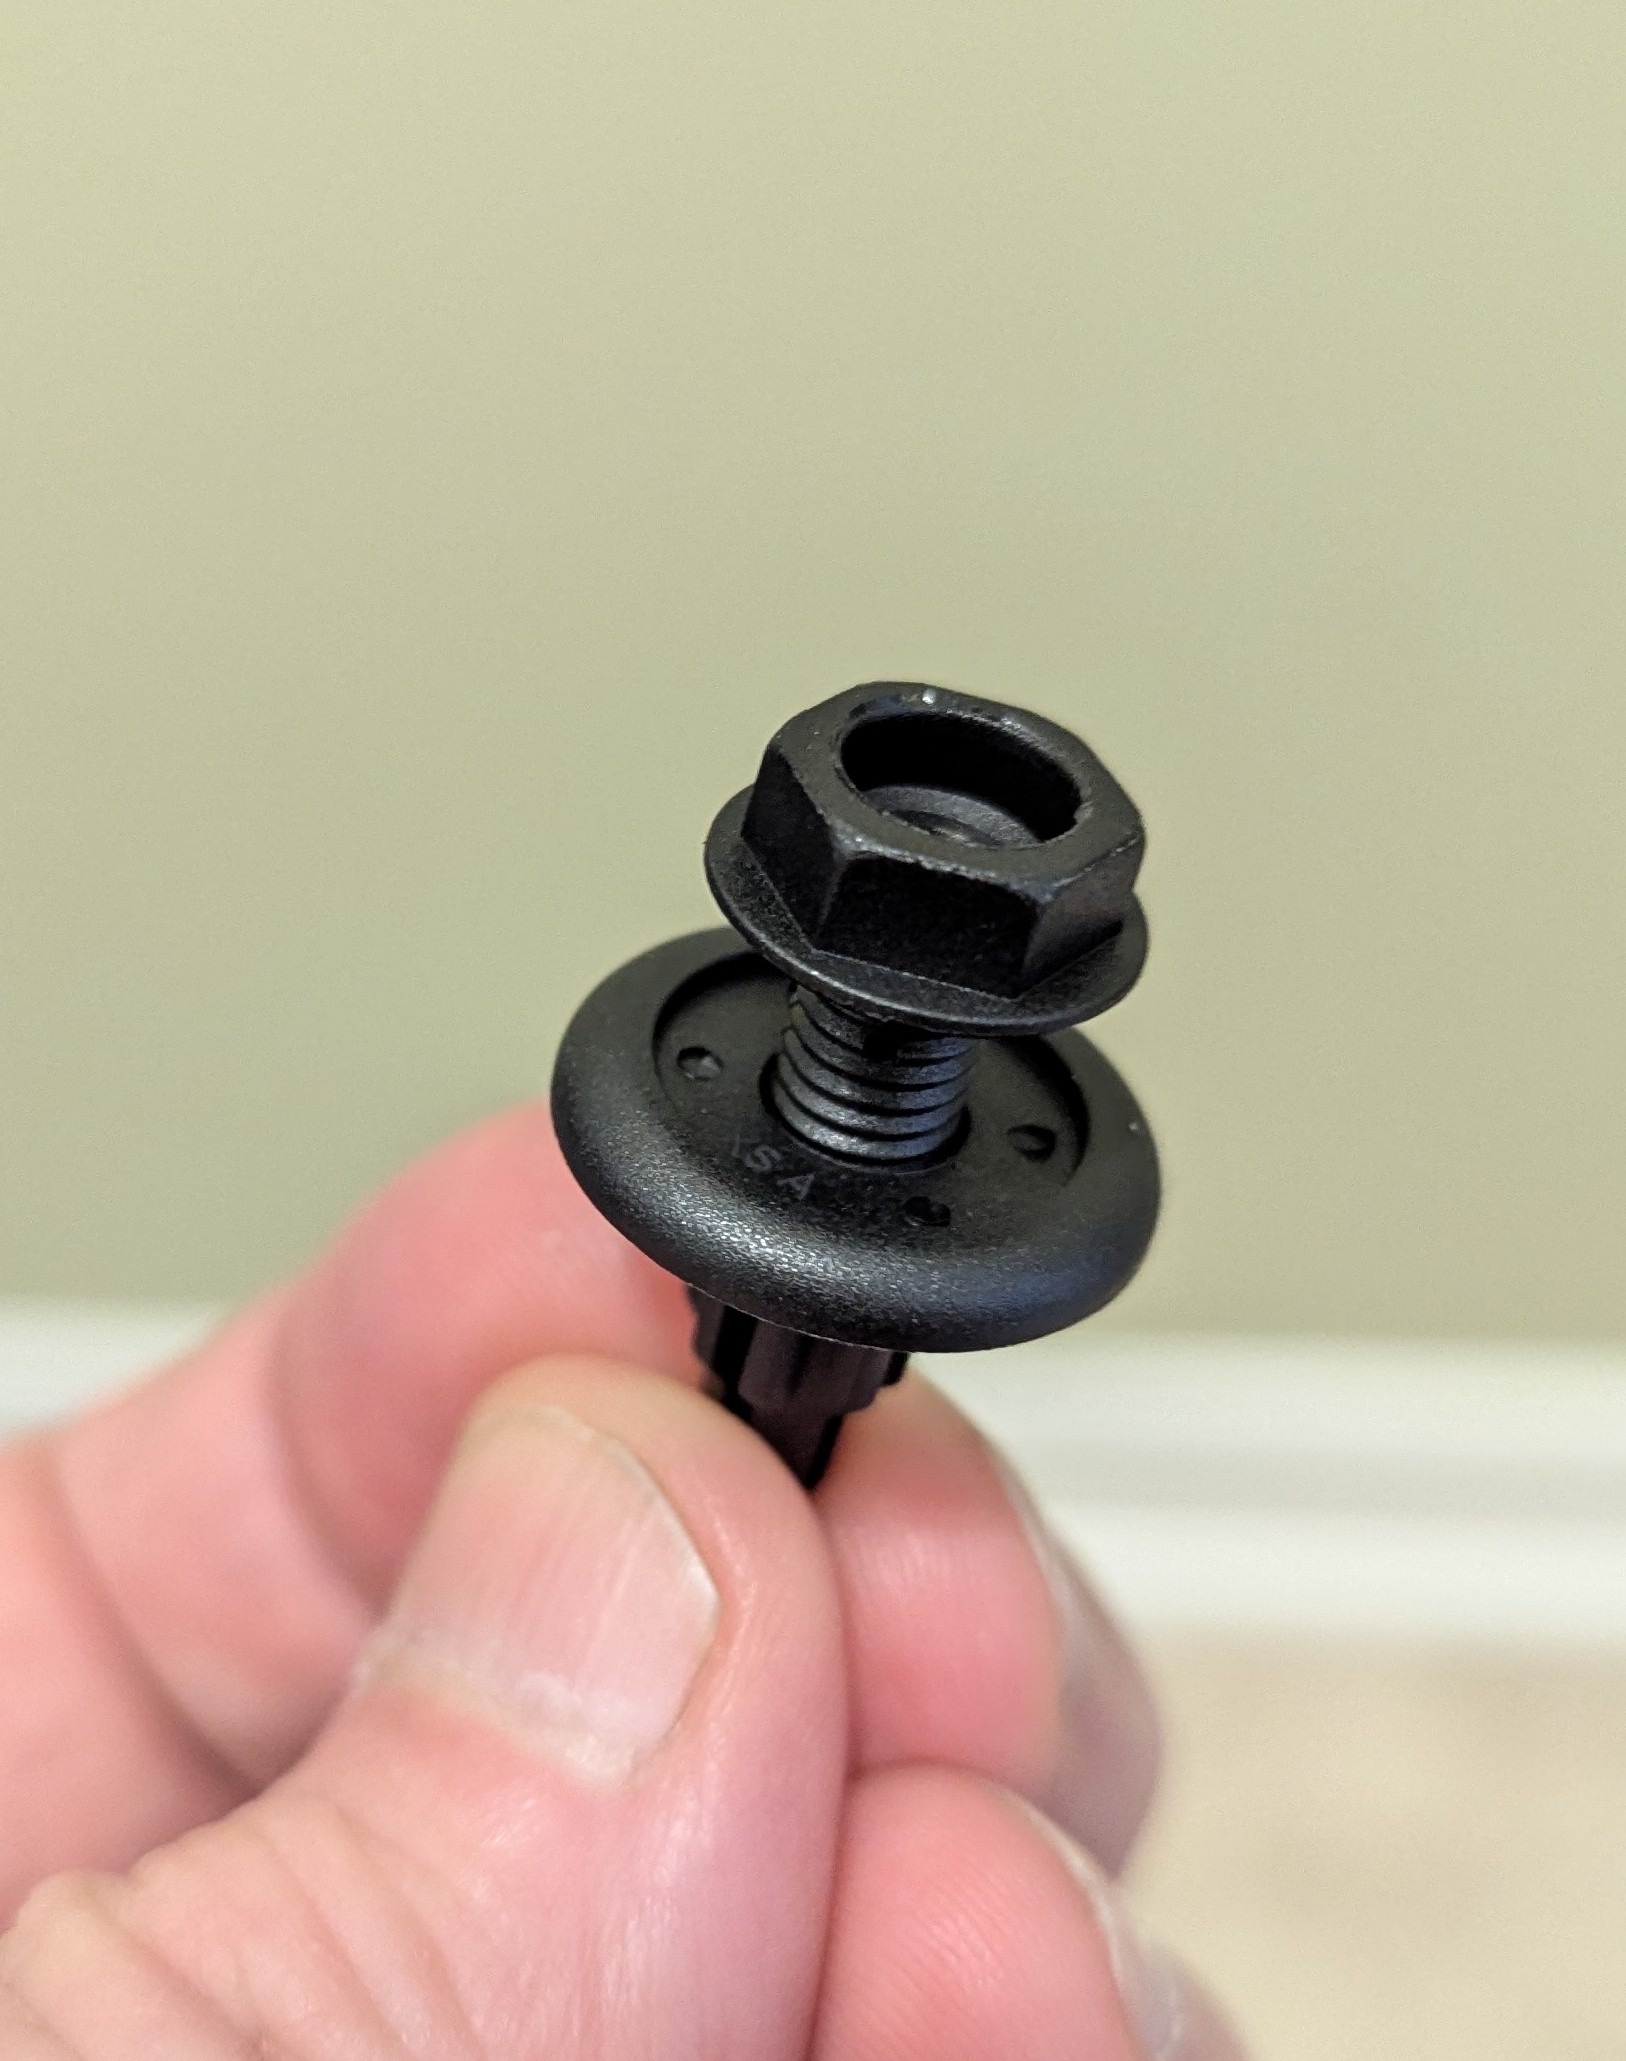
Also got some of these from Amazon. Identical to OEM.
3 Likes
Nice looking work so far. I’ve never seen a header with that bracket before. Nice design
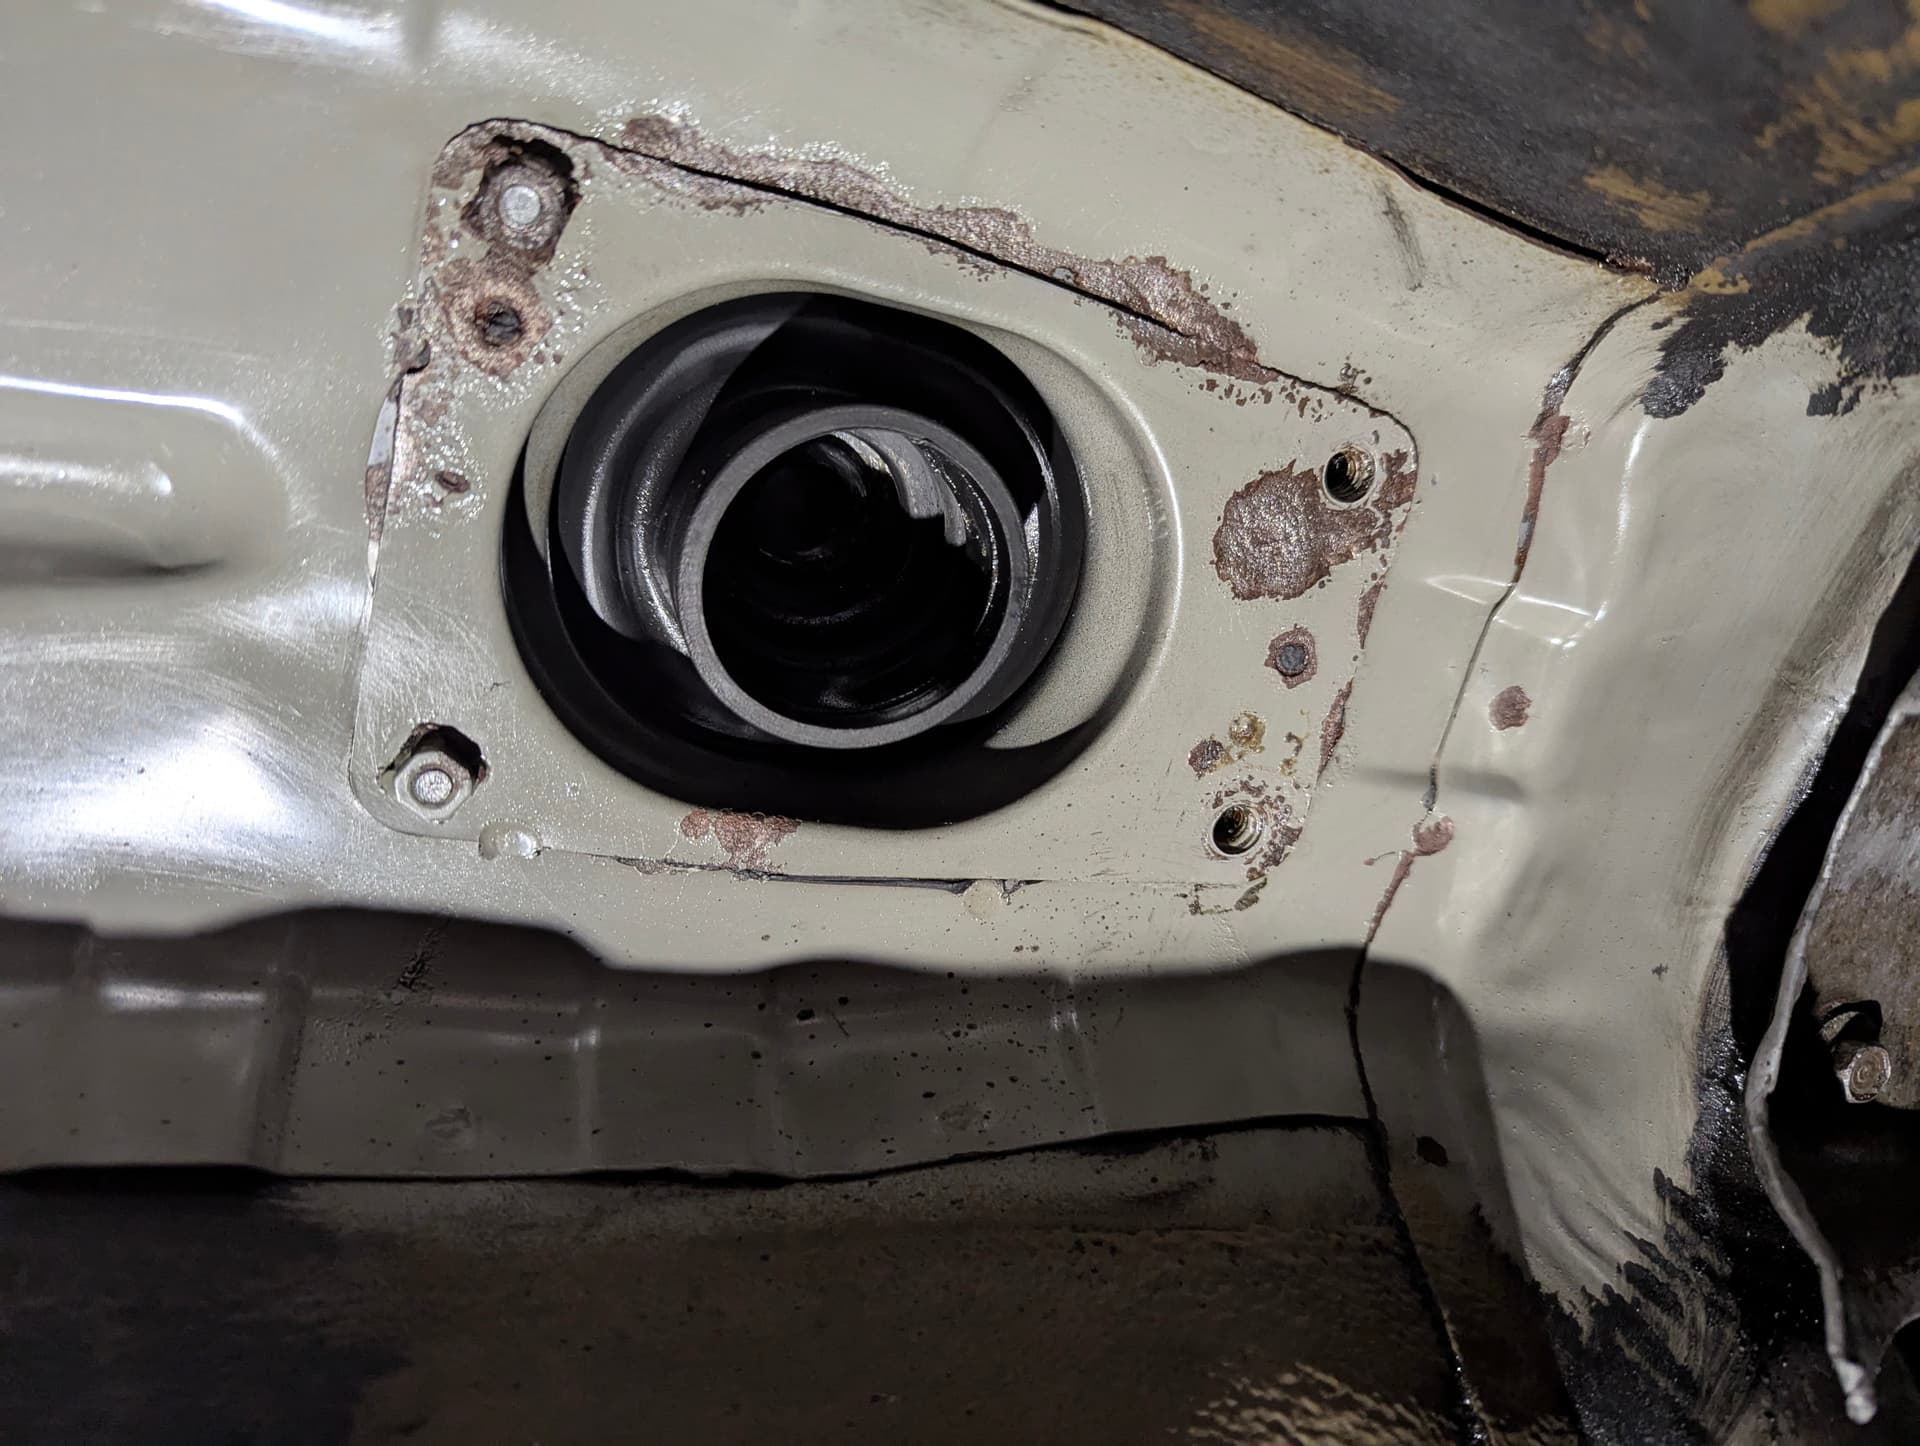
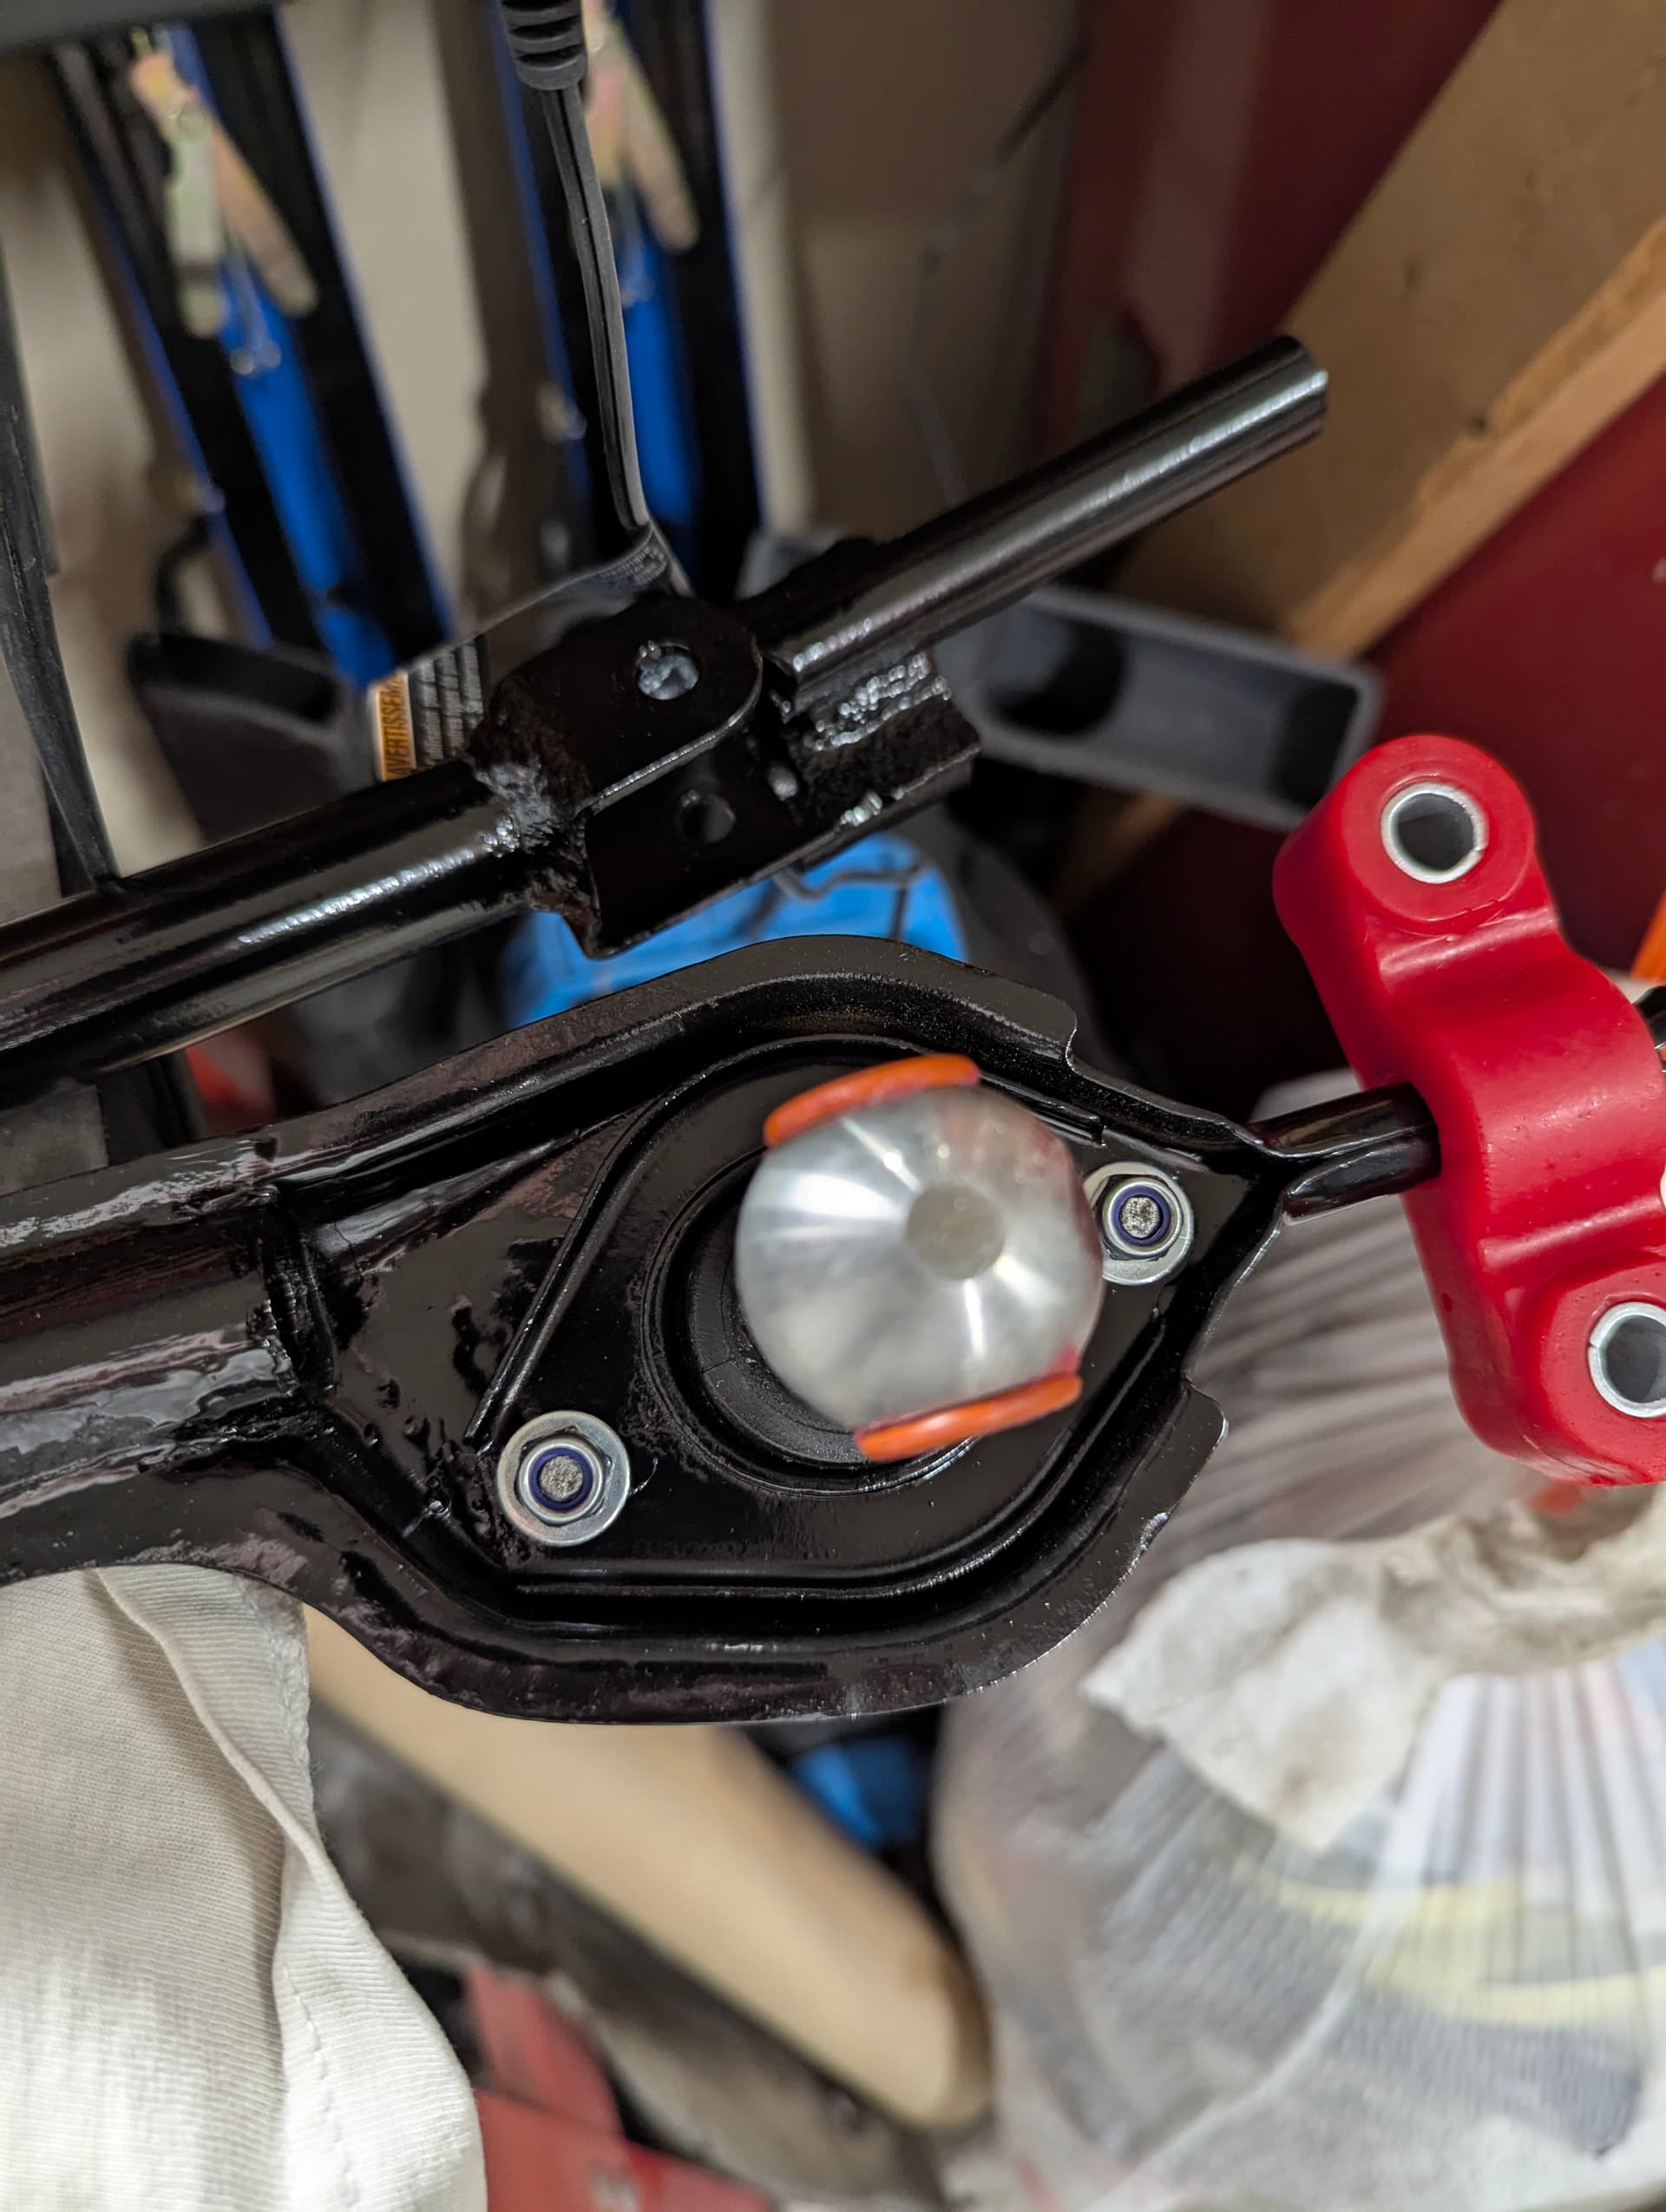
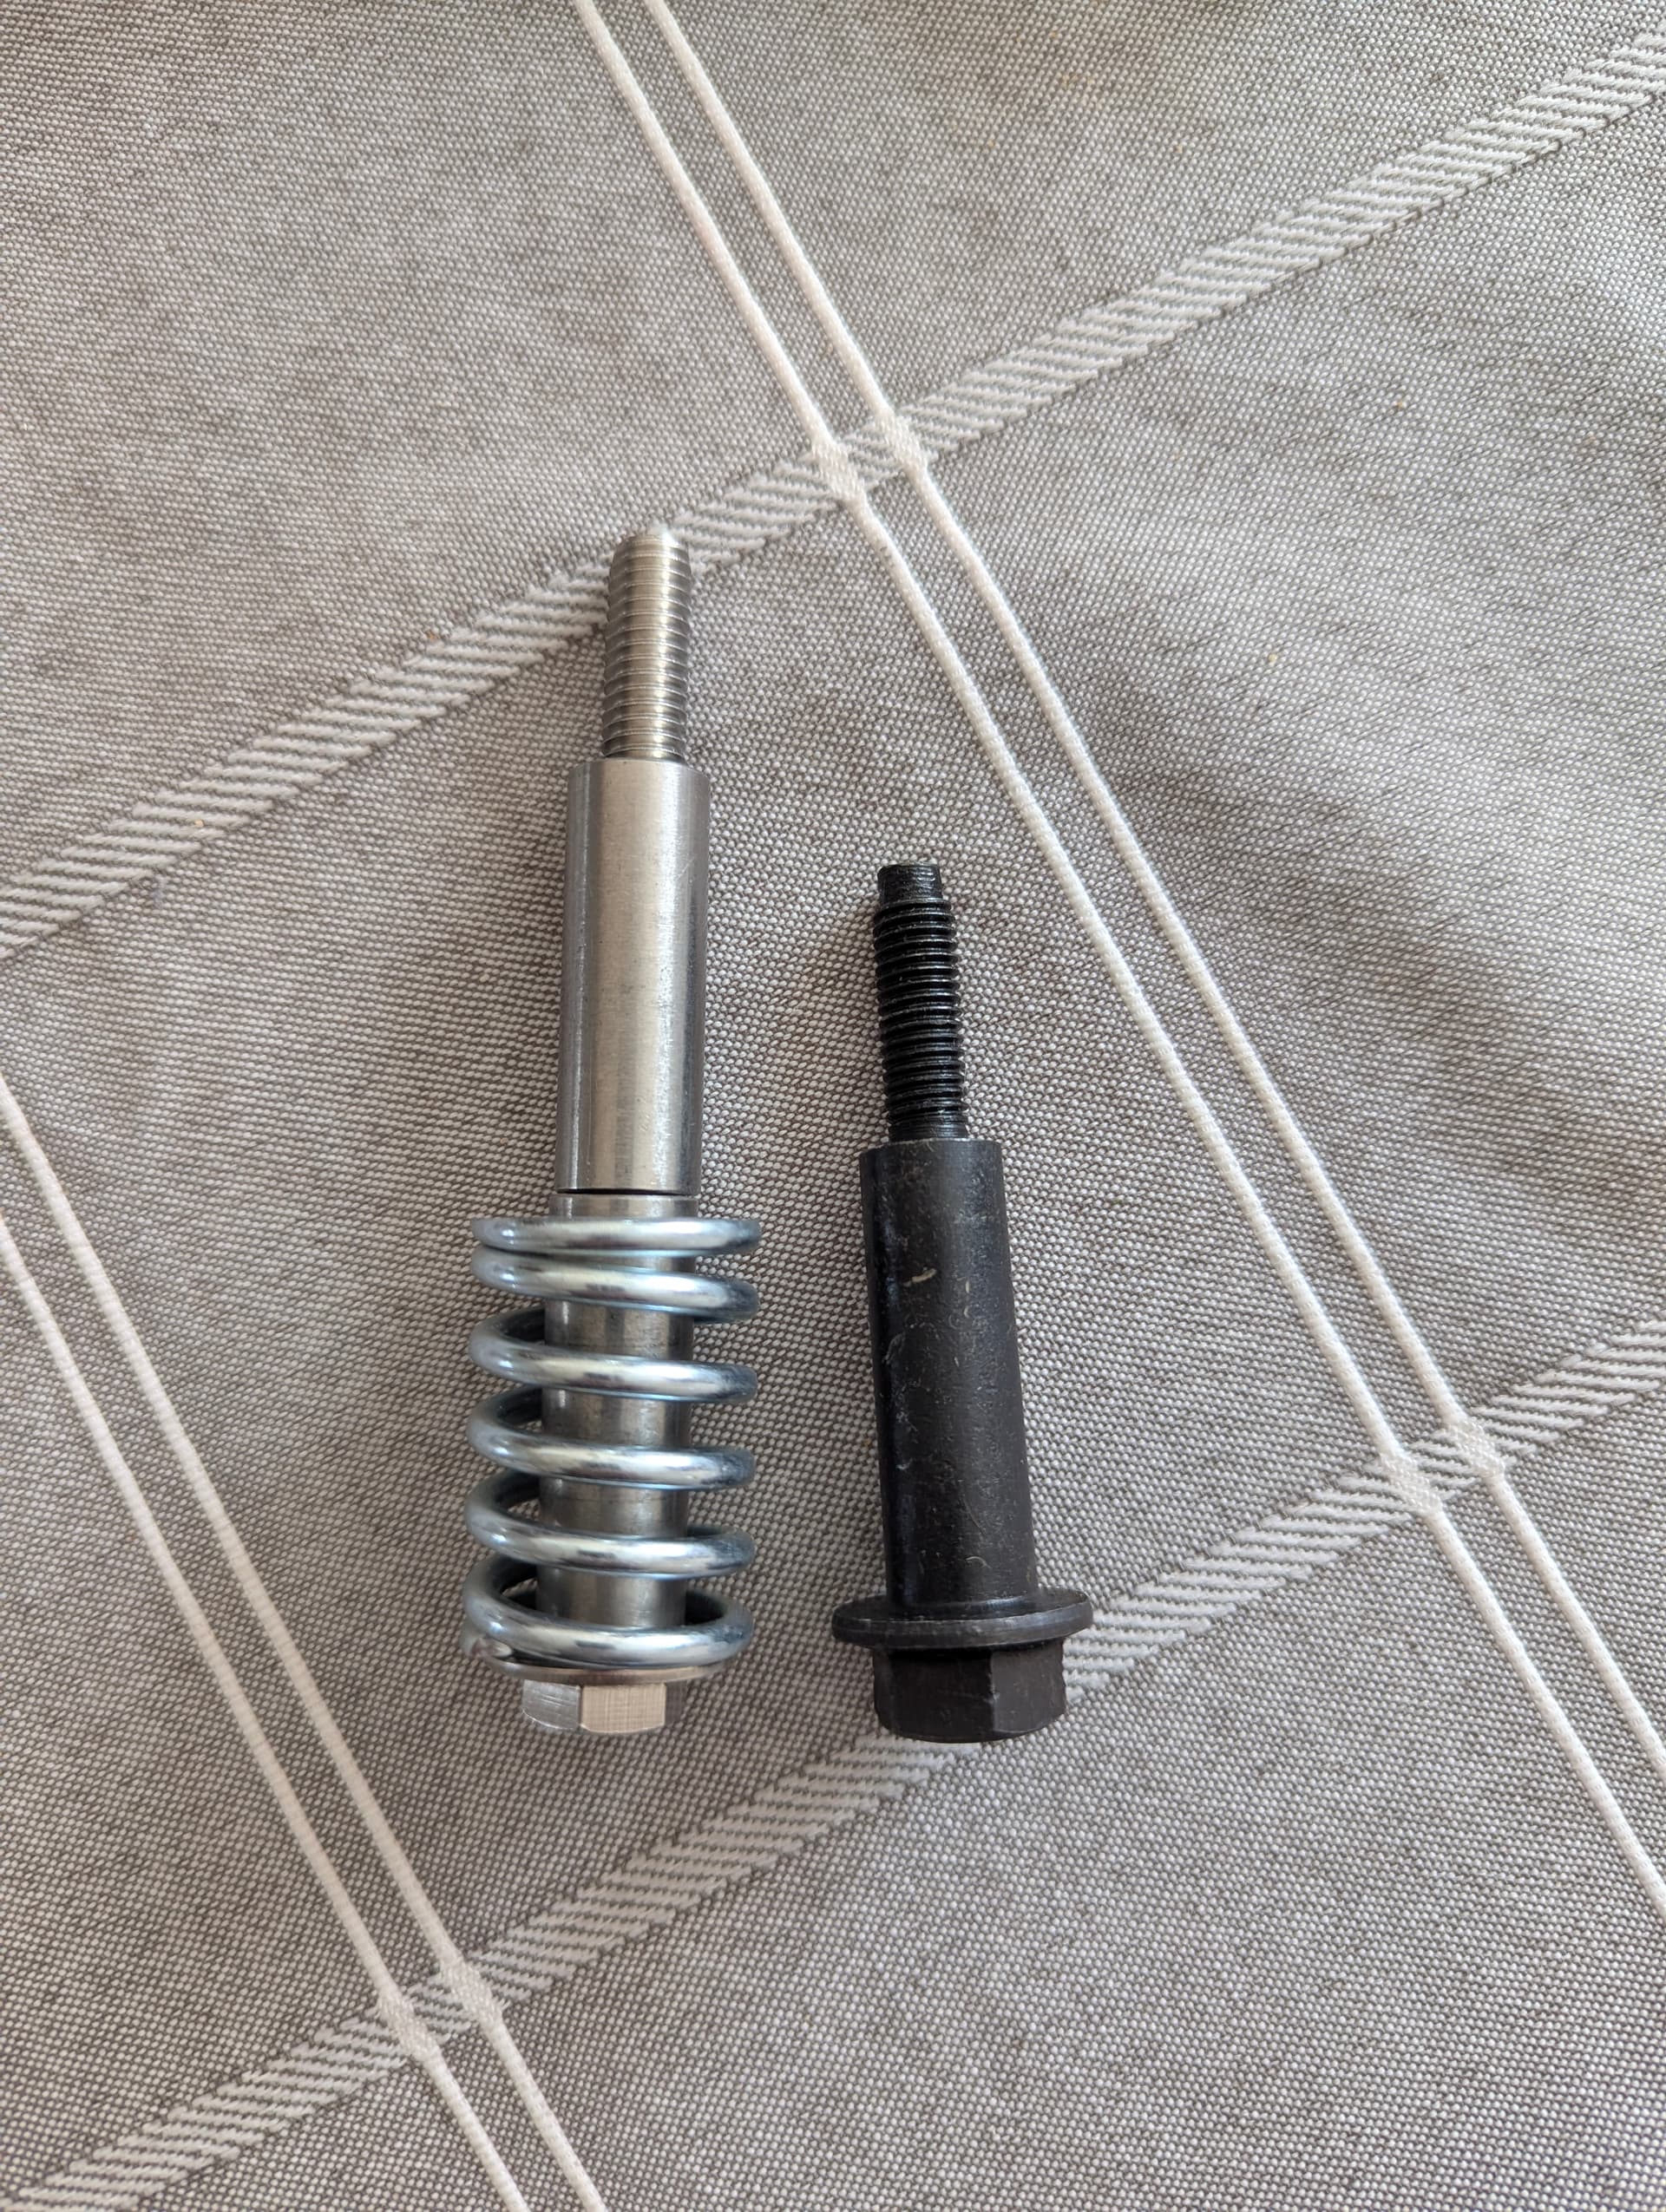
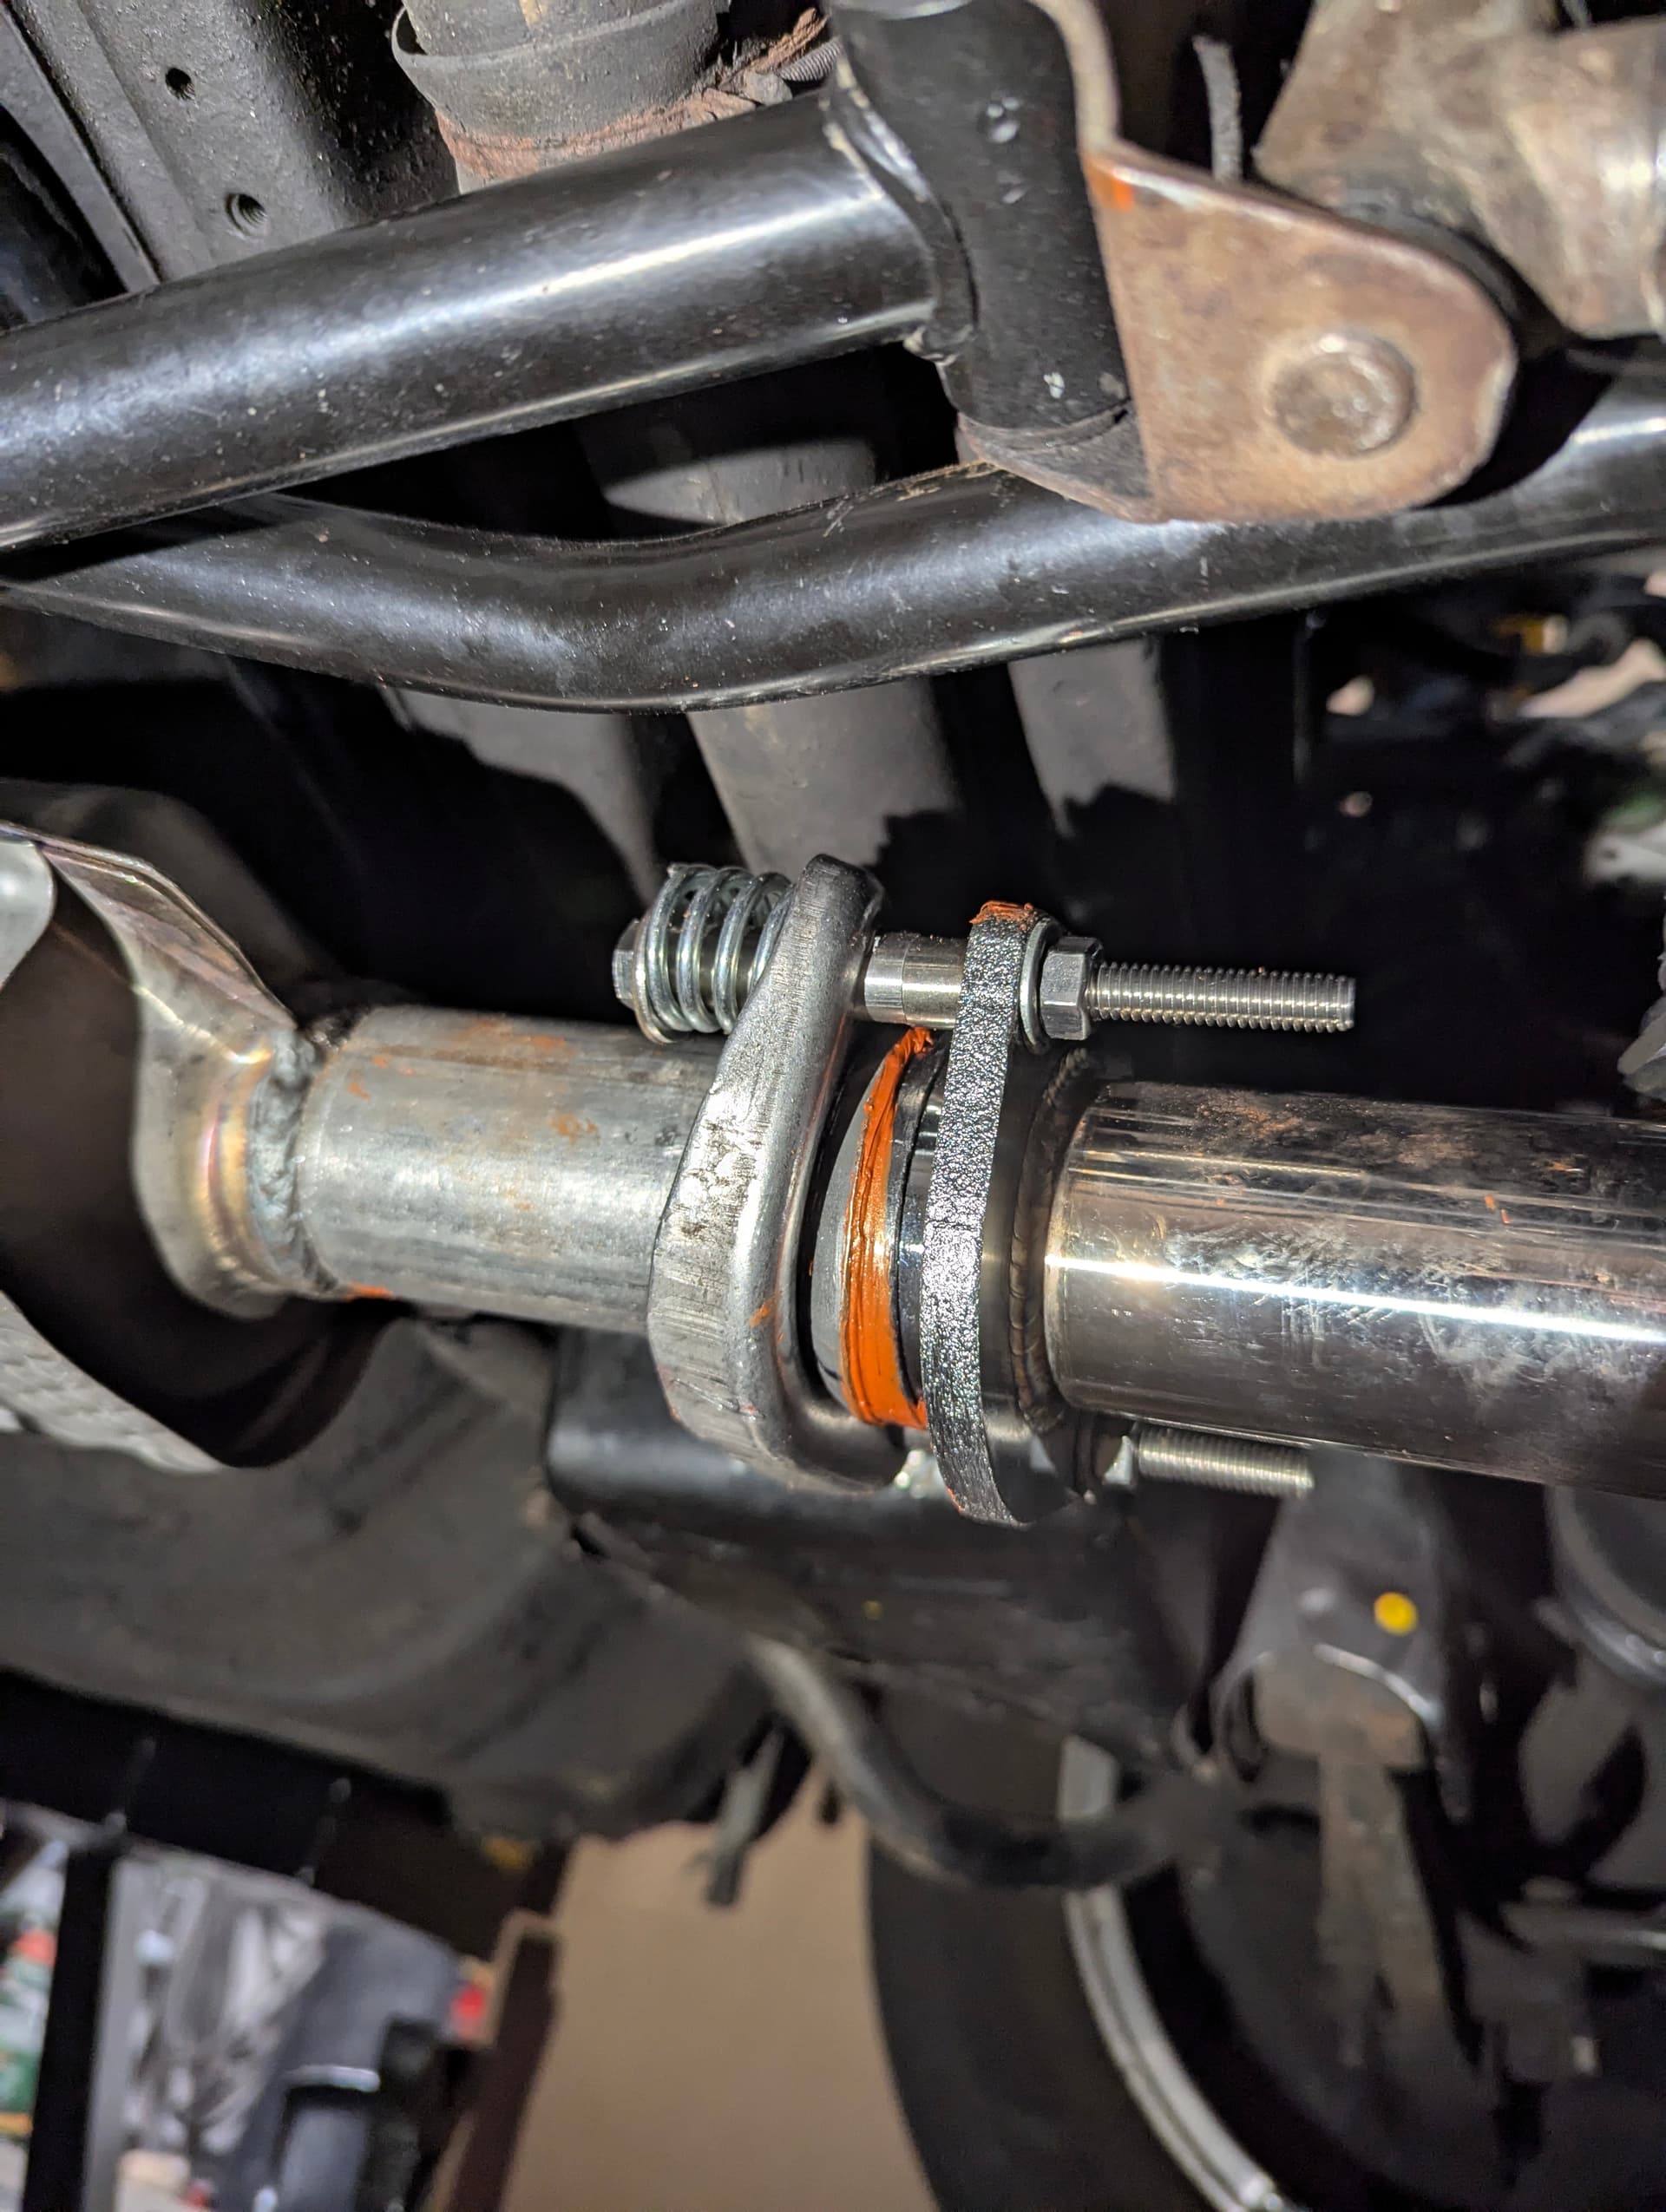
Changed the spring bolts to custom ones that are longer with longer standoffs. Ignore the gasket maker on the donut gasket, I’ll have to deal with that later if/when it starts to leak. I did it since the OEM springs were so compressed, there was no flex, which would put stress on all weld joints.
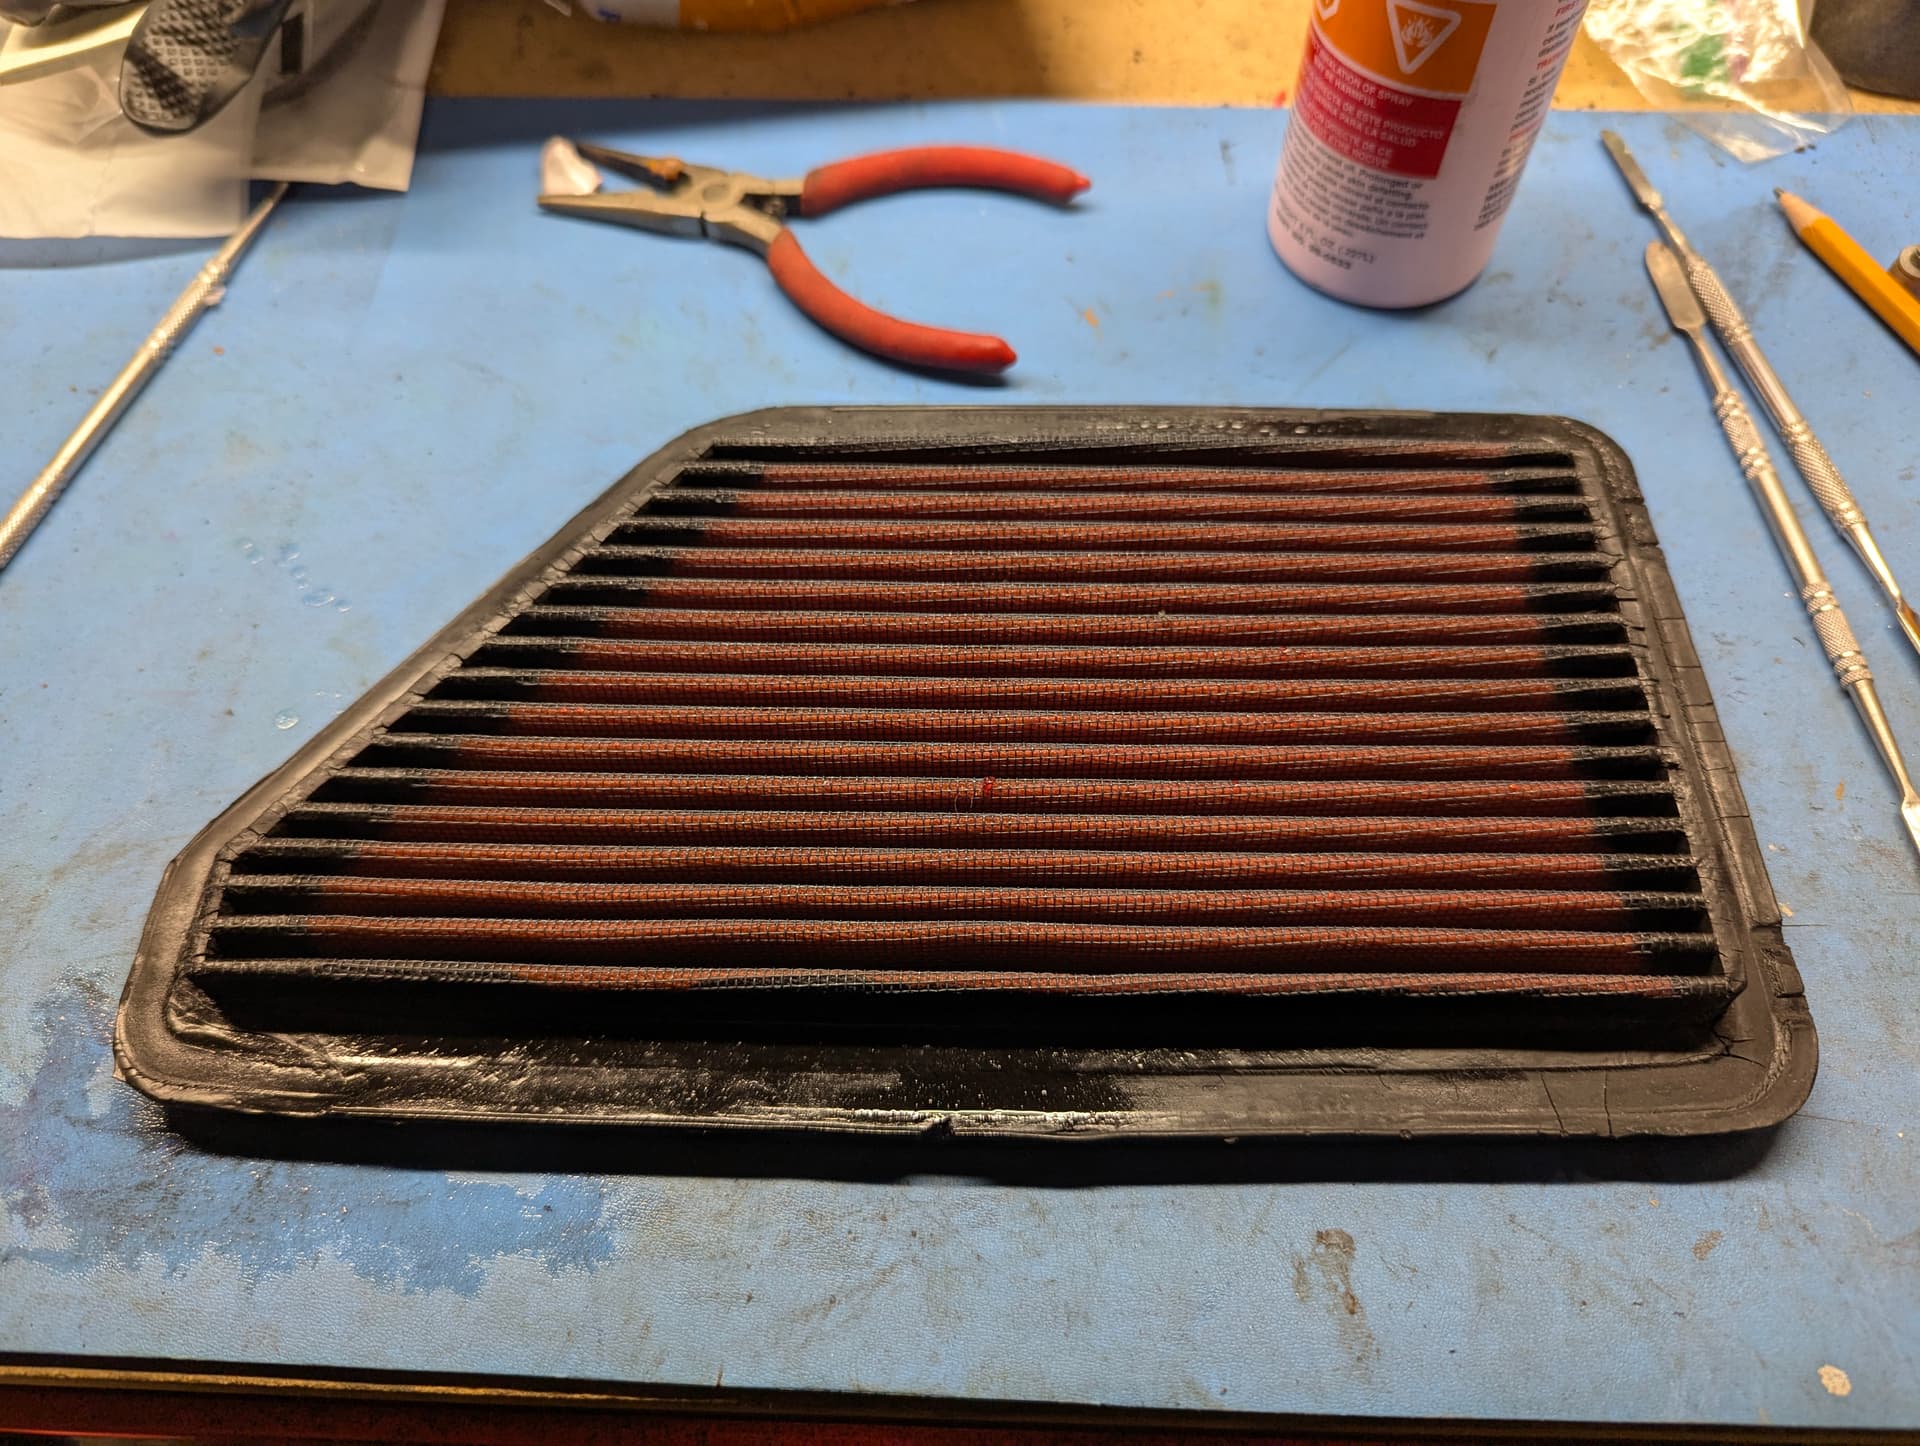
Cleaned and oiled the K&N filter. First time in 15 years.
2 Likes