Bringing this back up nice progress on the rails Mike.
Thanks Genis! They will be finished soon!
![]()
^ Thanks man! I’ll have updates to post soon. Been working on the bay lately and its coming along. I’d already have uploaded the pics I do have but my photobucket app sucks so gotta get em uploaded first.
Update please!!! Lol! How youve been Mike?
It’s coming I promise! Haven’t had a chance to upload pics, work on it, or do absolutely anything. Just walked out of work after a 72 hour week but I may put in a few hours of work today before I go to sleep. I finally get a few days off so I’ll be catching up on everything I’ve been missing.
Dooooo it!
Damn thats alot of OT your lucky over here at my work no OT lol very rarely thats why my roosters are getting hungry.
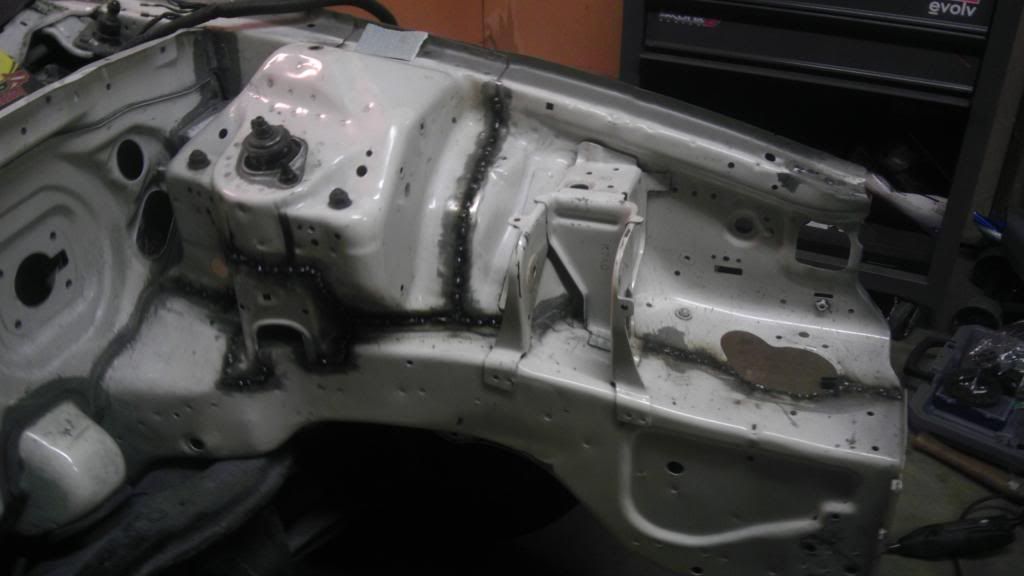
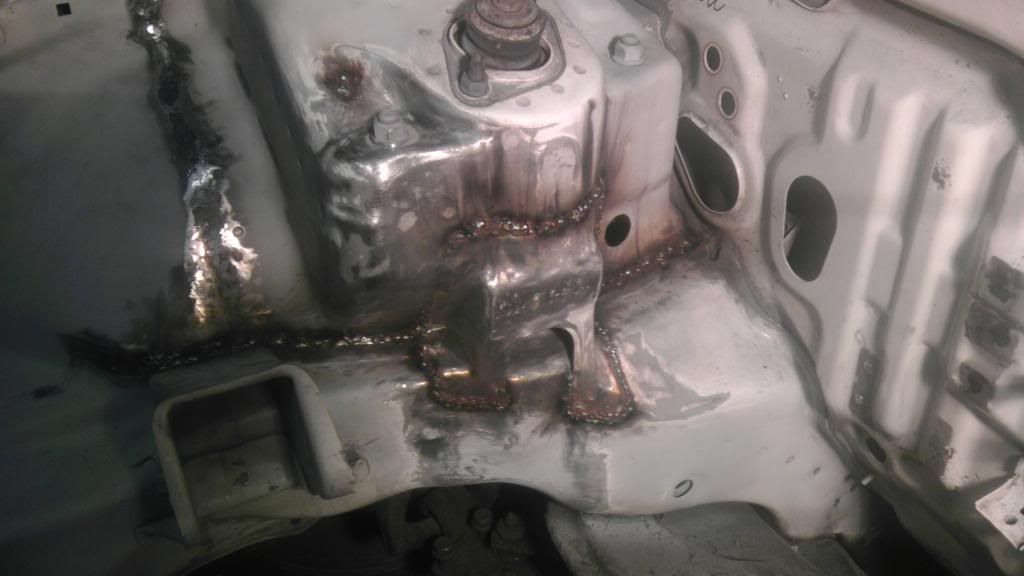
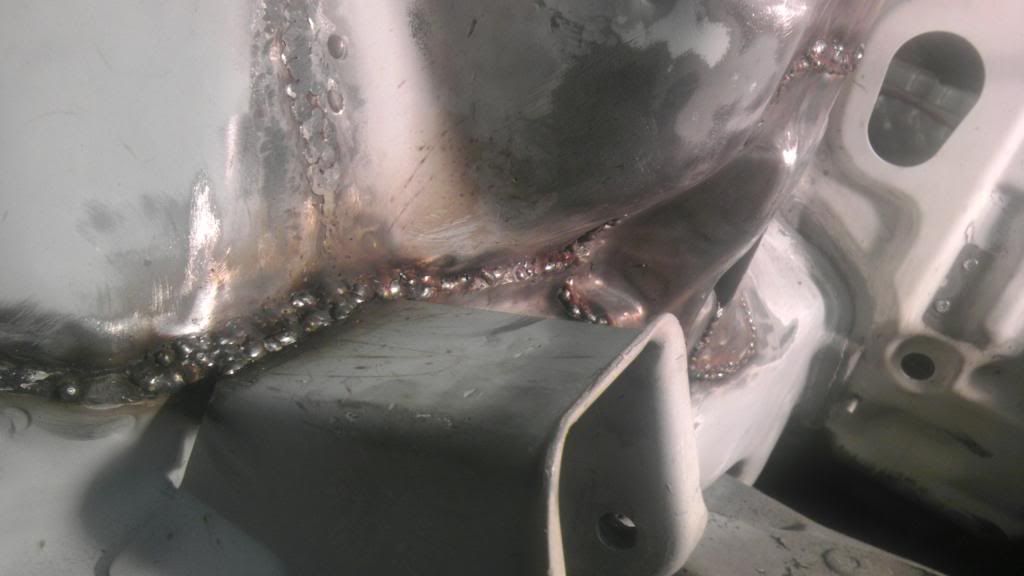
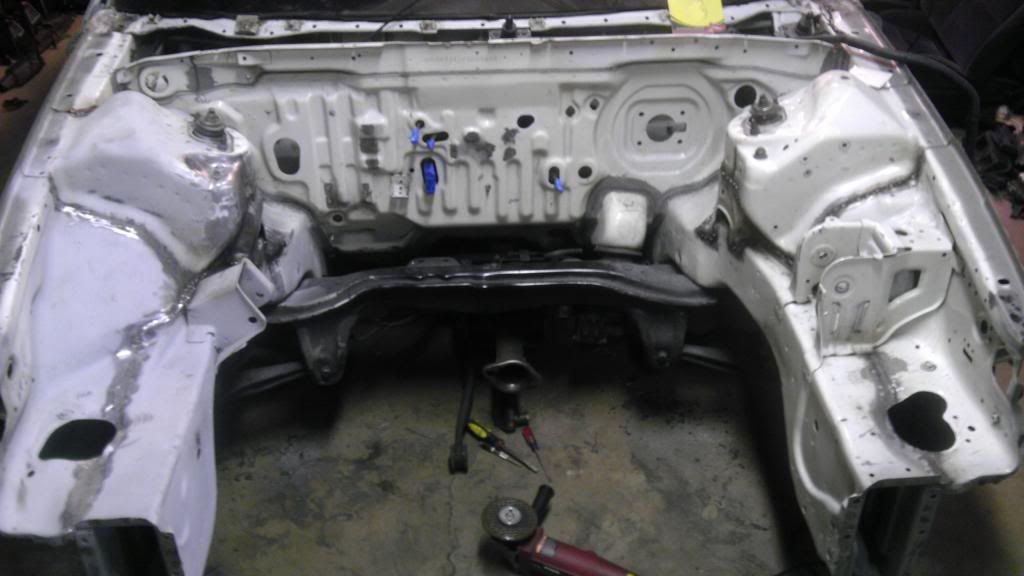
Ok, so I got some pictures uploaded. I’ll start with my engine bay.
I got the drivers side mostly welded up. Not quite finished.
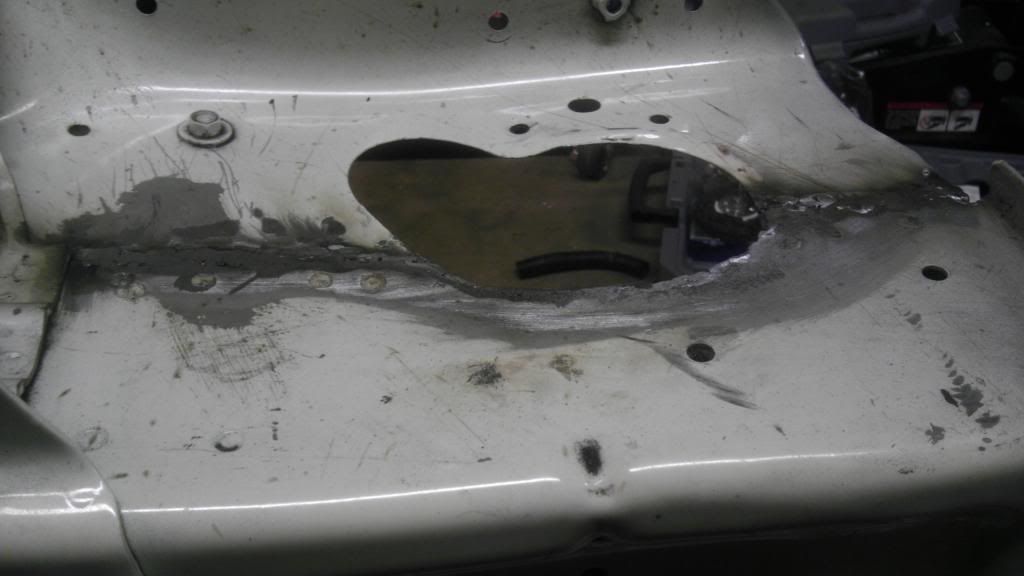
The passenger side is also completely welded except for a few holes. Started grinding the welds down but still got a ways to go. It takes quite a while.
And how it sits… Like I said, it doesn’t look like much is happening
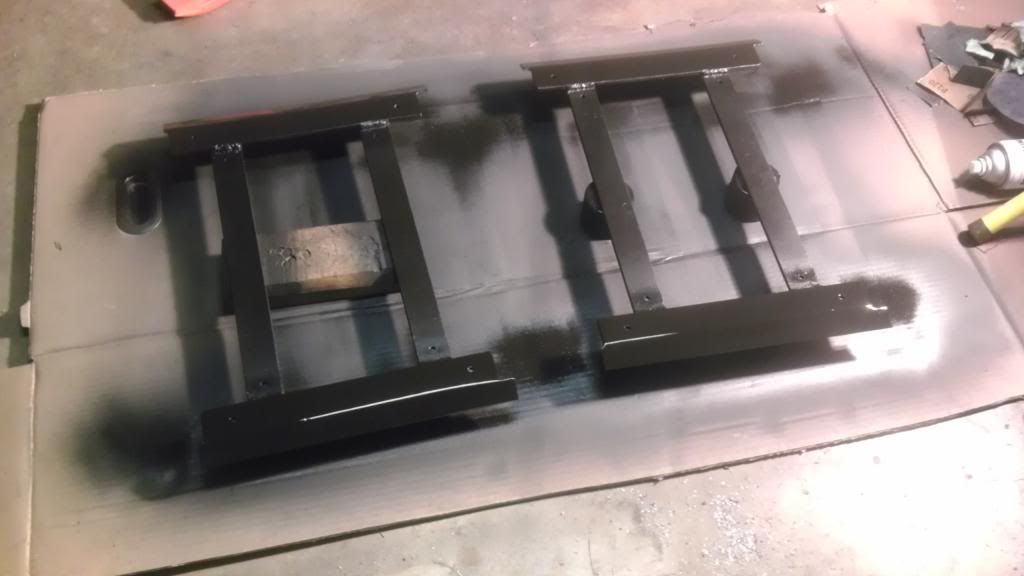
Also painted my brackets for my seat rails. Gotta wetsand them an give them a few more coats.
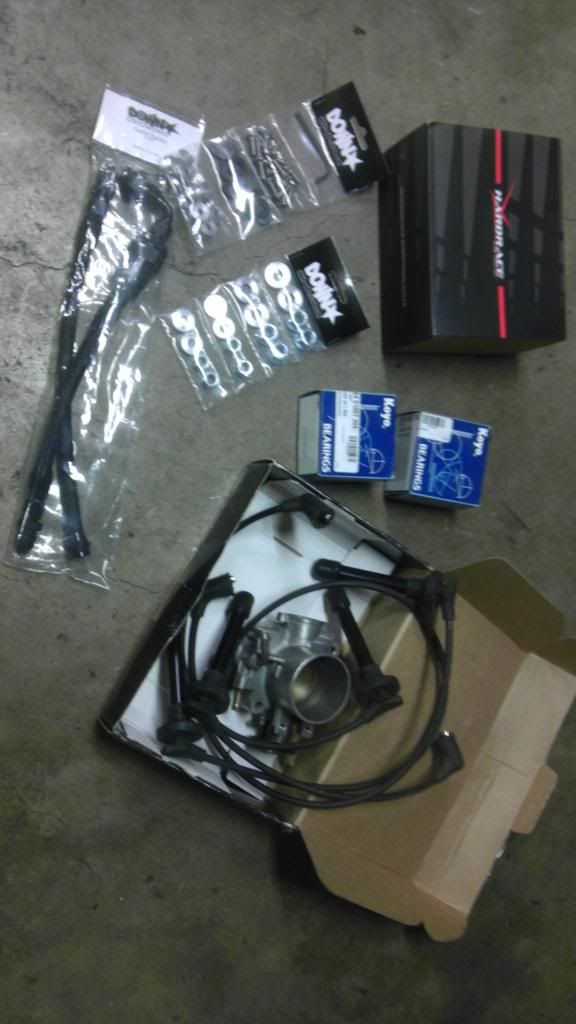
And some stuff I’ve gotten recently
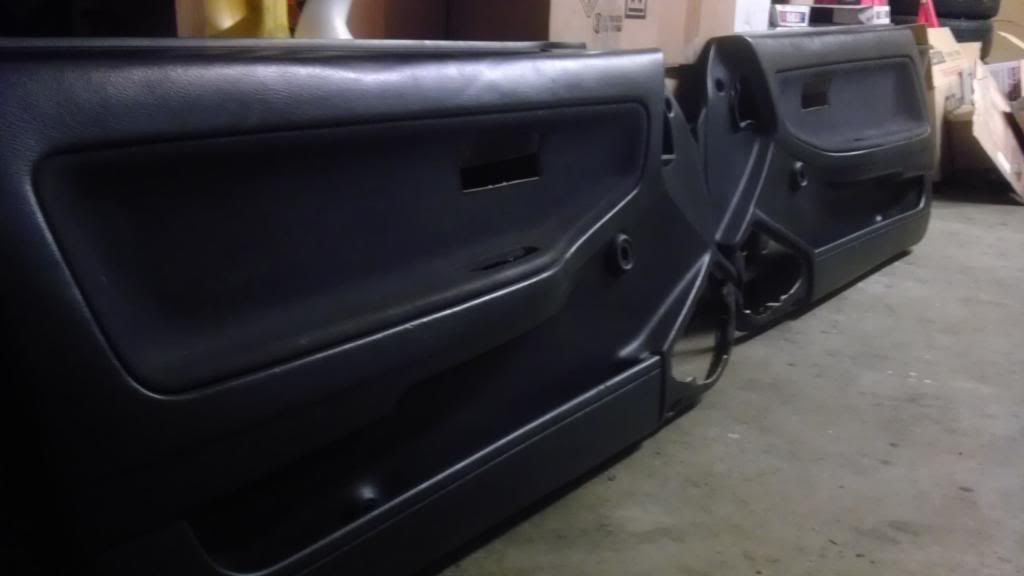
Black rs door panels,.they’re pretty good shape!
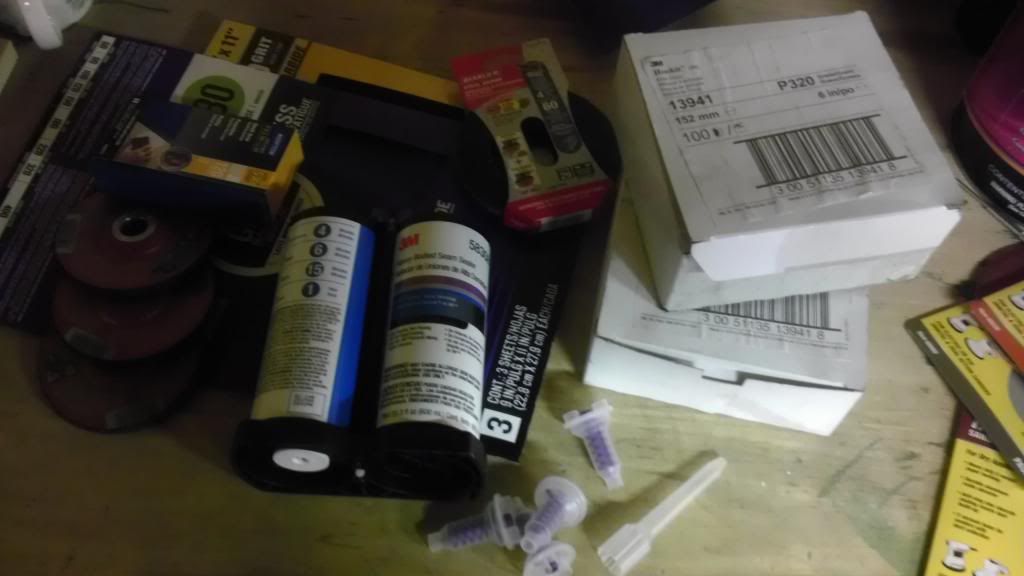
Some bodywork supplies
Downstar fuel tuck and few bolts, front wheel bearings, RTA bushings, and new OEM spark plug wires and used ITR throttle body.
I also ordered all the rest of the stuff I’ll need in order to make my brake lines. And my packages from Canada and Japan should be here this week! ![]()
![]()
Heeeeeell yeah! Nice to see some good progress man. Bay work is such a pain… Tight quarters for sure.
Keep at it!
Thanks guys! Tight quarters is an understatement! I was originally planning to weld every seam but now that I see how difficult it can be to access some of them I think it would be more prudent to actually use seam sealer on a couple of them, specifically the seams between the firewall and frame rails behind the strut towers. They’re almost unreachable and will be next to impossible to weld and grind. So I searched around for a sandable seam sealer with no results. I did however find talk of using lacquer thinner to smooth the surface of the seam sealer immediately after application. Apparently it is supposed to give the surface of the sealer a smooth and finished appearance without the necessity of sanding. Any input on that Sean? Its currently the only plan I’ve got so hopefully it works out!
Look at LORD fusor and seam sealers… I was just at the paint shop yesterday and they have a TON of variants for different uses. They’re bound to have something sandable. I know for sure they have self-leveling stuff.
I looked into their products and sure enough they do have a sandable, self leveling sealer. I should have asked you before buying the 3m stuff I got. I bookmarked it anyway so if a trial run with the stuff I have doesn’t yield the results I’m looking for I’ll definitely have to give it a try. Thanks man! Appreciate the advice! Next time I’ll just ask before buying stuff…
Quick question before I give the wrong idea. To my understanding the seam sealer is only there to prevent moisture or any liquids to get in between the two metals, correct? If that’s the case, then you should be able to use fiberglass (such as like using bondo filler) but it will be better to use the clothe and pour the resin liquid to bond it to the metal. Once the resin dries it will be sandable.
By the way great job on the process and cool parts as well.
Jose, I think that if he used fiberglass cloth then he would be covering the seam with the cloth overlapping onto the metal around the seam. I don’t think that’s ideal since he doesn’t want to add thickness, but instead fill the seam. Filling the seam normally is for what you said, to keep dirt/moisture out of there, but in Mike’s case it’s also aesthetic since he’s “shaving” the bay. I guess he could use some sort of fiberglass filler or something and cram it down into the seam and then sand it smooth. I just wonder if maybe it wouldn’t be the best idea long term? I’m not too familiar with that sort of fiberglass filler but I’d be worried about it cracking when the chassis flexes - remember the front end of our DA’s flexes a LOT. The reason people use seam sealer or weld is because both of these will not crack (well, technically the seam sealer can crack, but it’s meant to be flexible). Some people use bondo to fill the seams and then they end up with cracks where the bondo separates from the metal - possibly fiberglass filler would do the same over time?
If the car gets driven enough filling the seam with filler or anything other the welding will crack eventually
Too much body filler, and yes even fiberglass, will crack with chassis flex.
I do fiberglass repair for a living and definitely wouldn’t recomend to use it in the bay. Not only is it too brittle, it will be a whore to sand in.
I’d definitely stick with a rubber/butyl type seam sealer versus bondo or 'glass.
Fiberglass is, like unified said, far too brittle for anything that sees any flexing. I speak from experience on this one. When I shaved my roof moldings several years ago I thought it would be a suitable solution for filling the channel and didnt think that the roof area would see enough flex to cause a problem but it definitely did. It looked great for about a year, then the fiberglass began to seperate from the panels and allowed moisture into the channel. I recently chipped and stripped it all out but the metal is pitted and rust has formed in the pitting that I can’t remove with just wire/flap wheels so now I’ll have to sandblast those areas more than likely in order to fully remove the rust. It might be a suitable solution for filling in emblem holes or something similar if you don’t have access to a welder but I would still advise against it. My painter actually laughed at me and told me never to use fiberglass on metal. He said fiberglass is meant to repair fiberglass, welds are meant to repair metal. Now I see why.
Yessir…
Repair like with like.
Metal for metal, plastic for plastic, fiberglass for fiberglass. Always the best solution for sure!
