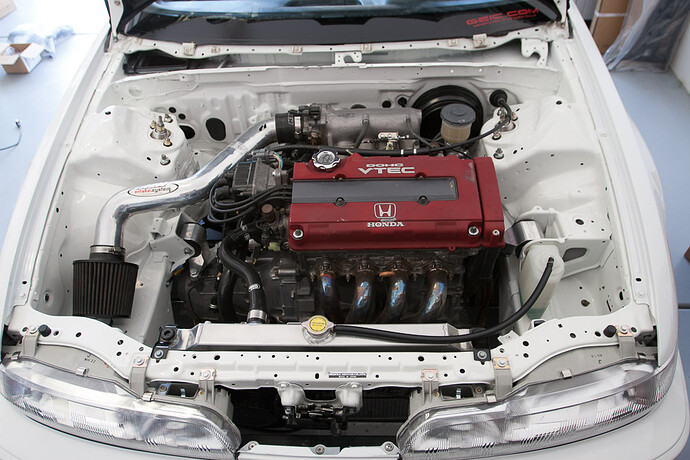
The progress is awesome! The bay looks sooo nice. I hear ya on saving lol.
Thanks man
damn bro were going to have to do a local photoshoot sometime with both whips. im overhauling mine right now… i love your engine bay pic i saved it and am referincing it.
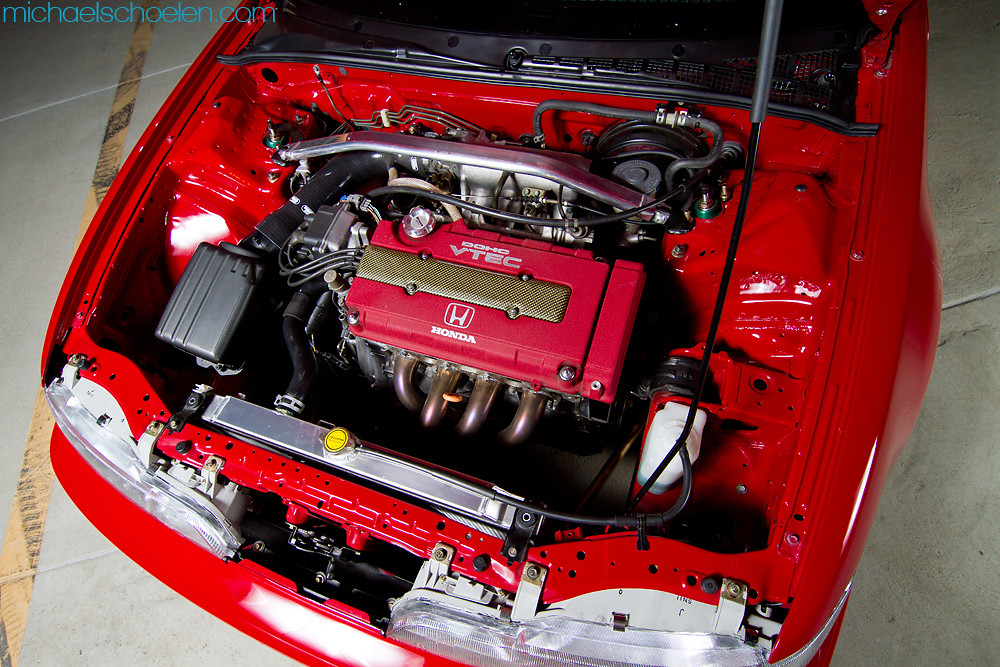
Thanks! I’d be down for a shoot. I have plenty of stuff to do to the car still, but I always like going out for a little photoshoot. I don’t see my engine bay as that clean, maybe it’s because of all the other amazing looking engine bays that put mine to shame. But I did the same thing when planning out my bay. I took this picture of ONE-R’s car about 2-3 years ago, and have referenced it most of the way to kind of guide me in the right direction.

1992 Integra Milano Red Gs-R by Michael Schoelen, on Flickr
wow that ones nice too but im still extremely impressed by yours… it looks so clean.
What did you do with your master cylinder? did you purchase a new oem one? how about your brake booster? did you just refinish it?
Yes. I actually had my old booster re-coated AND bought a new booster. The Honda dealer accepts returns, so I wanted to match the 2 together. The booster has a very very very very minimal additional shine to it, but you can only tell when holding the 2 together. I don’t even think you can tell in a picture, and you wouldn’t be able to tell if they were in 2 cars next to each other, just when you see them by eye next to each other. I decided to keep the new booster, and I am going to sell the coated booster. The master cylinder is new as well. Any older ones come with yellowed plastic, didn’t want that.
Good info, thanks.
picture no worky
[QUOTE=DA JeLLie;2289680]Thanks! I’d be down for a shoot. I have plenty of stuff to do to the car still, but I always like going out for a little photoshoot. I don’t see my engine bay as that clean, maybe it’s because of all the other amazing looking engine bays that put mine to shame. But I did the same thing when planning out my bay. I took this picture of ONE-R’s car about 2-3 years ago, and have referenced it most of the way to kind of guide me in the right direction.
[img]http://farm5.staticflickr.com/4088/4985562094_de0bbffcb4_b.jpg[img]
1992 Integra Milano Red Gs-R by Michael Schoelen, on Flickr[/QUOTE]
Thats funny because this is the same shot you took that i keep referencing while im building mine right now.
Time to get back on this thing. I have had a lot of overtime lately, but all of that is coming to a screeching hault with the sequestration going on (I’m actually happy to get some time off) So what does that mean? I get to spend more time cleaning, and prepping the DA. I went down to the garage today, and had to clean the garage, and organize my DA parts. Every shelf in my garage has it’s own meaning, and I have one shelf (starting to overflow) that is for parts that need to be restored.
Where to start? Here is a shot of the engine bay before I started doing a very minimal amount of work.

The bay is not perfect. In fact I have to take the car back to have some of the bay fixed. It started chipping as soon as I started driving, but I think this might have to do with the prep, and the old camber kit.

They were supposed to remove, and re-do the seam sealer. I think some of the stuff in the back didn’t get done (no real reason for this since the bay was 100% empty.) I tried to stress that everything had to be perfect, but I would assume even most customers would be okay with this so maybe they tried to cut some corners? At least the guys who painted the engine bay are more than willing to re-do any work I’m not happy with. And this was painted over a year ago, so I’m still fine with everything.


I made the unfortunate mistake of taking the car to get the front end painted at a different painter. And since that wasn’t perfect I decided to have them redo the front as well. Since neither are close to me it just makes for a big headache.
After the shelves were mostly sorted correctly. I decided to start working on cleaning some stuff.
Before

1/2 After

Before

1/2 After

After following my friends full DA restoration build I couldn’t resist clean some bolts. Some how he managed to make his almost perfect.

Need to polish


(not done yet)
Now on to the stuff you guys actually care about… Parts
Needed the higher redline, Im going to ditch all the crap I don’t need, like KPH

A little hardware for something I still need to install


A bag of OEM parts I still have to sort through (and I have boxes to go through as well)

Buddy Club extended ball joints


No power steering makes it a little rough running a 320mm wheel. So I got a new 350mm


Another shipment from Honda


I didn’t get the OEM tube, I plan on going with the SAMCO Intake Tube for the ITR


Kinda bummed that I have to get it exchanged though.

While I was doing all of this, I got another delivery.

I actually thought it was car related.

It’s mainly for this

But it will definitely be used for this


I have a type R Hanes Repair Manual in PDF, so this will work perfect. That’s all I have for now.
Great updates, I polished all of my bolts for the motor, trans and wheels lol. Took about 6 hours but was worth it compared to buying all new hardware from honda. The chip in the bay was probably caused. Y the upper control arm, mine did the same after painting my bay and it pushed some of those black rubber plugs out on the shock tower.
I like how meticulous you are. It’s cool to see people take their time and have pride in what they work on. There are way too many hacked cars out there…
Sorry to rant! Great progress… and I like the choice you made on the wheel.
I thought the control arms would take care of that. I thought just the OG camber kits made the paint chip in that area. Oh well, they have to fix some stuff in the engine bay anyways, might as well get that done along with it.
[QUOTE=unified112;2291033]I like how meticulous you are. It’s cool to see people take their time and have pride in what they work on. There are way too many hacked cars out there…
Sorry to rant! Great progress… and I like the choice you made on the wheel.[/QUOTE]
Thanks!
What purpose does the extended ball joints have?
Looks good. How do you plan on mounting the ITR air box?
I have a Samco intake for sale, if you’re interested: http://hondamarketplace.com/showthread.php?t=3111604
I’m still looking for a good ~3" intake that’ll put the air filter where the battery normally is. Right now I have one of those DC cold-air intakes with a the Vibrant bellmouth air filter.
Definitely unfortunate about the chips on the shock towers hopefully it doesn’t happen after it gets resprayed! Everything in here is looking great.
