Okay, so I did this swap in march but have been going through a lot of things
in my life. As such, I’m doing this write up now, as I’ve been seeing
some recent threads about B20s.
Side note:
This swap guide pertains to a JDM 1999-2000 high compression B20b w/ a
low rise manifold. As such, if you get a low comp B20, a USDM B20, or a
B20 w/ a high-rise manifold, some of the info is different. For
instance- I kept the low rise manifold on my B20b. As such, I was able
(kind of had) to retain the B20b’s fuel rail & injectors. You may
experience a different scenario w/ the above mentioned exceptions.
First off, This is a pretty straight forward swap. The engine is very
similar to your 92-93 b18a1; much more similar than the 90-91 b18a1.
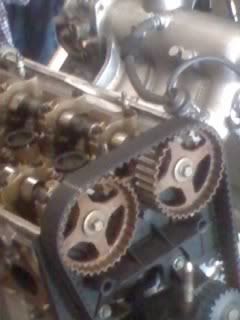
I purchased a 2000 JDM high compression (9:6:1) B20b from
www.hmotorsonline.com. They are a VERY reputable company, & my
engine came in immaculate condition! This particular engine came w/ the
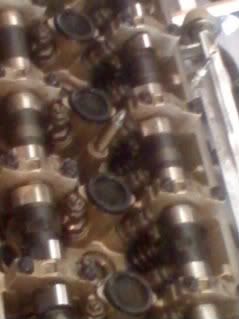
low-rise manifold & a P75 head. When I opened the valve cover to
inspect the head for built up oil& carbon deposits, I saw a shiny,
almost untouched assembly! This engine was well taken care of, &
I’m certain it was well under the guaranteed 35-40k miles!
After I changed my shorts, I called up some people & got the essential
tools:
REQUIRED TOOLS:
- Engine hoist
- Large & medium sized breaker bars
- Jack(s) & stands. Try to get two jacks if possible.
- Wire crimpers, connectors, & wire
- A full socket set w/ deep wells & reg size; 1/4, 3/8s, & 1/2
inch drives - Screwdriver set
- Ball joint puller 8. Rubber mallet & a reg hammer
- Bitch pin punch & a new Bitch pin
- a good crescent wrench set
- Penetrating lube
- A tap & Dye set. Needed to make hole in intake manifold for
throttle cable bracket. - A service manual. If you don’t have one already, now’s the time to
get it. - Soldering gun. Some of the connections require it. (fuel injectors
etc.) - Timing Light. 16. Baggies & a marker. Label & save all
bolts & brackets to avoid confusion. - Some good friends!!!
- PATIENCE!!!
Now you can & will have to keep many parts off of your B18a1, so
don’t go selling it off until you’ve stripped it of what you need!
Here’s another long list:
PARTS RETAINED:
- Your YS1 transmission is just fine. W/ the high comp B20b, you get
140tq, so the mid-ranged gears of the YS1 are perfect for a daily
driver; w/ spirited intent. - Header. Actually, any b series header will work.
- Distributor. The B20 one is OBD 2. You need to make the engine OBD 1
compatible. - ECU. Yours will run the B20 just fine.
- Intake. Duh! Of course you want your AEM over the stock one!
- Mounts. You must re-use them all.
- Power Steering pump & bracket. ( If you’re gonna keep it. I
did.) - AC compressor & bracket. (If you’re gonna keep it.)
- Alternator. The B20 plugs can be modified to work if you have the
diagrams. - Engine harness. Once again, you want this engine OBD 1 compatible
right? - Hoses & lines. Rarely will an engine come shipped w/ these
intact. - Clutch & flywheel.
- Throttle cable bracket& Throttle wheel assembly… The B20
wheel/bracket is backwards. Can’t just flip it. - Starter. The engine won’t come w/ it anyway.
- Crank pulley. The B20 one isn’t even close to the same.
- TPS (Throttle Position sensor) Most engines don’t come w/ these.
The B20b I got had the holes tapped, so all I needed was some new
bolts.
GETTING STARTED:
I’m going to save a lot of space & assume you know the basics here;
like that you have to remove the old engine & then later on put in
the new one. As such, You can look in the service manual for a detailed
engine removal & replacement guide. This is also where some
knowledgeable friends come into play. If you’ve never done a swap
before, don’t go @ it alone, or just get a shop to do it.
- Take out the old engine.
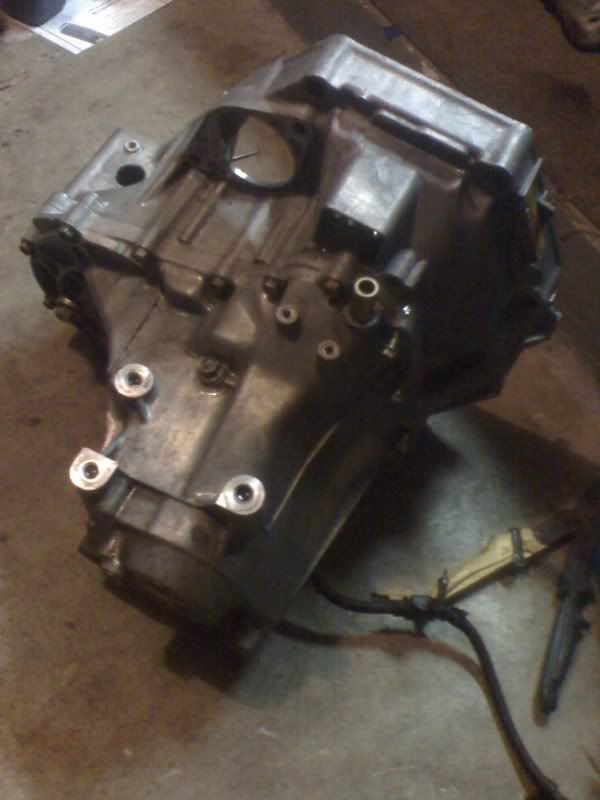
Once that’s done, remove the transmission from it & then either clean it
up w/ some de-greaser & aircraft stripper or leave it ugly as sin,
you lazy ass piece of shit! J/K!
After that, take some time to clean up the engine bay, (especially the lower
portions) because there’s not going to be another time to really get in
their & make it blinged up! Easier to work in too.
SWAPPING PARTS: SECTION 1- THE INTAKE MANIFOLD &
THROTTLE BODY
- I kept the LOW-RISE B20b intake manifold, & as a result, I was
able to use the hot looking B20b fuel rail & injectors. (If you
have the high-rise manifold, then just re-use your B18a1 manifold.)
This of course required me to wire up the injector harness.
Luckily, the wire colors are INDENTICAL to the b18a1 & w/ the extra B20b
harness, you have plenty of wire to use. I made the wires extra long to
accomidate a wire tuck.
Get out your soldering gun here. It is IMPERATIVE that you get good connections w/ these splices to make sure you have no fuel issues.
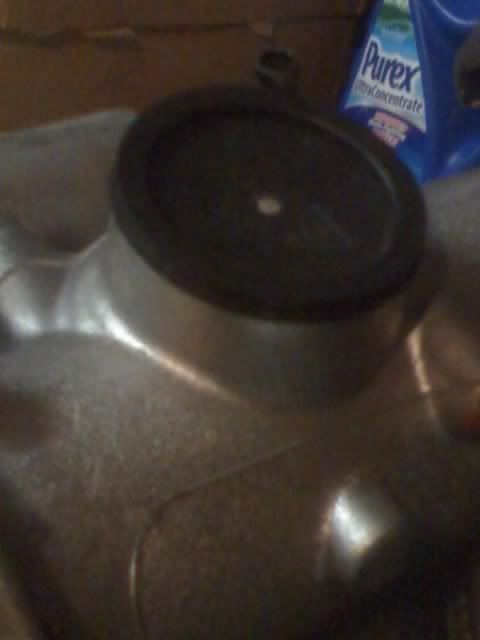
- The low-rise manifold has a big breather box on top. It won’t clear your hood. Toss it, but keep the grommet that connects the box & manifold.
Throwing it away leaves a big hole in your manifold. I remedied this by
getting a rubber stopper from the hobby store. It’s the kind used in
chemistry beakers. Just silicone the hell out of the grommet you saved
& the stopper; than shove it in the hole. use your rubber mallet to
tap it in a bit.
- The B20b Throttle wheel is backwards, & will not work w/ the
Integra cable. The only fix is to re-use your B18a1 throttle wheel.
A… Take off the B20 wheel & keep the parts together in the proper
order.
B… Put on the B18a1 throttle wheel assembly.
C… Get the B18a1 throttle cable bracket & mark the hole on the B20b manifold
D… Get the appropriate tap & dye set & proceed to make the
hole. ONLY ONE HOLE WILL LINE UP! No need to make two!
E… attach the cable bracket; making it go inline w/ the wheel.
-
The MAP sensor is on the throttle body, so you need to extend the wires
to make it work. You CAN use the OBD2 MAP sensor. They’re all the same,
except for mounting positions. -
Drill out the holes on your old TPS. You need it for the B20b. My
new engine had the holes tapped, so all I needed was new bolts.
SECTION 2: ENGINE COMPONENTS:
-
Swap the distributor over. Mark the relative positions to keep timing
easier. -
Swap the Alternator over. You may need to re-use the b18a1 brackets.
-
Swap the crank pulley. You’ll need some muscle for this one. An
impact gun may help too. DON’T LOSE THE LITTLE KEY STAY PIN!! The
pulley won’t stay on w/o it! -
Swap over the power steering brackets but keep the pump off til the
engine is in the car. -
Swap the AC brackets over but once again, don’t put the compressor
on until the engine’s in the car. It’s just easier to manuveur it that
way. -
Swap the driver’s side engine mount over. You need the WHOLE mount
& bracket from the b18a1. To remove it you’ll have to take off the
timing cover.
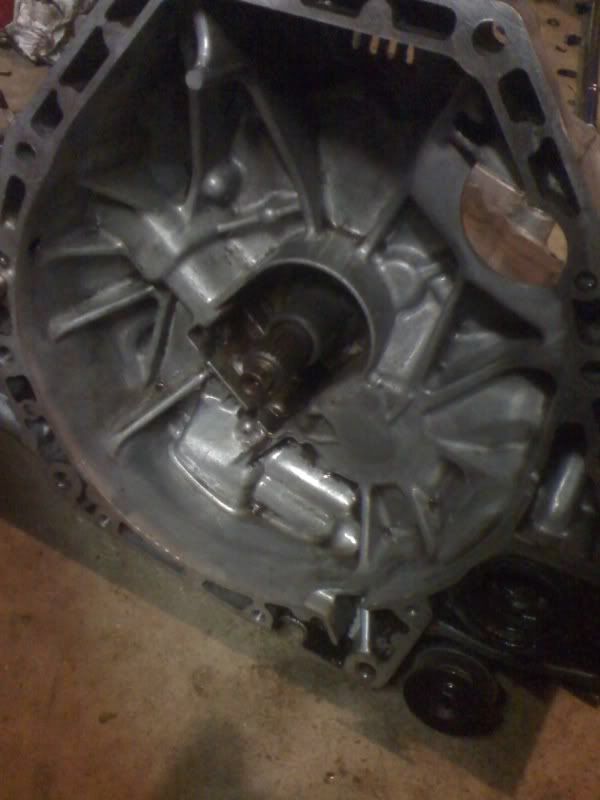
THE TRANSMISSION:
-
Put your flywheel & clutch on, then put on a new throwout
bearing, as yours probably sucks. Also install A new throwout bearing
spring. Mine was all kinds of messed up, w/ BOTH of the hooks worn
nearly all the way down! -
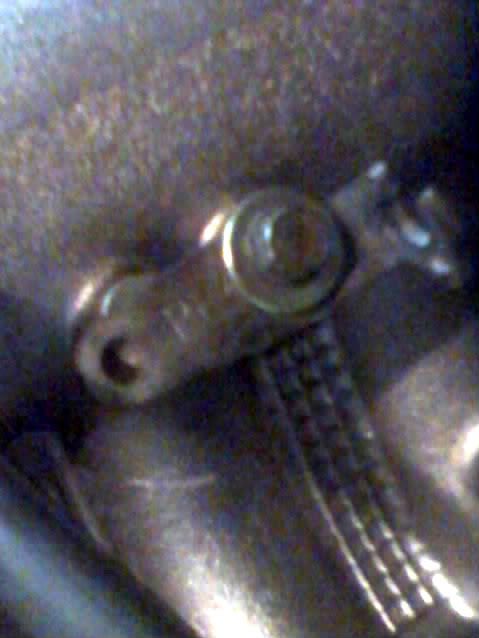
To install the spring, you must remove the
bolt that holds the fork on. Then liberally spray the clutch cable arm
w/ penetrating lube. Once it’s lubed up. whack it with the mallet while
pulling & turning the clutch arm. It’s not easy, but that’s what you
gotta do. -
After you’ve got the arm out & the spring/fork combo off; grease
the hell out of the throwout bearing, it’s fork, & the clutch arm.
Re-install them. -
Mate the transmission to the engine, taking care to align the
clutch. -
Put the starter on.
-
Leave the transmission mount off until the new engine is dropped in.
It’s easier. -
Install the VSS
INSTALLING NEW ENGINE!! YAY!!

Get it on the hoist & make sure all your parts are swapped over/
installed. Get everything cleaned up & organized in preparation for
the drop! Take your time & do it right the first time.
MOUNT ORDER:
A. Rear
B. Trans
C. Drivers
D. Front (Leave this off the engine 'til it’s in the car, near it’s
position. It gets in the way otherwise.
WIRING/HOSES:
Hook up all plugs, Starting w/ the fuse box first, then going to your
right. Just be sure to do the plugs underneath too! Double then triple
check your work. Make sure the connections are tight. Now is a good
time to extend your MAP sensor if you haven’t already. A wire tuck is
always a good idea if you have the time.
Next is the hoses. This is pretty self explanatory. Hook them up &
check your work. Who said homework has to suck!? Make sure all your
fuel lines are tight!! If you don’t you may very well get that “smoking
hot” engine you wanted!
Follow suit w/ the Cables. Adjust according to manufactuers specs.
Attach the header. Torque to specs.
Attach the shift linkage. Have fun w/ the “Bitch Pin”!!!
Attach intake piping.
FLUIDS:
Fill the radiator, transmission, engine, power steering w/ appropriate
levels.
Here’s some fluids i used:
-
Pennzoil Synchromesh transmission fluid. This stuff rocks hardcore!!
Took all my grinds away. Now I can shift in any gear @ any RPM w/ no
issues. -
Prestone full strength antifreeze diluted w H2O to a 60% coolant-
40% water mix. -
Redline Water Wetter This stuff lowers your coolant temps up to 8
degrees w/ a 60%/40% mix like I use! -
Royal Purple 10w/30 motor oil. It’s Magic baby!! Lasts up to
8000miles between changes & provides serious engine protection!
START YOUR ENGINES!!
Provided you did it all right & everything is hooked up, you are now ready
to… CHECK IT AGAIN!! That’s right, again. I missed the VSS until my
very last “dummy” check. You can’t be too cautious w/ a swap.
Haste makes waste!
Okay, start her up. Nothing? Check you grounds & plugs. Try gain.
Nothing? Check your timing & your spark. Check for good vacuum. Try
again. Nothing?
Ask a friend for help; I’m not getting paid here! Seriously though,
problems will arise & you just gotta get help from a knowledgeable
source. It could be many things, but most likely is fuel or ignition
related; like timing. Just be patient & go through a checklist. It
took me a few days to get her dialed in right.
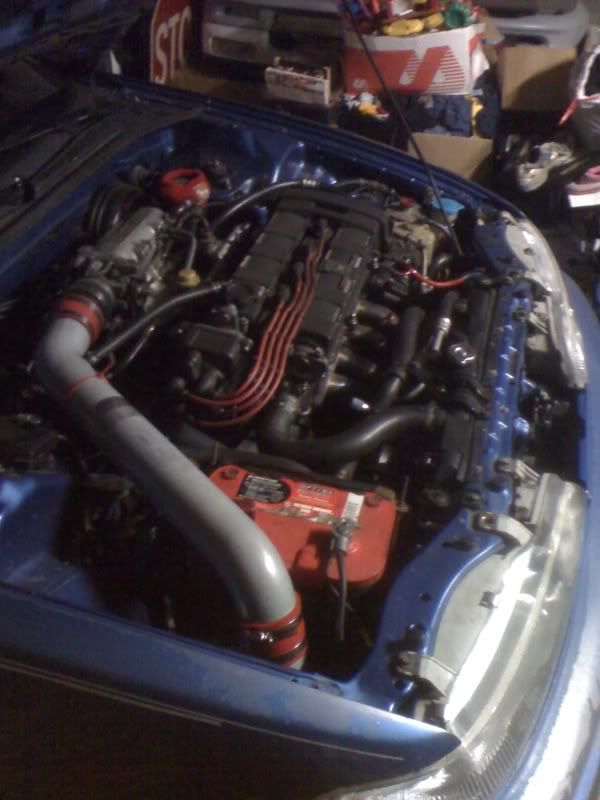
This is what your completed project should look like:
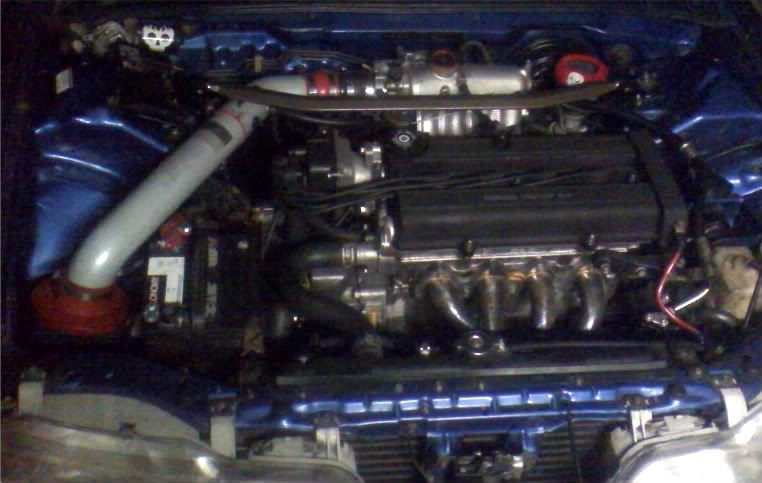
So that’s it folks, my JDM B20b into 92-93LS swap guide! Hope this helps
or all this was for nothing! Please E-mail me w/ any questions; or
respond here.
A big thanks goes out to all my helpers.
Steve -(Most of the praise goes to this guy. He did a majority of the work & was there w/ me for 4 days doing this! And no we don’t suck; you can’t get factory parts on a Sunday; so don’t say we took too long!)
Chase
Chris
David
Mike
DJ
:getsome::manual:

Figure that out!