^^ very nice upgrade
Thanks
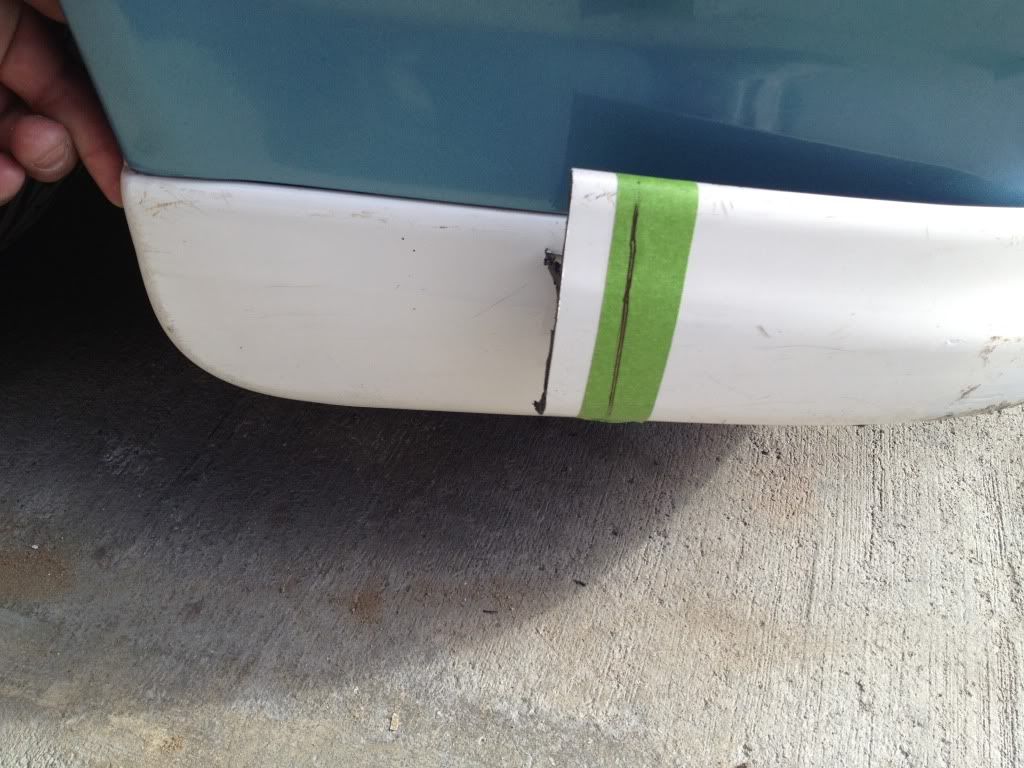
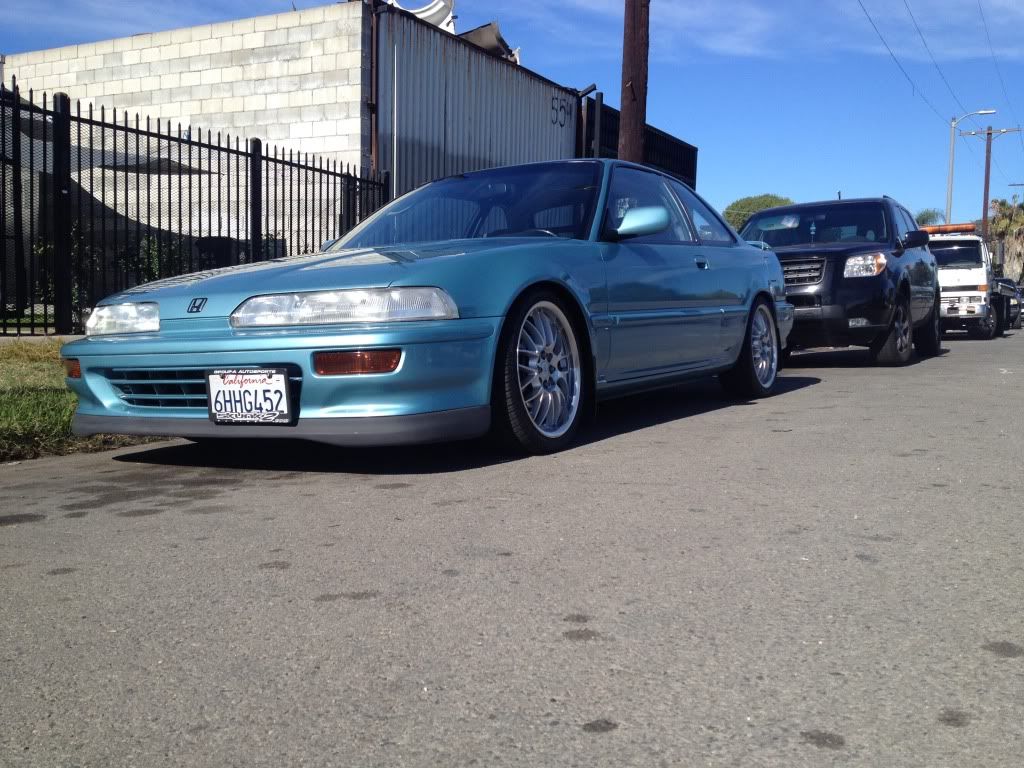
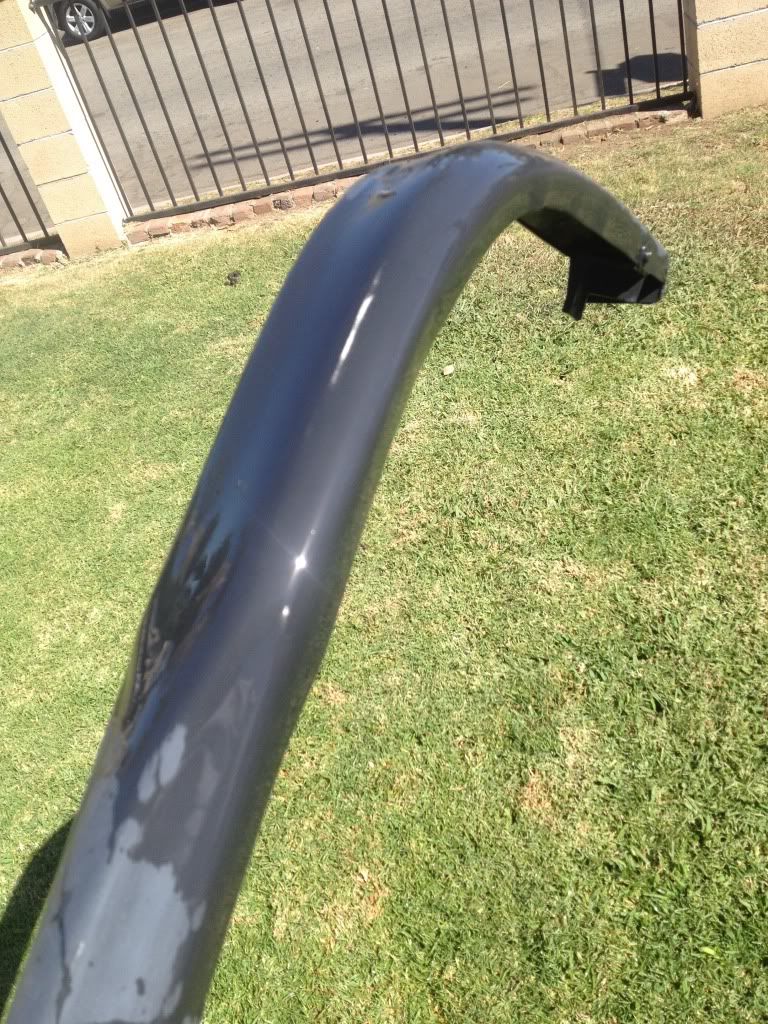
Another update. Finally had time to work on the new lip and do some adjustments.
Everything lines up perfectly and it’s bolted using the stock bumper locations for the original lip

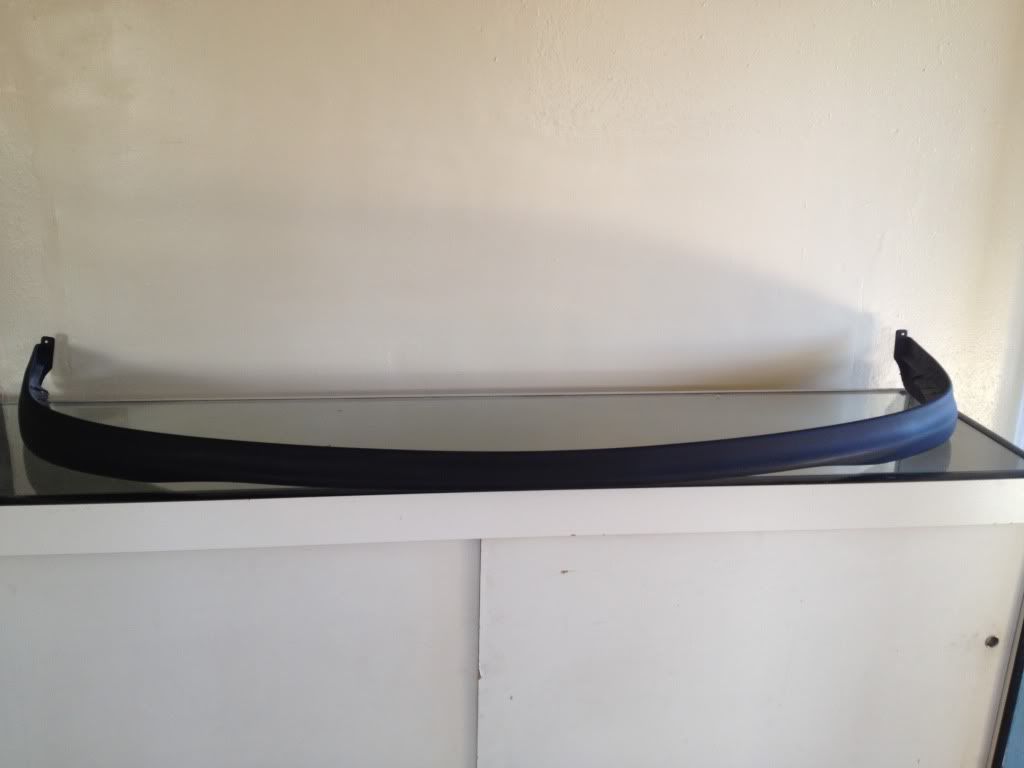
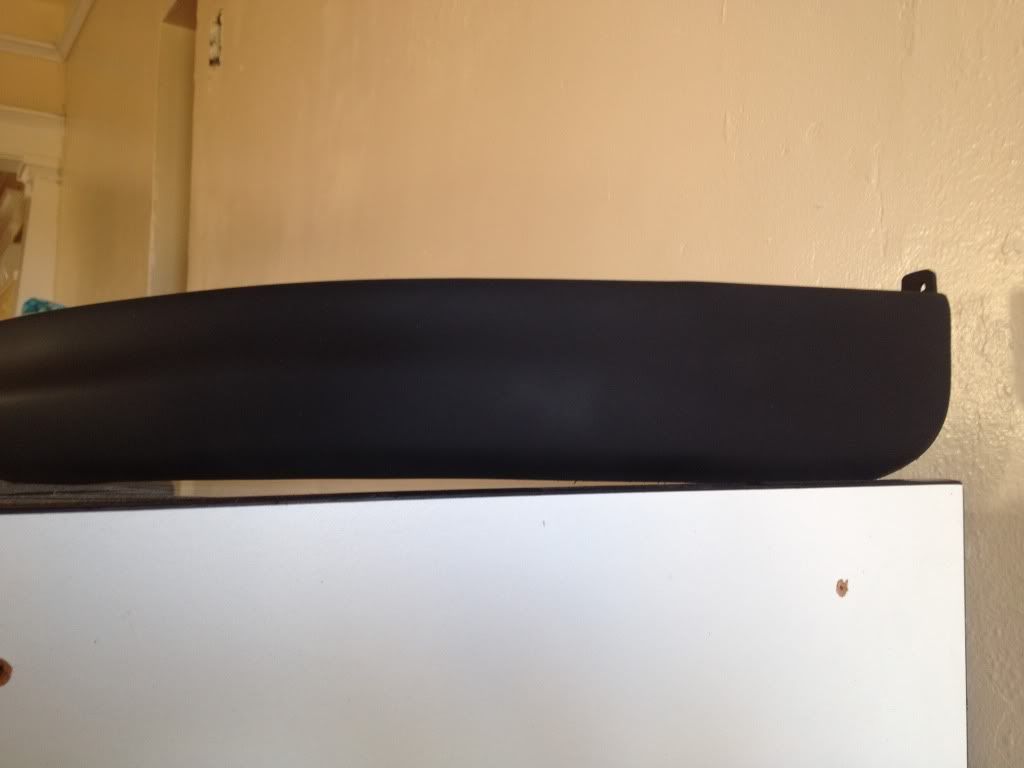
More updates on the modified lip.
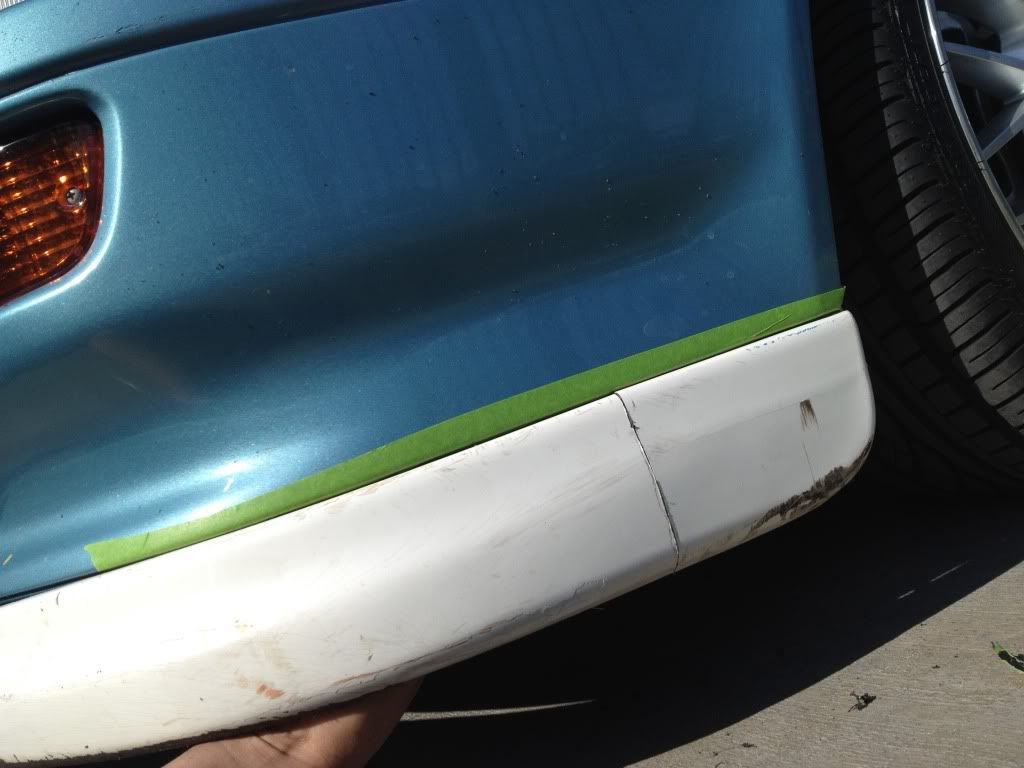
passenger side

driver side
My previous lip would scrape very little off my driveway. I have to pull in to the drivfe way in reverse. This lip manage to clear by a hair but I will raise the car just a little more.
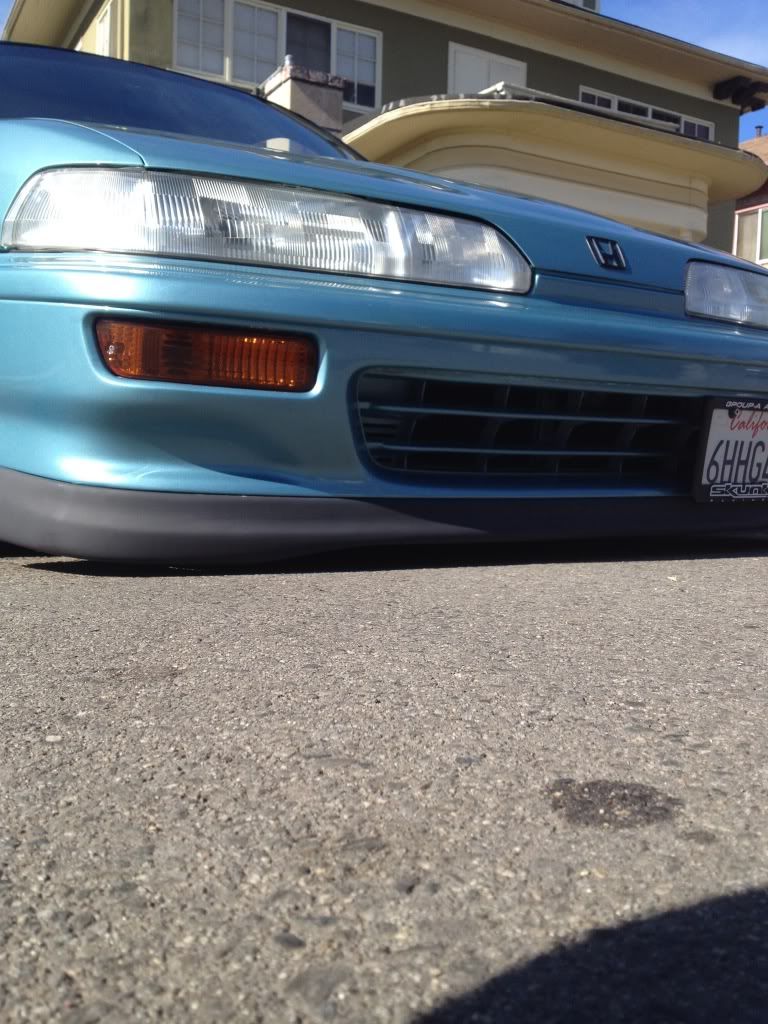
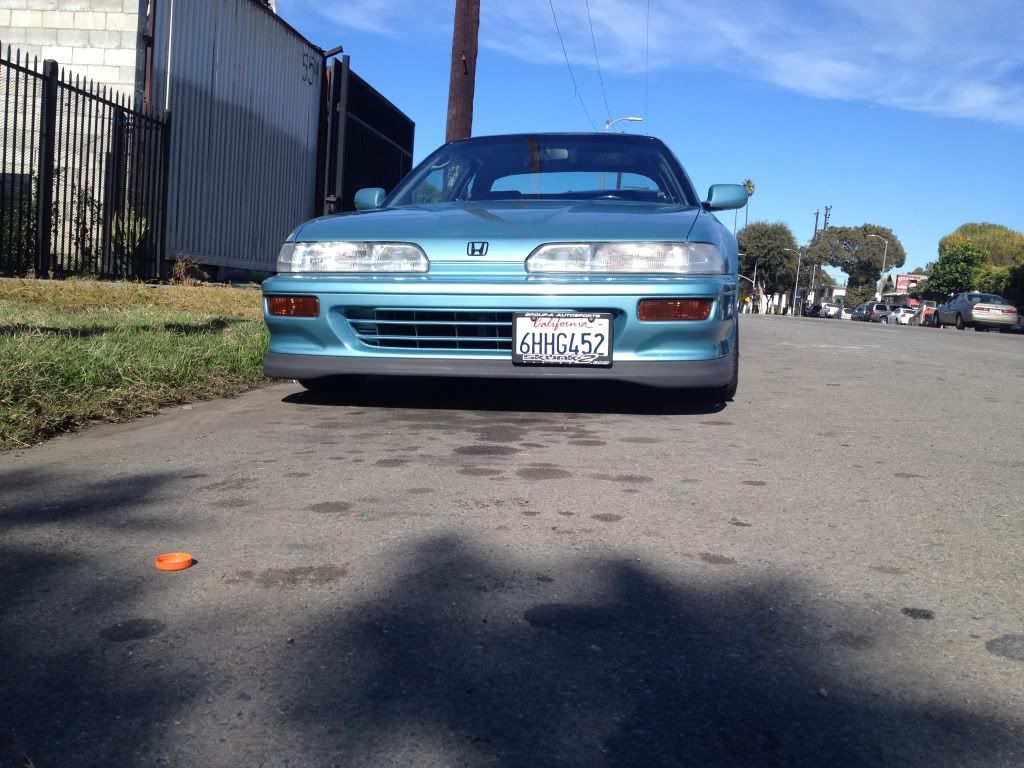
Lip was mounted using the stock bumper lip locations. I still need to wet sand the lip and spray the lip black. Im not going to color match it to the car since I don’t like the way the match lip looks on my car. I would only match the lip if I installed the color match side skirts. For now the lip will be black. If I have some extra time, I will paint it this weekend.
It came out great! Nice work! Looks way better than the eBay lip
thanks. Yes I agree it does look better than the ebay lip. It fits perfectly with the bottom edge of the bumper. The ebay lip never lined up good.
Nice work Jose! What did you use to fuse the ends back onto the lip? I’m not a huge fan of the style of the lip on a DA, but you did a GREAT job fitting it! ![]()
Plastic weld probably or there is a product made by 3m that I used to fill the bumper plug location
Thanks Colin. I used fiberglass clothed and resin. ill get pictures on the backside this weekend when I take off the lip to paint it black. I actually was going to get rid of the side curves were it gets bigger (don’t know if im making sense to anyone lol) and just leave it the same size all around. The way the middle section of the lip look, but then I realized that it was going to look like a regular JDP2 lip.
Yeah, I’d love to see some pics of that part! I’m always interested in fab work and that sorta thing. And it’s those fat outer areas that are my only gripe, wouldn’t mind as much if they were less pronounced. But like you said, then it’s a JDP OE2 ![]()
This is the ebay lip that I had before. I had to repair a crack on one of the sides. Used the same materials fiberglass clothed and resin. Ill get the other photos on the weekend once I pull off the itr lip.
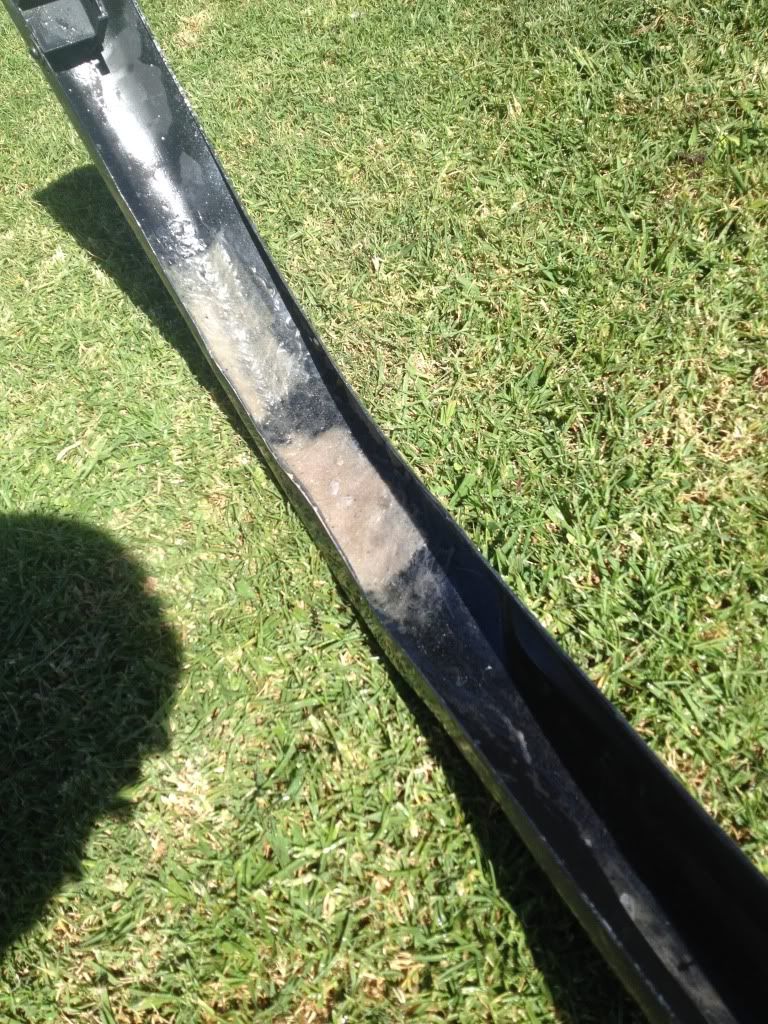
the front part was simply glassed bondo. I had already wet sand the primer.
Yes, Im not that much of a fan of the big fat outer ends myself, but then I sort of looks like an over size Fat oem lip. The oem 92-91 lip also has the ends bigger than the middle of the lip. Ill just think that this is an oem lip on steroids. lol
I’ve only used fiberglass minimally, I always thought it was fun but never used it enough to be very good at it. And I’ve never used glass-reinforced bondo before either. All this talk makes me wish I had more time to try new stuff like this. I did make my first attempt at spraying with an HVLP paint gun over the weekend though. I tested the gun a couple times previously but finally committed to painting my roll bar. Turned out pretty good enough though I picked a difficult part to start with. I still think I should give you a call when I get around to painting my valve cover though ![]()
Patience is the key when doing body work/paint. Do you have any pictures of your roll bar? If you want to try the bondo or fiberglass and have any questions feel free to ask me. I will gladly help you out. Just let me know when your ready. I recently did an Aztec green pearl for a friend of mines. ill get pictures of it.
No pics, the only ones I have are on my DSLR at the moment. Turned out pretty good considering the small space I was working in and the awkward nature of the part. There are a couple runs in the clear but nothing really noticeable, other than that it’s pretty good. Not good enough for a body panel but more than sufficient for a roll bar. I want to tinker with some smaller parts like that with the intention of being able to paint small things for my car and not have to pay body shops to do so. Paint a lip, fix a bumper, color match brackets or other fab’d parts…etc.
Actually, now that I think about it, I do have a question. I had a body shop spray my engine bay a couple weeks ago, there was a flaw on the strut towers so I had them respray those before I came and picked the car up. The problem now is that when they resprayed the strut towers some clear overspray got on nearby areas - so you can feel that rough overspray, it’s not smooth. They buffed some of this out before I brought the car home but it wasn’t until I got home that I noticed some spots they missed. It’s pretty tight in areas, any recommendations on how I can cut/buff those areas to make them smooth and glossy again? I tried two 3M compounds I have but when done by hand they don’t do enough. I’m thinking I need a really fine sanding pad or something then hand polish since the areas are too small to get a buffer into. I would just take it back to the body shop but the engine isn’t in the car so I’d need to pay to tow it back. :down:
Testing out a “spoon” yellow cover I painted.
Aztec green pearl.
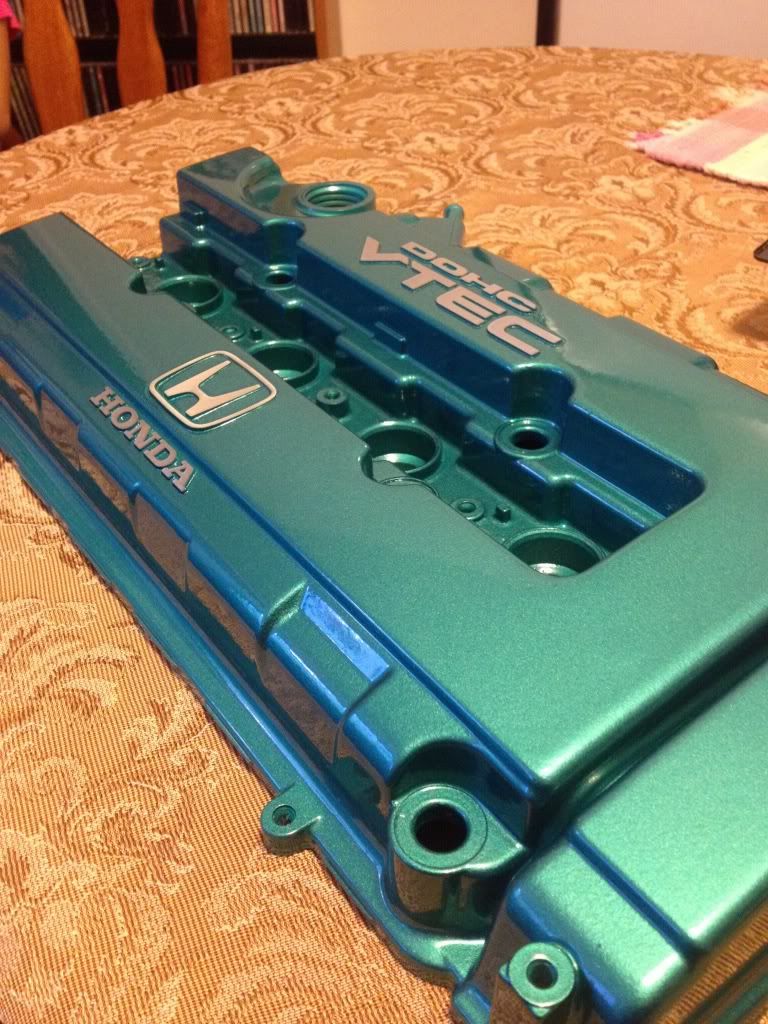

Here’s a b20/LS valve cover I did for a good friend of mine.

Here are some of the valve covers I’ve done in the pass years.


IMAG2347.jpg by aftermath1312, on Flickr

IMAG1991.jpg by aftermath1312, on Flickr

IMAG1549.jpg by aftermath1312, on Flickr
[QUOTE=Colin;2306029]No pics, the only ones I have are on my DSLR at the moment. Turned out pretty good considering the small space I was working in and the awkward nature of the part. There are a couple runs in the clear but nothing really noticeable, other than that it’s pretty good. Not good enough for a body panel but more than sufficient for a roll bar. I want to tinker with some smaller parts like that with the intention of being able to paint small things for my car and not have to pay body shops to do so. Paint a lip, fix a bumper, color match brackets or other fab’d parts…etc.
Actually, now that I think about it, I do have a question. I had a body shop spray my engine bay a couple weeks ago, there was a flaw on the strut towers so I had them respray those before I came and picked the car up. The problem now is that when they resprayed the strut towers some clear overspray got on nearby areas - so you can feel that rough overspray, it’s not smooth. They buffed some of this out before I brought the car home but it wasn’t until I got home that I noticed some spots they missed. It’s pretty tight in areas, any recommendations on how I can cut/buff those areas to make them smooth and glossy again? I tried two 3M compounds I have but when done by hand they don’t do enough. I’m thinking I need a really fine sanding pad or something then hand polish since the areas are too small to get a buffer into. I would just take it back to the body shop but the engine isn’t in the car so I’d need to pay to tow it back. :down:[/QUOTE]
The runs on your roll bar can easily be sanded with 1500 grid and then buff/polished to make the clear shine.
On your engine bay your going to have to wet sand the overspray areas to get rid of the rough areas and make them smooth. You have to be really carefull not to sand too much or you will go thru the clear and into the paint. I would suggest using 2500 grid with water and sanding on the over spray area to get it smooth. After your done sanding you can polish by hand the area until it shines and looks glossy again. I use #m rubbing compound medium grade. If its a tight space, the machine wont work and it will have to be done by hand. Chances are that the body shop notice the over spray but since it was in a tight space, they didn’t do anything and simply polished the easy spots.
Thanks, I’ll try 2500. I wasn’t even sure where to start… Should I use a pad behind the sand paper or just with my bare hands?
The compounds I’m using are 3M Perfect It Rubbing Compound and Machine Polish. I bought them to polish a FAL I was refinishing and just have them leftover. I think the body shop was using the same stuff. I’m sure they just thought “it’s an engine bay, so it doesn’t matter”. I wasn’t expecting show perfect but this rough stuff has got to go, especially because its going to collect dirt and be difficult to clean.
Thanks again for the tips!
Valve covers look great as always!
[QUOTE=Colin;2306033]Thanks, I’ll try 2500. I wasn’t even sure where to start… Should I use a pad behind the sand paper or just with my bare hands?
The compounds I’m using are 3M Perfect It Rubbing Compound and Machine Polish. I bought them to polish a FAL I was refinishing and just have them leftover. I think the body shop was using the same stuff. I’m sure they just thought “it’s an engine bay, so it doesn’t matter”. I wasn’t expecting show perfect but this rough stuff has got to go, especially because its going to collect dirt and be difficult to clean.
Thanks again for the tips![/QUOTE]
if its a flat spot you can used a rubber pad. Don’t remember the exact name but they are used to block off the clear to get it smooth when sanding to polish the clear. You can find them at any autoparts store that sells paint materials.
since its the engine bay I would just fold the sanding paper to get 3 layers of paper and use it bare hand or gloves if you work with gloves.
Thanks man, I’ll hopefully give it a try this weekend. Need to finish my bay and get my motor back in!
Im guessing you already found a b18c block and your motor is ready?