[QUOTE=AJResto;2314782]its naff all compared to some cars i have done tom. i had a mk1 crx in not to long ago and i spent an entire month welding it! think it was rotten everywhere. all 4 corners of the floor, all rear arches and mounts, all the sills and inner sills (rockers you lot call those for some reason lol) rust was so bad even the front inners were pig shot.
this by a long shot is nothing :)[/QUOTE]
Well it is awesome to see that you are saving these cars.
Keep up the great work
and if you have some pics I would love to see that crx
ok small update - DA5 died so i decided that all my effort should go to running project. i’m taking few bits off the red beast as i will need them for my DA6
here is some pics :

and yes this is oil :

sending bumper to Aaran to be painted and fitted in DA6 - plasti dip off

this is no good 

end for today - pissing down with rain 

suspension to be taken out, gearbox ( does have awesome gear ratio as stock  ) exhaust, radio unit, few bushings things, rear lights, steering wheel and air con pipes i think
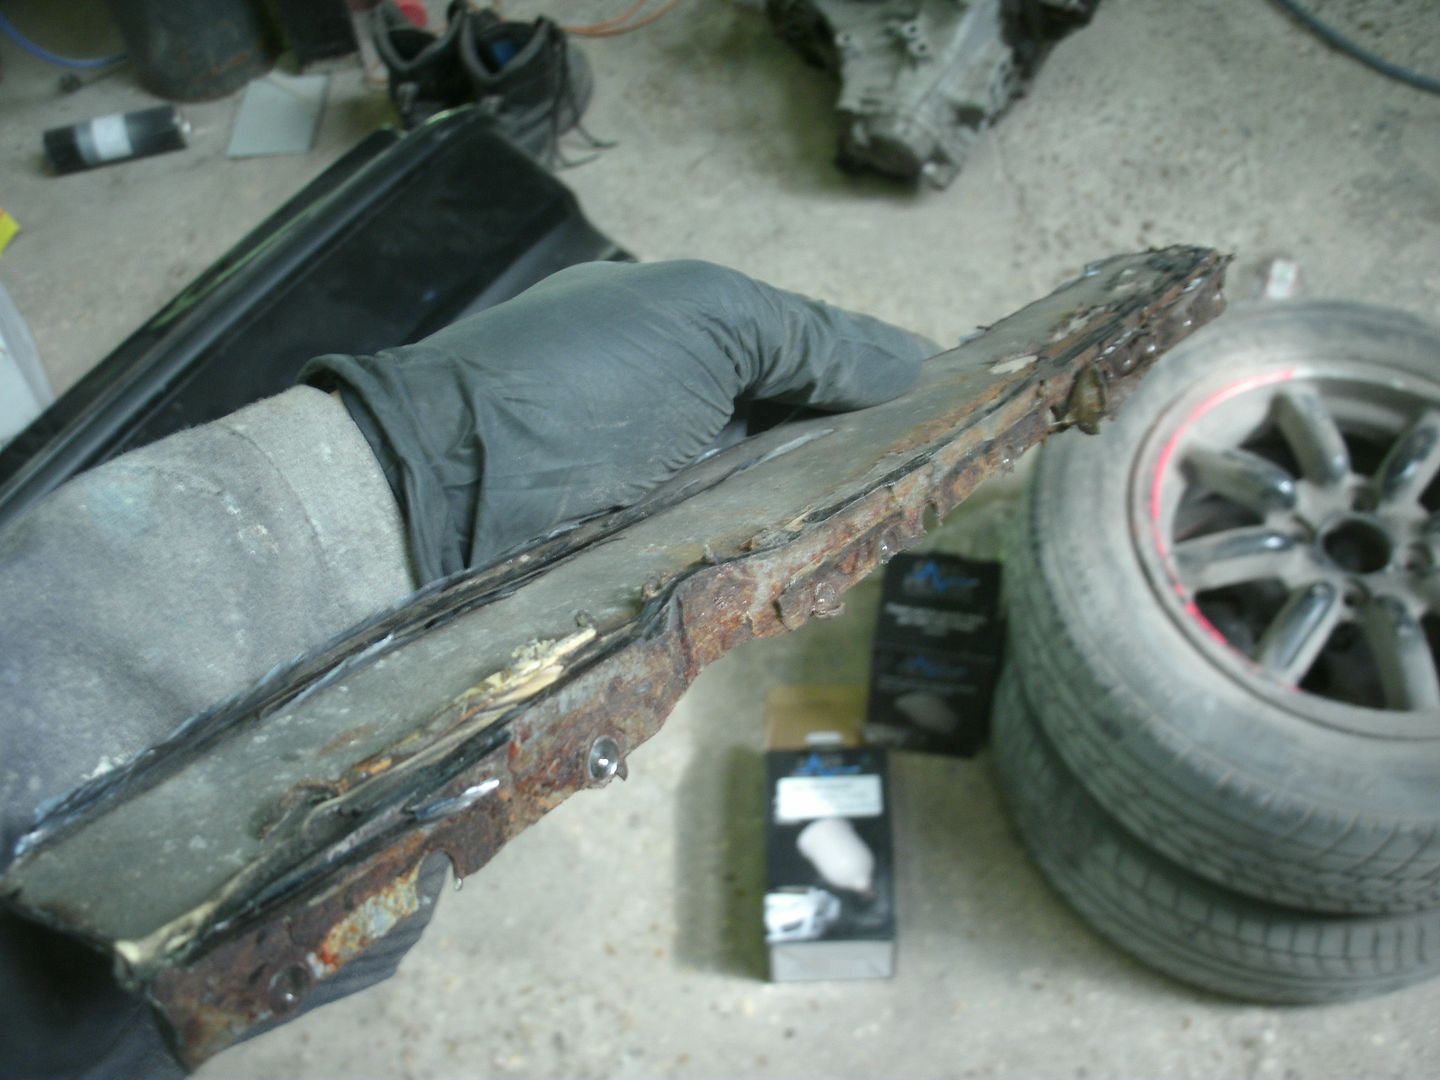
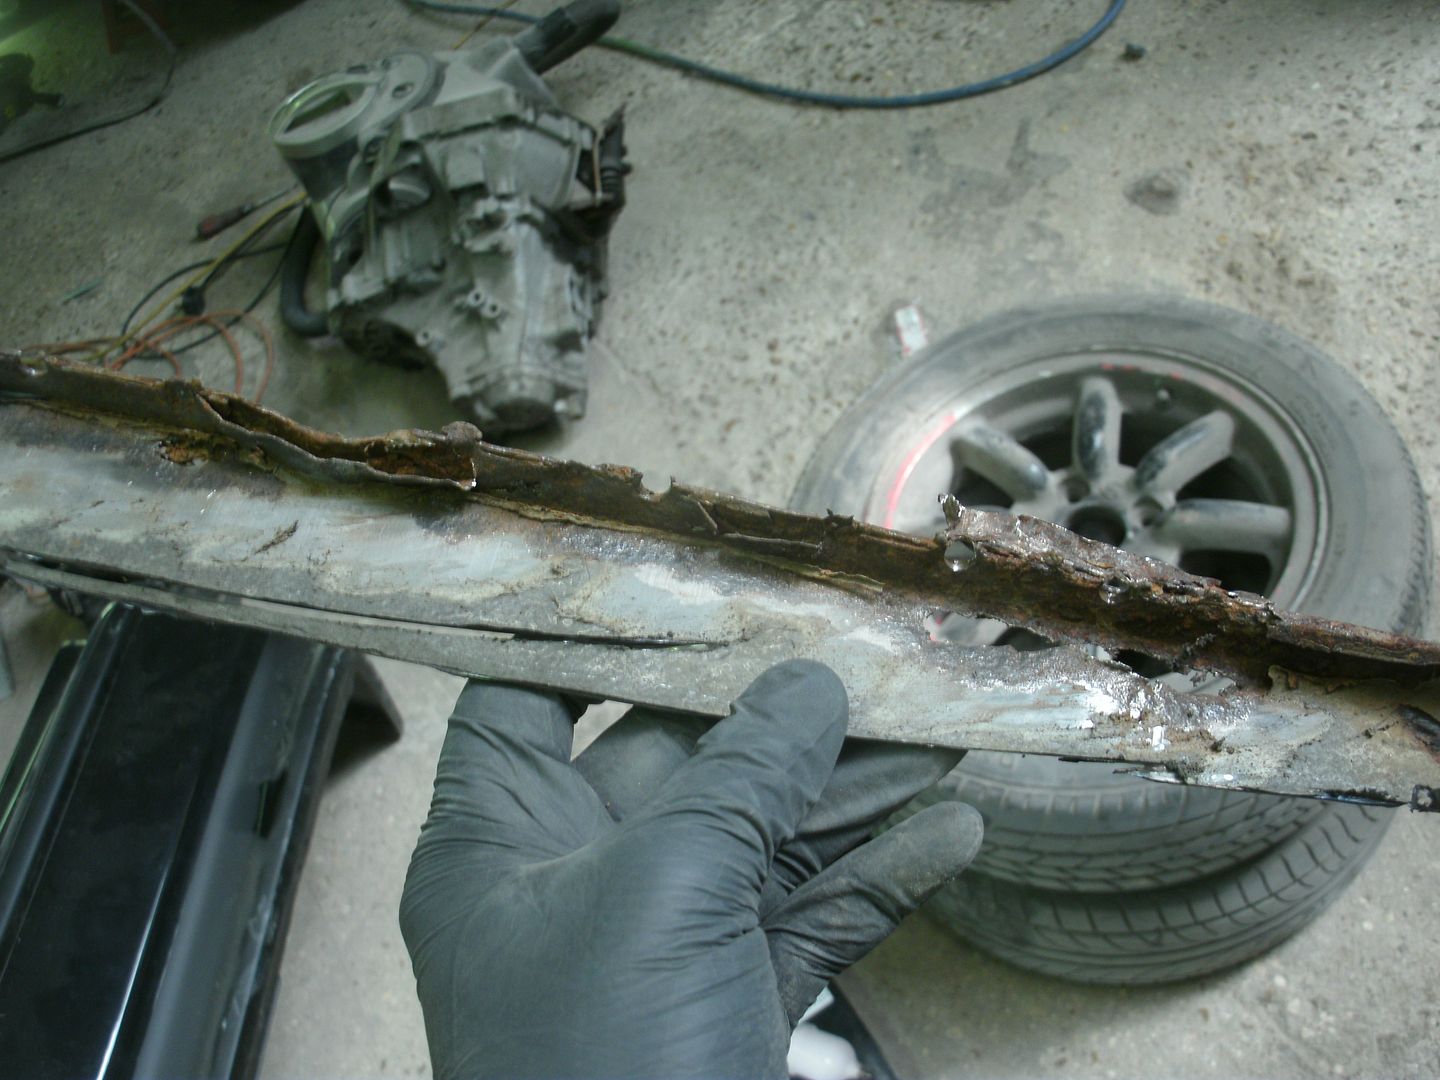
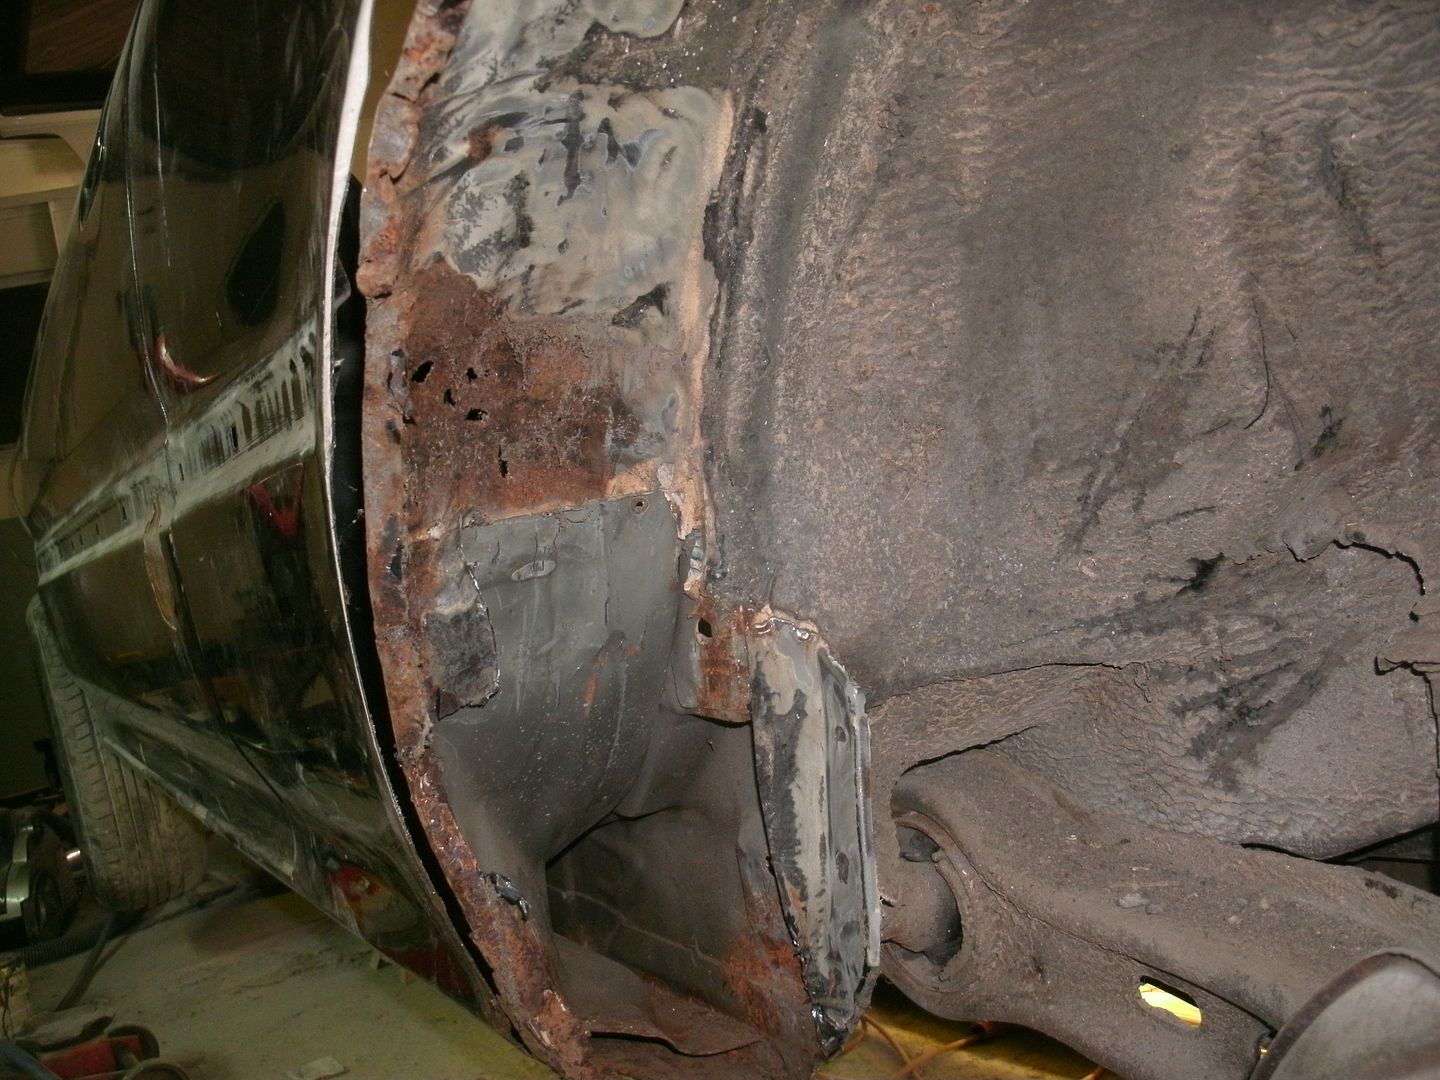
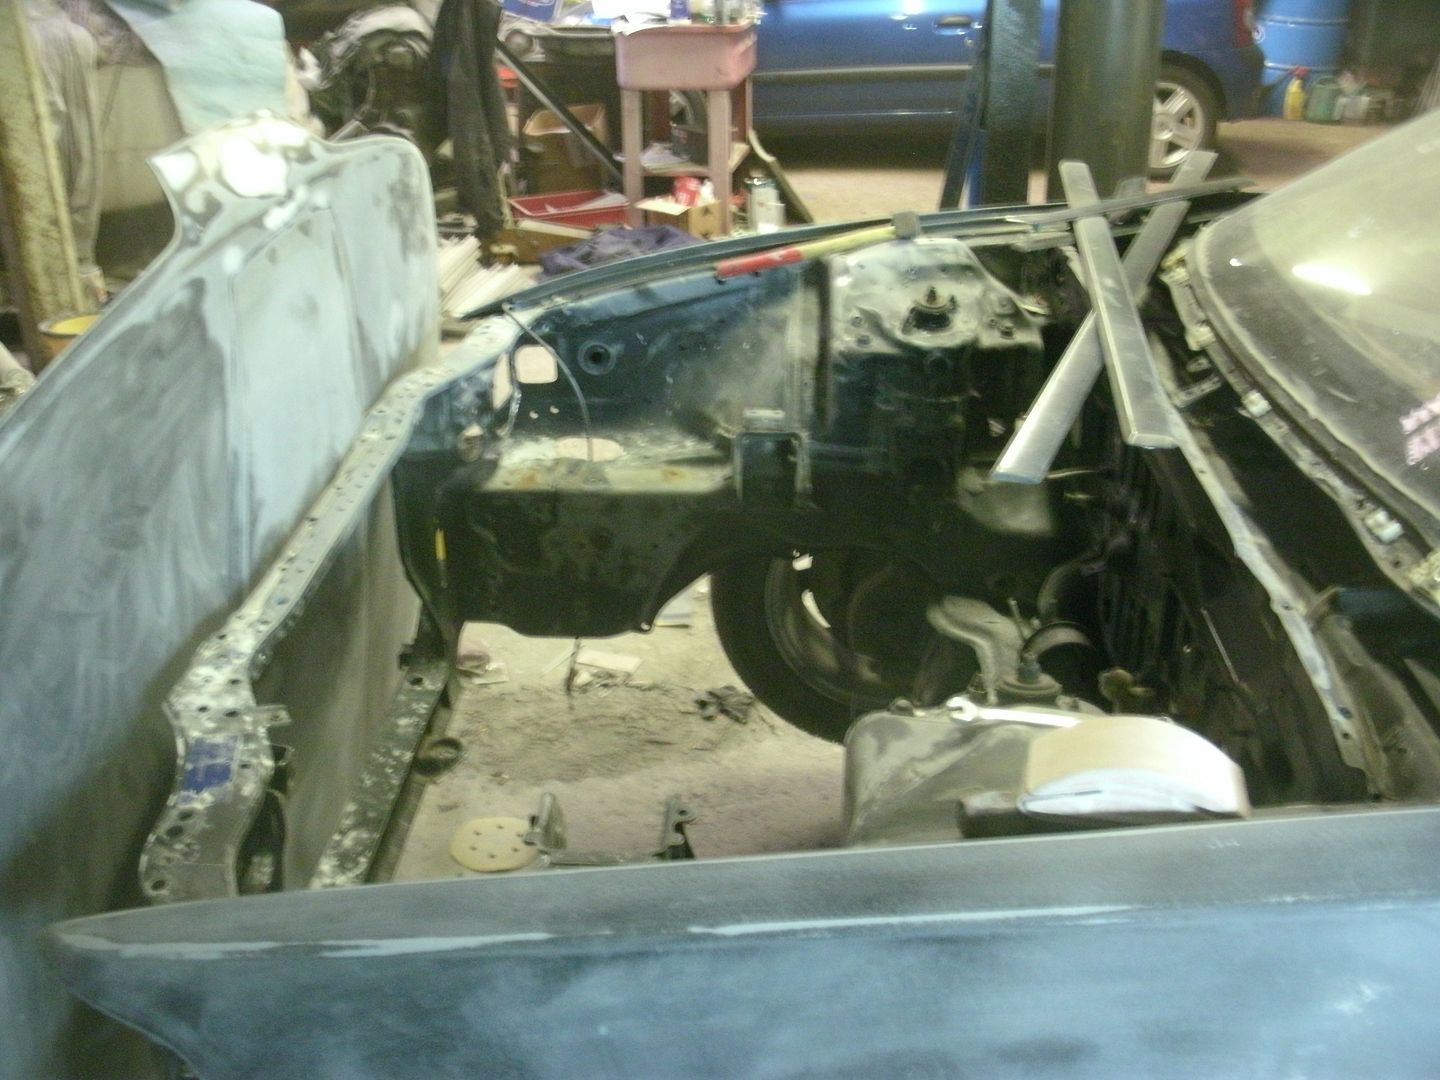
plenty of rot in the floor pan side inner and outer sills (lots of fabbing from floorpan out)
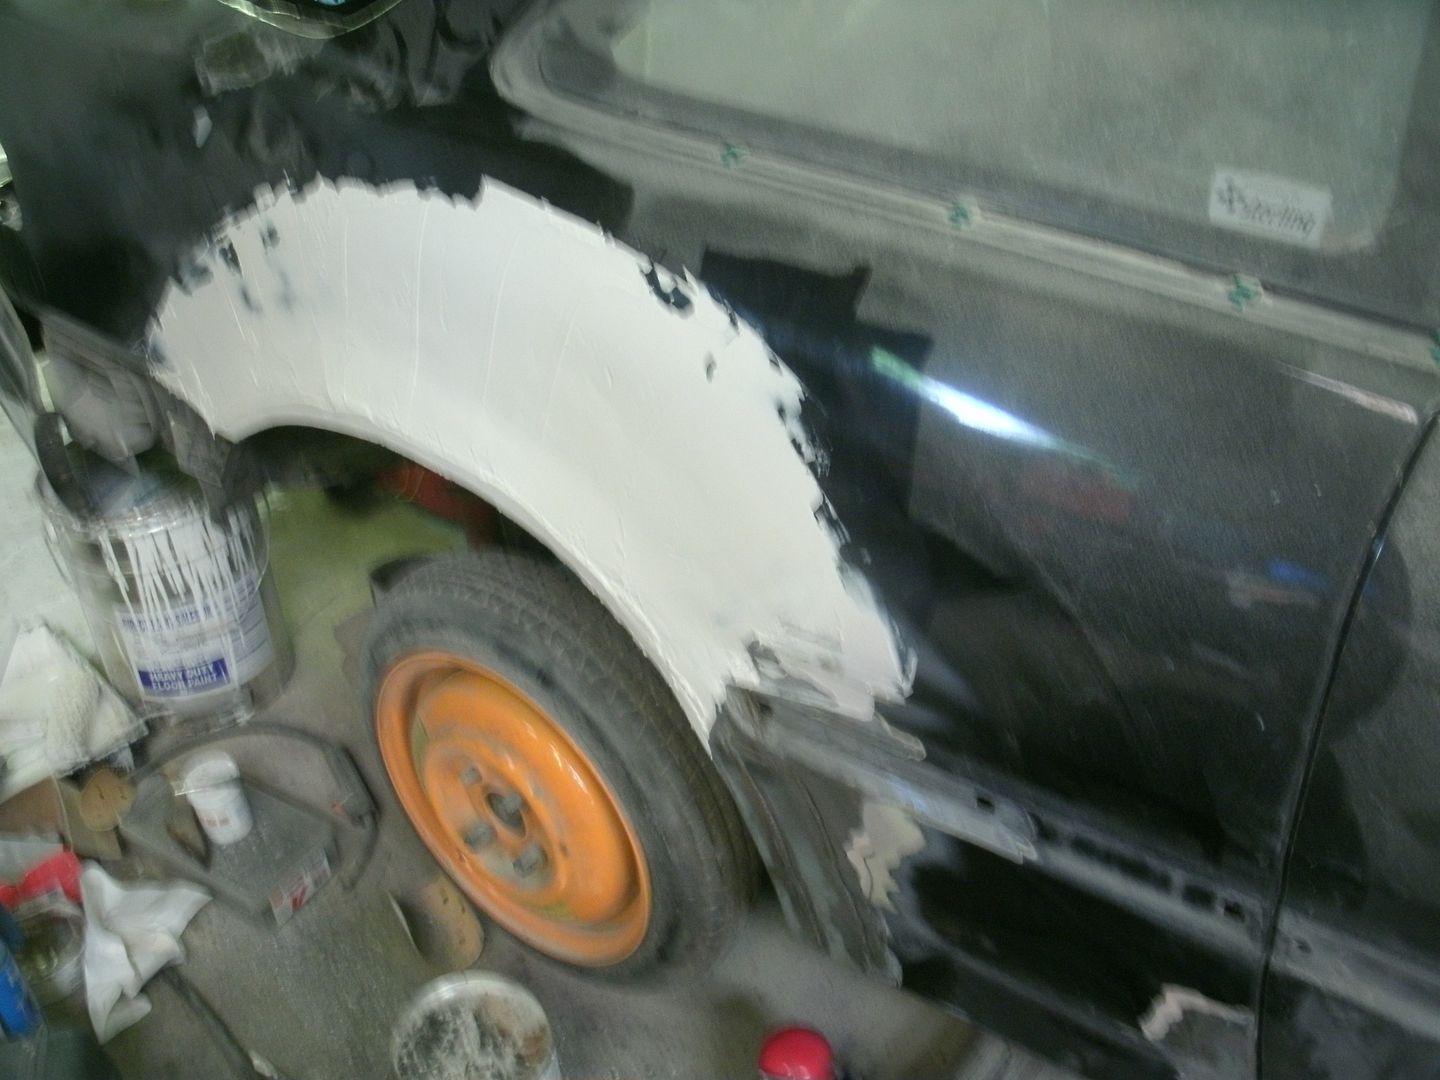
leaded and filler over- will let filelr dry for 4/5 days
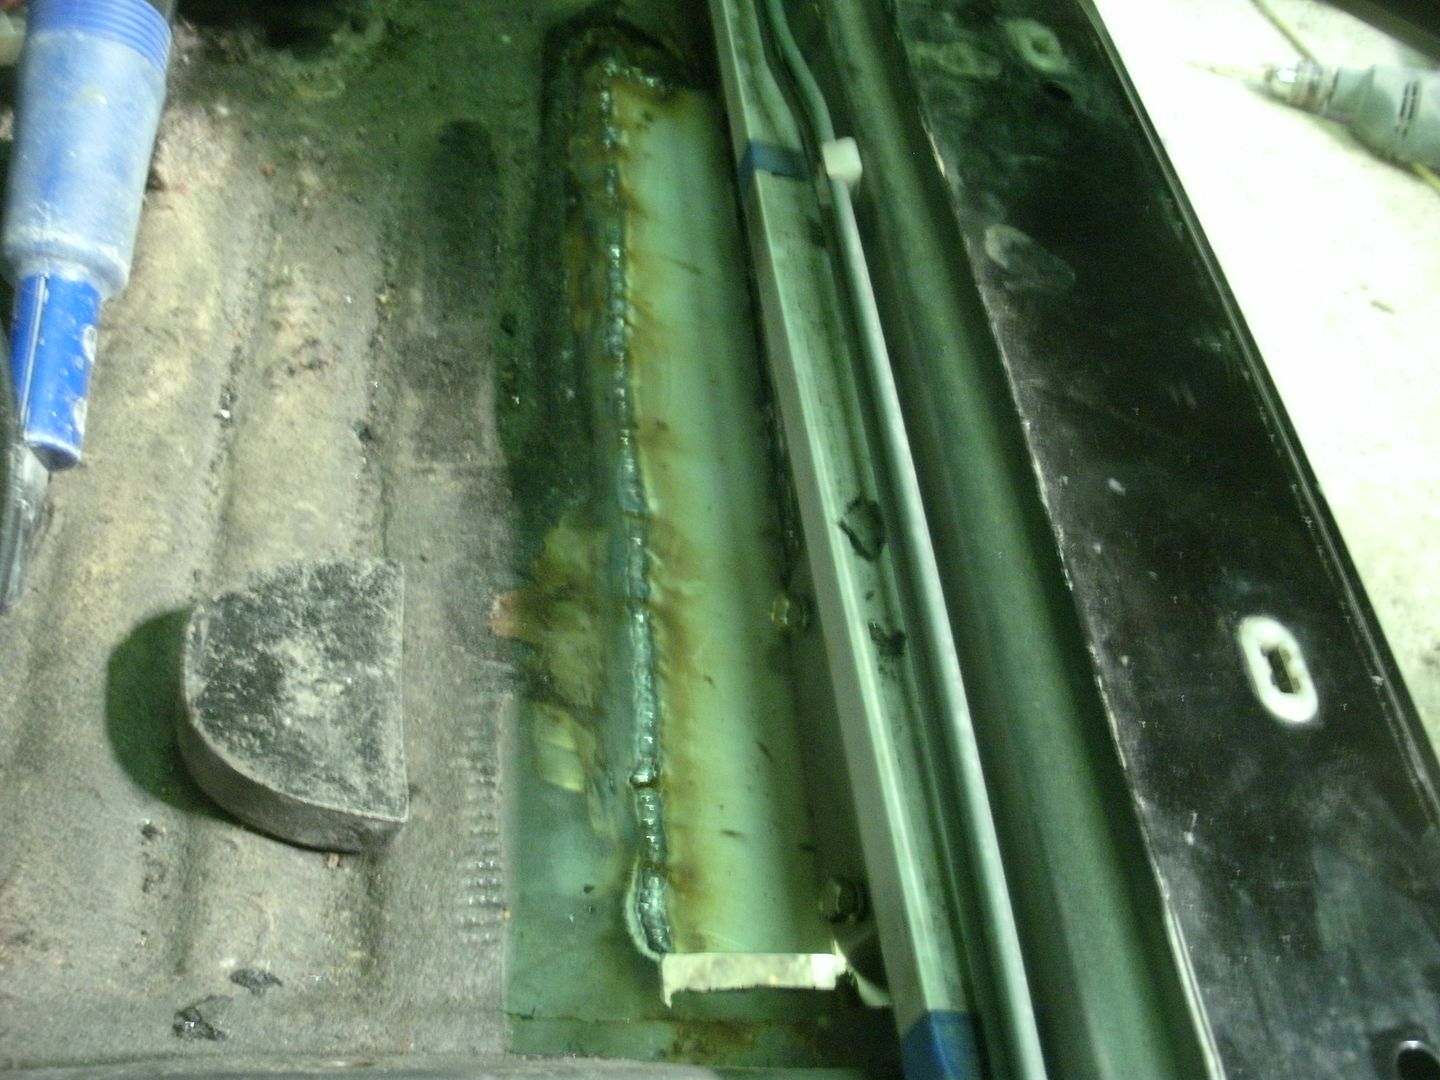
floor pan welded
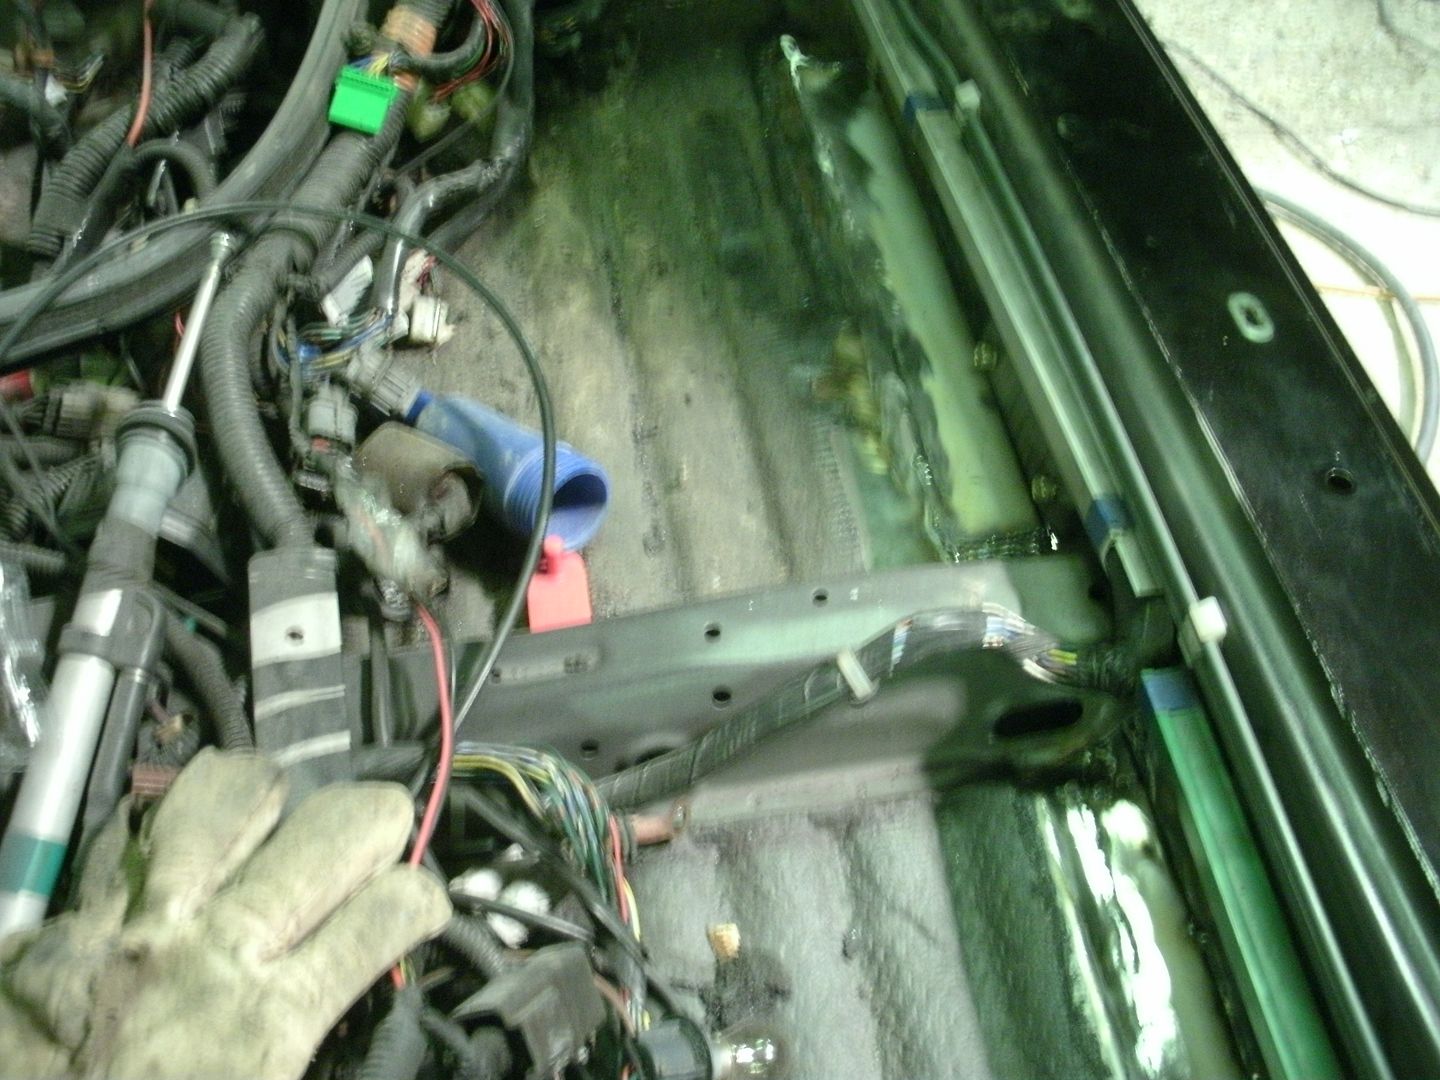
inner sill rebuilt and on
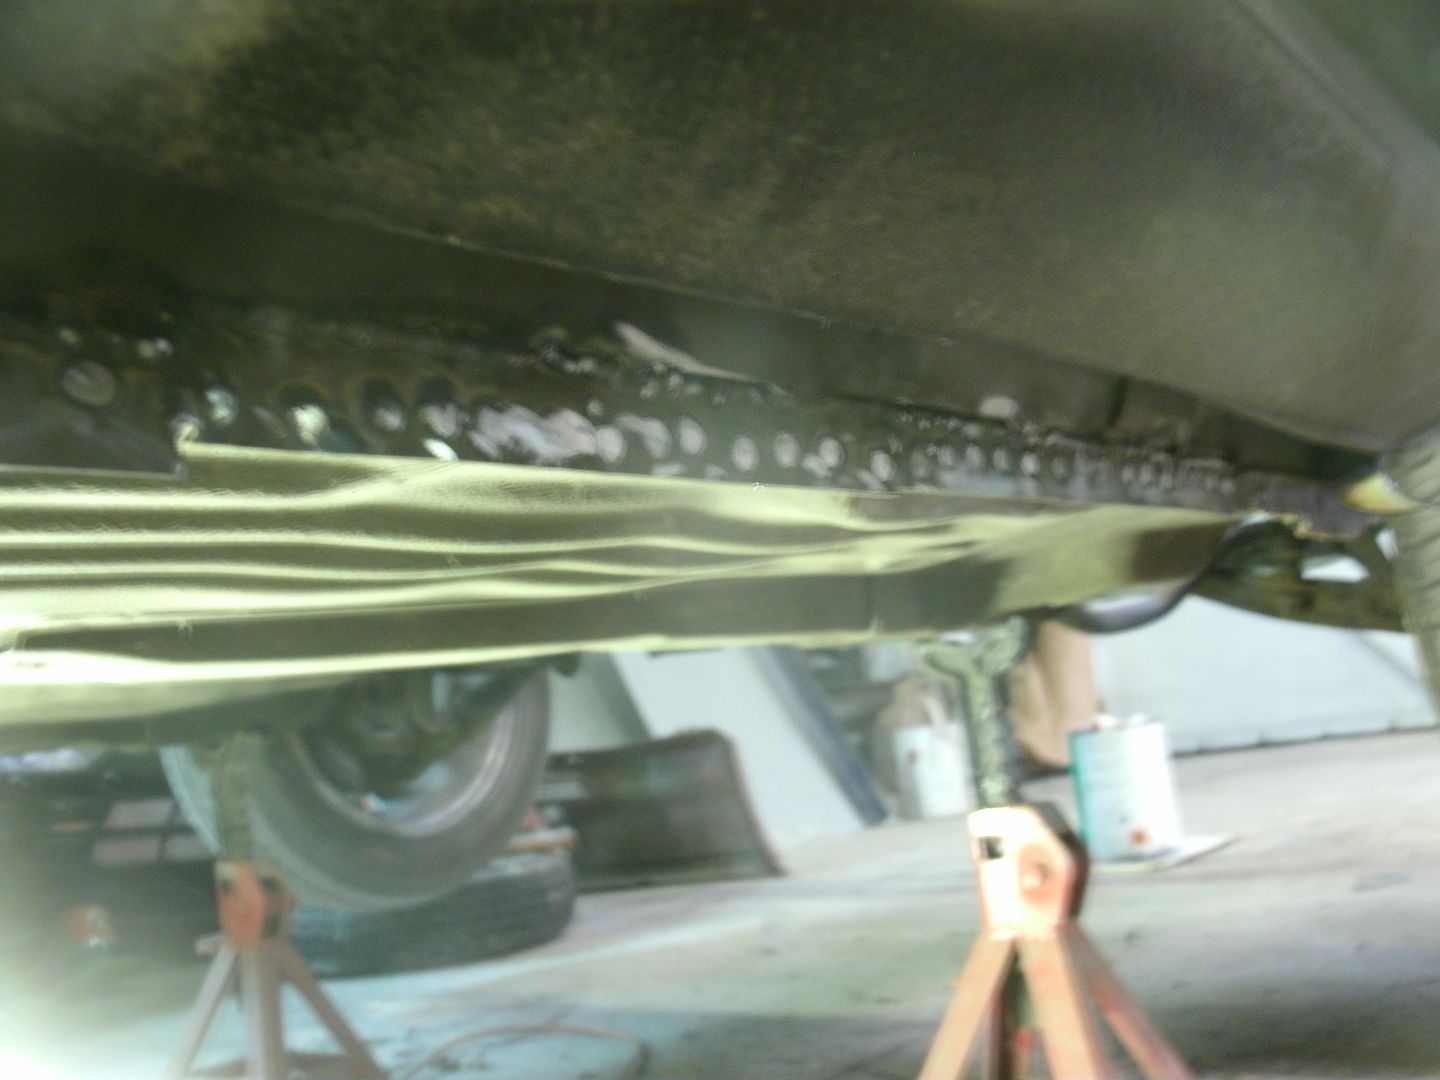
did the entire under floor run
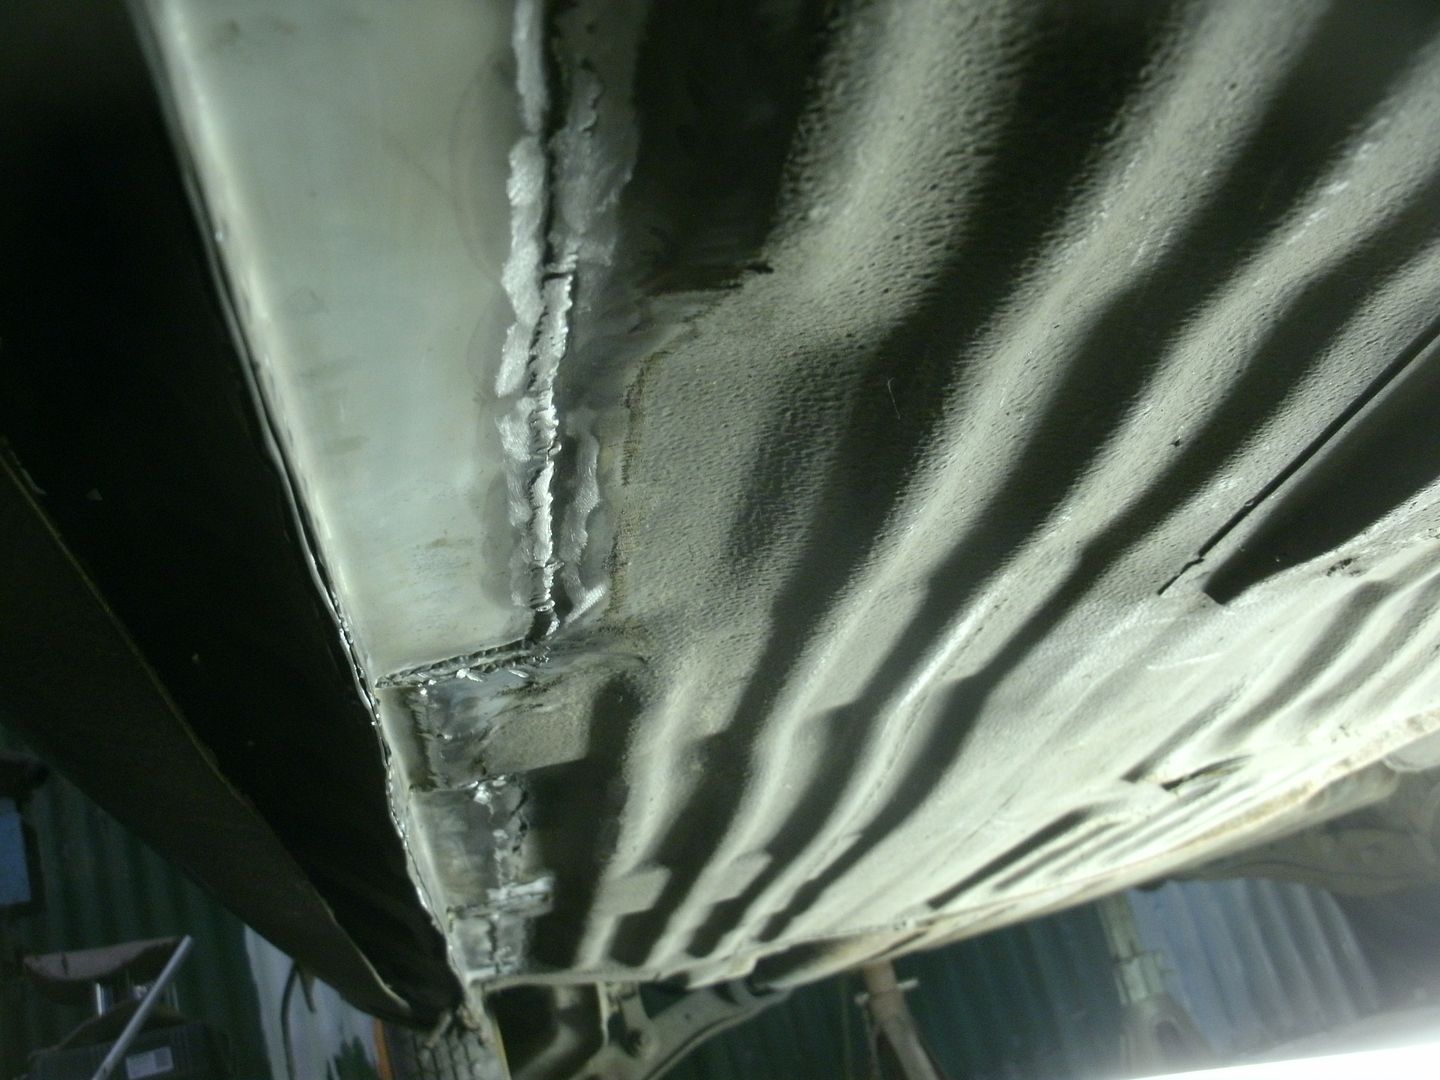
lower sill chopped out
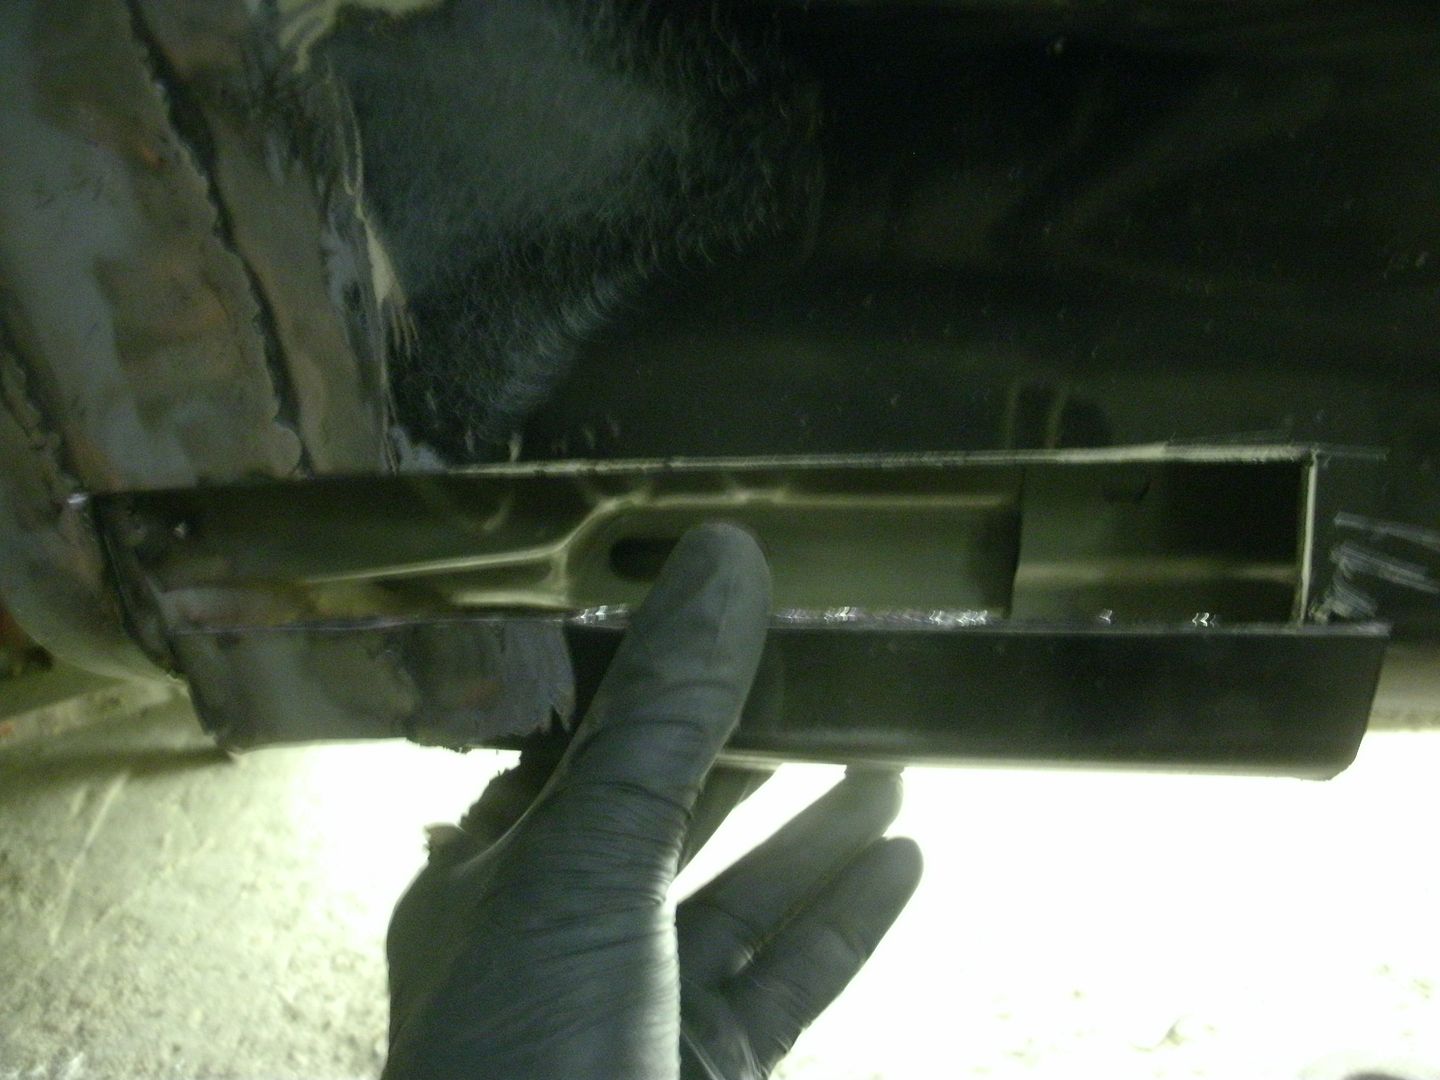
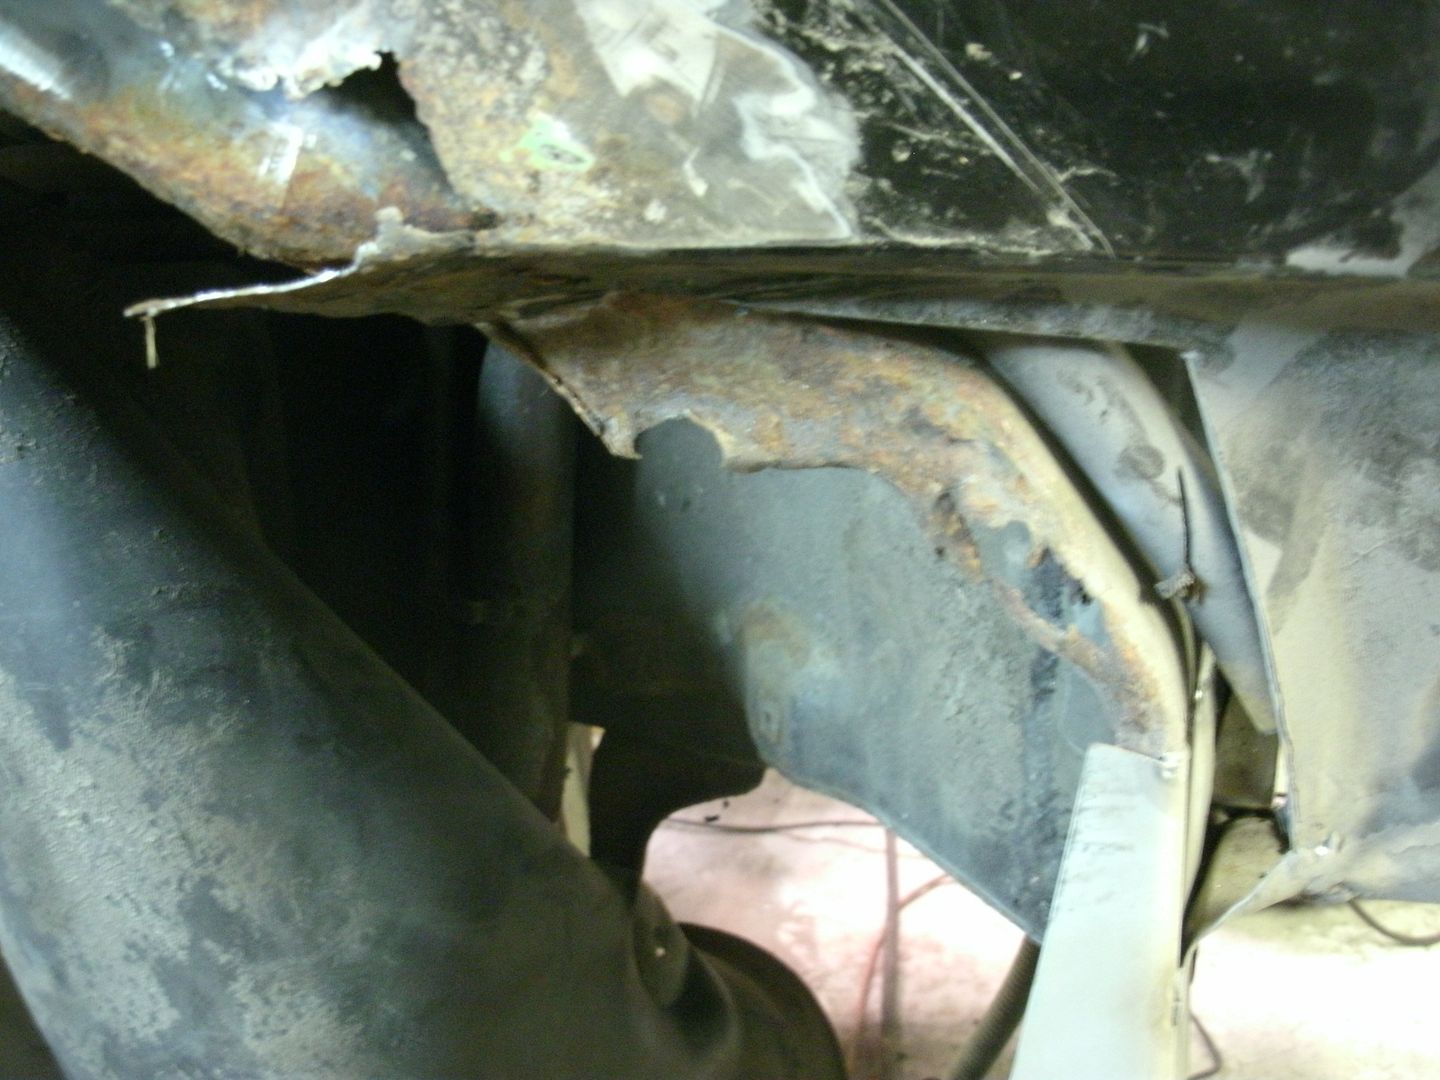
plenty of rot running up behind it
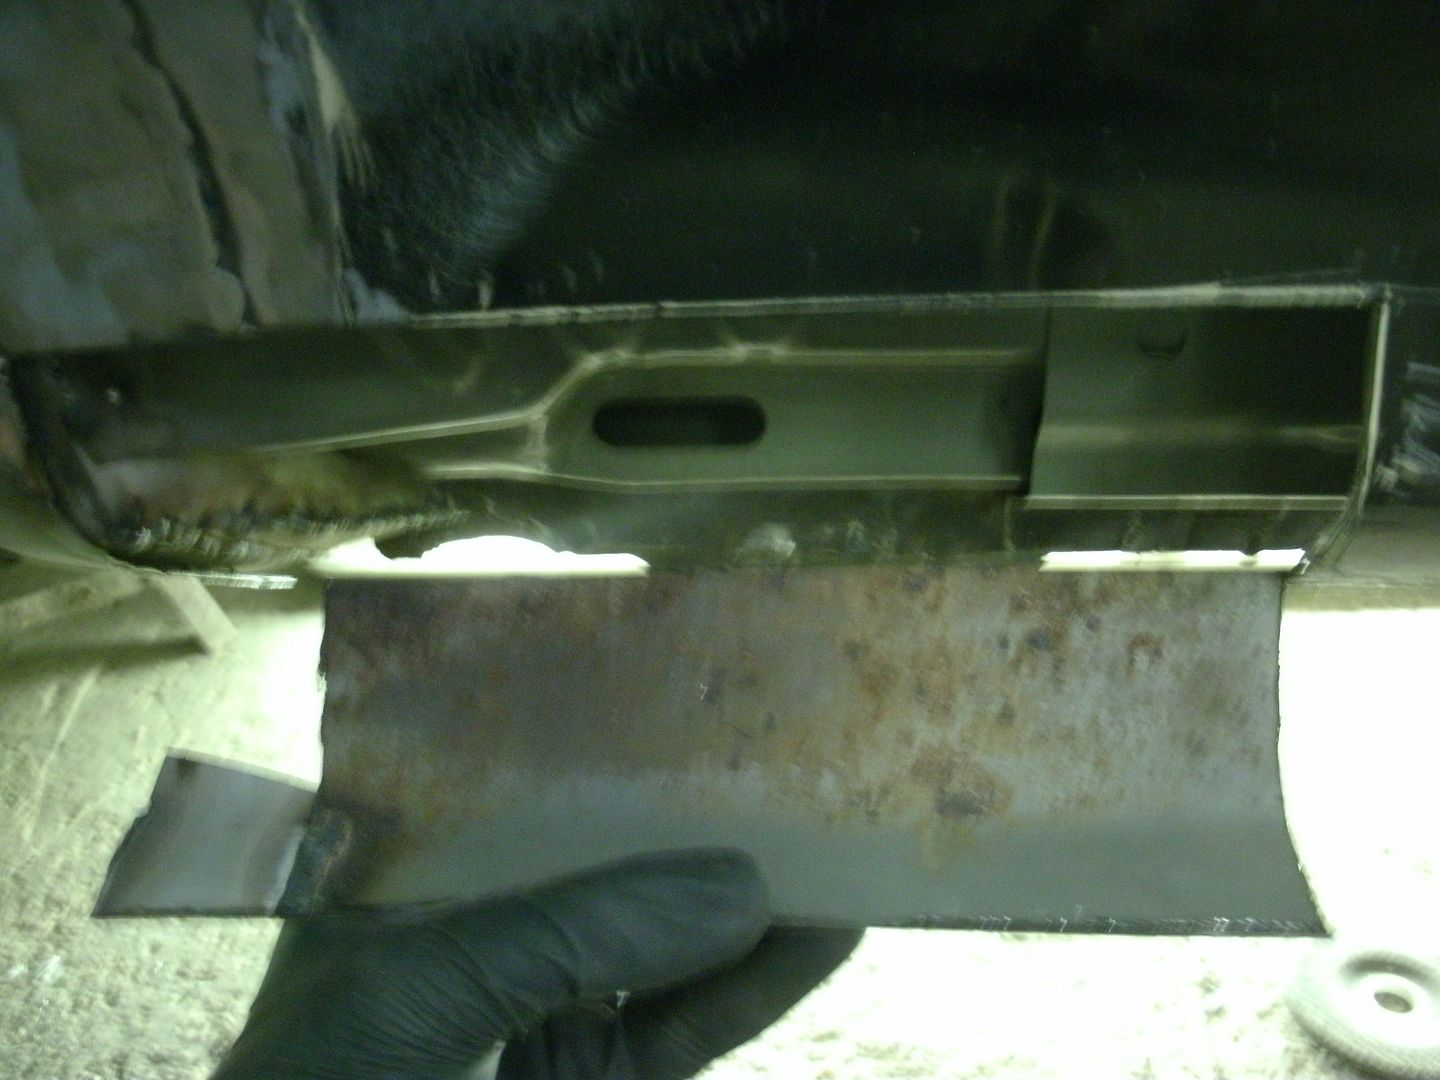
new section made
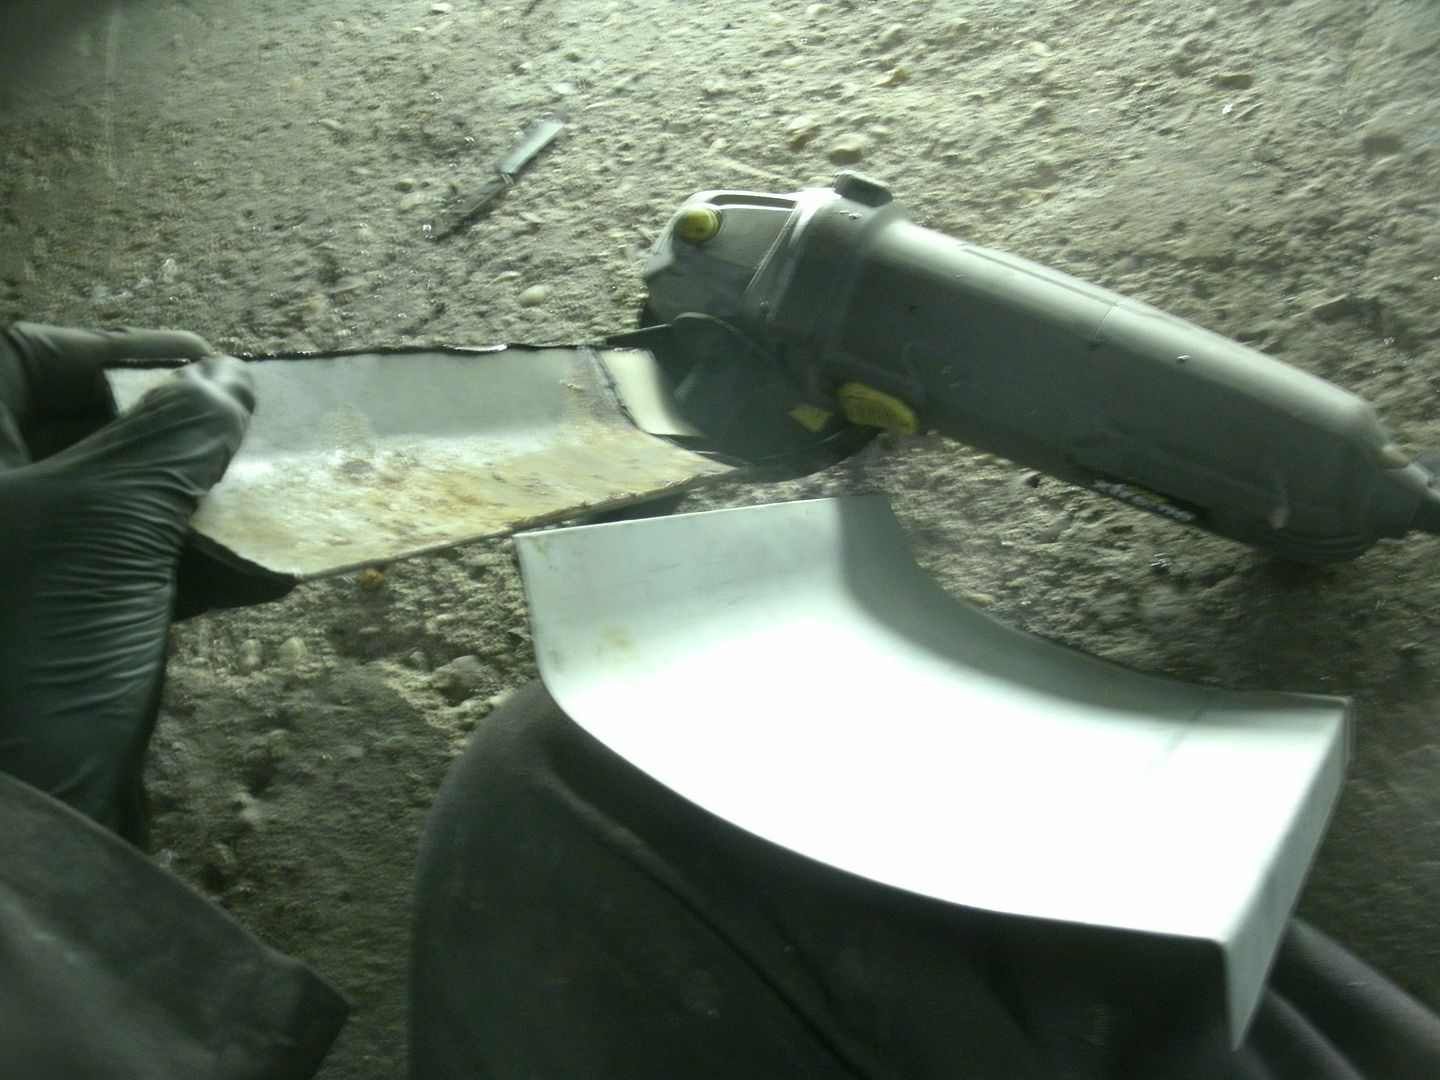
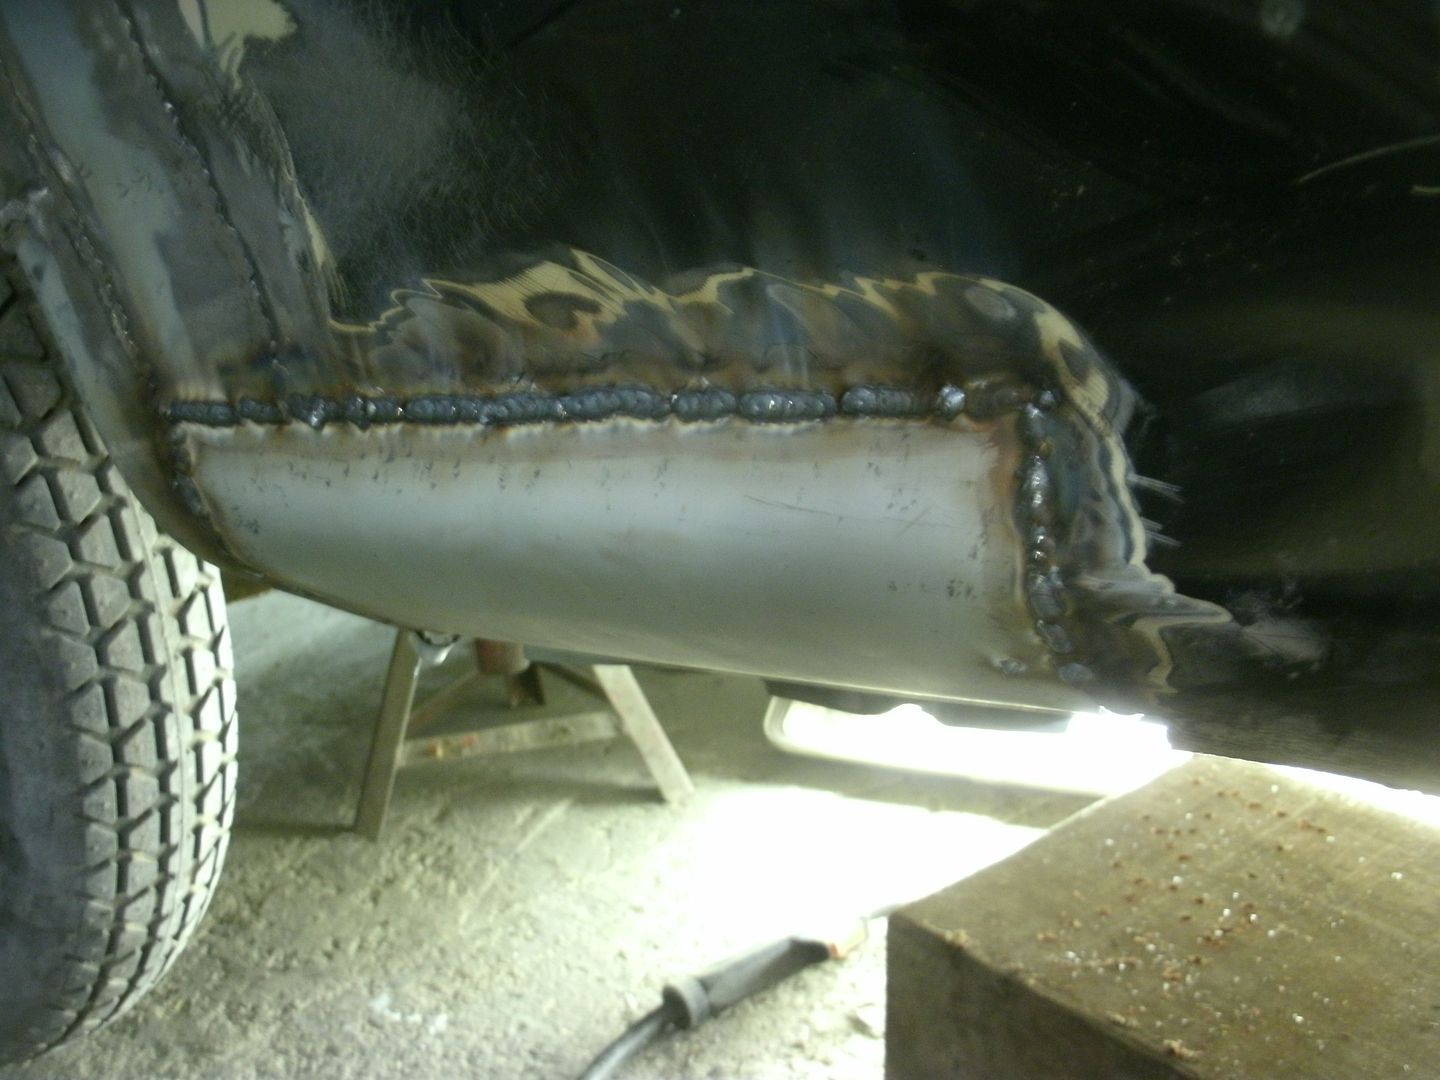
fetteled a little then welded in 
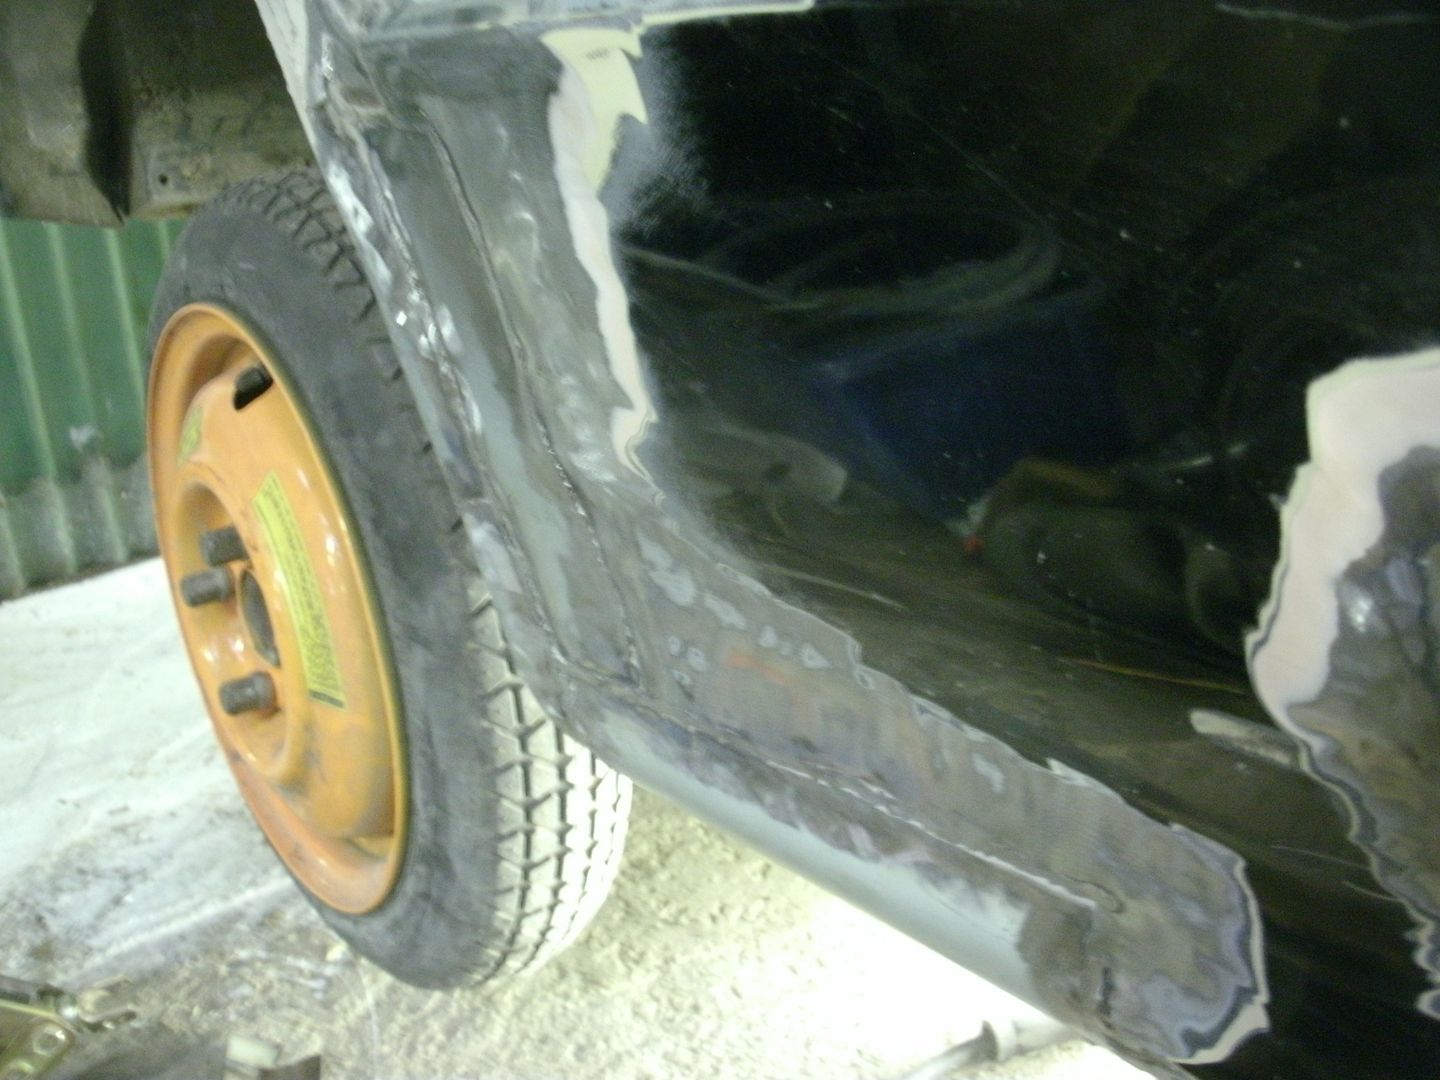
ground down ready for leading
on this full time until wenesday next week then semi off and on it (fuel filler surround due on a crx but its 2 days work)
color change planned to not telling though 
all clean with lots of flappy disk and various wire wheels till its all shiny
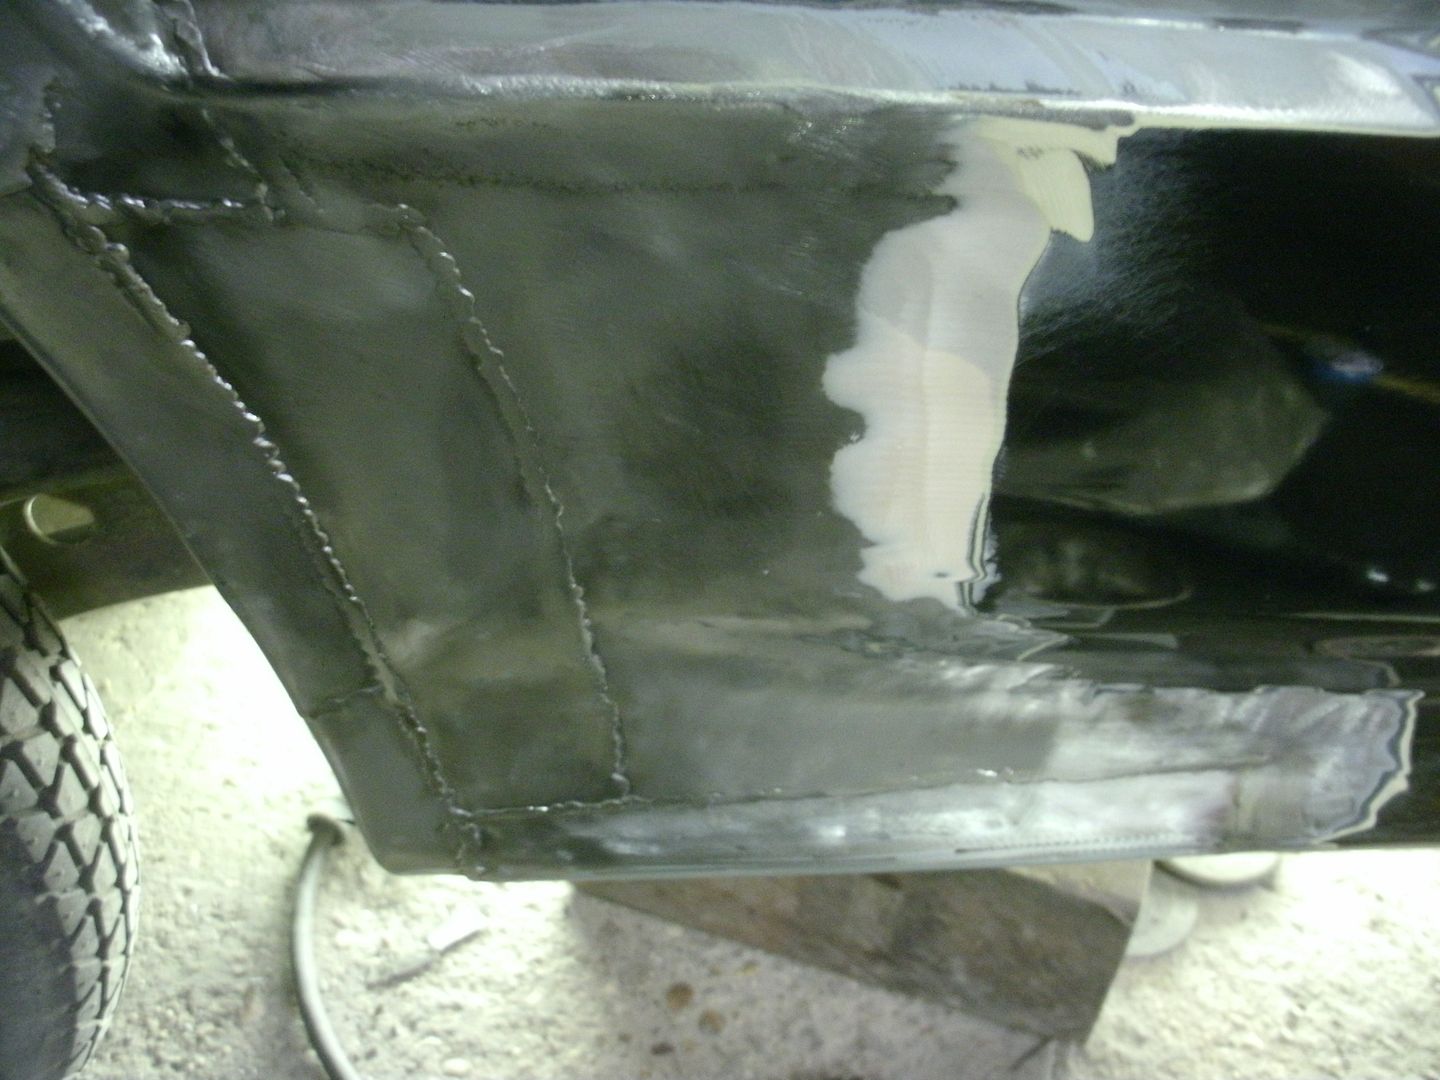
tinning paste on (brand new jar cots me a fortune now and one of the reasons why a £15 bar or lead gets booked out at £20 to the client to cover the £40 jars of tinning pate and brushes lol)
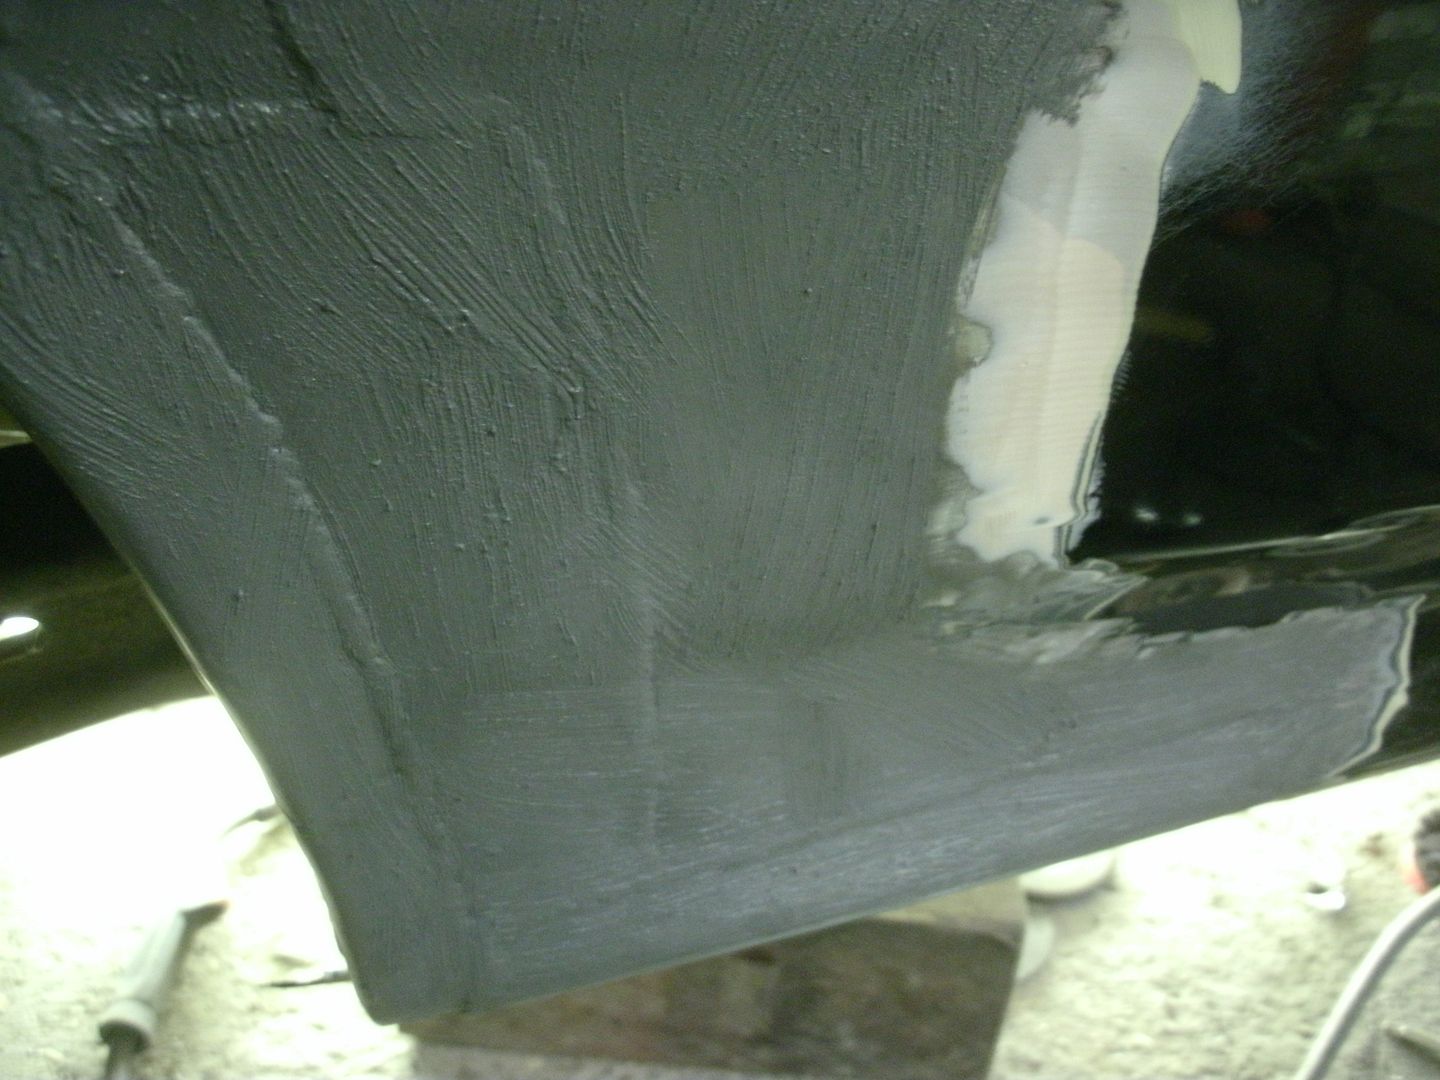
all tinned up and shinny  love fresh paste old stuff i alot dryer and spreads like poo
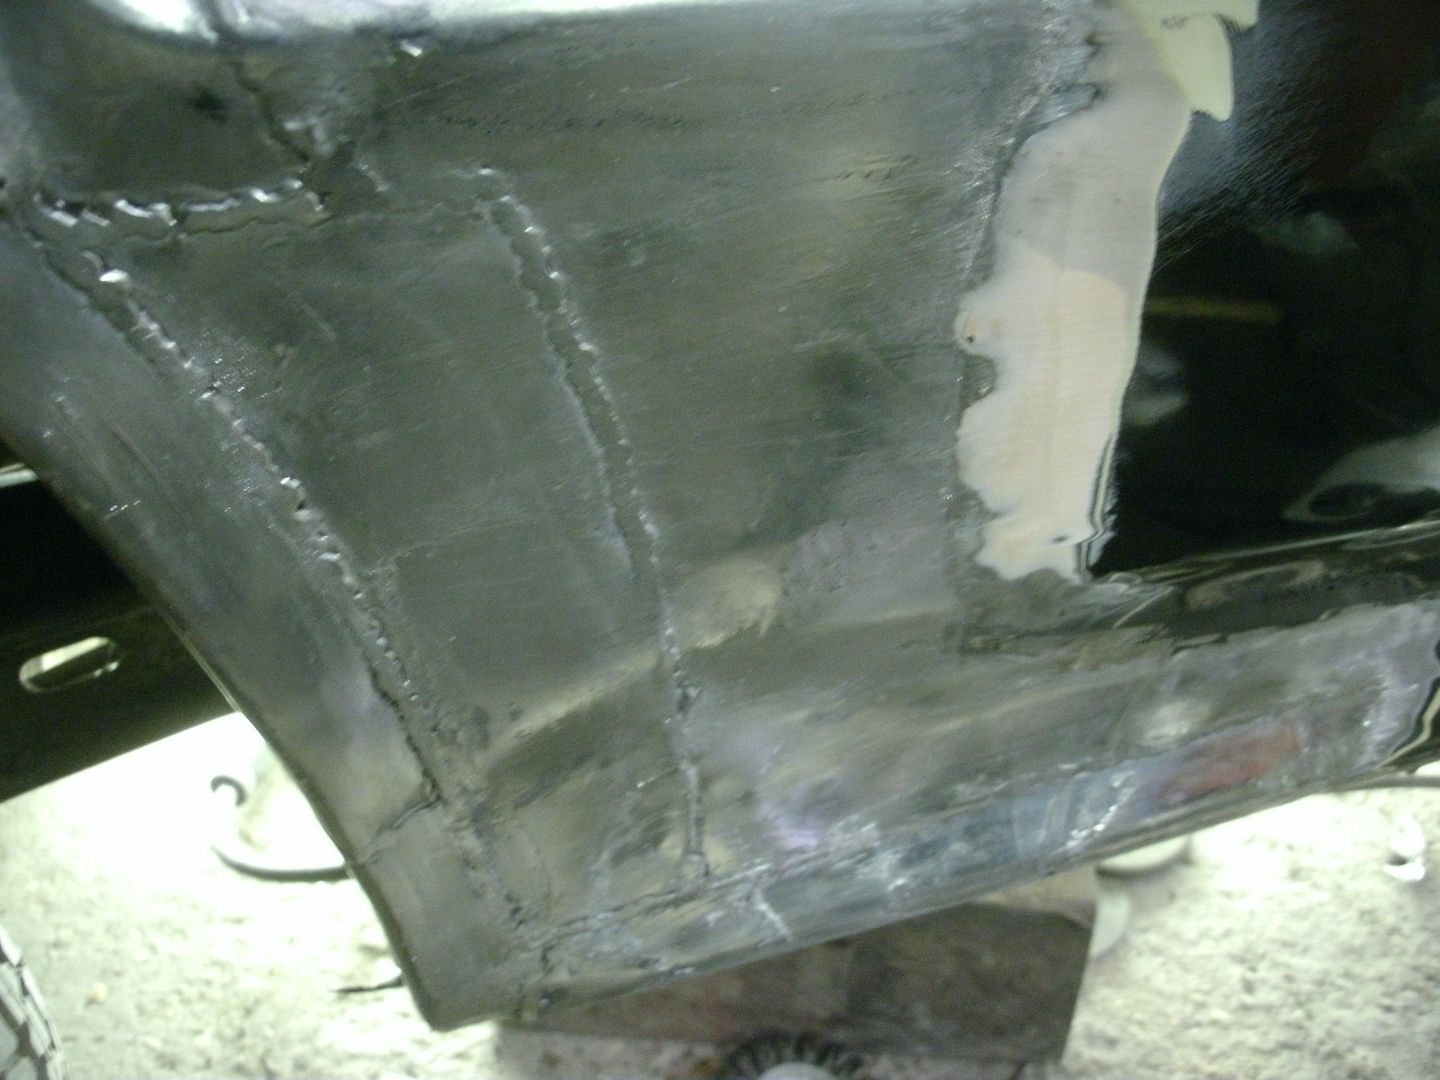
another bar of lead later all melted in
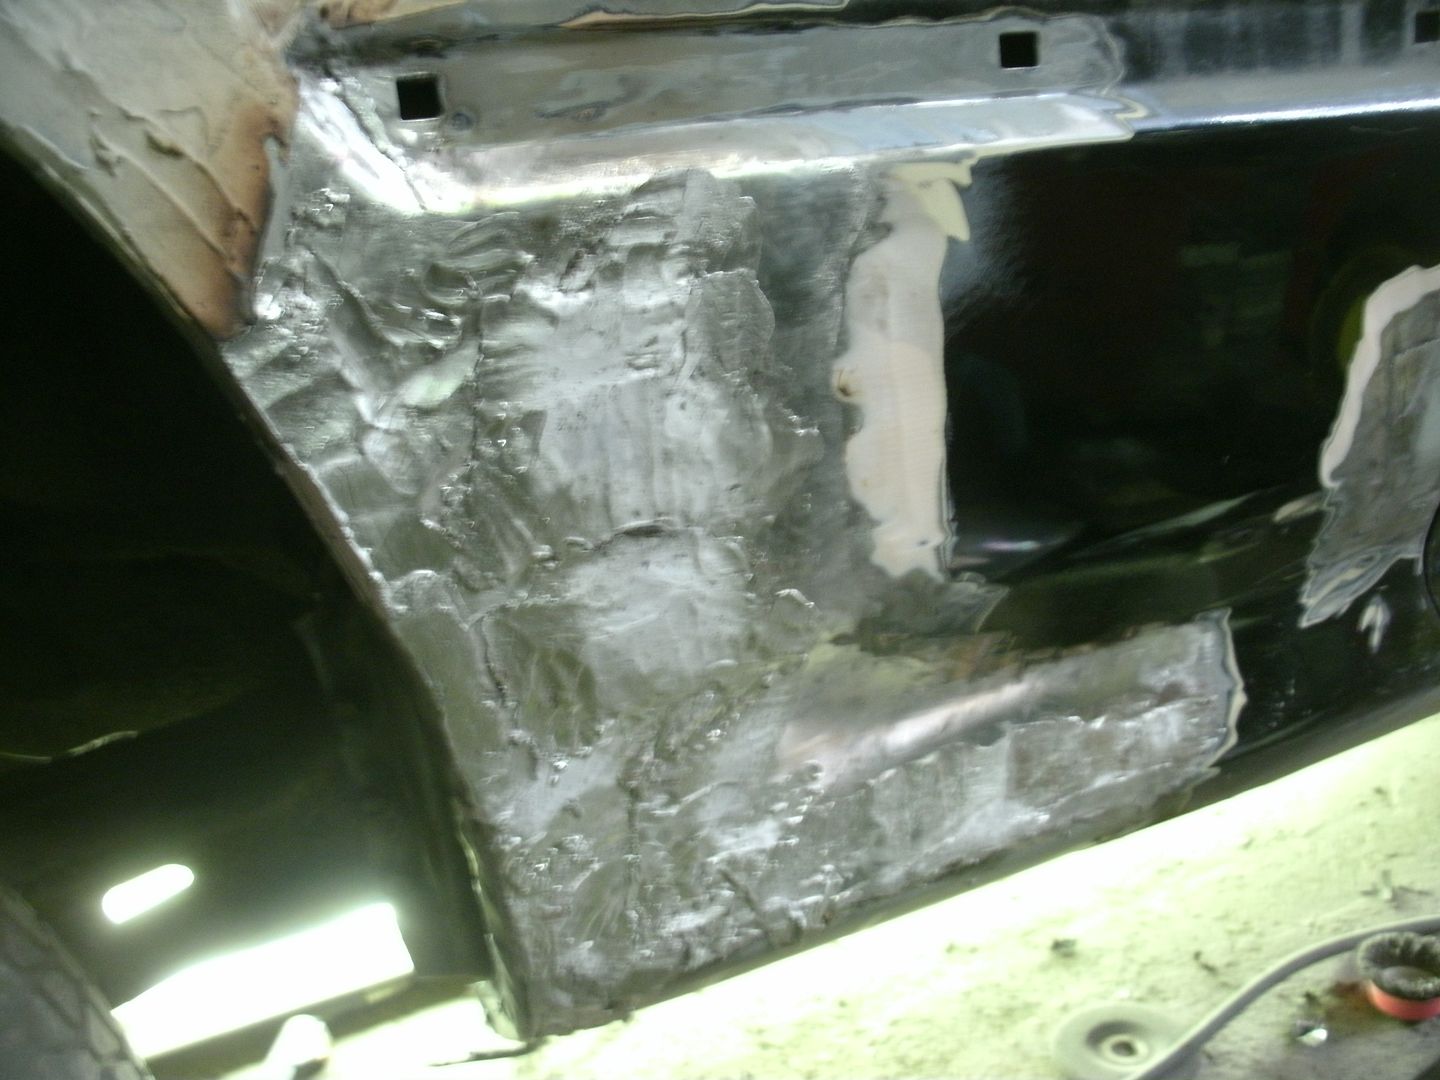
filed thta back to shape then left it to cool and spent the ret of the day on the sills
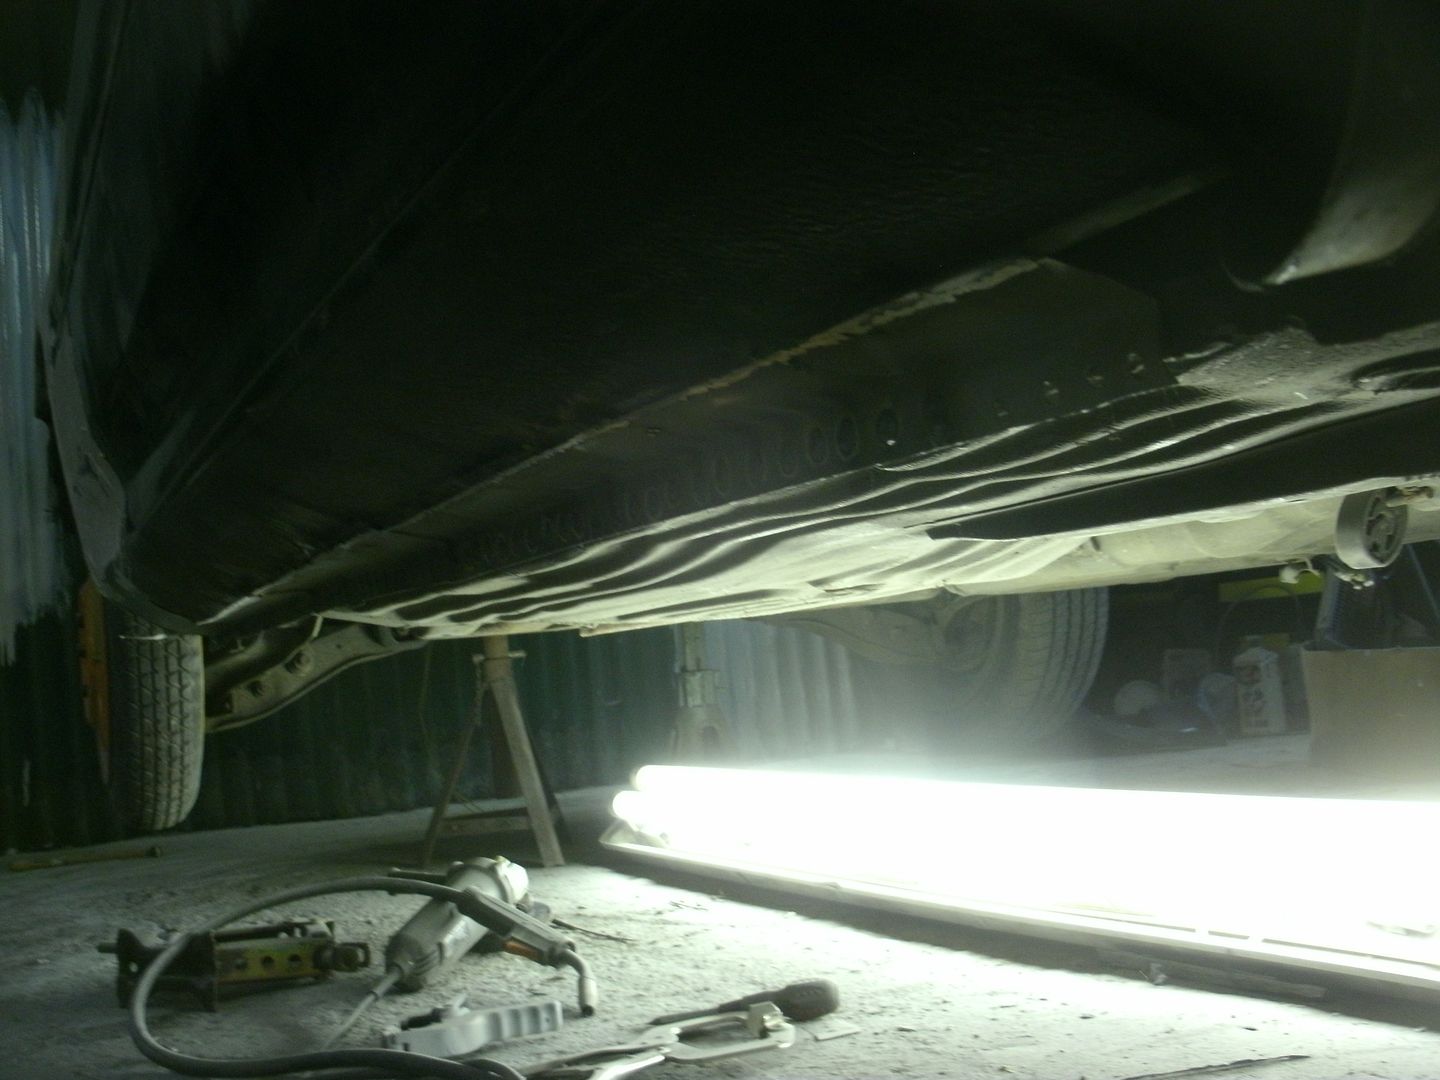
started knocking back the old filler and sanded down the new filler and added more to get it perfect 
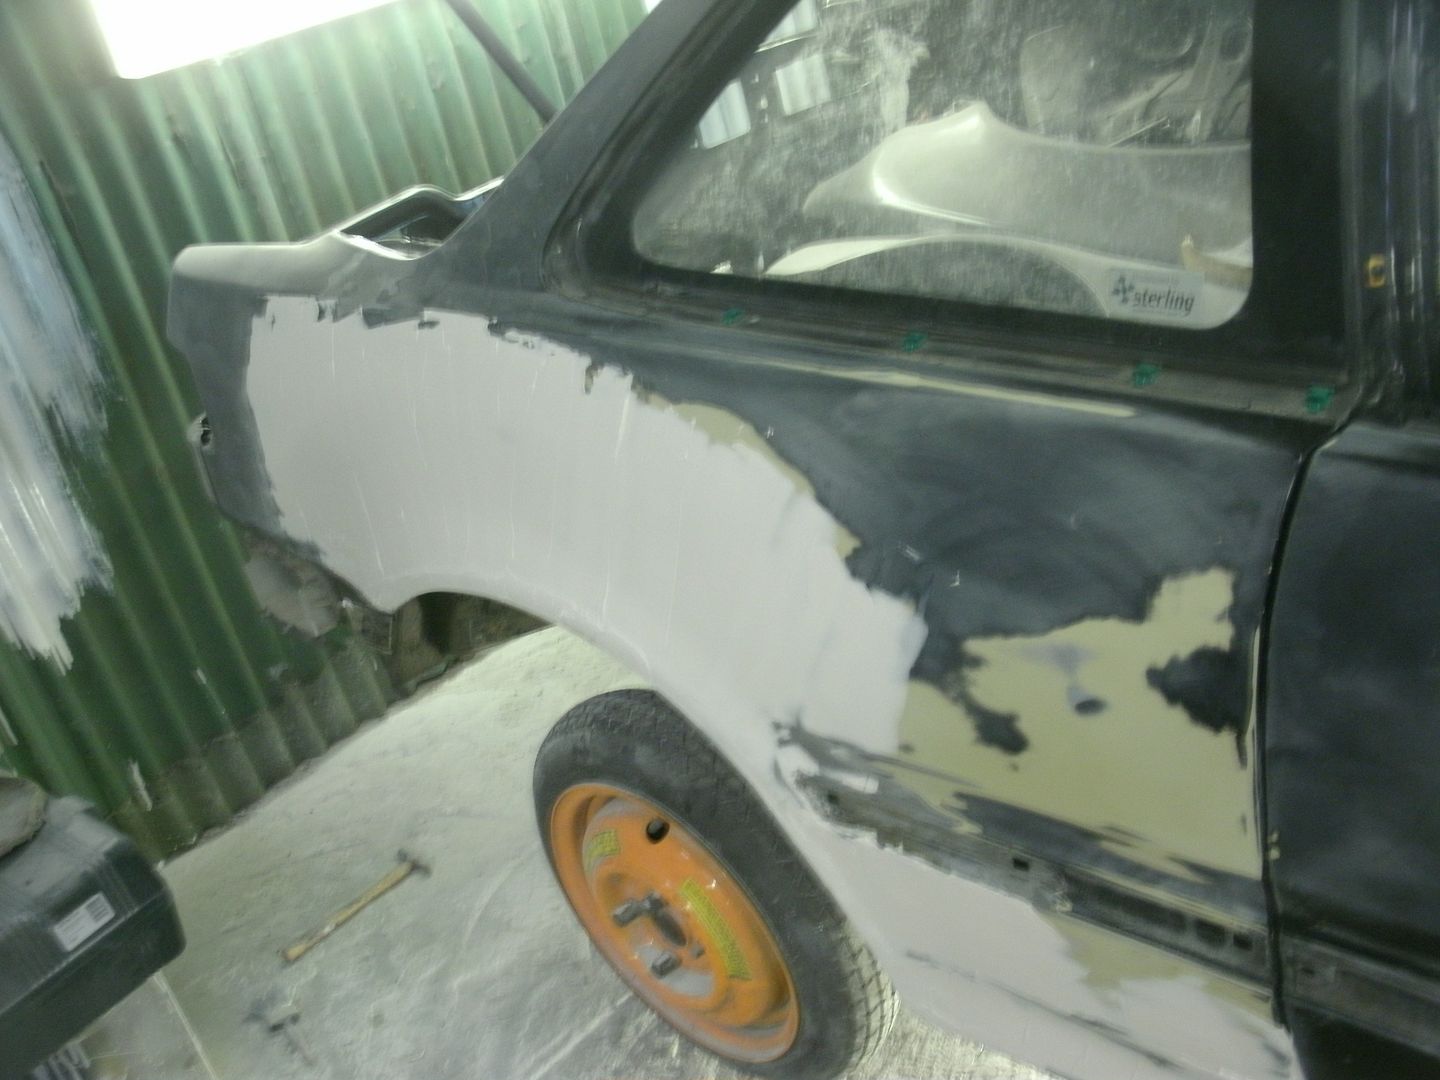
this side is hellishly close to being done now. just a couple more hours welding, more sanding the arch to shape (using the good arch the other side for reference) and then into epoxy primer on the outide and mastic on the inside/underside and then onto the other much better arch 
forgot to say there has been a color change from black to one im not telling you until i have laid it down, its hellishly nice though and imo much nicer than the OE black 
thanks mate for keeping secrets  hope people will start posting there comments lol
ok small update - sourcing more parts and getting my garage painted and ready for my freshly painted car - this will be my first dry stored car 
Aaran is flat out cutting rust out and getting car ready to be painted - hopefully he can upload some pics soon. I will finish garage over weekend - getting engine in to be cleaned and prep to go back in to chassis. body should be back in 7 - 10 days ( fingers crossed  )
)
here is some pics :
unit


stage 1 clutch :


trying to clean engine - trial today to check which product will work best - put Iron X then Auto Glym engine cleaning stuff - no result what so ever.
Then I used this :
before

after just 5 minutes playing with brush and paper towels

awesome stuff and super easy  will not paint engine - cleaning should be enough with Gunk - ordered more - just in case
here is my intake

loads of sh…t in right chamber - any advise will be great. will search online for reasons and how to clean that thing and fix the problem 
You willing to sale anything off the red parts car? if so email me greazemunkey73@yahoo.com
tiny update  got the engine clean - now i will have to take oil pan of - clean it as well - not easy without engine stand
today started on this

after 2 hours here is result :

need to remove dip stick to clean area behind…
changed oil pan gasket today - not much of update  will try to change clutch tomorrow and put gearbox back on and clean all


bit of hondabond - not sure if this is correct amount or not but did not want to put too much - just few lines on corners

this helped keep gasket in place as well 

more to come 
todays update - fitting clutch - first problems 
old clutch - easy to replace :

new clutch :


so here is problem - pilot ring supplied by Competition Clutch is different then original  or I just do not know how to fit it

so I carry on cleaning gearbox :


not finished yet

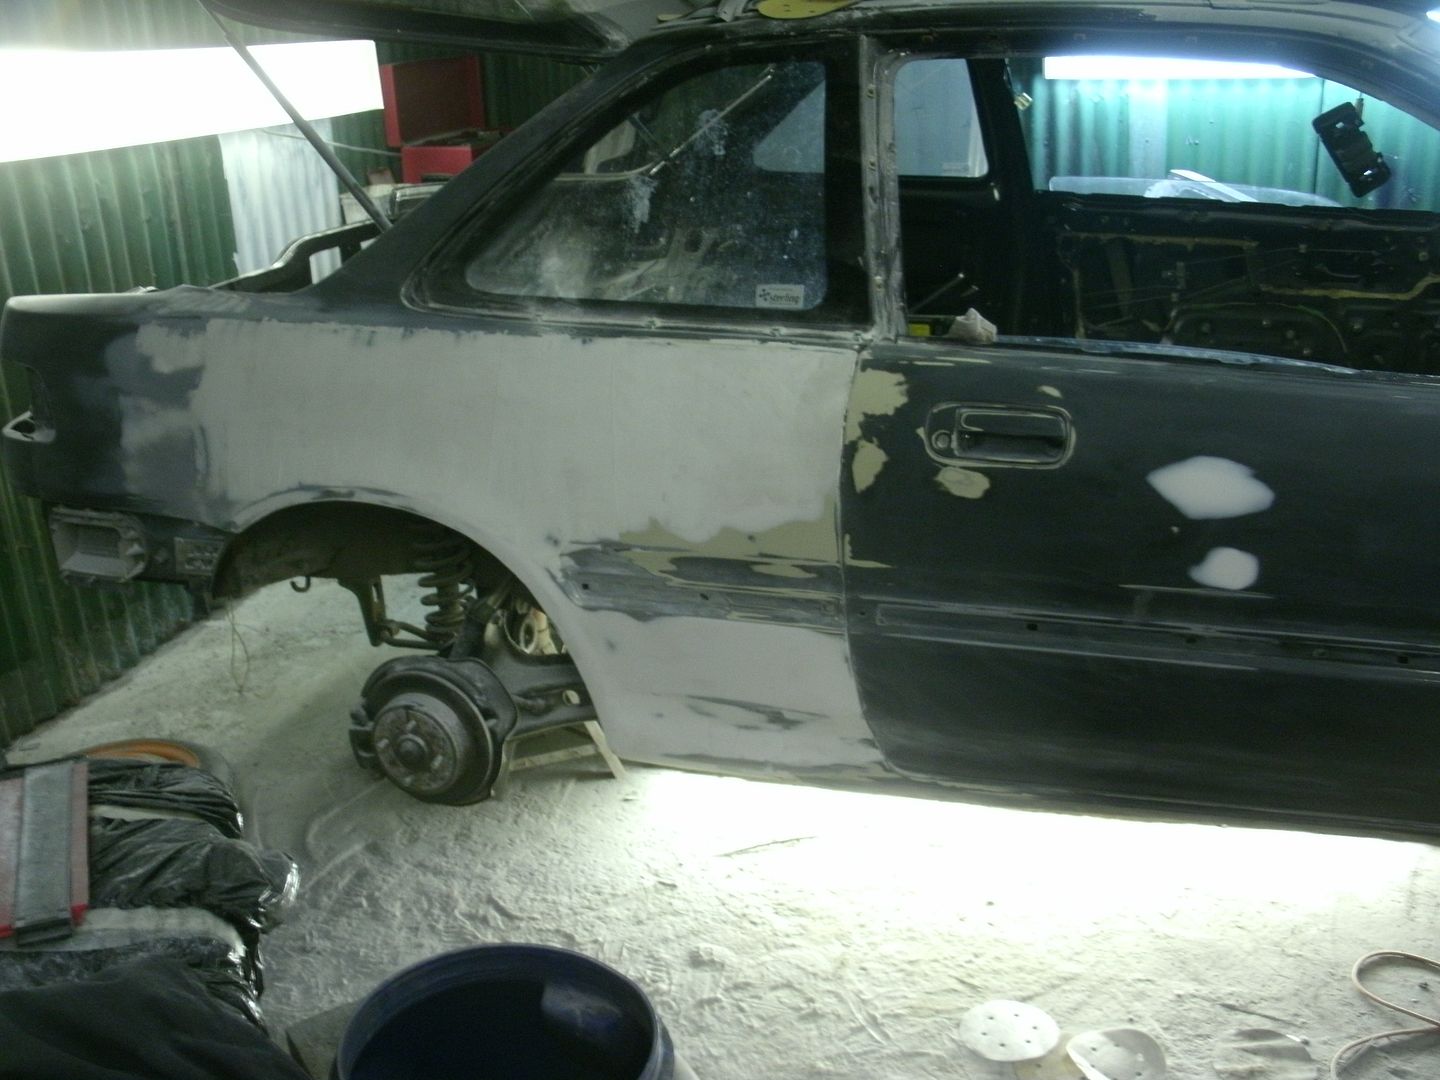
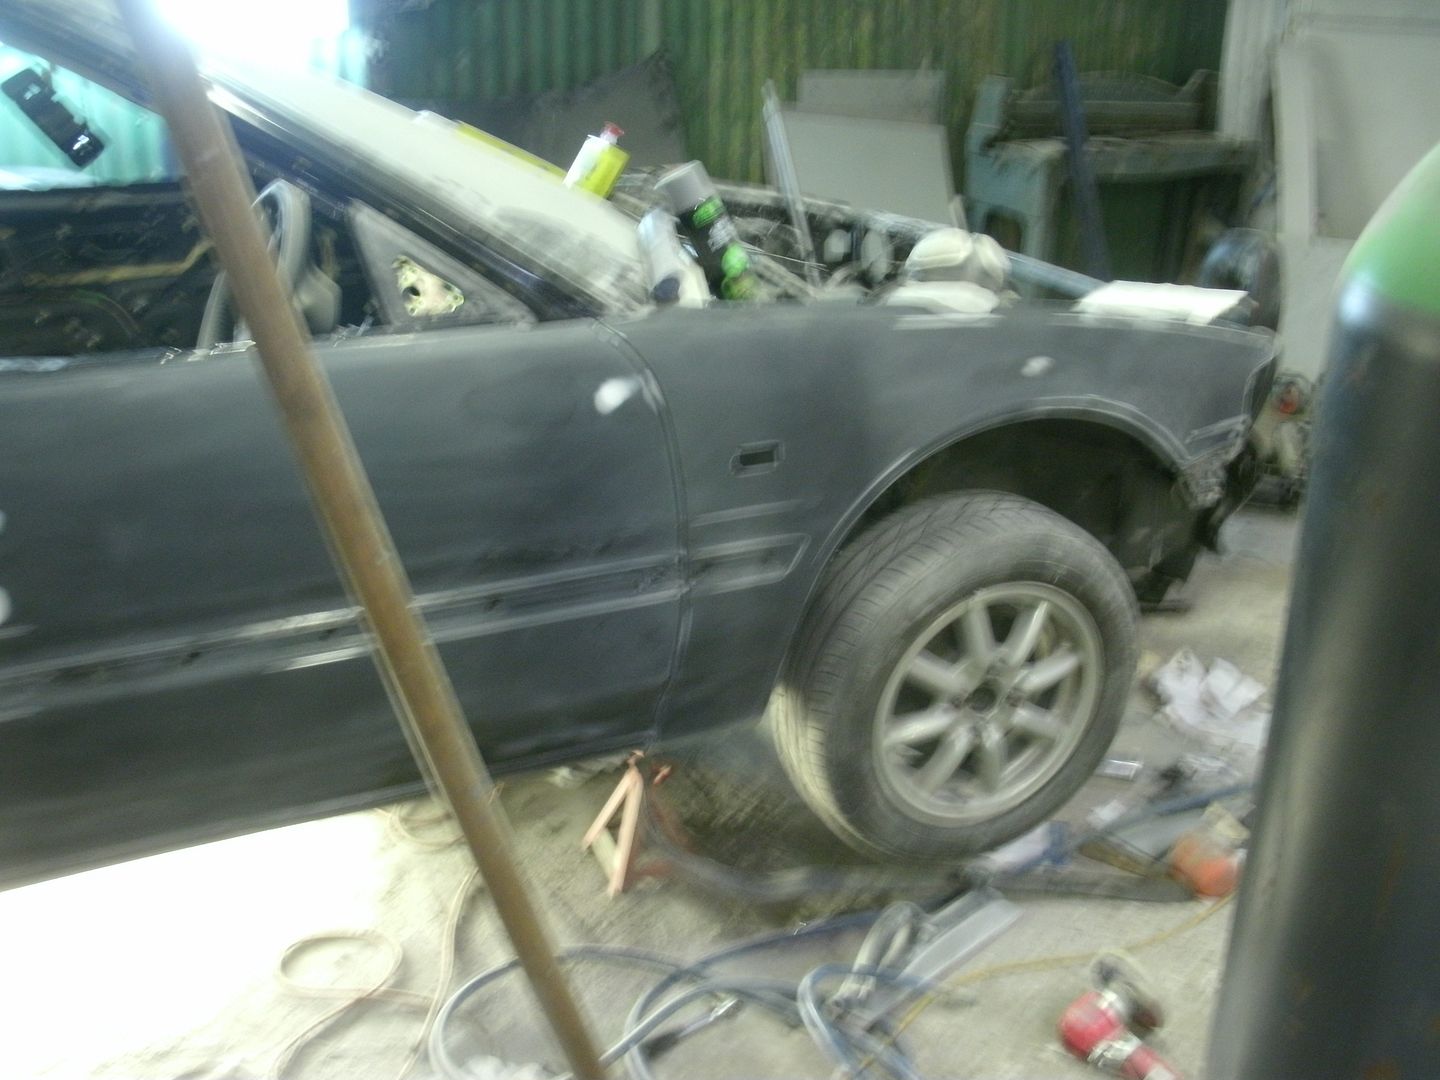
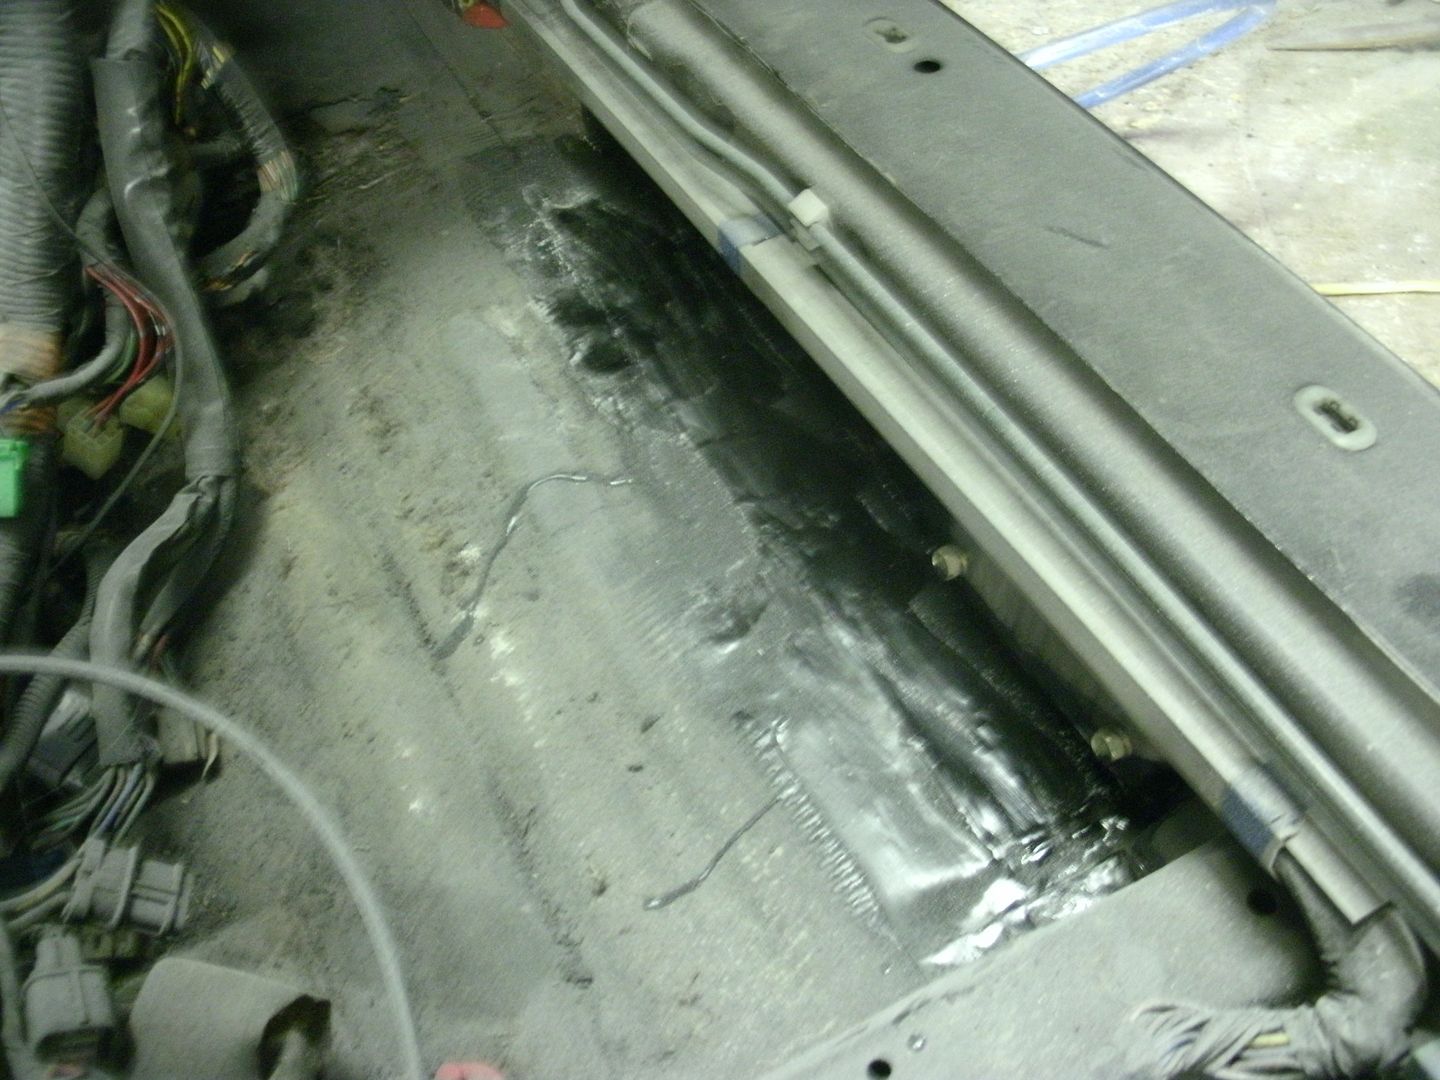
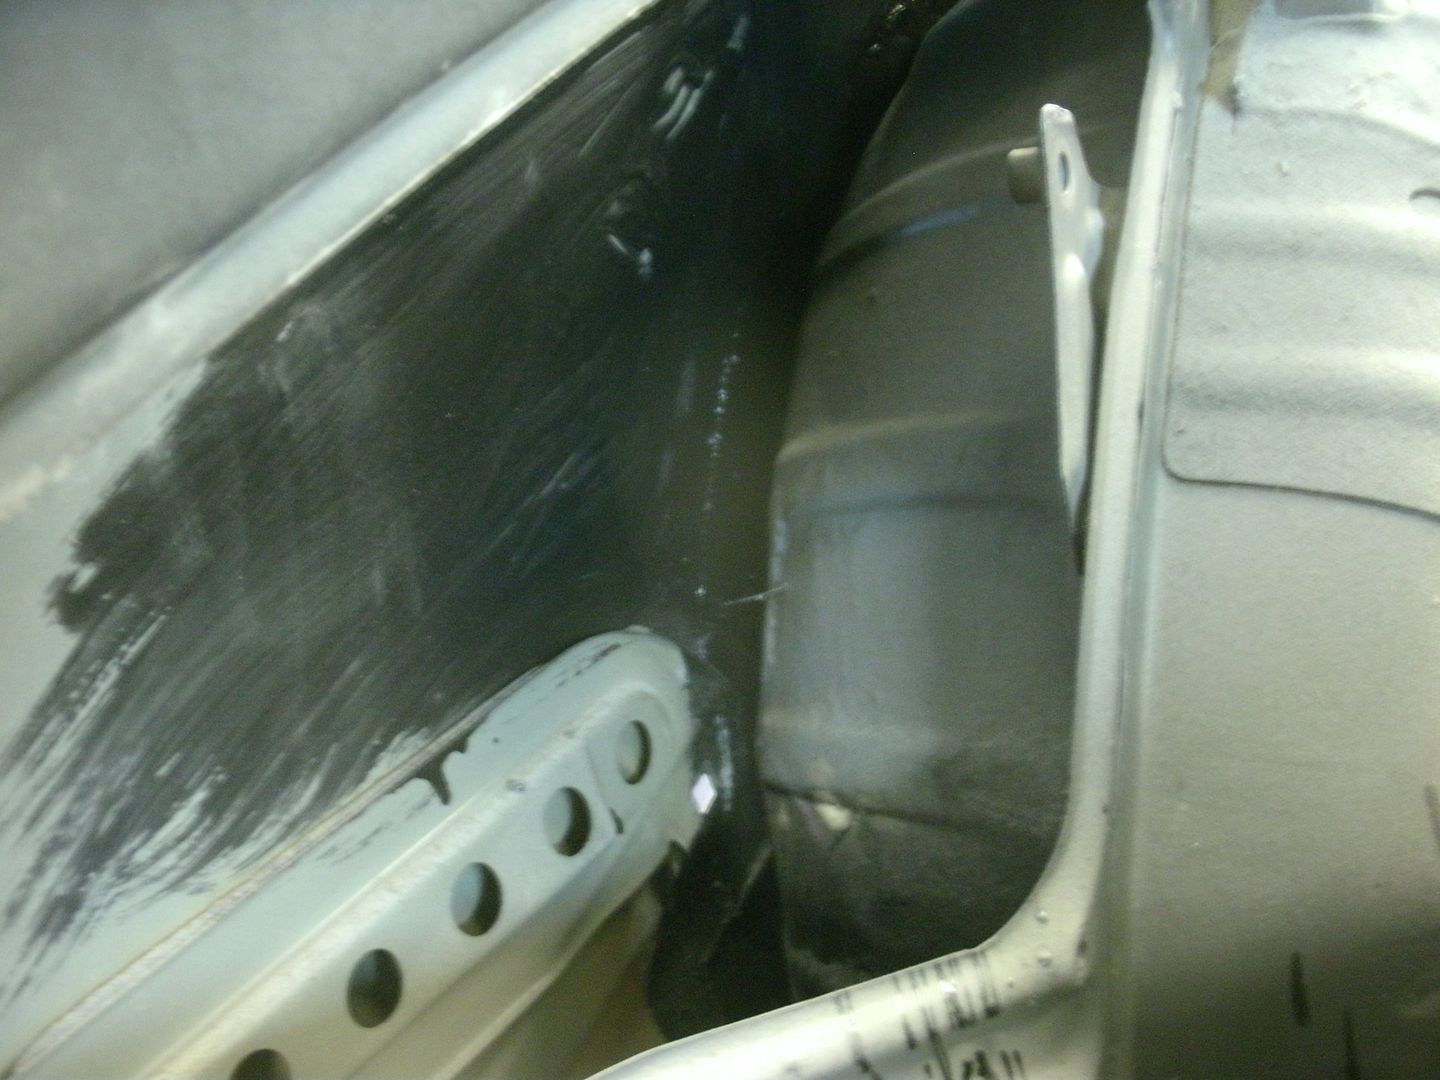
loads o rot!
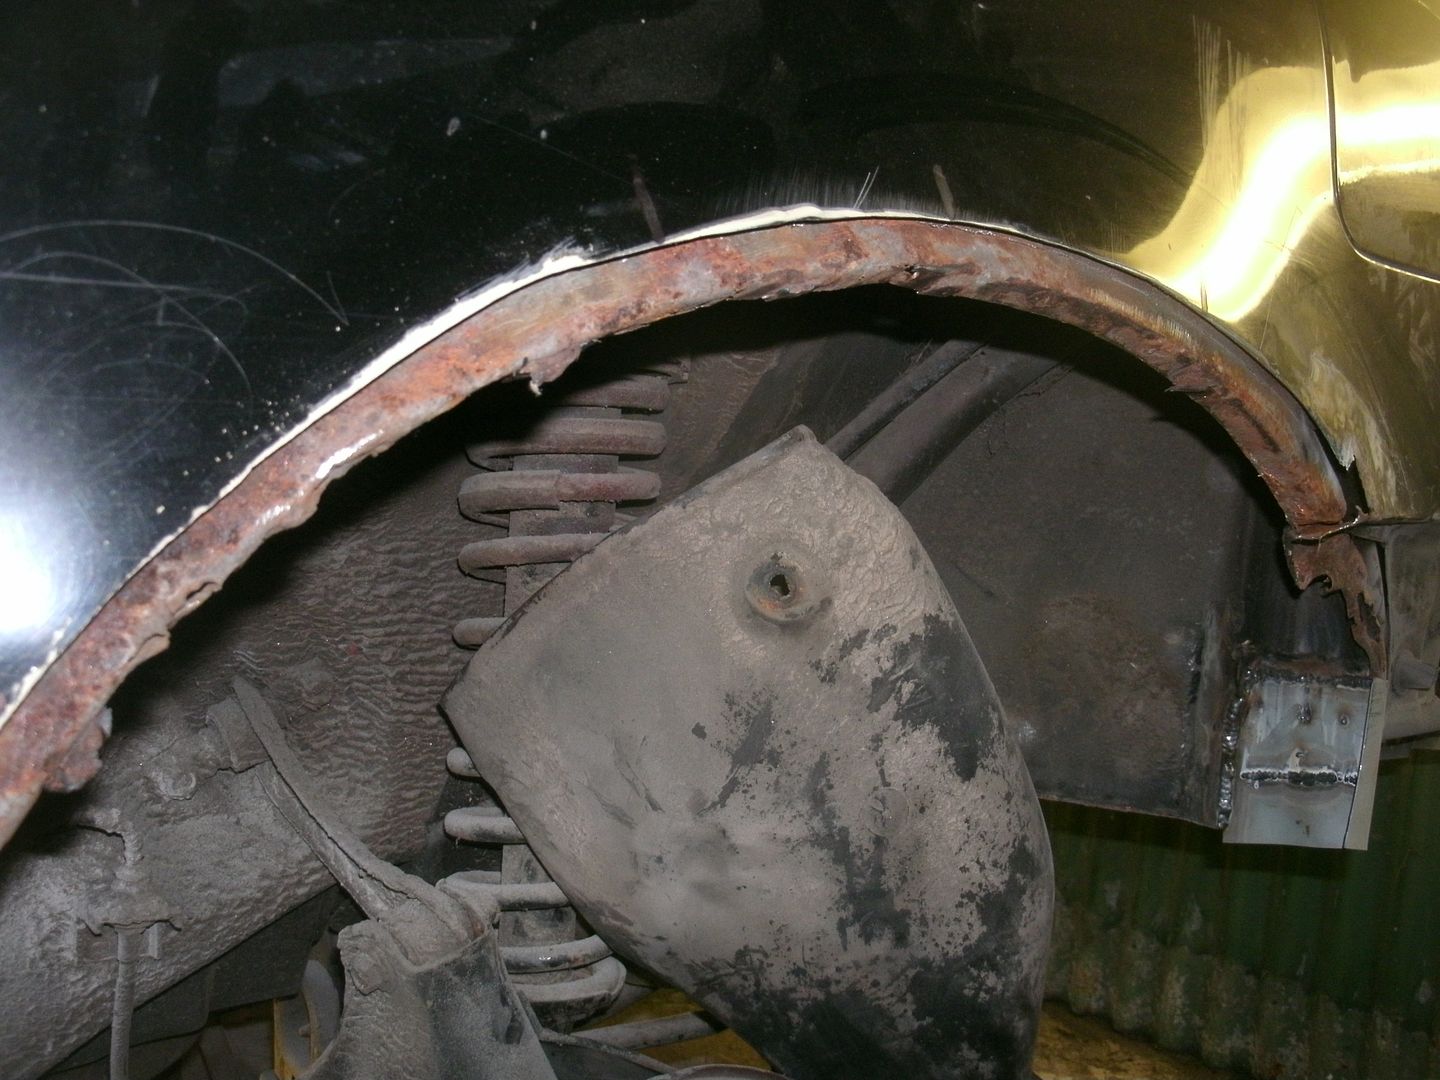
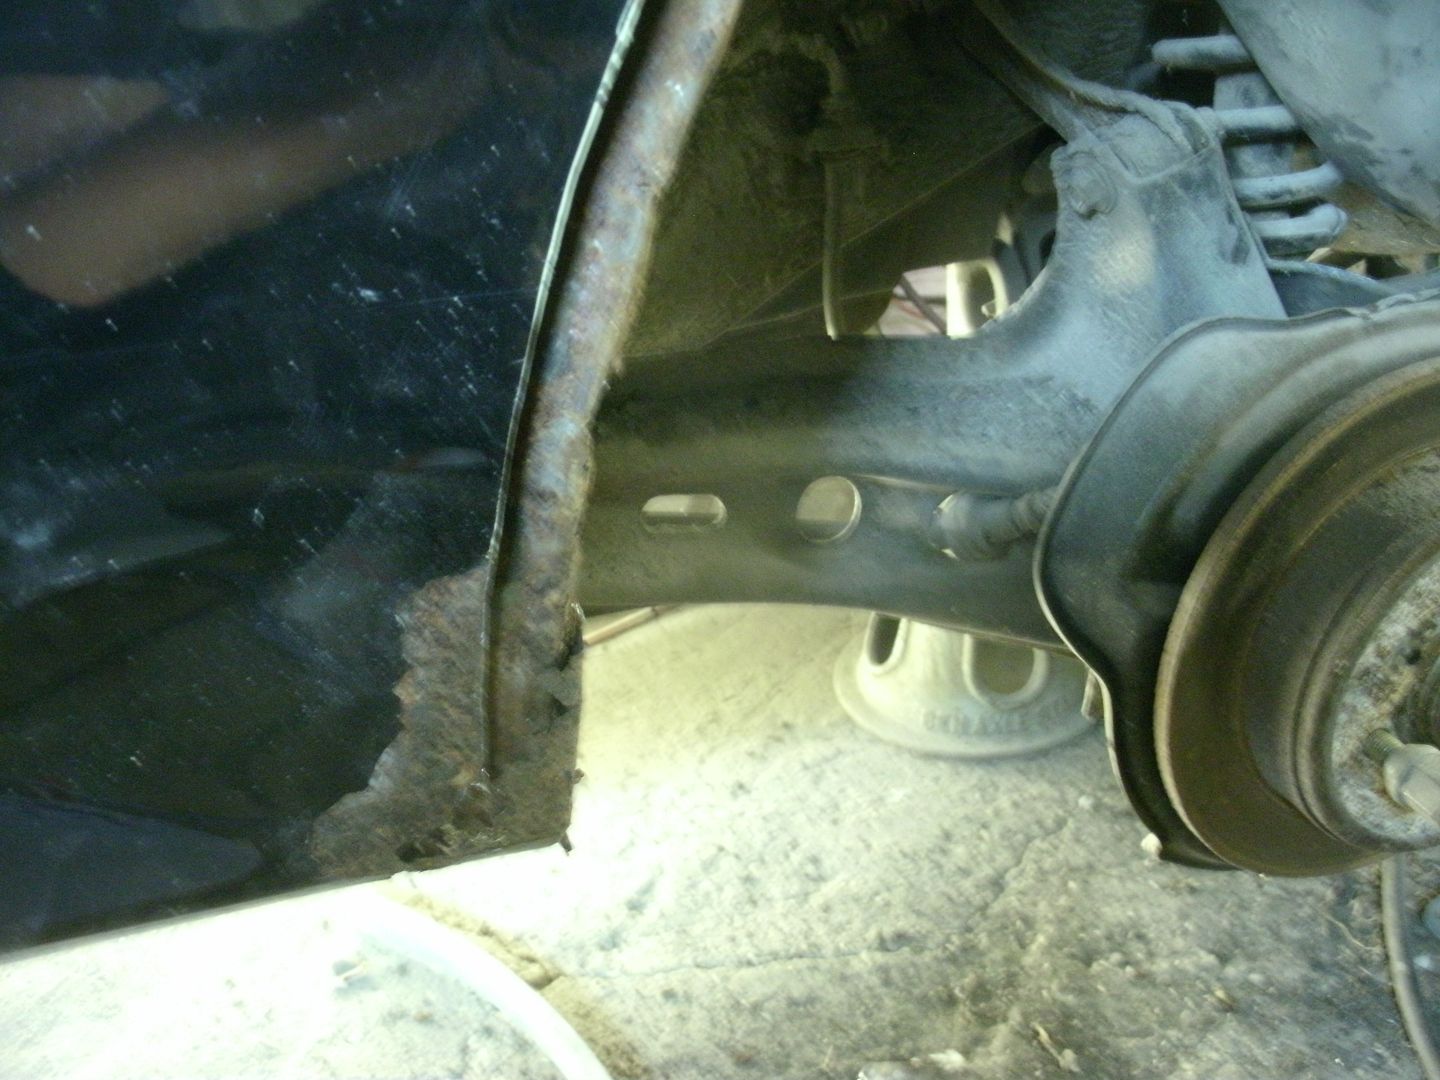
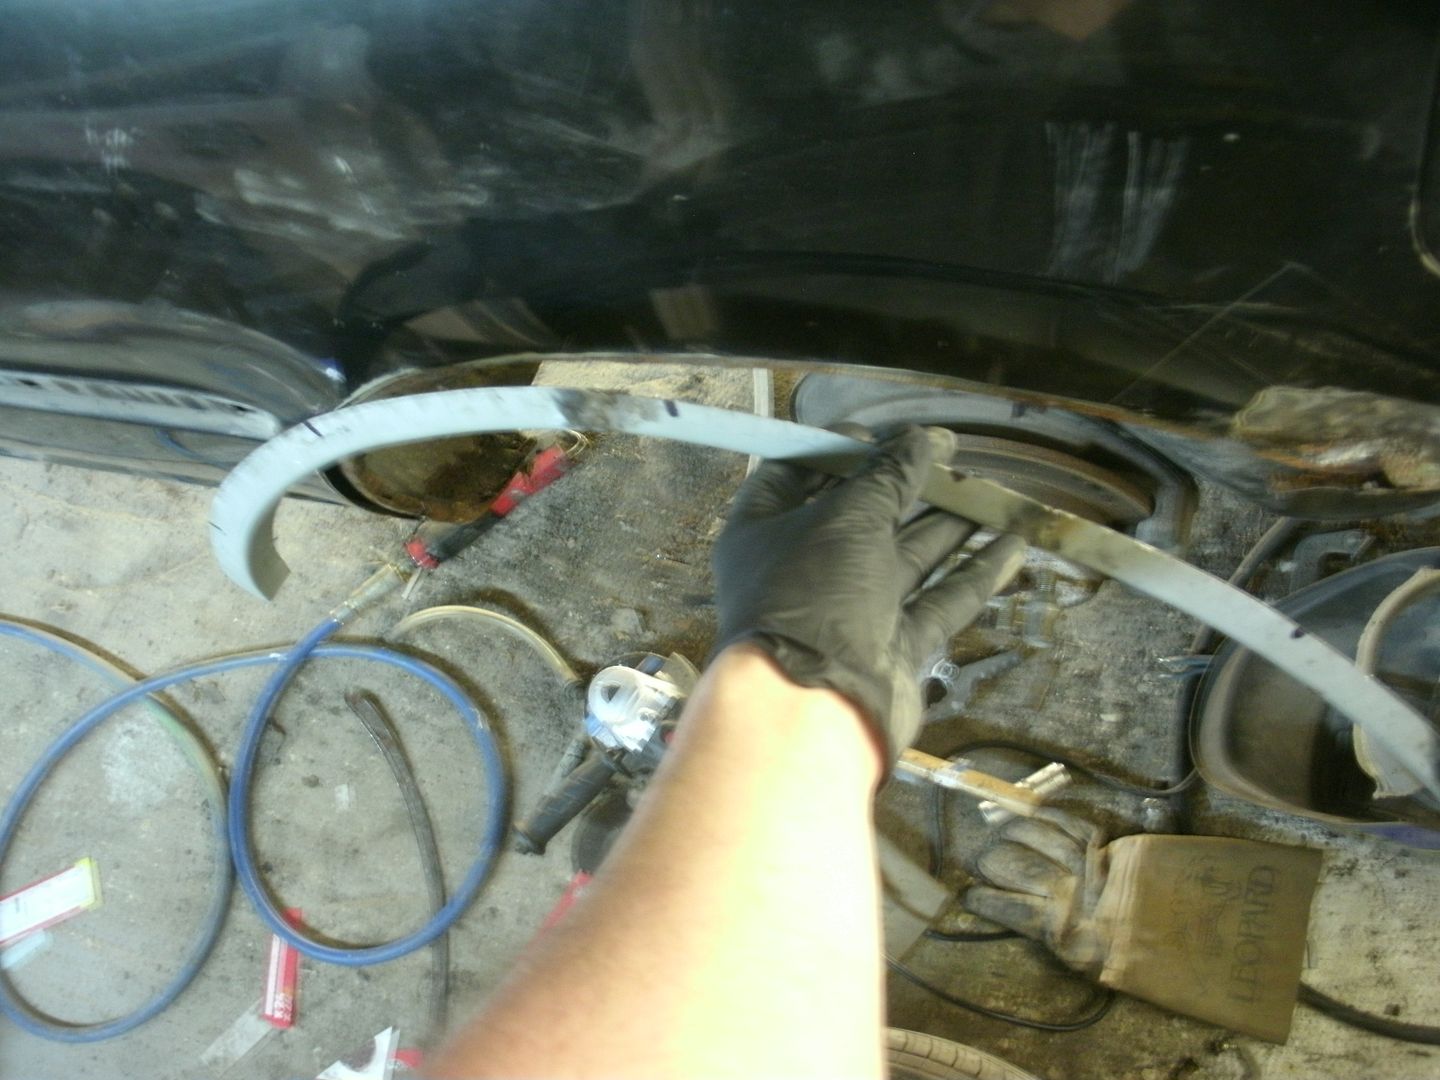
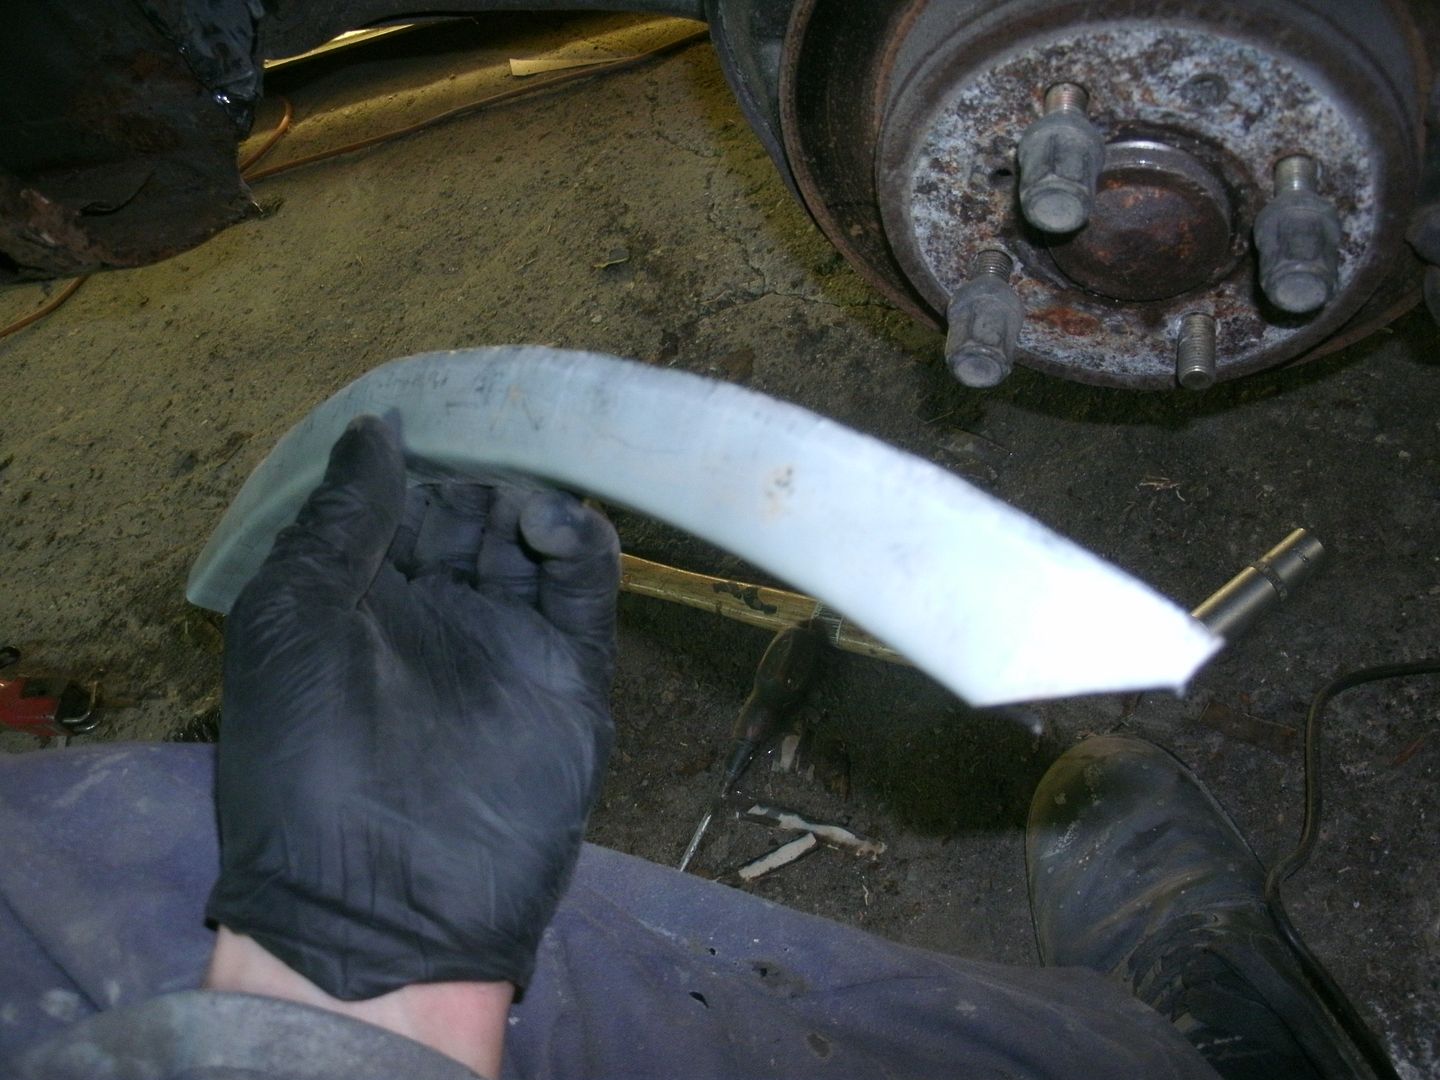
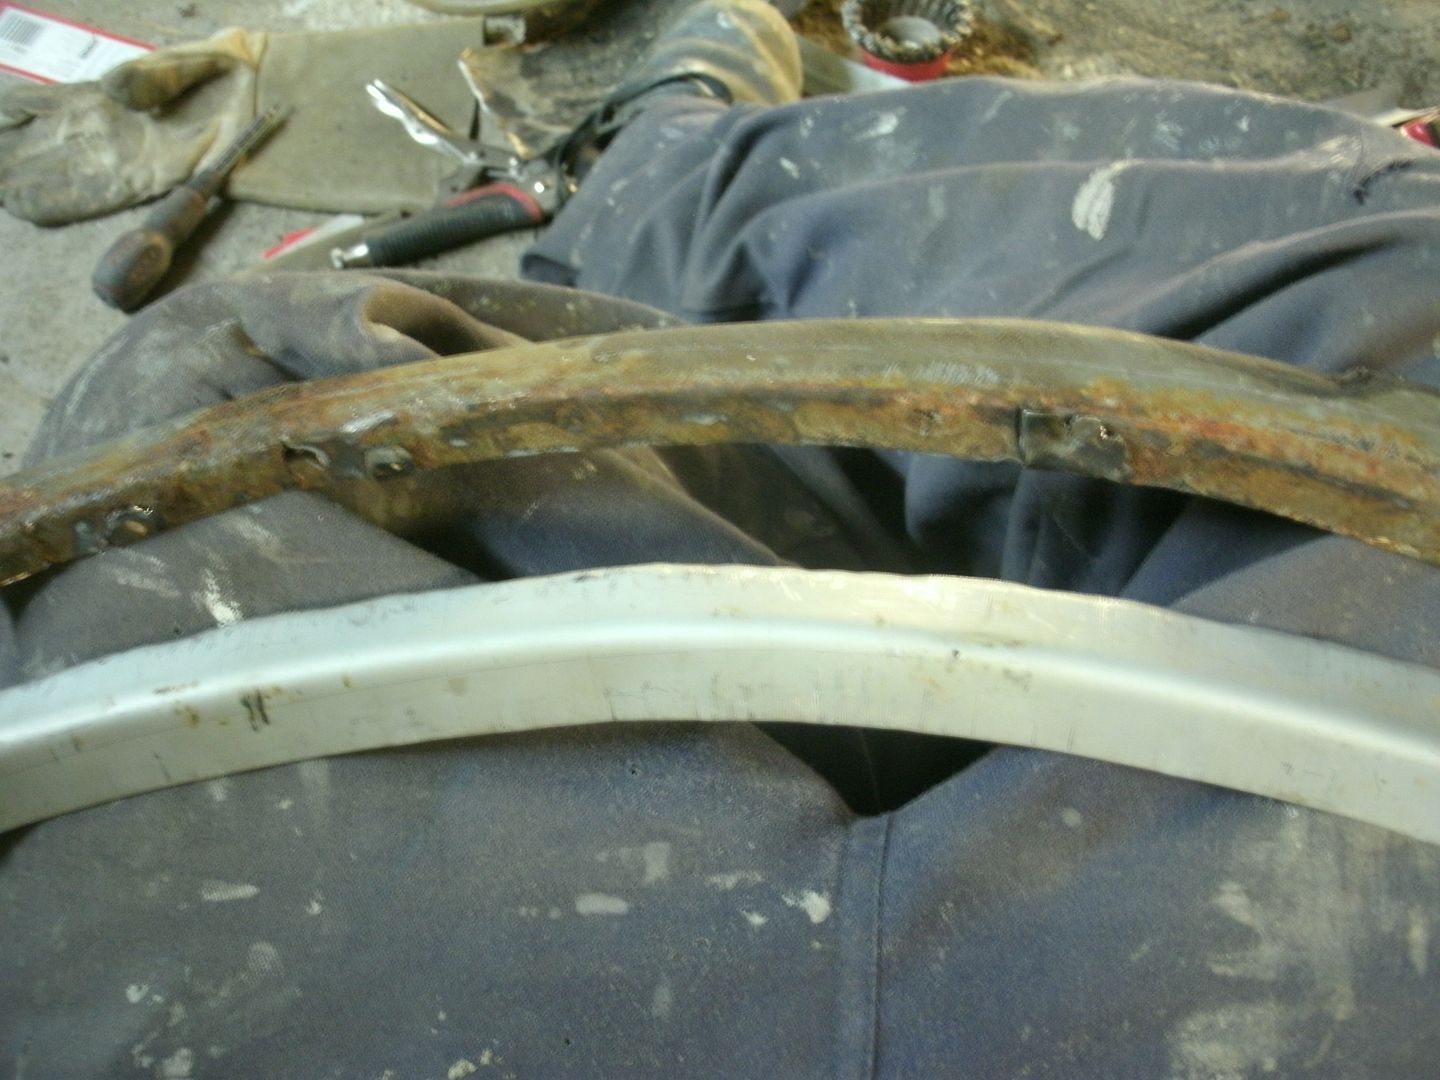
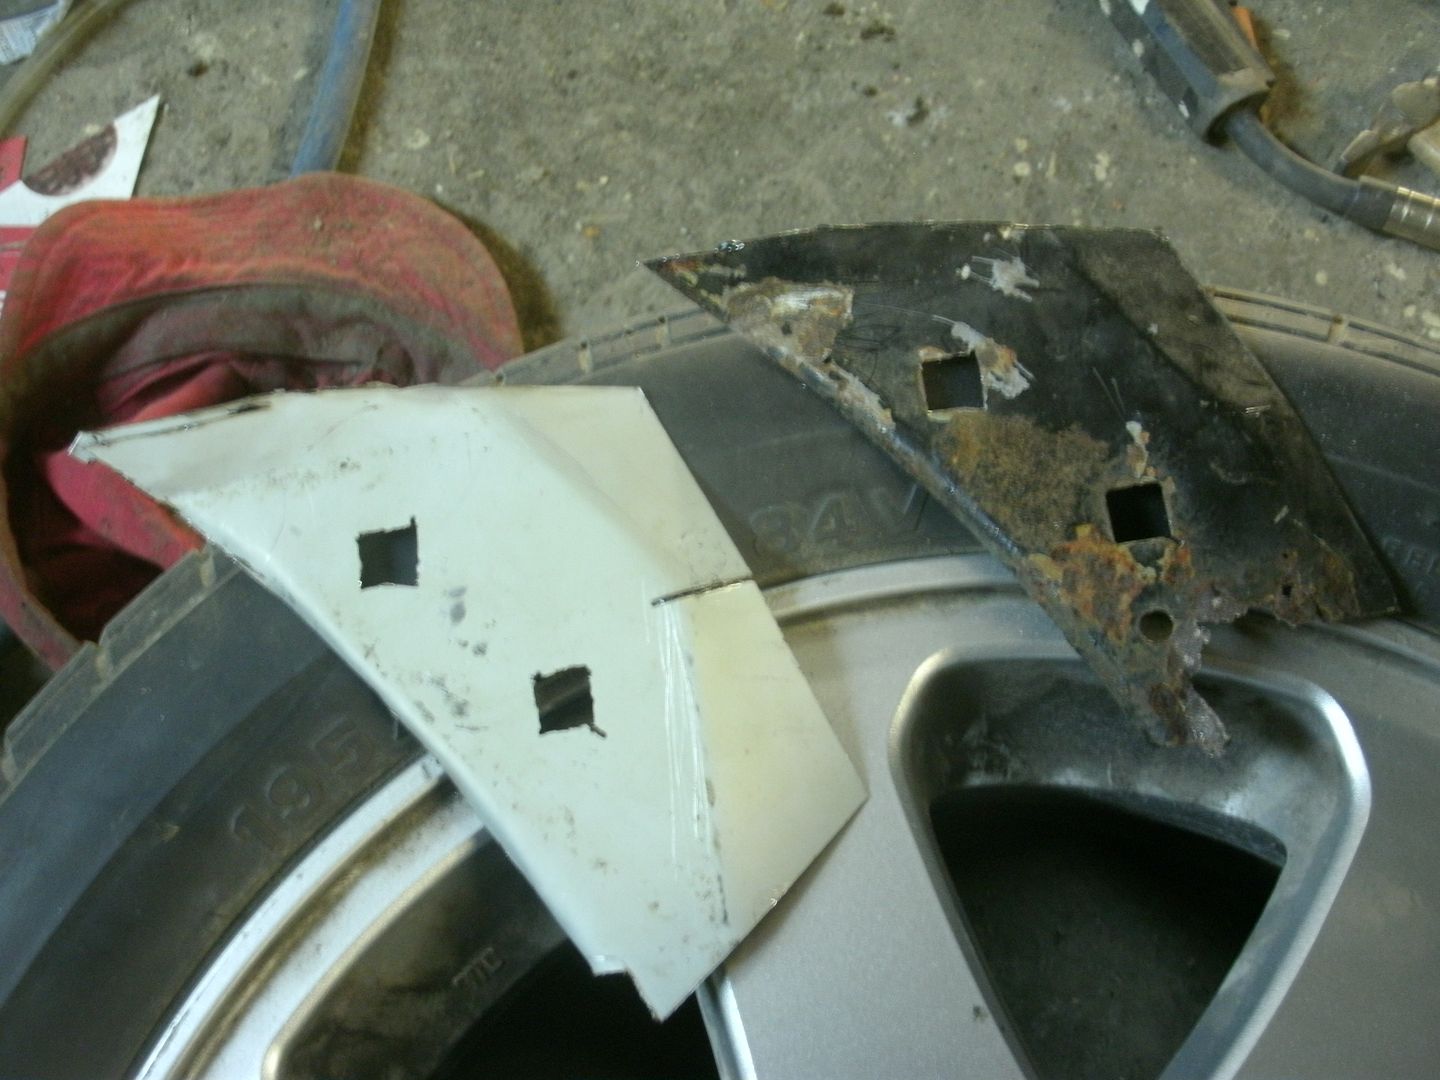
outer made 
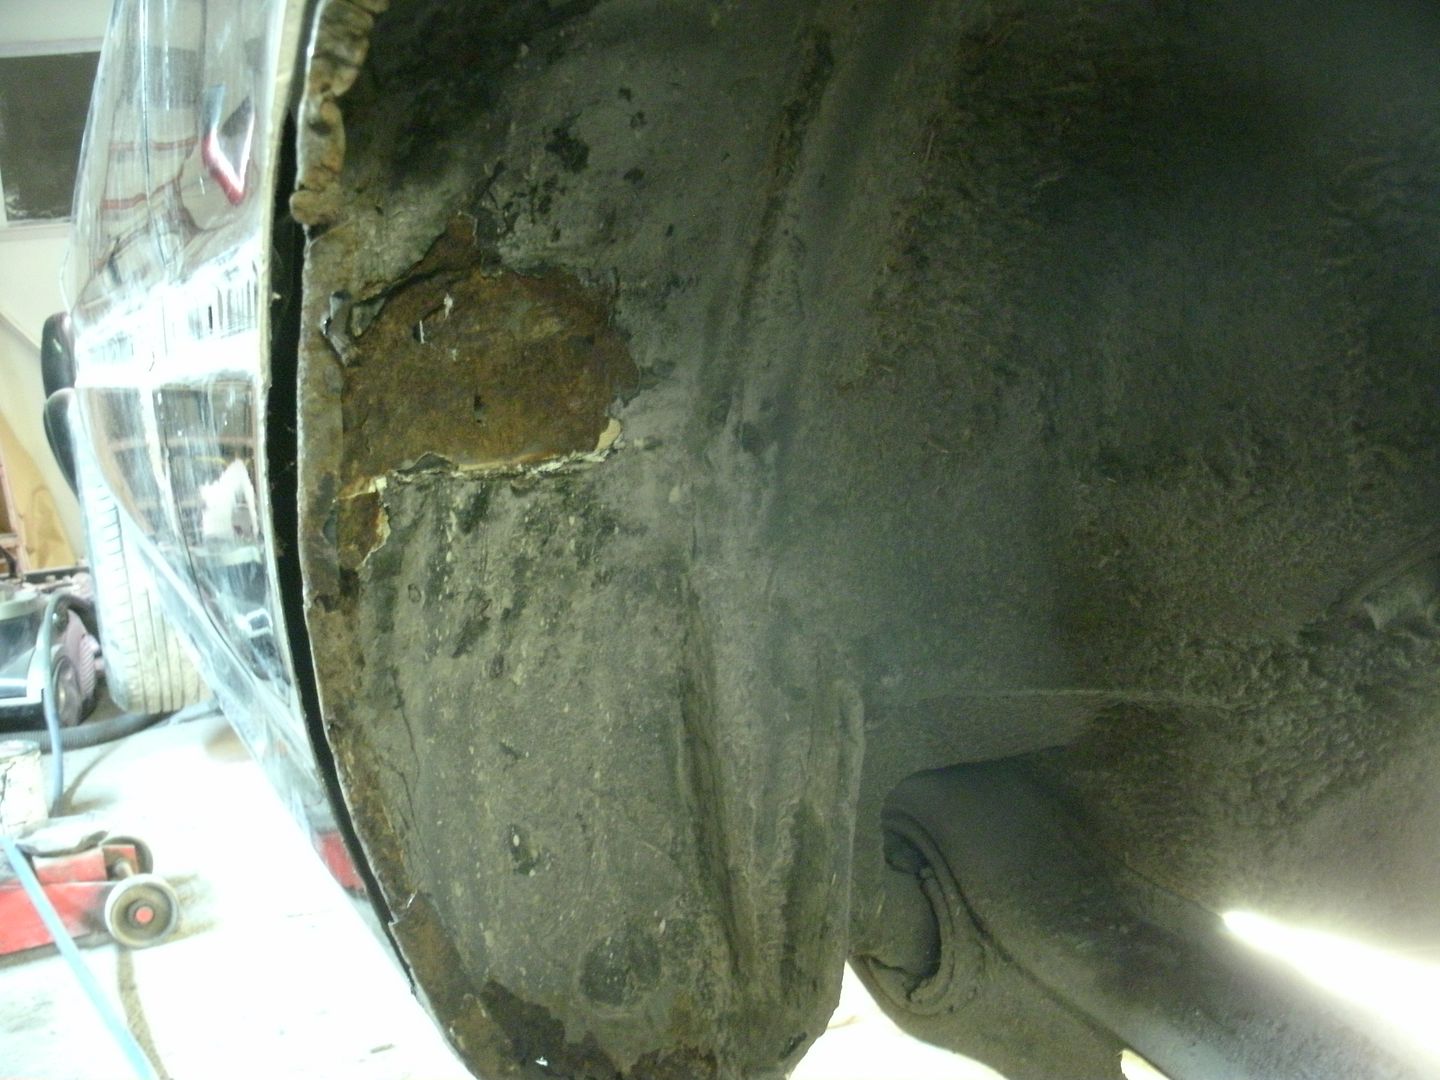
boot floor all done
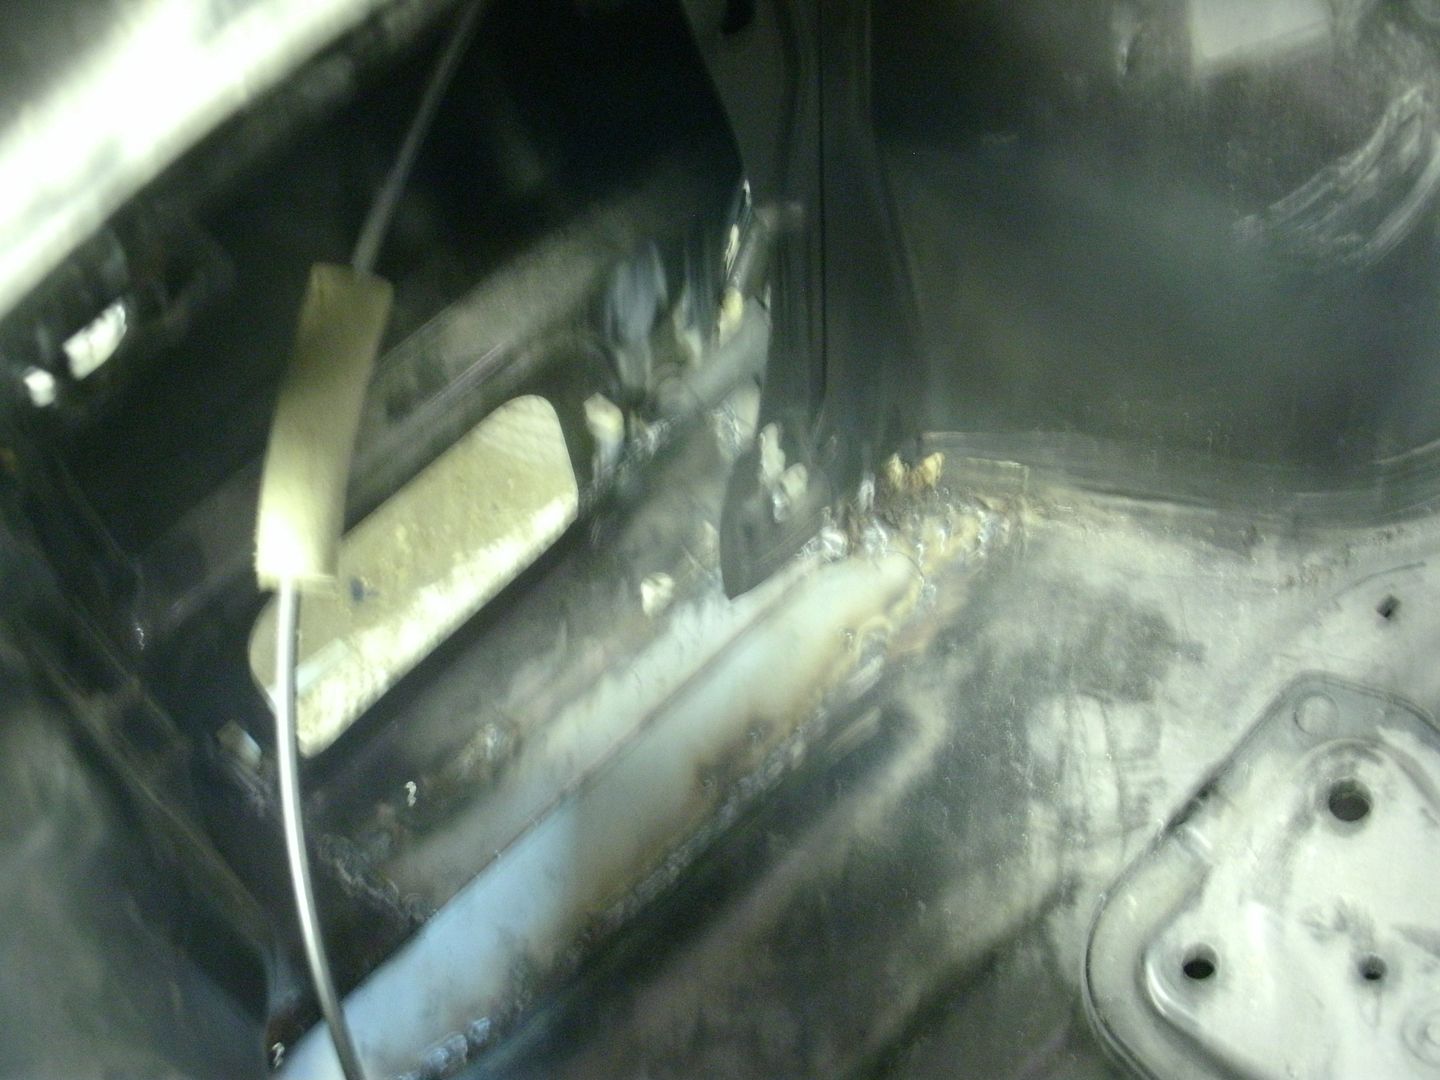
inners in all rot gone and outer tacked on 
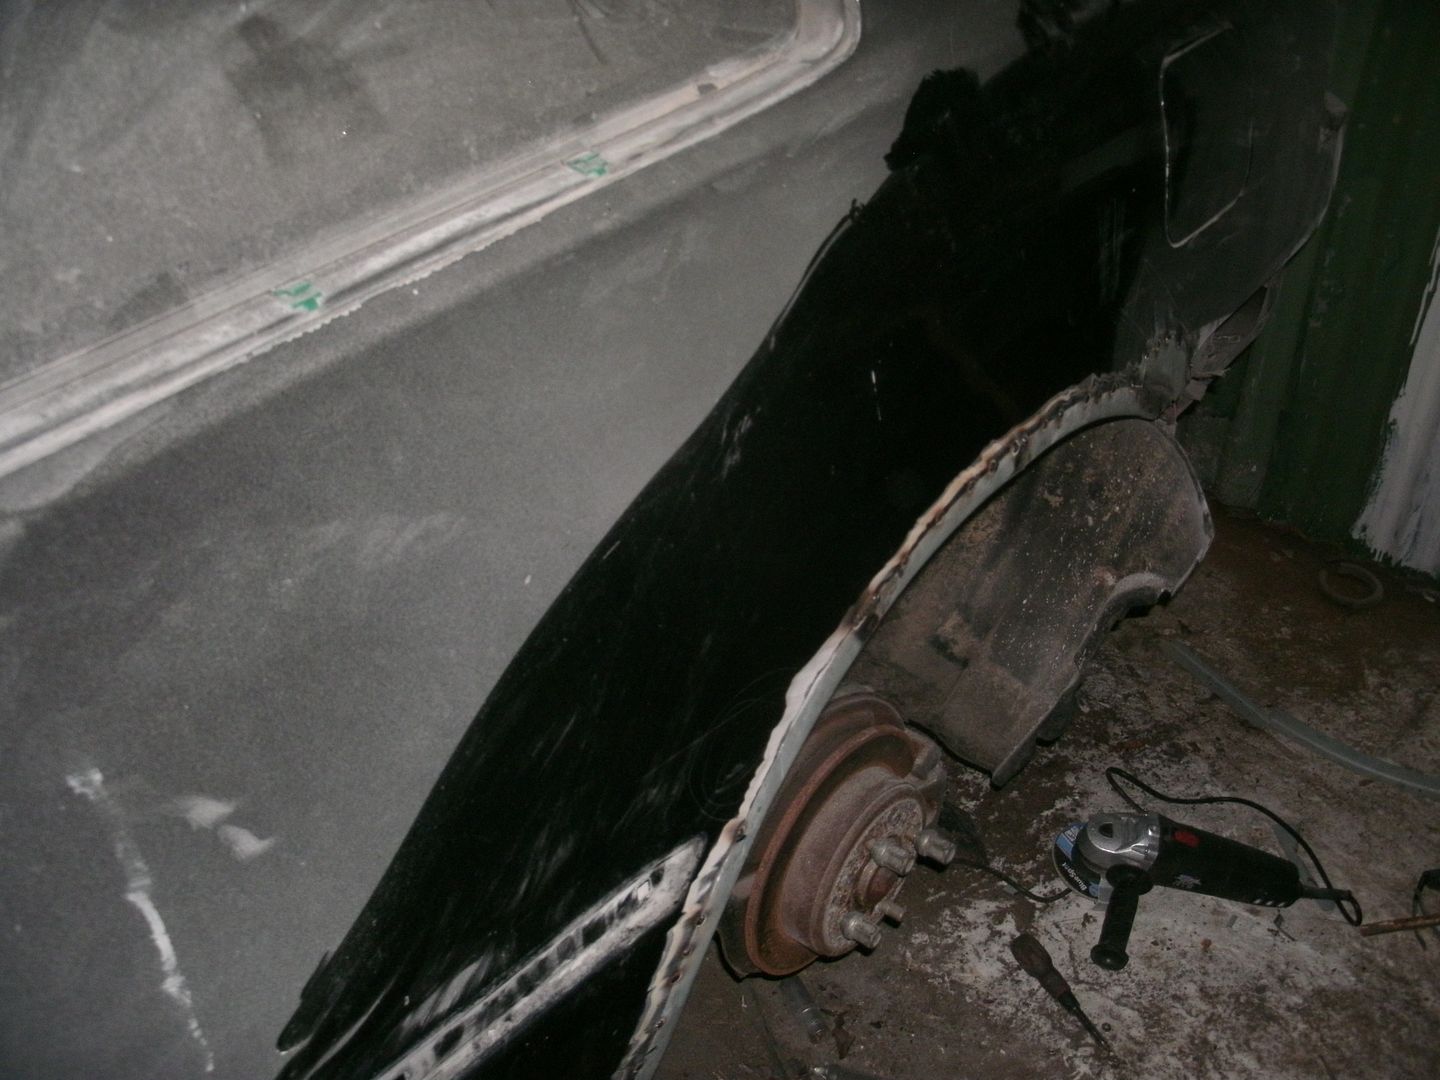
81 hours 
old bumper mount and the new one
rear inner all rebuilt along with all the boot floor etc
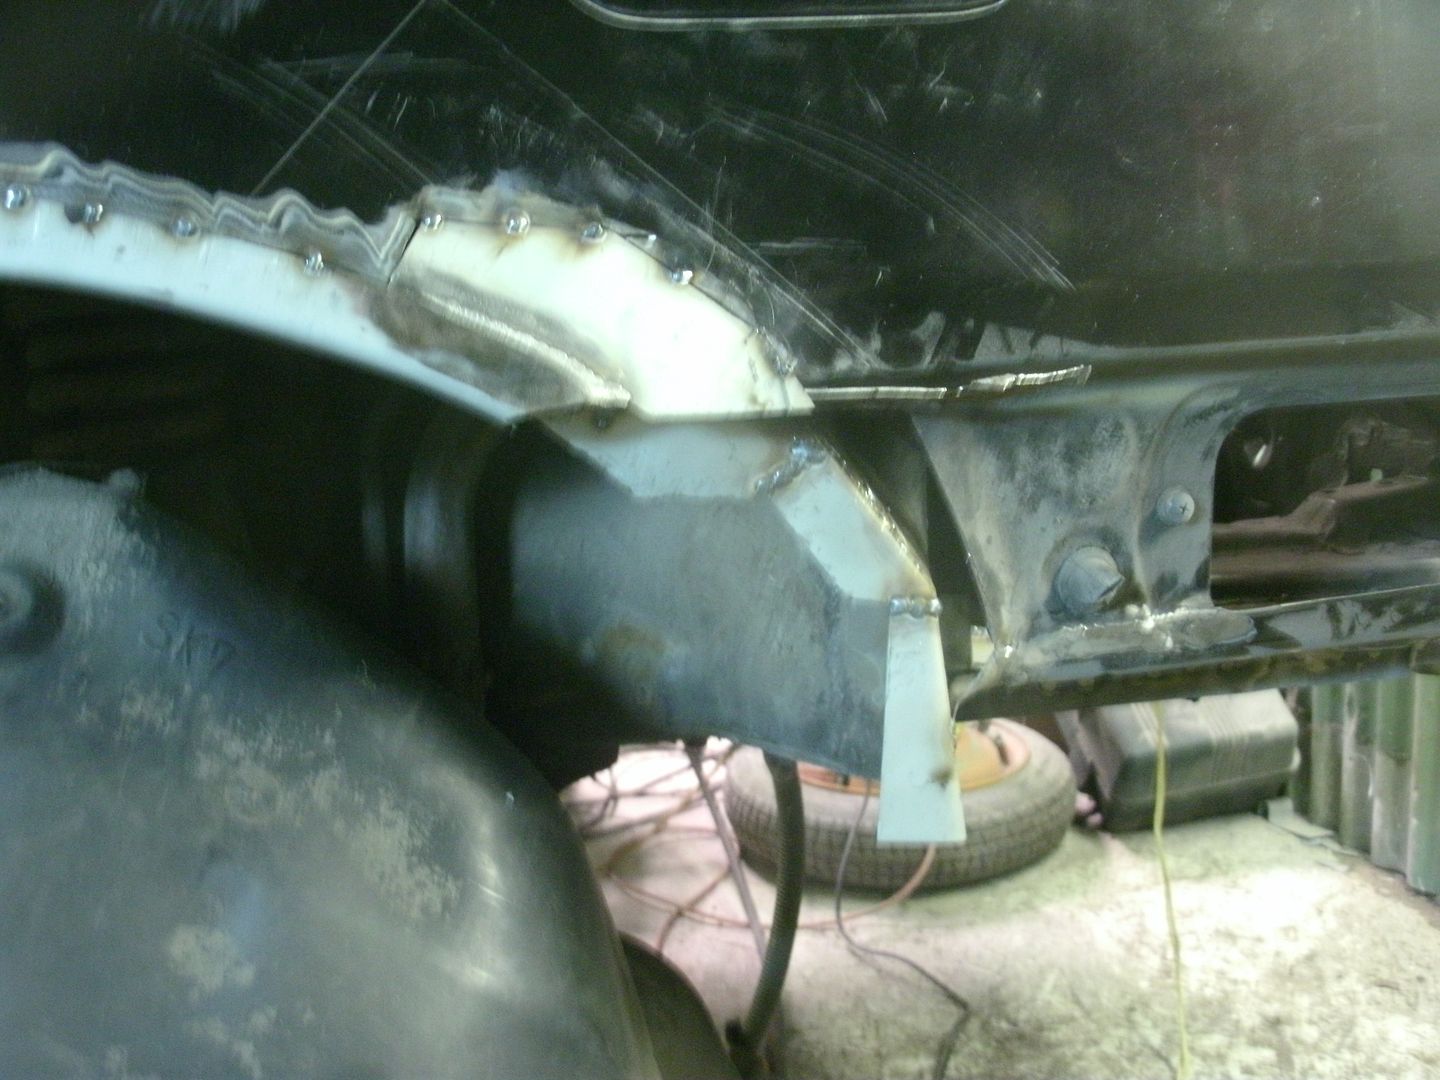
all in and all butt welded up
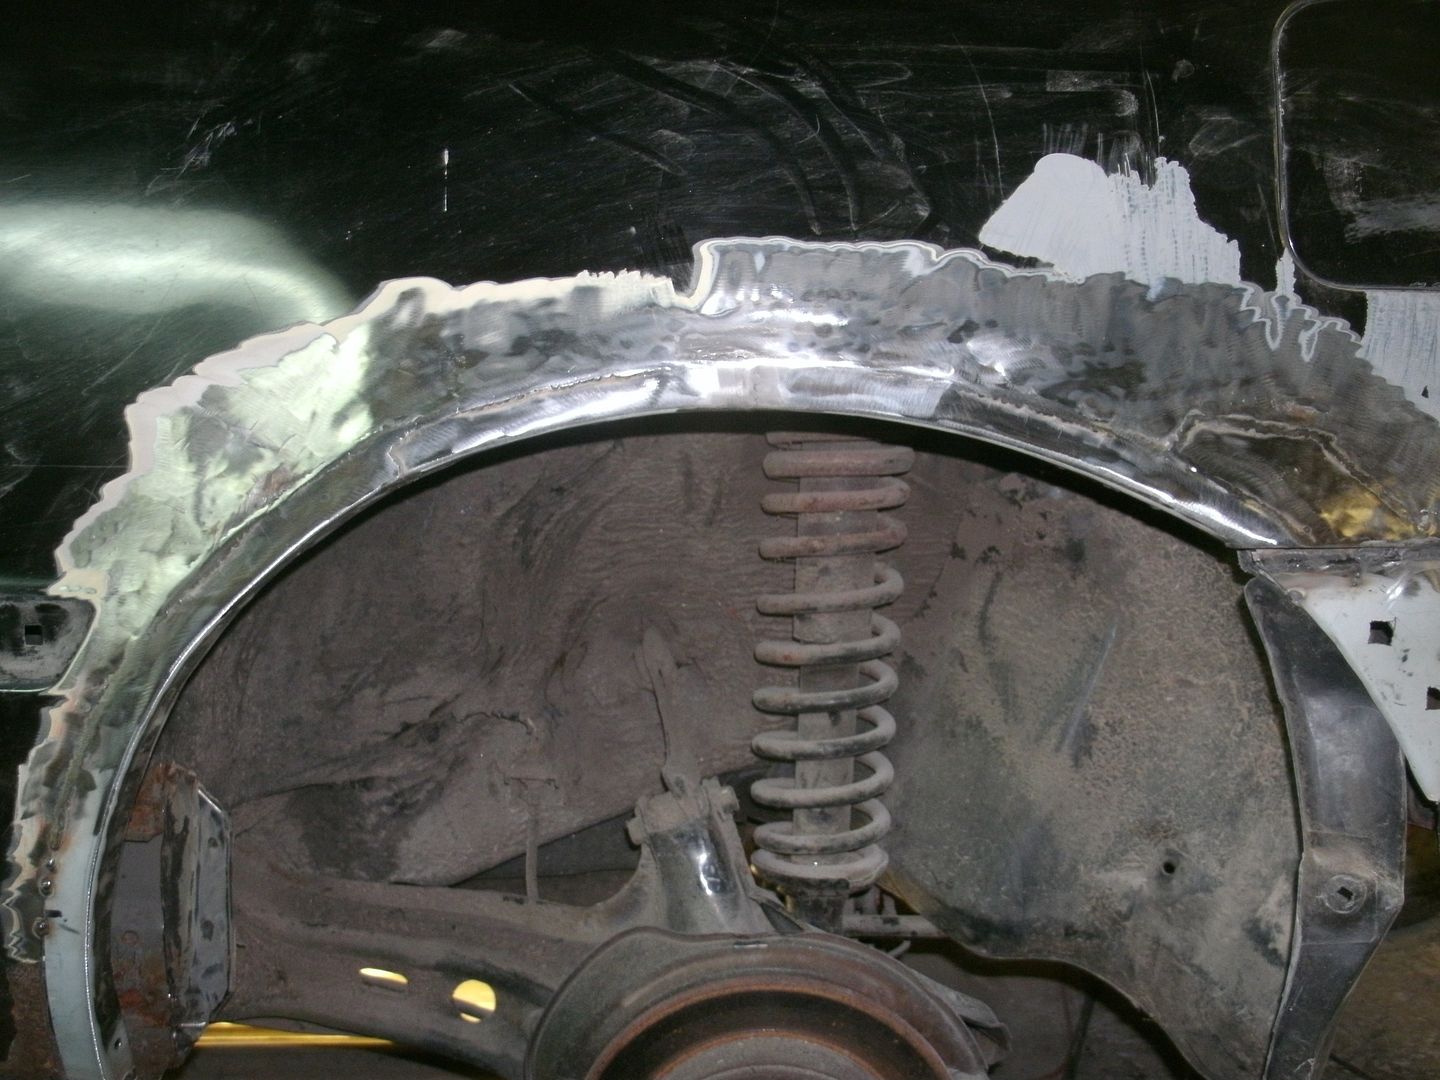
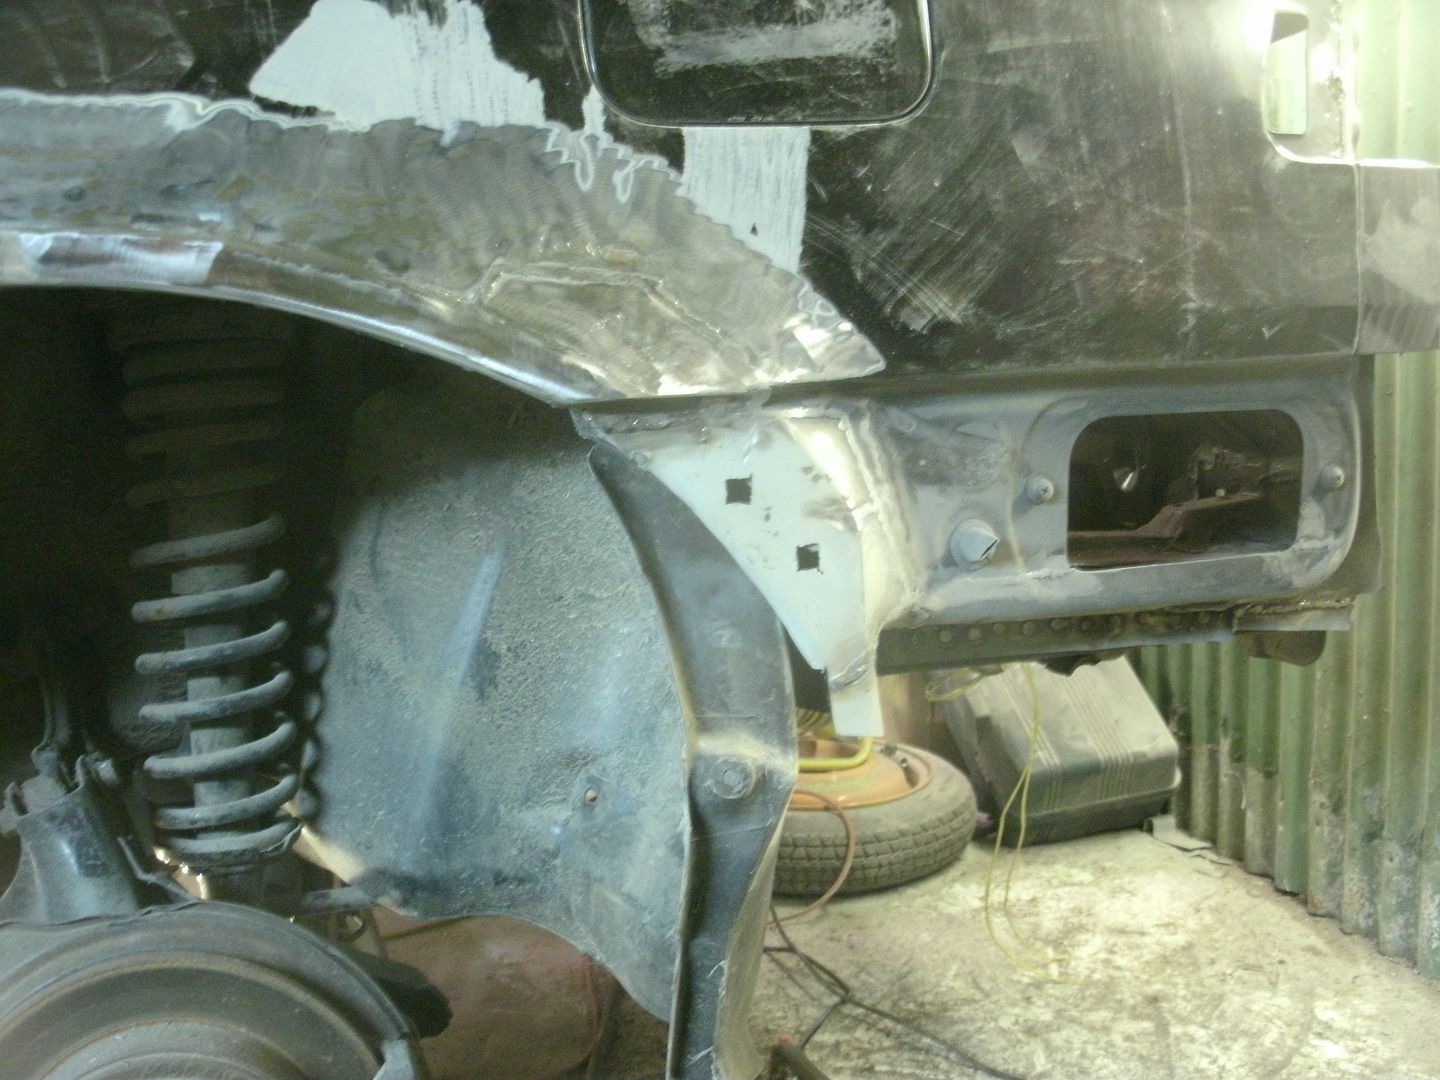
paint this side is uber shit flakes off so no point trying to use it for any build so stip it all off.
lots of rust this side as the car has had a full OEM new quarter at some point in its life (honda part number sticker inside it to proove hehe)
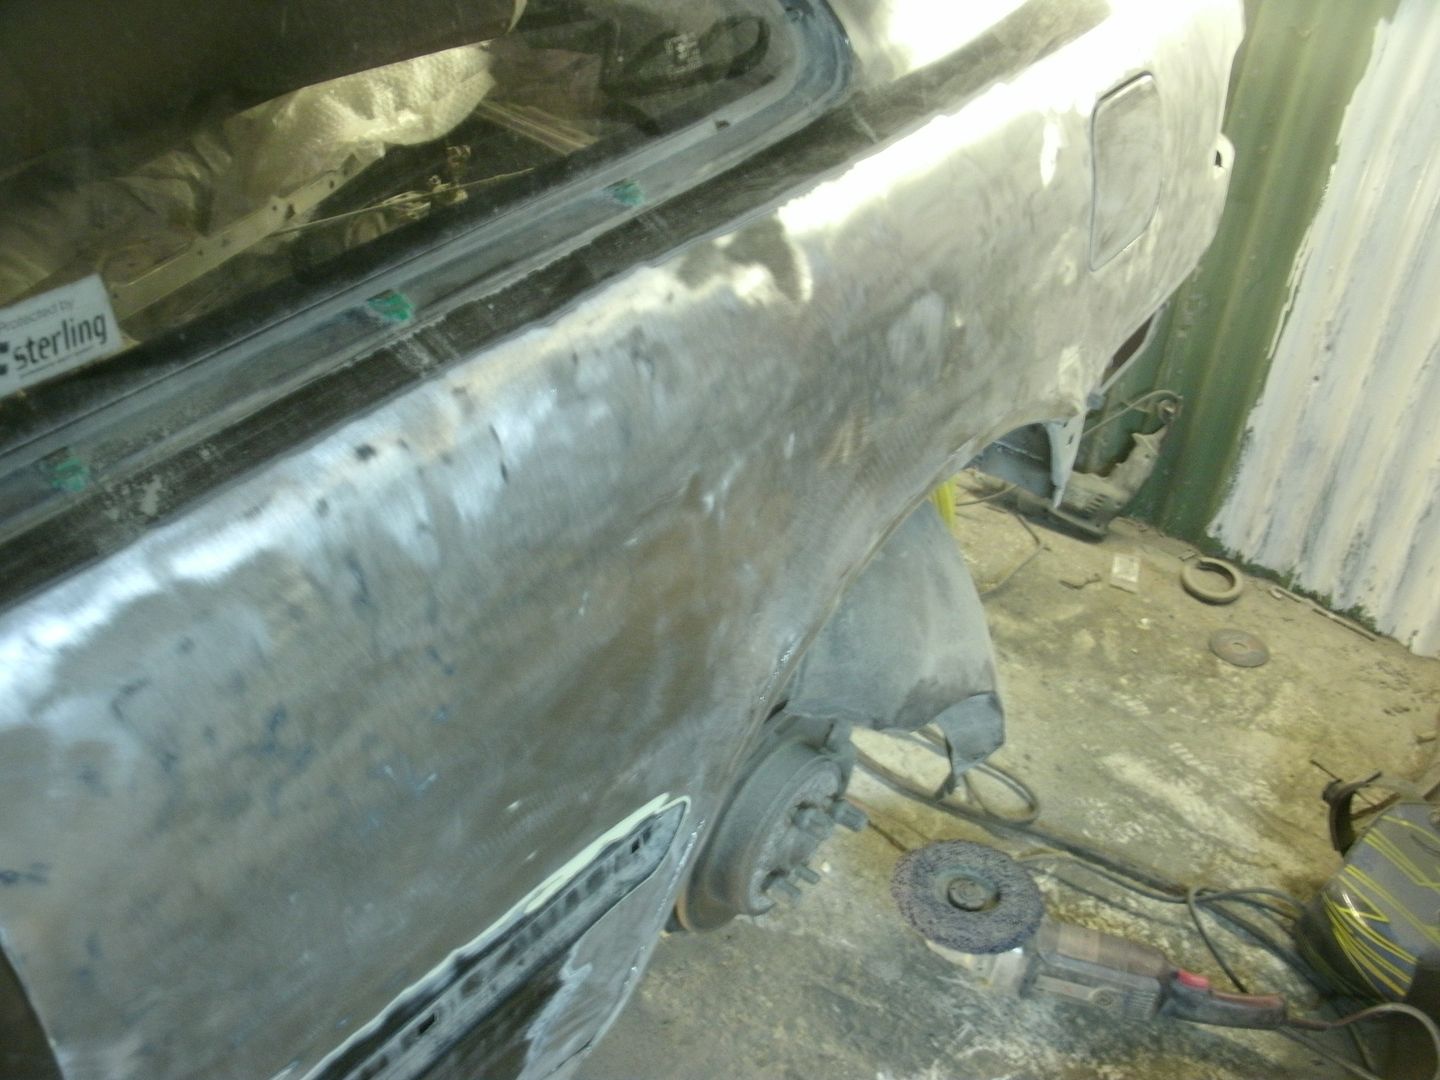
then onto floor rot (alot this side) you can see where the new panel was welded up to the cars body on the upper sill here
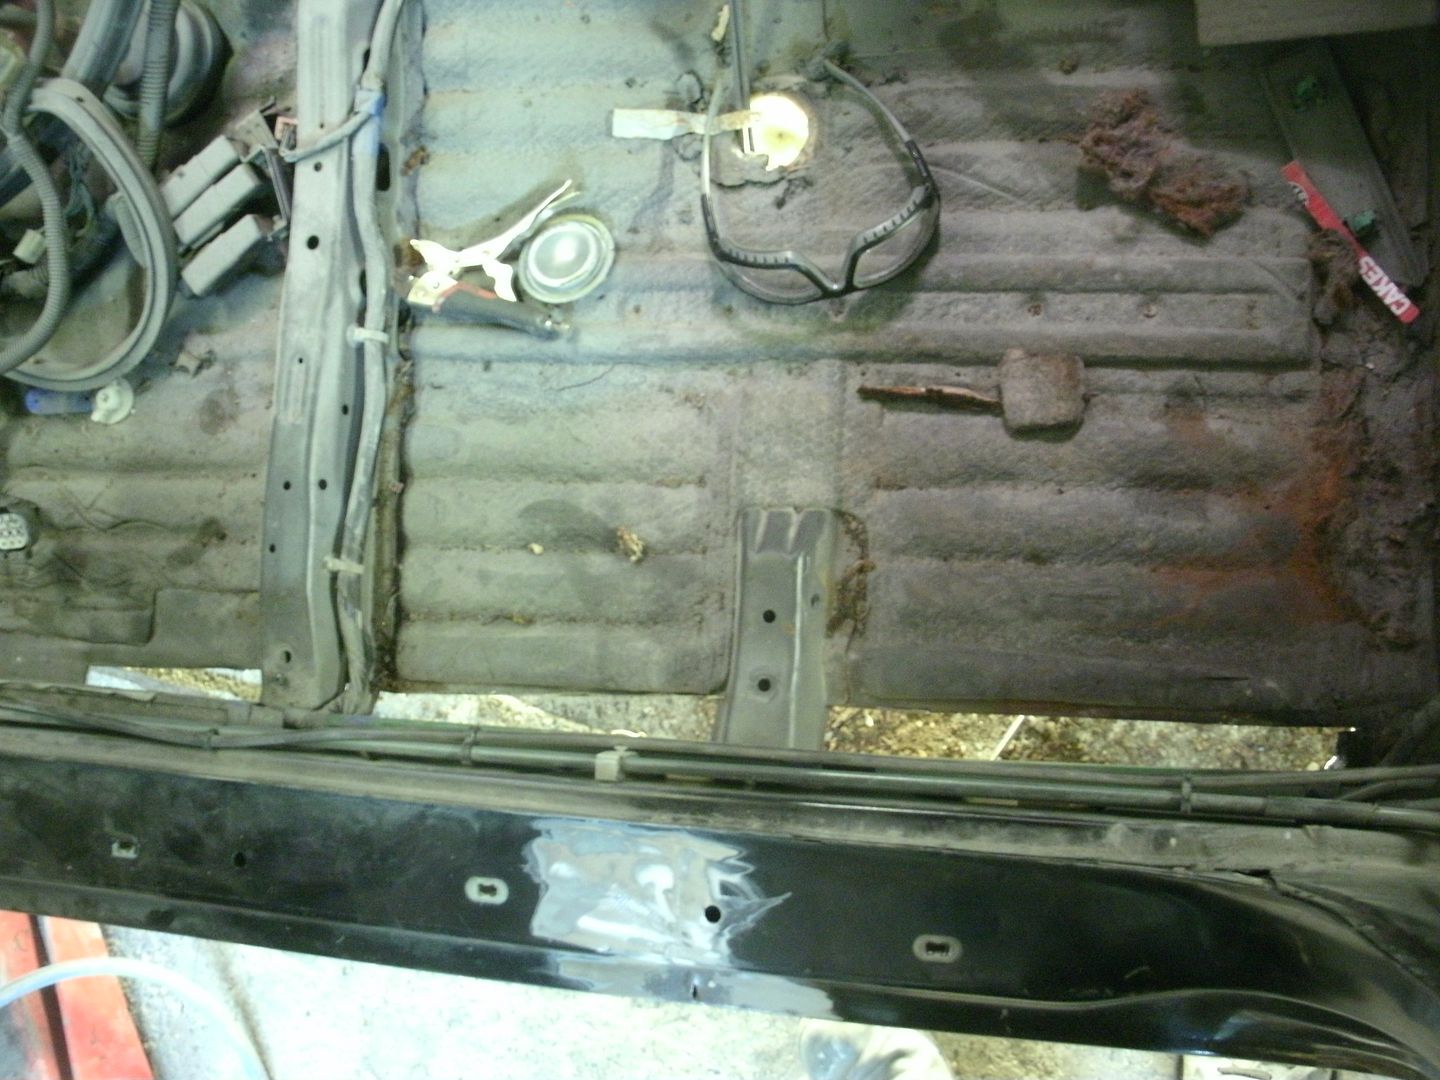
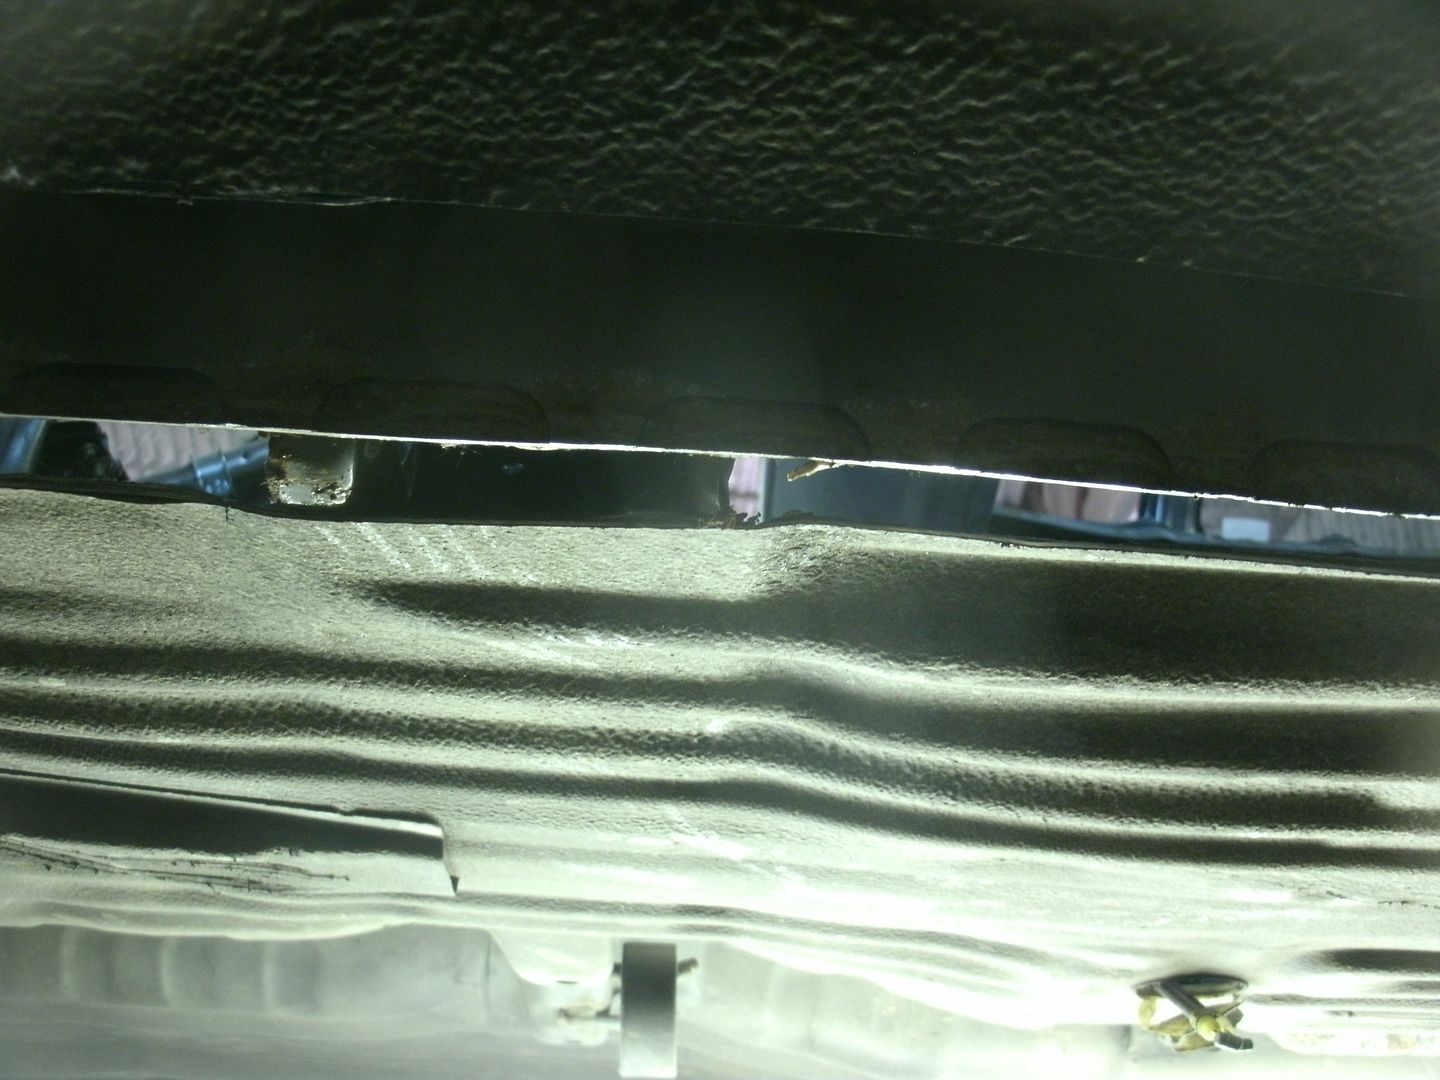
now no sill, no inner support and no floor edge hehe
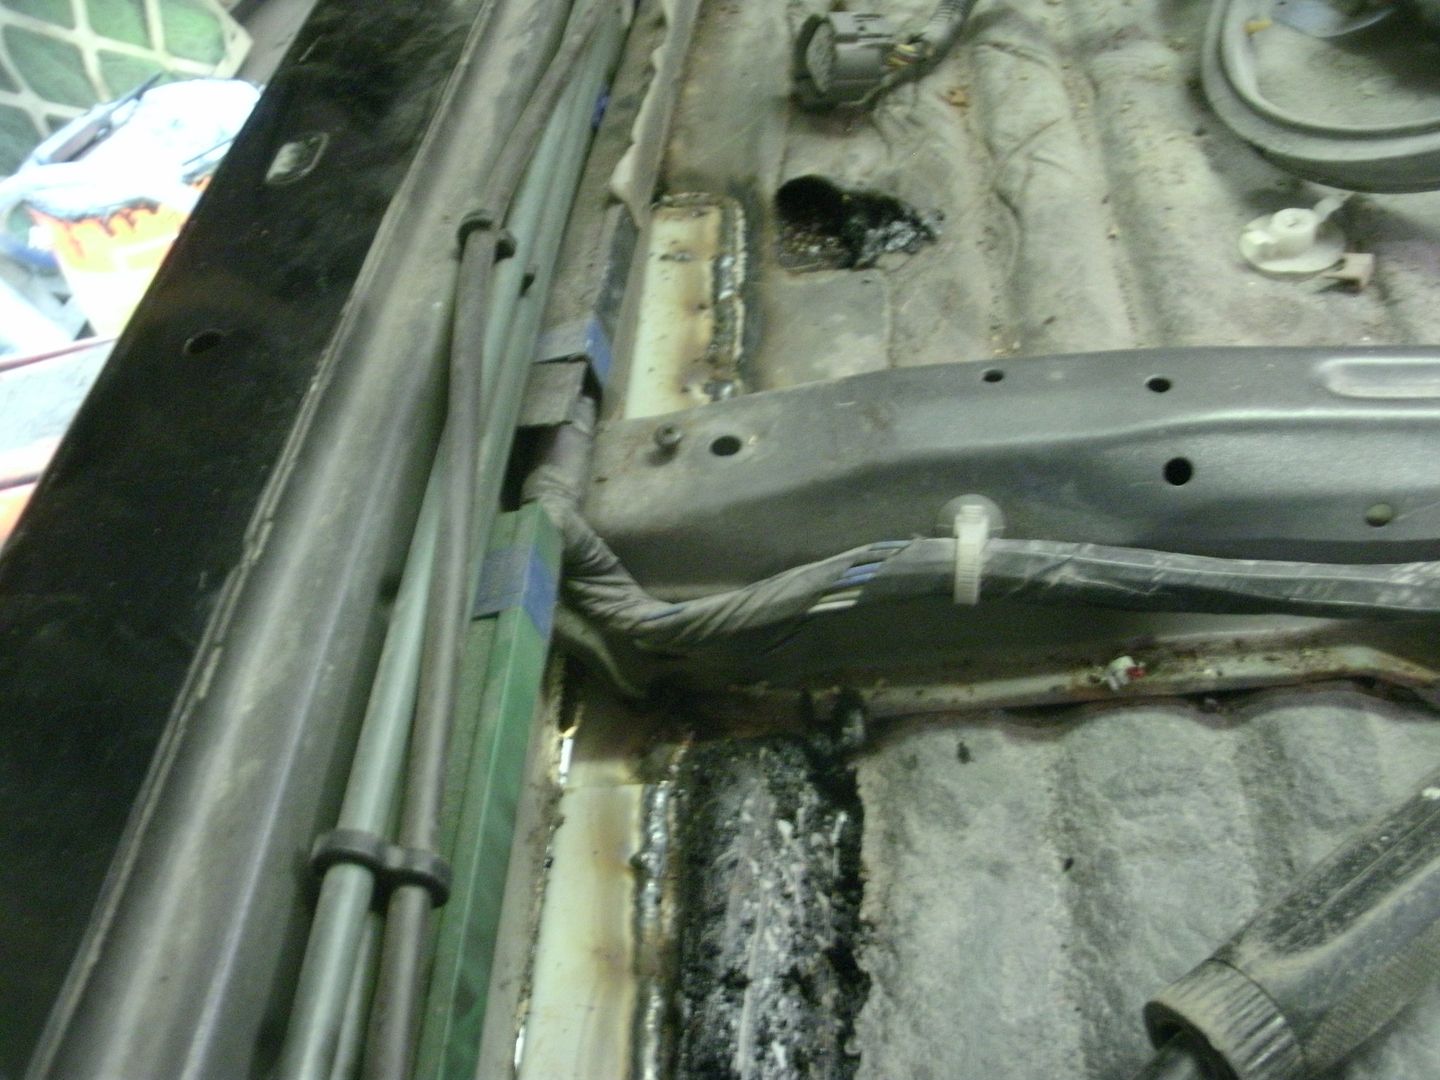
new plate welded in. just support and sill to finish tomorrow
rear arch leaded tonight
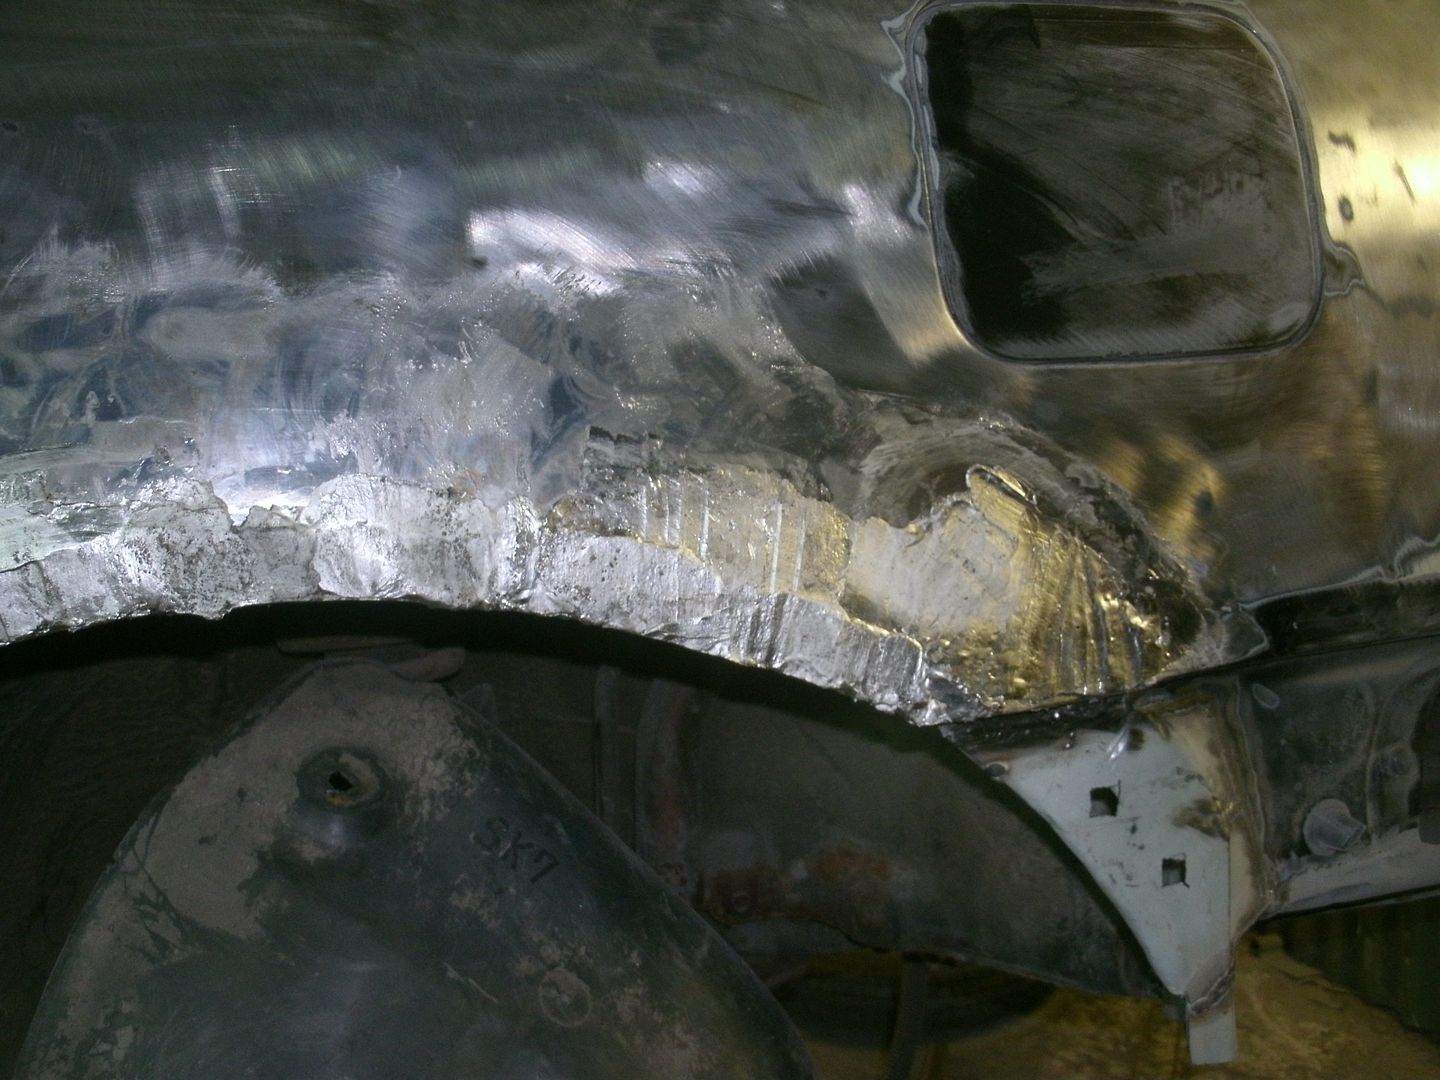
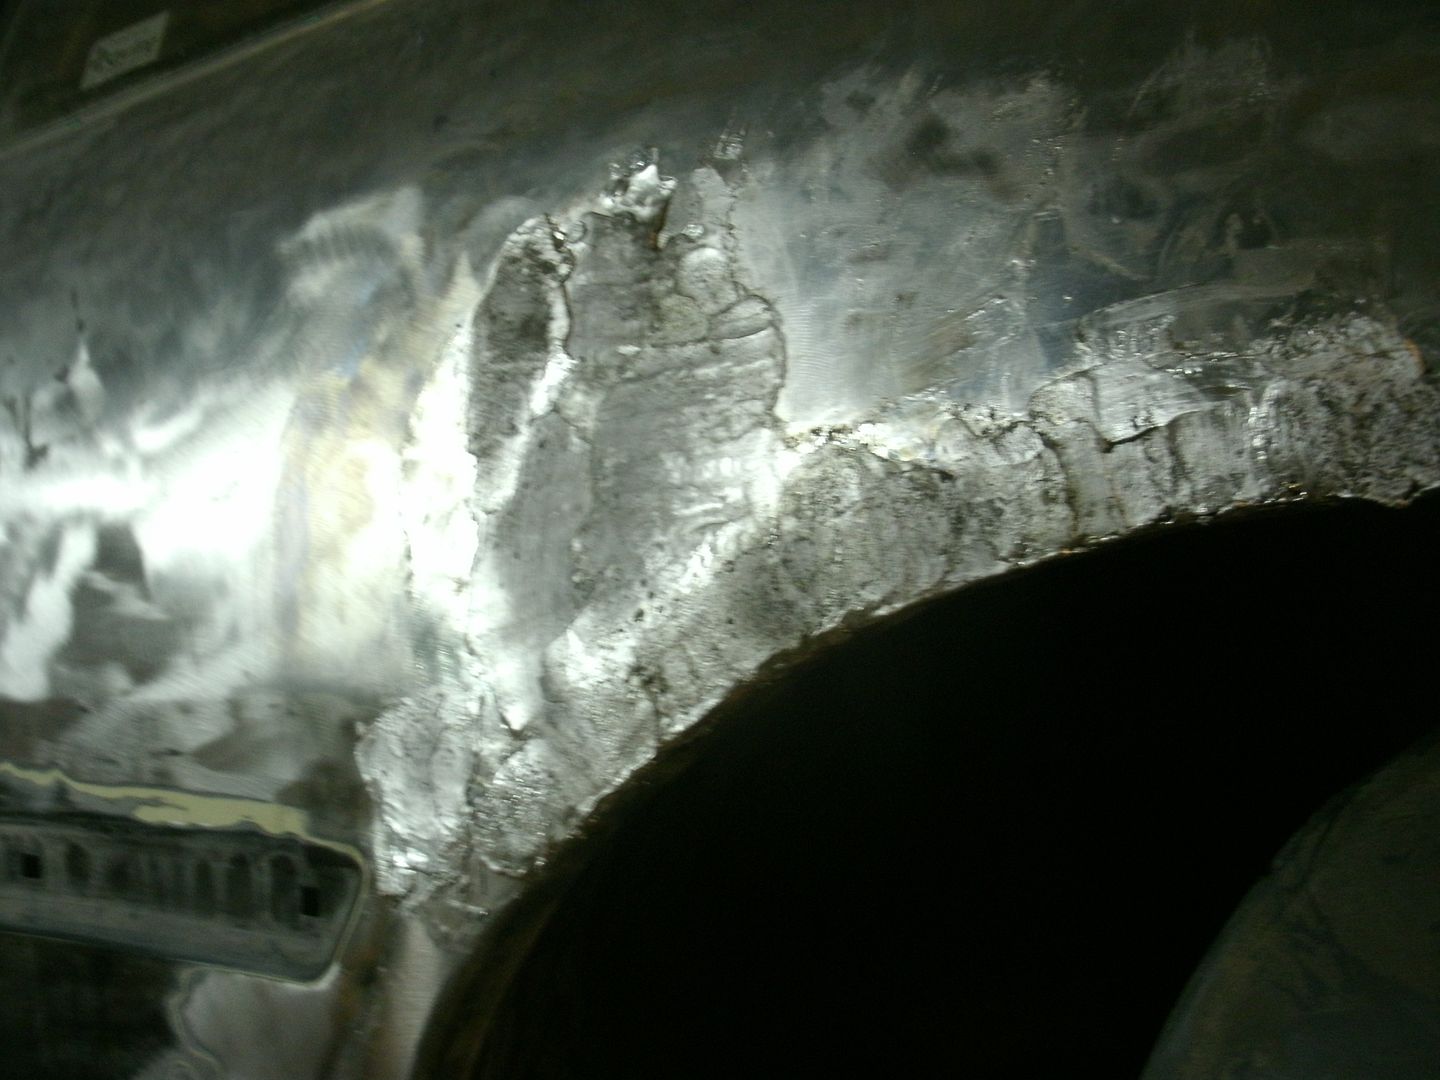
and a skim of filler for 8pm. beat after the last 2 days.
paints turned up to 
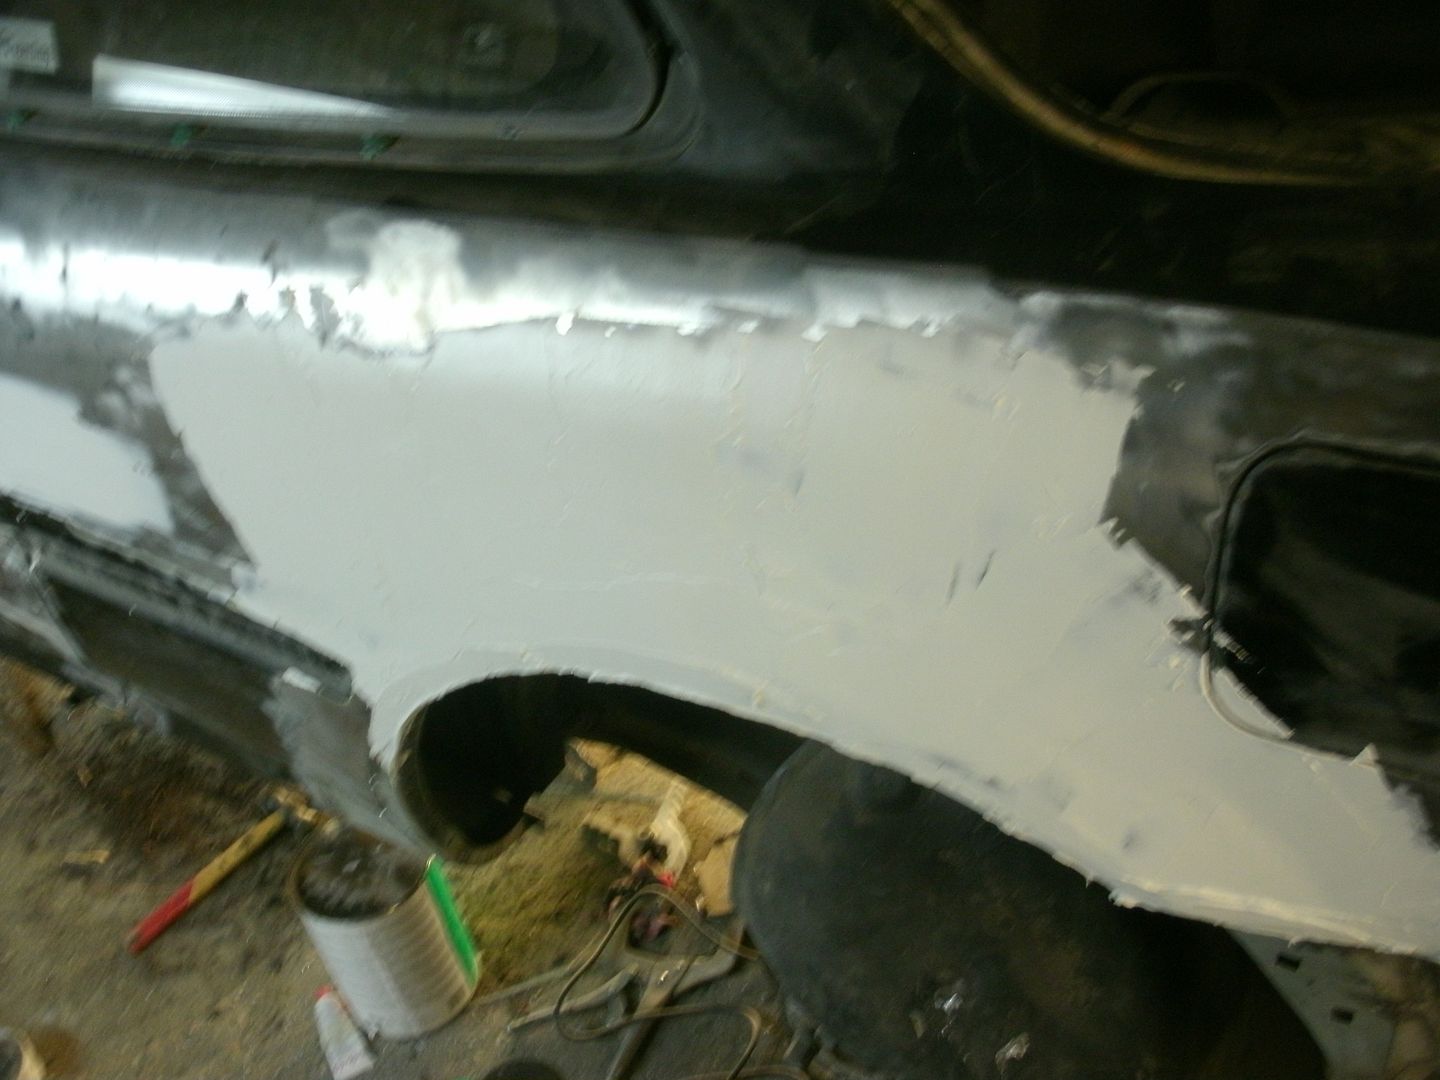
total paint wise we have:
5lt of basecoat (no tips on the color have to wait tills its down but its a very nice pearl color)
6lt of max mayer high build dark grey prime. enough for 4-5 coats over the car so plenty to go at.
7.5lt of PPG deltron clearcoat
5lt of epoxy primer
crap loads of thinners and hardeners for the above.
will be getting epoxy all over. paint areas are : all bay all boot area, all shuts and revesrse panels and the entire exterior.
also got some new black shutz to go underneath the car to freshen it all up once i have been under to remove some flakey paint
hoping to see this near done end of next week. and in primer for sat PM
now at 97 hours
massive bit of door rot chopped and replaced
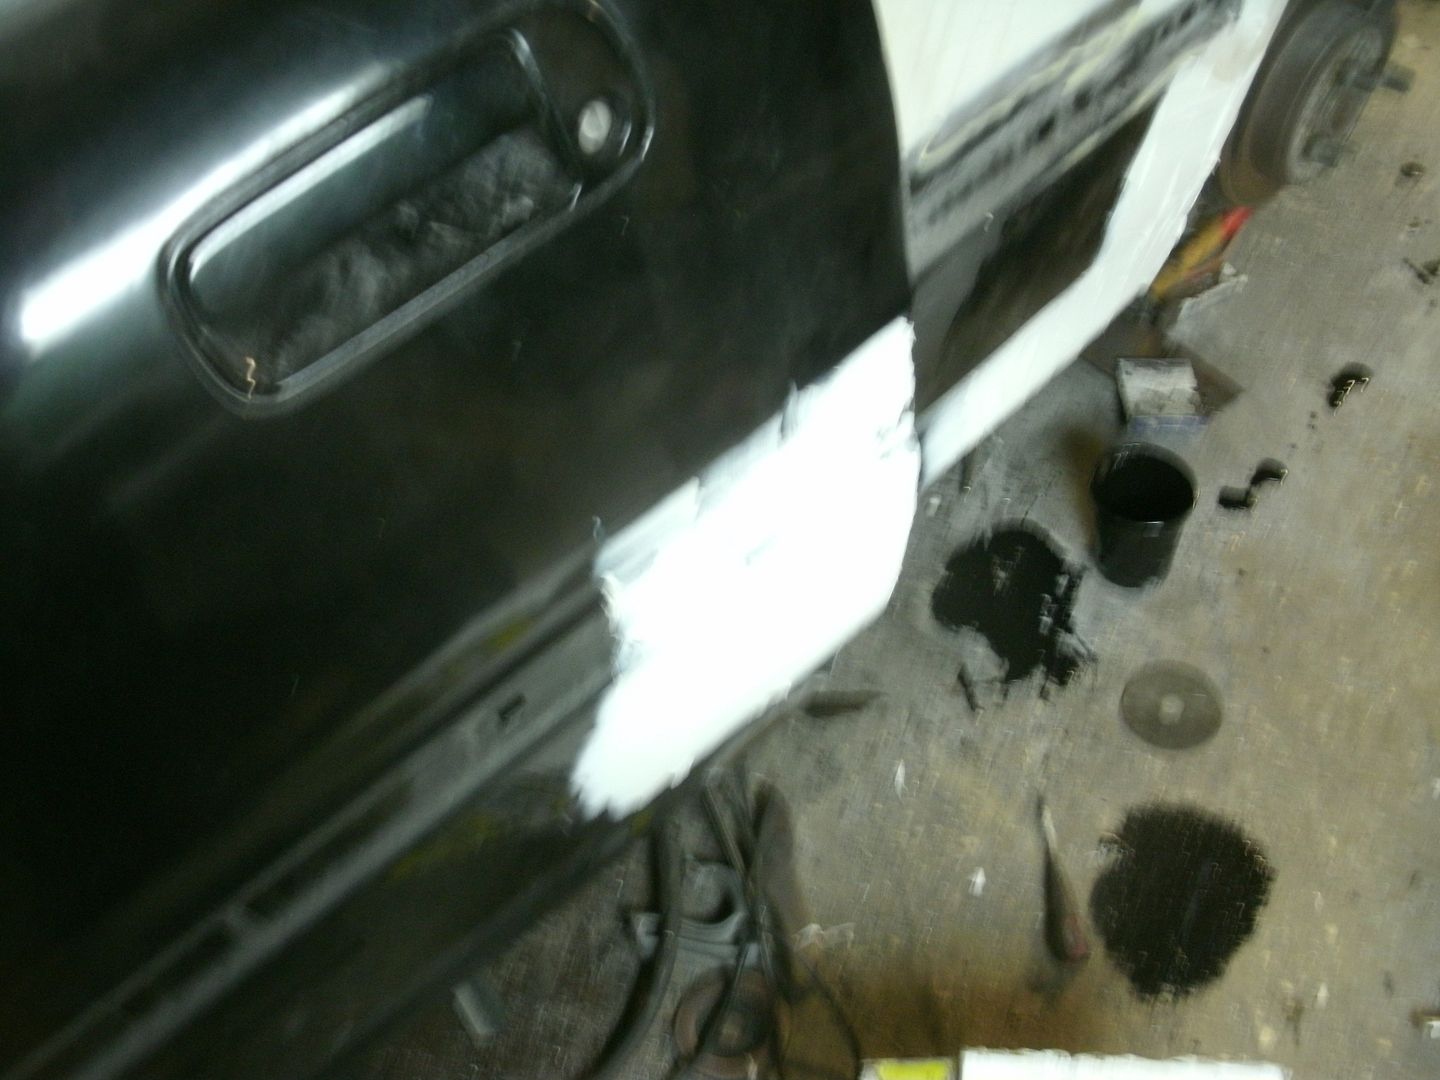
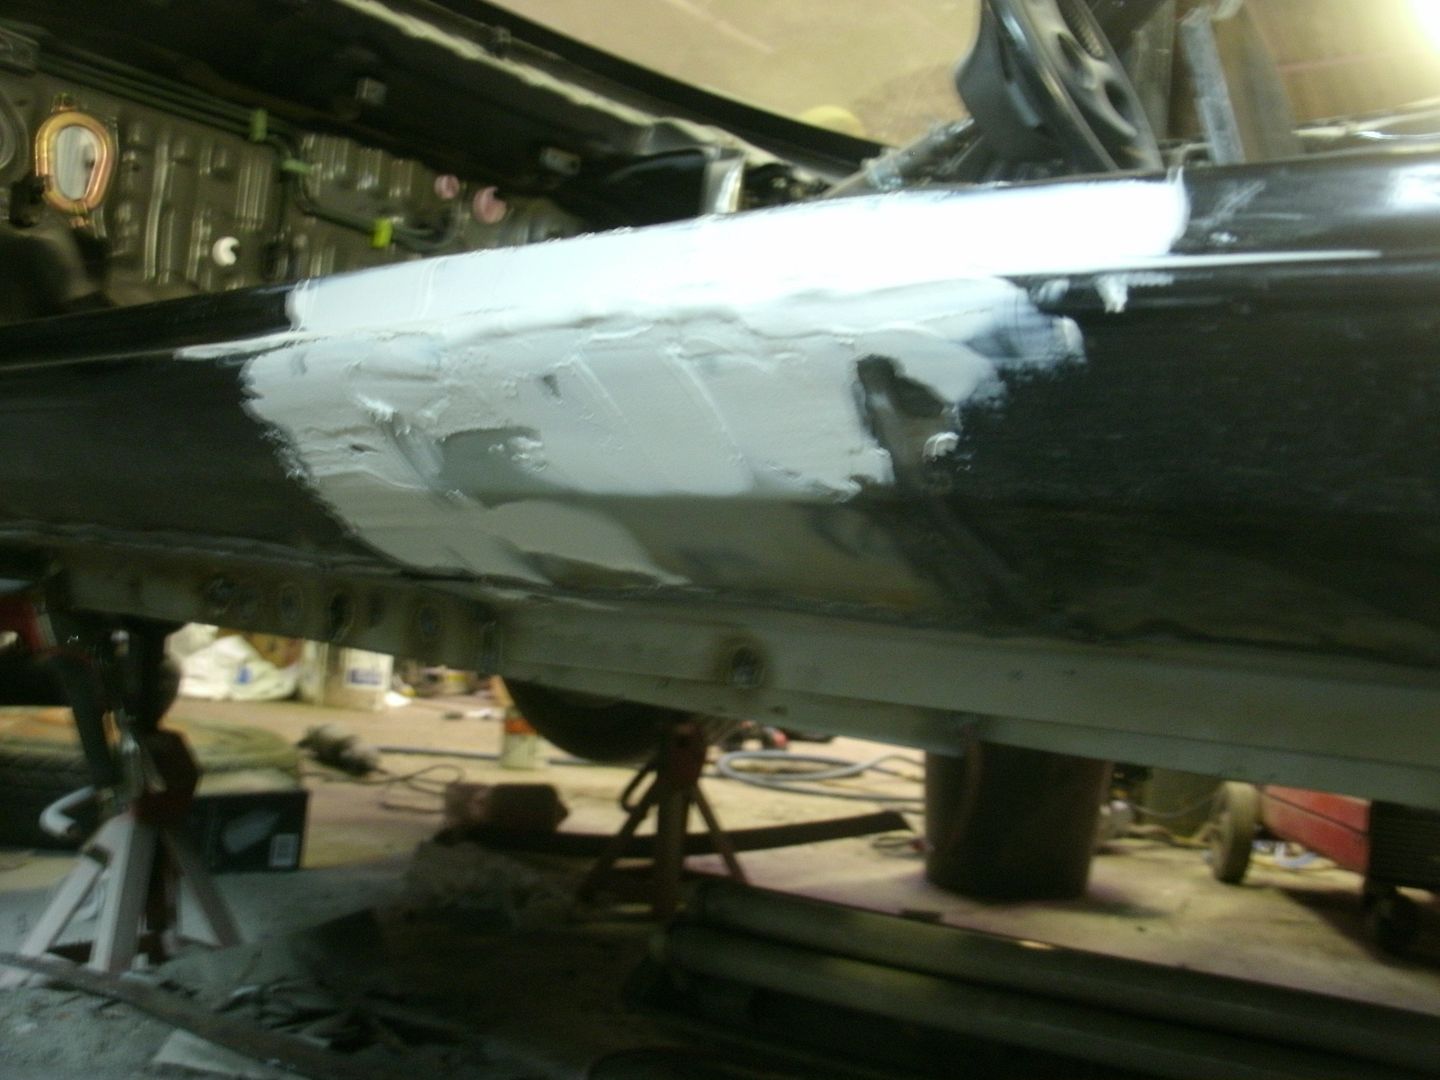
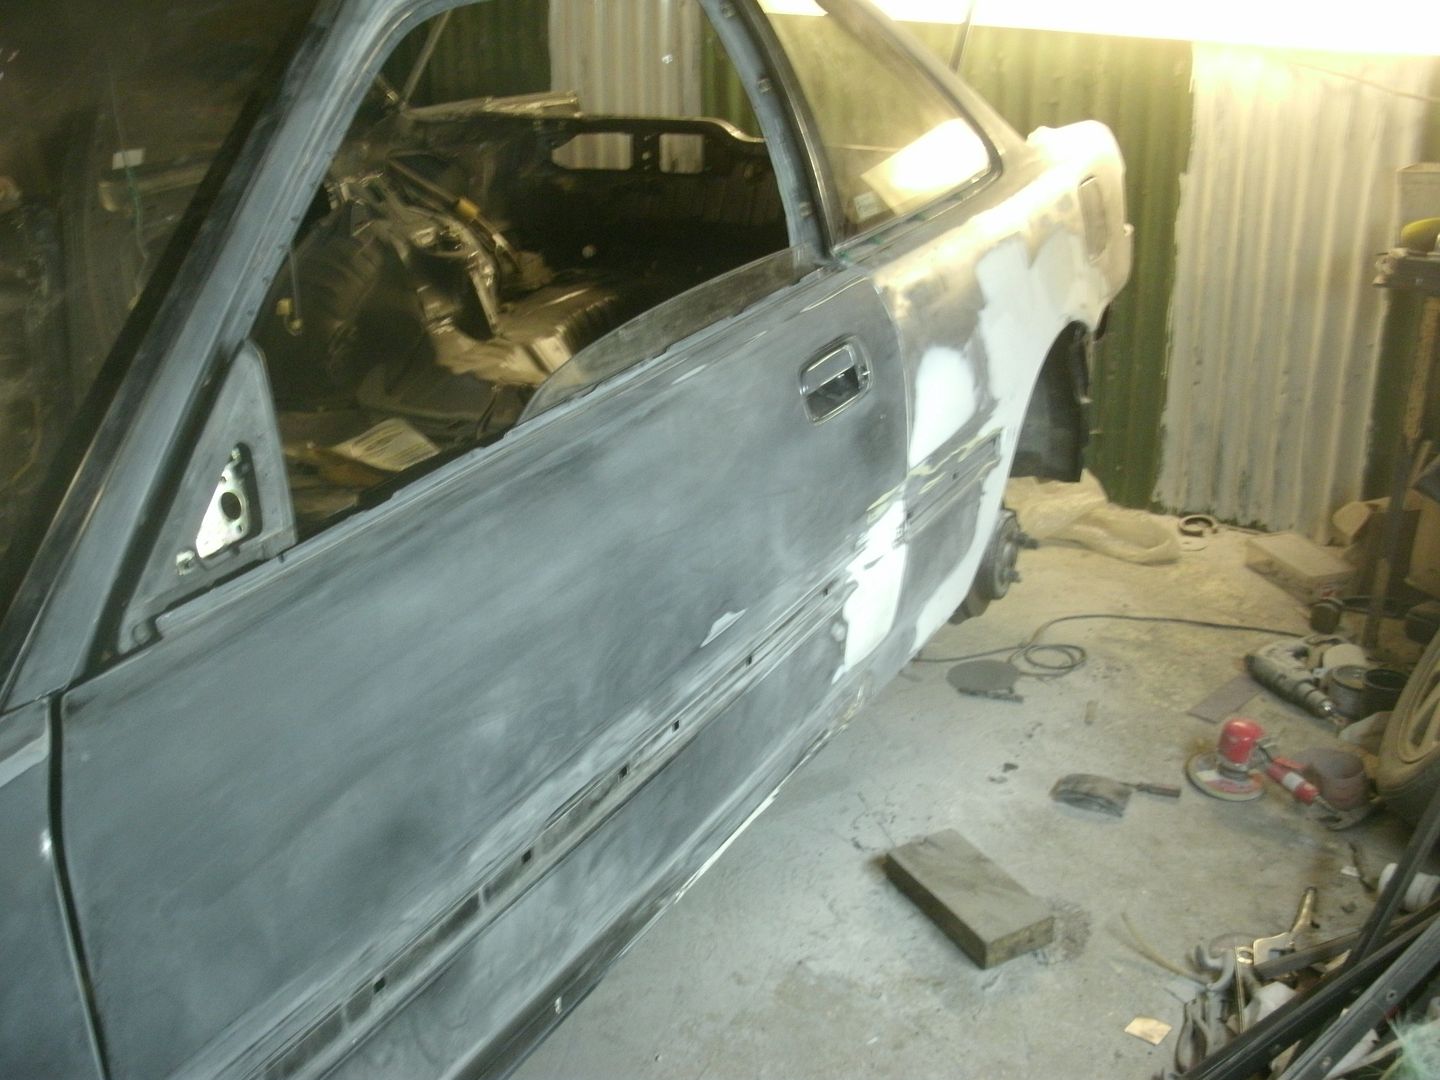
replaced all the sill section here its the original join line welded back in japan rusted out along the welds bastard to shape to. its leaded (not having this rust out again!) then a skim of filler
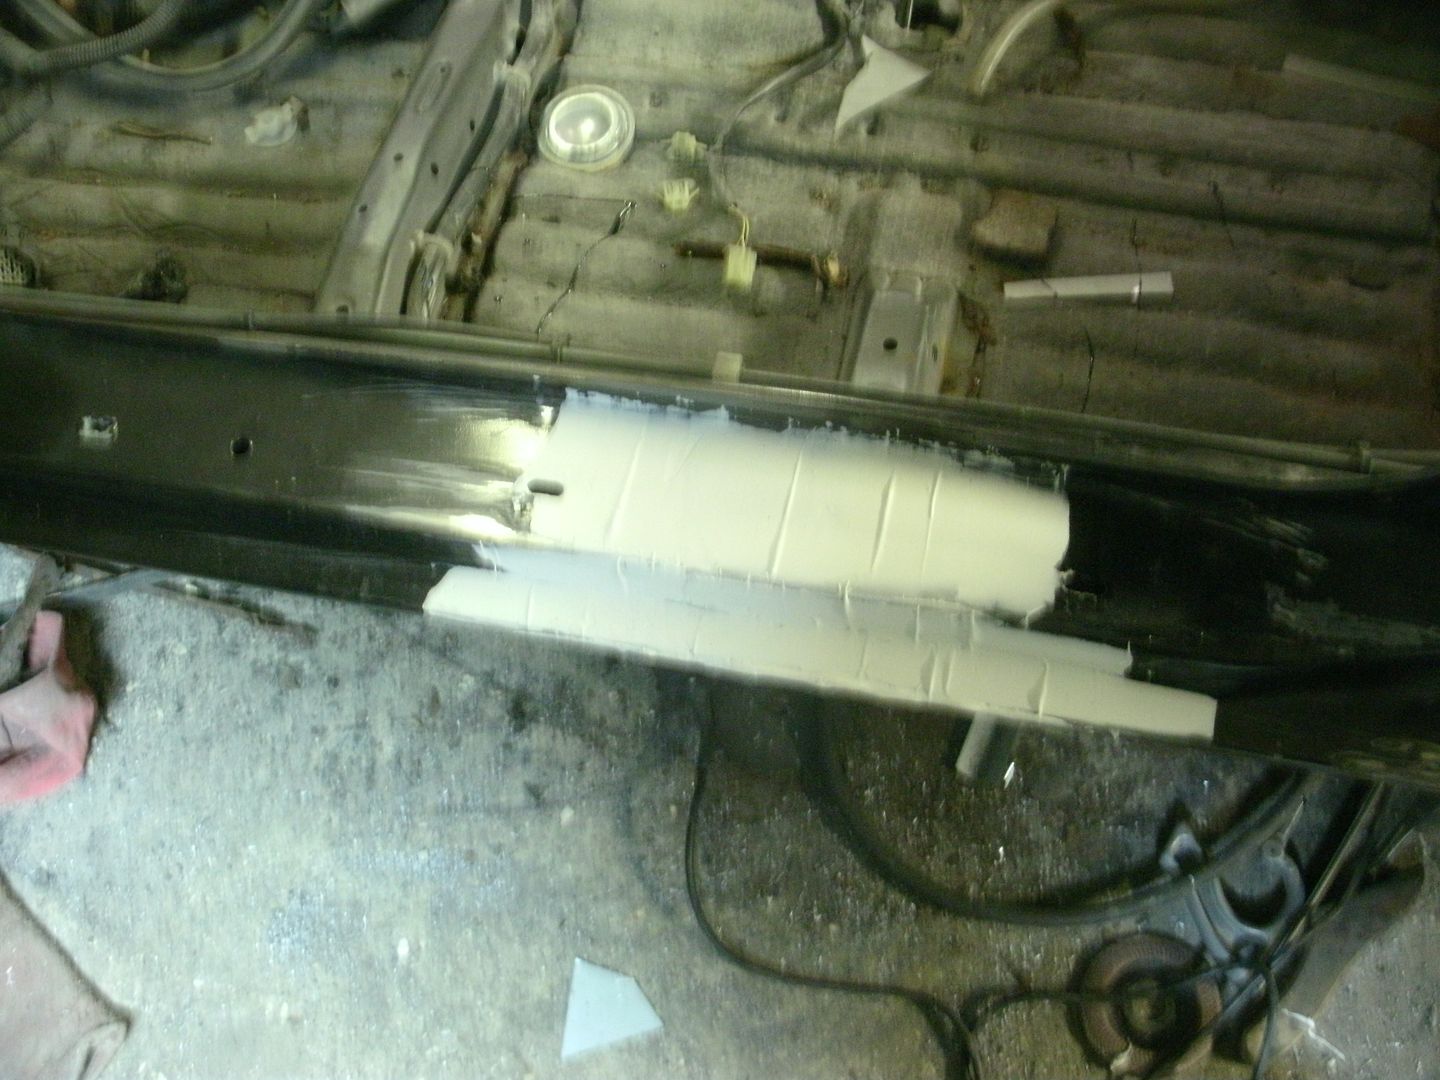
and yes jut have to plug weld all three skins up and trim it all level then DONE weldings!
lots of small bits meet mr.sandblaster. make short work of it. cost for all this stuff is only £30. stuart next door to me does alot of blasting with the 600cfm deisel powered compressor. any cars i have in i can get stuff blasted at cost but im not currently going to make it a point of doing one off jobs as/when. only leaving it open as an option to peoples cars i have in (mainly with paint it adds more load onto my massive workload)
took all the rut off all of thi rear roll bar i lightyearman White line bar (now rot free!)
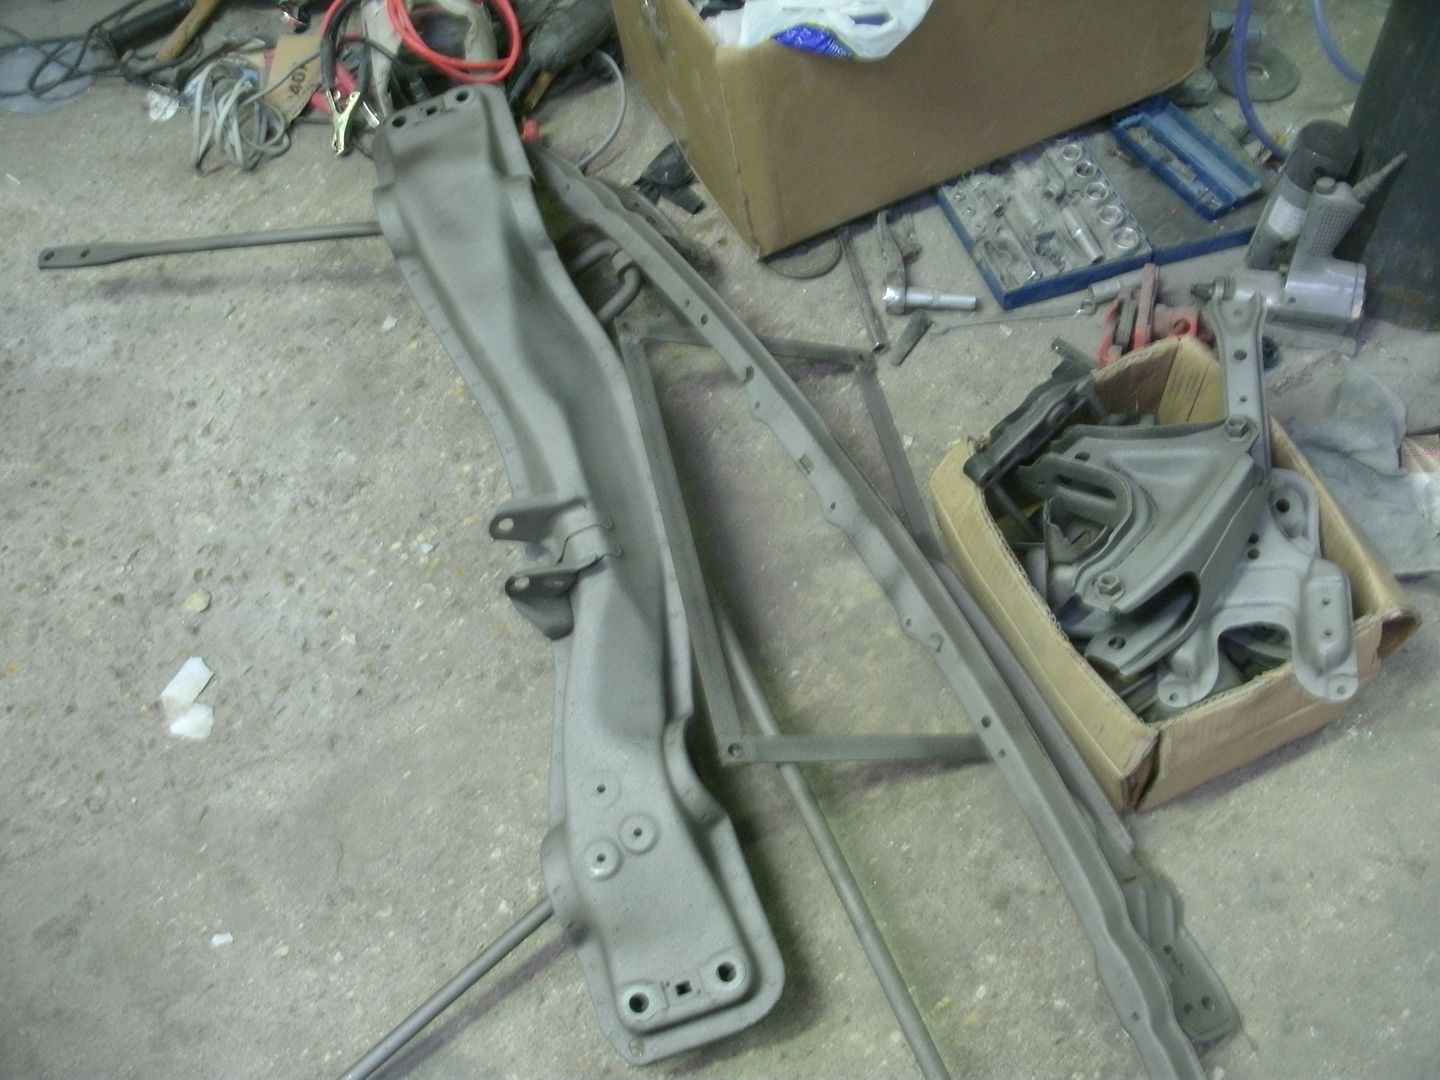
fairly rough finish but perfect for epoxy
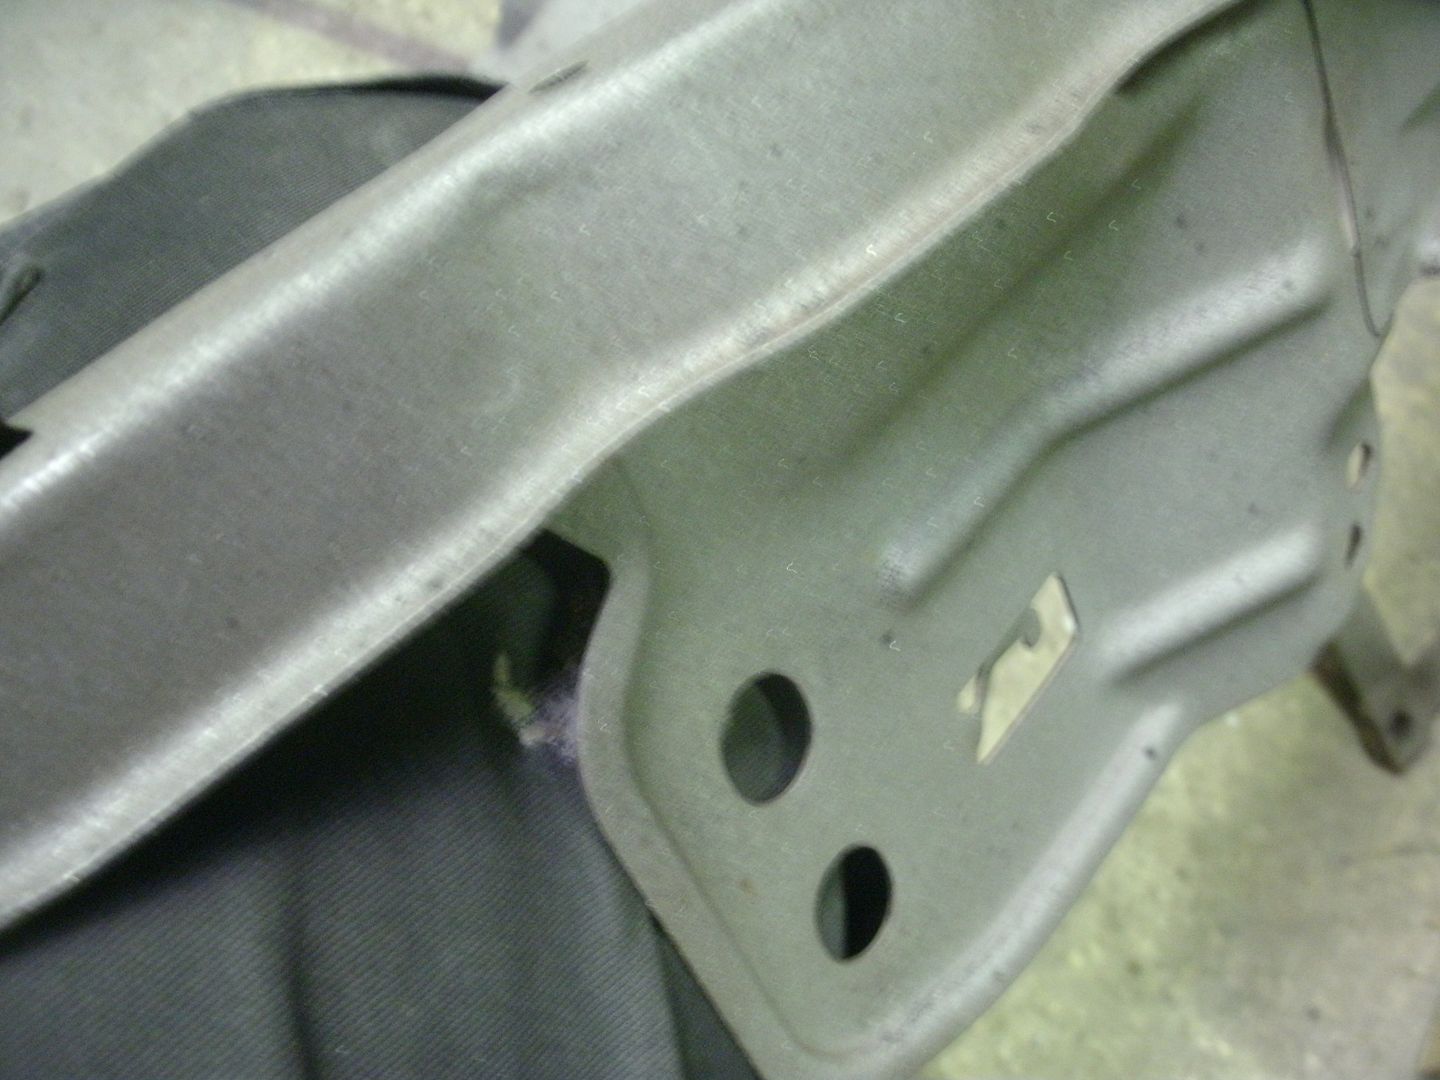
all flatted down incl qall the door shuts and bay/backs of panels.
9 ruddy hours lol.
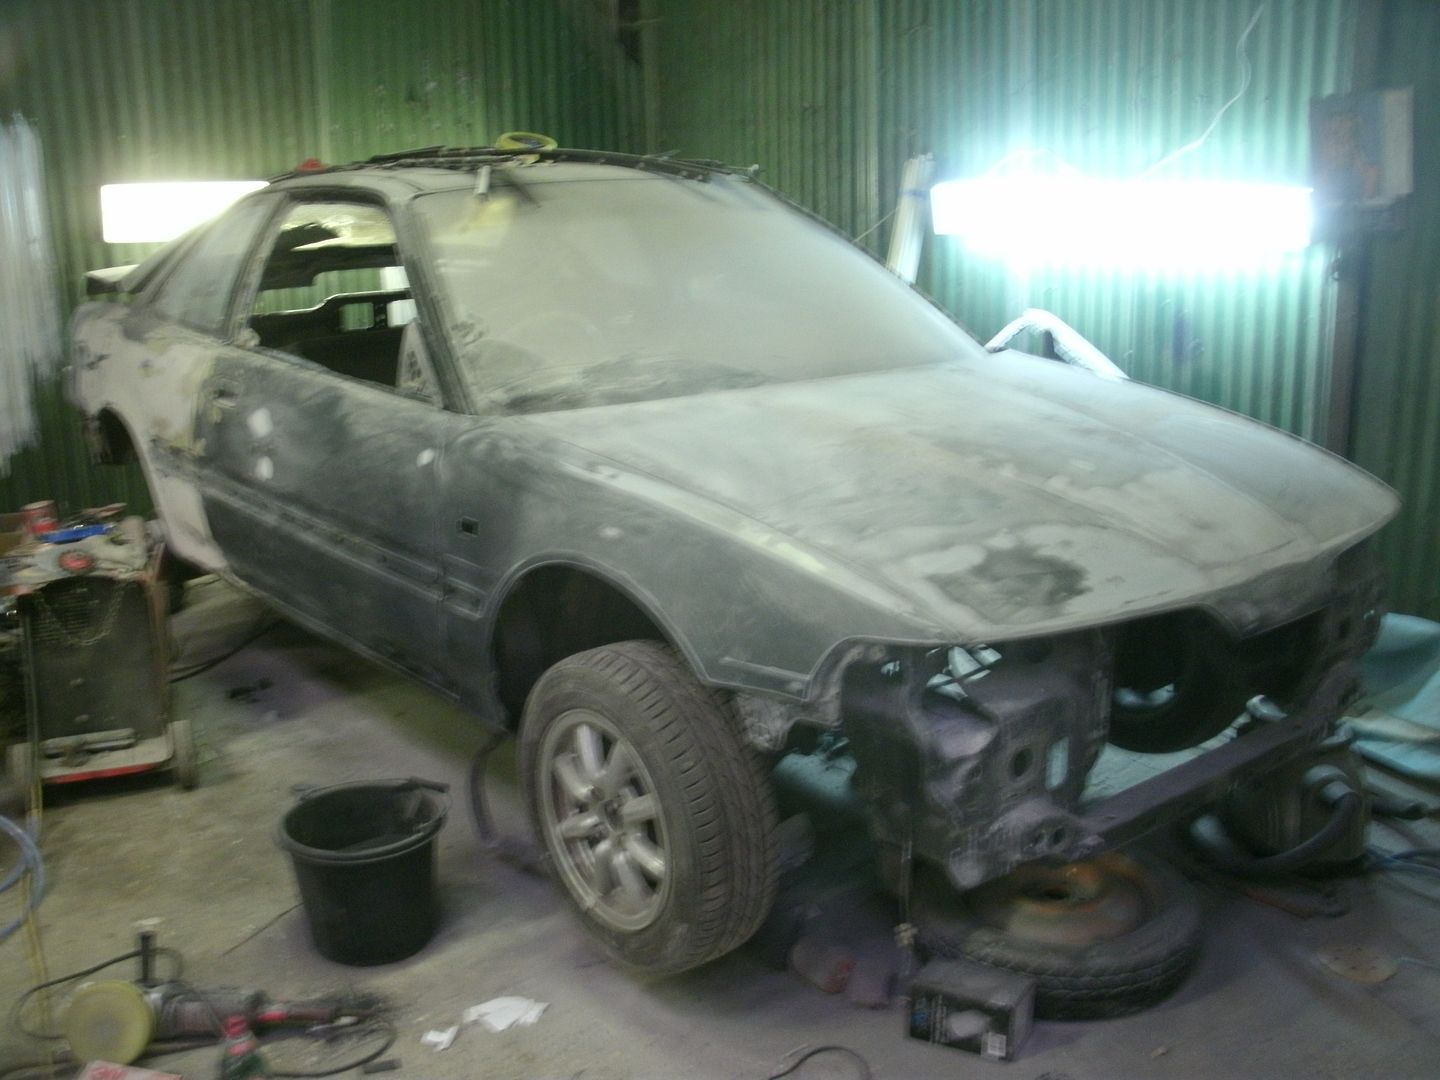
de-spoliered the tail gate as requested. this was a pig to get flat! ended up having to skim the entire thing is filler and flatting it all down joys of distortion from welding on thin flat panels
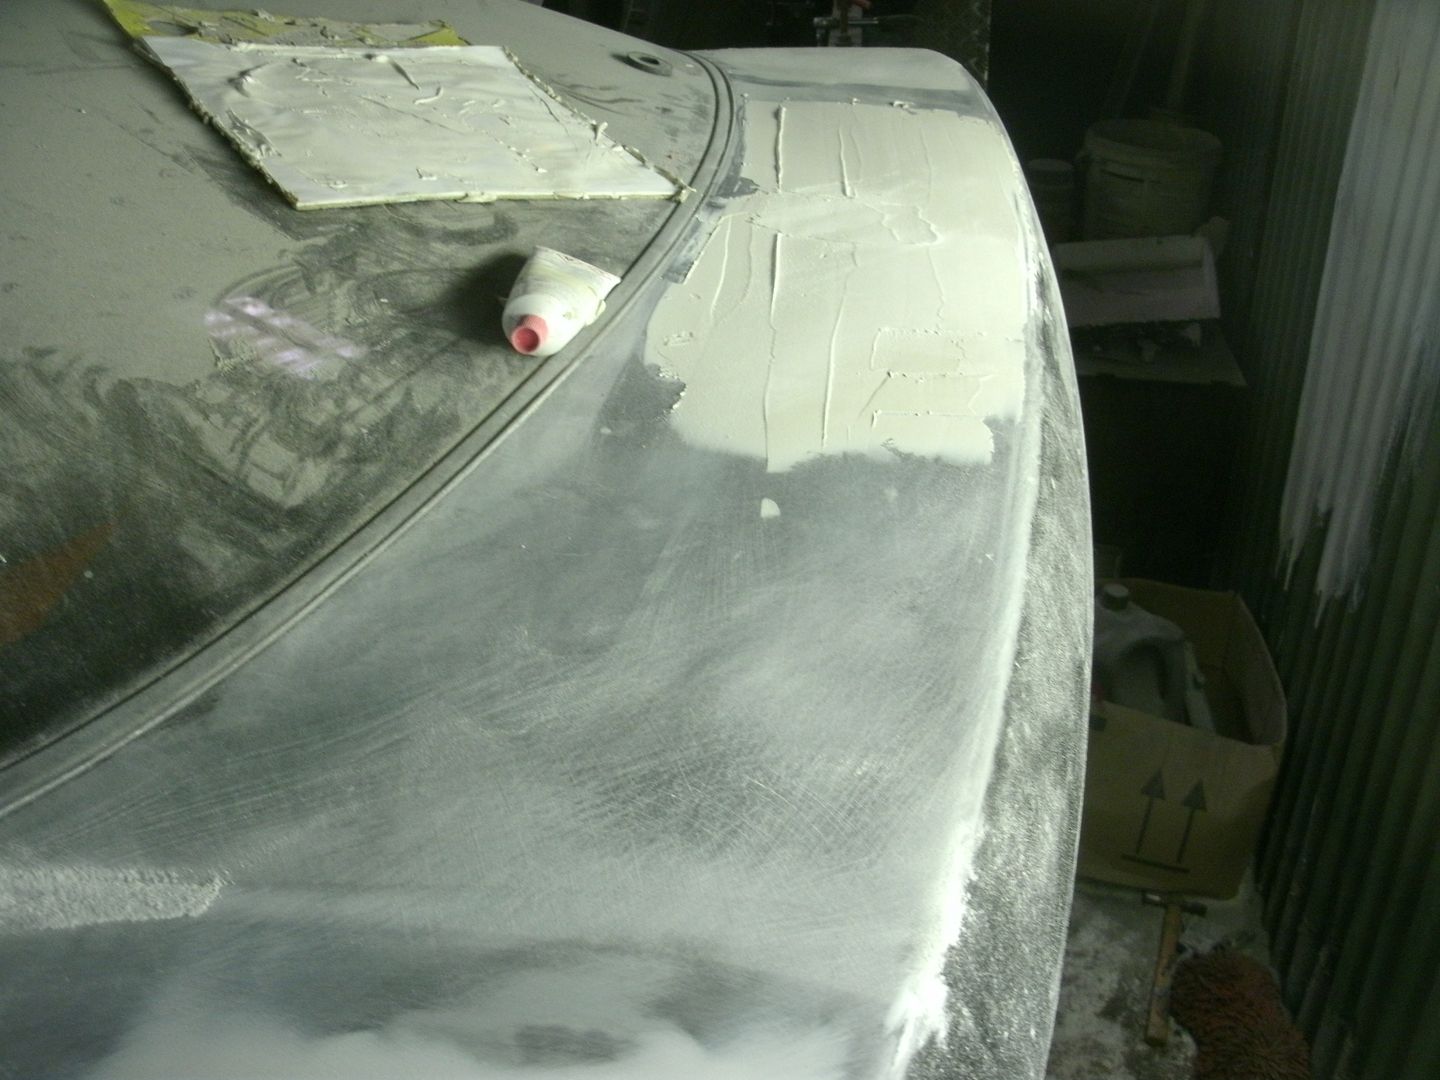
and this is a quarter of what came out of this side. rottens lol
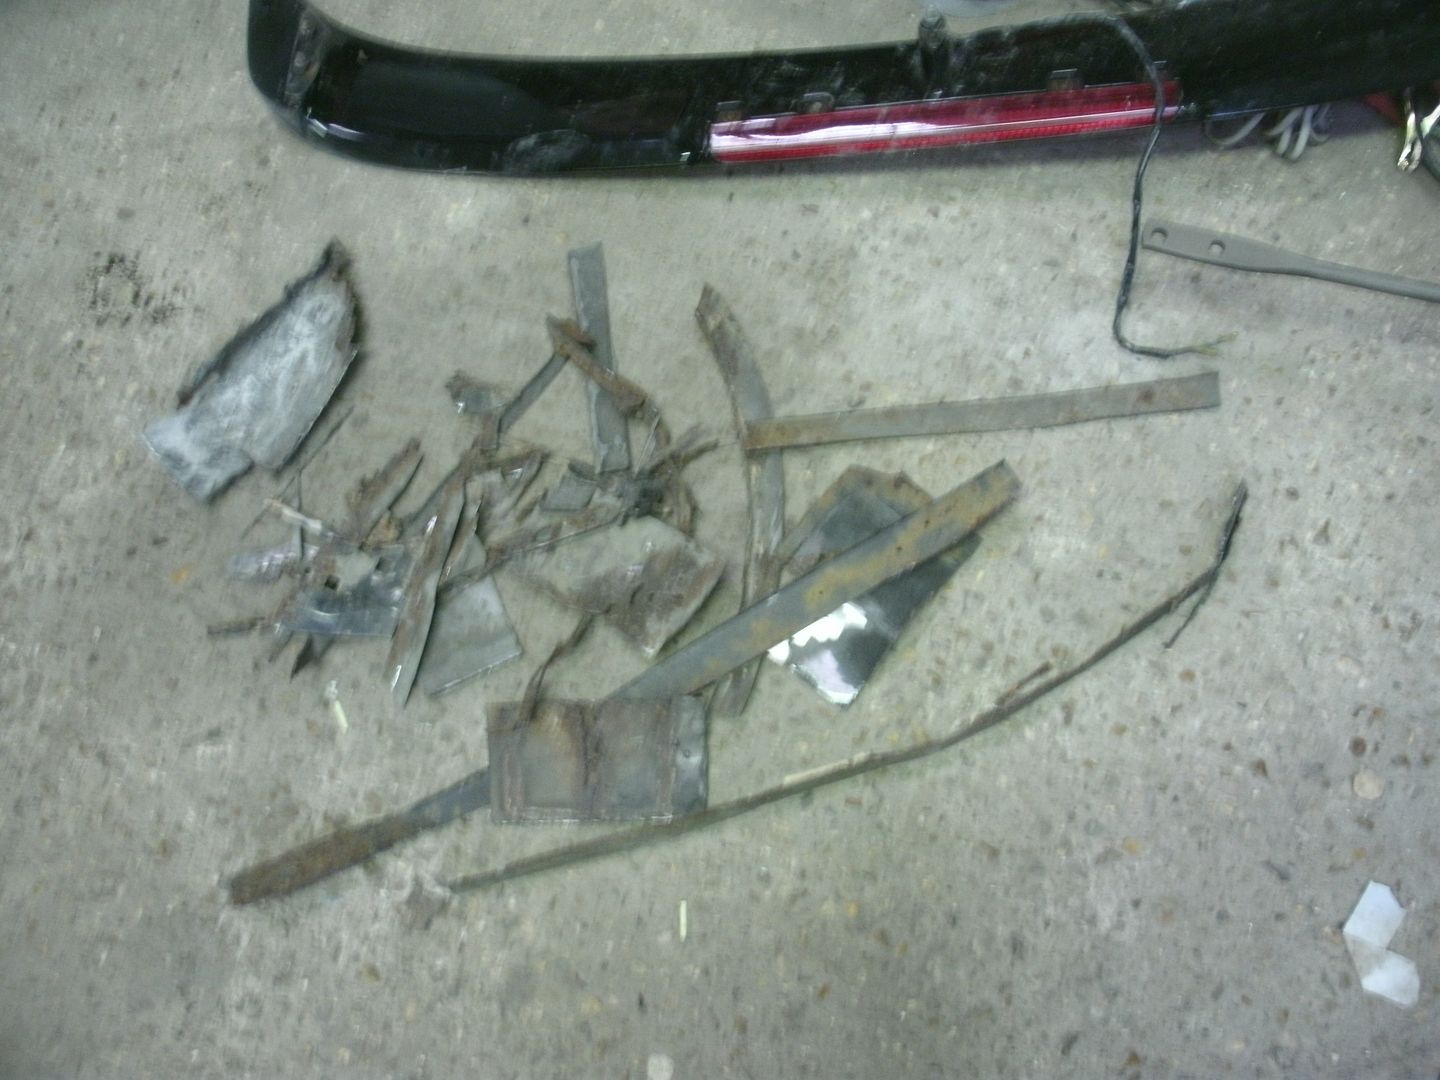
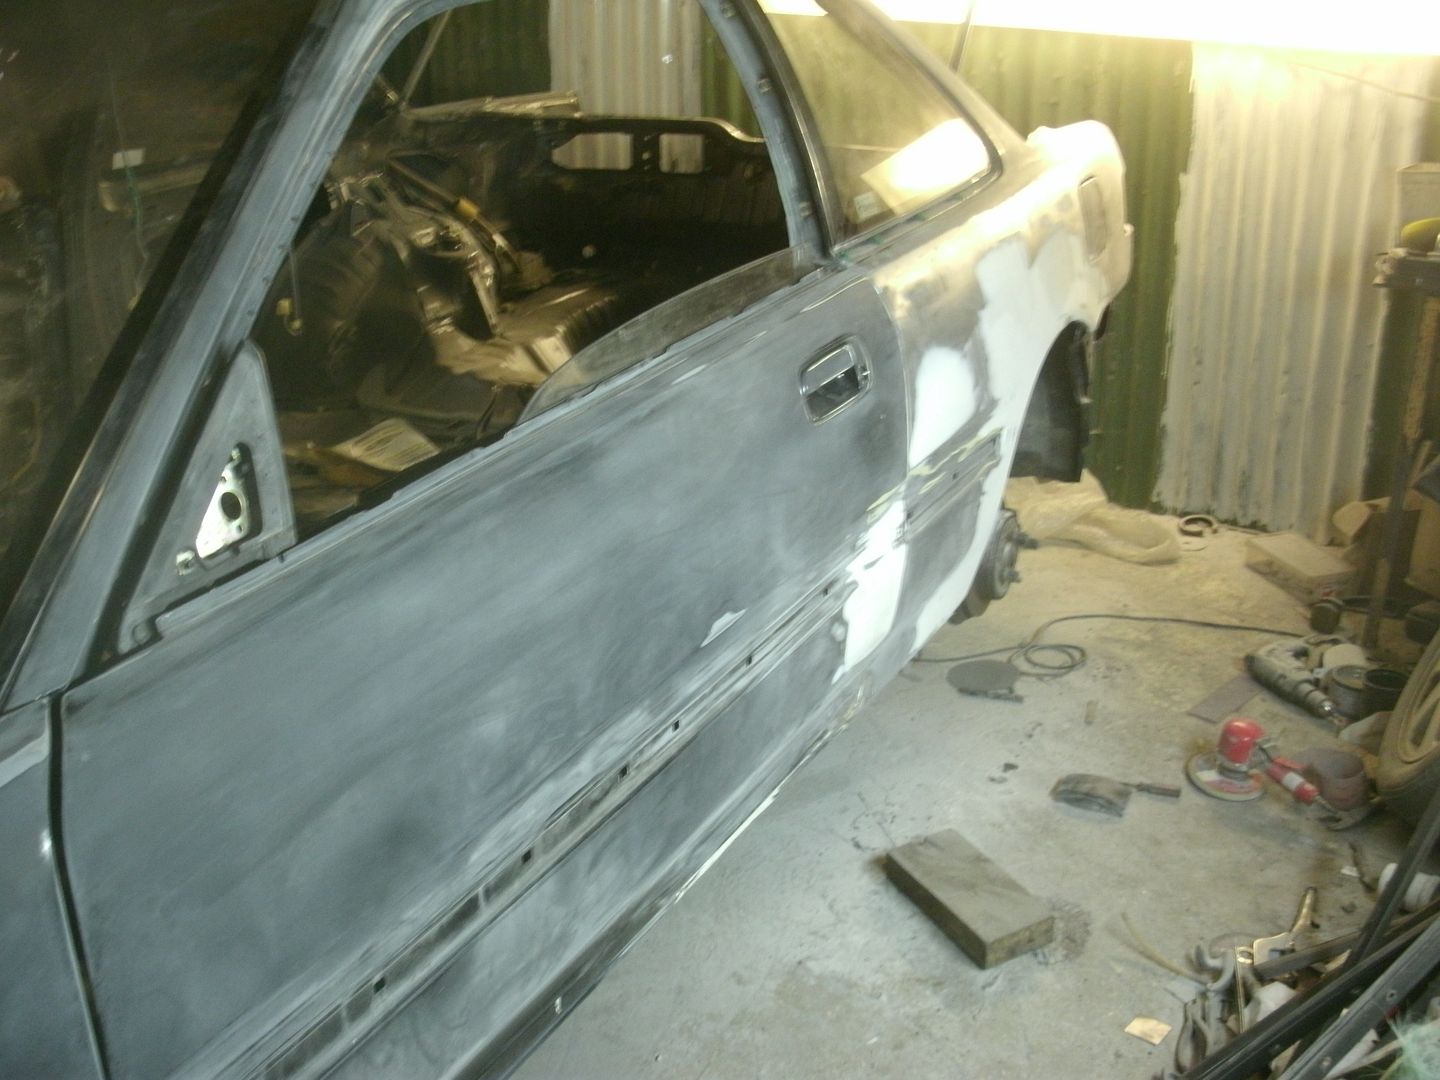
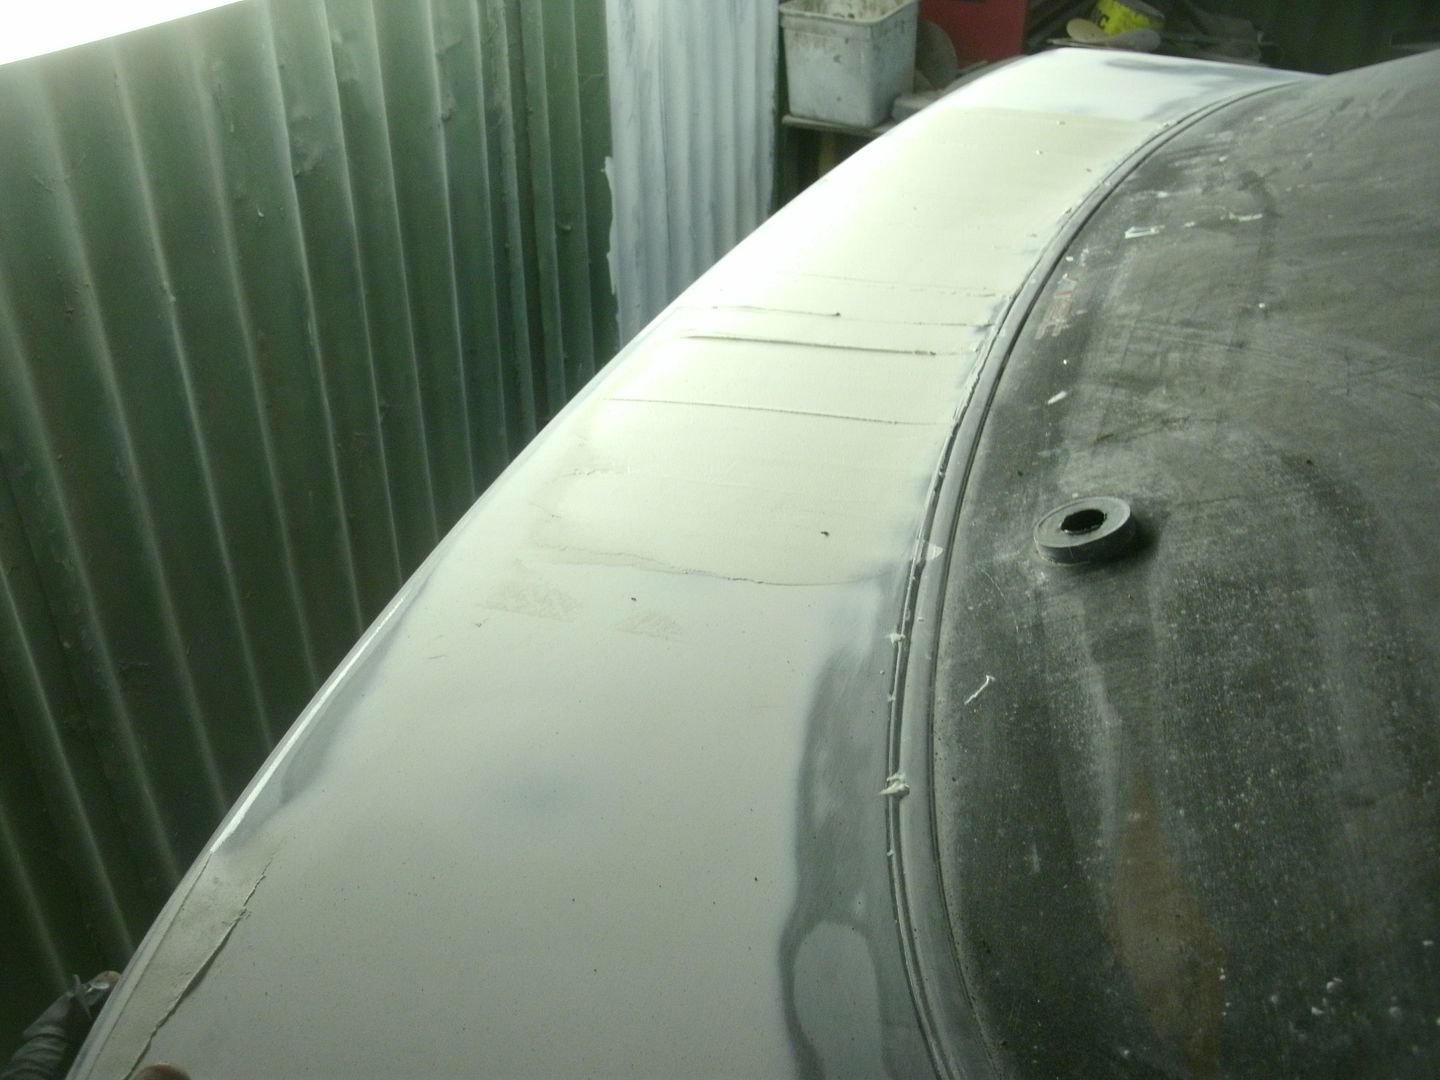
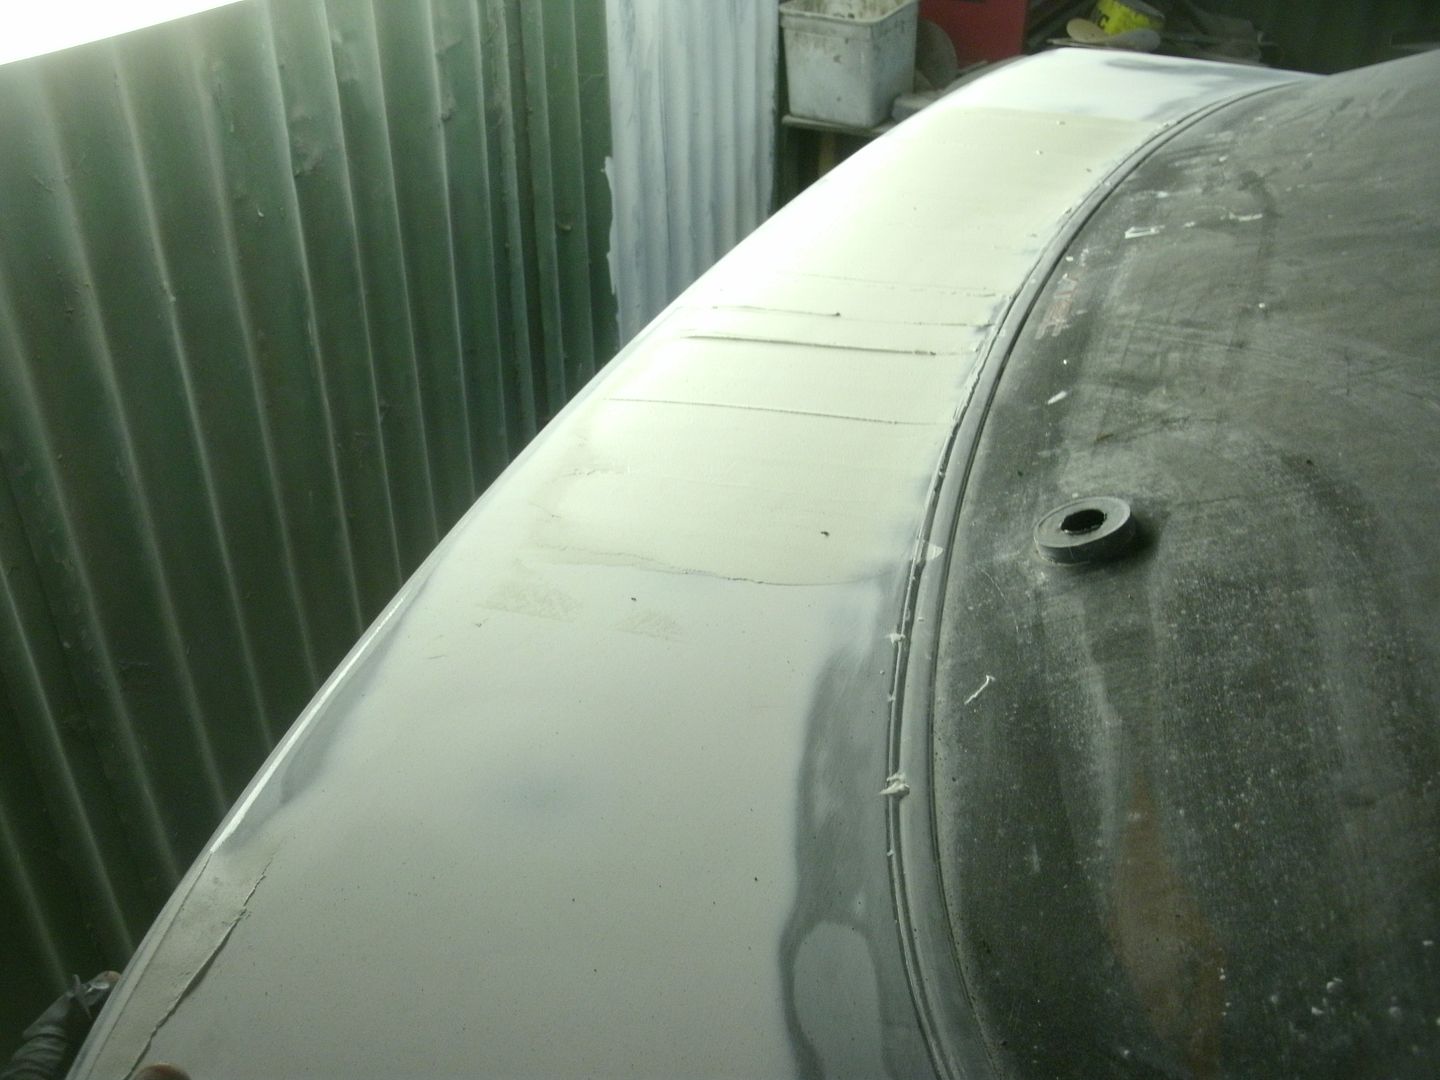
hate filler. been a day of pretty much sanding it to shape then finding more low spots , then a little more filler then sanding then more lol. gets very annoying very quickly.
paln for tomorrow:
finish off filler sanding, get car hoovered and de-dusted then off into booth for masking and epoxy primers!
base coat is here today, looks awesomes 
couple days sanding later. making arches from scratch is hard lol

after many hours cleaning and hovering into booth for lots of masking
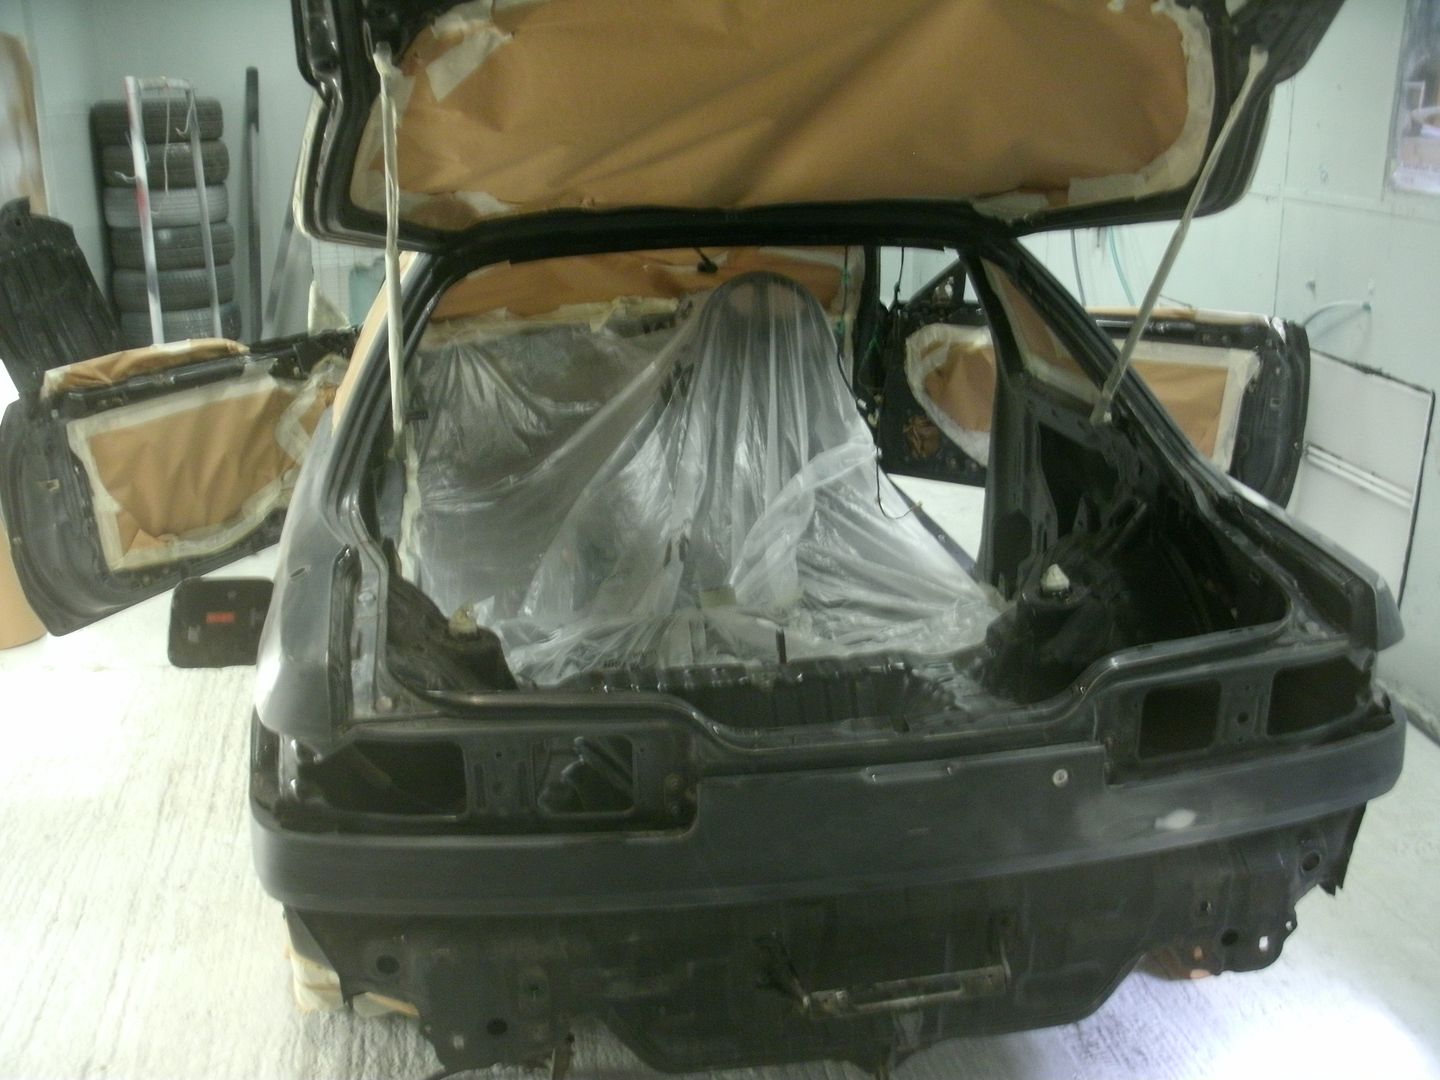
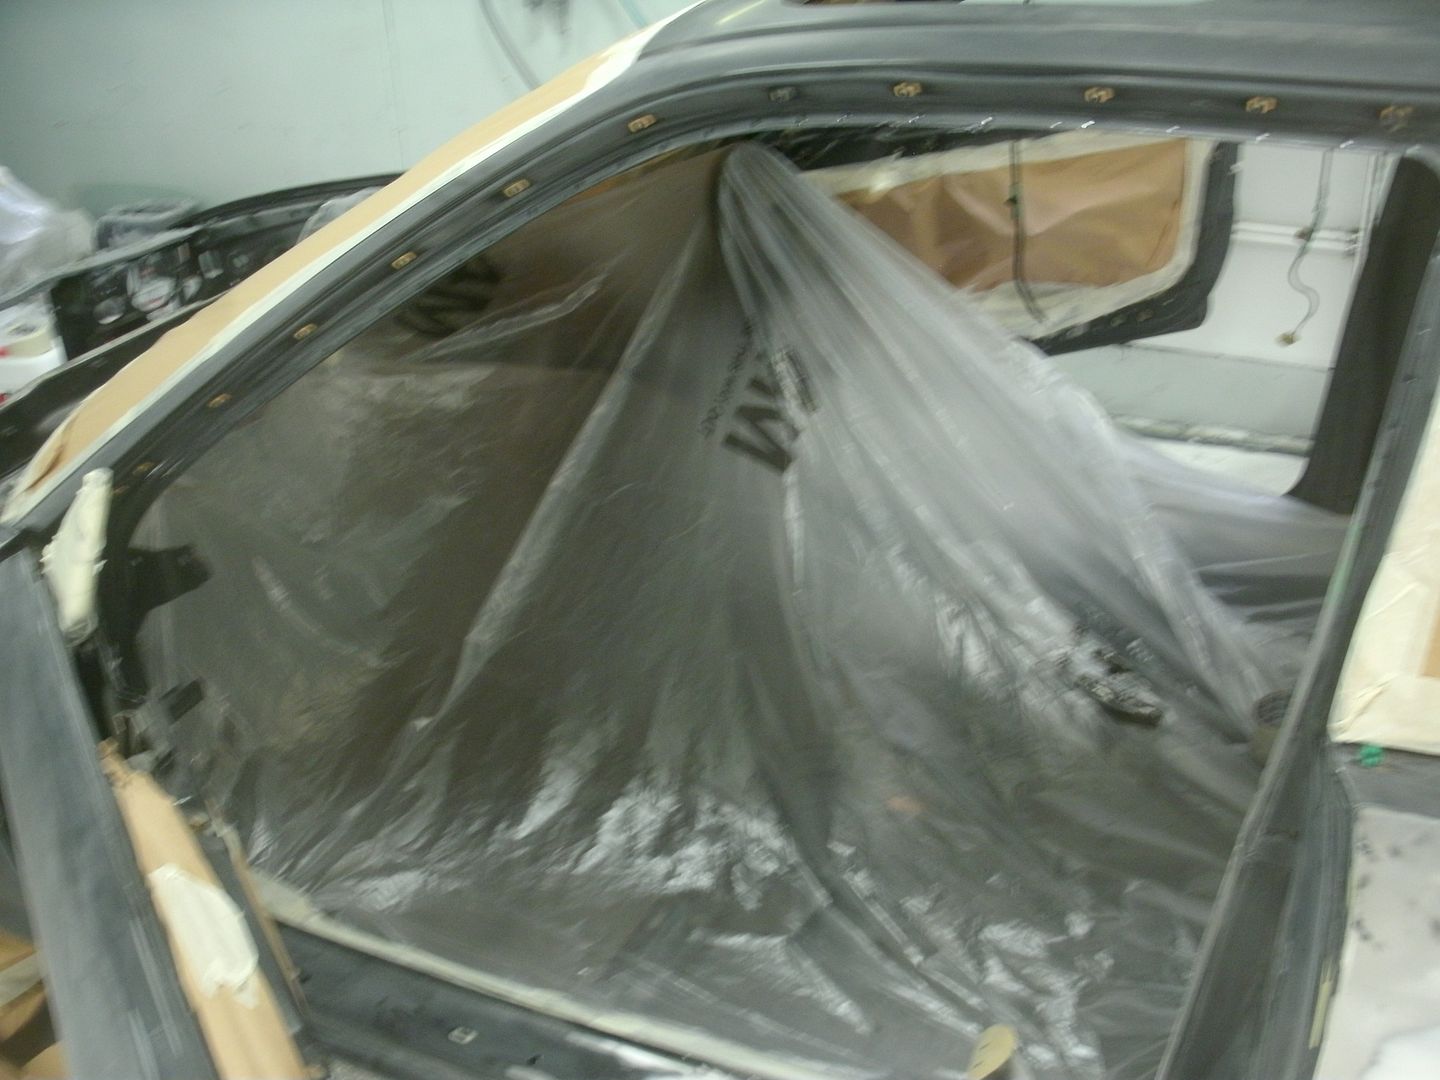
and then onto lots of panel wipe then epoxy! 5lts down
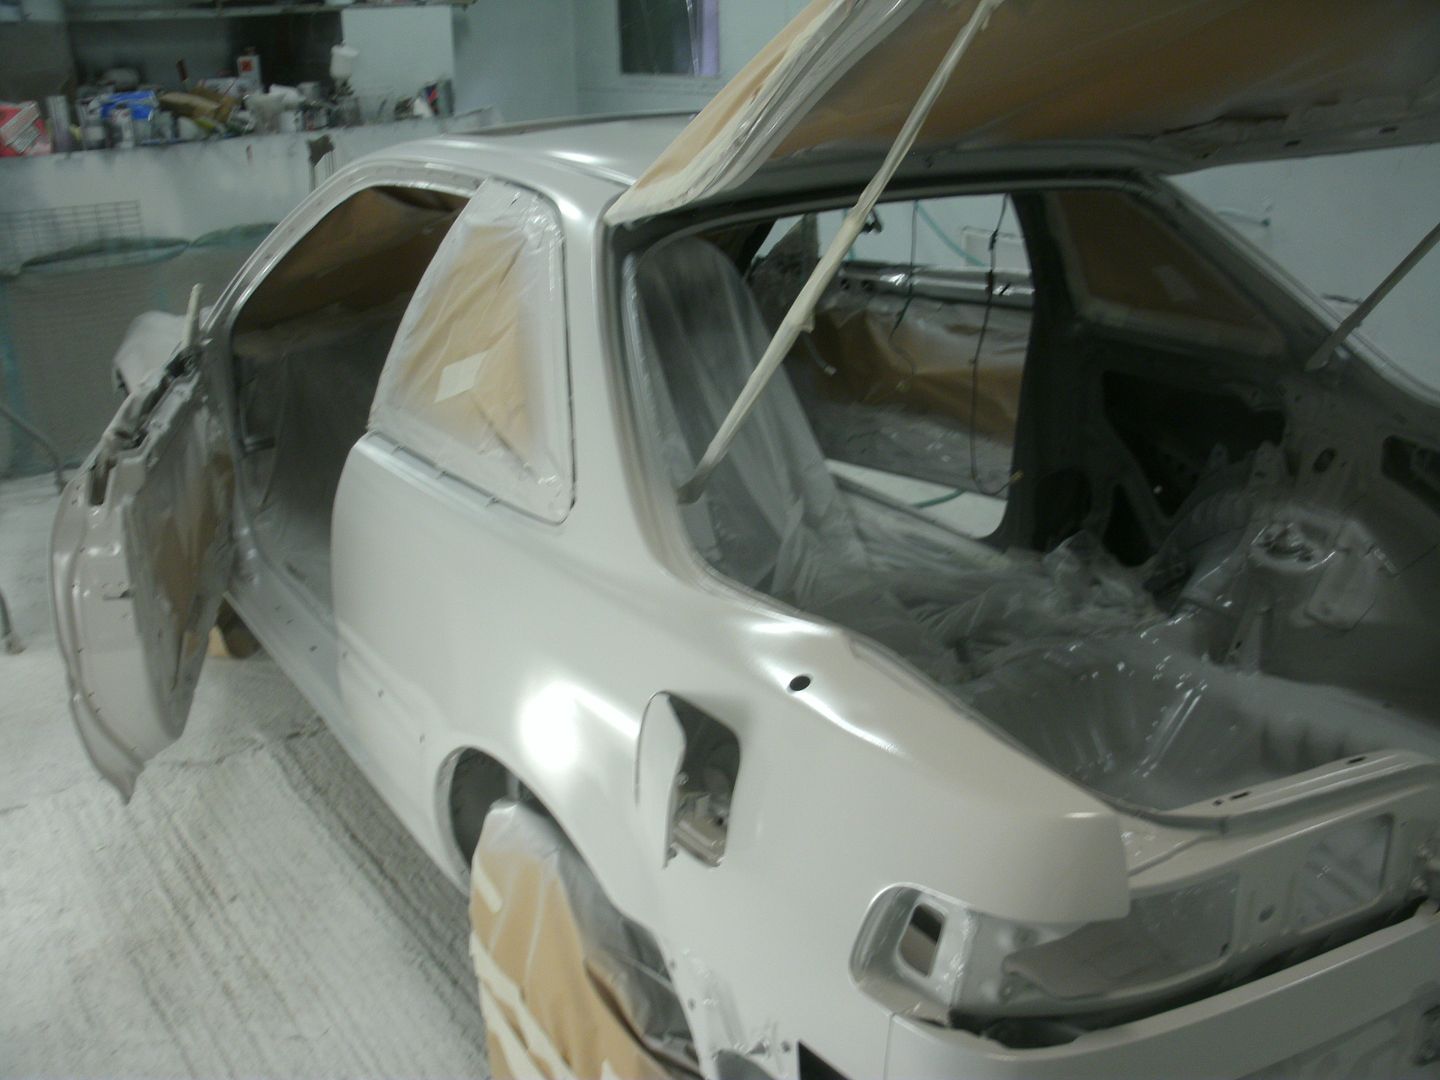
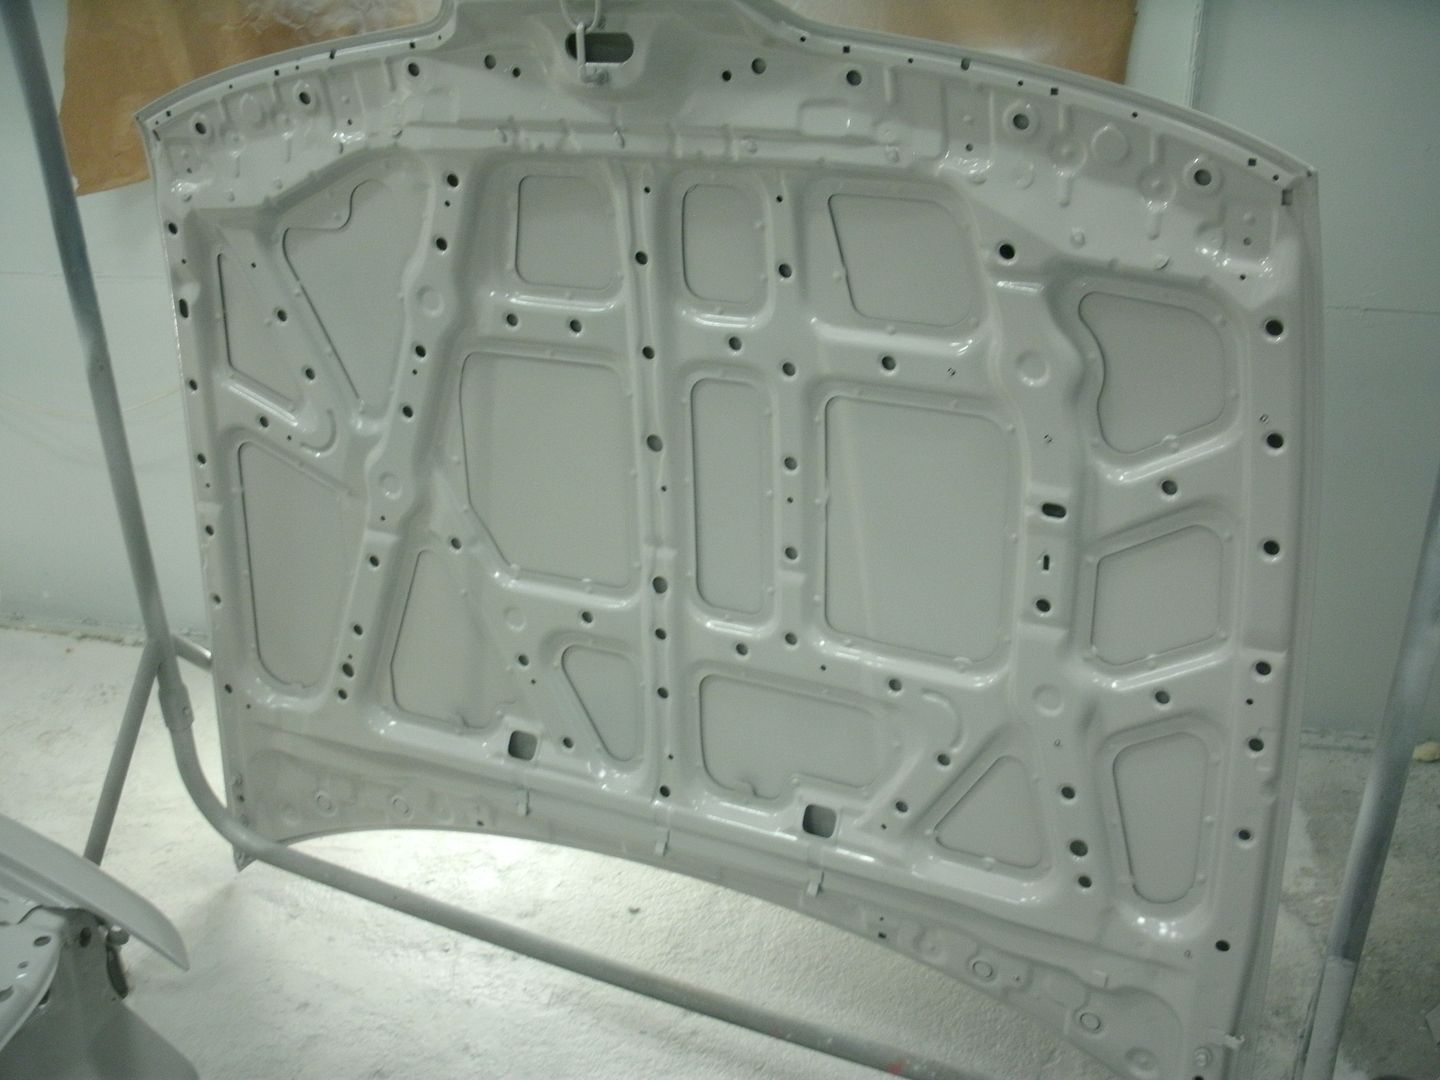
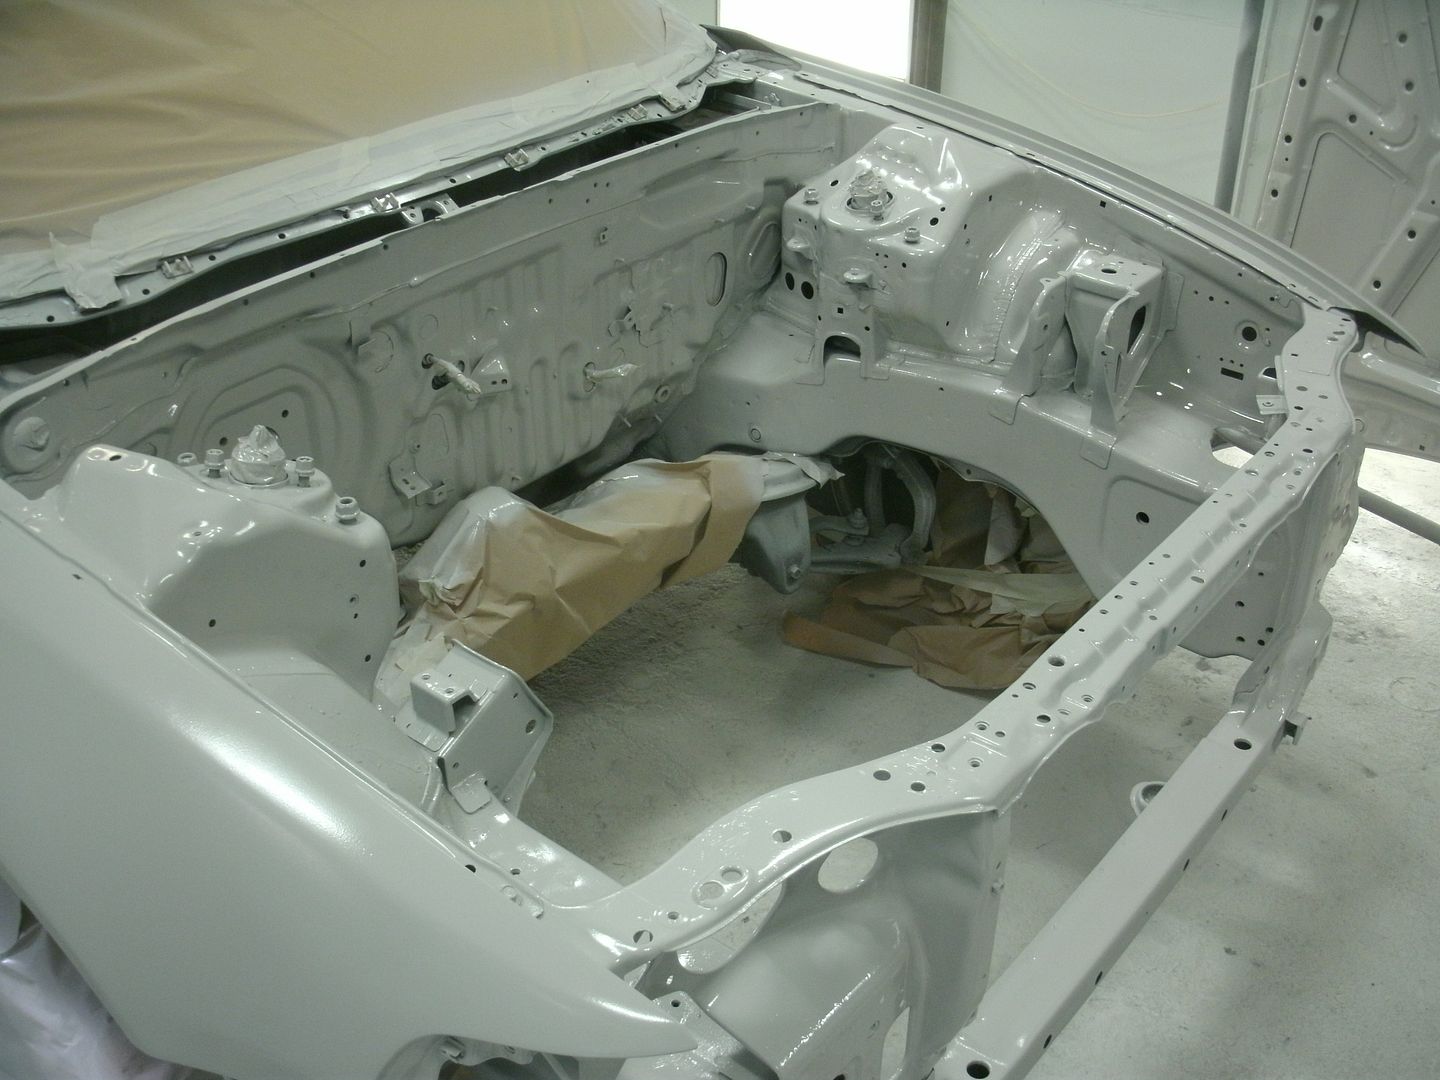
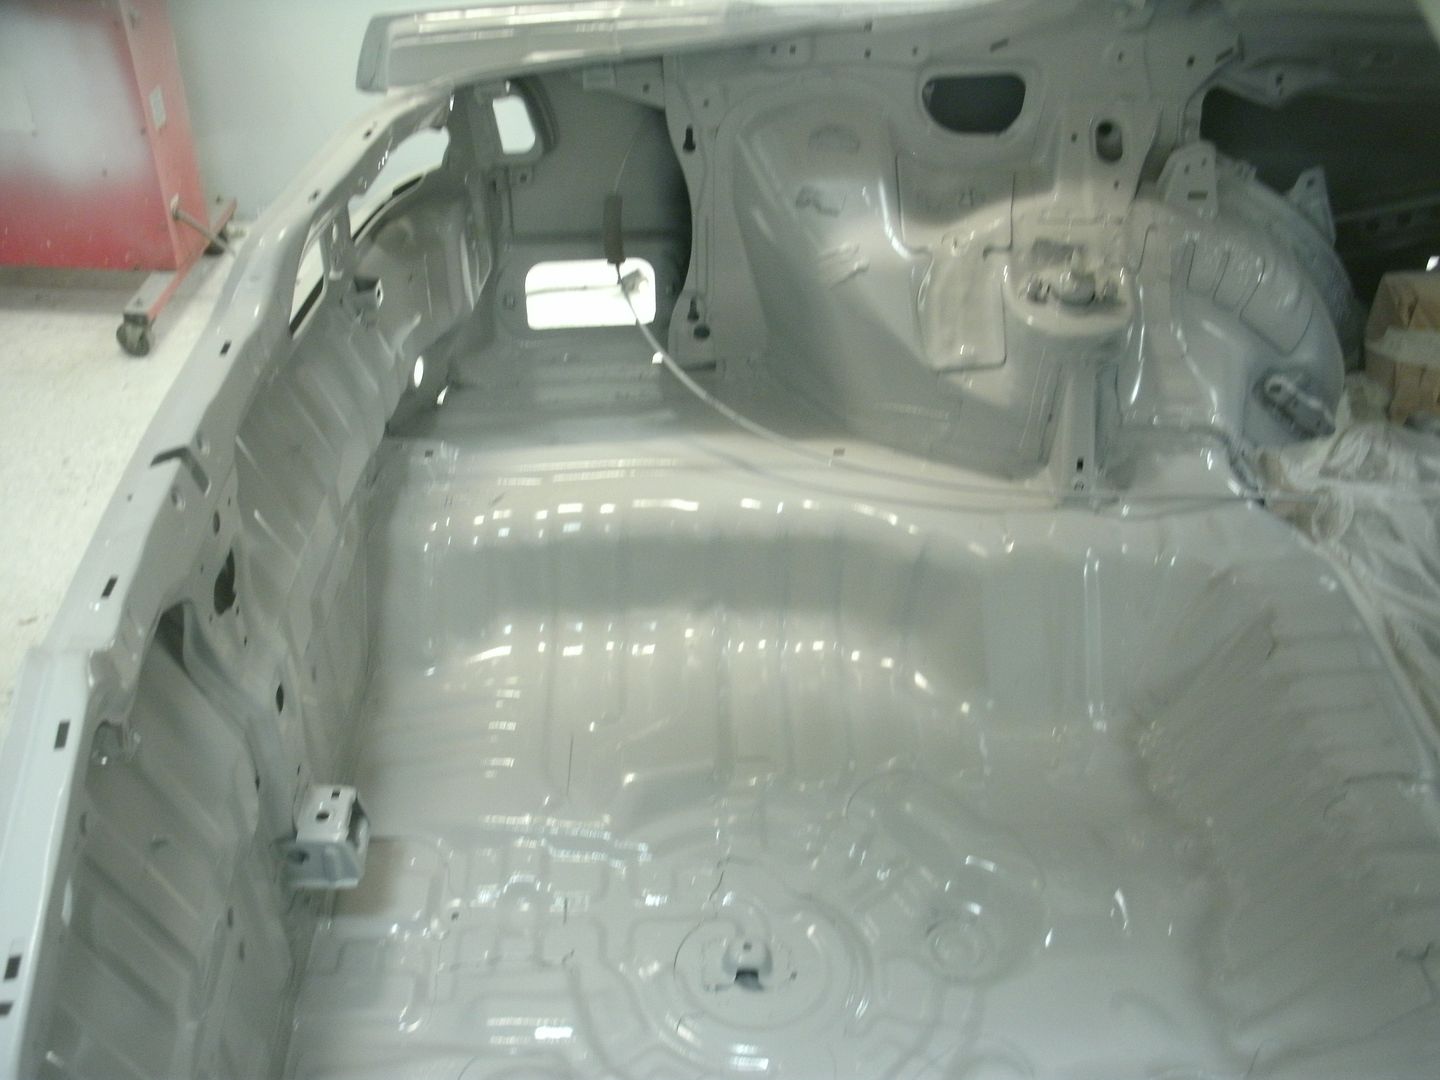
looks glossy but thats because its wet. drys to a satin.
epoxy has a 48 hour window for “recoating” ie: anywhere after 3 hours of drying up to 48 hours its still curing off so you can put more paint down on it WITHOUT sanding it. paint will chemically adhere to it during its curing process.
tomorrow first thing its mask of bay and boot, then lots of high build primer on it.
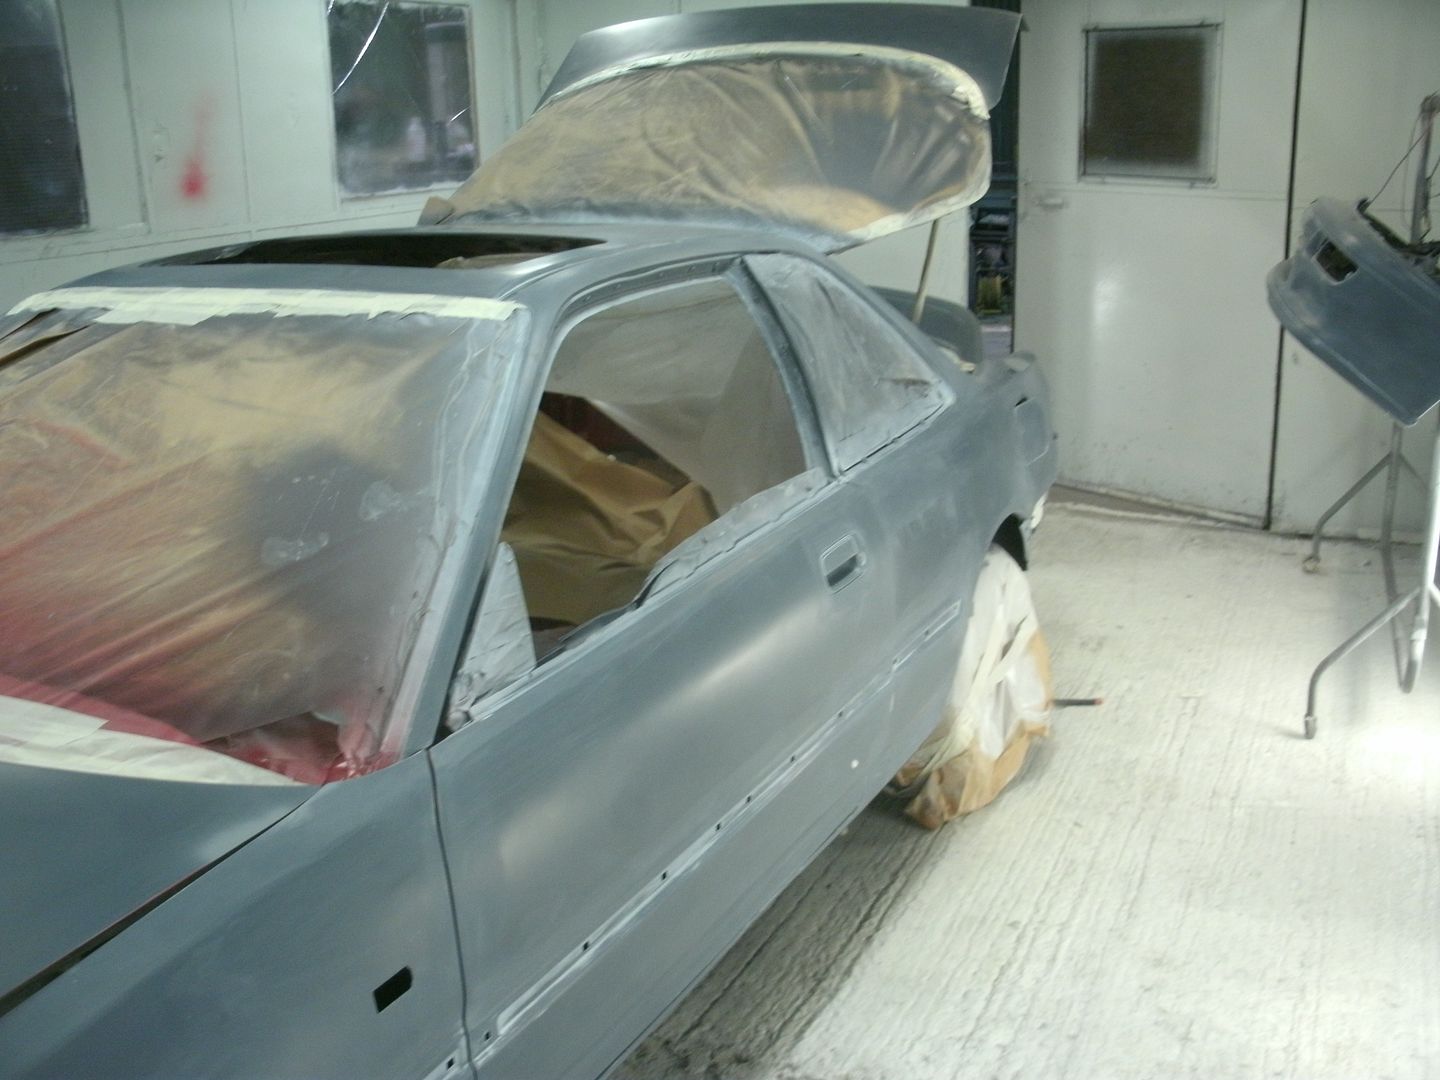
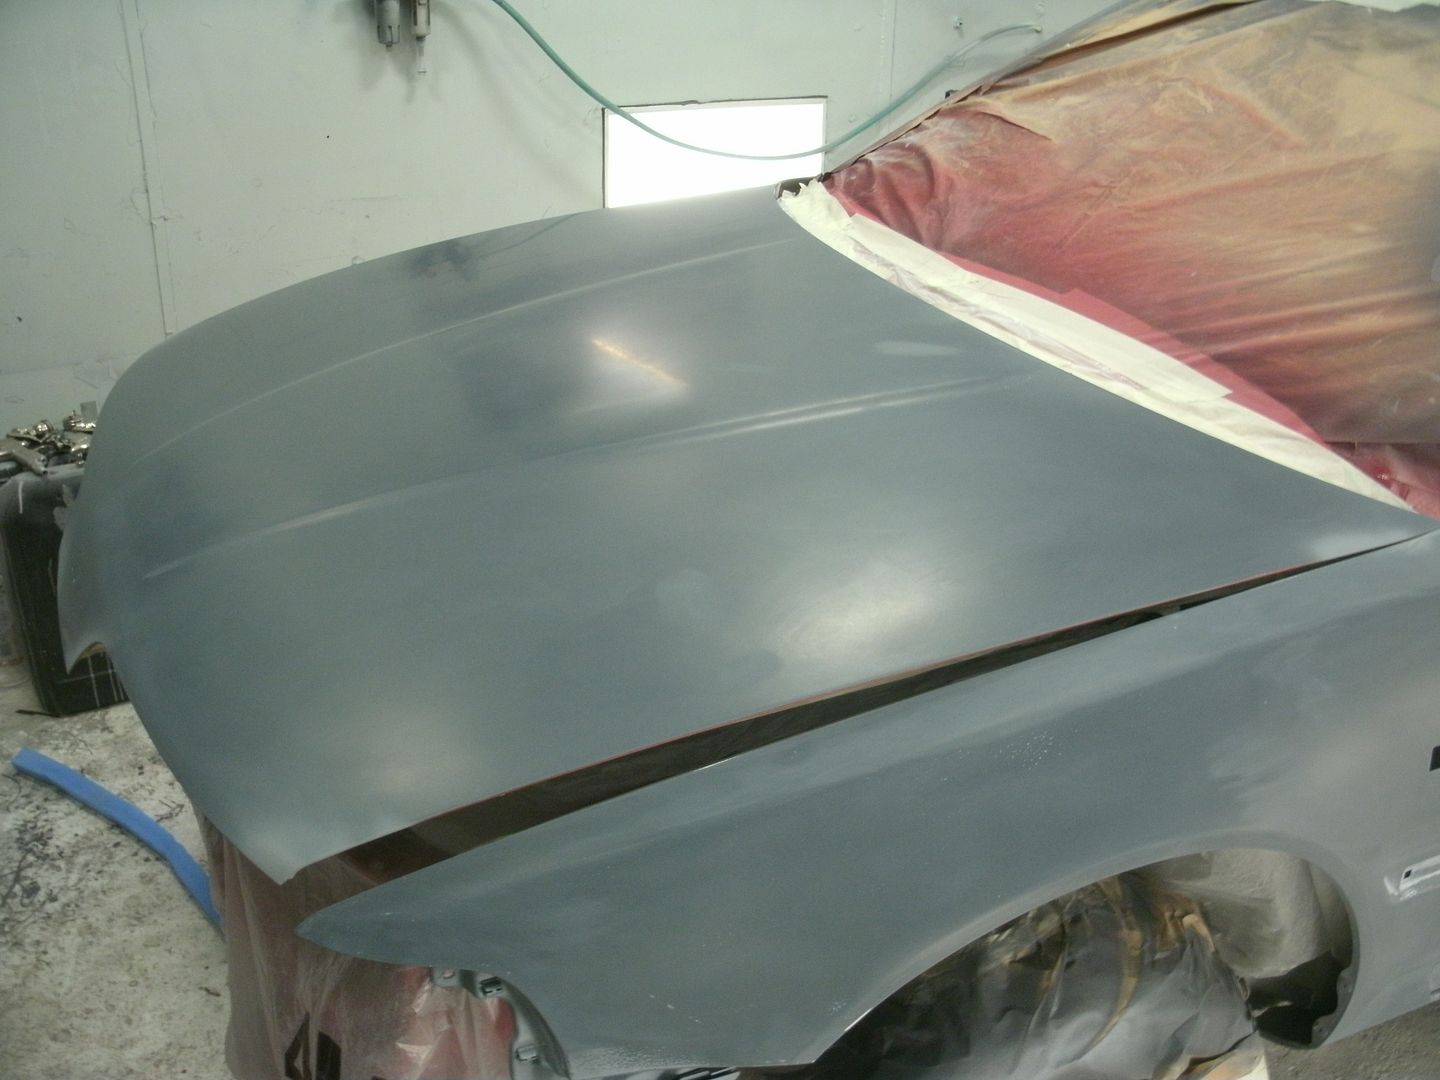
high build primer down. can you guess the color its going to be having a dark grey primer? 5 full coats of this down  loads to at with the long board tomorrow
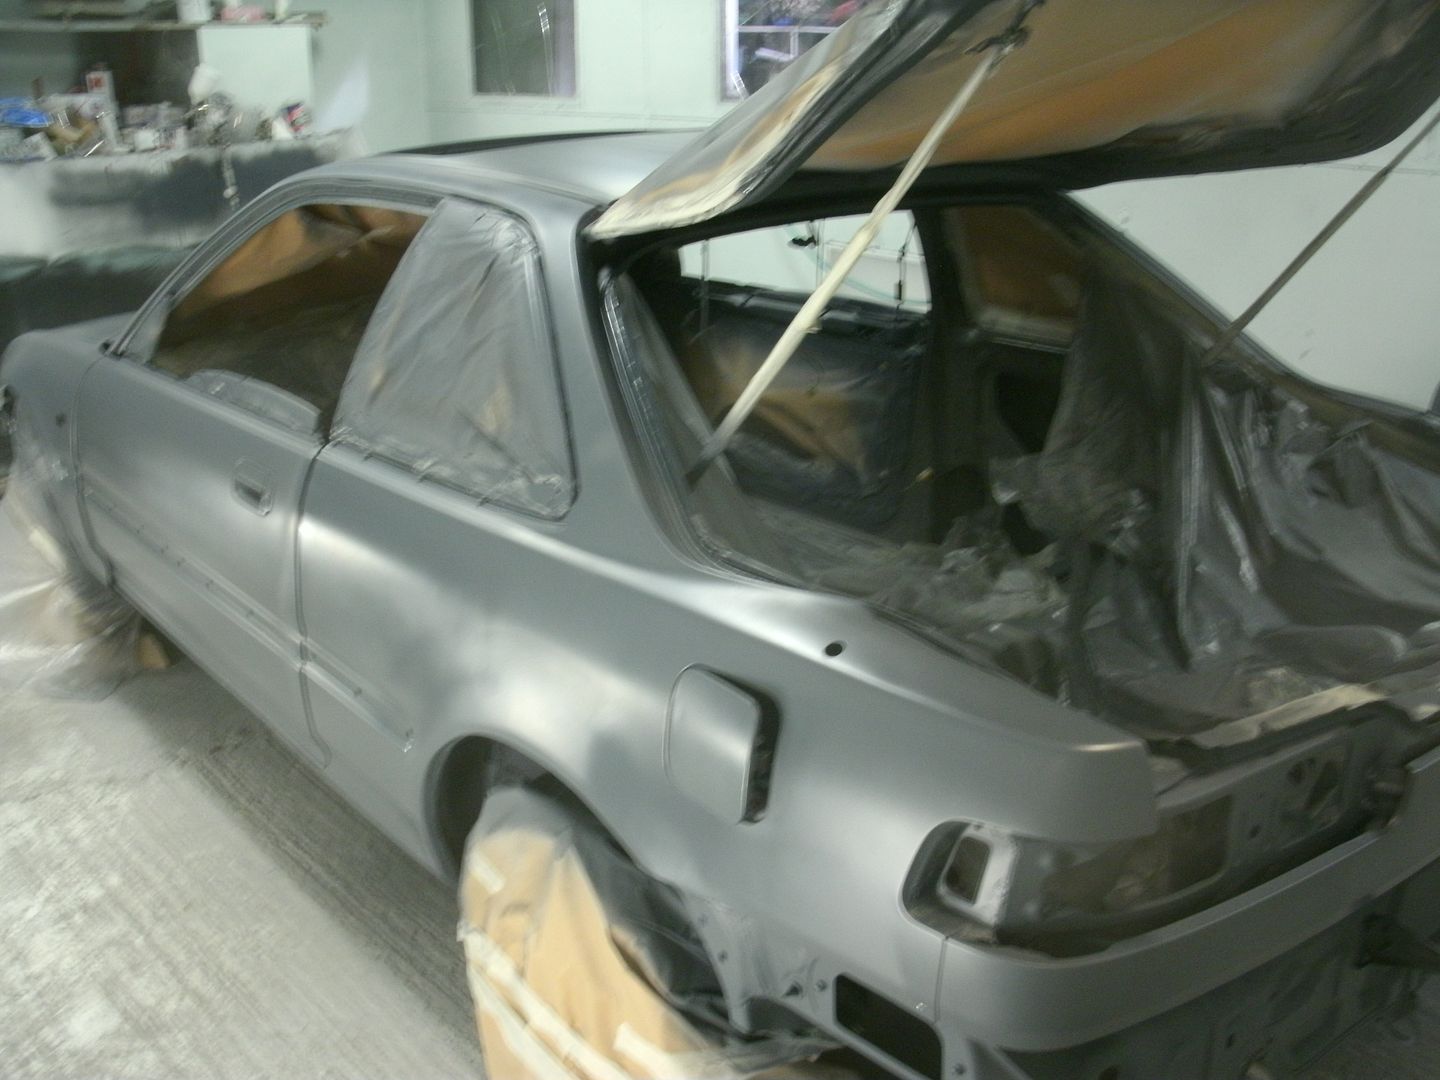
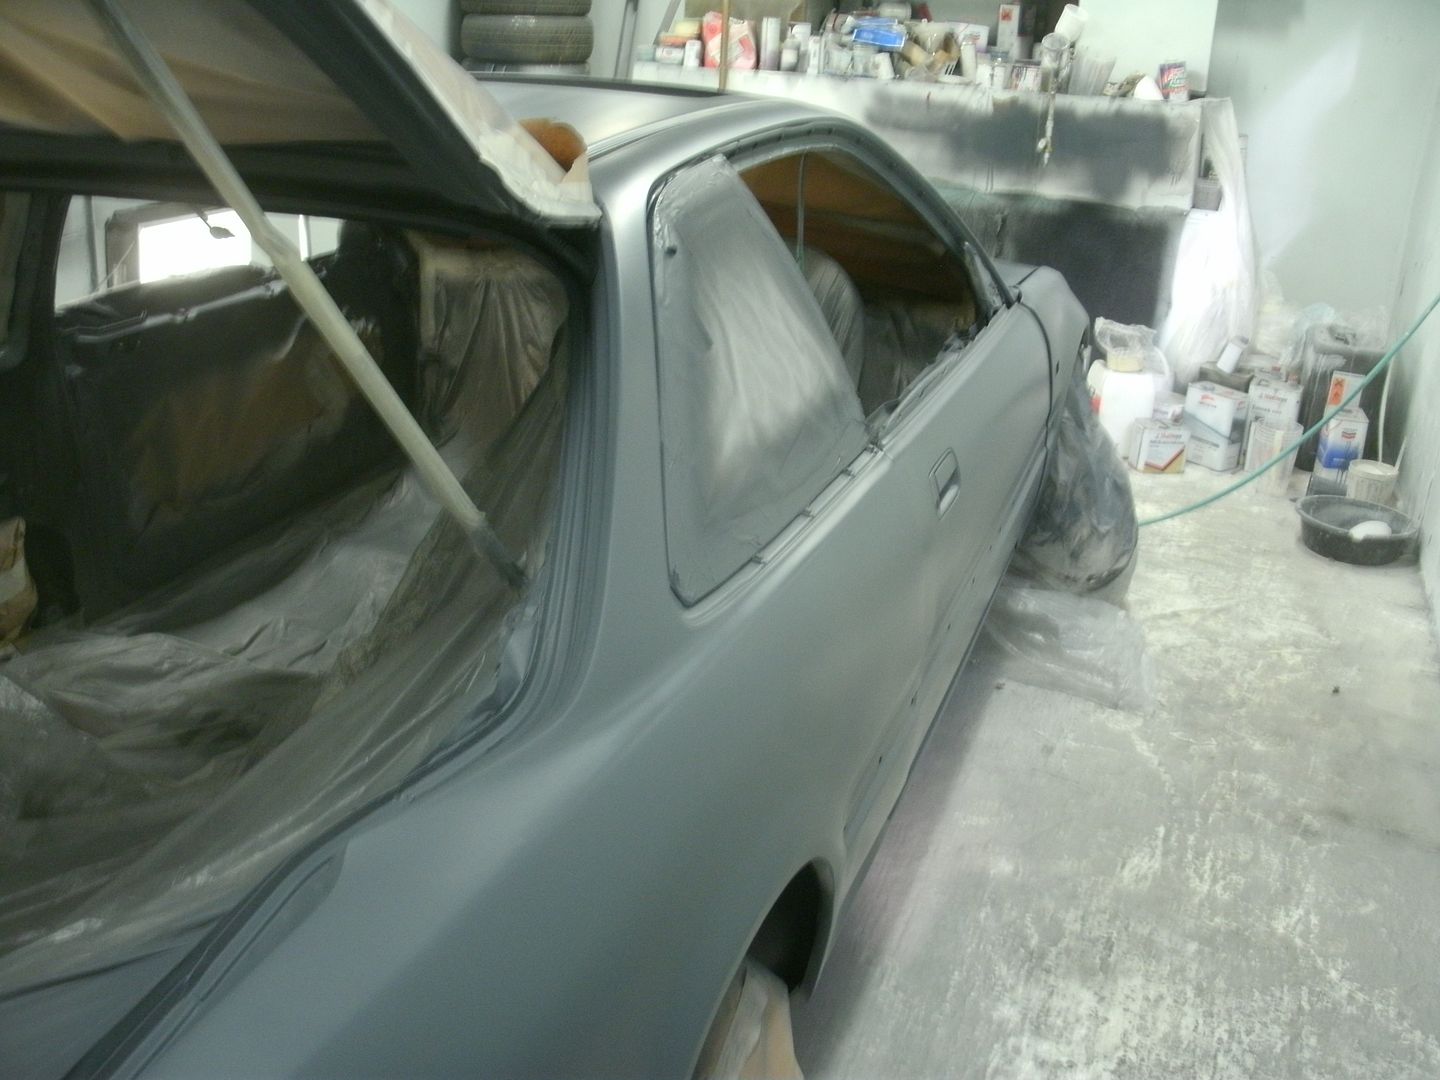
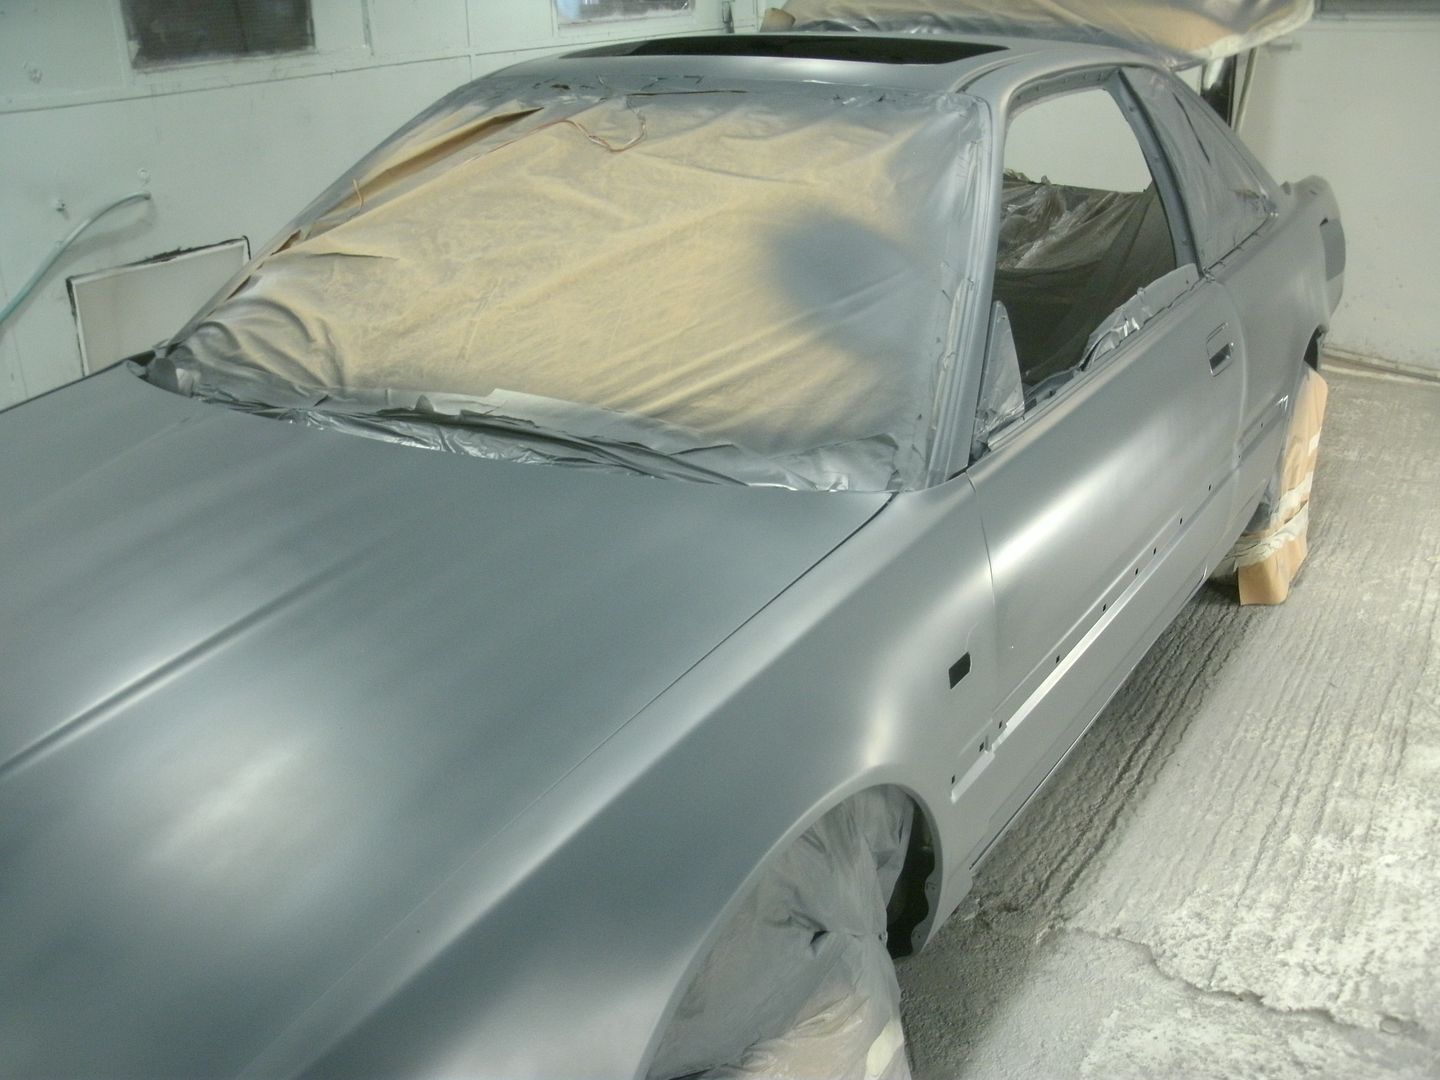
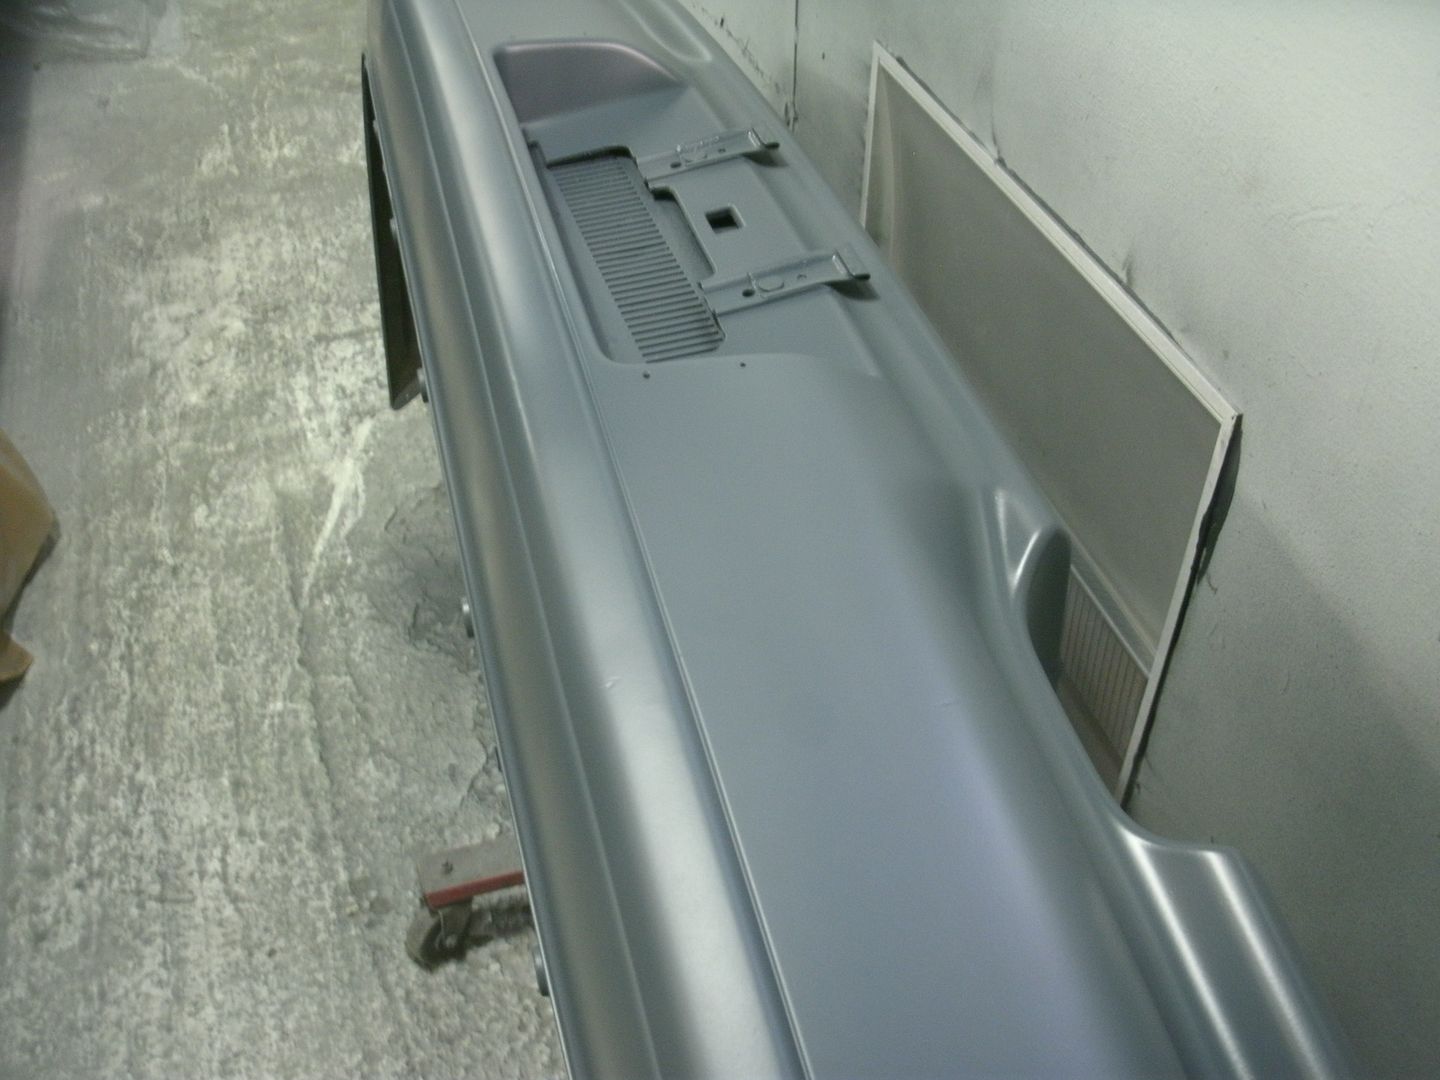
well guess it yet? even i was suprised when they said it was this shade of dark grey for the following color !.
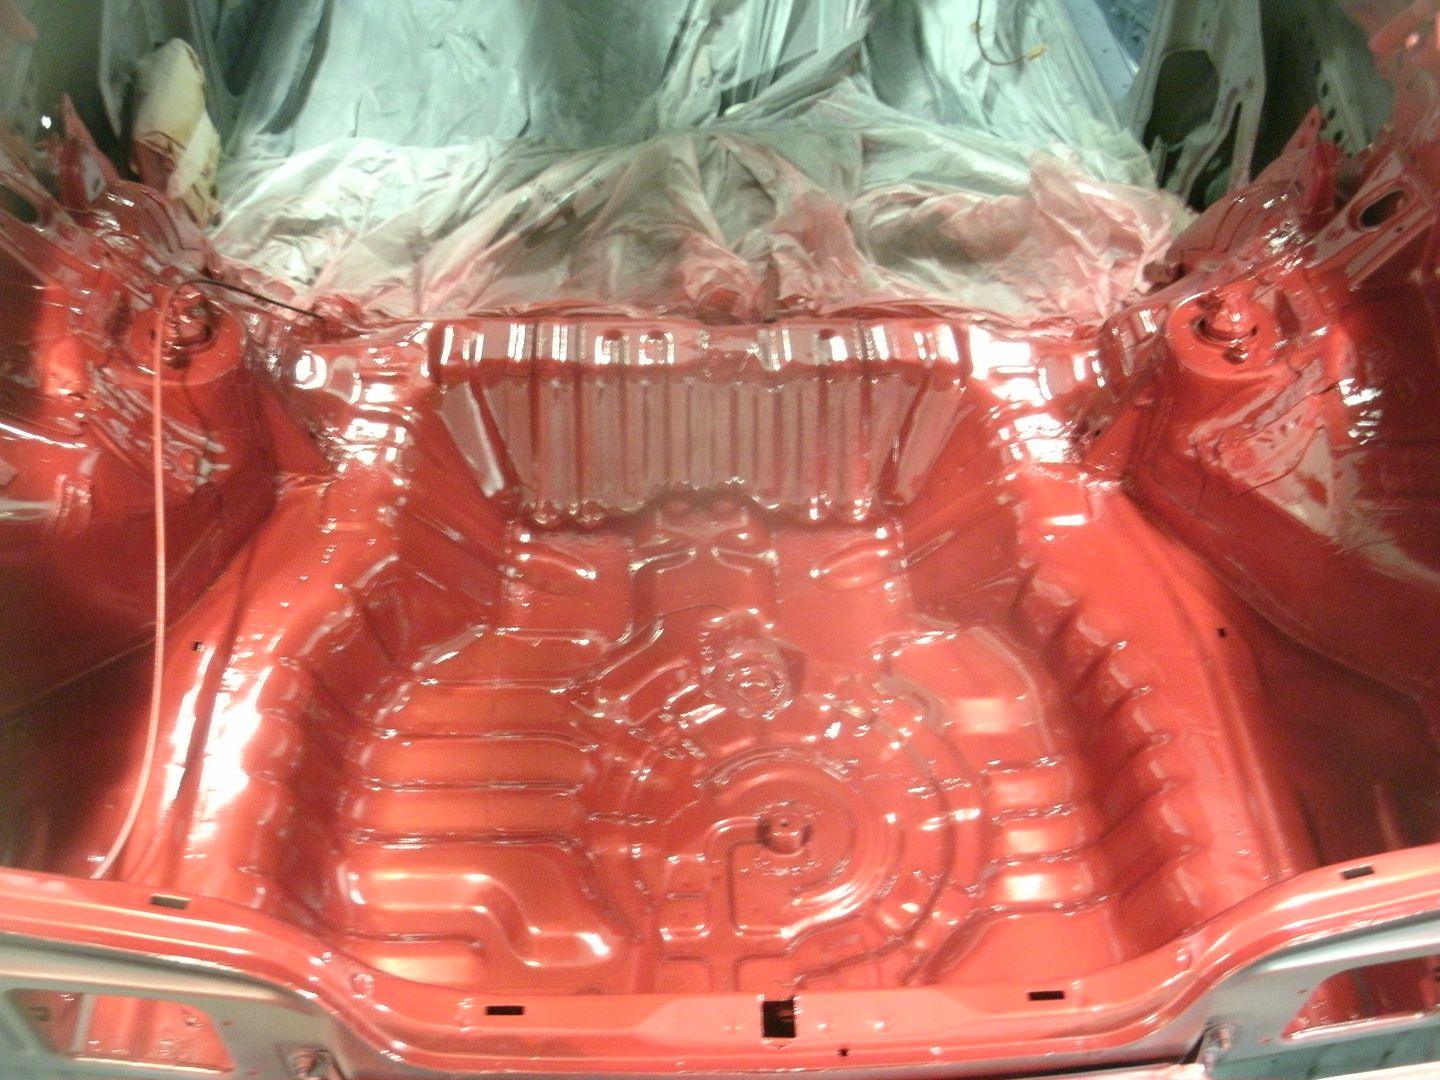
RED! well a pearl red  (actually range rover firenze red aka Italian racing red pearl) first batch of pics (white blance was on auto and not getting the right shade/color)
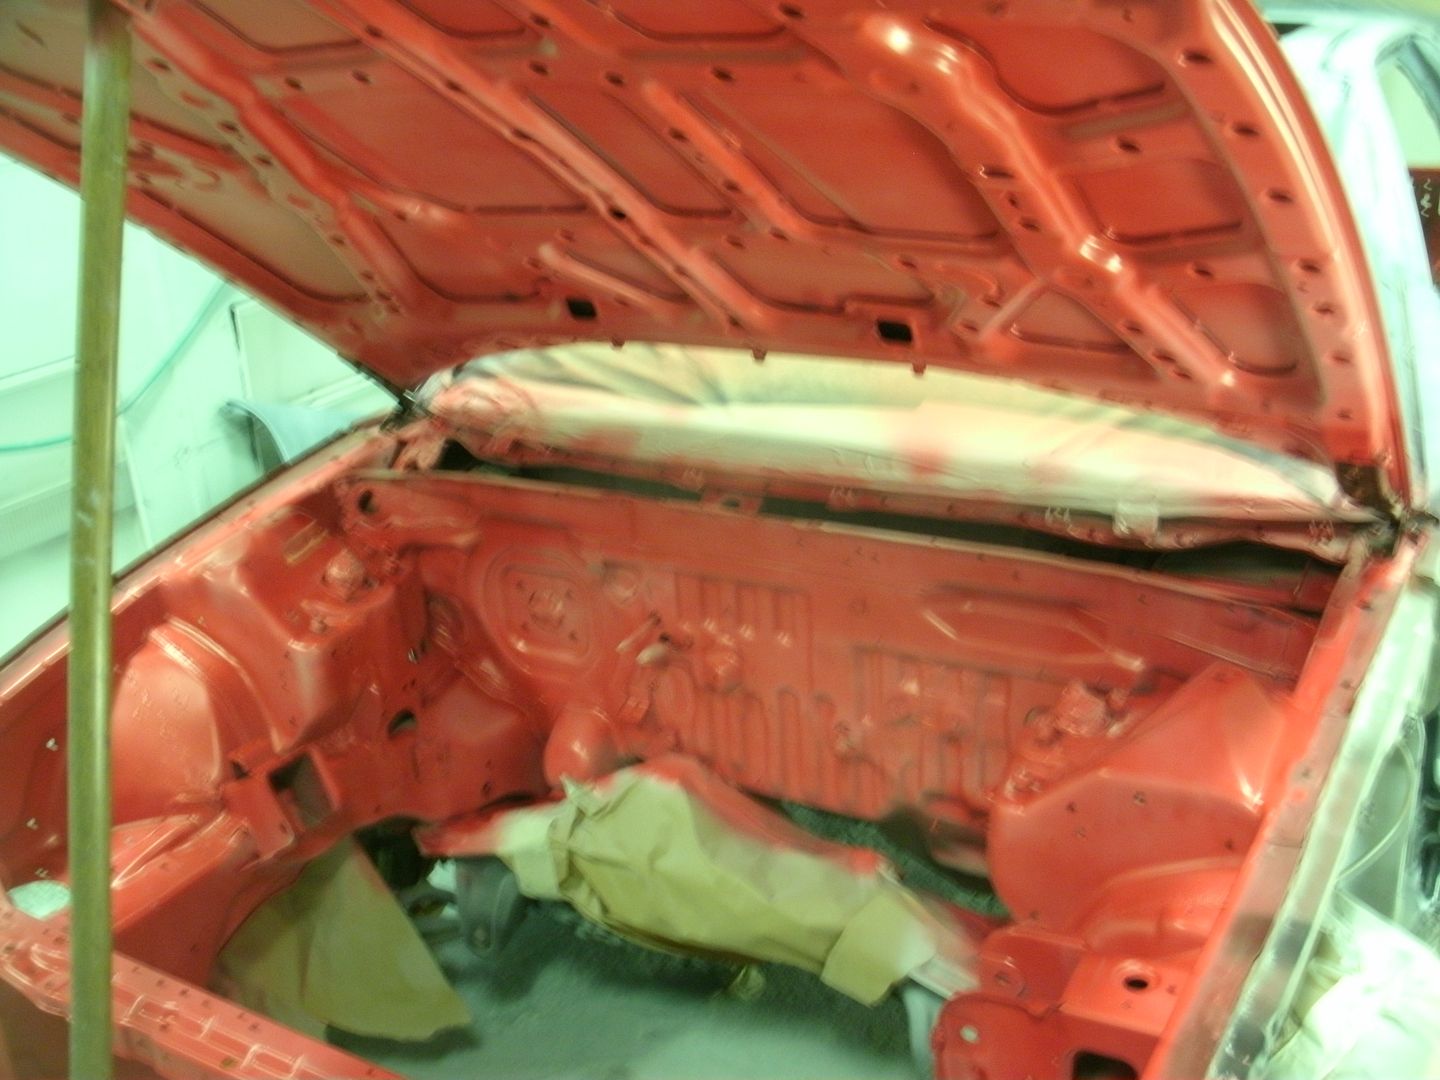
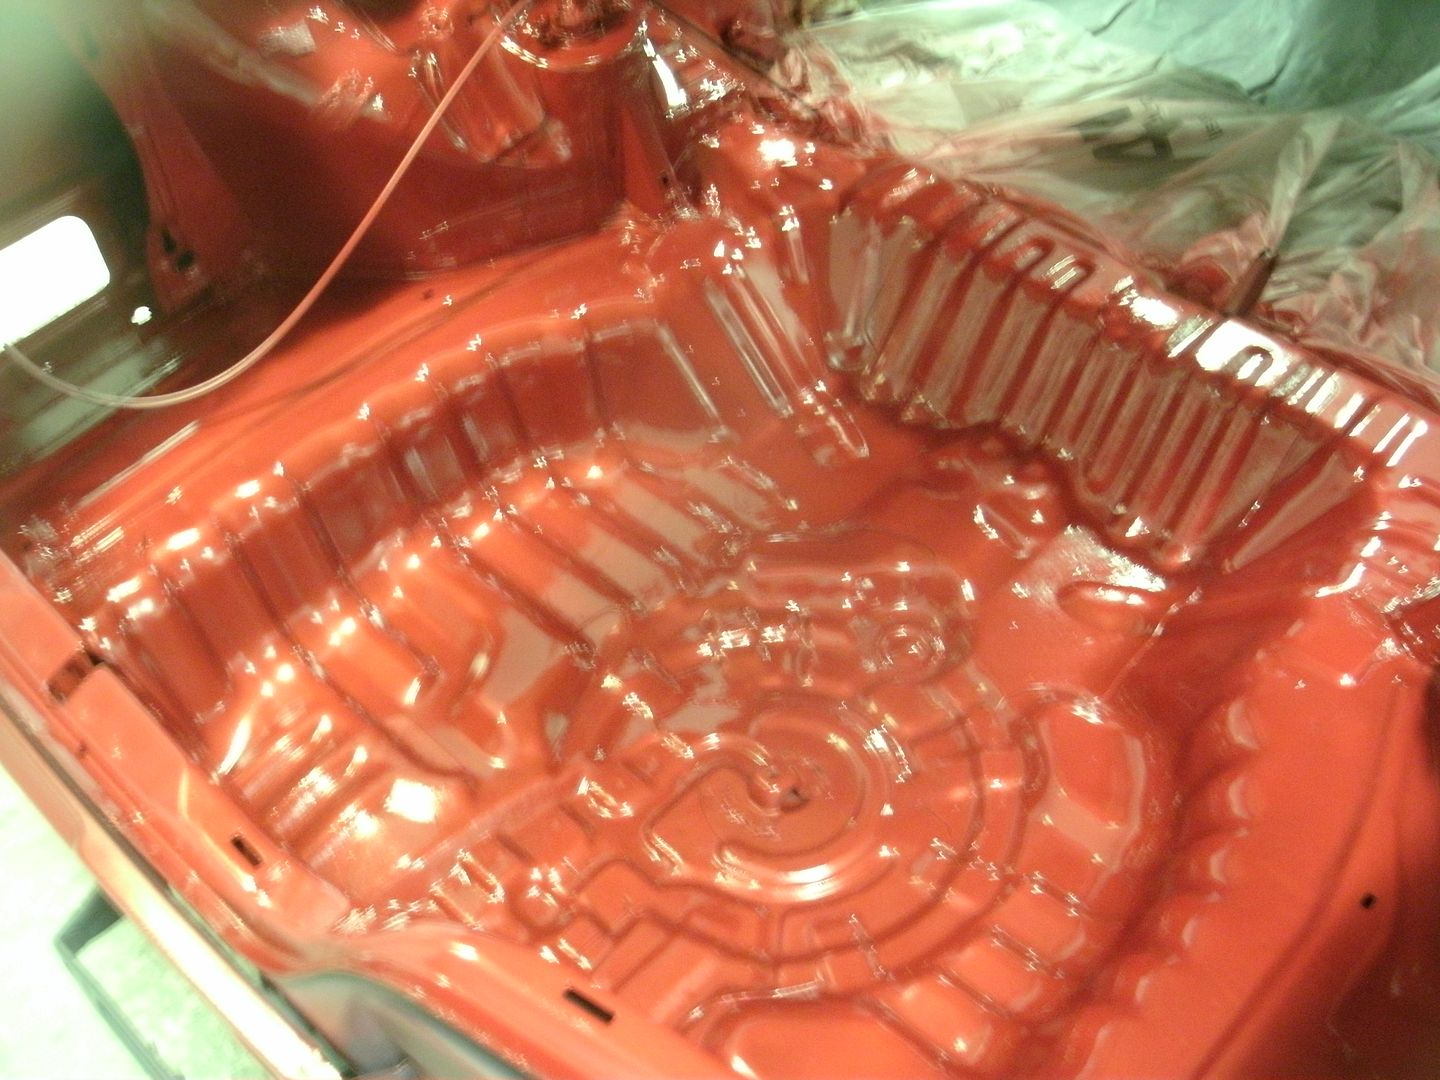
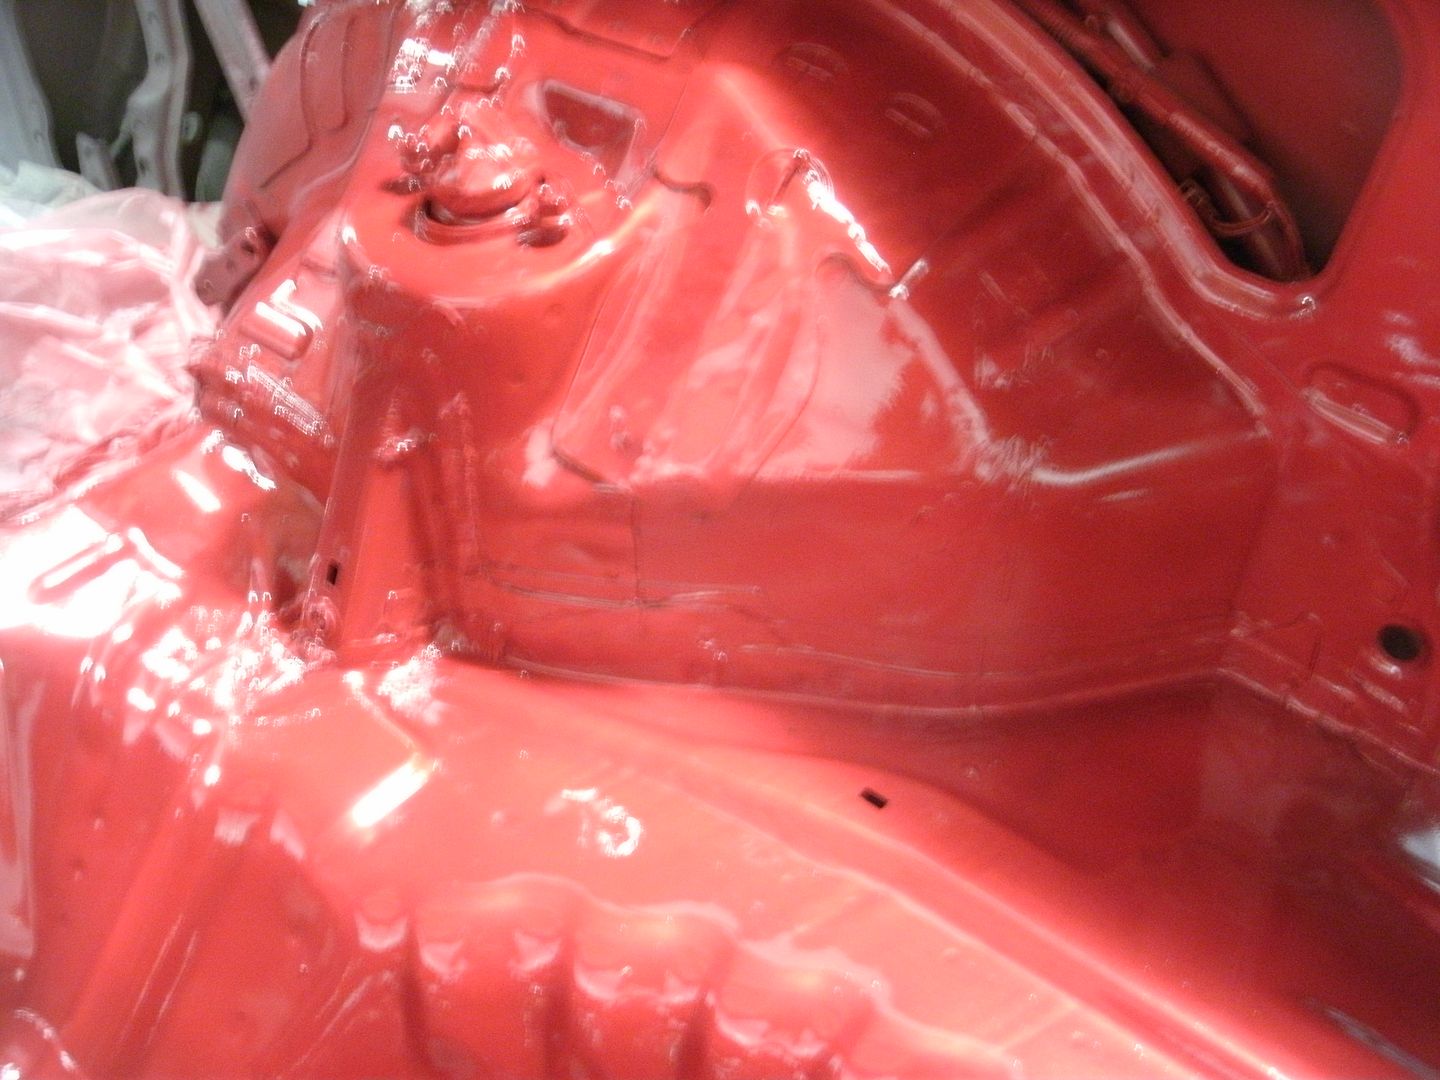
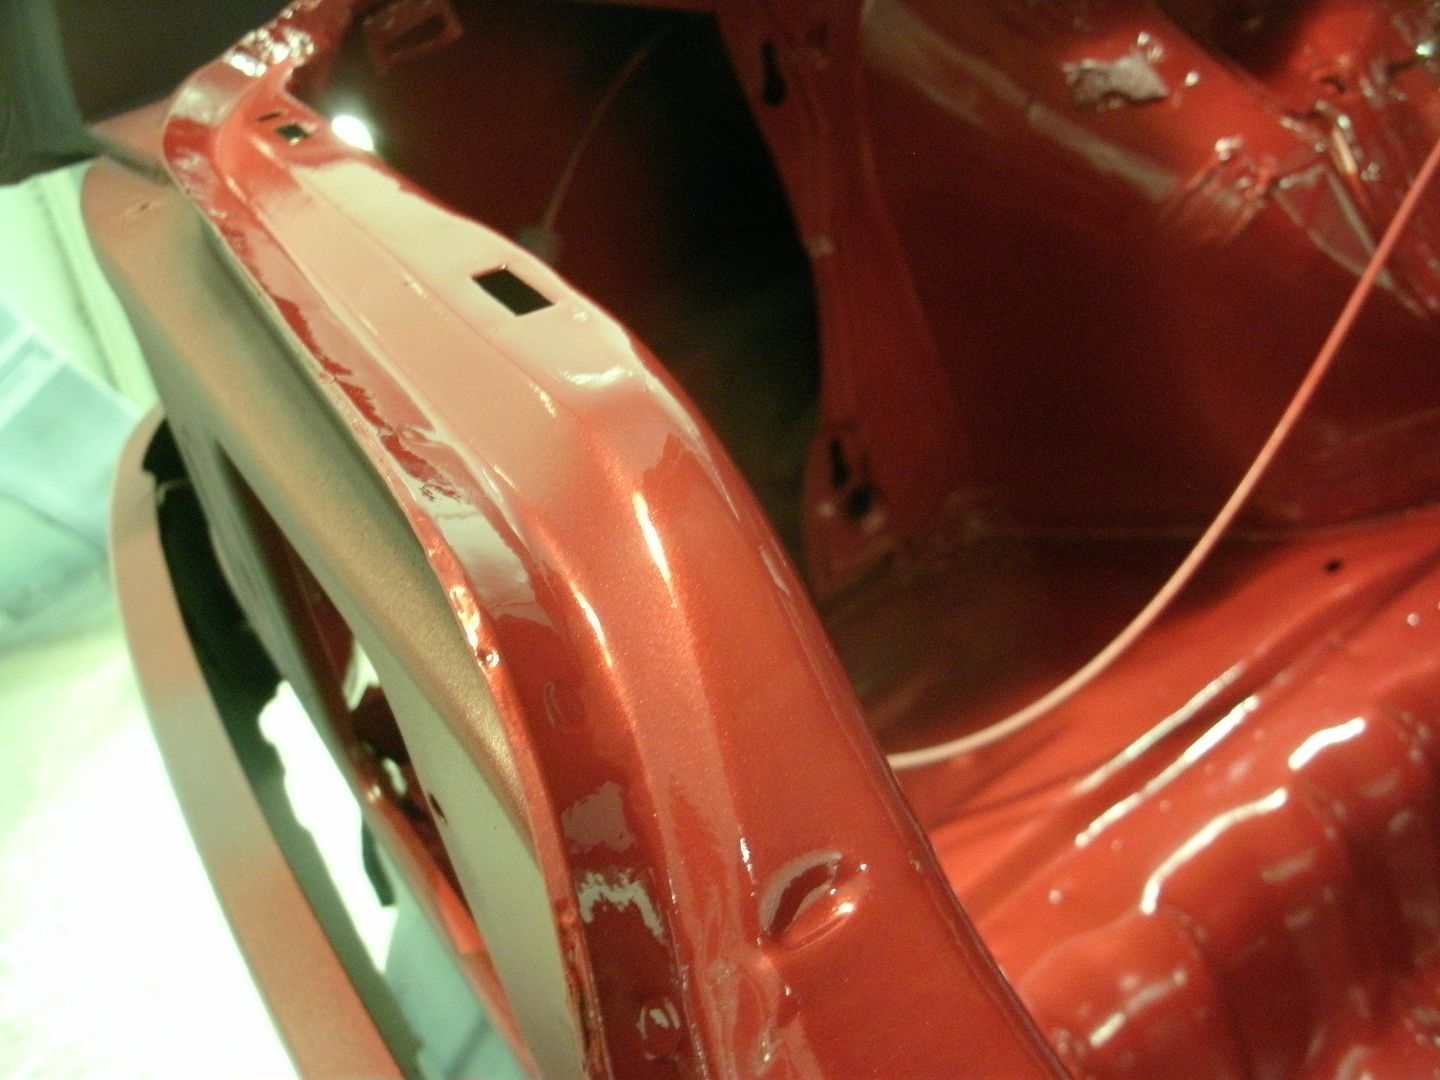
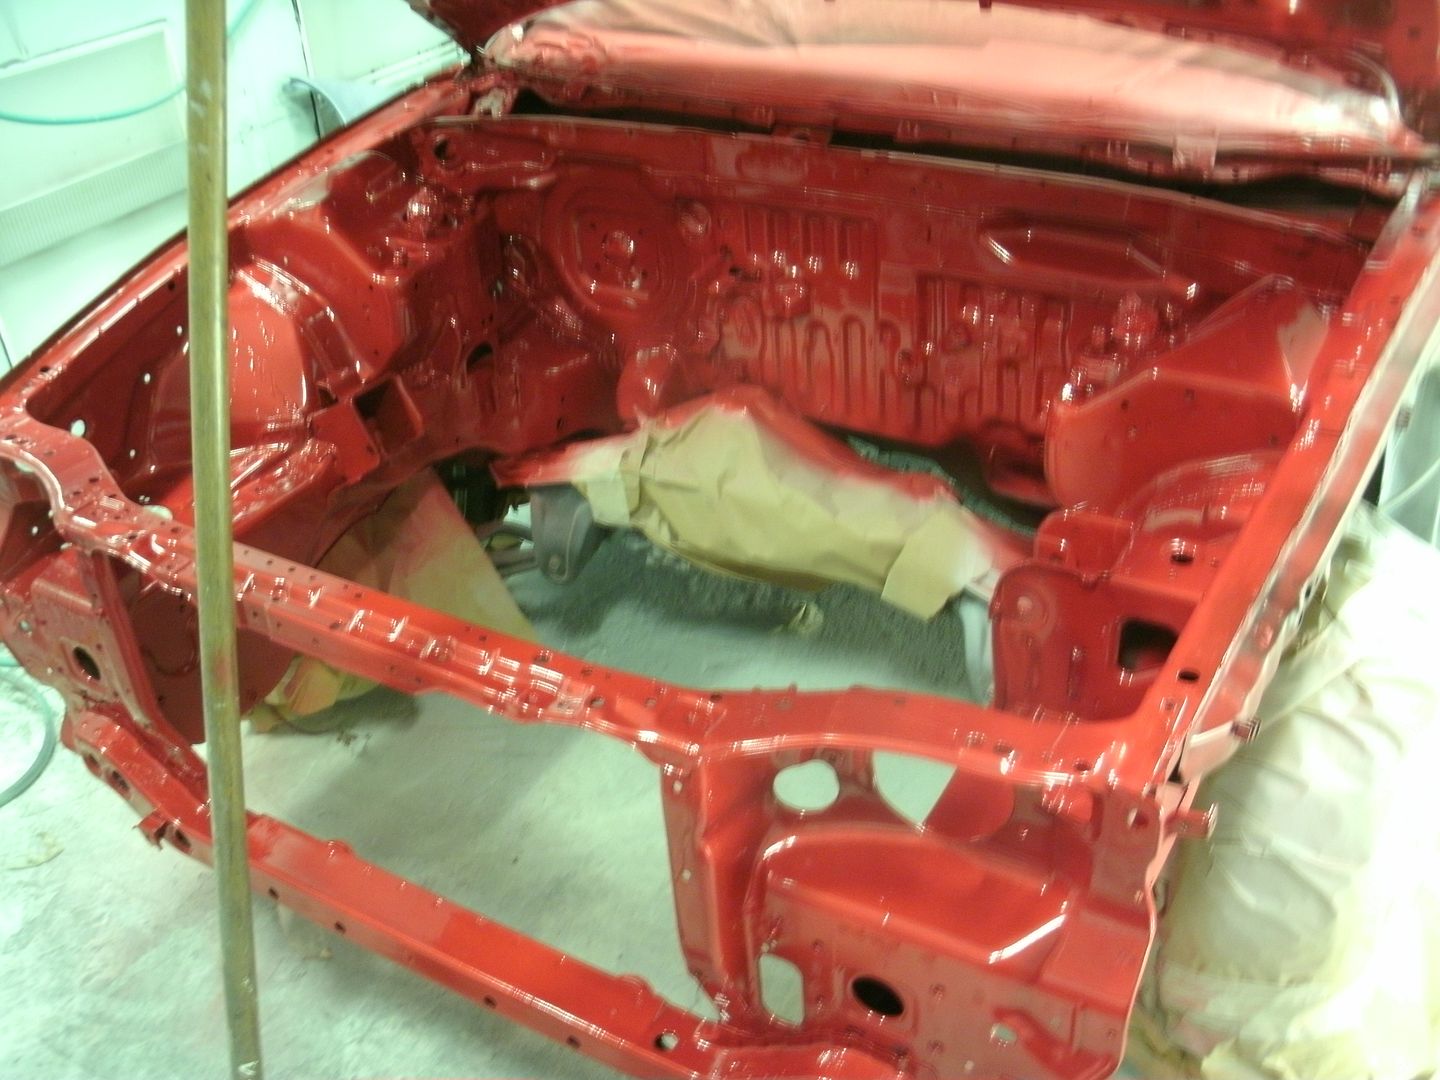
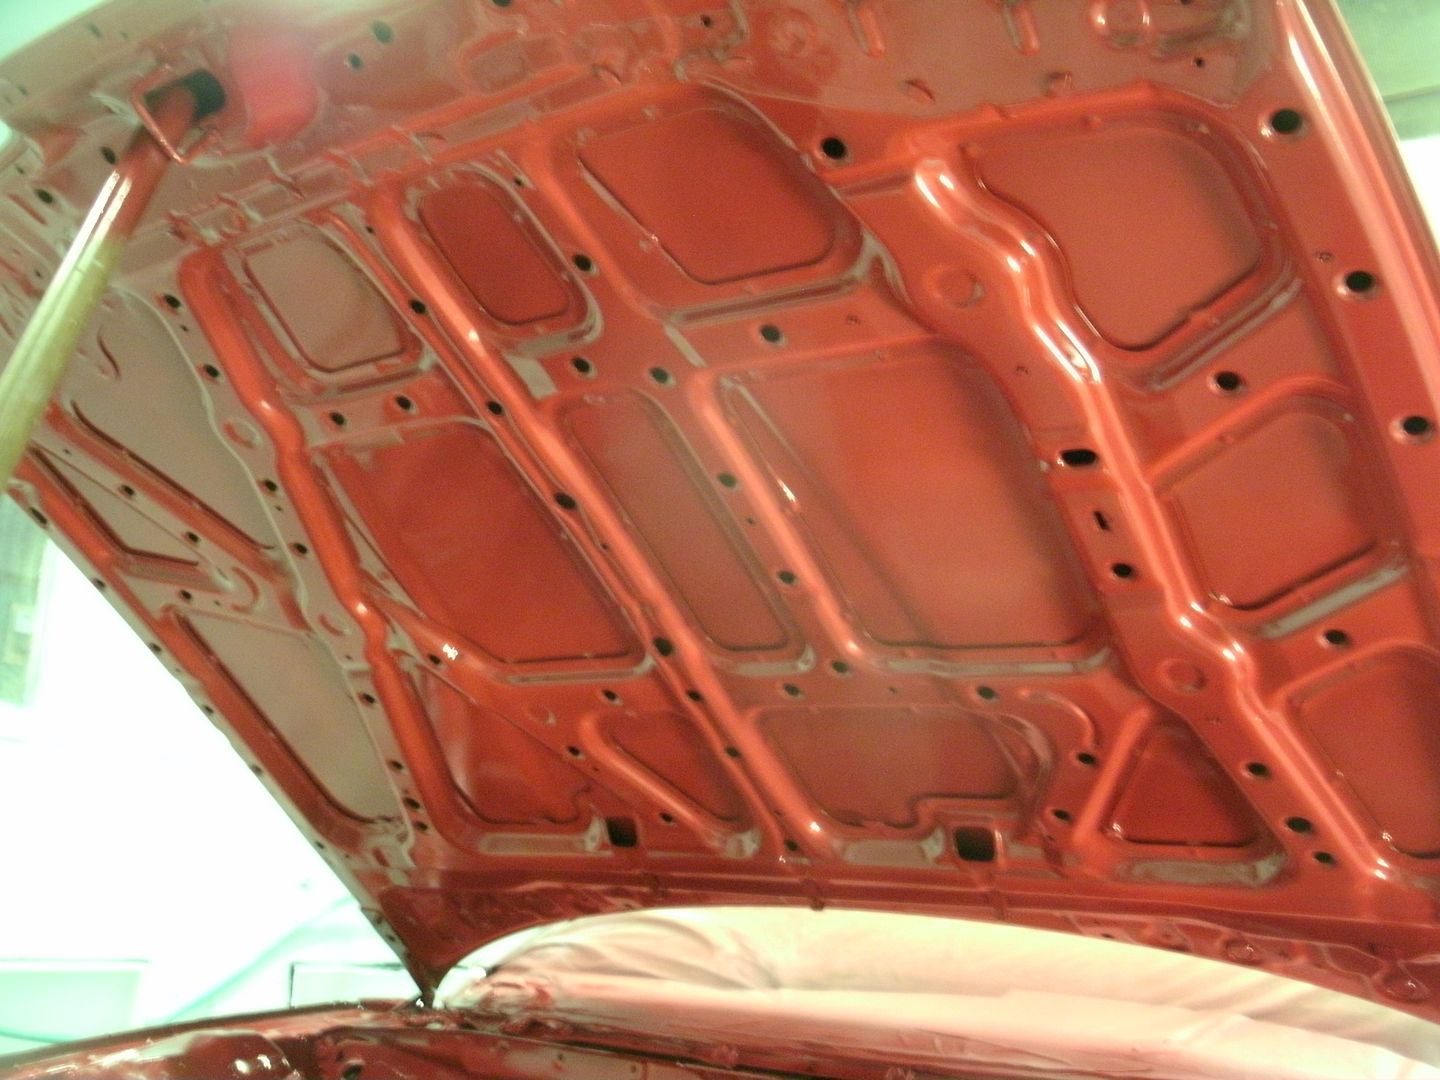
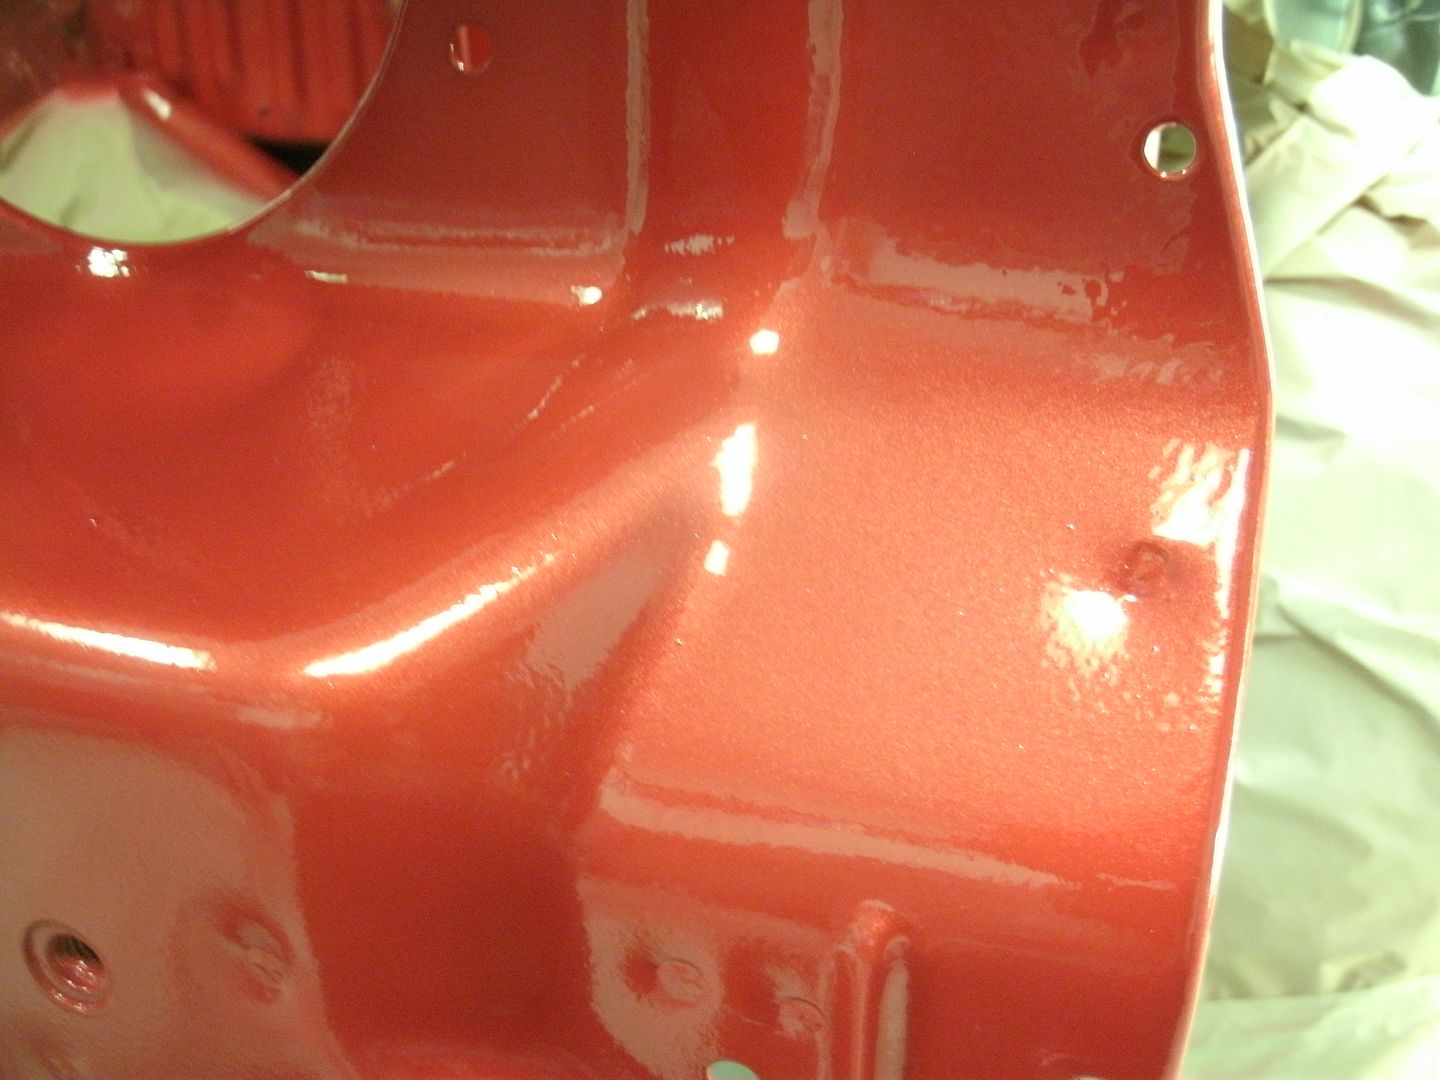
for some reson these above pics came out real light, its actually real dark, alot closer to candy apple red (its got that dark bright deep cherry color to it) so took a set of shots with the flash to grab it (this is how it looks in the flesh)
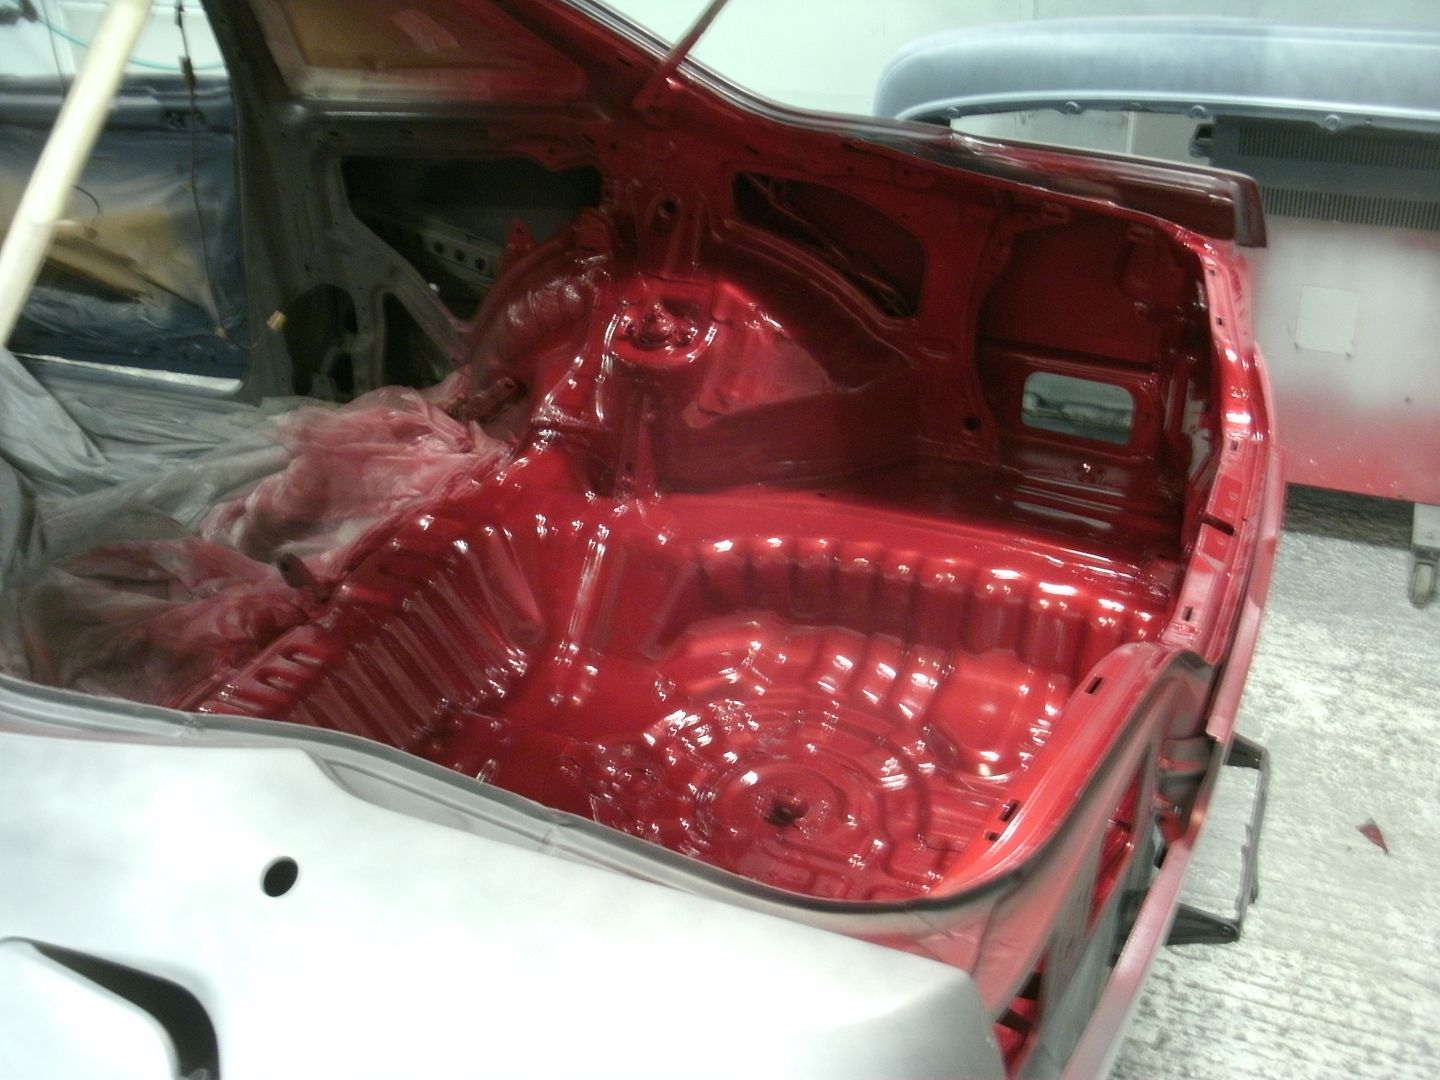
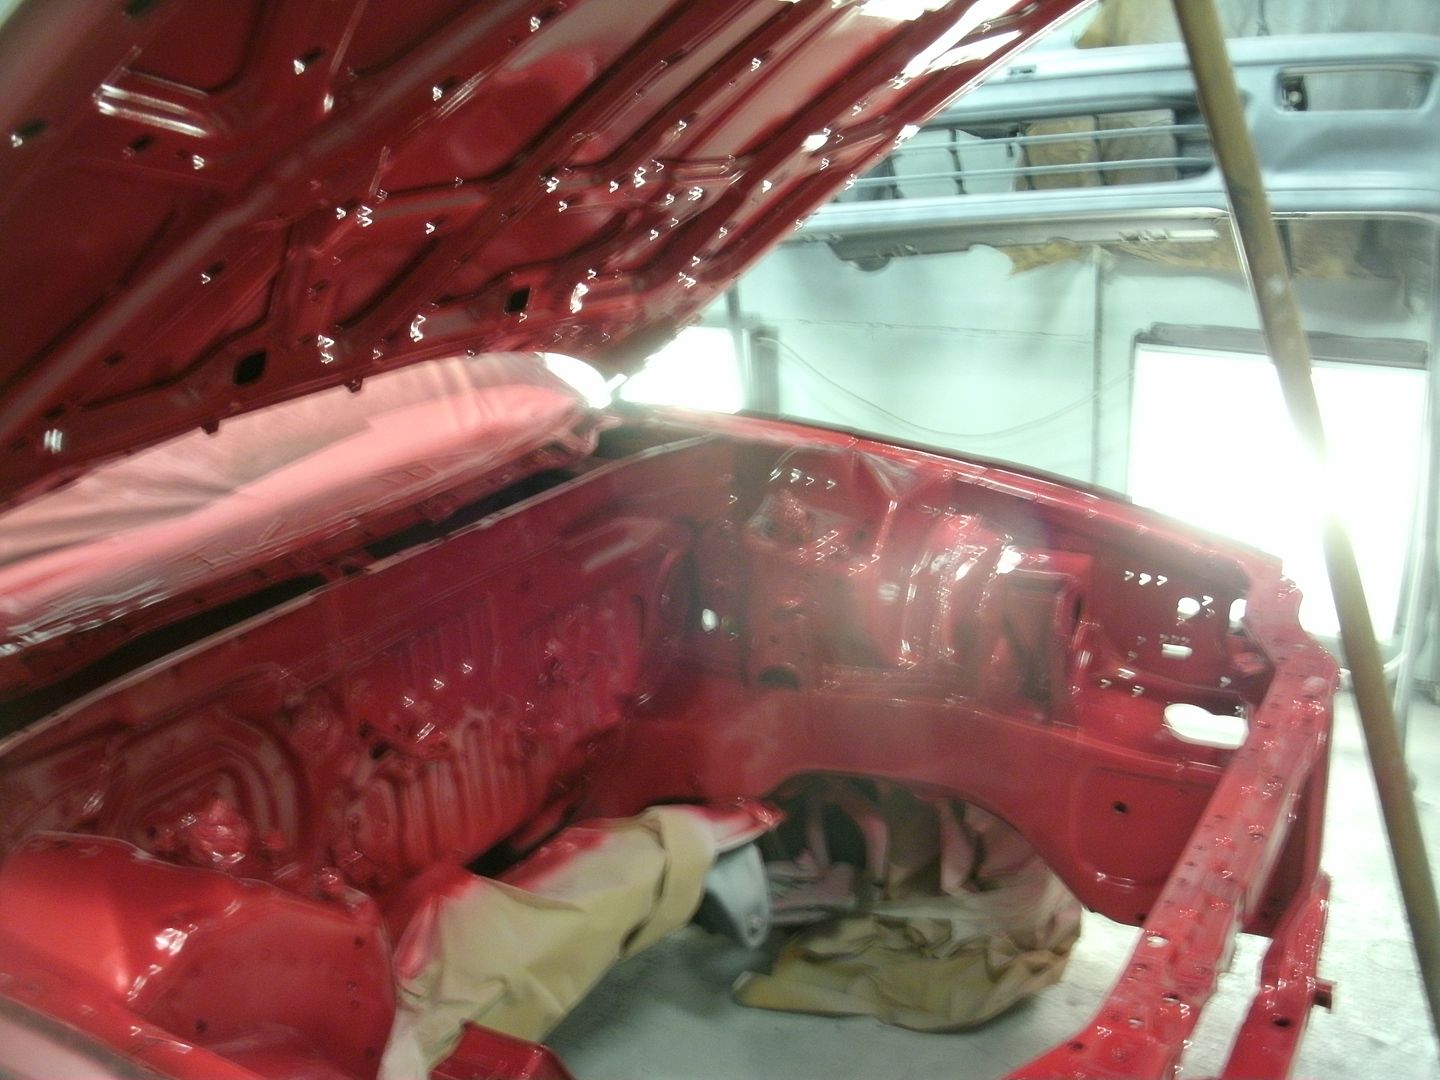
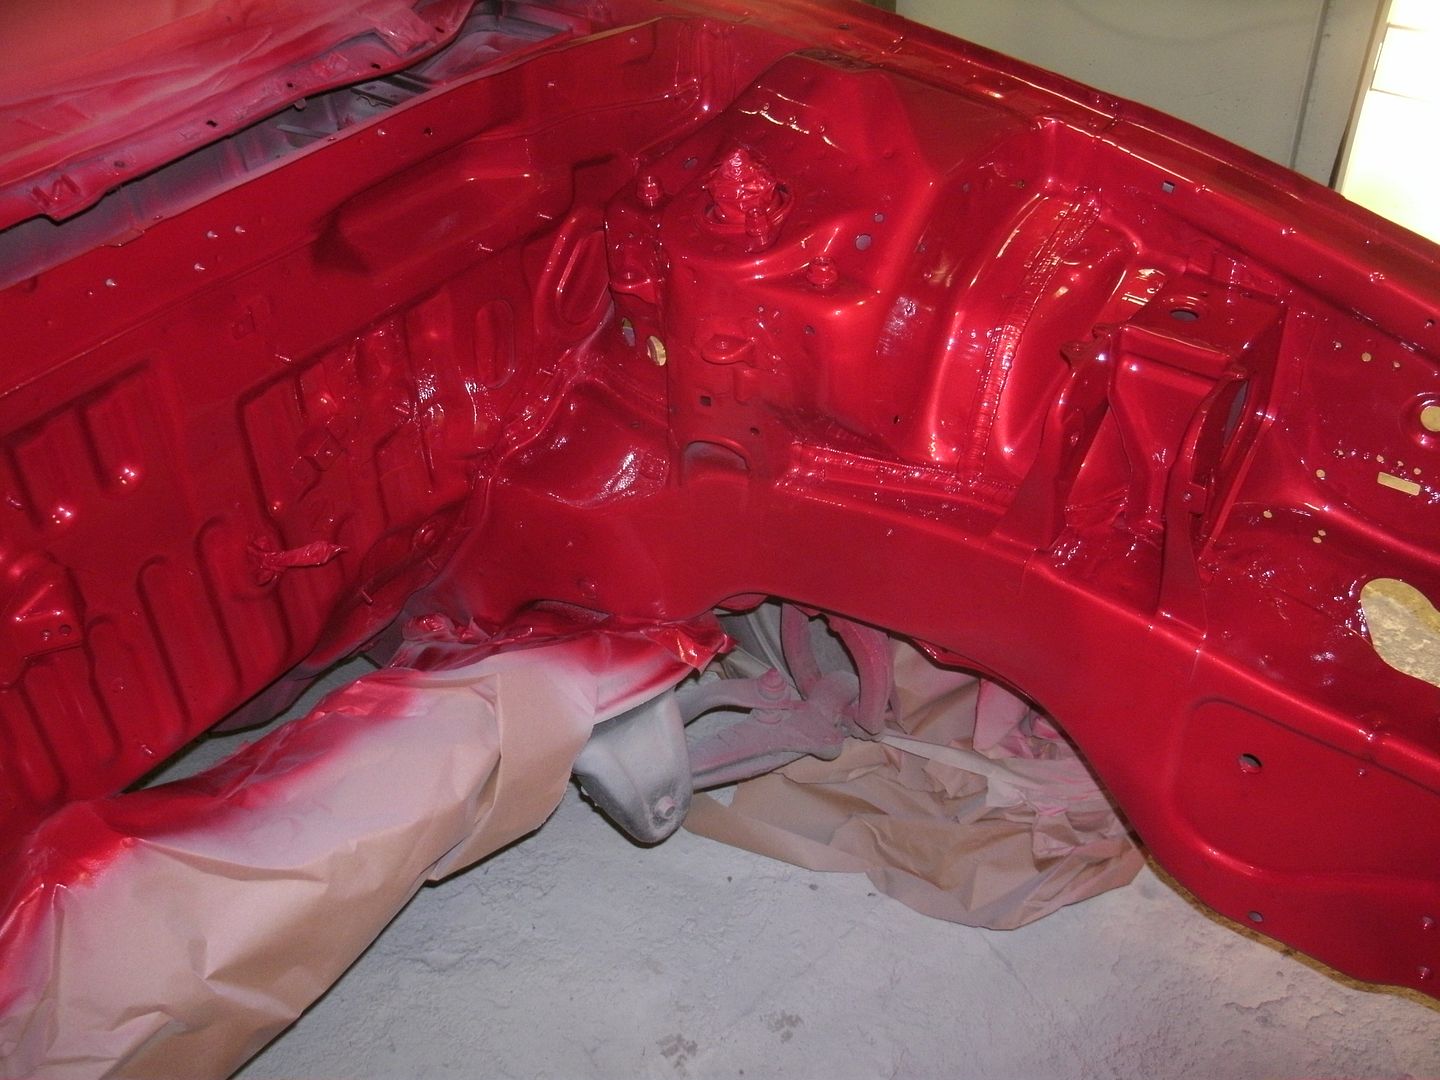
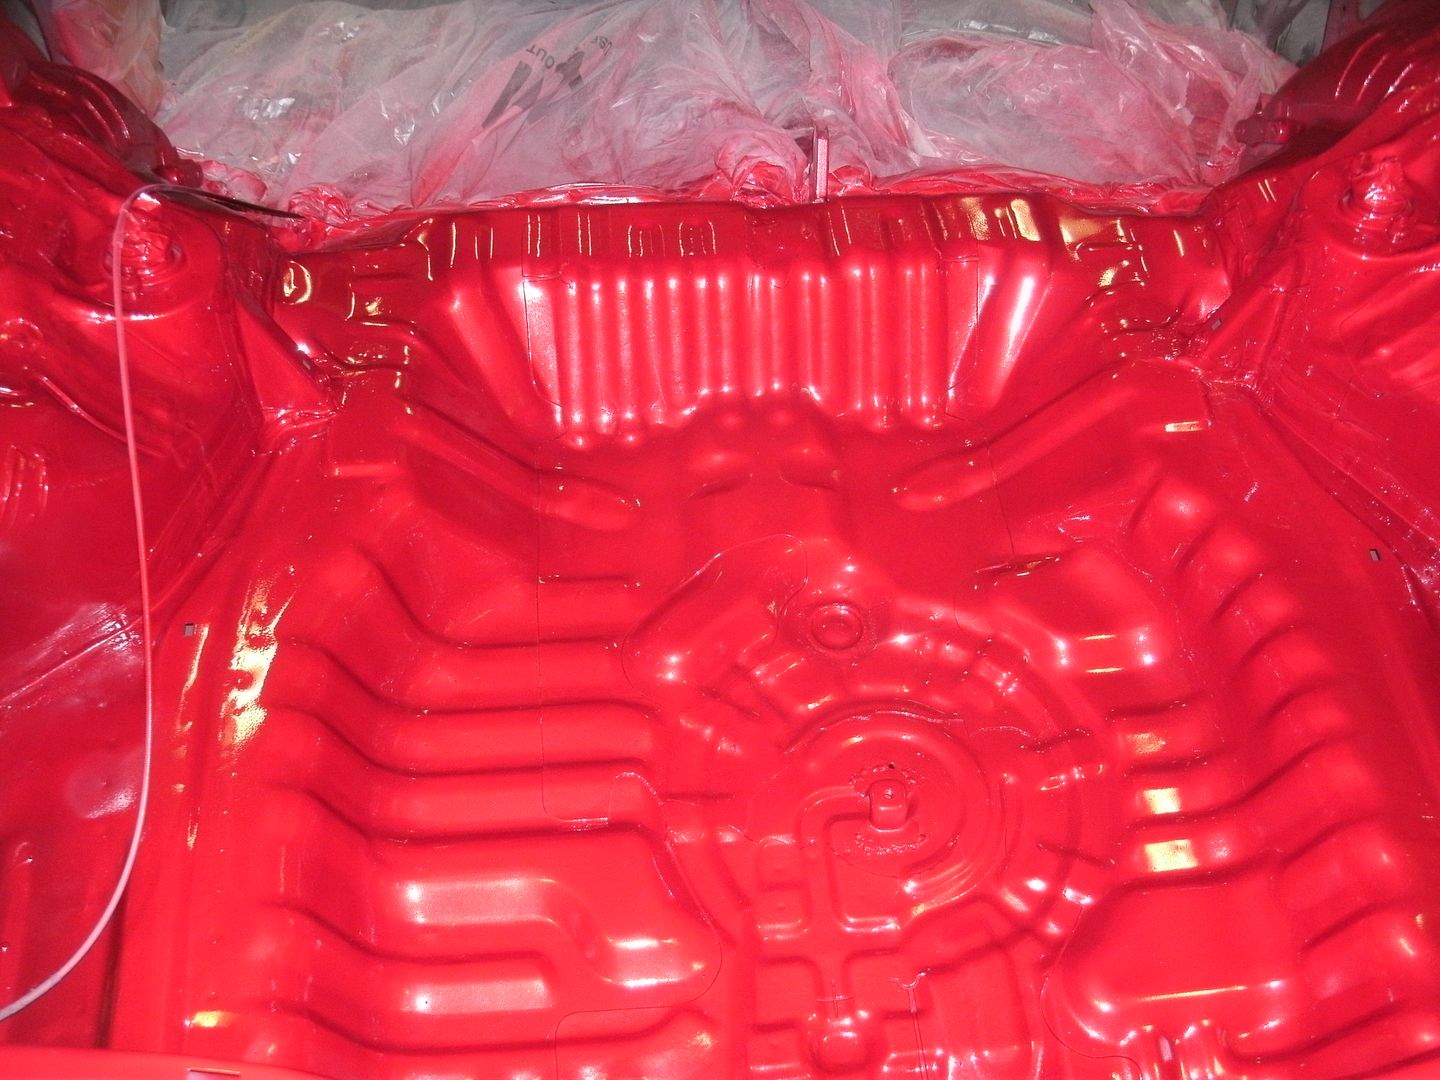
hate my cameras white balance, on some colors as with it not on flash it looks like this shade of wed (morel ike dull wine red than the candy like bang pearl it is)
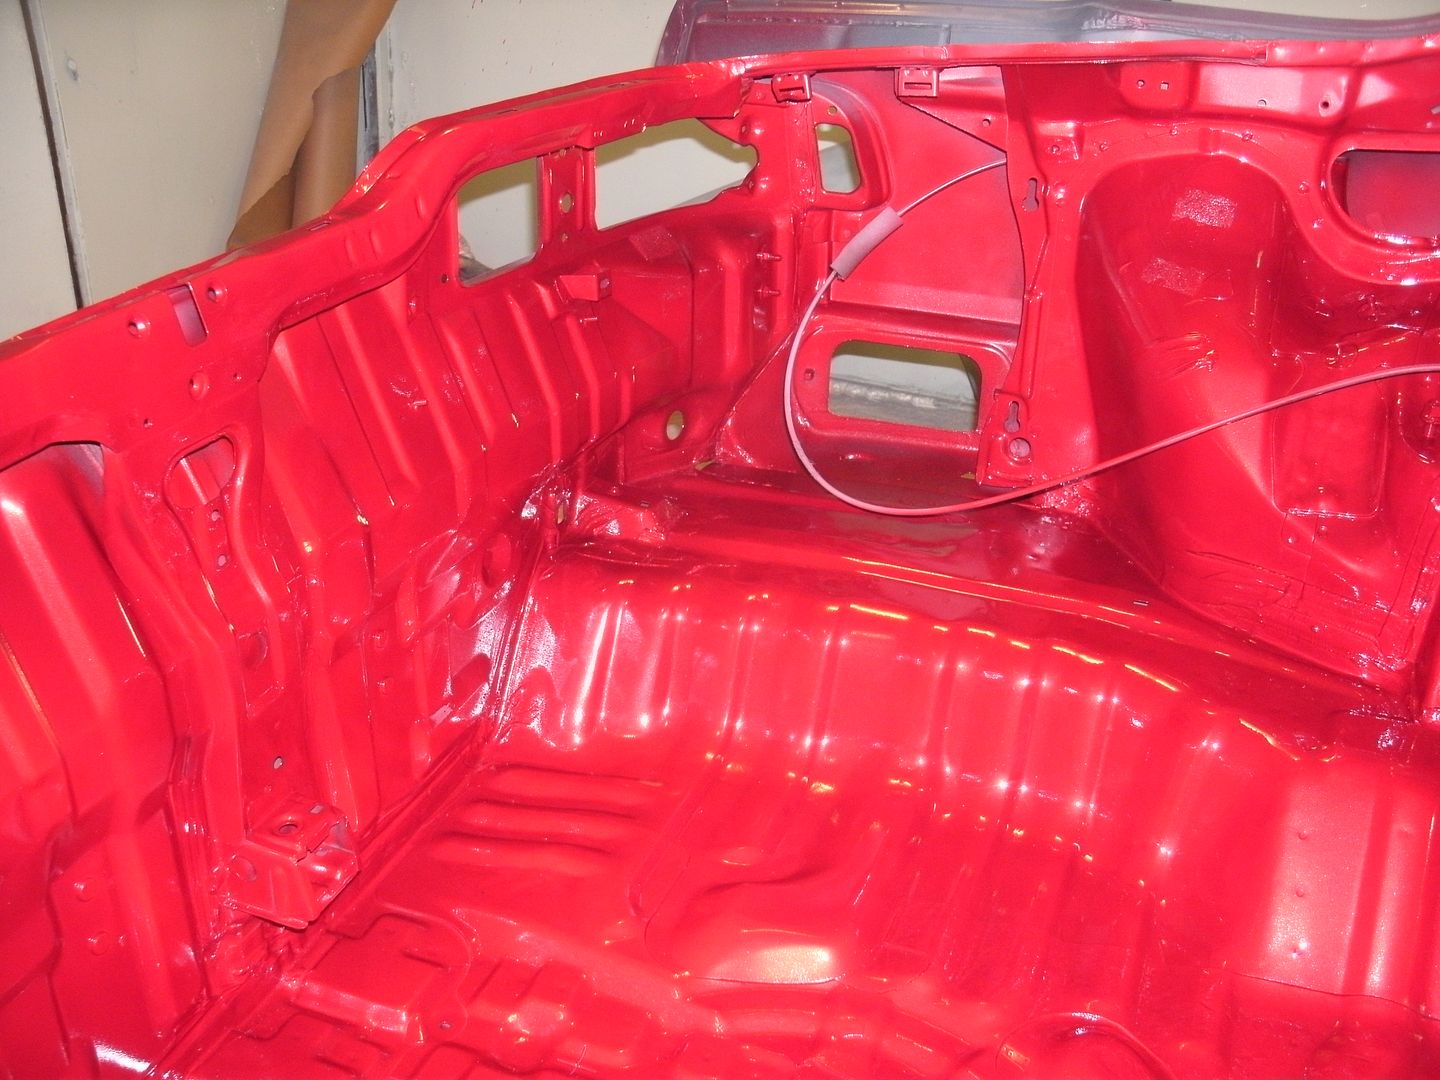
white guide coat sanded off (p240)
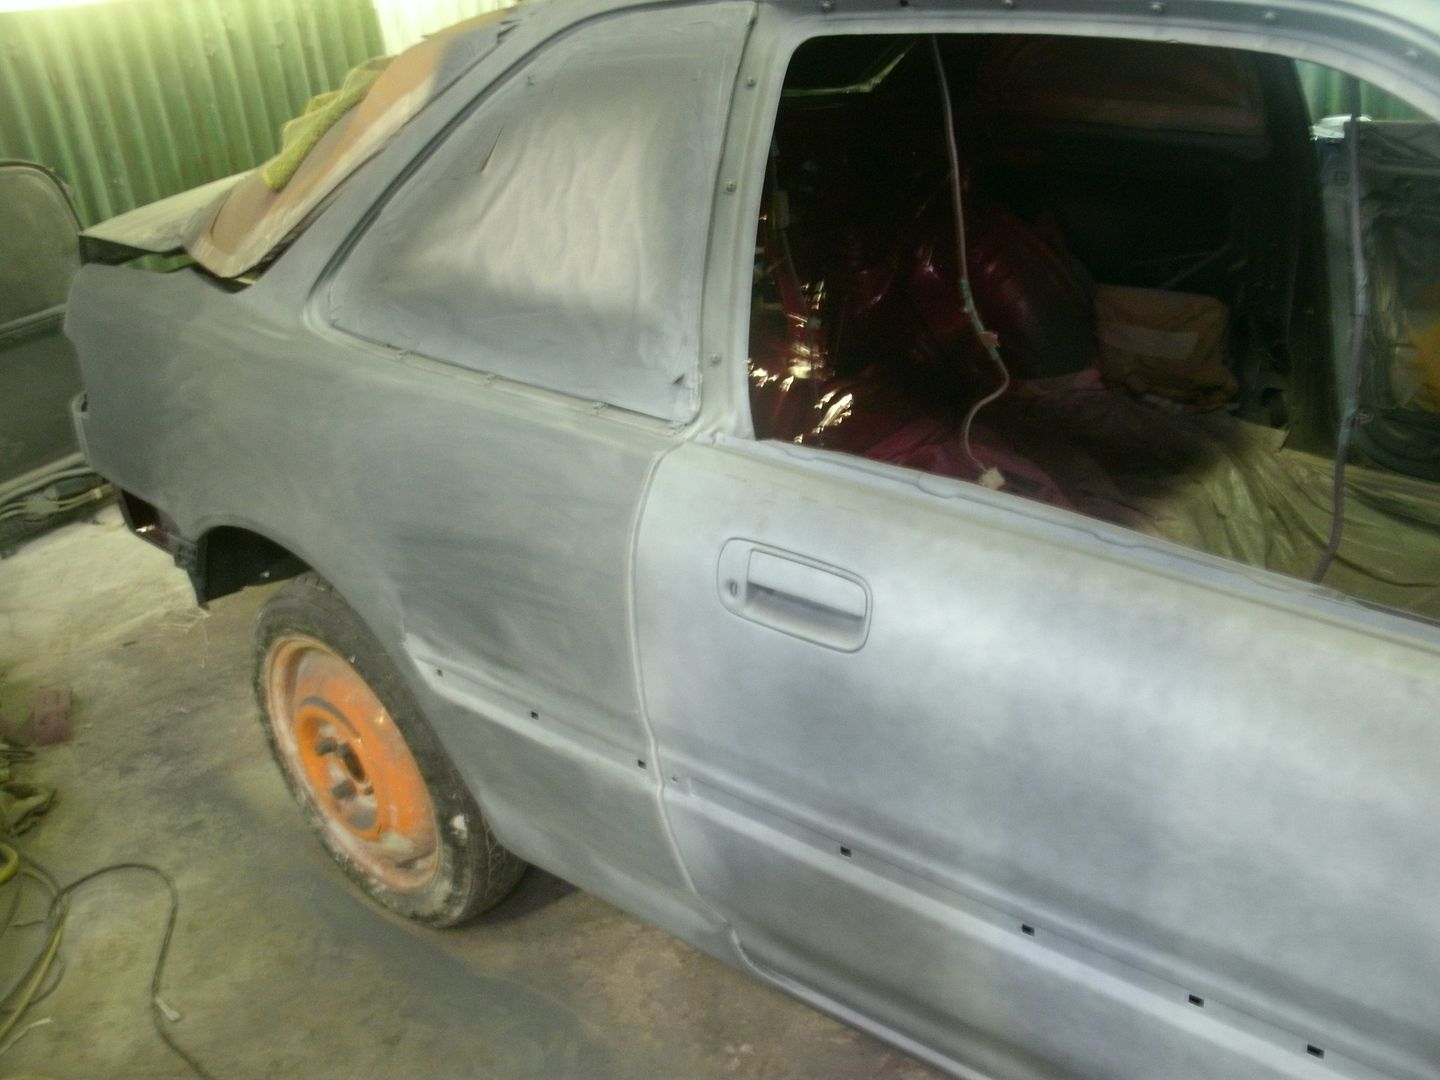
roof half way done, suprising how uneven it is even though it looks flat to the eye
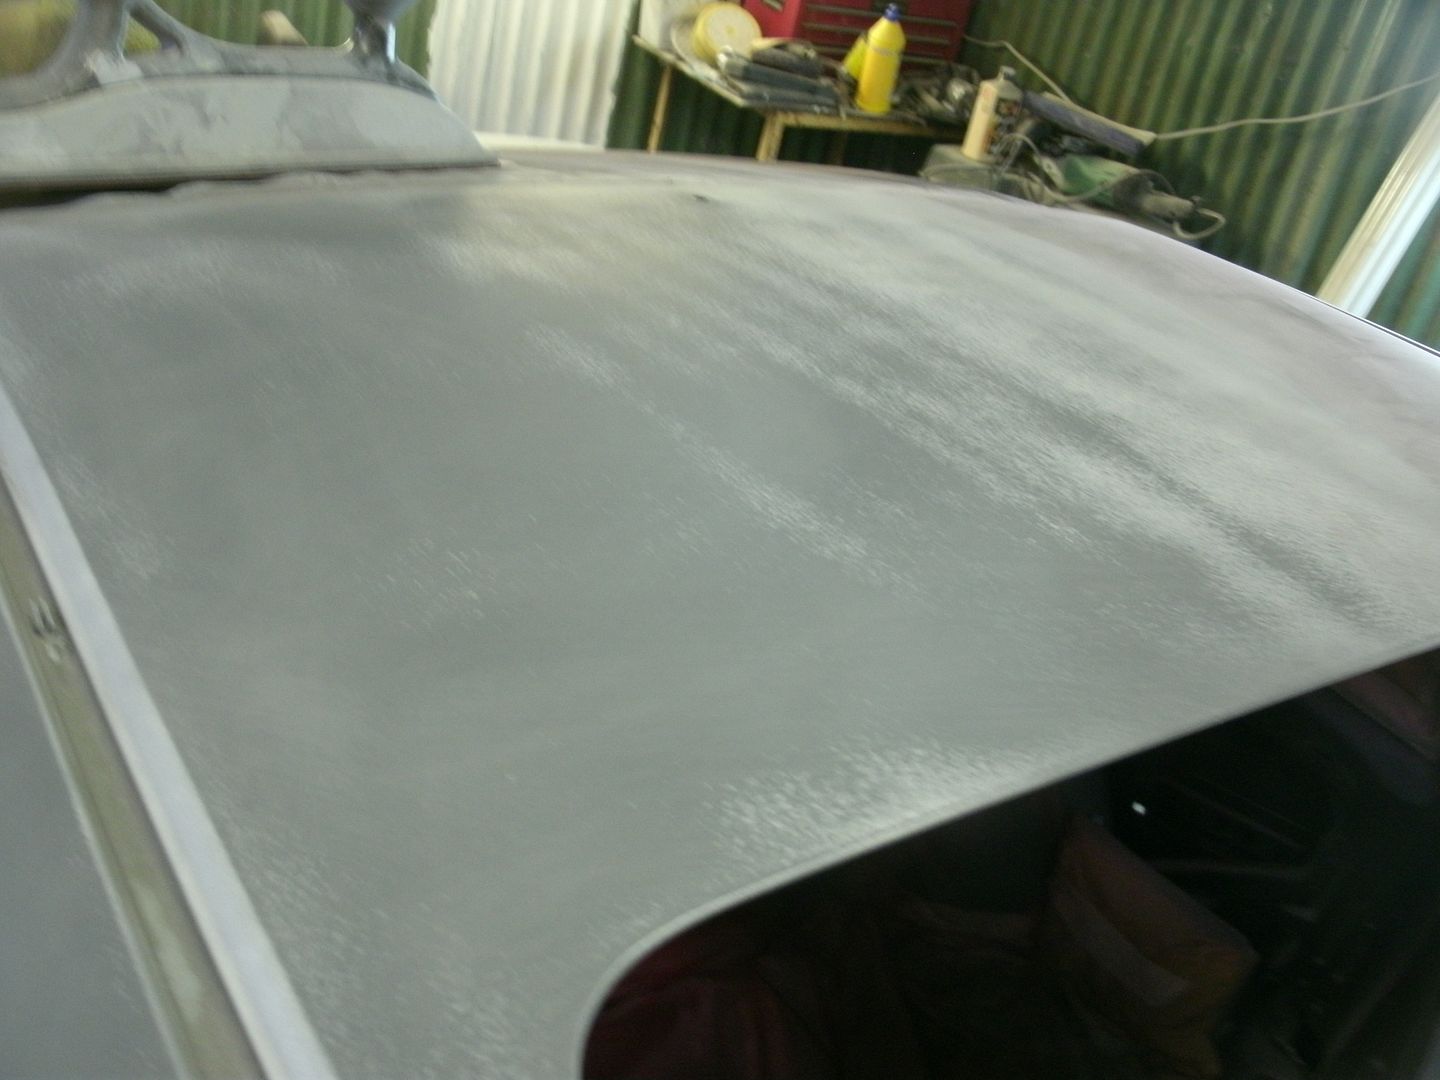
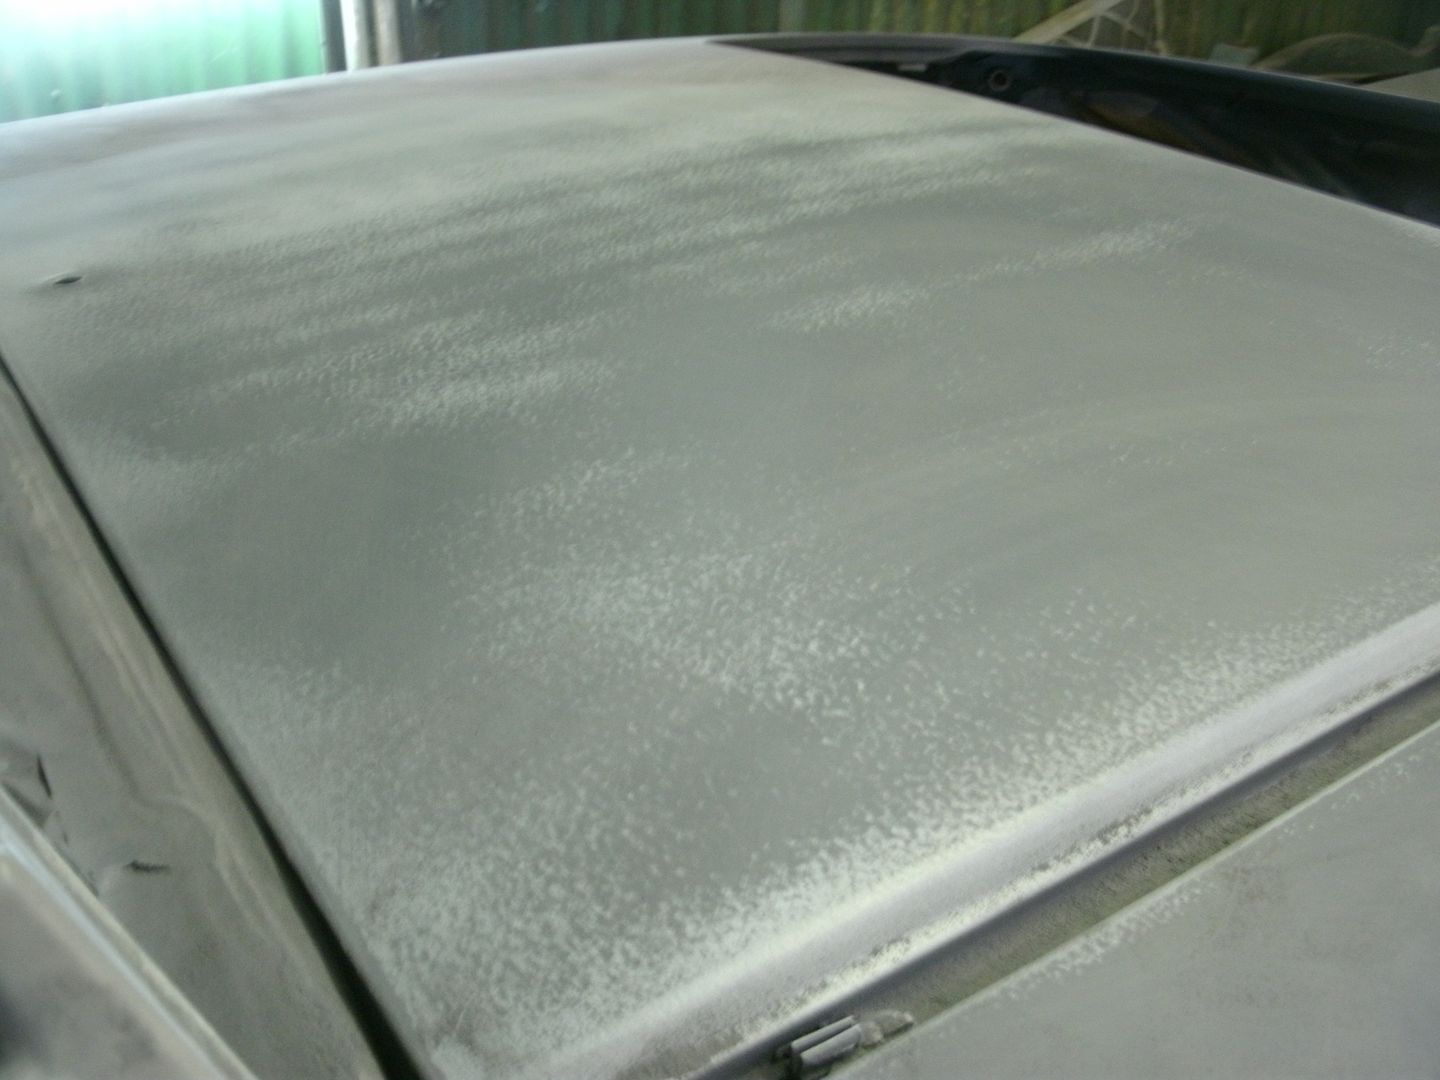
and many many painfull hours later after p800 it looks like this, see the reflections 
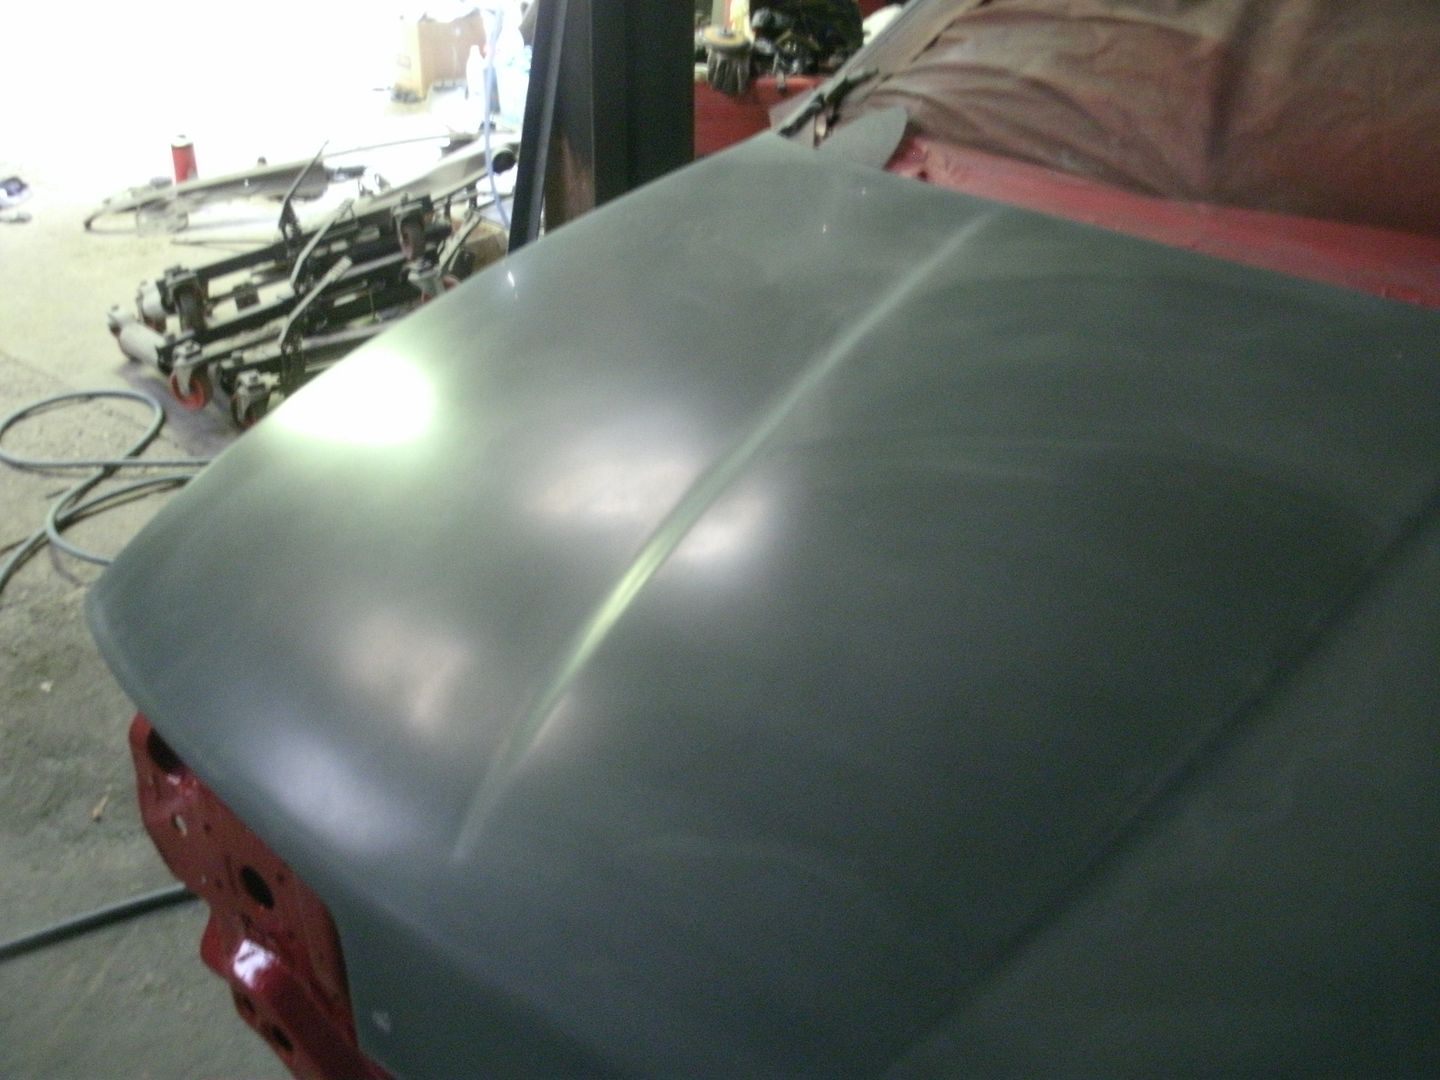
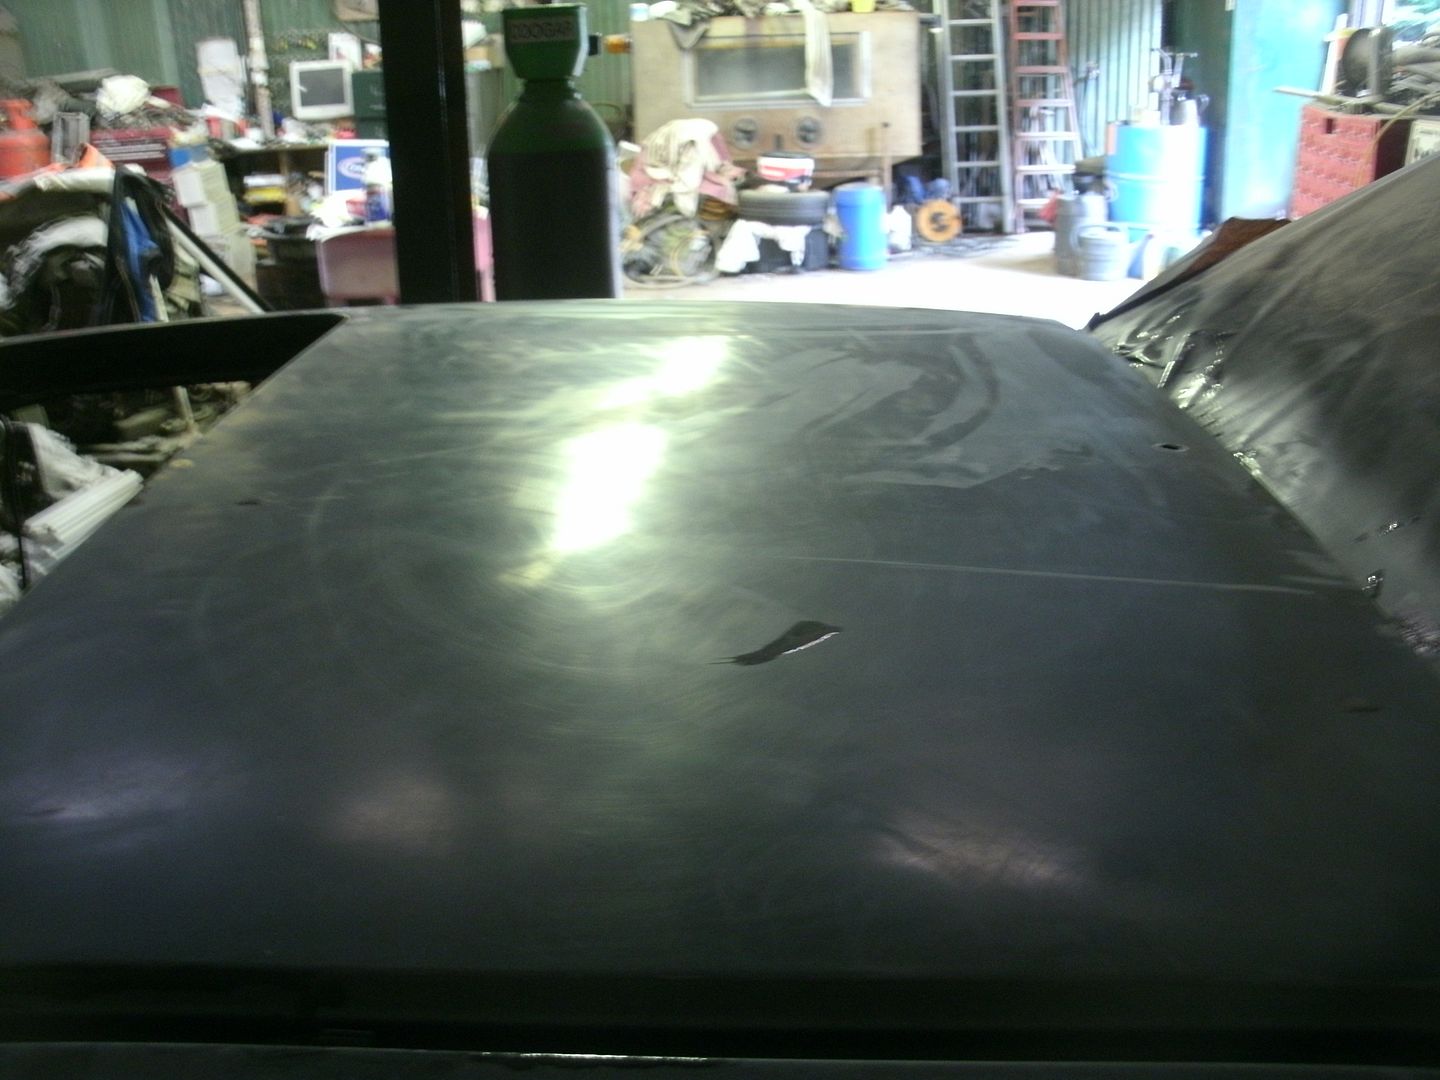
readies for teh paint yo
first coat of base high metallic colors have piss all coverage
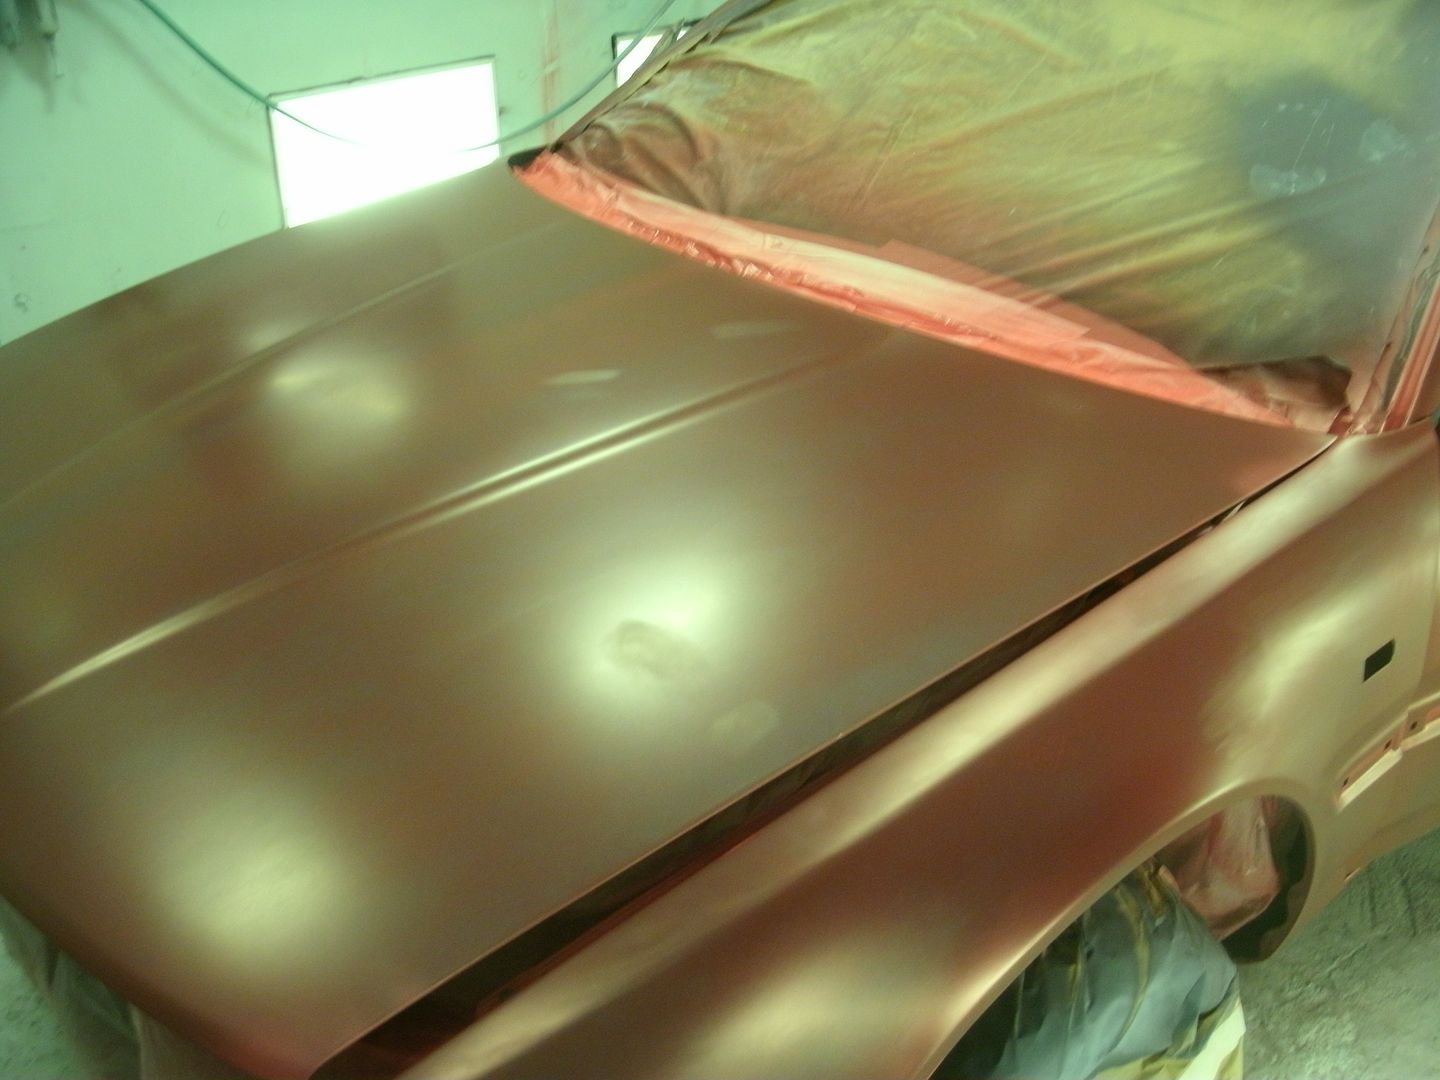
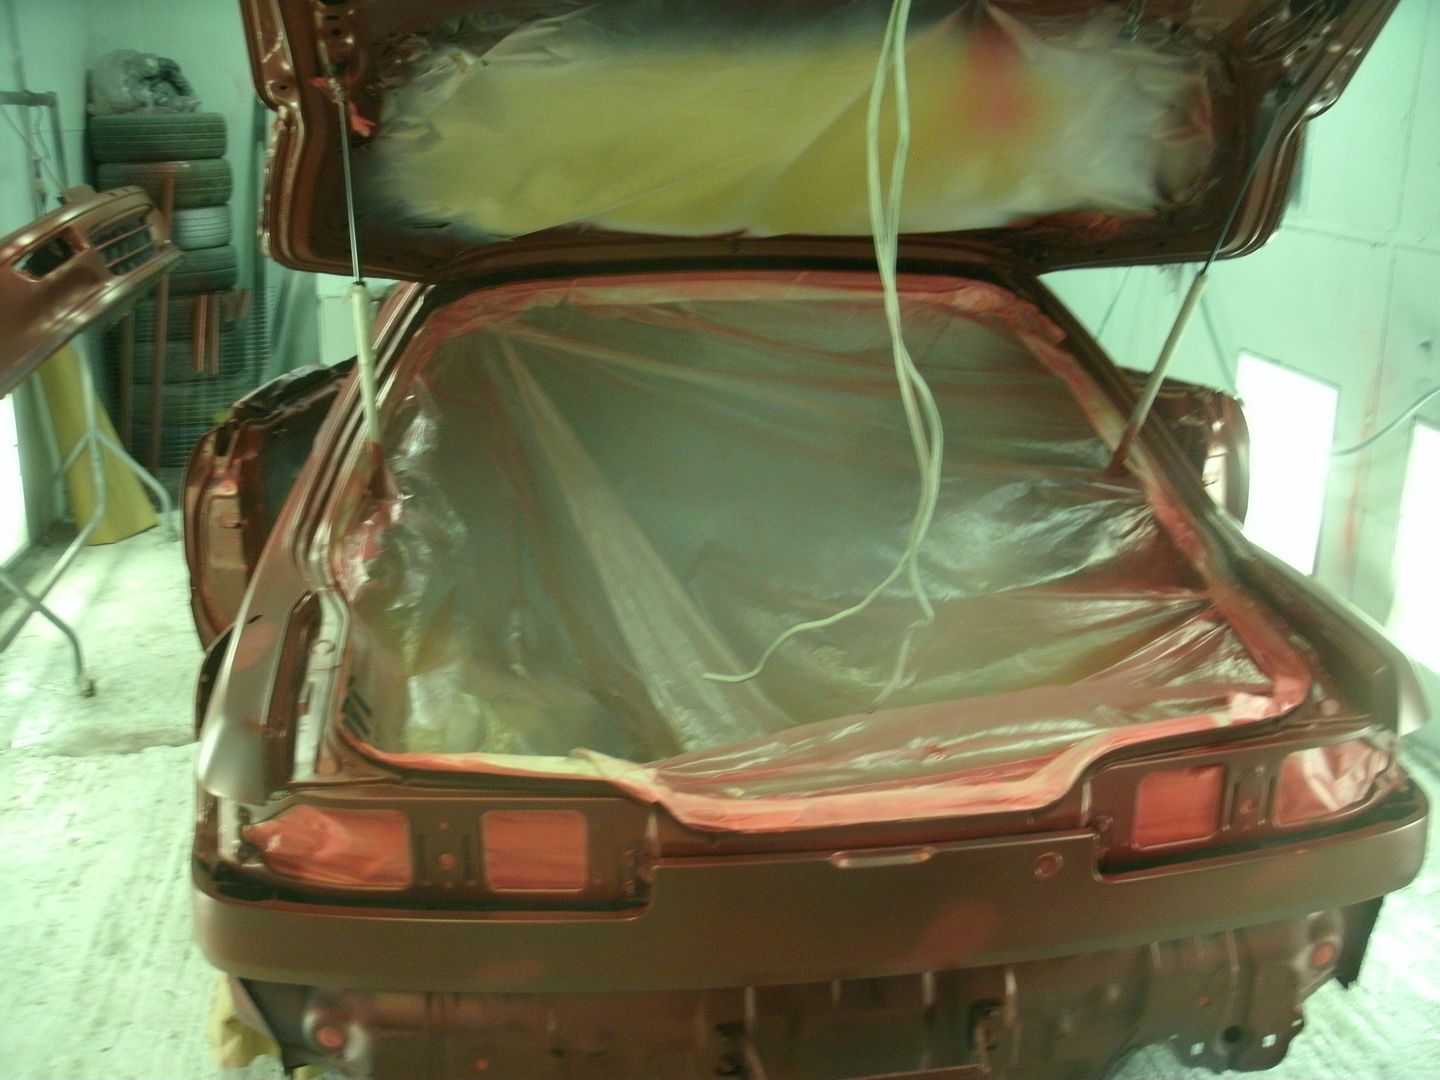
so 5 coats total a few hours later… (yup took that many lol)
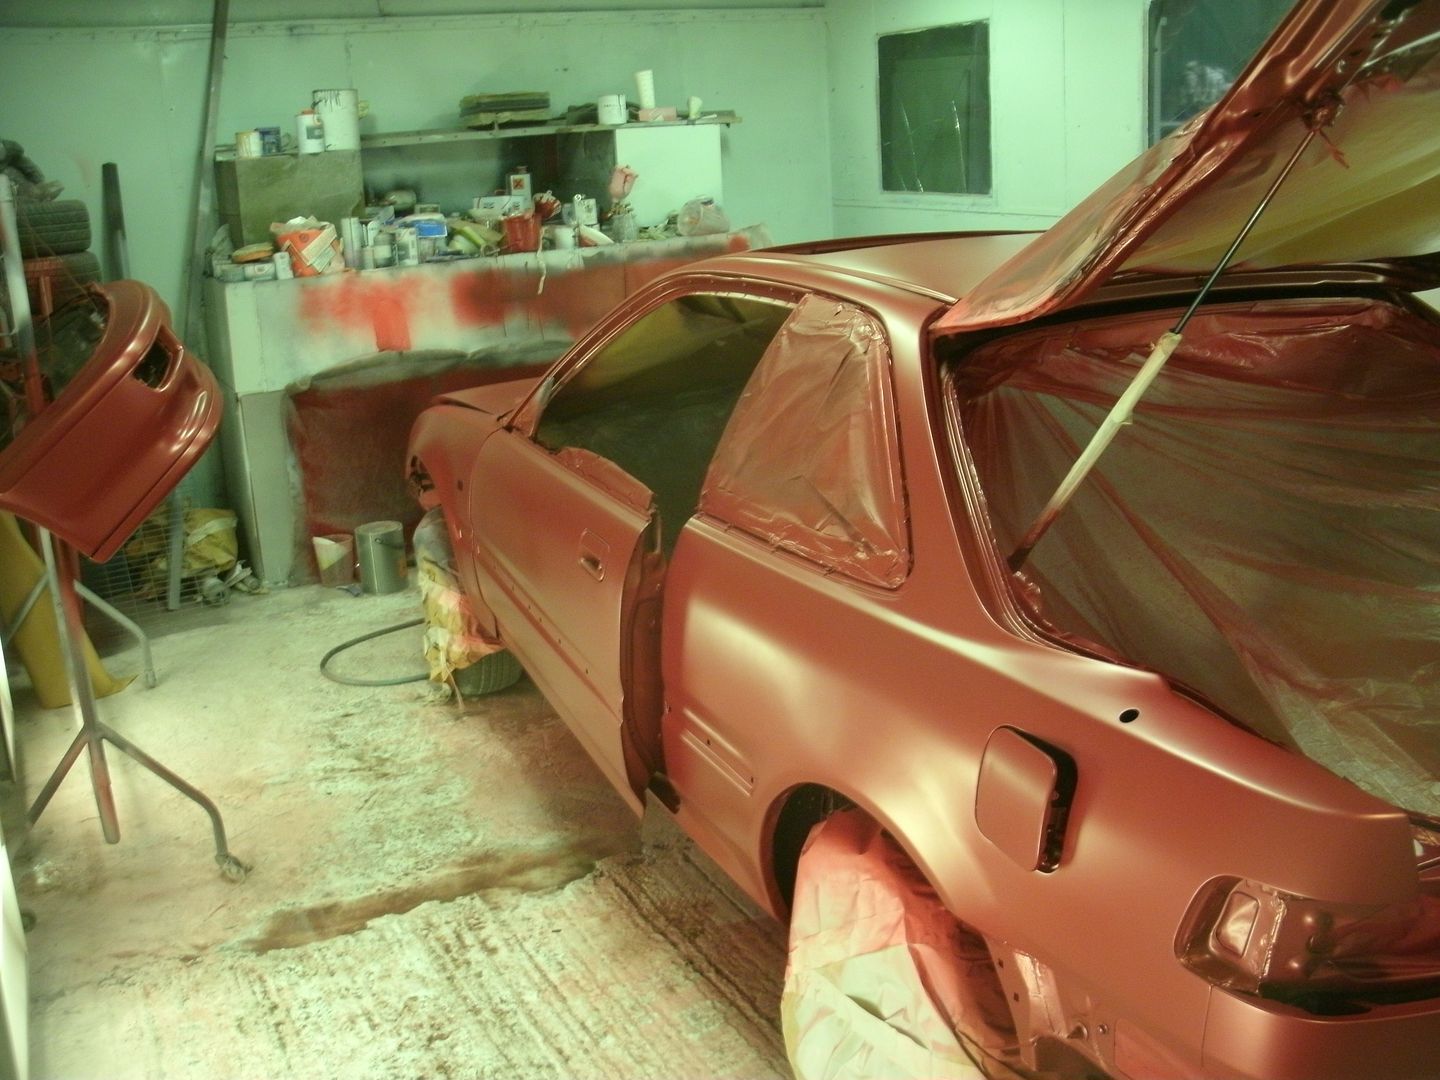
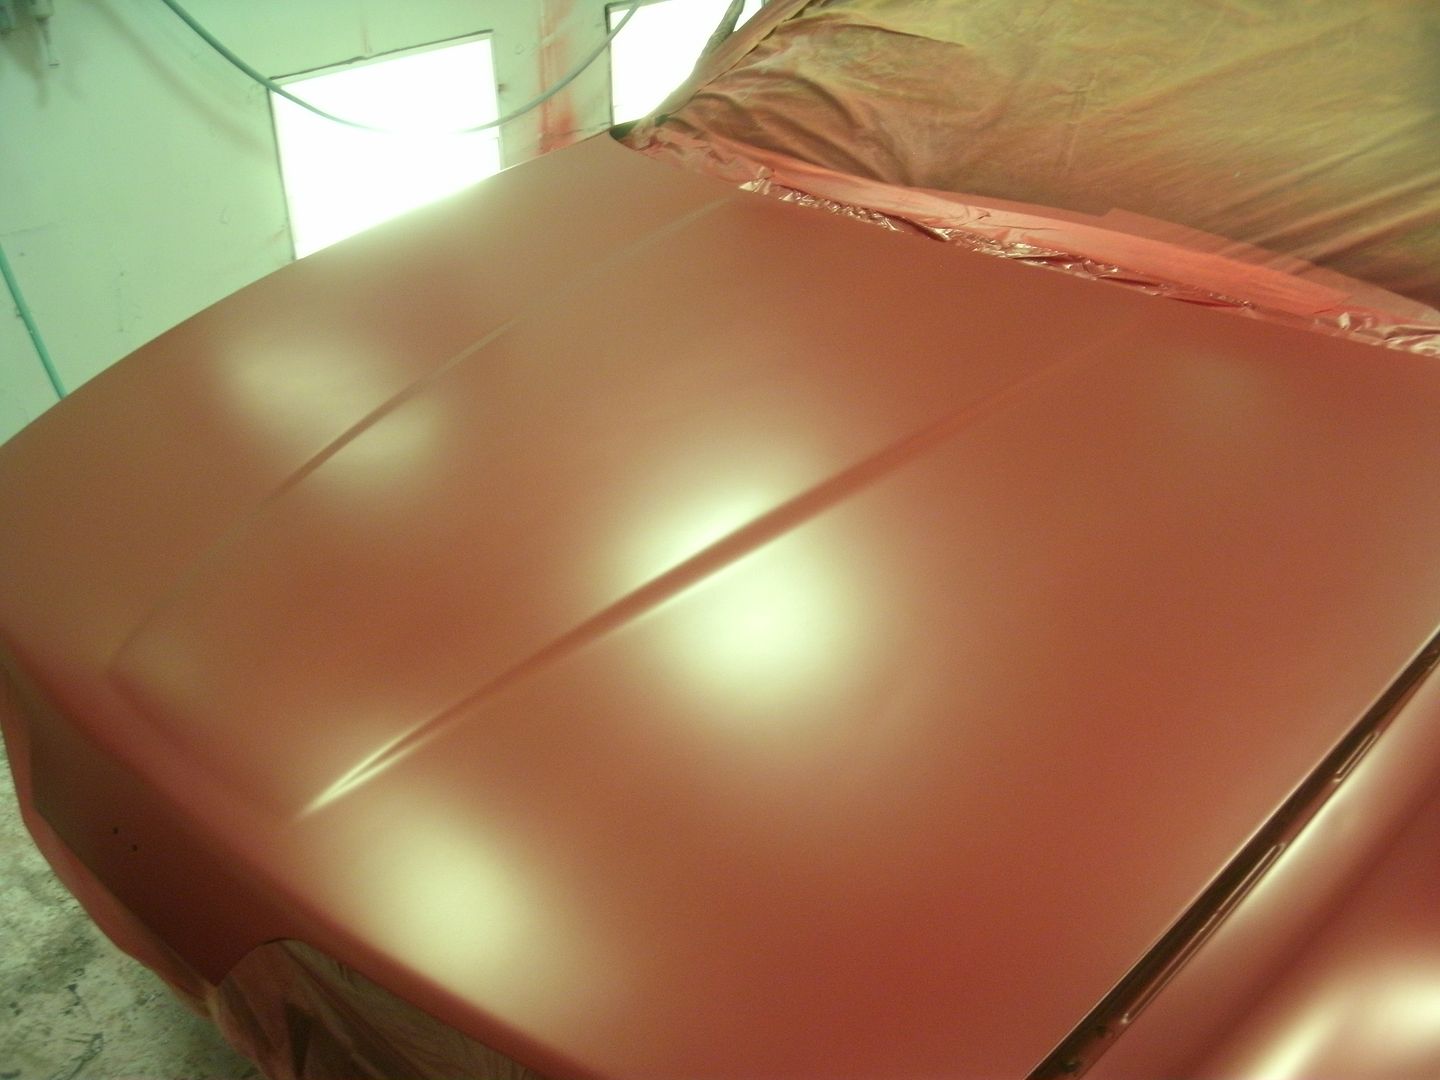
then onto the clear. PPG Deltron stuff here, went for 3 coats. 2 thin light ones and a thicker final. got plenty to go at wet flatting away, still came out nice for an “out the gun” finish
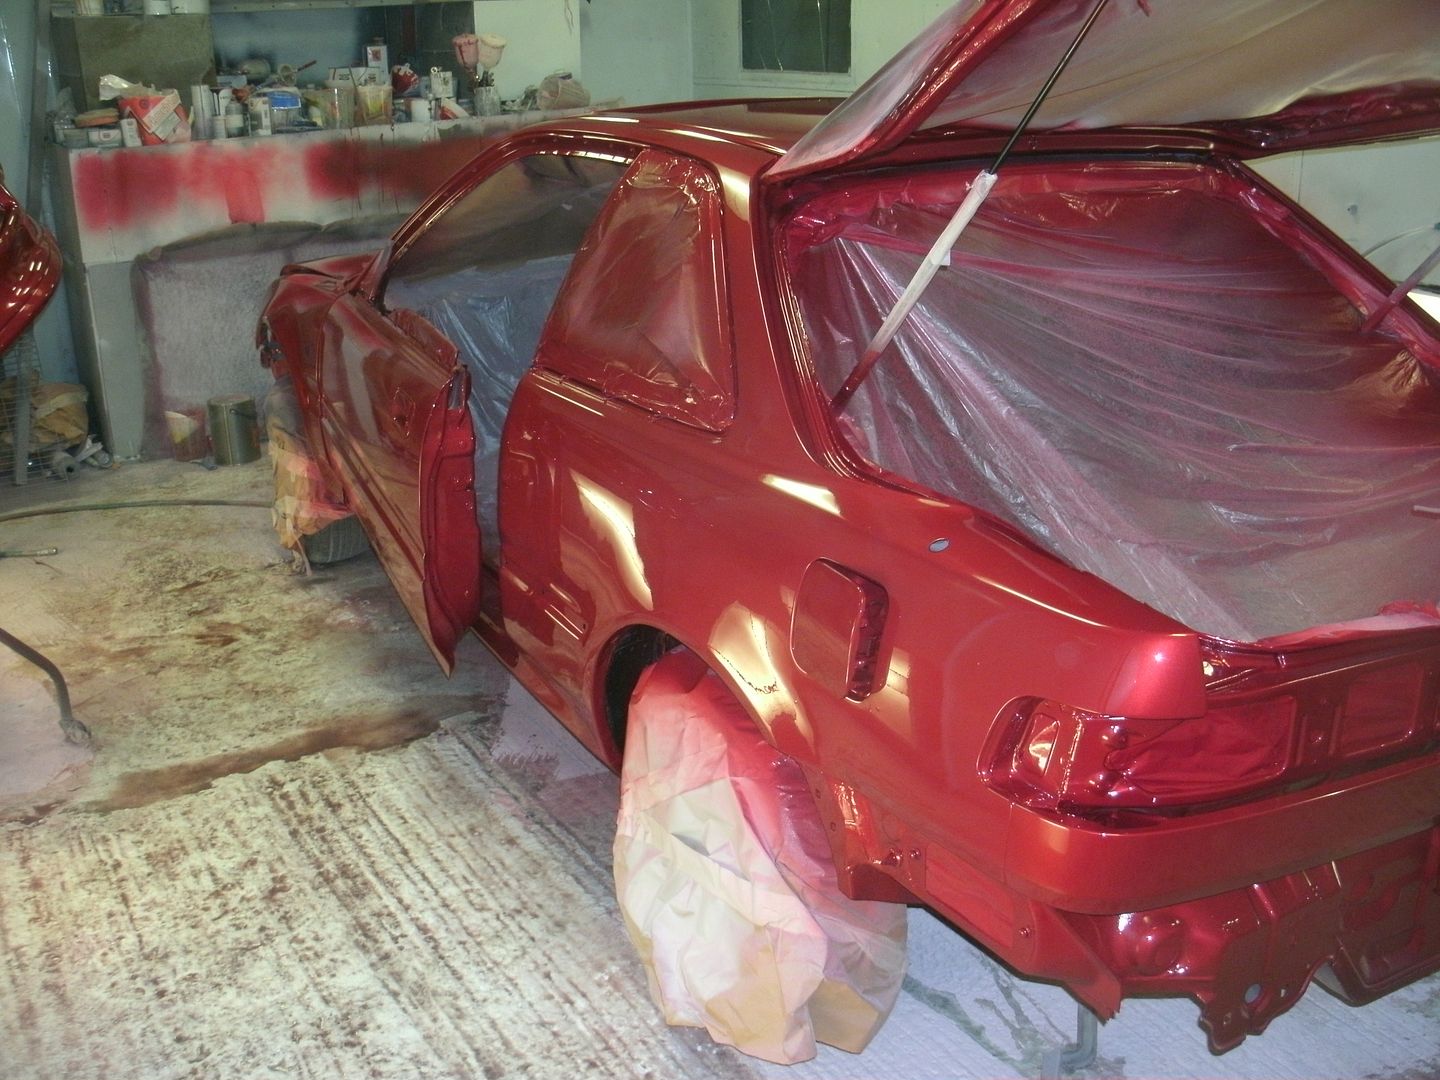
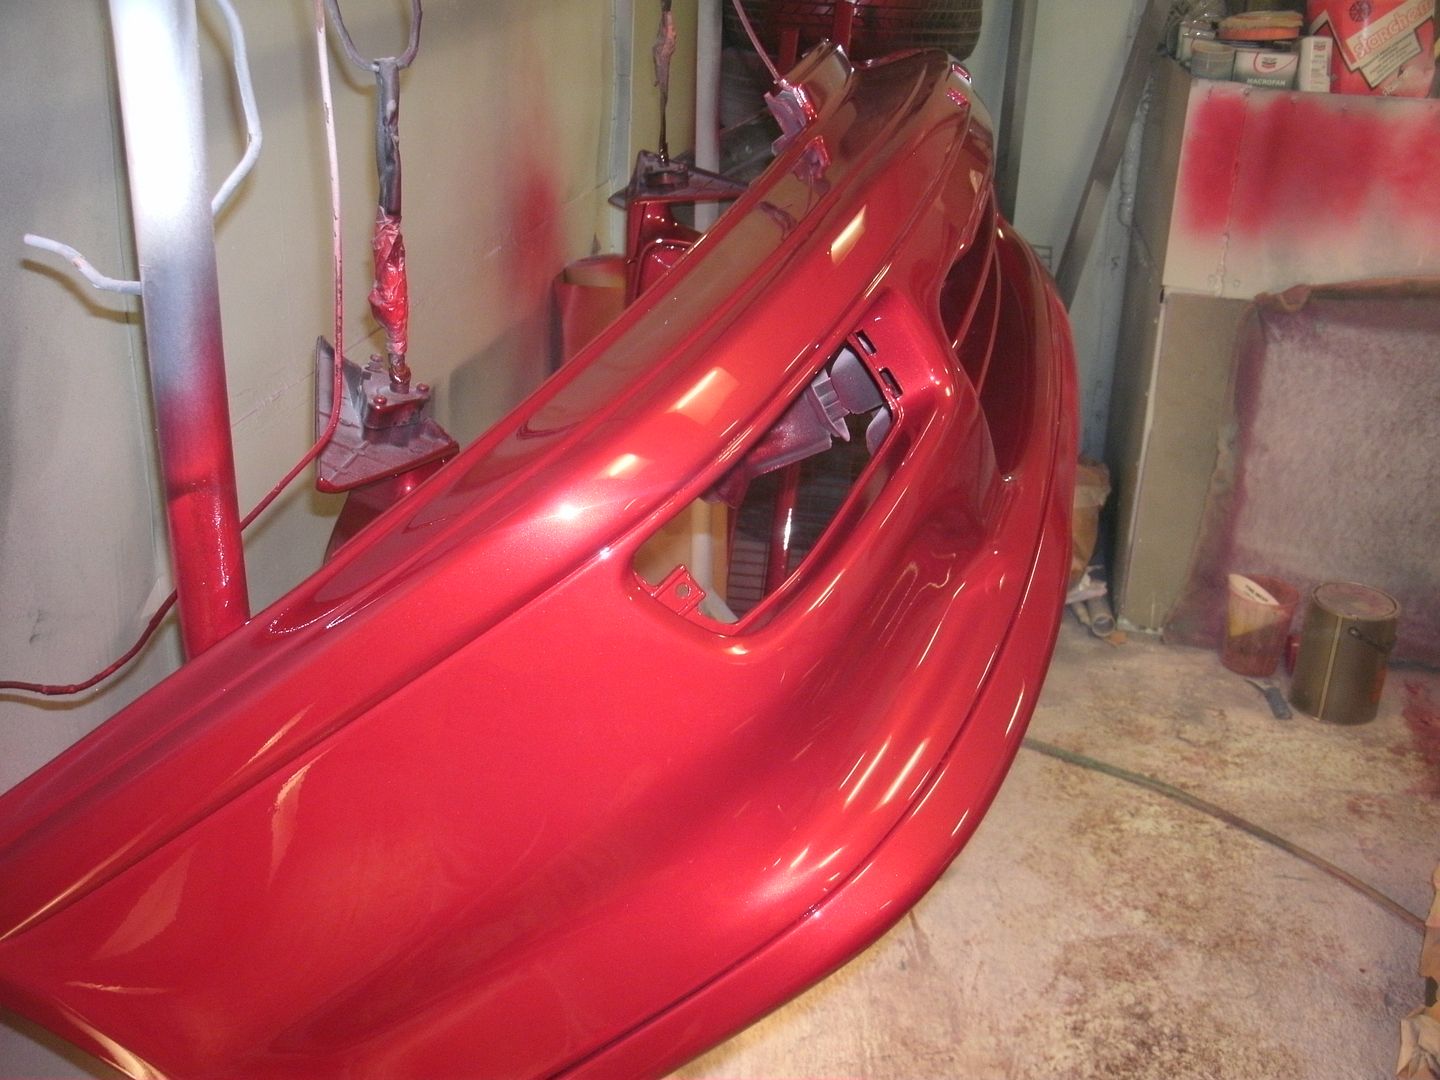
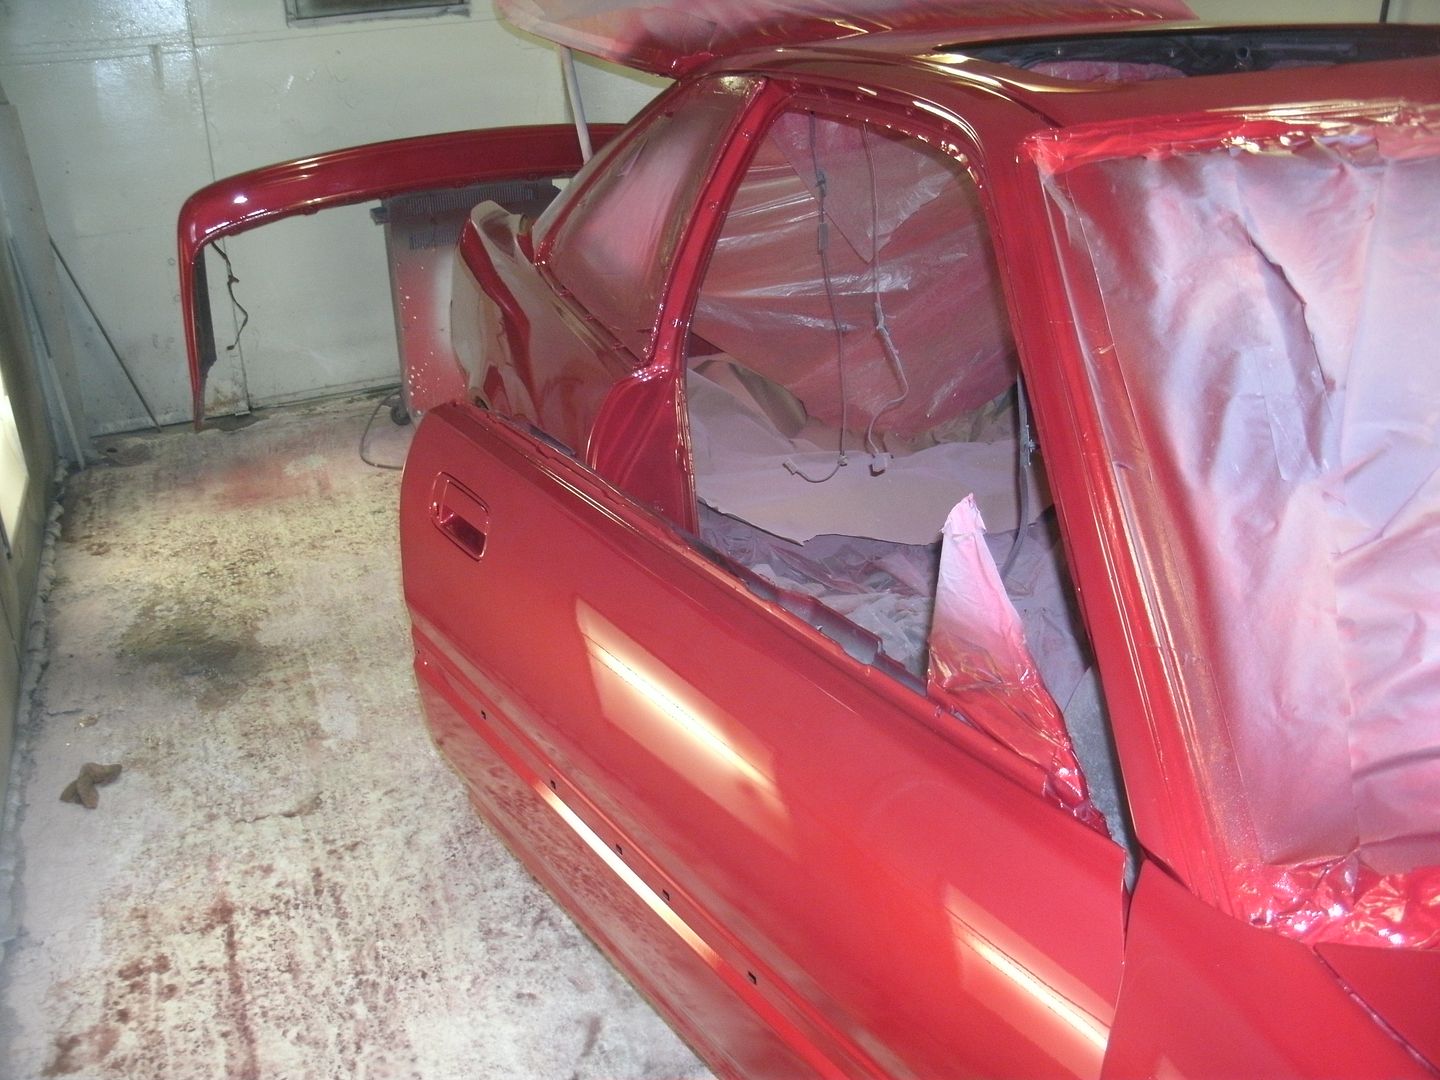
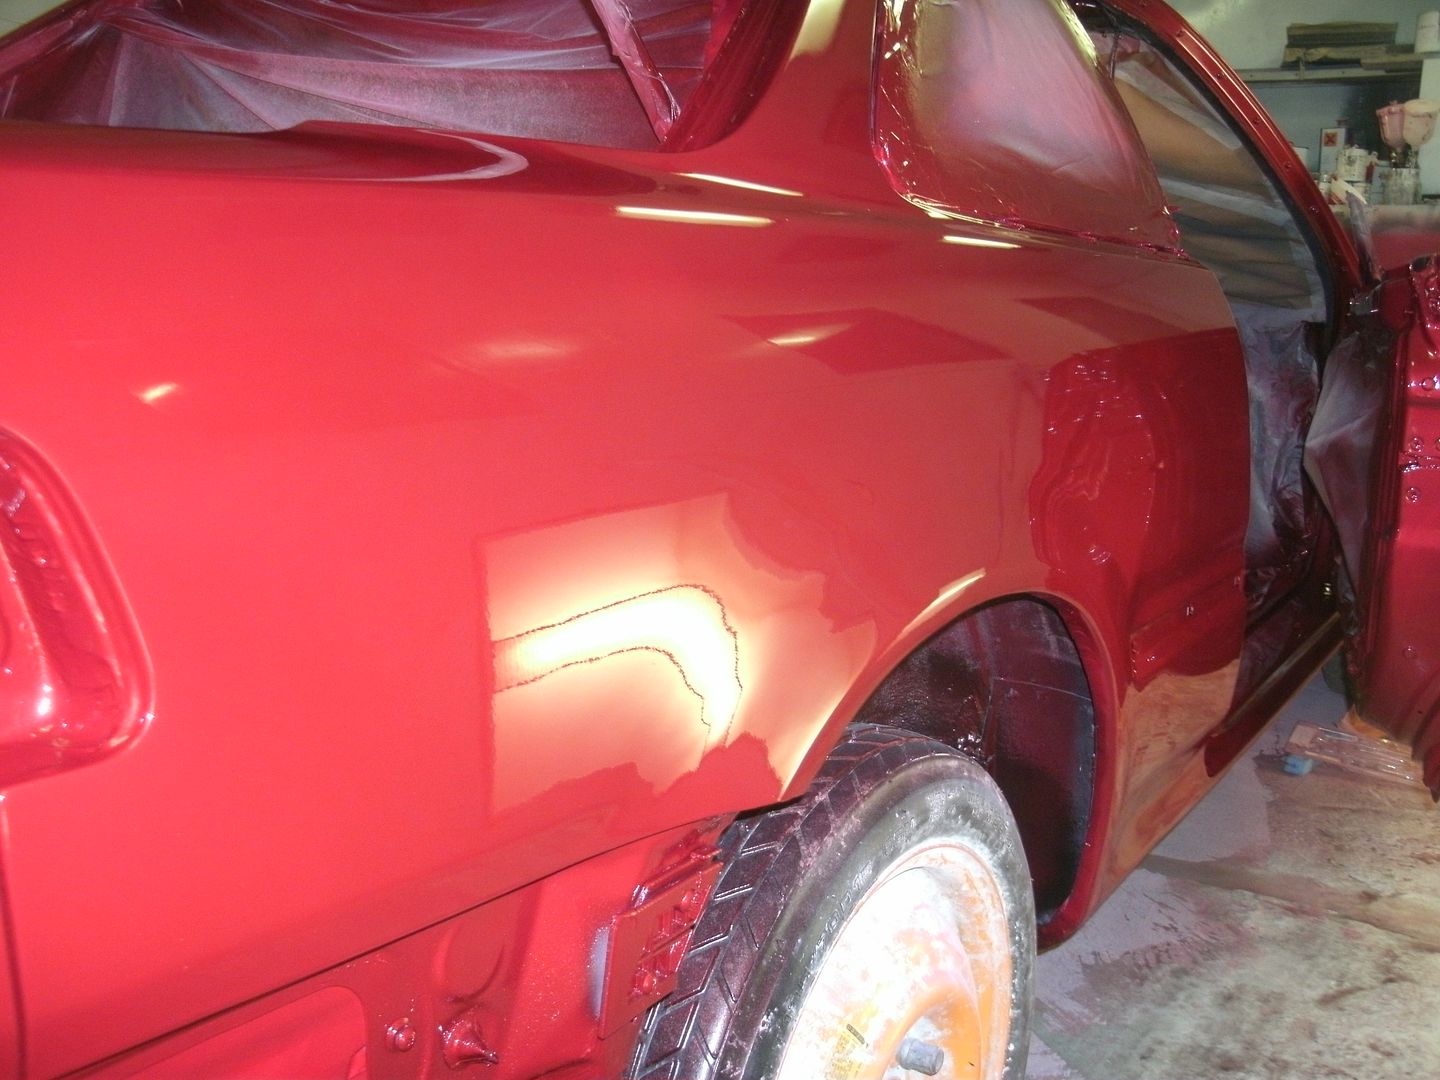
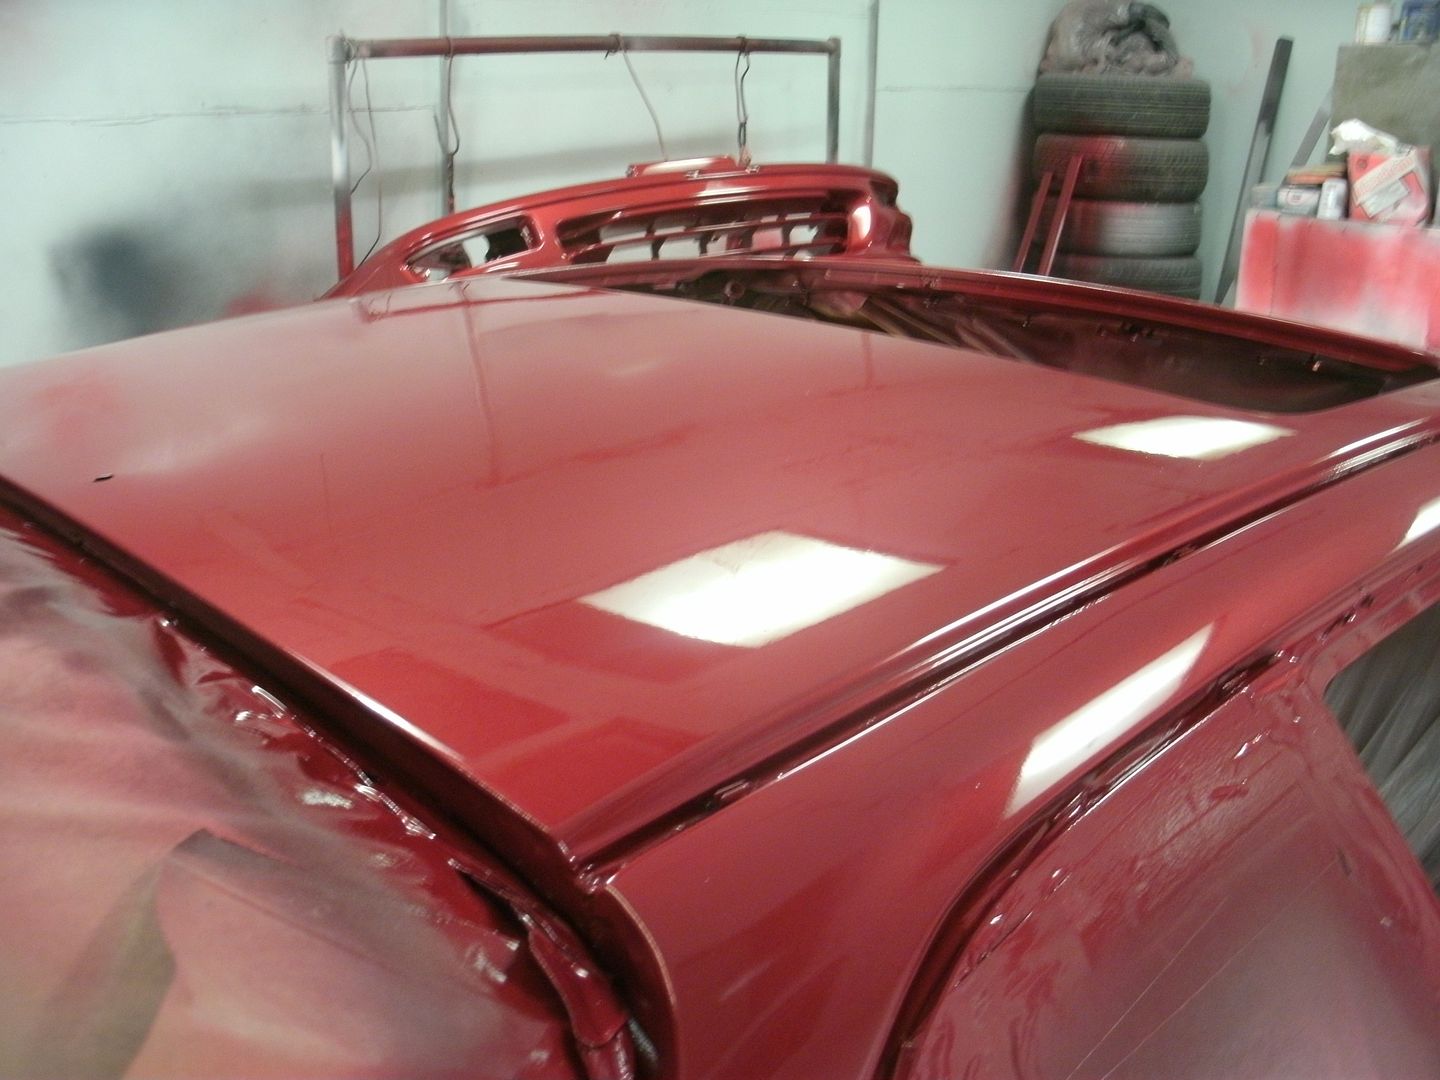
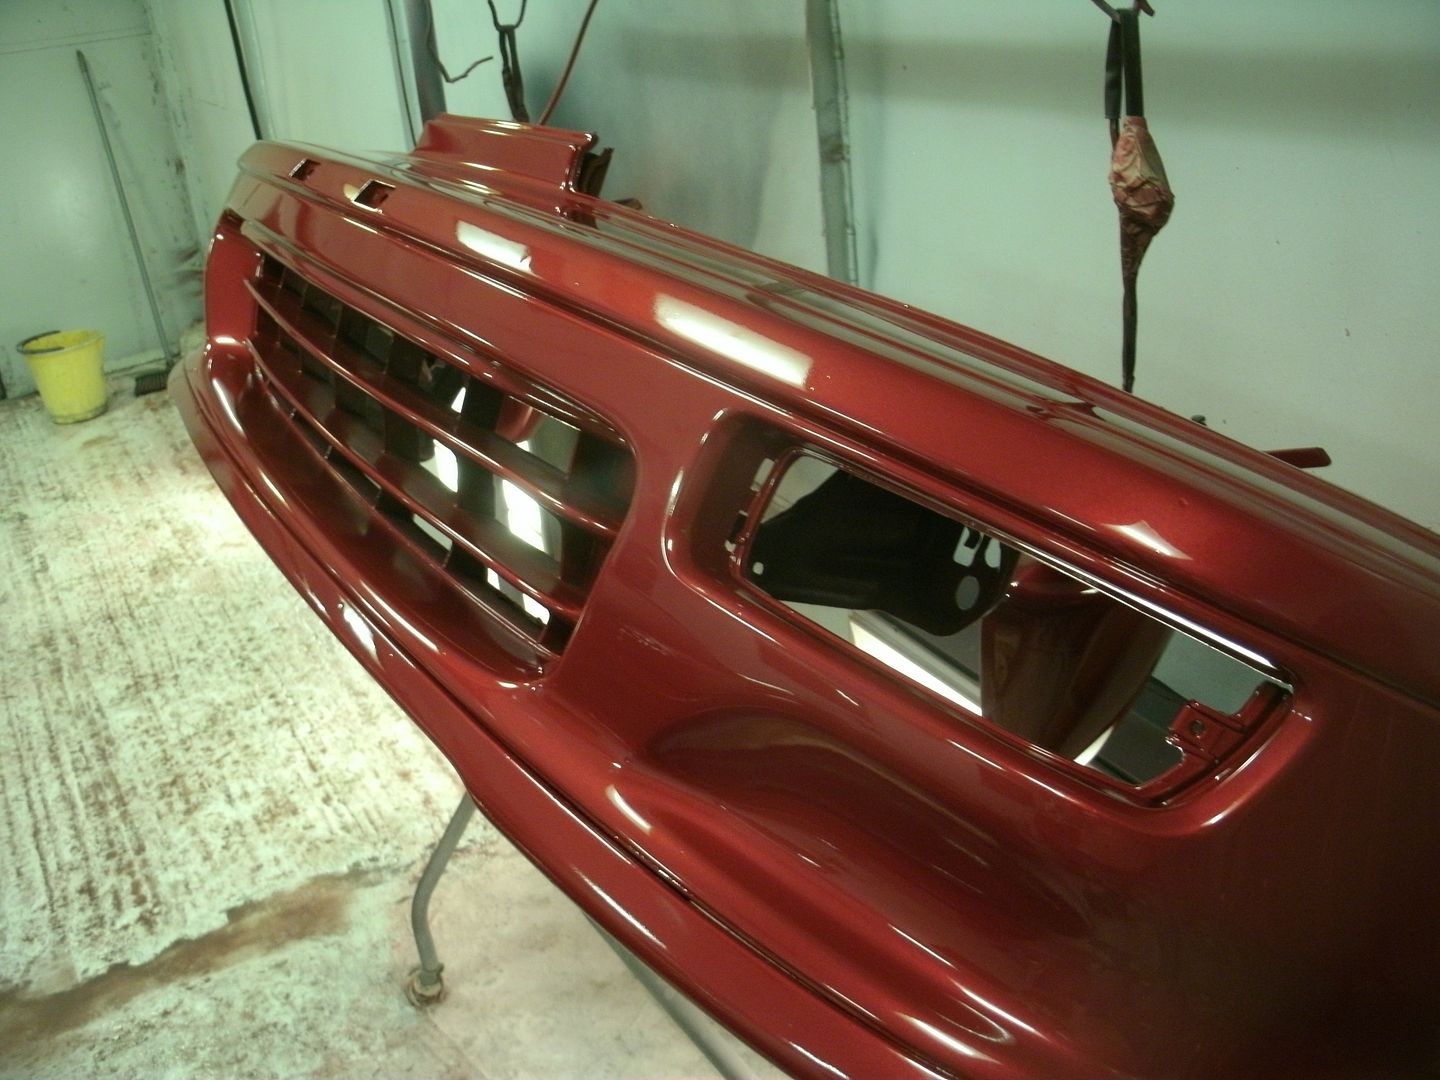
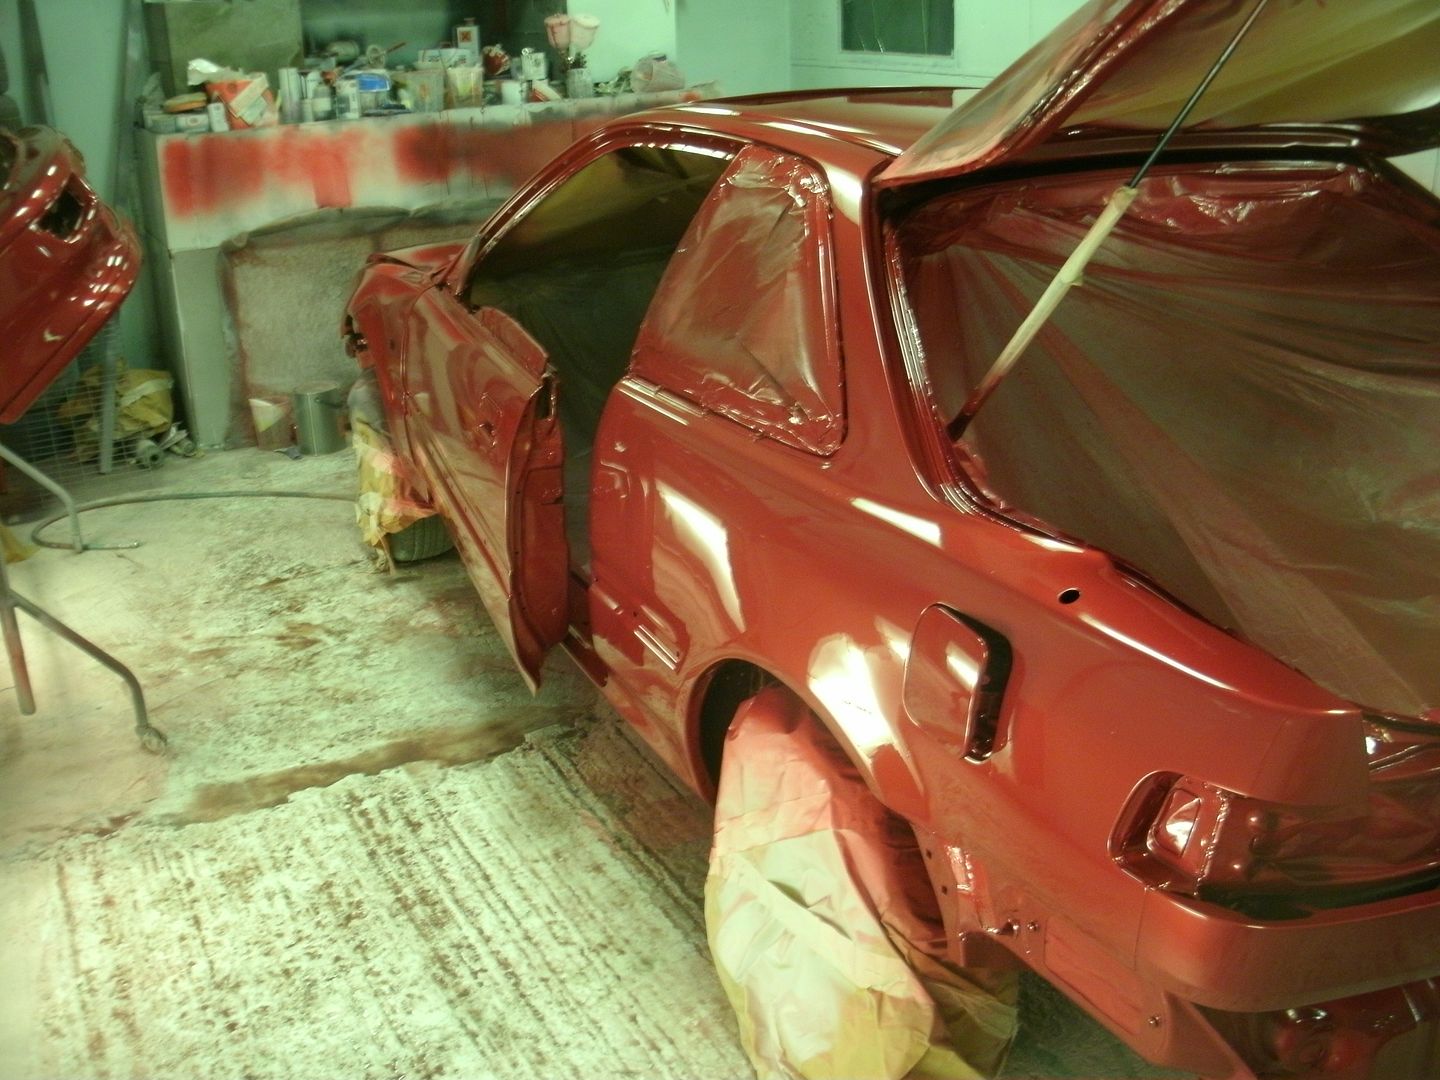
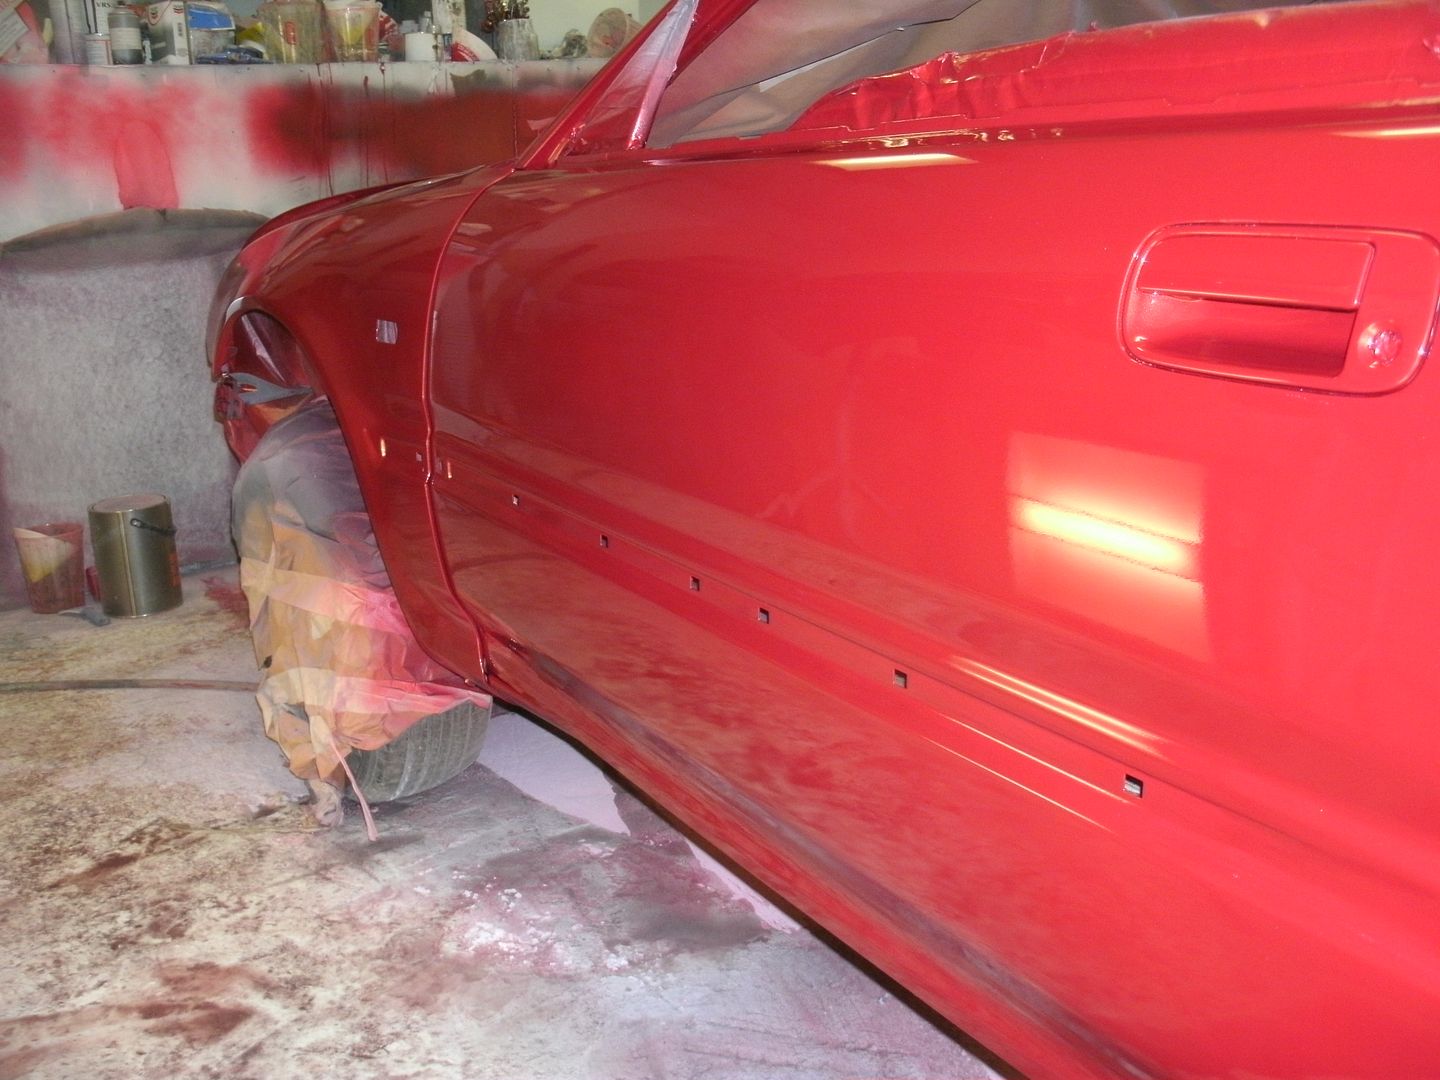
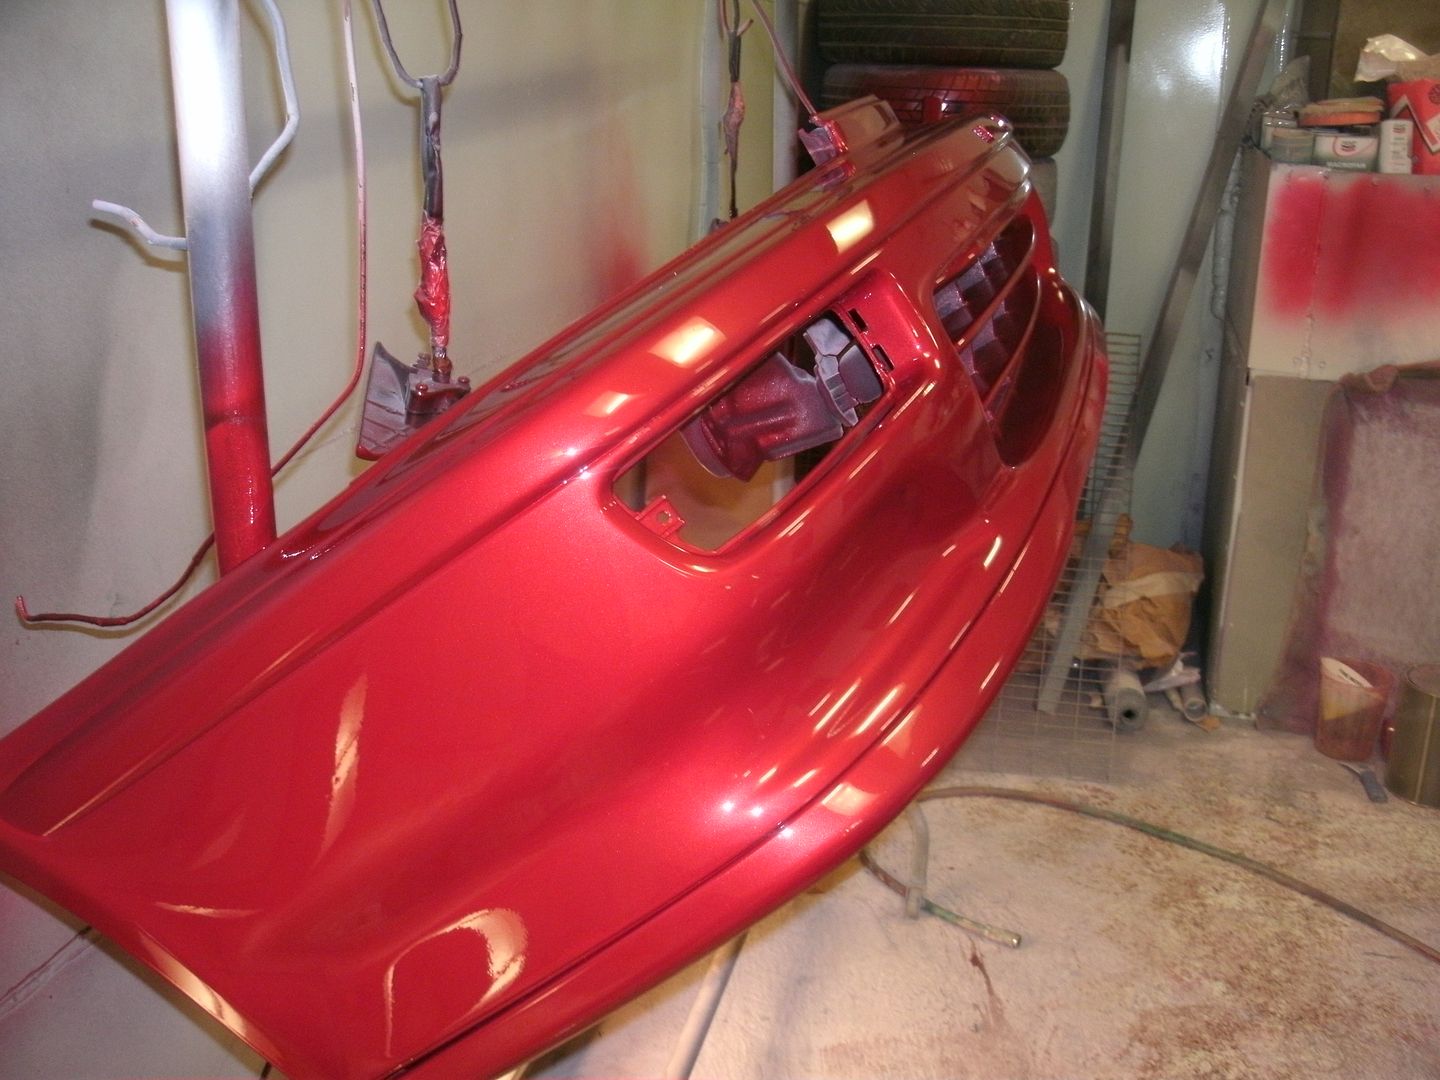
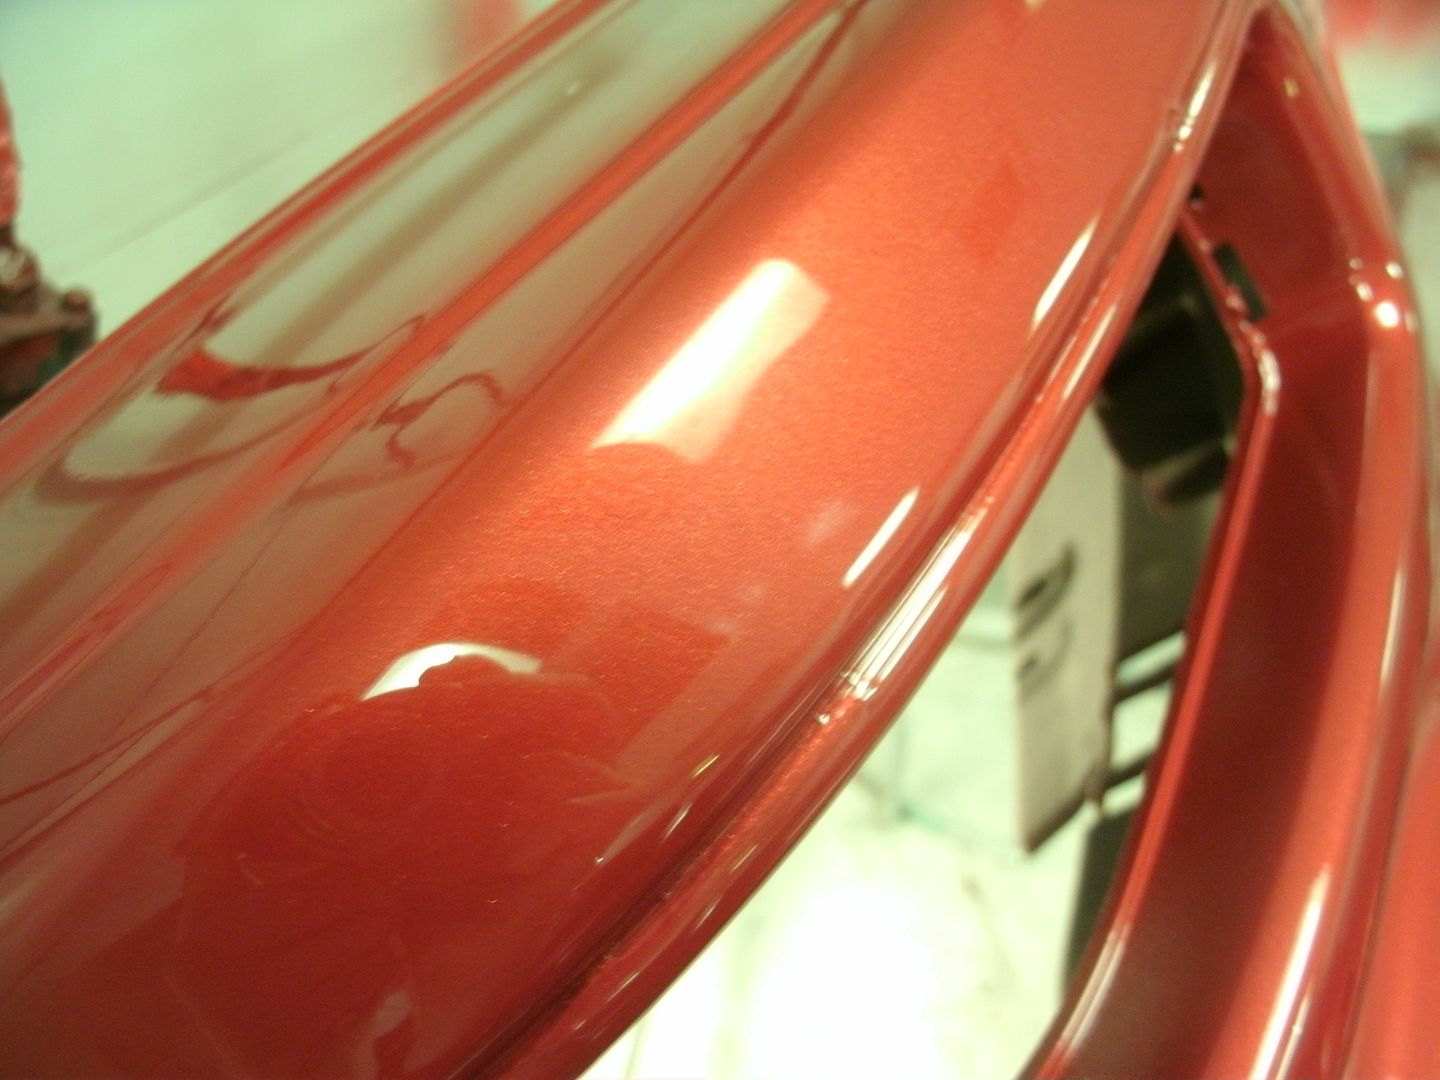
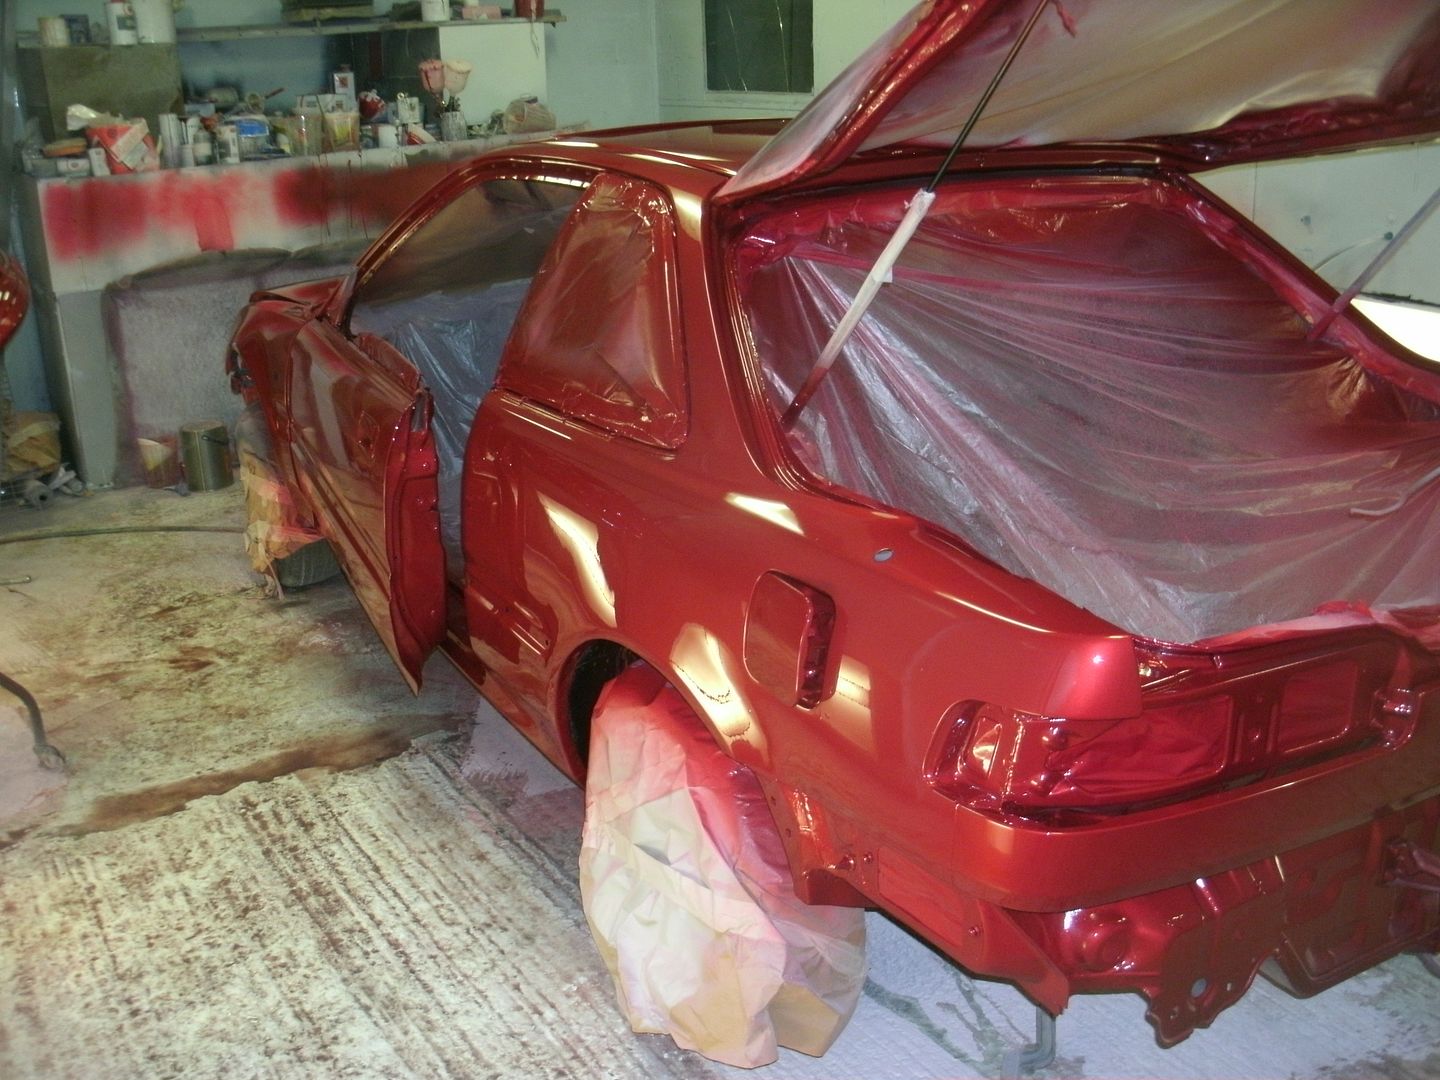
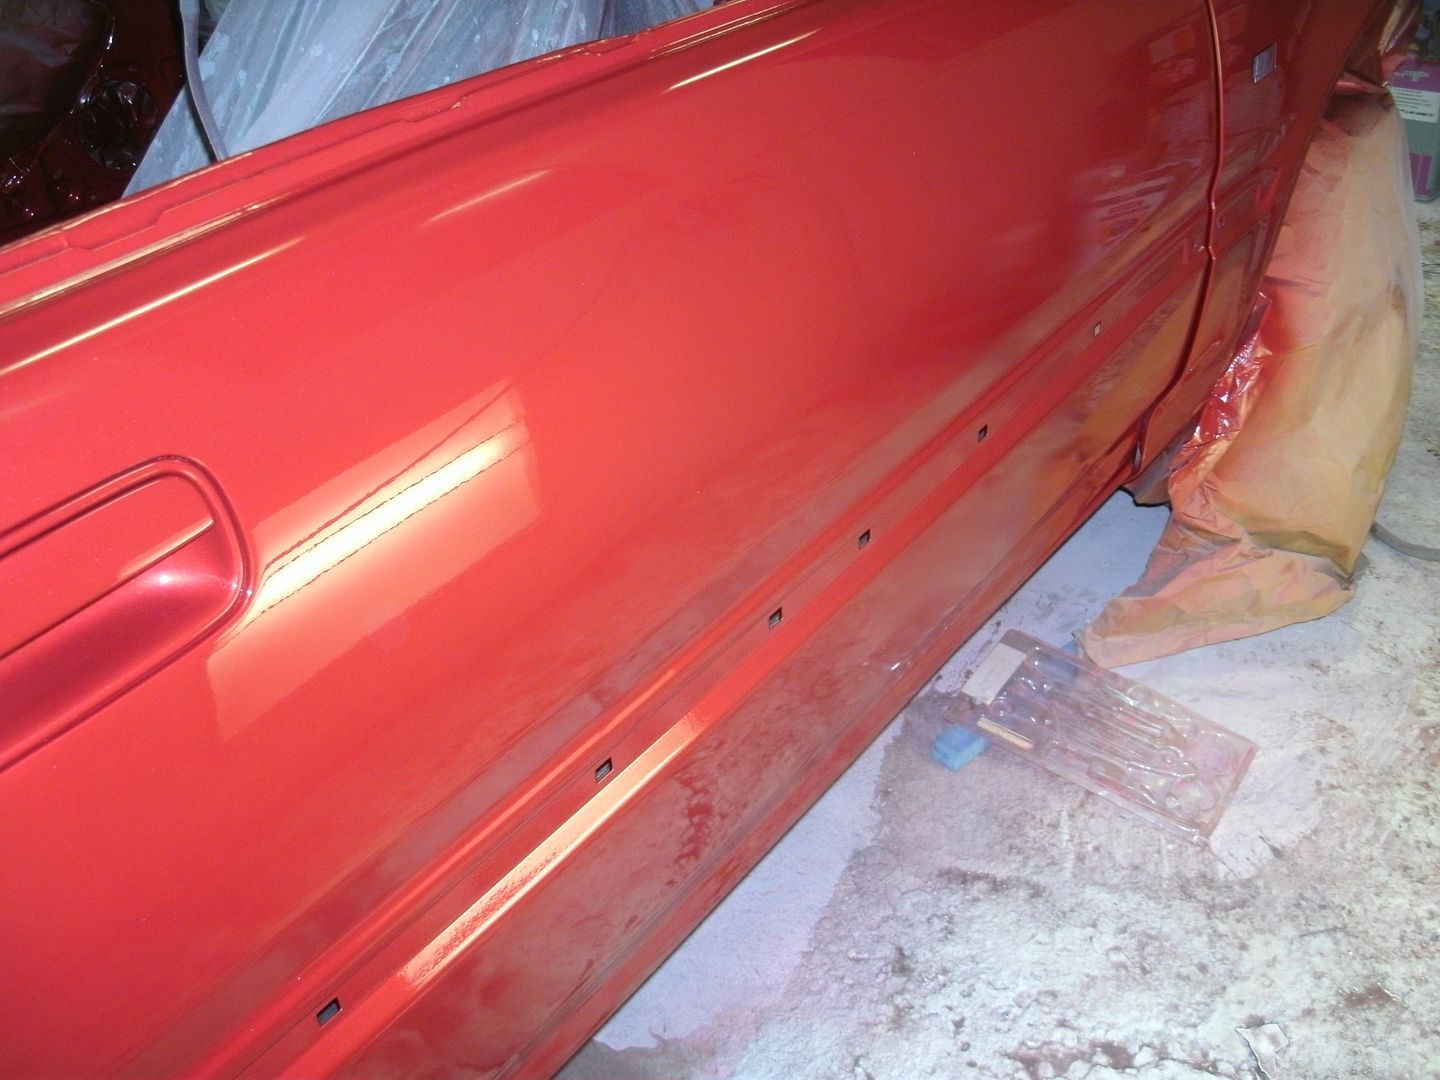
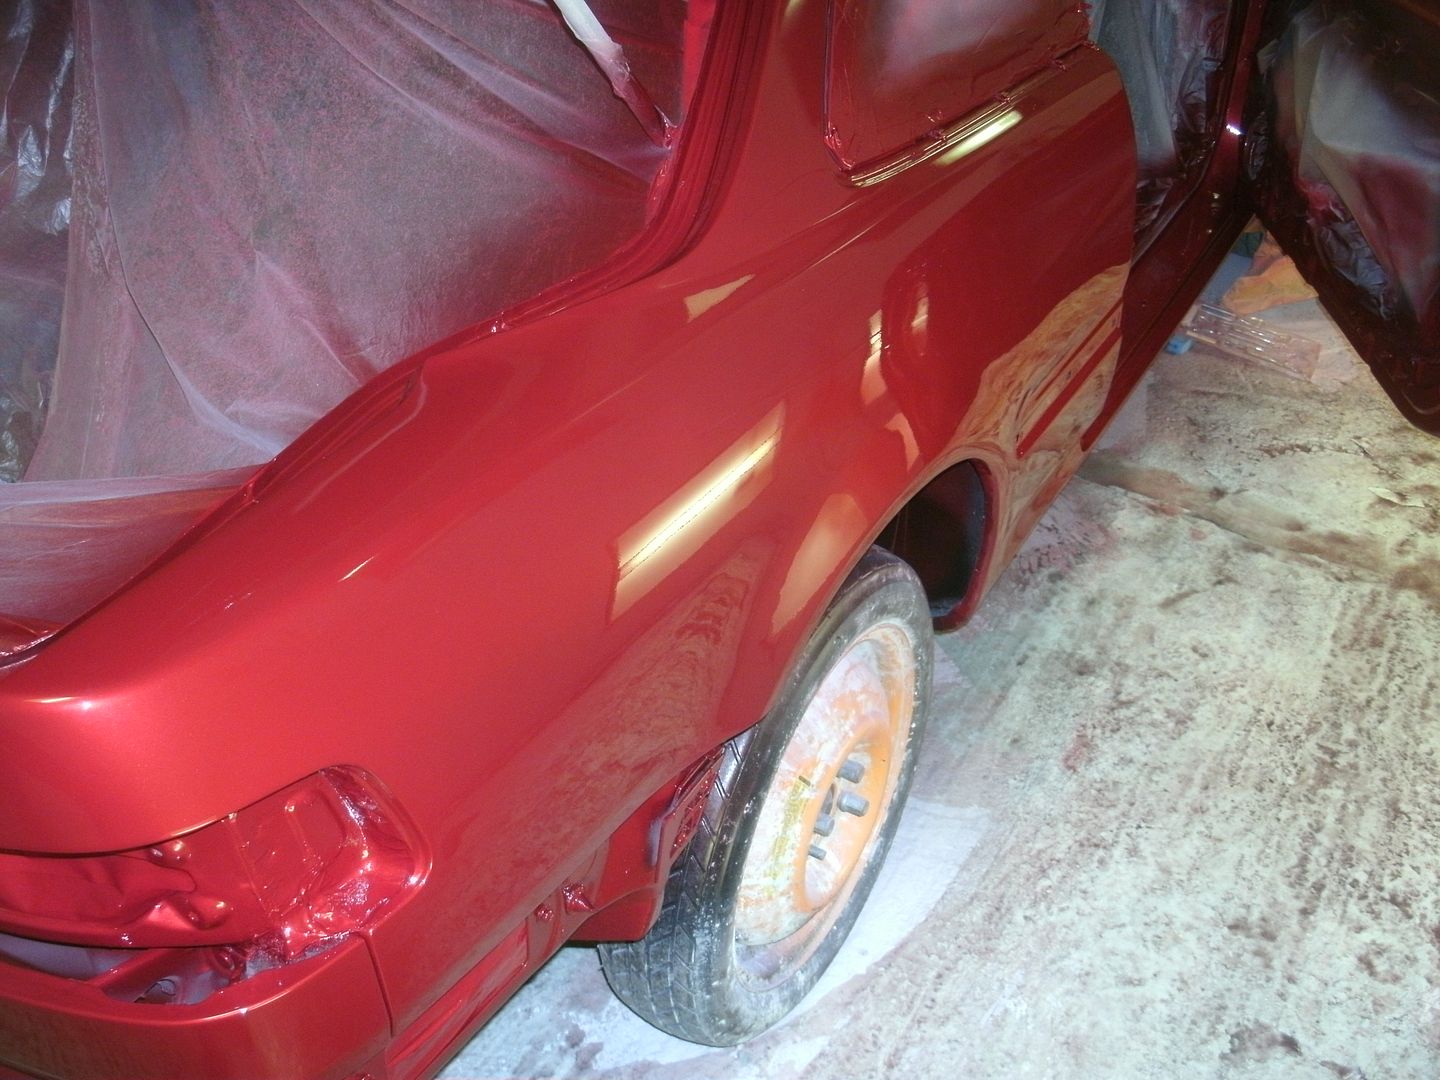
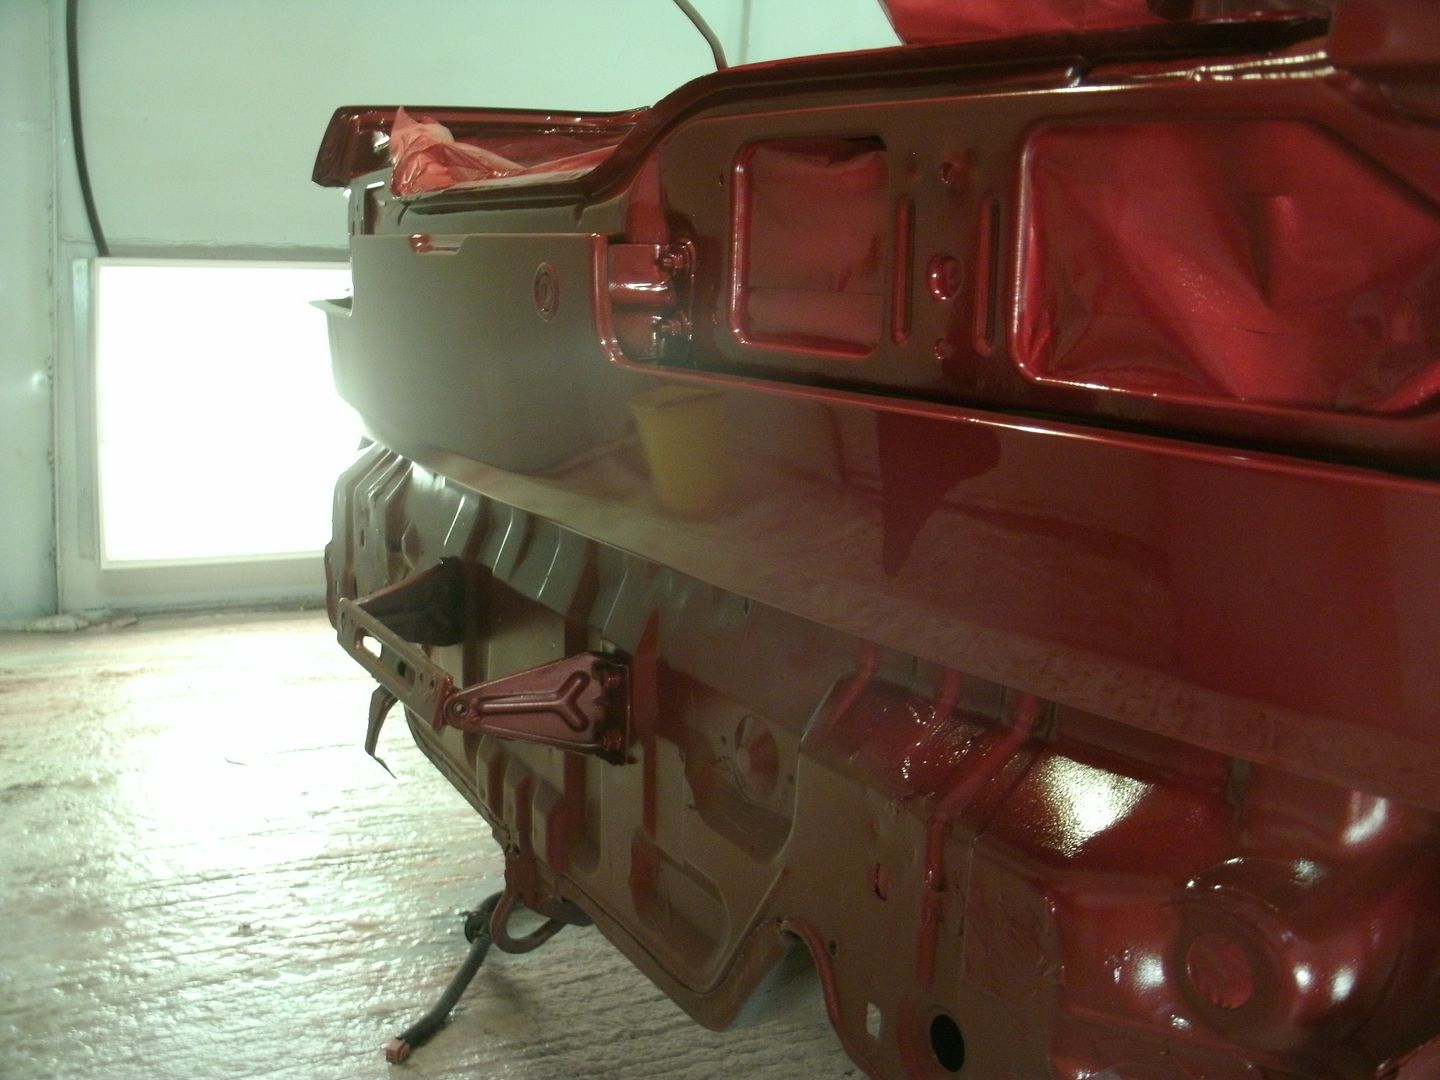
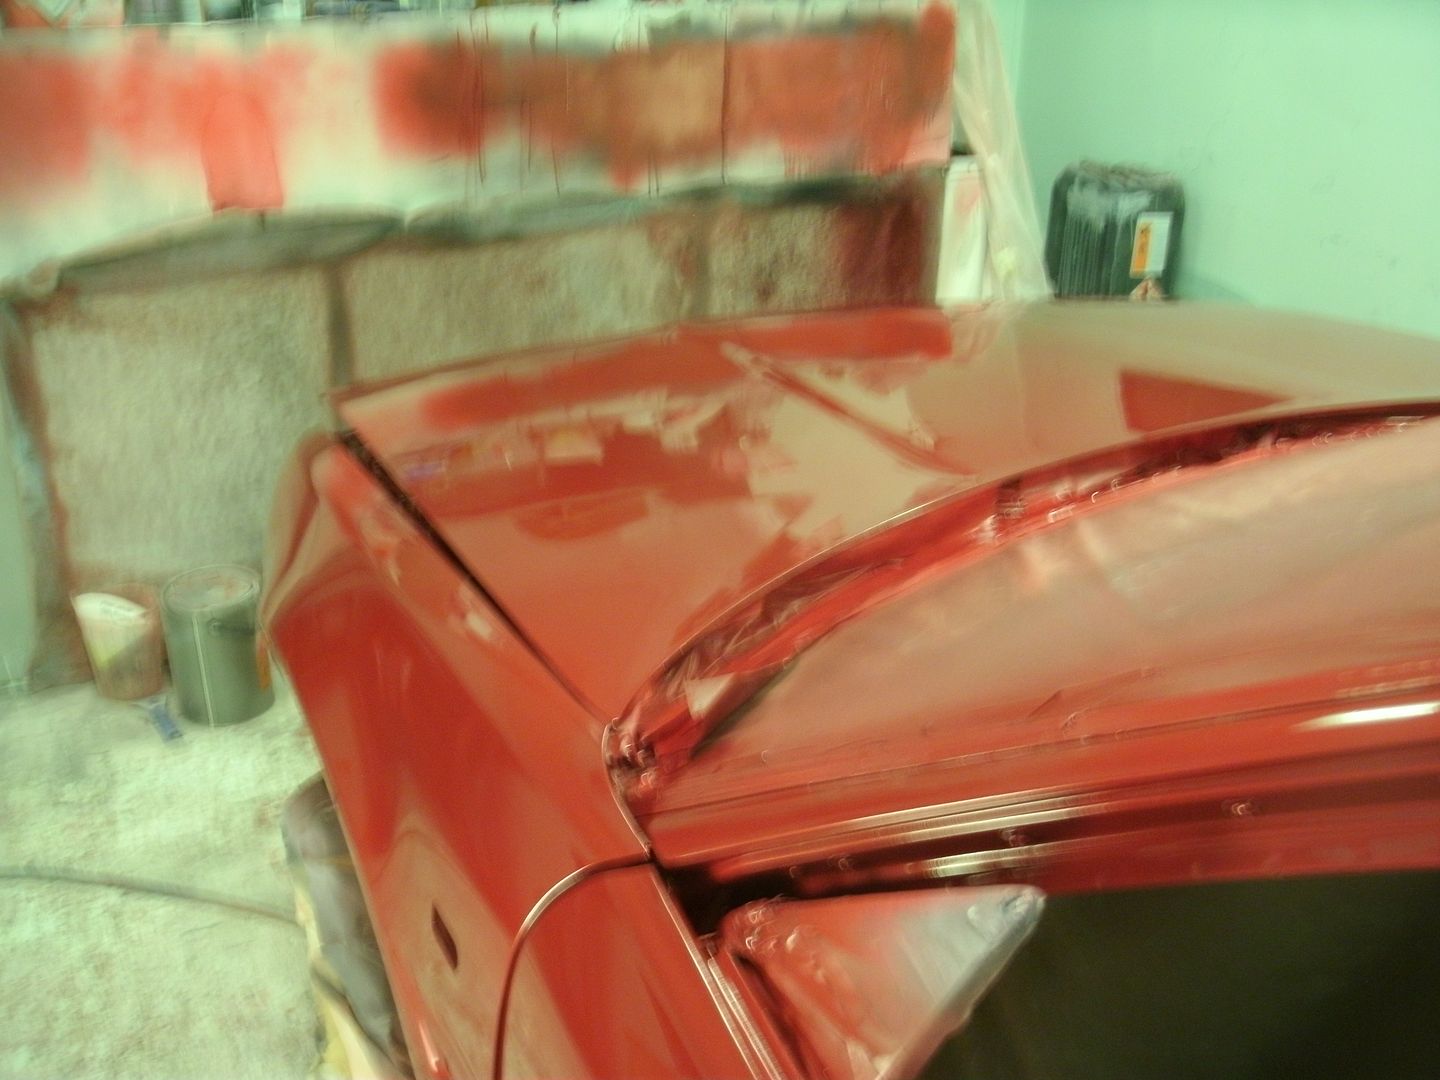
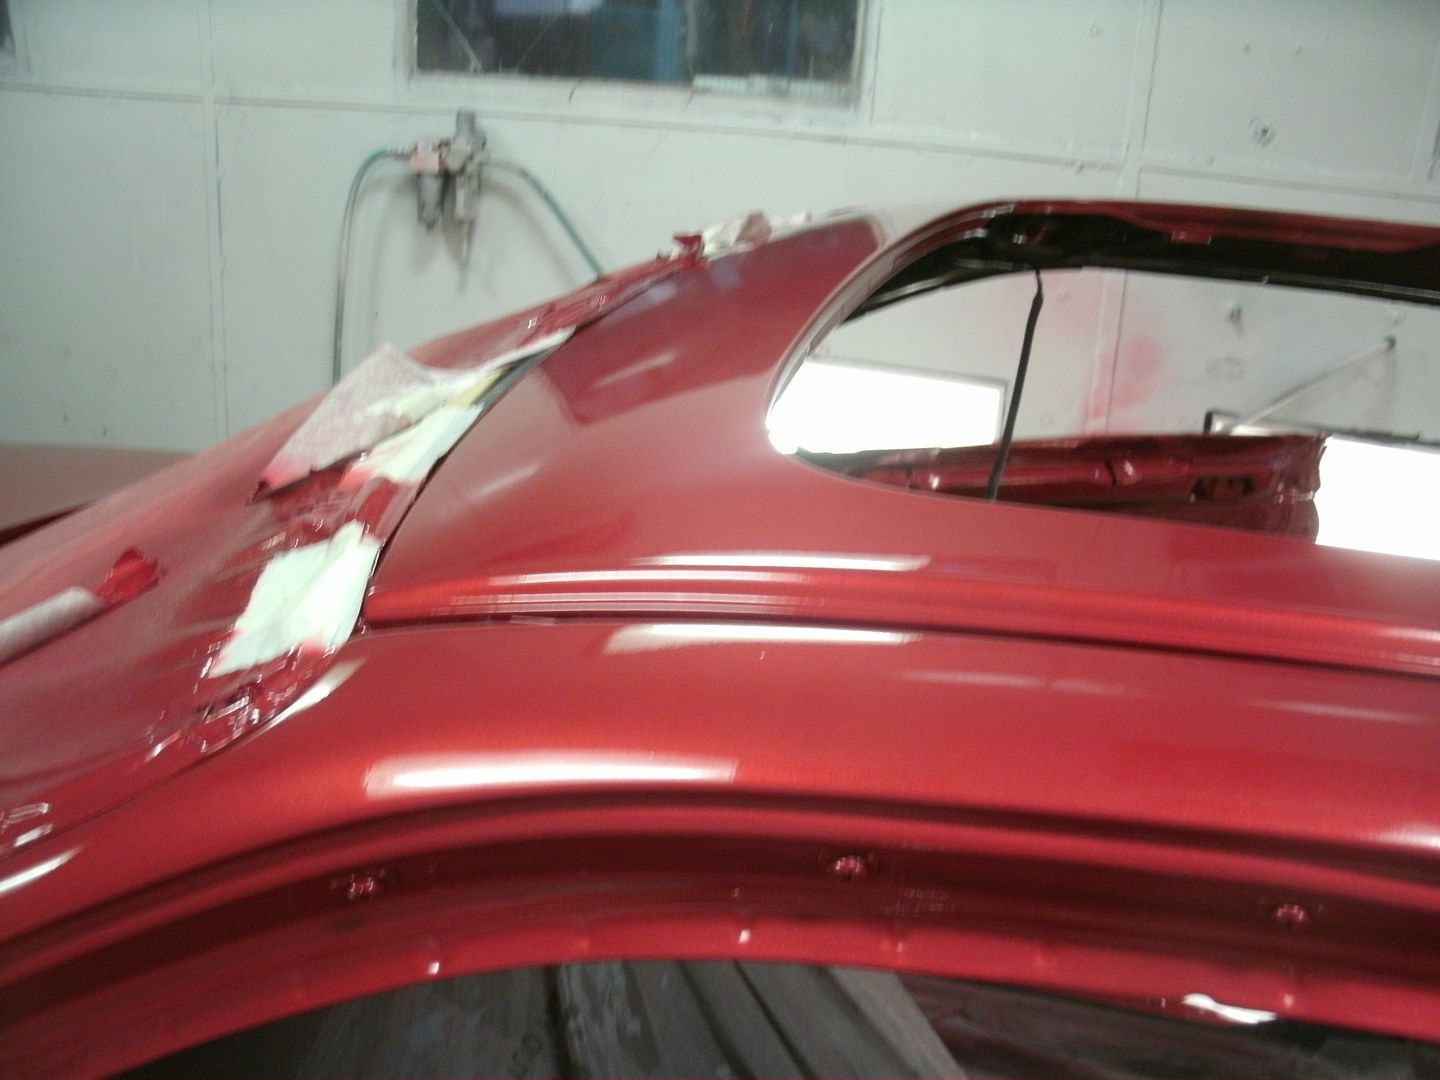
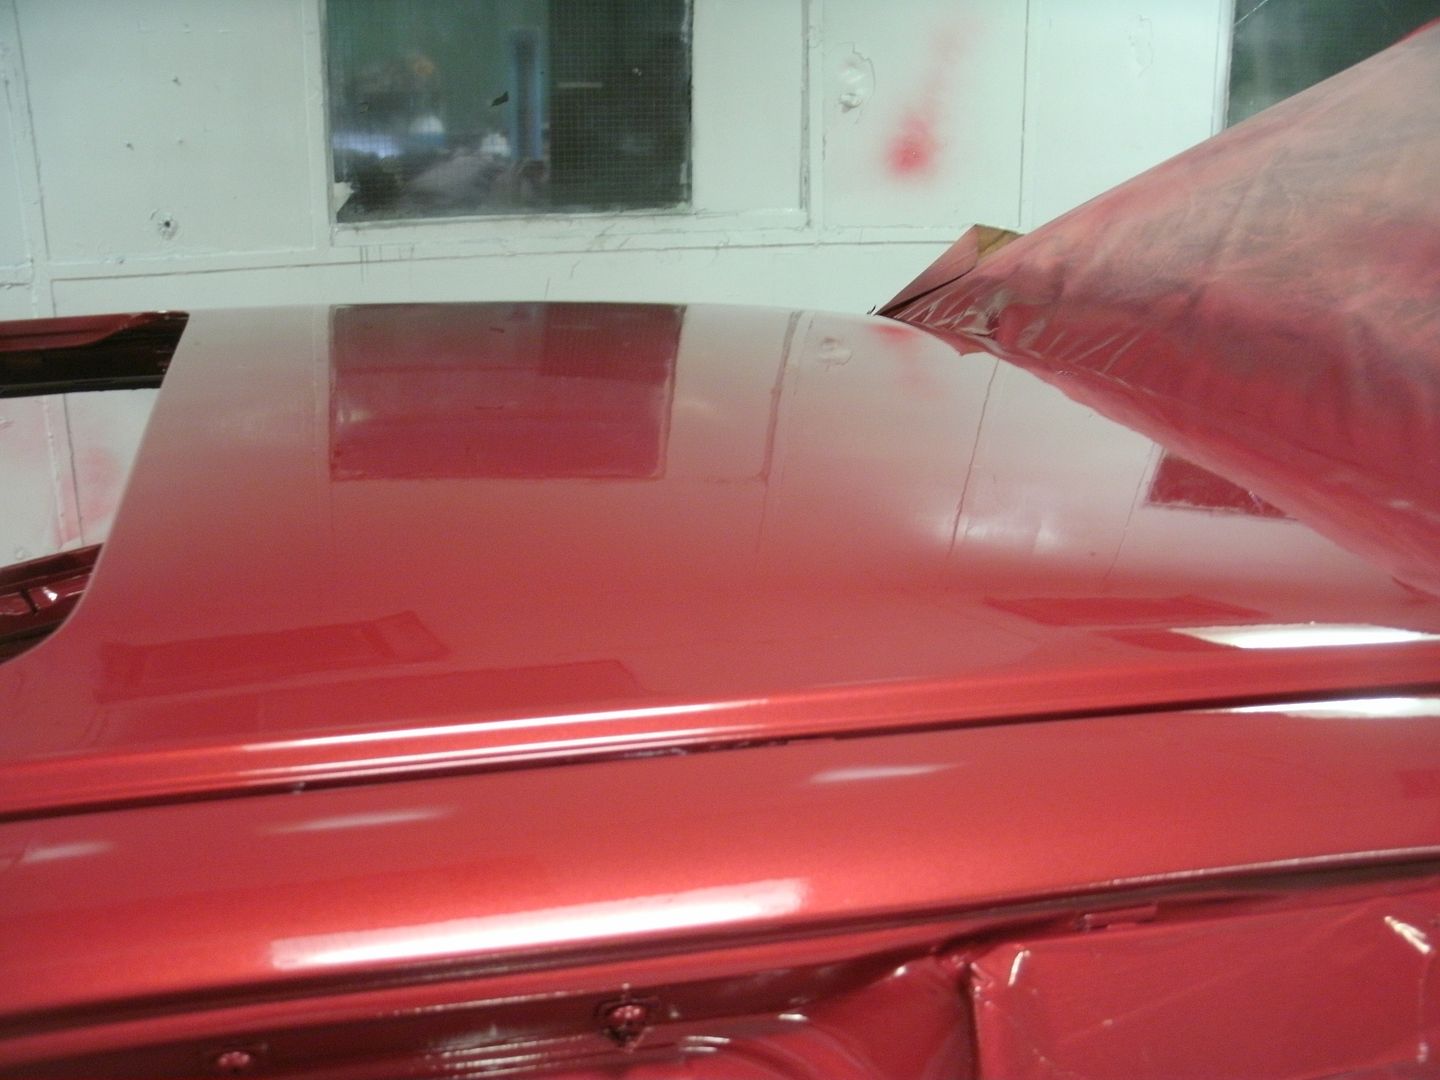
real hard color to capture, pics dont come anywhere near to getting it right.
putting it all back together tomorrow and wet flatting it all tuesday. waxolying it and putting new black shutz under it to tomorrow, car heads back to peter thursday. reminds me to do his bill to :lol: which means happy day for me and bad day for him but i think when he see’s it in the flesh he will be overjoyed with it.
yeah just take all my happiness with you invoice mate 
very happy with build - can not wait to have it back and put all back together 


