HondaTom's Dirty DA Build

Thanks bro
I was local lol the car still is but I am temporarily in Colorado

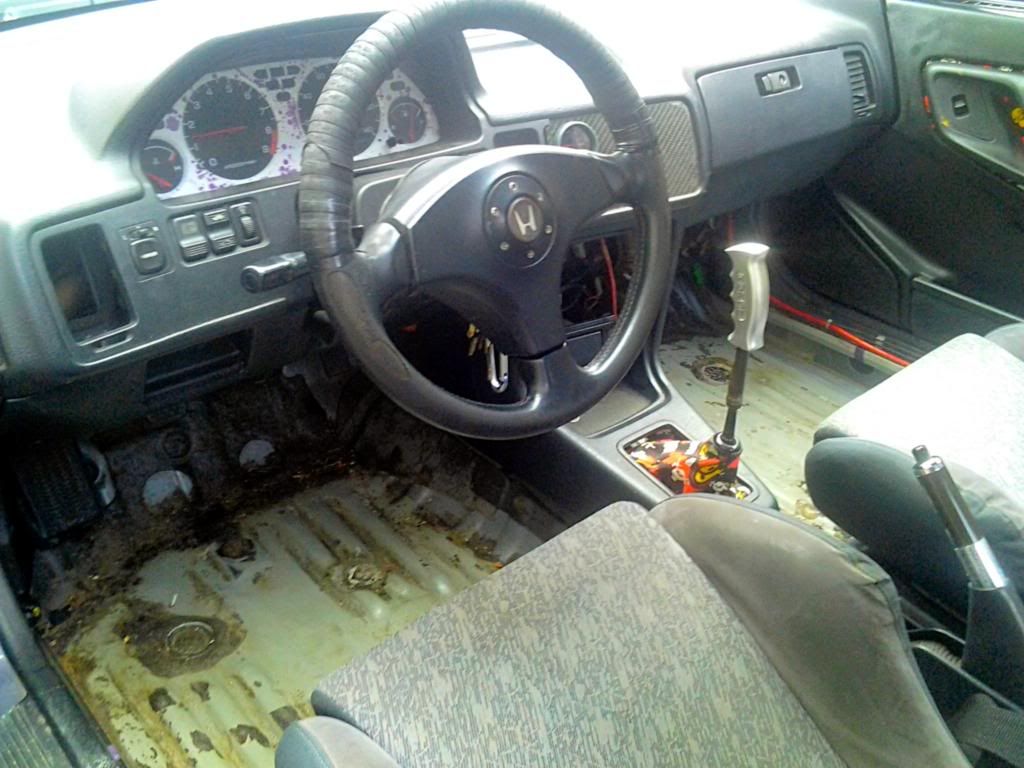
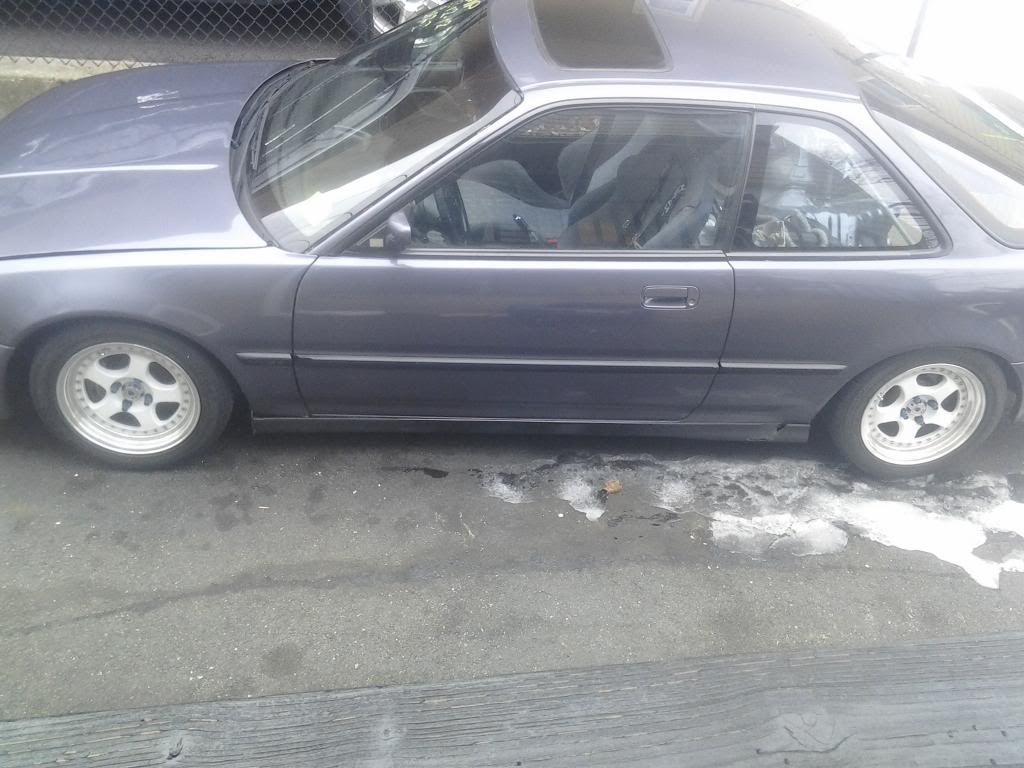
The recaros are 92 Mitsubishi evolution 2 Recaro SRD’s

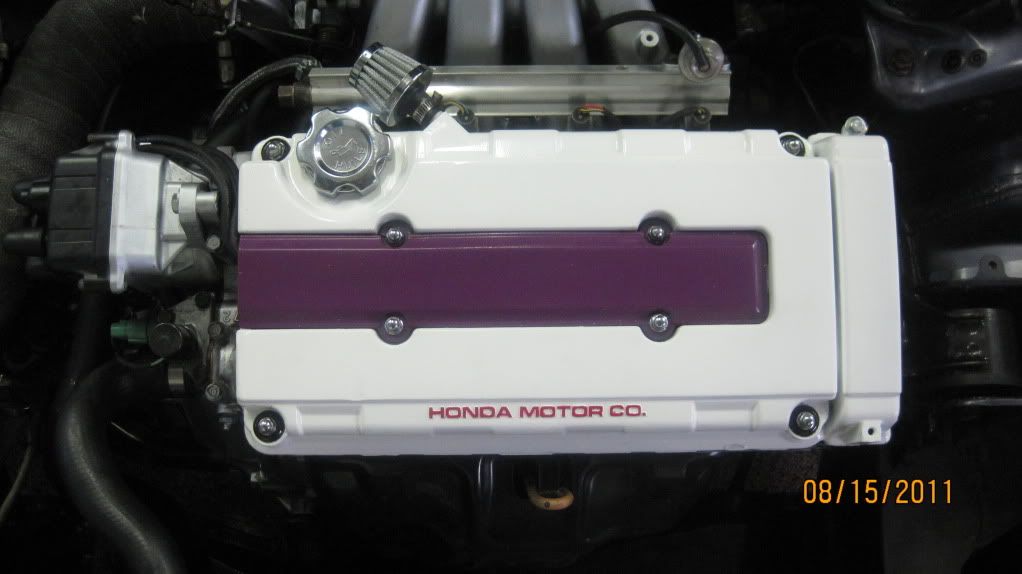
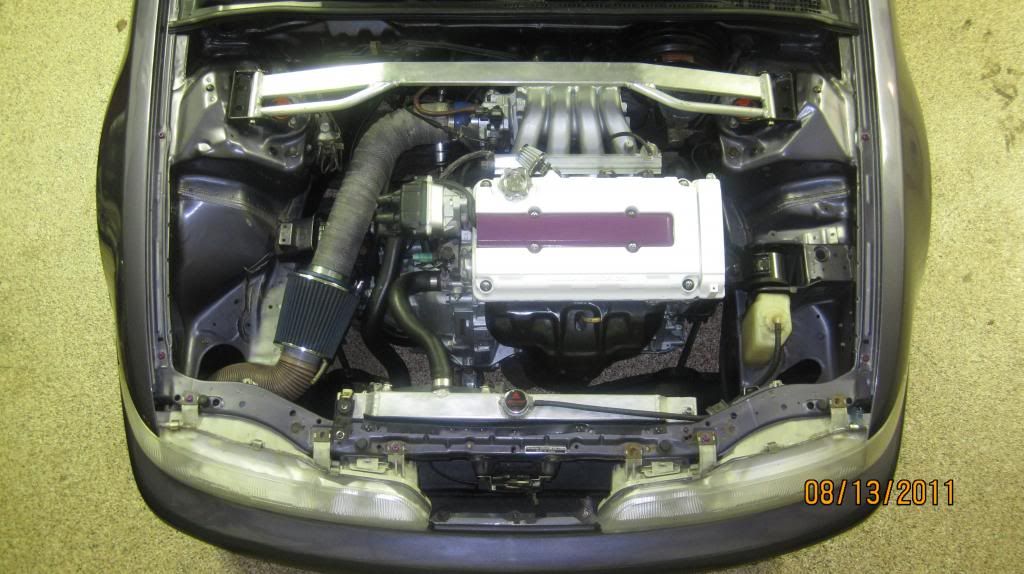
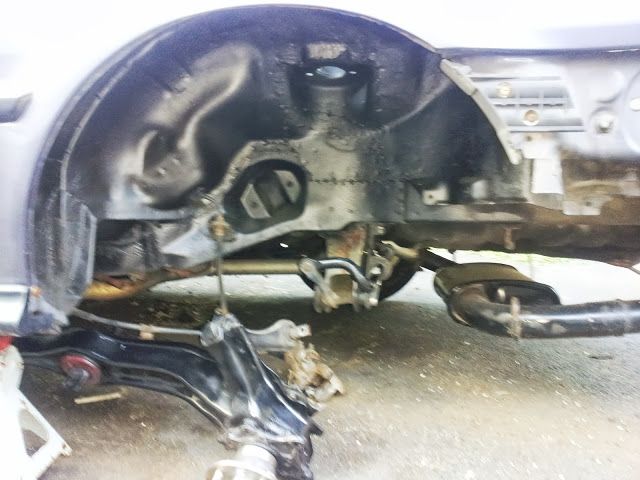
For every motor that has been in this car (its on its 3rd b series now) I have used the same mounts OEM 92 integra mounts with energy suspension inserts and my trans mount is filled with 3m window weld

with the newest motor I am buying some new mounts but it is only because I am going fully hydraulic now.

hey sorry I didn’t get back to sooner but I have a few pics of it and I have to find them.
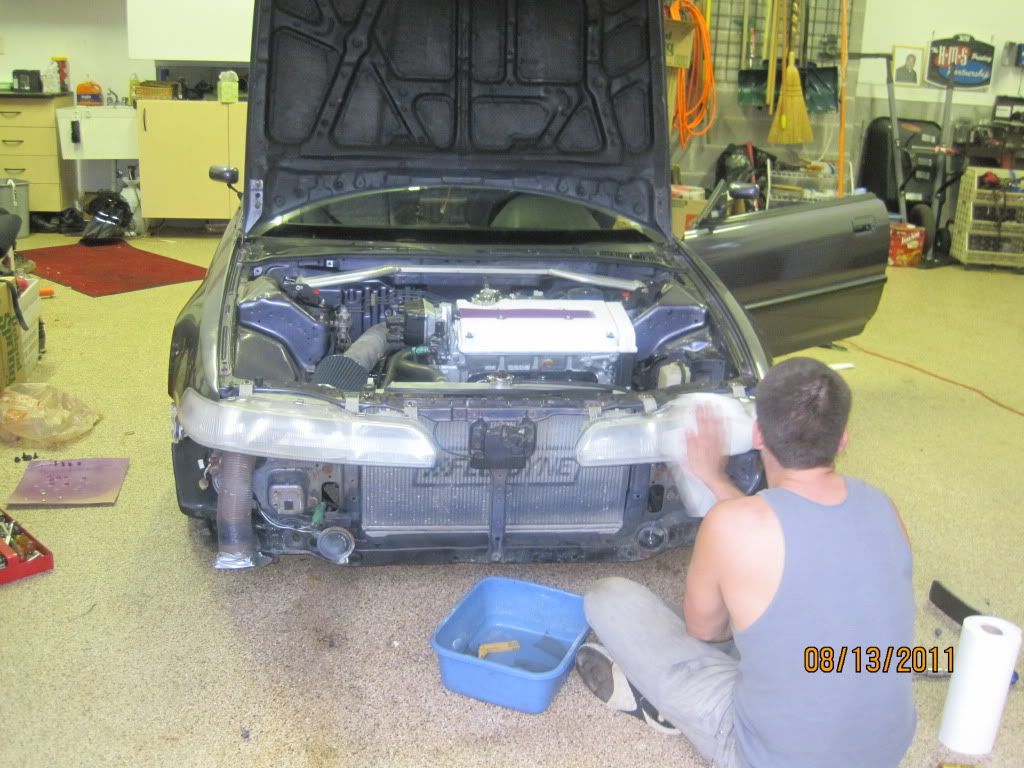
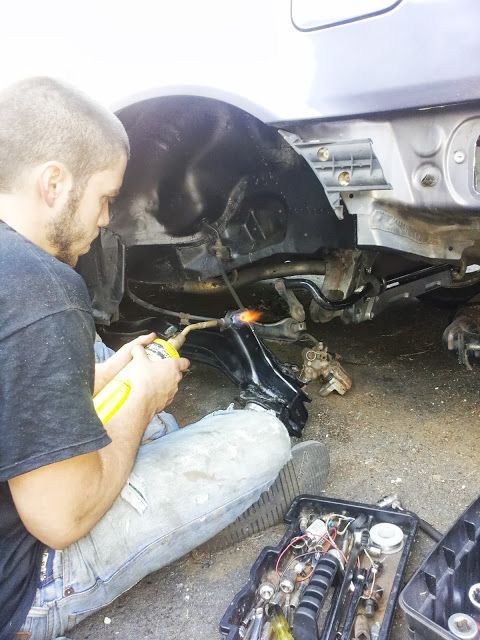
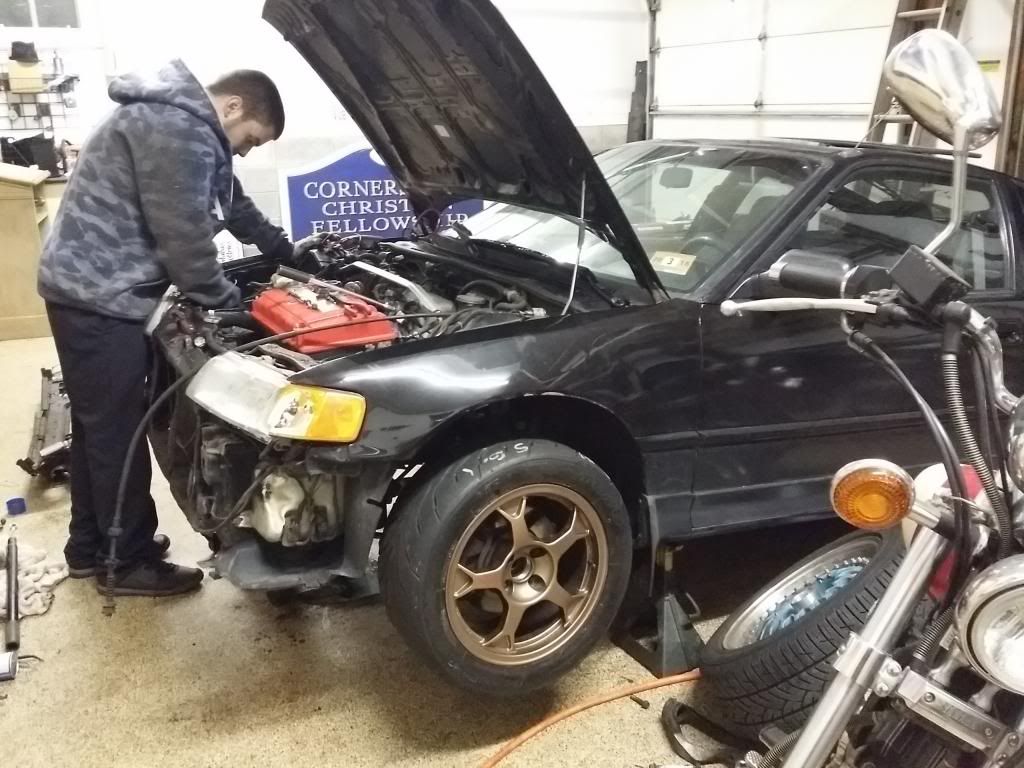
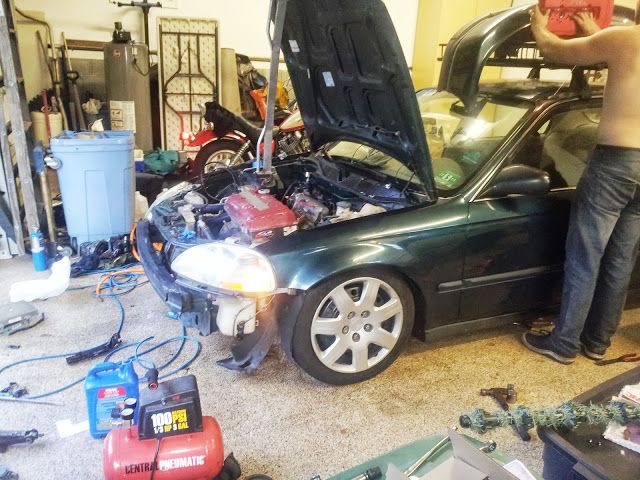
but what I did/do is remove the battery and fuse box and pull the entire harness inside the cabin. then I de-loom the harness and de-pin the larger plugs that have to go to the headlights and whatever else you are deciding to keep functioning on that side (after making pin-out diagrams).
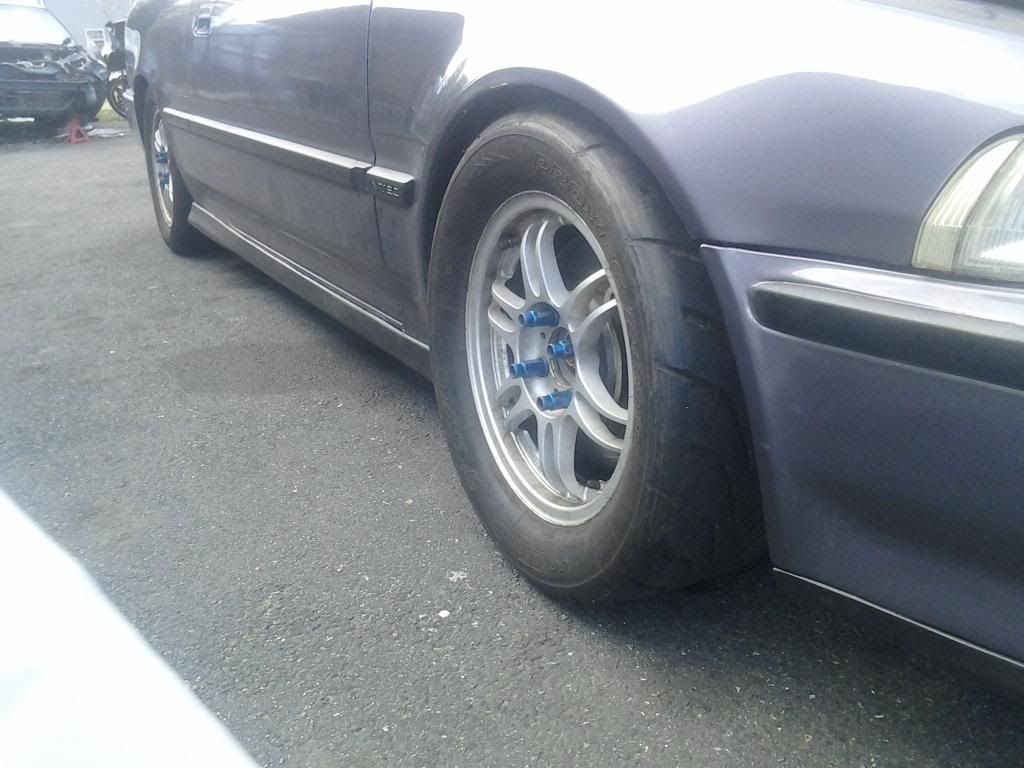
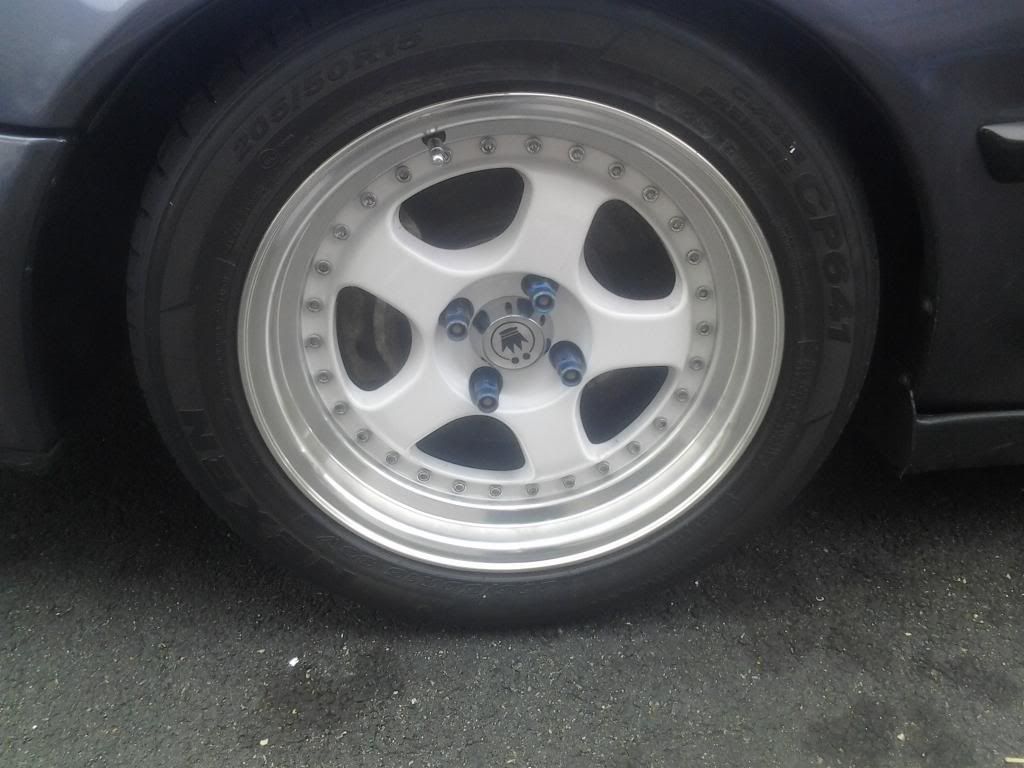
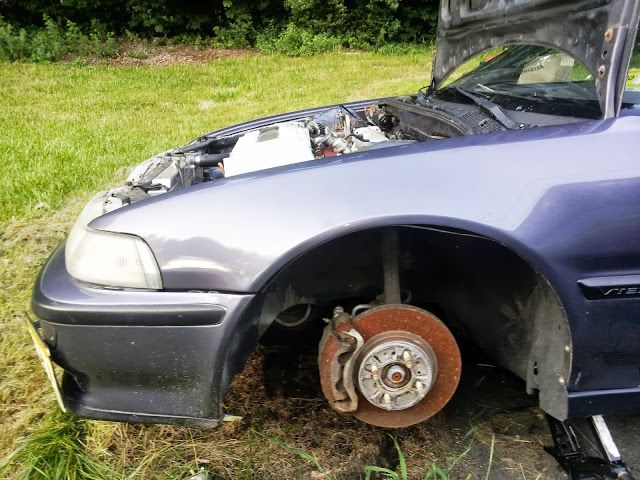
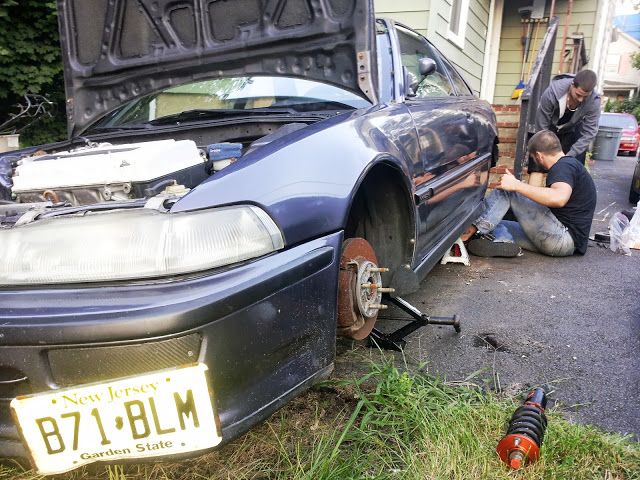
then I route the wires I need for the front end through the door harness grommet after I tape and cover them in my loom of choice. Sometimes it is easier to loom them after you pass it through the grommet. once it is into the outer fender area you can measure to see if you need to extend anything (on DA’s you will have to extend the passenger side) once you extend your wires, usually 6-9" is enough, then you re-pin your plugs and mount your wires as high up on the frame rail as possible using nickel plated wire clamps/guides used nickel or zinc plated ones or they will rust. Also the reason you want your wires as high up as possible is for possible sag and tire contact. Yes that sounds odd but trust me I didn’t mount mine up high on my personal car mainly because I never thought I would slam my car and I had inner fender plastics and blah blah. Then I was driving my car and all of a sudden my fogs stopped working then the headlights went out, then I could only get the headlights on if I turned the fog switch on and I couldn’t figure it out. I drove the car like this for about a month trying to figure out what happened and I trusted my wire tuck so I didn’t ever look at it. well I was randomly test fitting some wheels and looked into my wheel well and I saw it. the wheels I had on the car wore right through the inner fender liner and ate the wire loom and shorted out 5 out of about 11 wires in the harness. For some odd reason no fuses were blown but all five were twisted together and causing all sorts of weird headlight issues.

So if you are going to somewhat stance/lower your car or stance it out/ slam it or go with bigger wheels in any way just be on the safe side and put the wires high up on the frame rail and route the harness as far away from the wheel arch as possible.

I have also had to repair other people’s wire tucks for very similar reasons

one in particular involved and improperly mounted hid ballast in the wheel well area that was destroyed by some low offset wheels. Almost set my friends car on fire lol

so if you are going to take shortcuts on your own car write down every one you decide to take so you can be prepared when something goes wrong.
Some shortcuts are tried and true and others are just lazy or possibly in a pinch you do what you gotta do. Either way keep a written log of everything you do and it will save your ass on the highway one day. Trust me I try a lot of random things and attempt many different things that most wouldn’t do but I always write down what I did and where so I can go there first if there is an issue.

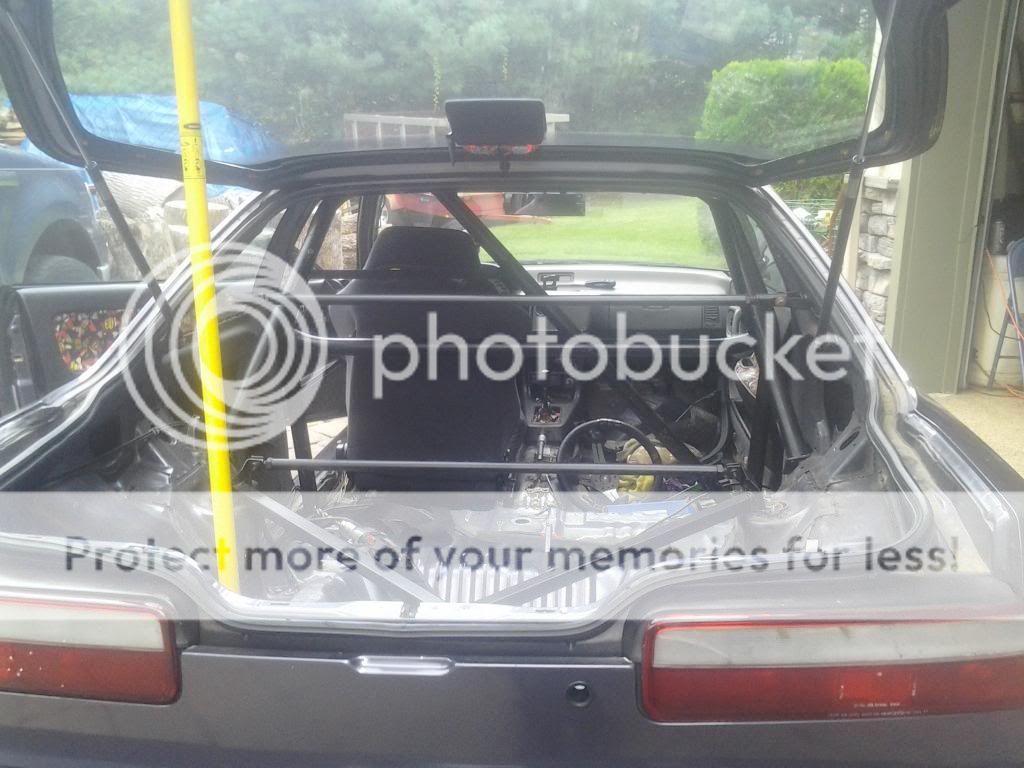
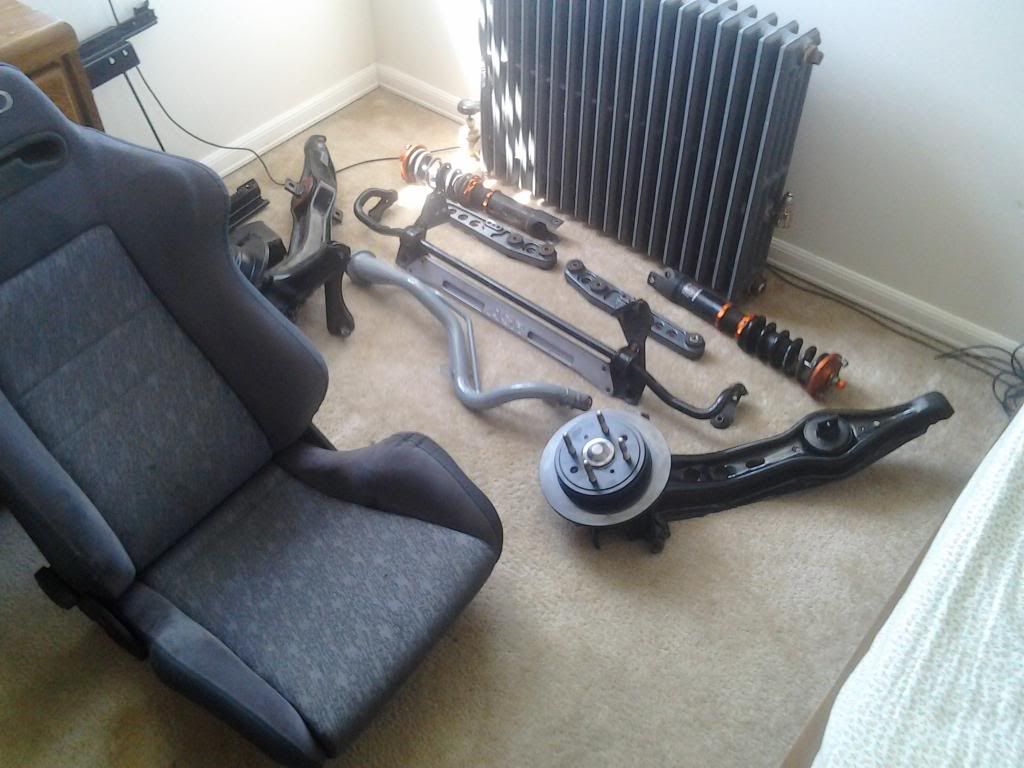
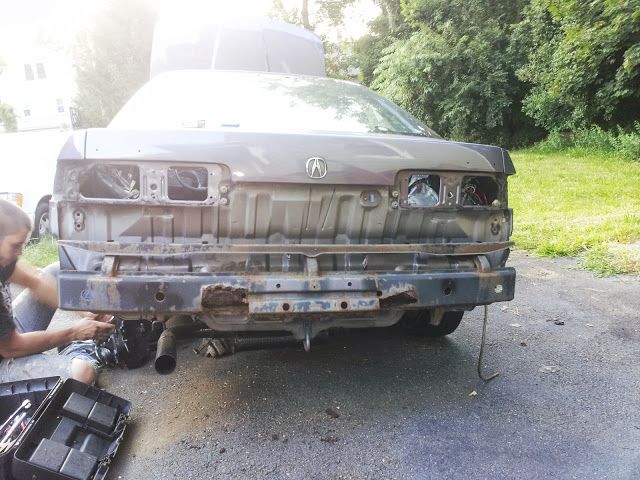
Well that was a bit a ranting but I have a lot of updates for you guys.

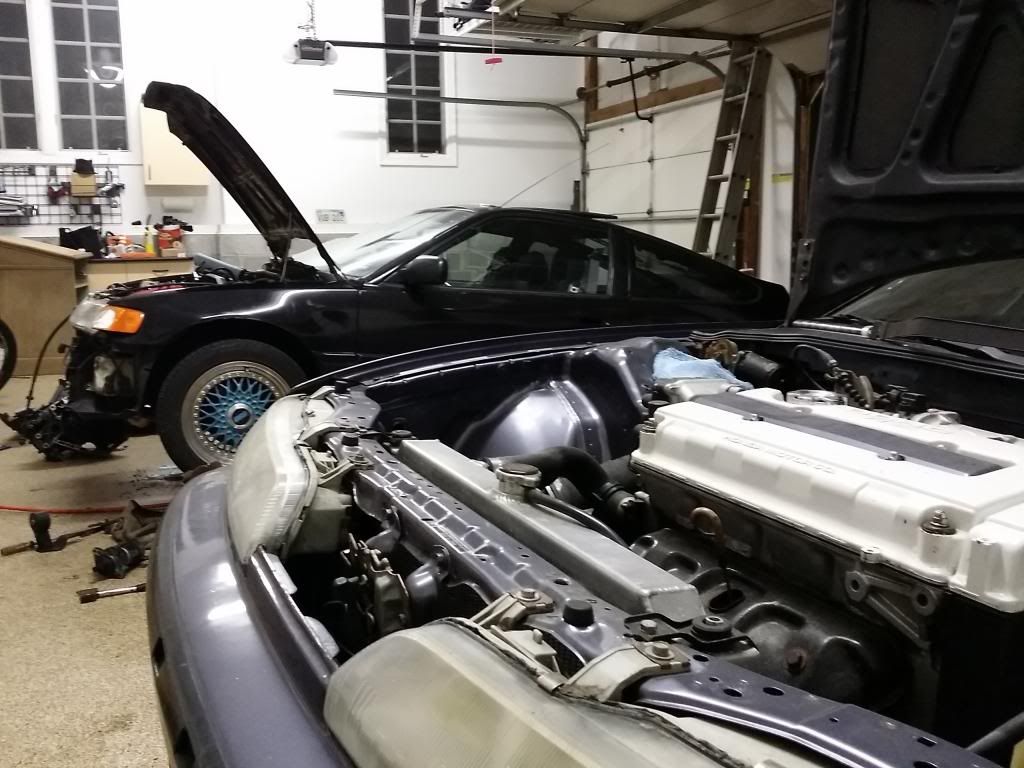
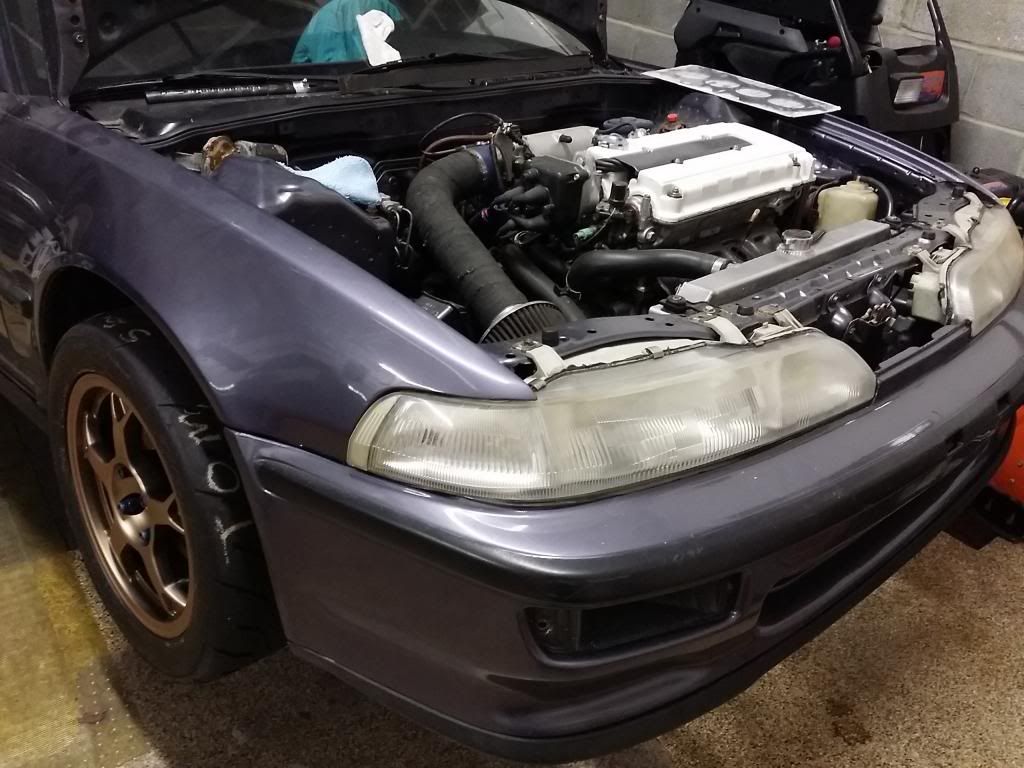
A lot has happened with this car over the last 7 or so months and I think some of you will enjoy it others may not because the car is out of commission for a little while.

but here is a teaser pic for now
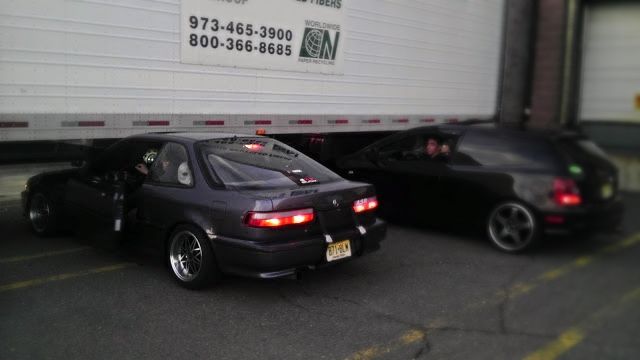
Here are some of the pics of the wok that I did so far

Stripped and POR15’d the gas tank and filler neck

I will post more later

That rollbar and chassis reinforcement looks very stout! Nice!

I plan to do something similar with my gas tank while its out. I need to get my hands on some POR15… Keep the updates coming!

[QUOTE=rollinmyda;2308581]That rollbar and chassis reinforcement looks very stout! Nice!

I plan to do something similar with my gas tank while its out. I need to get my hands on some POR15… Keep the updates coming![/QUOTE]

The Roll Bar is an auto power 4 point and the rear bracing I welded up out of square tube it is braced to the trunk wall and rear frame rails.

as far as the POR you can order it online. Check google shopping or ebay for the best pricing but be sure to also get the marine clean and the prep solutions they make.

and here is an other update. now mind you all of these are not to recent but I want to be sure not to flood the thread all at once.

So in August I decided to go crazy with the chassis and suspension and do a resto-mod on the shell.
The idea came after a car meet I attended in Edgewater NJ where I saw a ton of nice looking cars. Everyone was going crazy over them but all they where was very clean show queens and not actually driver friendly cars. I was quite disappointed at the lack of attention my car received which has so much more to it than these other cars. So the next day I decided to take the entire car apart and clean everything and make it “pretty” lol.

As I was removing everything I decided I was also going to upgrade my chassis but do as low budget as possible.

So I got to work stitch welding the chassis and removing more weight. The weight reduction came from stripping all of the under coat and grime and removing all unnecessary wiring from the chassis harness and cutting out metal that was not going to be needed.

any way on with the pics

These are some of the parts removed and cleaned and sitting in my bedroom.

I stripped both rear trailing arms and re-painted them and installed new wheel bearings and rotors

here you can see the start of the stitch/spot welding

here is a shot of the ITR 23mm rear sway bar I got

I am not 100% finished with the stitch welding I did the full interior and the underside from the doors back I now have to do the engine bay and front fender area. When I do this I will also be designing and installing some added chassis support such as fender bracing, master cylinder bracing, front frame rail bracing and so on. I just need to figure out where I can remove weight as well so that I can offset the added weights.

one last pic which was just prior to tear down.

This is my shifter setup which is an extender and hurst shift knob. The extender I made out of a single bend OEM Honda shifter and a nut welded to it.
I am having a friend of mine machine one out of titanium for me for the finished version.

I will have more pictures up in a few.

A few other things I have been up to is wheel and tire shopping

Here are my kosei k1 ts with toyo proxes r888

I love these tires but the wheels ended up becoming a problem for me. because they are 14’s and their inner spoke design I had to run spacers up front to clear my legend brakes and I didn’t like the way the car felt with the spacers in. so I went on a hunt for the perfect wheels. Well at least the perfect wheel to hold me over until I can afford my dream wheels.

Kosei’s are currently for sale btw.

So I got these

They are konig candies and they were red when I got them but I hated that lol so I painted them.
there are a pretty decent replica to my dream wheel, which is the work miester s1 btw, but they are not real three piece they are kind of heavy and the sizing options just didn’t do it for me so I sold them.

Then I tried an other set of 14’s
Some bbs from a 91 bmw 328i

but they didn’t fit so well so I put them on my daily.

so with no wheels and needing to transport the car I barrowed my friend’s sunflowers and god I hate oem wheels on my DA lol
I couldn’t even save the picture I took cause it was disappointing lol

so then after getting the car to its current resting spot in my garage I found an awesome deal on some spec Miata wheels with brand new toyo proxes r888’s on them.
So I grabbed them up
Team Dynamic Pro Race II in bronze 15"x7.5 +30 with the most inner barrel room I have seen on any wheel… I could put even bigger brakes under these things and have very few issues.

After picking them up I realized that they were hub centric to the Miata so I had to send them out to get bored. Sent them to USAwheels in Fairfield nj.
I will most likely do it myself next time. They took forever and the work looks like they did it with a dremel and they aren’t 100$ perfect. but w/e

I only have one pic of them right now I am waiting for my friend and my fiancé to send me some new pics.

I also picked up some other wheels to either flip or use on the teg as show wheels

I got some discontinued Ultra type 33/35’s
not high end but odd and interesting none the less and I think they will look pretty cool on the teg. They are 16x7 +38 4x114.3 and need to be re-drilled.

then lastly I found these awesome wheels but I will need adapters to run them
Rare discontinued and authentic Work Ewing III 16x7.5" +30 4x114.3 2 piece

I need to source the center caps and clean them up but I love them

I also did a ton of work to my daily but I got a two new sets of wheels for that two

here are my favorites

well that’s it for now
I have to upload more pictures and have the rest emailed to me so I’ll get back to you later

You wouldn’t happen to have any pictures of how you mounted the EK side skirts would you? I have mine roughly in place but the aft section doesn’t really sit nice against the car.

Sorry I do not have any pictures but as far as mounting them I used tech screws at first. One in the rear right into the inner quarter panel lip, one on each clip hole in the side skirt right into the rocker panel of the teg, then an oem screw in the front caps I made in the front fender.

but now they are mounted as “oem” as possible with EK push pin clips in the rocker panel.

I am probably going to be getting rid of them for a new lower design I drew up.

So I just realized that I have no pictures of my engine bay over the last few months except for

this one which does it no justice.

but if you can see in this crappy pic I had installed a skunk2 intake manifold an aem fuel rail -8 an fuel lines and an aem fpr.

I am currently searching all of my storage devices for all of my pictures lol.

here are a few

here it is at HondaDay 2012 with axis og’s on it

on my parent’s street last spring

[img[http://i249.photobucket.com/albums/gg218/happletom/IMG_20120326_191509_zpsda934092.jpg[/img]

and one from NYC when I took my girl to central park for a picnic lol

wow
I just realized ho much is not on this thread.
I did so much in the last few years that is not on here and I don’t have all of my pics and I’m upset now lol

here are some oldies but goodies that never made it on here

me trying to get the car ready for hondaday 2011 but I never made it due to rain

here is how the bay looked for a good year

the week after these were taken me and my girl went to Cali. After I got how from that trip I painted my engine bay, same color just really touched up a few spots.

I am really pissed that I don’t have the pictures of how it looked for the last year im really disappointed in myself lol

did you delete the secondary butterflies in the intake manifold? I don’t see the dash pot thing im used to seeing on the gsr.

Also did I read that your car is captiva blue pearl? I sweat\r the car looks horizon Gray in the pics.

[QUOTE=ls/vtecstitch;2308710]did you delete the secondary butterflies in the intake manifold? I don’t see the dash pot thing im used to seeing on the gsr.

Also did I read that your car is captiva blue pearl? I sweat\r the car looks horizon Gray in the pics.[/QUOTE]

yeah I deleted the butterflies in that manifold and ported it and did a whole bunch of other stuff to it then I sold it and installed the skunk2 I got off of my brother’s blown gsr.

and I never said my car was captiva
it is indeed horizon gray

and I also forgot to mention…
the front license plate relocation bracket thingy, I took that off of my friend’s mark II jetta. its an original vw license plate bracket and they work great

I just want to drive this darn thing again.

I miss it so much… its been almost a year since I drove it. ugh

I just want to either have it shipped out to me or I am about to just leave this damn school and go home and finish it

[QUOTE=HondaTom87;2308725]yeah I deleted the butterflies in that manifold and ported it and did a whole bunch of other stuff to it then I sold it and installed the skunk2 I got off of my brother’s blown gsr.

and I never said my car was captiva
it is indeed horizon gray[/QUOTE]

I was quick scanning through your thread at first and thought I saw somewhere that someone asked what color the car was and Jake replied that it was Captiva Blue however I went back and noticed it was someone saying they were going to paint their car and Jake said to paint it Captiva Blue.

Im actually in the middle of doing an ls/vtec swap in my car and im having issues mounting the throttle cable to the stock gsr intake manifold. Would you happen to remember what you had to do to get the throttle cable to work or if you had to use another throttle cable?

Ok so I got some more

seems to be the last of the pictures I have

Here are some shots of me doing some work on the car

trying to remove a seized bolt from the upper control arm… damn thing wouldn’t come out for anything.

the rear end naked
I am ditching that bumper support due to its rust and I am going to us 1 1/4" tube and make my own bar but not as crash support more for chassis stiffening.

What the front brakes ended up looking like while it sat outside of mine and my brother’s house.

The Driver side rear wheel well after stitch welding and one coat of undercoat.

How I worked when I had no garage
supper sketchy lol

And a few more shots of how it was sitting in December right before I went back to Colorado.

Waiting for my return

And there is the CRX in the background getting a new trans courtesy of yours truly and the Integra

A decent shot of the engine bay
and a better pic of the new kicks

Here is a much better picture of the new wheels
Team Dynamic Pro Race 2’s wrapped in toyo proxes r888

Me working on pulling the trans out of the CRX.
I had to do so because I put it into a guard rail earlier that day and ended up hopping it onto a curb and putting a whole in the trans. Crazy fun story lol

Tested how the TD PR2’s would look on the rex

Modified by hondatom87 at 9:56 PM 1/28/2014

And one of my new favorite pics

One more pic for today

The Type R sitting in my sedan after the complete engine and suspension swap
This is the motor that will be going into the DA as soon as I get home

I will have some more pics around Thursday. My fiancé is going to stop by my parents house and take a few shots of the car as it is sits now

but I mainly want to get better pics of the typr r steering wheel with the quick release and the a better shot of the cage

I am taking ideas for a new seat though
I would love to get a pair of some nice buckets but idk if that will be in my budget right away.

I still have to buy new harnesses, a new helmet, seat and rails or make my own rails and for my own personal peace of mind I am getting a fire suppression system. I don’t want to risk losing everything in the event of a fire.

Well I think that is all for today unless I find some other pics I feel like sharing.

No biggie on the color issue I didn’t mean to come across as rude when I said I never said it was captiva lol

There are a few ways you can do it. The easiest of which is to have the stock GSR throttle body with throttle cable and bracket. The GSR cable bracket mounts backward on the throttle body and the cable comes around the intake manifold and toward the pulley on the other side. if you look at my engine bay pics you will be able to see how the cable is routed.

Another way to do it if you have a throttle body that doesn’t have the mounting holes for the GSR cable bracket is to go under the manifold.
I have done this but it becomes a pain in the ass if you have to take the cable off and other reasons.

Damm you have been busy lol, teg looks great and I’m digging the bay. After looking through the pics it makes me wish I was in pa to work on the teg. How much are you asking for the ewings?

yeah all these pictures are making me want to fly home and work on my teg too lol

ahhhh you are about 12 hours too late. I sold them to a kid in NY with an 89 Integra.
If all goes well I will be getting another set of them but we will see what happens.

I did pick up another set of jdm 1 piece Stanley headlights out here in Colorado they are keeping me slightly busy. they were in pretty bad shape but I am almost finished restoring them.

the driver side looks great.

before:

after:

its not 100% yet but I have to take the screws out and clean them and clean all the removable little pieces like the fog bulb cover and such.
but the passenger headlight has a broken lens and is missing one top mounting tab. I was quite disappointed because the guy I bought them from said they were mint but w/e I need something to occupy my time. So I am trying to get a broken passenger side from someone so I can repair this lens and repair the casing. Then with the leftovers I want to make a scoop. Possibly use it as a mold to make a carbon fiber scoop. That would be fun and I have tons of free time so hey why not right?

I am going to post a few of my old pics in a few

here is one

my favorite look of my car. I cant wait to buy real work equip 03’s
oh and on the back of it those are seat belts I took off of a united plane when I flew home from San Diego a few years ago lol
And as far as the mask I truly believe I am the first one in the states rockin a mask behind the driver seat and when I did it I had no idea about the Osaka JDM cars with Jason/classic goalie masks. I got my mask from Sleep No More and interactive off Broadway play that I took my fiancé to for her birthday. We both got those masks and thought it would be funny to put them on the seats when we drove through NYC. I just ended up leaving mine cause it bothered the cops in my town lol.

For the record I highly recommend seeing Sleep No More it is a fully interactive play that is set in the 1920’s/30’s and is a 7 floor hotel that you walk around from scene to scene in. Everyone in the audience has to wear masks and is required or suggested to explore every possible thing you can. It is a lot of fun. Now that I am thinking about it I don’t know if it is even still in production. lol

any way I have a few more pictures from this day with my brother and my friends.

This was end of winter 2012 I believe