those can still be saved with alot of work. just use some 800 grit and sand back down the the pastic and then work ur way up to 2000 grit and polish it out.
the same thing happened to me. i dunno why the clearcoat cracked. maybe it was too cold out when i sprayed the coat. it was from a duplicolor can.
Wow that sucks…I took these pictures this evening and they look the same as the day they were clearcoated. As I mentioned before, these were done professionally, and I don’t know what kind of clear he used…I don’t think it was Duplicolor.
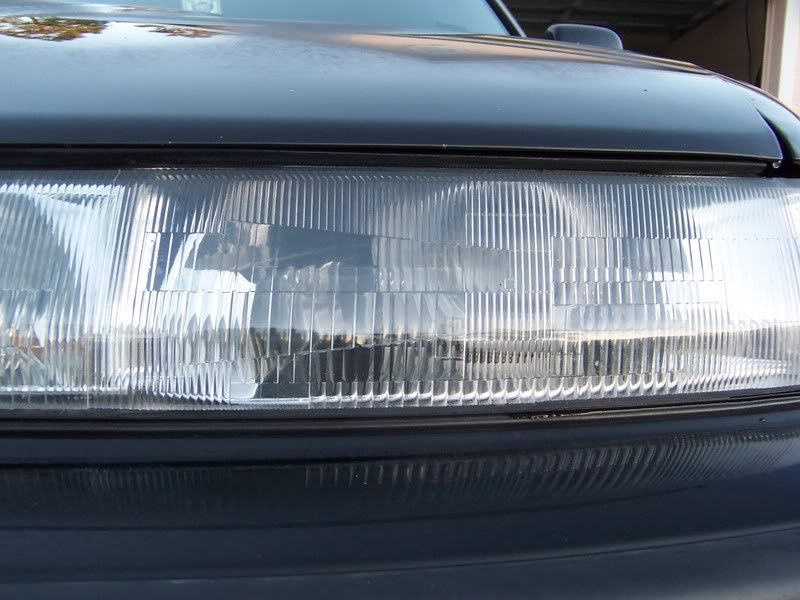
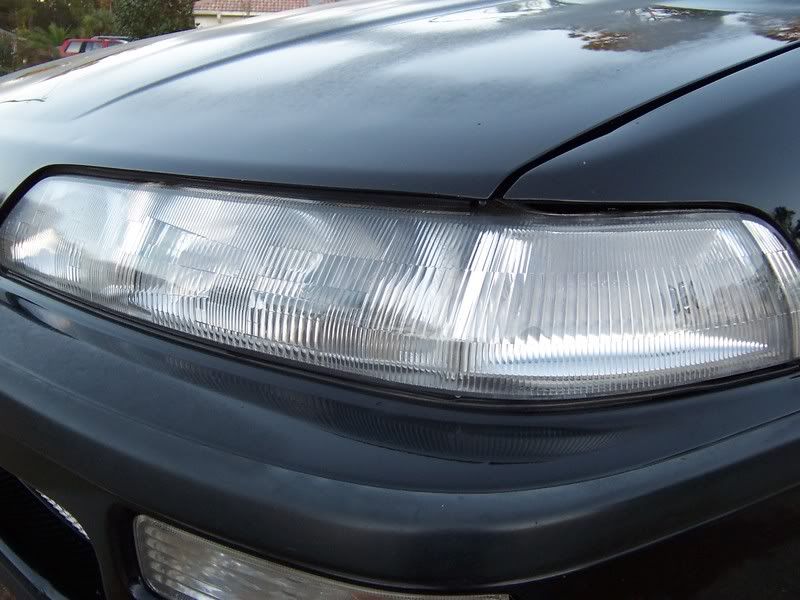
They still loook great, do you have any pictures of the cut off on a wall or just lighting up the road? I have my one pieces and projectors on the way and I’m still debating on whether or not I should try to sand down the flutes on the lenses.
USDM TSX Projector conversion ?
Does any one know if you can do the TSX conversion on the USDM head lights? I want to practice before going to the JDM 1-pieces
i wetsanded my taillights and headlights it turned out great my lights were dull now they are shiny and smooth ![]()
before:


after:


my headlights and taillights are clearer and more shiny ![]()
any pics of how the beam looks at night/ how it lights up the road??
I doubt wetsanding has a noticeable effect on the light output.
any pics of how the beam looks at night/ how it lights up the road??
i might be imaginin it but my headlights are not that yellow anymore ![]() also i forgot to tell you guys i clearcoated my lights. but i think you guys already know
also i forgot to tell you guys i clearcoated my lights. but i think you guys already know
…
i like them clear tailights…
The reason the clearcoat cracks and goes foggy is because it is not compatible with the acrylic headlight lens. I tried clearcoating a friends corolla headllghts with duplicolor and it ruined them. I think it was a lacquer type of clearcoat. Some auto parts stores sell duplicolor touch up paint in a spray can. The clearcoat that goes with that paint works well on acrylic as far as my experience goes. Any other automotive clearcoat that is not lacquer might work. I hope this saves some one pieces!
to the ones with the cracking clearcoat…
did you guys clean off all the wax and polish from the lens before you cleared it? if you didnt then yes, thats probably why your clear coat didn’t stick.![]()
VI Massive i know this thread is old but i got to ask how did you wire up the high beam part and what did you do to bolt down the projectors
i would love to do this but, im not sure if i trust my self to do this… Was it extremly hard or no… Because i dont think i could open and cut 200+ lights…and install something
I actually did not finish wiring the high beam portion of this retrofit…It’s partially done. The way I have it, whenever the high beam is on, it sends electricity to the solenoids inside my projectors therefore letting more light escape the projector housing. The bigger problem is finding an electricity source to power your actual HID system. I our cars, when you switch from low to high beam, you loose electricity in low beam harness(wiring). Therefore you have to find an electrical source for both low and high beam. In now way am I condoning this, but you may have to wire your HID to both the low and the high beam power source…Just make sure there is a diode in the system to prevent the backflow of current into the other side. BTW- I’ll try to post some pics of the bolts I used.
It was not extremely hard, but if you don’t have the confidence to do it, don’t do it. I’ve felt that way before, but the more research you do, the more you feel “I can do this”. Then you get to the point of no return. By that time, you have to commit…This is where patience comes to play. Just take your time. As you can see, the hardest part is cutting the enclosure in the 1-piece headlight to fit the projector…It takes a lot of trial and error. But yeh, those headlights are not cheap.
I’ve noticed you cut of the back end of the projectors… by doing this, how did you manage to hold the bulbs into place when it’s inside the projectors? Also, how were you able to adjust the projectors?
also what did you use to mount the projector into the headlight
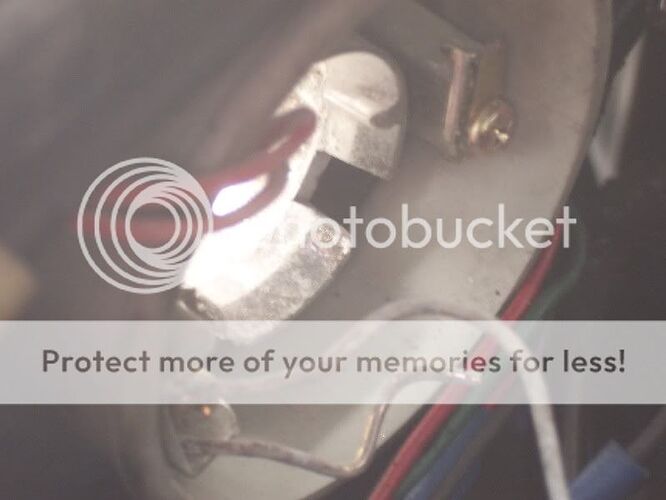
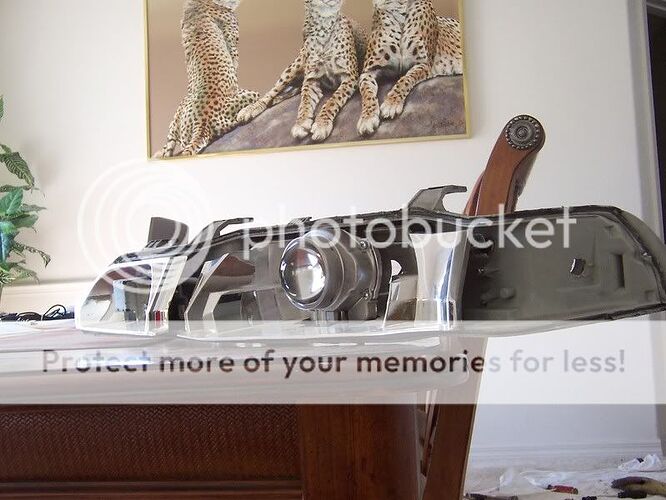
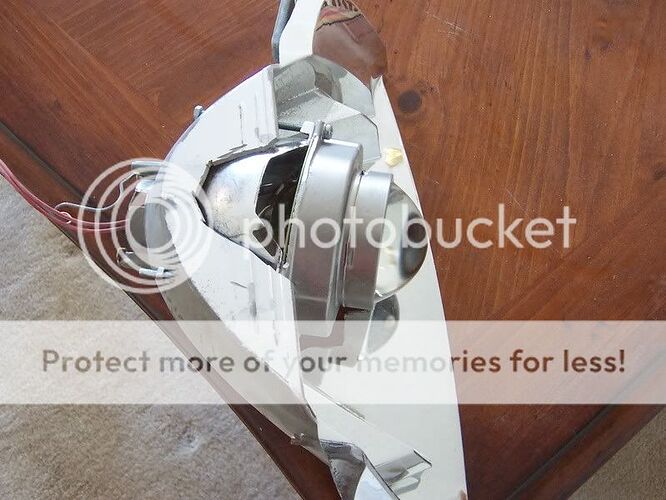
That’s correct…I had to cut the projector housing to ensure a fitment within the 1-piece headlights. With that said, I had no intention of using the bulb mounting points on the projector…I was going to cut it anyways. When I ordered my HID kit, I made sure it was H4H to fit my JDM headlights directly. So yeh, It’s mounted securely to the factory headlights. As far as adjusting them, I’m using the same adjustment screws as factory. I mounted the projectors to the inner chrome housing so that the factory adjusting screws are still used. Here are some pics…sorry about the quality.
I used regular bolts and nuts to secure the projectors to the chrome inner housing. The pics explain it alot better.
VI Massive, what projectors did you use? Those are bi-xenon i presume?
how tall are the ones you used? when you get those working, i’d like to see the cutoff!
they look like FX35/45s by the shape and 2 wire red bi-xenon solenoid wires. definitely trimmed though
